This is part three of our official Pokemon Brilliant Diamond & Shining Pearl complete guide and walkthrough, which picks up after your first experience with Jubilife City, the Big Apple of Sinnoh. Your next objective is to go to Oreburgh City in order to get the Coal Badge from Roark.
Before venturing towards Route 203, make sure you visit the Jubilife City Pokemon Centre to heal up your party, some of whom were likely hurt while you were battling trainers on Route 204 and ideally catching yourself a Budew. This isn’t just a passive recommendation, by the way. Despite battling them literally ten minutes ago, your rival will THUD! into you the second you set foot on Route 203, demanding a rematch they are convinced they’re going to win. The thing is, their team actually is improving quite a bit - if you’re not ready for this fight, there’s a good chance their conviction is well placed.
At this point in the game, your rival will have a level 7 Starly and a level 9 starter Pokemon. Given that they always pick the starter that has a super-effective advantage over yours - and, perhaps more importantly, that all three options will have acquired a STAB (same-type attack bonus) move at this level - it’s important that you go in with more than just an overleveled starter of your own. For Turtwig, use Starly; for Piplup, use Shinx; for Chimchar… just don’t let it hit you, okay? If you have a decently leveled Shinx and Starly, you’ll be able to tank a few Embers and take it down in no time.
After the fight, heal up at the Pokemon Centre again and head back to Route 203 for the second time. Battle all of the trainers here - seriously, you need the experience - and go through the cave known as Oreburgh Gate at the easternmost point of the route. A man at the entrance will give you Rock Smash, which you can’t use yet. Battle the trainers and head through to Oreburgh City, where a kid will give you a tour of the local area. When you get to the gym, your rival will tell you that the gym leader isn’t there. This is your cue to visit Oreburgh Mine, which is situated south of the city.
-2.jpg?q=50&fit=crop&w=740&dpr=1.5)
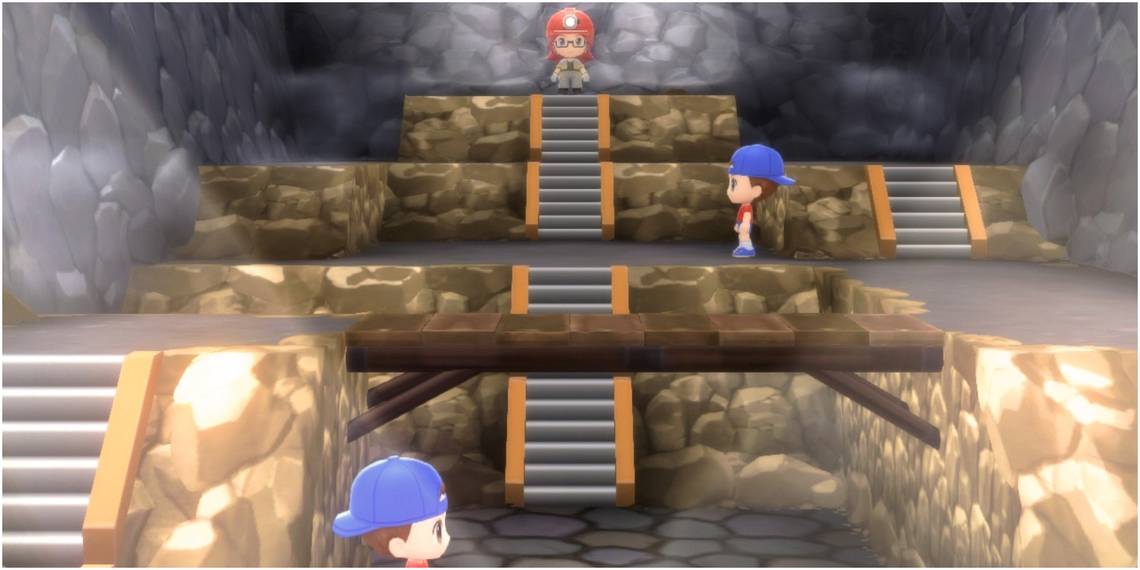
In the first room, all you have to do is head straight. The next section wraps around to both the left and right, but you need to head right, down, and left at the bottom to meet Roark. There are a couple of bored miners you can fight along the way if you talk to them - again, we recommend you battle every single trainer you encounter in order to quickly and effectively level up your Pokemon. Once you speak to Roark, he’ll return to the gym in anticipation of your challenge. If you want, you can catch an Onix, Geodude, or Zubat before you leave, although two of these Pokemon aren’t fully evolvable without trading and the third is useless until you devote ten million years to befriending it, so we personally wouldn’t recommend it unless you’re a megafan of one of these ‘mons. I’m a megafan of Crobat, so I’m kind of eating my own words here…
Before you take on Oreburgh Gym, you’ll want to make sure your starter is level 14 or higher. For a more detailed description of the battle itself, keep watch for our in-progress guide on how to take on Roark with every starter, but if you’re confident you can do it yourself, let’s just assume you’ve nabbed yourself a Coal Badge and are ready to move on. On top of the badge, Roark will give you TMs for Stealth Rock, the stickers he uses for his Ball Capsules, and the ability to use Rock Smash outside of battle. That last part is the key detail for part four of our Pokemon Brilliant Diamond & Shining Pearl walkthrough: Floaroma Town and Valley Windworks.