Quick Links
This is part 17 of our official Pokemon Brilliant Diamond & Shining Pearl complete guide and walkthrough, which picks up right after you beat Cyrus at the Veilstone City Team Galactic HQ and rescue the Lake Guardians from captivity. As you probably learned in Team Galactic’s headquarters, Cyrus is off to Spear Pillar in order to recreate the entire concept of reality by assuming control over Dialga or Palkia, depending on which game you've purchased.
Obviously that’s not ideal, but stopping him won't be easy. Here's how you can get to Spear Pillar and stop Cyrus before he ends the world.
Updated March 26, 2023, by Sean Murray: We've updated this guide with better formatting for greater readability.
How To Reach Spear Pillar

To accomplish that, the first thing we need to do is Fly to Hearthome City. It’s vital that you Fly here instead of the other areas linked to Mt. Coronet because this is the only side with access to the route leading to Spear Pillar.
Once you touch down in Hearthome, go to the PokeMart and buy as many Ultra Balls as you can afford, as well as a couple of Revives and Hyper Potions. Once this is done, head southwest to Route 208. Go through the grass, up the stairs to the mountain, and across the bridge to reach the entrance to Coronet.
The next part is a bit persnickety. As soon as you get into Coronet, you’ll see a ledge on top of you - your objective is to get to the other side of it. Head to the west side of the cavern and make your way up to the top wall. Instead of exiting through the opening on the left, Surf across the water on your right and go down towards the ledge as slowly as possible.
The controls are very finicky here, even if you’re using the D-pad. I usually run into the wall while slowly moving down in order to catch the exact point where I’m able to move right.
Once you’re at the part of the wall where you can use Rock Climb, head on up to the platform above you and go up the stairs on your right.
.jpg?q=50&fit=crop&w=740&dpr=1.5)
There are quite a few items in this next room, so feel free to explore at your leisure.
Head straight up from the stairs and swing a left, where you’ll see stairs leading up to a slightly raised platform. To the untrained eye, it might look as if there’s no way forward, but if you continue left past the stairs you can go down you'll find another flight of stairs.
Go up these, head straight, go left across the bridge, down the stairs beneath it, up the next two flights of stairs, right across the bridge, down the stairs, left, down the stairs, left, up the stairs, and through the opening in the back wall. Whew!
In the next room, you just have to go up the stairs and then head up some more stairs on the right, which is… a lot easier. Go up the stairs in the next room - I feel like I’m saying ‘up the stairs’ quite a lot’ - and follow the path around to come out through the exit onto the snowy exterior of Mt. Coronet.
Head around the corner until you reach a Rock Climb wall and then go all the way to the left of the area through the snow-covered grass. In the top left corner, you’ll see an entrance back into the interior of the mountain. Go through here, climb up the wall, and head all the way to the right until you reach another exit leading outside.
Go down the stairs and take the Rock Climb wall straight ahead of you up - there’s a hidden Rare Candy in the lone rock in the middle of the grass. Climb back down the wall and take the left path up to the other platform above you. From here, go all the way to the left and head back into the mountain one last time.
The rest of the way to Spear Pillar is just a linear path with grunts interspersed along it. We did it!
Spear Pillar And The Road To Cyrus
.jpg?q=50&fit=crop&w=740&dpr=1.5)
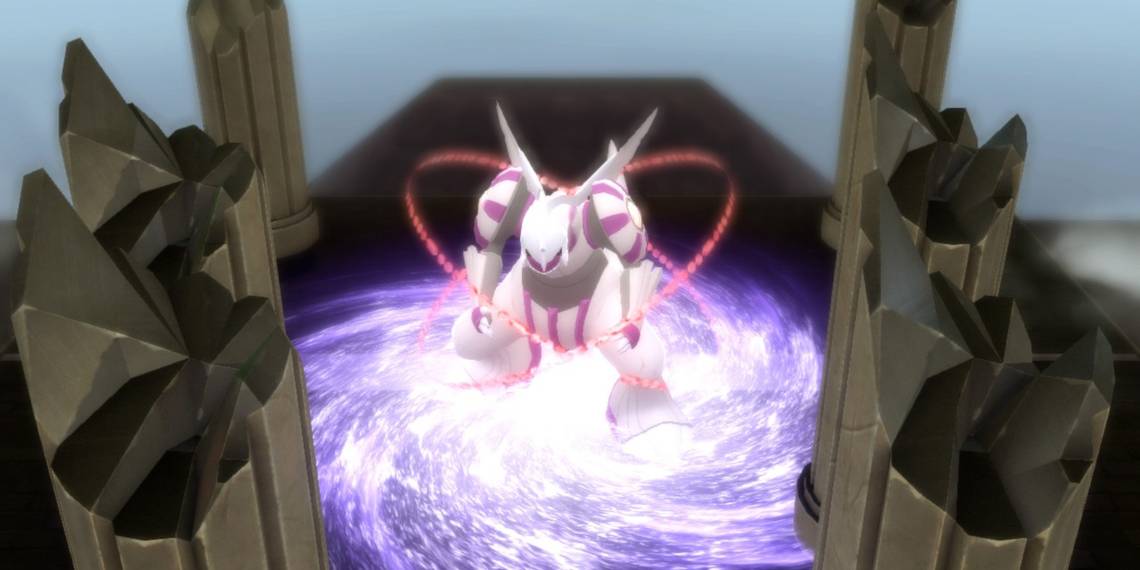
When you reach Spear Pillar, you’ll enter a heavily scripted sequence that oscillates between cutscenes and battles. Your first match is a double battle against a pair of grunts who are pretty awful. Once you mop the floor with them, Cyrus will use the Red Chain to summon either Dialga or Palkia.
When the cutscene is over, your rival will arrive to help you out in a double battle against Mars and Jupiter. After you win, they’ll heal up your Pokemon for you before your final encounter with Cyrus.
This time around, he has a level 45 Honchkrow, a level 45 Gyarados (which knows Earthquake, so watch out), a level 46 Crobat, and a level 48 Weavile. Provided you’ve been following our walkthrough up until this point, you should be well capable of handling this team - the one main thing to watch out for is that several of his ‘mons are holding Wacan or Chople berries, which slightly reduce the power of super-effective moves.
Capturing Dialga And Palkia

Once Cyrus has been taken care of, be sure to save your game before you approach Dialga or Palkia. This is why we told you to buy all those Ultra Balls earlier on - your Master Ball is far better suited for use on a roaming Legendary like Mesprit or Cresselia. Given that Dialga and Palkia are Legendary Pokemon, their catch rate is infuriatingly low.
If you have a Quick Ball, throw it at the beginning of the fight and see if luck is on your side. If not, you should try to get them as close to red HP as possible without risking knocking them out.
If they do end up fainting, you’ll be able to hard reset the game if you saved before instigating the encounter. If you didn’t save, however, and accidentally knock out your version’s Legendary, don’t worry - if you beat the Elite Four, they’ll respawn on Spear Pillar and you’ll have another chance to catch them.
Now that you’ve hiked to Spear Pillar, defeated Team Galactic, and (hopefully) caught either Dialga or Palkia, it’s time to move on to part 18 of our complete Pokemon Brilliant Diamond & Shining Pearl walkthrough: Sunyshore City and how to beat Volkner.