Quick Links
Tom Clancy’s Rainbow Six Siege is in its seventh year of existence, and with a SteamCharts average of 40,000 players per month, it is still a relevant and beloved game. Ever since its initial release with its 20 original operators, the game has consistently expanded every year, and now its playable roster of operators is sitting at a ripe 64, from real and fictional special forces organizations all across the globe.
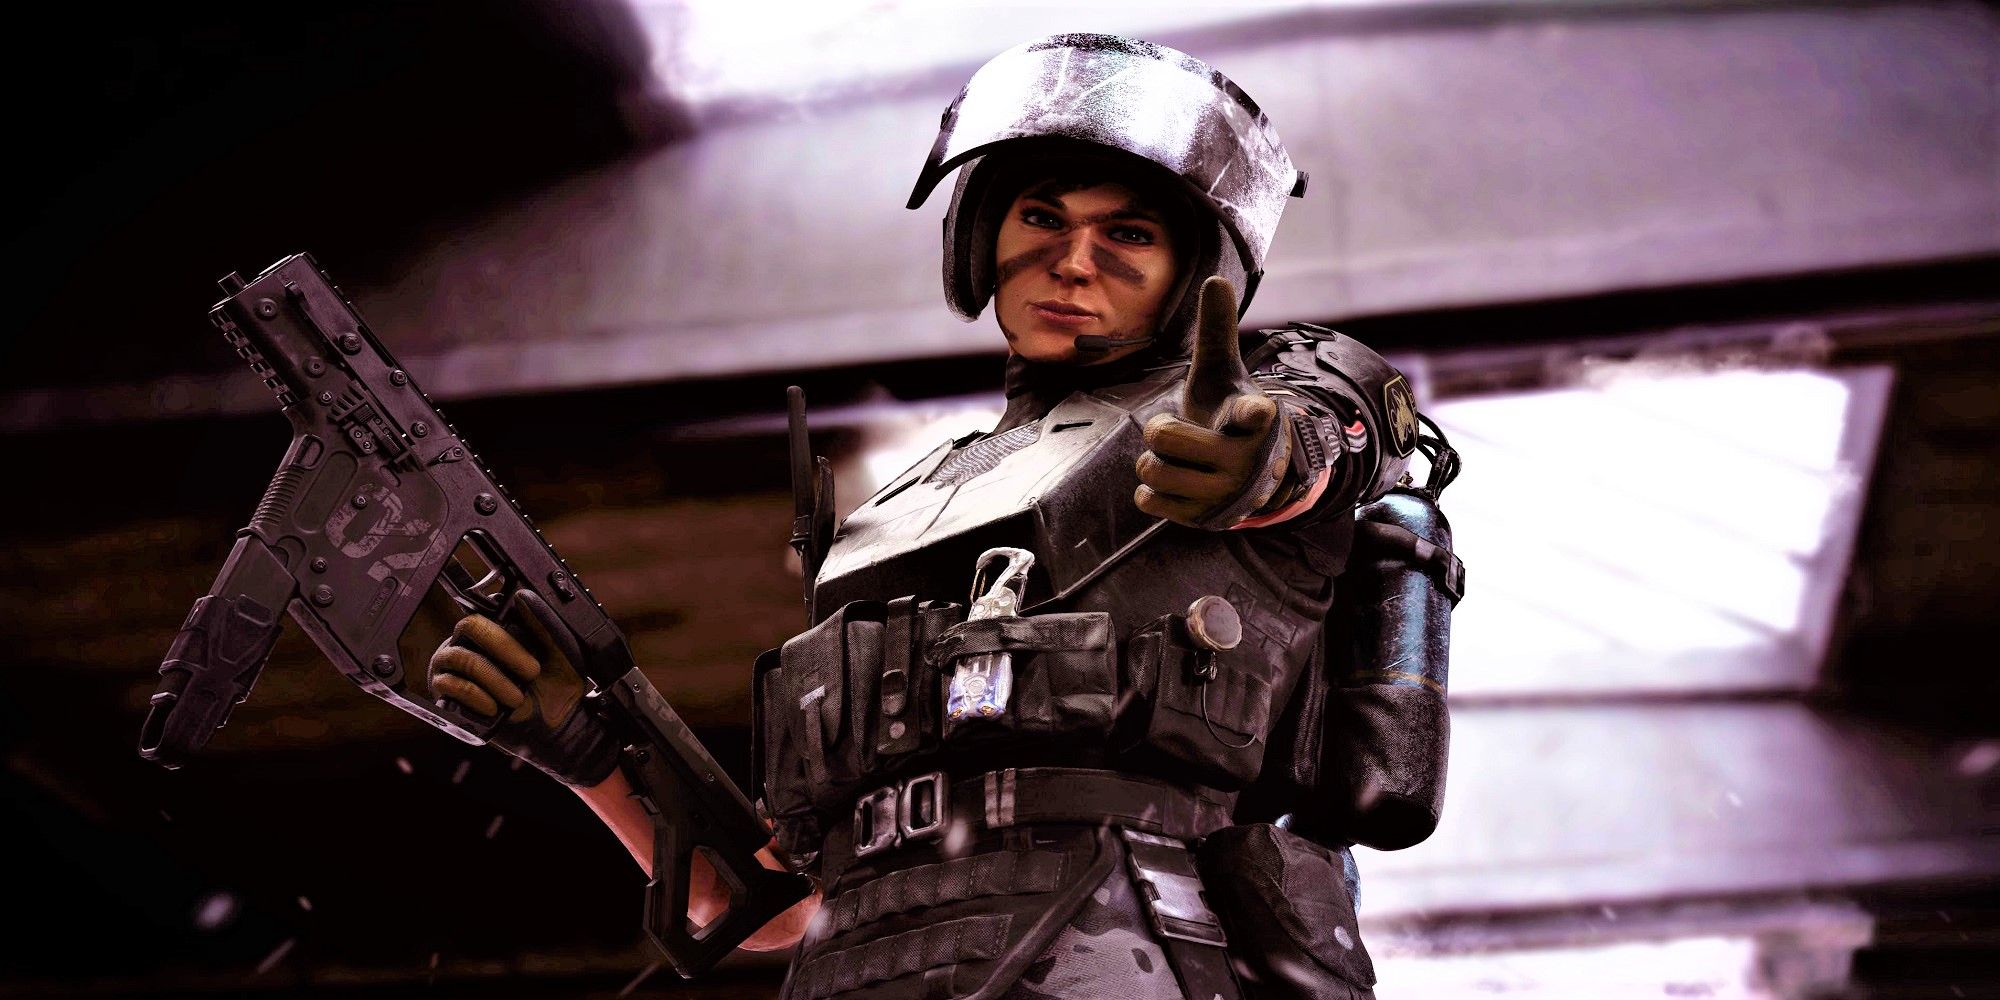
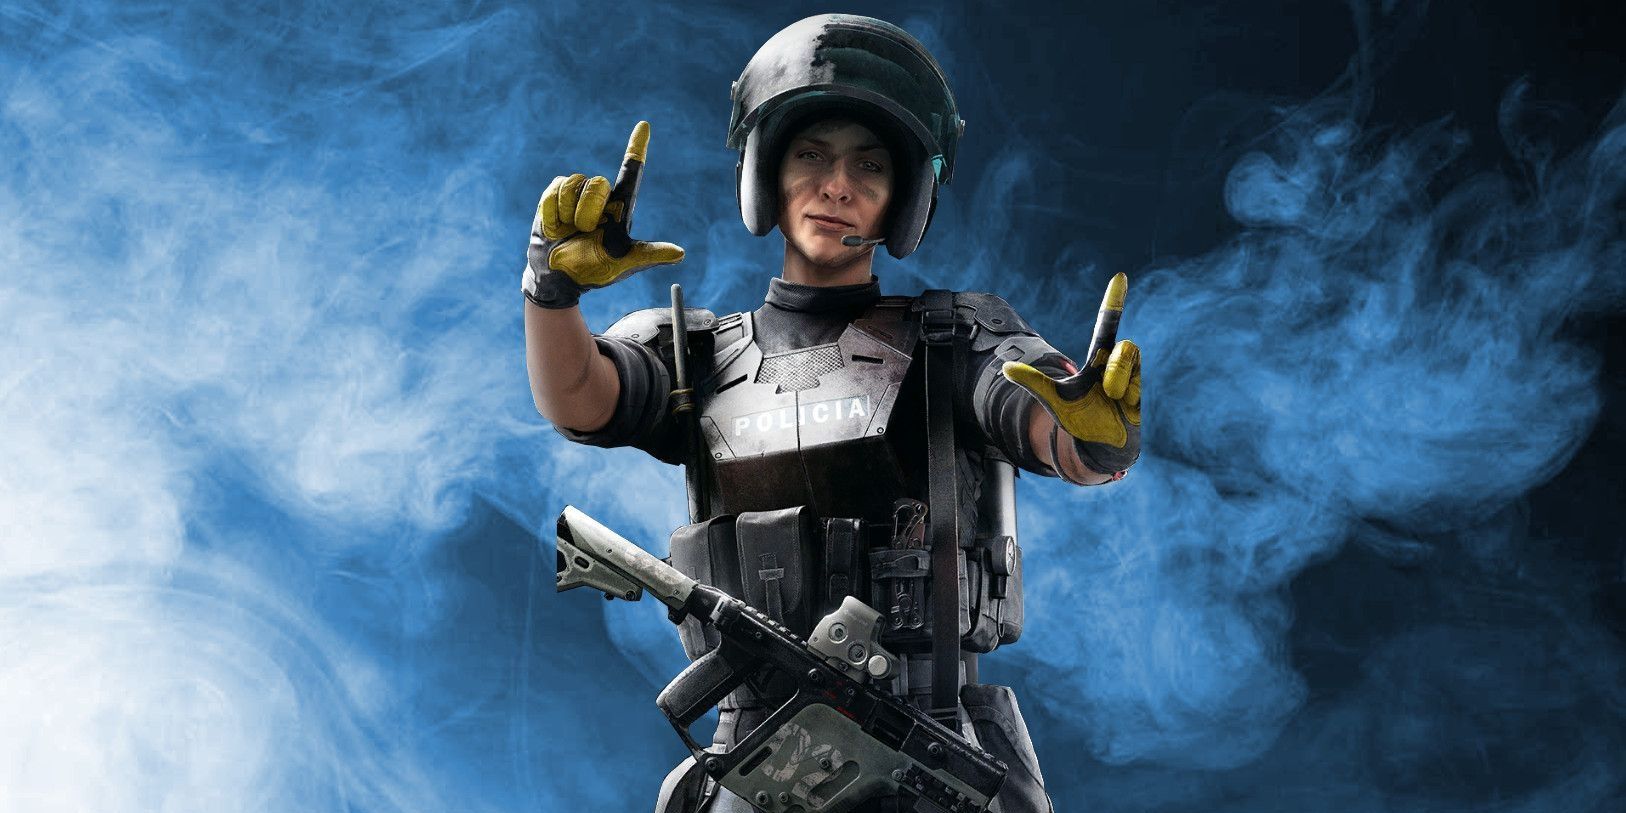
One such operator is Mira, also known as Elena Maria Alvarez, who was introduced in the Velvet Shell update, the first one of the second year for the game. While Mira has been a mainstay for around five years now, few players will know how to get the best from her ability, load-outs, and play styles.
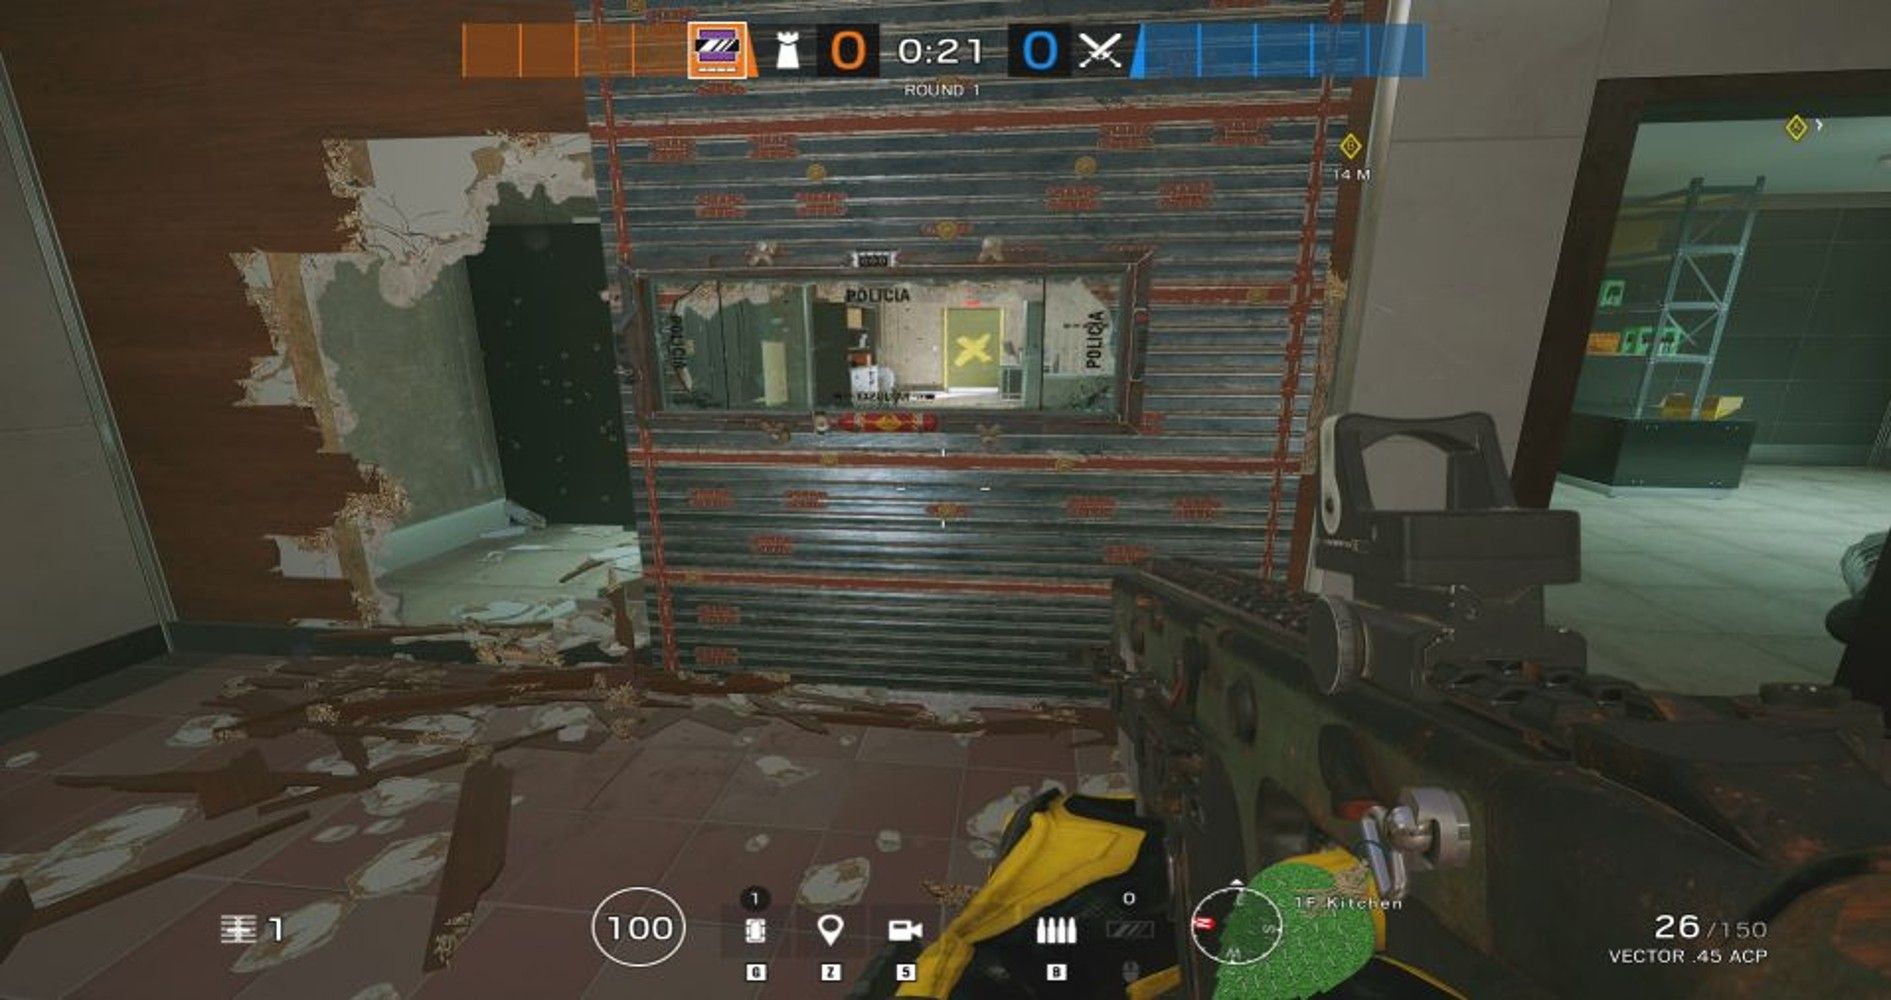
Mirror Placement Timings
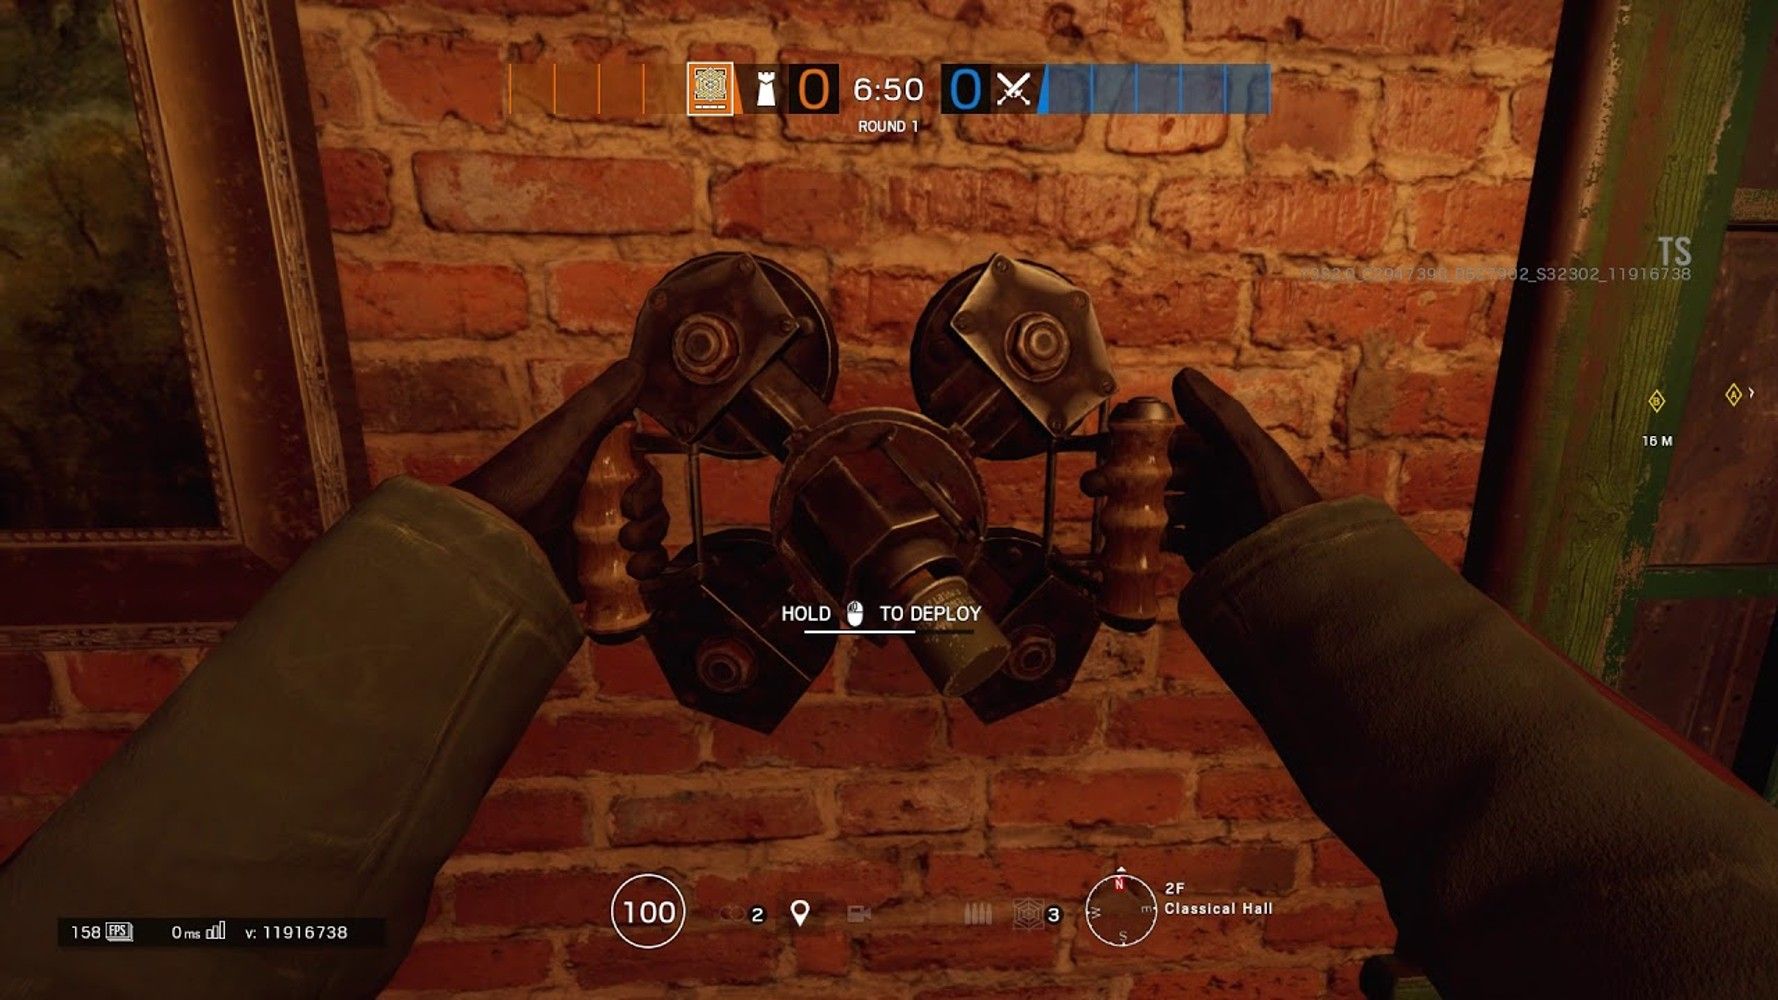
As an operator that heavily relies on her gadget to tip the balance of defense, it is too often the case where her ability is rendered useless early in the round. There are two main reasons for this; the first is that players place their mirrors too early in the preparation, and the second is that they place mirrors too far apart.
Placing your mirrors too early in the preparation phase gives your opponents time to plan how they’ll attack your position. You want to keep the location of your Mira windows as obscure as possible, to make getting around them as difficult as you can for the opposing team. Placing them late in the preparation phase when most opposing players’ drones are destroyed (or no longer droning) is a simple way to combat this. Alternatively, for a more permanent solution, try teaming up with a Mute, Mozzie, or Azami to control how drones get to your Mira windows.
Secondly, placing mirrors too far apart will cost vital time and perhaps even eat into the active phase of the game round (which is something you should try to avoid). It will also mean that two defending players will need to anchor (one for each window) to prevent weakness from opening in a defensive strategy. Otherwise, operators such as Twitch can easily counter your mirrors.
Optimizing Your Load Out
Primary Weapon
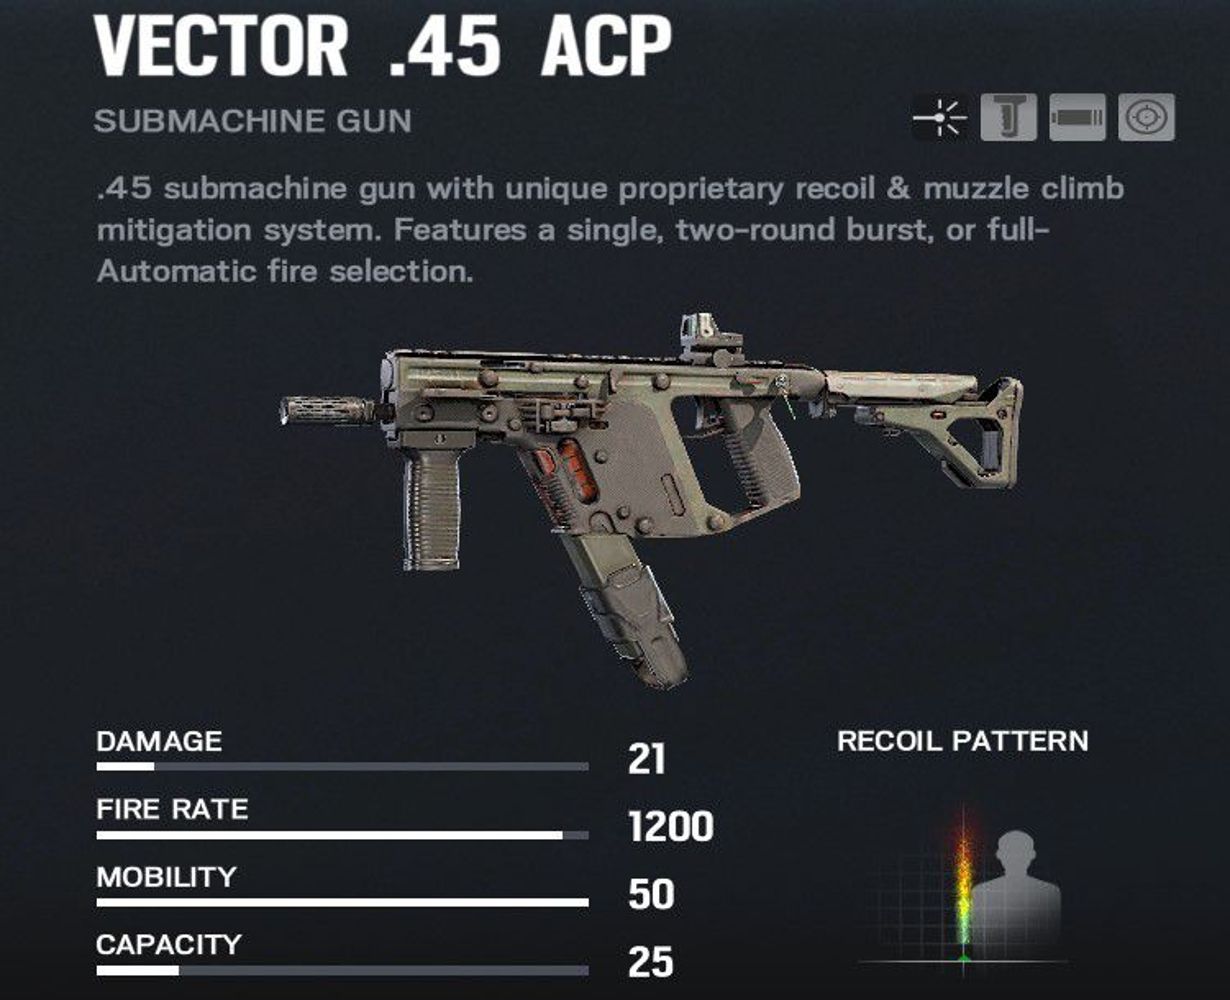
When it comes to using Mira’s load out, the Vector .45 ACP is a must. While the ITA12L shotgun is a great weapon for close quarters, it is very restrictive for the most common Mira play styles. While the Vector has significant recoil, if used in short bursts, it can be a headshot machine. Equipping attachments such as the compensator or muzzle break to the Vector can help you control those first few vital bullets in terms of recoil.
Secondary Weapon
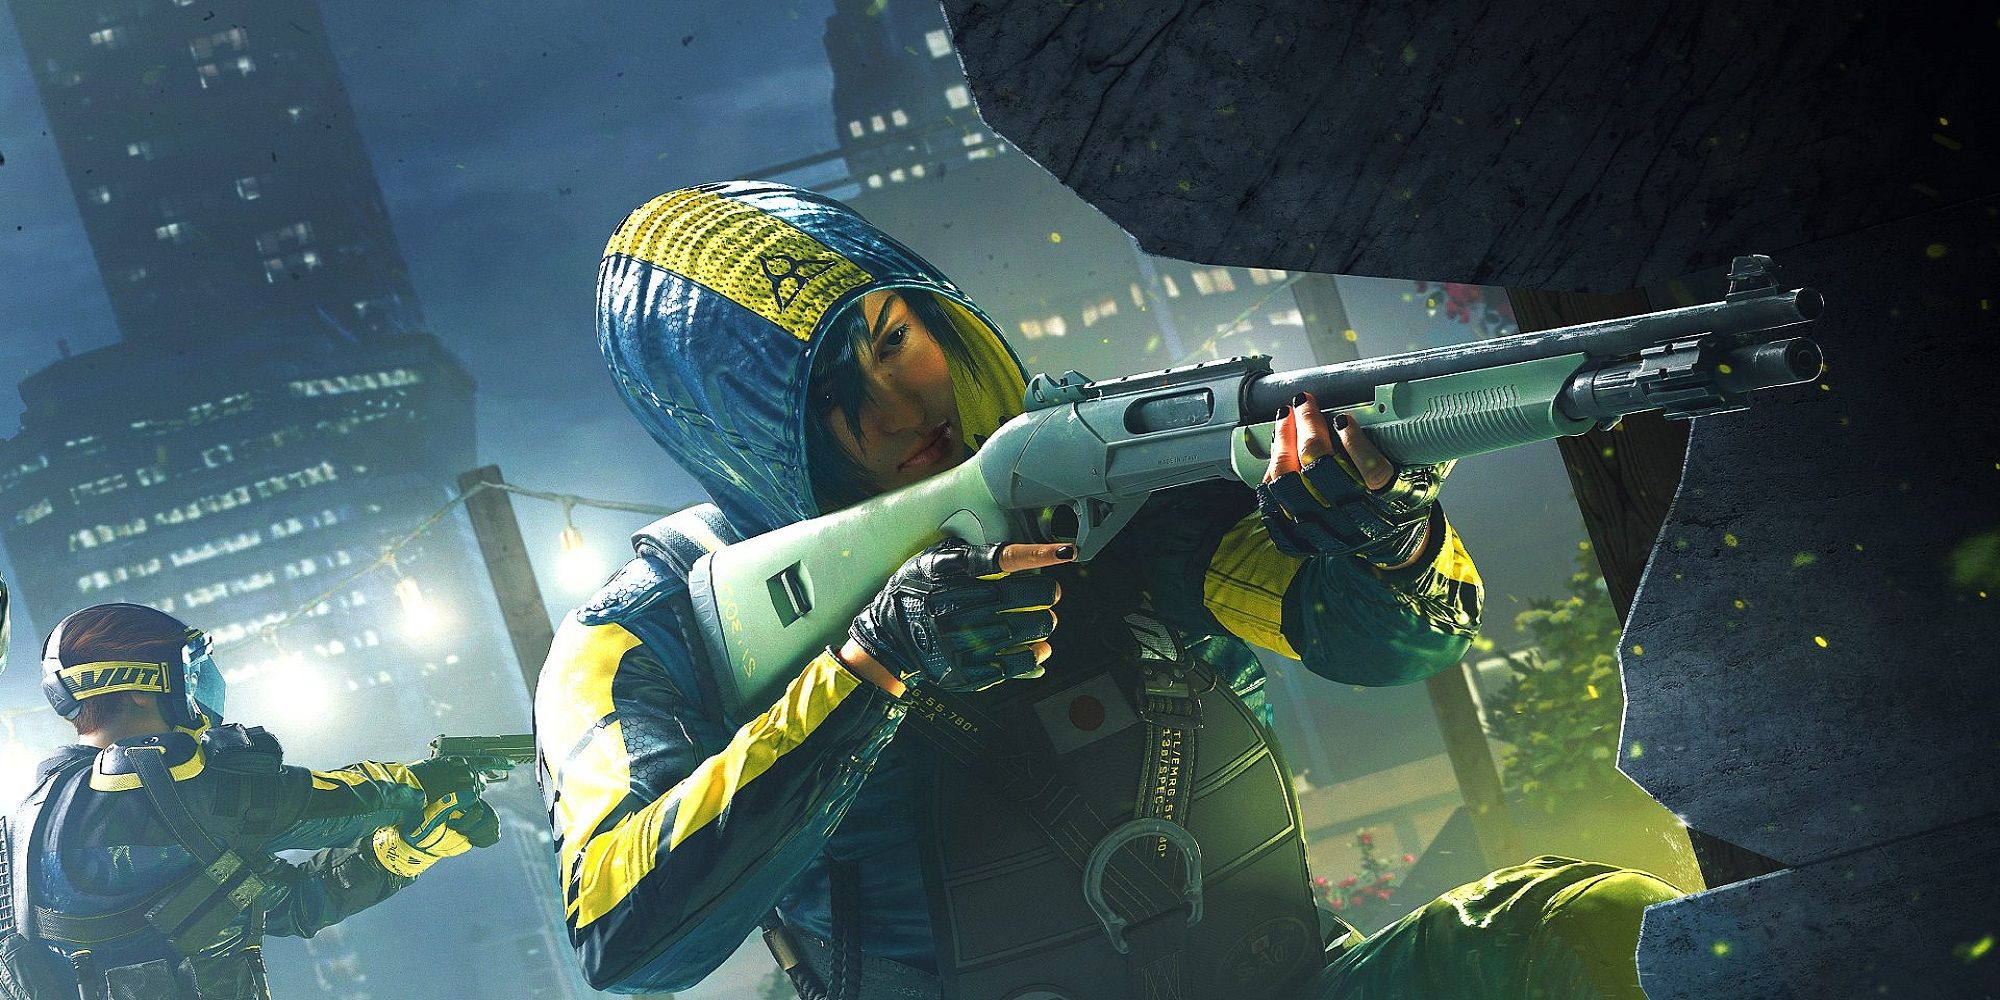
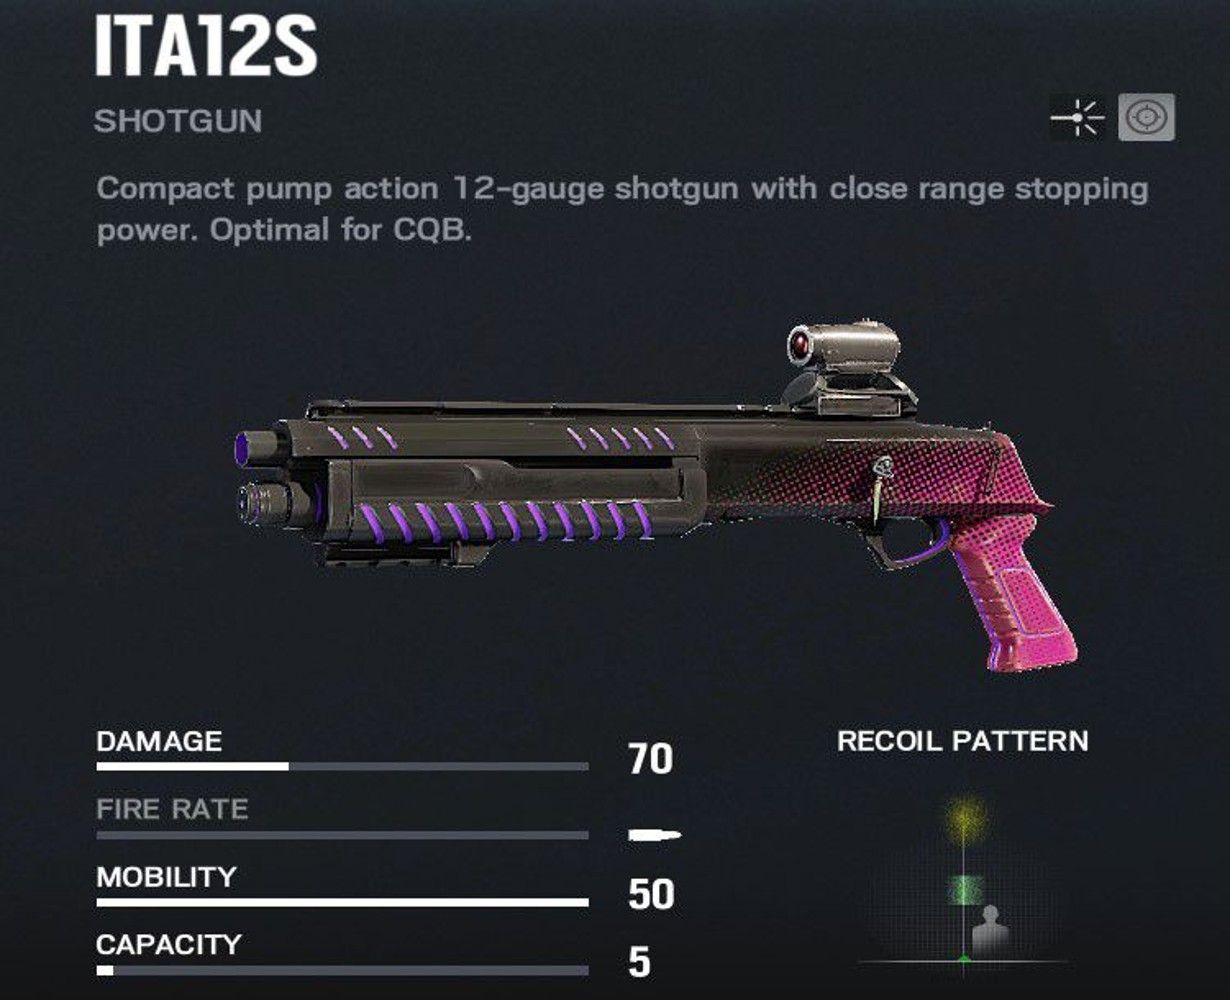
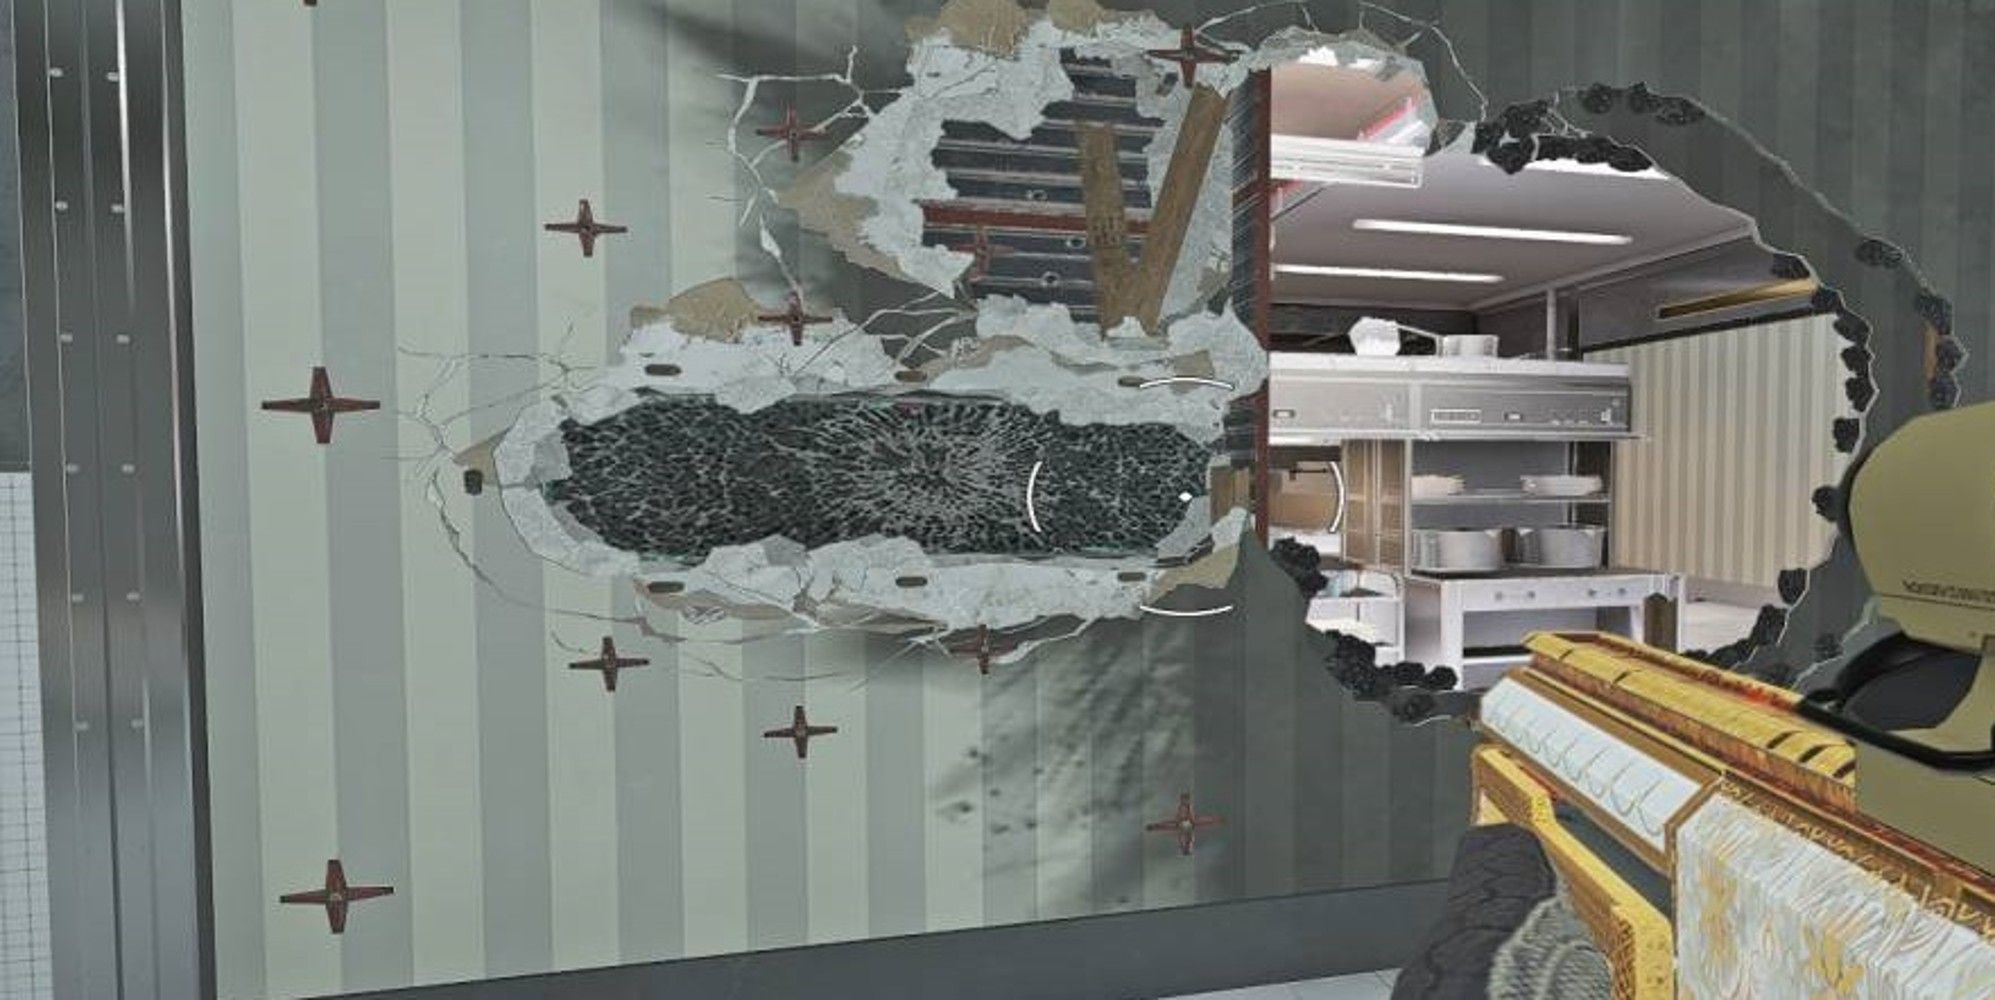
For a secondary weapon, always go for the ITA12S shotgun. Not only this will improve your site preparation capabilities, but it can also pack a mean close quarter punch if you need it to. The USP40 is an okay choice but doesn’t stand up to the benefits of the former. With the ITA12S, you can set up your windows for better placement and a greater field of view (by shooting holes where your mirrors will go), and they can also help with creating site rotations or creating wall holes for things like C4 throwing or peeking off-angles to catch your opponents out.
Selectable Gadget
As for the gadget slot, the C4 is a solid choice. This can help you prevent the planting of a de-fuser, and it can also help you defend from below by potentially getting frags from below with its explosive power. Another helpful tool is the proximity alarm, and there are set-ups where it can be beneficial, but these are often dependent on a very specific map or site choices (so the C4 is always a safe bet).
An optimal loadout for most maps is:
- Vector .45 ACP as a primary weapon
- ITA12S shotgun as a secondary weapon
- C4 for your gadget slot
Avoid Exterior Window Placement
Try to avoid exterior placement of your Mira windows. What we mean by this is to avoid placing your windows where they face out into attacker-controlled areas, such as external facing walls or walls that face onto interior locations easily controlled by attackers.
Doing so will allow your windows to be easily countered with a smoke grenade and a melee attack. After the most recent round of updates, melee attacks will now shatter the Mira window glass obstructing your view and making them (essentially) useless.
Instead of placing them in places where this is a viable option for attackers, try for placements that are difficult to reach. Common spots could be cross-site placements or back-of-site placements that keep your windows useful and relatively safe from counters.
Always Work With Device Denial
Mira is an outstanding pick for most maps and sites (which is why she has such a high ban rate). But when you do get an opportunity to play her, always opt to play her with a device denial operator. Without a device denial operator (such as Jager and his AMS, or Wamai and his Mag-Net), you will very quickly become the target of grenades.
Other attacking operators such as Capitao are also significant threats to most of Mira’s play styles which is why a device denial operator is vital to a strong Mira defense. Device denial operators can also assist with counters such as smoke grenades and stun/flash-bang grenades which are common counters to a Mira window also.
Main attacking counters to Mira:
- Capitao and his fire/smoke bolts
- Attacking Operators with Frag Grenades (Finka, Sledge, Glaz, Maverick, Nokk, Iana)
- Buck (for vertical floor/ceiling plays)
- Twitch (shock drone can deploy your window)
- Flores (explosive drone can push you out of your position)
- Fuze and his explosive cluster charges, particularly deployment above your window
Know When To Open A Window
Knowing when to open the Mira window is often the tell-tale sign of an experienced versus an inexperienced Mira player. Experienced players rarely open their Mira window unless they have no other choice or it provides a sound tactical advantage.
It can be very tempting to pop a Mira window to try and get a quick frag, but this is a common and crucial mistake that all new Mira players make. Using a wall hole (a hole blown out on a soft adjacent wall) is always a preferable option to popping a window open. Once a window is gone, it’s gone.
As a Mira player, you should be willing to commit everything to hold your window at all costs for as long as possible. Frag hunting is often where a Mira player will make mistakes, leave their window open to counters, or throw away the advantage they already have. Using your Mira window to suppress opponent pushes and waste time should be your primary goal.
When Should You Open A Mira Window?
The only real moment when you should open a Mira window is when it is no longer useful. If it has been smashed, then popping it can reset the scales and give you a potential advantage over opposing players.
Alternatively, if you can confirm you will get a valuable C4 frag by popping a window open, then you should. What I mean by a valuable frag is taking someone like Montagne or a hard-breacher (like Maverick, Hibana, Thermite) out of the round. This will greatly inhibit your opponent’s ability to gain more ground and attack the site.
In Summary
Mira is a seemingly simple operator to play but can have complex strategies that are certainly worth considering. She is a formidable operator that, if used correctly, can tip the balance of a round by her lonesome.

