Find the Missing Chef is an optional side mission found on Blizar Prime. Make your way back and forth between the two dimensions until you reach the Mining Hub (the area with the elevator at the back). Head to the northeast side of the Mining Hub and you'll see a bunch of aliens in space suits complaining about their lunch break. Head past them down the path to your right and you'll meet the Sous Chef who explains to Rivet that the Chef Tulio is missing. Continue on the path fighting the crabs along the way. Take the left path and jump over the lava, or take the path straight ahead then turn around and jump up the lava platforms to find a pocket dimension.
Pocket Dimension 87-84-20
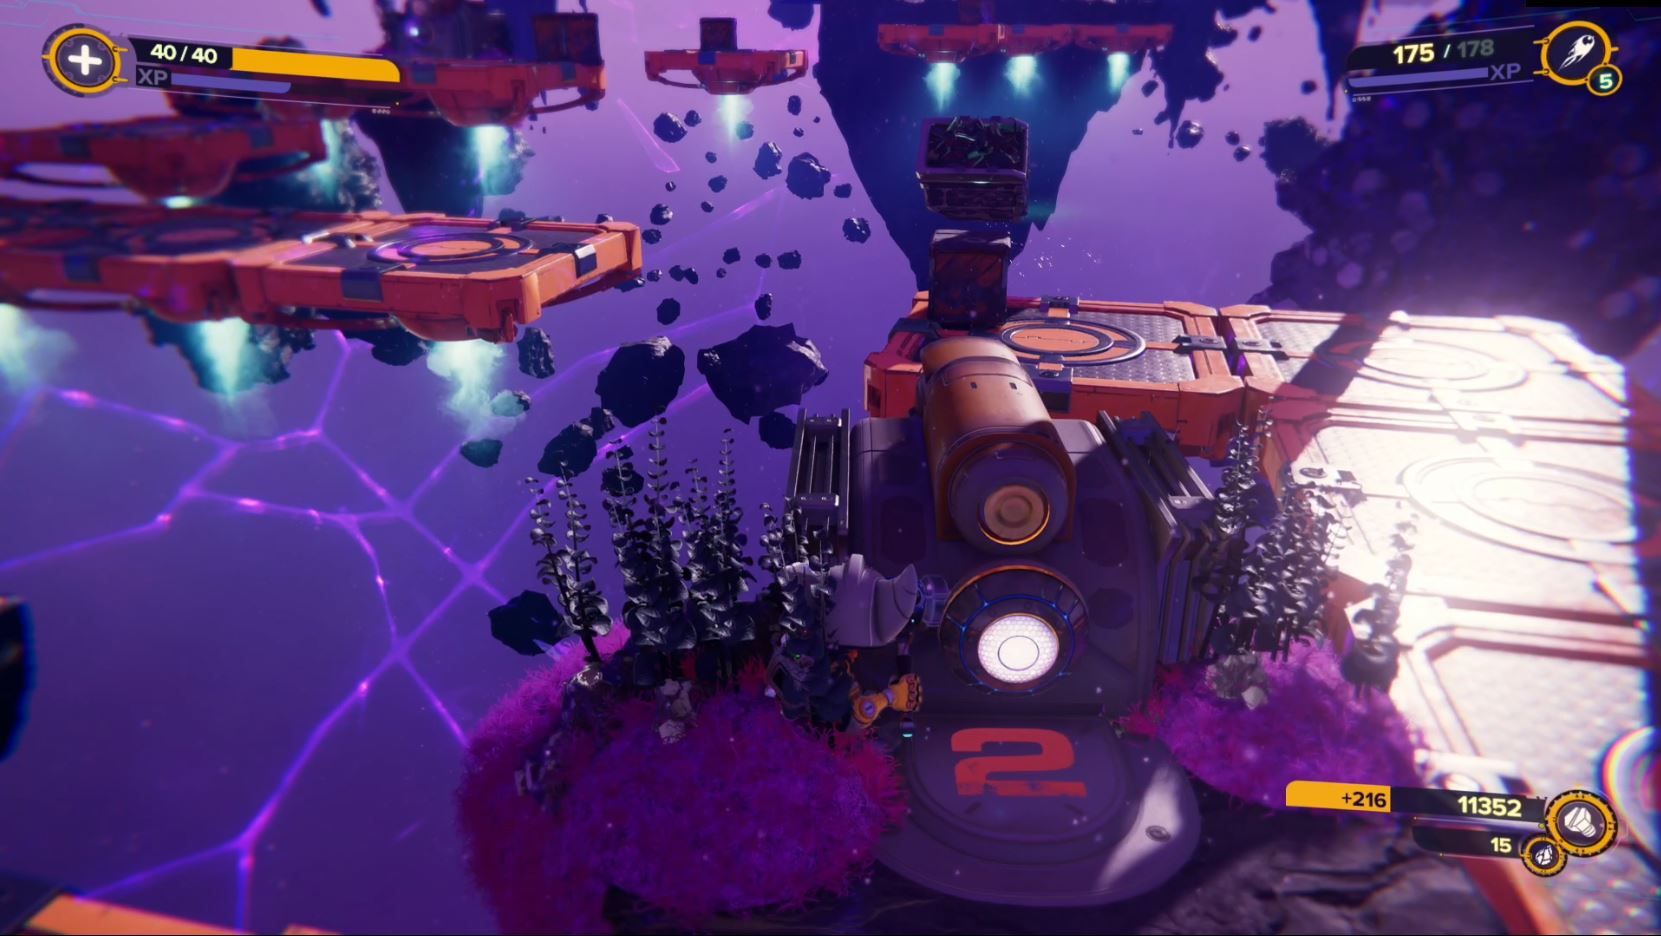
Smash the Raritanium on the right, then turn to face the floating boxes. They're actually standing on invisible platforms, so just jump from one group of boxes to the next. When you see machines with numbers under them, smack the front to briefly reveal the platforms ahead of you. There are three sections you'll need to clear here before reaching the end and claiming the first armor piece.
Turn back the way you came and head back into Blizar Prime. Jump up the steps ahead of you and jump down onto the metal platform. Cross the flaming platforms, hit the jump pad, and claim the Raritanium ahead of you. You'll have to fight a few goons before dropping down from this platform and heading into the cavern.
Inside, smack the Blizar Crystal to switch dimensions, make your way across the mag surface fighting the robots along the way. When you get to the Blizar Crystal on the other end, you can either boost across the gap if you already have the hoverboots, but if not, you can hit the crystal, cross over the high path next to you, then hit the crystal to go back. Either way, grab the second golden bolt before you move on.
Back in the living dimension, leave the cave by jumping on the jump pads and wall jumping to the top. Don't miss the Raritanium right at the top. Walk forward to start the encounter.
Defend VAC-U-SUK
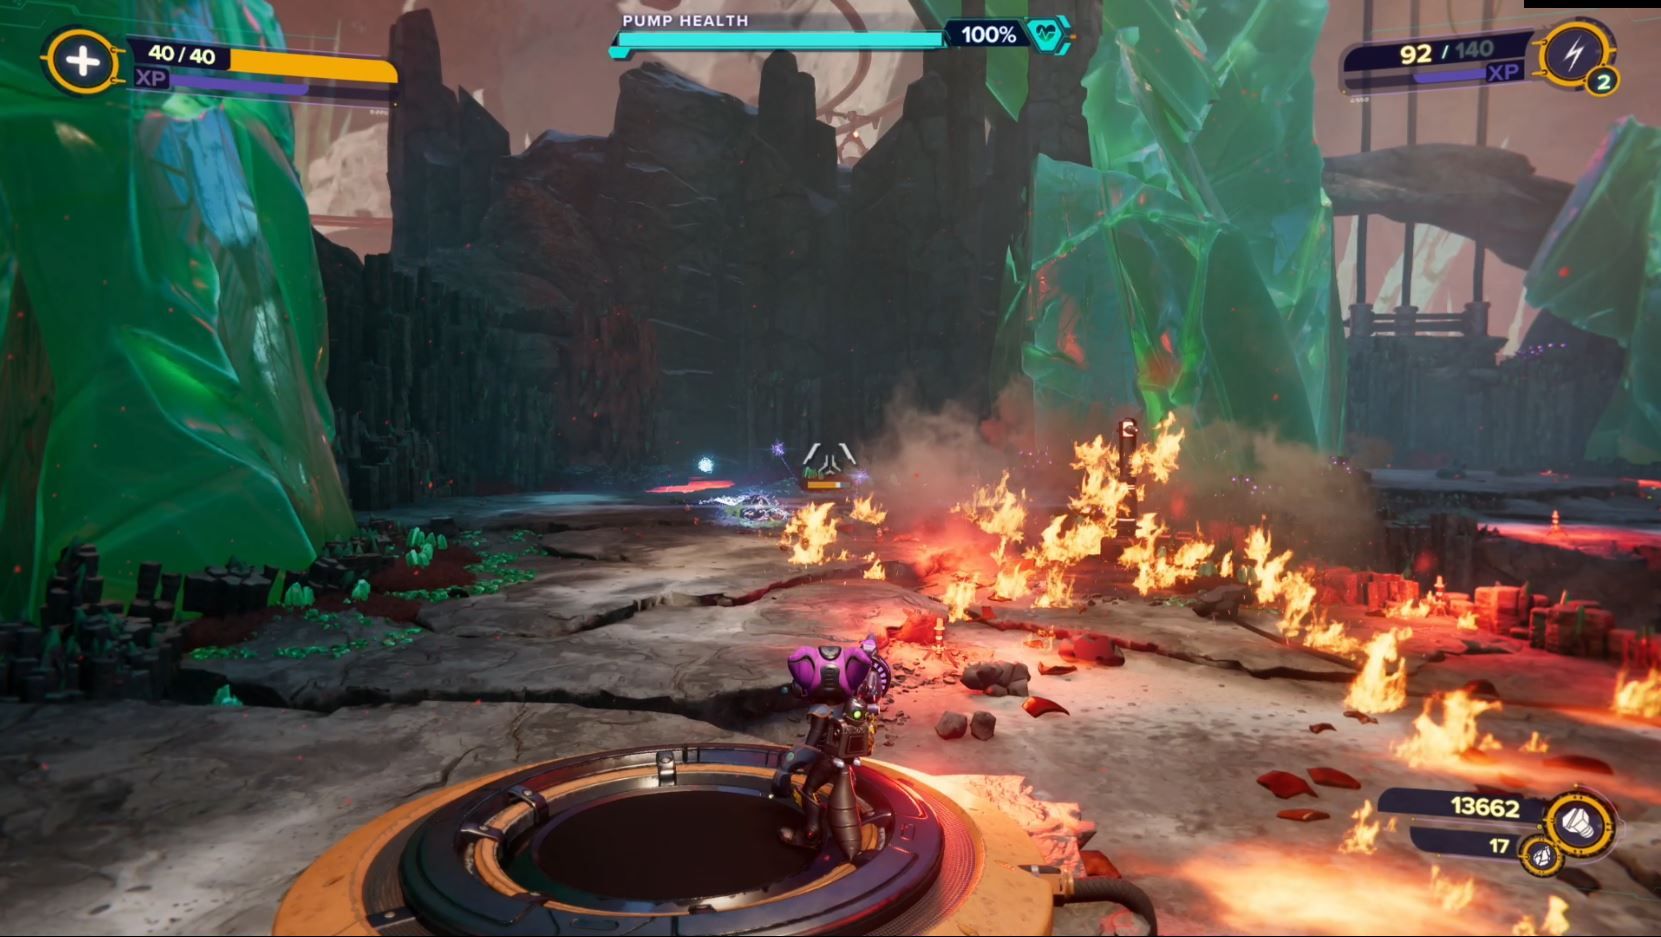
All you need to do is defend both the left and right path so that enemies don't reach the VAC-U-SAK. Activate the switch with your hammer, then jump into the arena. If you start to get overwhelmed, step on one of the green buttons to make fire erupt from the ground.
Depending on what patch you're on, you may run into an issue with the enemy spawn. Walk to the end of the path and look closely at the lava to see if there are any enemies that are struggling to jump out. If you've killed everything, you should be able to finish this challenge. If there are no enemies and it still isn't ending, just pause and select Restart From Last Checkpoint to start over. It took me three tries to finish this activity without a glitch.
With the VAC-U-SAK defended, the Chef will reward you with the spybot. Walk forward onto the elevator to return back to the mining hub.


