Quick Links
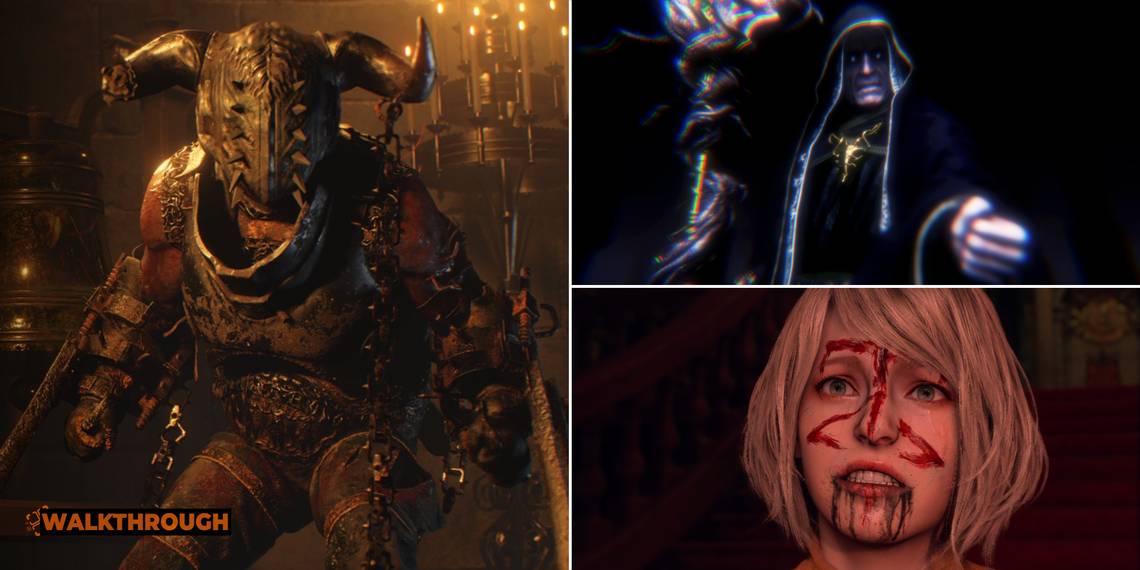
Now that Ashley's had a chance to be a hero in Resident Evil 4 Remake, gameplay shifts back to Leon as you make your way toward Castle Salazar's throne room. You'll be facing some elite monsters in this chapter, so you'll need to bring your A-game when combat starts! From two Garrador berserkers to Salazar's nearly-unstoppable "Right Hand," Verdugo, Chapter Ten will test your combat abilities to the limit. You can even return to the Library as Leon to find treasures that Ashley couldn't collect!
On the plus side, you can approach many of the fights your own way, avoiding unnecessary side quests or simply choosing to flee from the chapter's boss encounter. Whichever choice you make, this guide will give you all the tips and strategies that you need to make it through the trials ahead.
Updated on May 5, 2023: We've added some clarifications and extra details to this guide to make finding treasures and winning battles much easier. Be sure to look for new tips at the very beginning of the chapter and in the fight with the two Garradors just before the Throne Room! We've also added a video walkthrough just below.
Searching The Library (Optional)

As soon as you leave the cage, check in front of the door that the Chimera Statue opened. Any Treasures that Ashley picked up in the Library will be strewn across the floor. The Bunch of Keys is gone, though, so any decorated chests that Ashley missed will remain locked forever!
The Merchant has new items in stock, including a Chalice Of Atonement that you can trade Spinels for and immediately flip for extra pesetas. When you've completed any necessary repairs and transactions, go through the Chimera door.
There's some ammo on the desk to the left, and a Merchant Request on the right. The Merchant wants you to defeat an exceptionally powerful Armadura in the mausoleum below.
Take the door next to the Merchant Request to enter the Library, where you recently played as Ashley. After the buffalo head, watch the floor for the final rat of the More Pest Control quest. If you missed the first two, they're the entryway to the Dining Room and the exit hall from the Armory.
Don't go straight after the Merciless Knight just yet - instead, take a detour to the Library and make your way to the hidden staircase that Ashley climbed earlier. Place the Cubic Device in the slot at the top of the stairs and rotate it so that the slots match the socket. You'll be rewarded with the CQBR Assault Rifle! If you have extra cash on hand, you can even bring it straight to the Merchant for some upgrades.
Next, head up to the Study where Ashley placed the Salazar Family Insignia. Use the Cubic Device to open the box here and retrieve the Golden Lynx, then go out onto the balcony with the dead Ganado from the cutscene. At the other side of the balcony is a ladder that you can kick down, letting you come and go as you please.
The Merciless Knight (Optional)

When you're ready for a fight, take the lift from the Library down to the Mausoleum. The Merciless Knight is flanked by two regular Armaduras; use a scoped rifle to shoot their fleshy bits as soon as they animate, letting you kick off their helmets and kill them with a Flash Grenade. That way, the fight with the Merciless Knight will be one-on-one.
Keep your distance and let the Merciless Knight attack, parrying or running to the side at the last second to avoid his sword strikes. When the Merciless Knight's back is to you, hit the exposed Plaga with the most powerful weapon you have - it takes a lot of damage!
If you're low on supplies, there are two vases in the far corners of the room behind the knights' starting positions.
When the boss loses his helmet, destroy the Plaga as you would any other to finish him off for good. The three knights each drop gems, so make sure you collect all of them before continuing!
How To Get To The Throne Room

Once you've finished up all the side objectives in the Grand Hall area, go through the double doors in the room beyond the Chimera Statue. As you proceed down the corridor, two giant bugs will attack you from the right. They don't take too much damage to destroy - a shotgun blast to each should do it - but they can remove a lot of your Health if you let them.
The main door forward is locked, so hop over the railing to the left. Two more bugs will appear from below; kill them and climb the stairs. Loot the large room you find, being certain to get the First Aid Spray from the glass cabinet to the left of the entrance. Read the note on the table at the far end, then leave through the door to the right.
Follow the path until you come to a set of stairs on your left; at the bottom you'll be attacked from all sides by a swarm of bugs. Loop around to the enclosed space under the stairs to control their numbers advantage and use the TMP or shotgun to clear them out quickly. The landing midway down the stairs is also a great place to take the monsters a few at a time.
The enemies here aren't technically endless, but it certainly feels that way! If you can carefully manage your healing, this is one of the best places in the game to grind for ammo and pesetas.
Under the stairs that you came by, you'll find a ladder; climb it and throw the switch at the top to open the first gate to the next area. Before moving on, check under the switch platform upon climbing back down to find a chest with an Ornate Beetle.
Make your way across the plaza to the stairs leading up to the other side. The second switch is there. Once both switches are thrown, escape through the open gate to reach your next challenge. If you have time, check under the fallen chandelier for a cask containing a Ruby.
In the next area, shoot the counterweight to the left of the drawbridge to lower it partway. Next, stand in the raised area to the left of the statue to get a firing angle that will let you destroy the second counterweight.
Inside is a dangerous fight with two Garradors and lots of Ganados. The Garradors will attack anything that gets within arm's reach, so try to get them to charge into groups of Ganados to thin them out. When all the Ganados are dealt with, you can carefully evade the Garradors and take shots at their backs whenever you have a chance.
Grenades are fantastic here, as they can damage several enemies at once and draw the attention of the Garradors.
You can also shoot the bell to the right of the stairs to draw the Garradors, but they will destroy it so you can only do this once. Try it when lots of Ganados are gathered around the bell!
Each Garrador drops a Unicorn Horn. You need both to open the door to the Throne Room, so both monsters must be defeated. Once all the enemies in the room are dead, loot everything and continue onward.
How To Escape The Caves

When gameplay resumes after the cutscene, take the only path forward, making sure to collect the Green Herb on the left as you do so. You'll find a tunnel that you have to crouch under; on the other side, there's a bug lurking in the water. Watch for the glow of its eyes before it surfaces to take it out before it can ambush you.
Climb the stairs at the far side of the cavern until you can't go any further, then jump down to the right.
There are several bugs along the narrow passage that follows; have your shotgun ready to deal with them as they emerge. The first set of stairs is blocked by a locked door, so continue to the right until you find the dungeon.
Look for a crack in the wall with light coming from behind; Leon can smash through the crumbling mortar, making enough room to squeeze through. Check the corner to the right of the crack to find an Elegant Crown before continuing.
When you enter the lit room, take the Yellow Herb in the right-hand corner and climb the ladder to the tunnels above.
Proceed down the tunnel, looting as you go. In the first alcove to the left there is a cask containing a Red Beryl hanging from the ceiling - don't miss it! Visit the Merchant when you see his purple torch and save at the typewriter in his room.
Continue following the corridors through the Liquid Nitrogen Storage room. Read the note from Isidro on the table after opening the grated door, then walk around the table and enter the next corridor. Turn right at the fork and enter the first side door that you see, pulling the lever inside to open the way forward.
How To Defeat Verdugo And Get The Golden Monocle

Continue down the main passageway - you'll see a side passage, but the door at the end is locked so ignore it for now. When a tentacle bursts from the ground, be ready for a timed input to dodge it. When you enter a square-shaped room, dodge a second tentacle just past the entrance and proceed to the far-right corner. The best route is to take the longer clockwise path, as there's a Green Herb in the left corner. Pull the switch to turn the power on, then start retracing your steps. As you approach the room's exit, you'll be attacked by Verdugo, Salazar's monstrous "Right Hand".
Fall back to the switch with the green light on the rear wall and press it as Verdugo approaches. A blast of liquid nitrogen will temporarily freeze him, allowing you to damage him with a melee attack. While he's down, hit him with everything you have until he unfreezes and escapes into the ceiling.
Turn the wheel at the exit door to open it and keep moving. Verdugo will remain in the ceiling, so dodge his tentacle attacks as you make your way to the elevator. Two new passages will have opened up; one in the side room with the first switch, which contains a First Aid Spray and a Yellow Diamond, and a large room to the right where you can unlatch the door at the end of the hallway from before.
Gather the items, then lure Verdugo to the liquid nitrogen shower in the side hall. Hit him again, then do the same for the shower in on the way back to the lab.
By this point the elevator still isn't likely to have arrived, so make your way even further back to find another liquid nitrogen shower.
Once you've hit Verdugo with all four blasts of liquid nitrogen and dealt as much damage as you can while he's frozen, a few more heavy hits from weapons like grenades, rifles, or a magnum should finish him off. Alternately, you can simply escape on the elevator once it arrives.
Killing Verdugo earns a Gold Monocle, which can be sold for a large amount of cash and unlocks the Wave Goodbye, Right Hand Achievement / Trophy.
Once you take the elevator, a cutscene will trigger and the chapter will end.