If you followed Part 11 of our Resident Evil Village walkthrough, you should be on your way to the Ceremony Site after collecting some secret treasures. Once you’re there, interact with the plinth and place the Giant’s Chalice.
Once you’ve done that, a cutscene will play and you’ll ride the platform down, emerging on the other side at Heisenberg’s Factory. There’s a typewriter here if you want to save your progress.
Cross the bridge and head through the gate to the grounds, then cross the grounds and enter through the door that opens up. Head through the door inside, grab the Gunpowder off the shelf, then take the next door and go down the stairs. Take a left at the bottom of the stairs and follow the corridor around, emerging in a room with some Chem Fluid on a desk. Head to the right side of the room and interact with the cloth draped over the desk at the edge of the room, triggering a cutscene.
Other RE8 Village Guides
- Part 1 - The First Fight And Getting The Bolt Cutters
- Part 2 - Maiden of War, Graveyard, The Field, And The M1897 Shotgun
- Part 3 - Heisenberg’s Trap And Meeting The Duke
- Part 4 - Castle Dimitrescu, Maroon Eye Ring, And Sanguis Virginis
- Part 5 - Castle Dimitrescu Mask Locations And Hall Of Ablution Statue Puzzle
- Part 6 - Castle Dimitrescu Treasure Map And The Five Bells
- Part 7 - Find The House With The Red Chimney
- Part 8 - House Beneviento, Music Box, And Wooden Mannequin
- Part 9 - GM 79, The Boat, And Powering Up The Sluice Gate
- Part 10 - The M1851 Wolfsbane Magnum And Claudia Beneviento’s Grave
- Part 11 - W870 TAC Foregrip, Optional Torch Puzzle, And Hairy Miniboss
- Part 12 - Heisenberg’s Factory
Biggest Fan
Once the cutscene finished, you’re on the run from a mechanical horror with a propeller blade welded onto its front. Follow these steps:
- Run straight towards the red light and take the first right.
- Run up the stairs to your left, then hop off and turn right.
- Run straight ahead and crouch under the crossbeam, then run ahead and take a left until you come to a dead-end.
- There’s a chute on your right here - interact with it to jump inside.
Walk forward through the scrapheap and climb up the corrugated metal sheet on your right, grabbing all the crafting materials you see along the way. At the top, climb up on your left. Go straight to the end, grab the crafting materials, and then drop down on your right for some more materials. Once you’ve collected them, climb back up and take the ladder on your right. Follow the walkway along to your right and deal with the zombies that appear. Once they’re dead, keep following it around to the destructible box and smash it open for some Explosive Ammo. Enter the vent next to the box. Crawl through and climb the ladder on the other side.
RE8 Escape The Factory
When you reach the top of the ladder, take a right and you’ll see a door with three lights above it. On the left of that, you can speak to The Duke and upgrade your guns. He also has a few new ones for sale. Once you’re done, head through the door with the three lights above it. Walk down the stairs and through the corridor lit up by red lights. You’ll emerge in a room containing a door with a circular light. Shoot the light to unlock the door. Kill the zombies on the other side and then head up the stairs. Enter the door at the top, turn left along the walkway, turn right, and walk all the way to the other side. Keep following it around and take the stairs down. Take a right at the light and take a right again, following the corridor as it loops around.
Zombies will burst through the door ahead of you so take them out. There’s a box to the left and to the right of the door to bust open for some Lei - grab those and then head through. You’ll emerge in the Foundry, a room with a casting machine. Ignore that for now and grab the crafting materials. Take the stairs in the far left corner of the room. Kill the zombies at the top of the stairs. There’s a locked container here with a valuable inside if you have a lockpick for it. There’s a locked door on the East and an unlocked door to the South - take the South door, obviously. Head through the room and don’t mind old Drill Arm sitting on the chair for the moment. Walk past him and open the container in the small room behind him to get the Relief Mold. Now mind old Drill Arm. Mind him very much. He’ll spring up from the chair and attack you. In true video game fashion, you need to aim for the glowing weak spot on his chest. Use a shotgun at close range for big damage, but make sure you run when he goes to attack.
Once you’ve dealt with Drill Lad, head back to the Foundry and interact with the casting machine by using the Relief Mold. This gives you the Relief of a Horse, which you can use on the depression on the wall to the right of the casting machine. Head up the stairs behind the wall once it opens up and follow the corridor around, killing the zombies that attack. There’s a locked door at the end here and a desk with a locked drawer opposite it - open up the latter with a lockpick for some Magnum Ammo and then climb down the nearby ladder. Drop down again and turn around to find a breakable box with some Handgun Ammo.
RE8 Factory Pistons
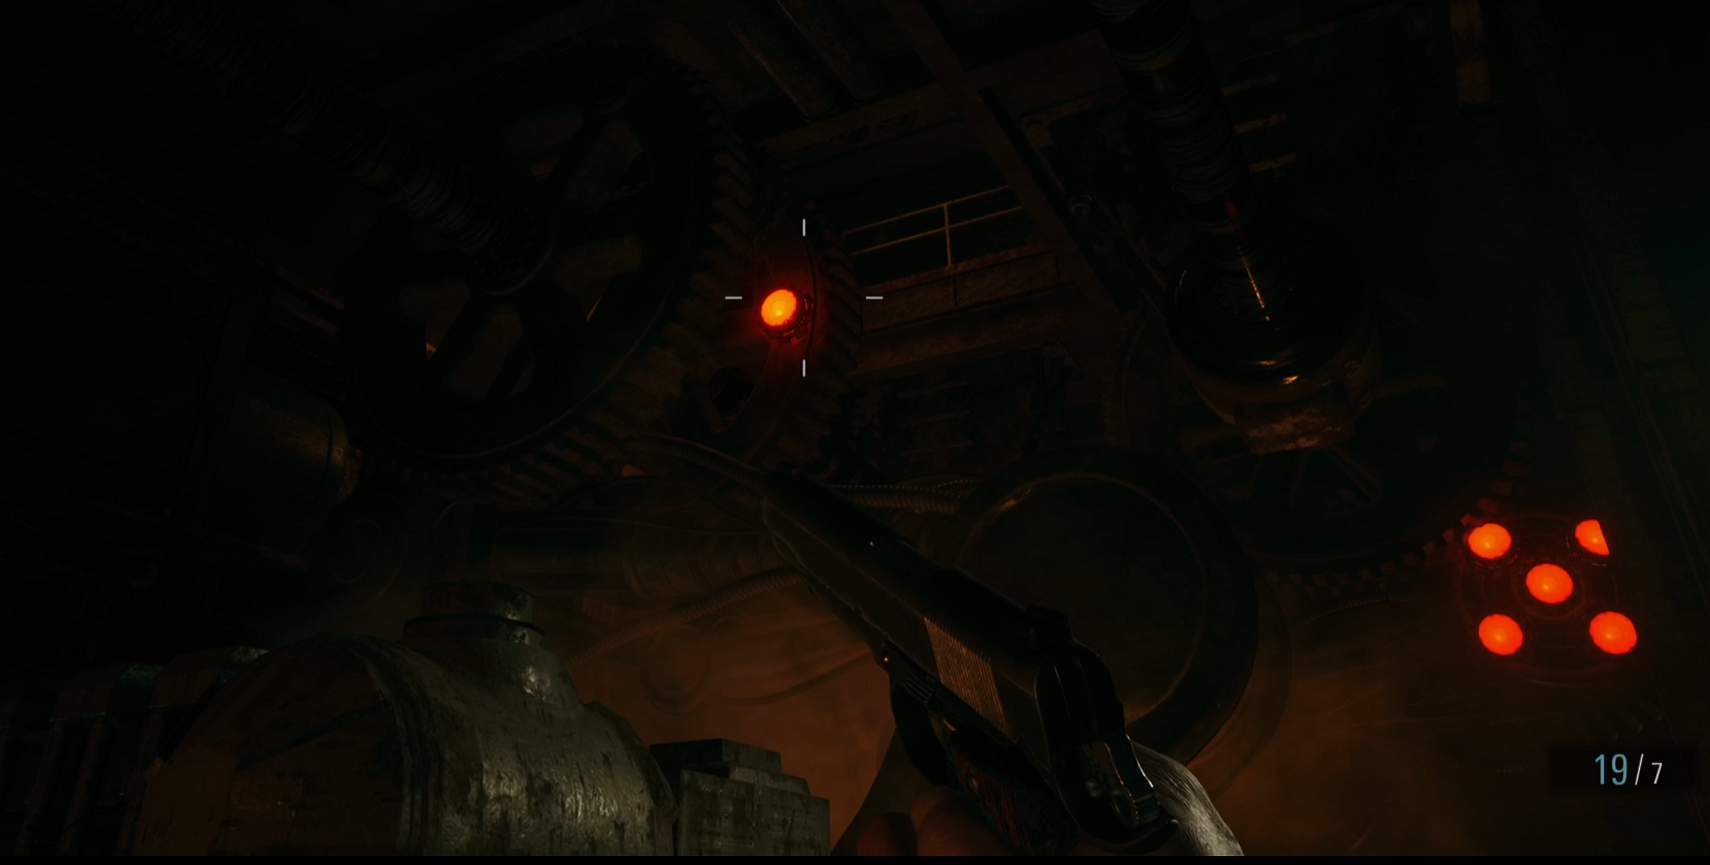
Now you want to head along the walkway with the terrifying pistons. You need to shoot the glowing circle on each of them to stop them from moving, allowing safe passage across. After the first two, you’ll be attacked by some zombies - you know what to do. Once they’re dead, get the breakable box nearby for some Shotgun Ammo. From here, you have a good angle on the glowing circle of the next piston if you look up and to your left. Shoot that. You can also shoot the next piston along - the one that looks like the five-side of a dice. Shoot each of the five lights on that piston and then continue along the walkway. When you get to underneath where the five-side piston was pumping, look up and to your left to shoot the glowing circle that’s half obstructed, allowing you to pass the final piston. Climb the ladder on the other side.
Pull the grate off the crawlspace ahead and crouch through. Take a left on the other side. Follow it around to your right, and unlock the door on your left, but don’t go through right now. Instead, throw a pipe bomb or fire a grenade at the wall with the yellow X chalk mark on it ahead. You’ll find some Shotgun Ammo and the Mechanical Part (Cylinder) inside. Head into the room next to the wall you blew up and you’ll find a backup generator that’s missing a Cog. Take the stairs in the corner of the room down and then take the stairs in the next room up. You’ll come to a door with circular lights on it - shoot them to open it up. You’ll find a Cog Mold in here. Grab it and head back to the Foundry.
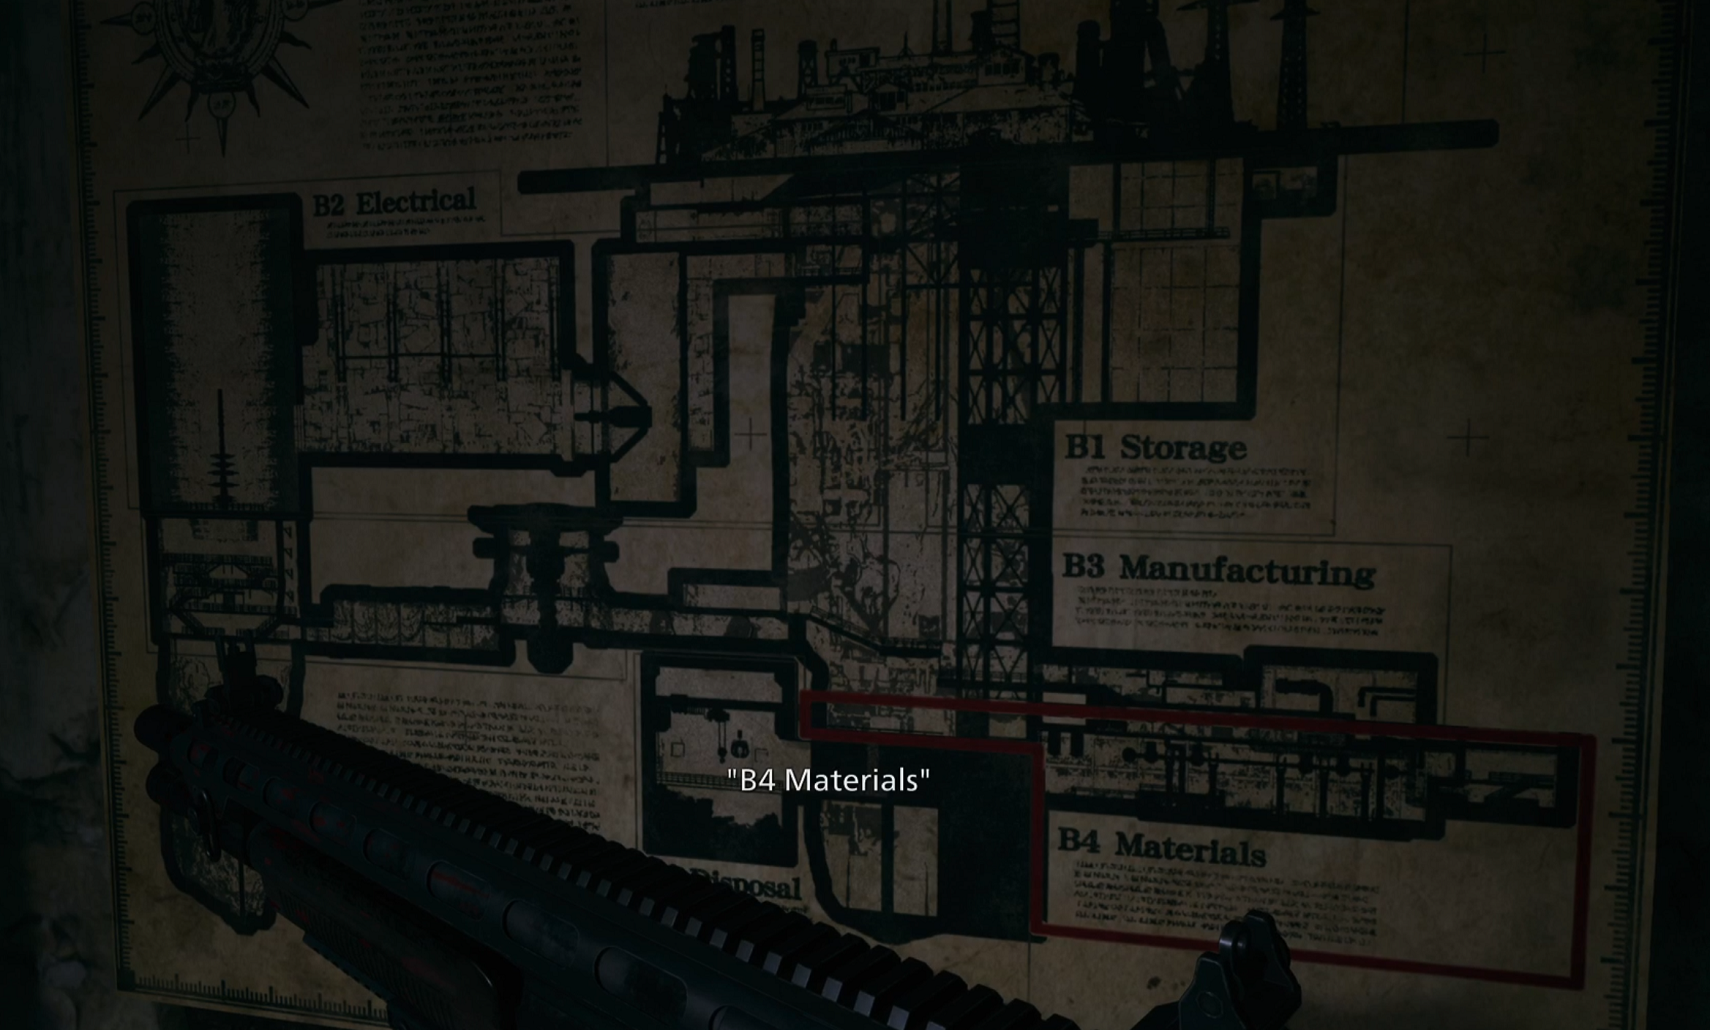
Make sure you grab the Factory Map (Lower Levels) from this room before you leave. Instead of leaving the way you came, unlock the door on the other side of the Cog Mold room and you’ll have a straight shot to the Foundry. Be careful because you’ll be attacked by another Soldat along the way. Shoot its weak point and avoid getting too close when it lunges. Once you reach the Foundry, use the Cog Mold on the casting machine, giving you the Large Cog. Now you need to make your way back to the backup generator that was missing a cog. Exit the Foundry through the door you entered, take a left and enter the door on your right and you’re there. Use the Large Cog on the generator.
Go down the stairs in the same room and fight the Soldat that drops down. Go to the Northwest corner of the room and kill the Soldat in the next room. Exit that room to the left and turn right in the next room, following the wall around. Take the stairs up and kill the Soldat up top. When he’s dead, shoot the glowing circles on the locked door and head through when it opens up. Fight the zombies off inside.
Head to the Southwest corner of the room and head up the stairs. Watch out for the cargo crate that drops at the top, producing a Soldat. Kill it like you killed the others. Open the cabinet behind where the container fell for some Shotgun Ammo, and then open the door that’s locked by five glowing circular lights. Press the button on the other side of the door to lower a platform across. Enter the door on the other side and head through the corridor and up the stairs, grabbing items and breaking boxes along the way. Another Soldat will attack at the top - make use of the electrical trap to do some big damage and finish him off. Once he’s down, shoot the five lights on the door up top and head through.
As soon as you enter the room, Propeller Head (Sturm) will burst through the wall in front of you. Immediately run to your left and crouch under the crossed pipes in front of you. Run up the stairs and interact with the door at the top to escape. Grab the crafting materials from inside and then head through the next door. You’ll find yourself on the next floor of the factory. If you interact with the elevator here, you can call The Duke up and use his shop. Once you’re done, head up the ladder. Follow the walkway along until it crumbles away and then climb down the next ladder. Smash open the box at the bottom for some Lei and then head through the pipe.
Follow the mining tunnel and you’ll come to a zombie on your right. Kill it and kill the other one behind it. There’s some materials to grab here. Now go back to the junction and head the other way. Shoot the hanging birdcage on your left for more Lei and then kill the zombies in the room behind it with the massive drill centerpiece. Once you’ve cleared the room, enter the crawlspace on the other side. Drop down on the other side and use an explosive on the wall marked by a yellow X at the bottom to get some valuables. Once you’ve got them, head through the door to the South and you’ll be in a room with a large spinning blade on the ceiling. Make your way up and you’ll be attacked by two heavily armoured Soldats - Soldat Panzers. It’s a tough battle, but you can use explosives to blow parts of their armour off. As always, aim for the glowing circles on their chests to damage them.
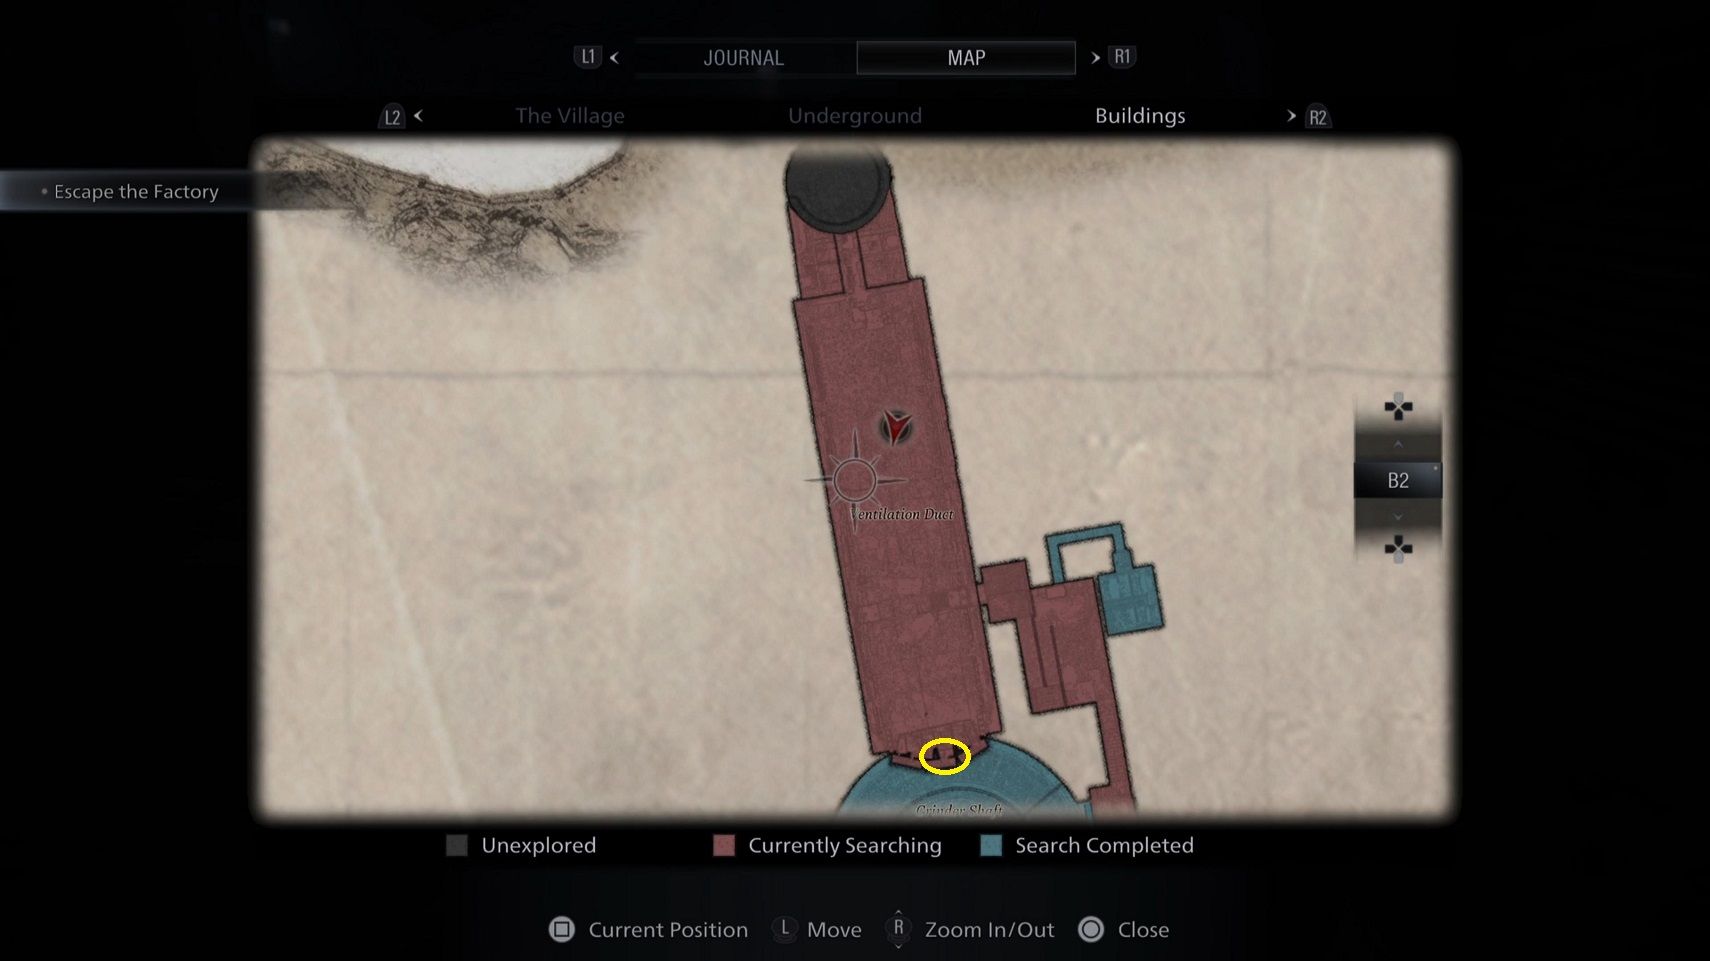
The blade above has three glowing weak points you need to shoot to stop the blade from spinning. Get the right angle on each and shoot them all in turn, then head up and climb the ladder at the top. Walk along the blades until you can mantle up. Break the nearby box for some ammo and then head through the door and up the stairs. On your left at the top, grab the Factory Map (Upper Levels). Push the cart aside at the foot of the next set of stairs and head through the crawlspace to get the Ball Mold, some ammo, and some materials. Now head up the stairs. At the top, a cutscene will trigger and a fan will pull you in. You need to shoot the weak point in the center of the fan before it turns you into paste. There’s a glowing gem you can shoot off on the walkway where you fell down from. Head to the South side of the Ventilation Duct to get a Goat of Warding, then head back to the North and through the fan you shot.
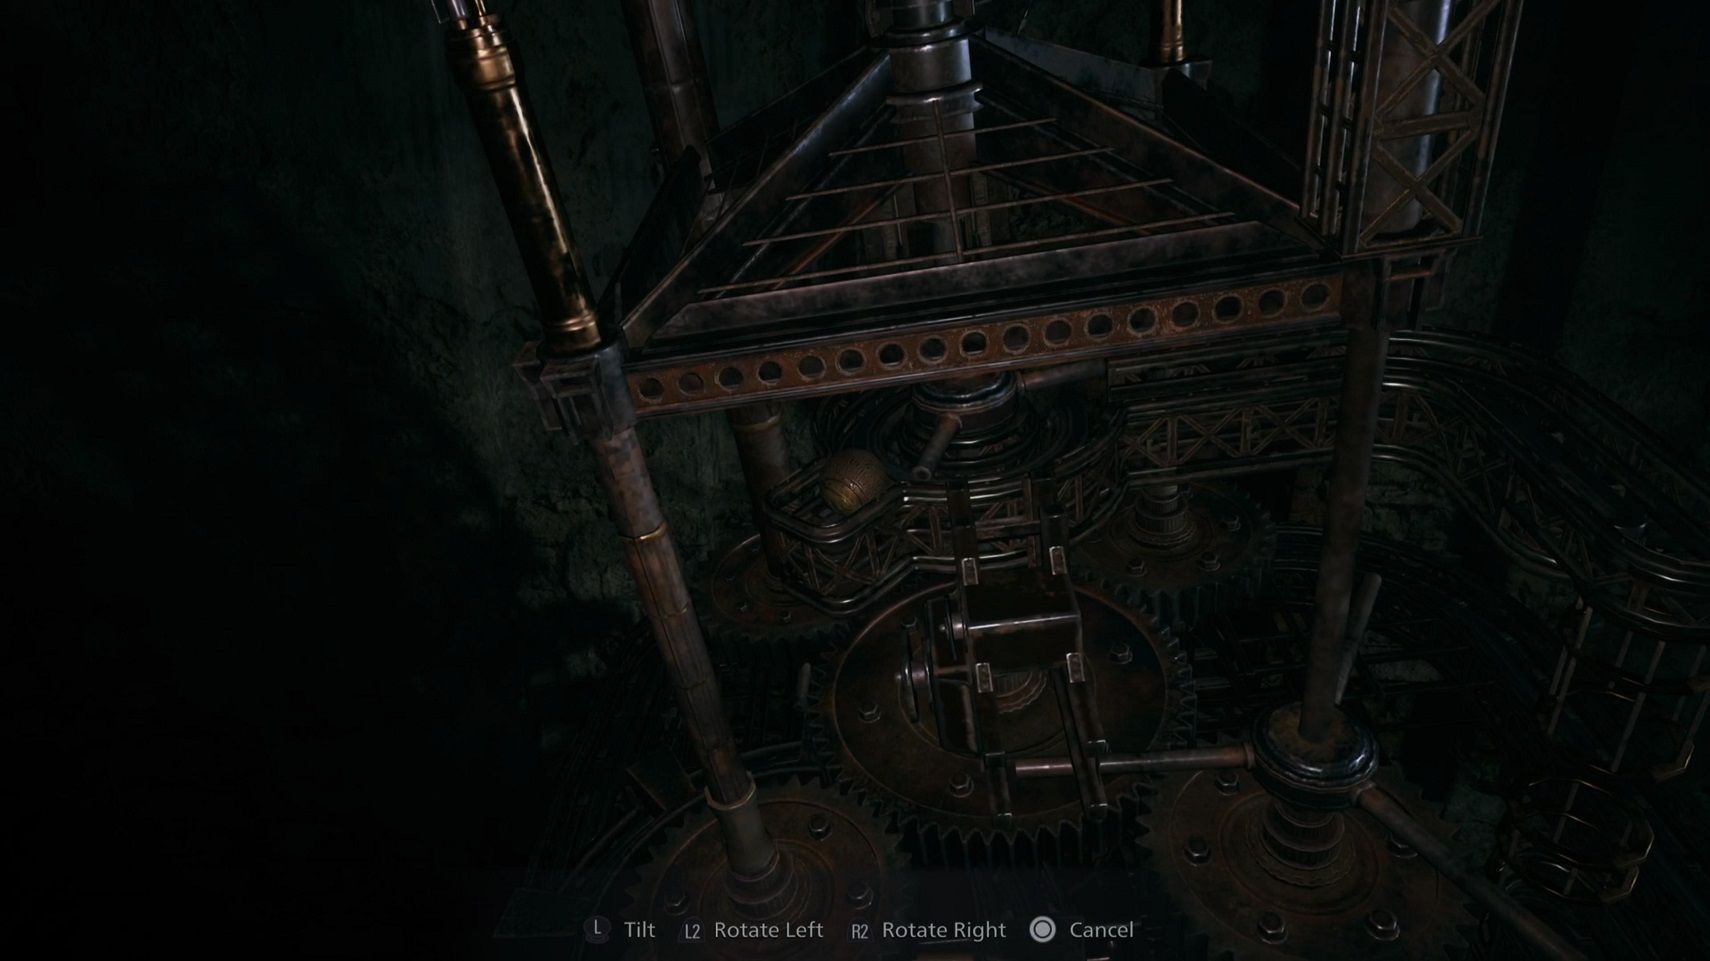
Follow the pipes along and make your way down through the smoke until you come to a ladder. Climb up and open up the hatch to climb through. Take the elevator on the other side. Follow the corridor along, head through the door, and grab the supplies and Key Mold from the other side. There’s another birdcage to shoot in here as well if you want an extra Herb. When you’ve collected everything, exit the room and climb the ladder on the walkway outside. You can call the elevator at the top here to get access to The Duke again. Ride the elevator down to B4 and head back to the Foundry to use your Ball Mold and Key Mold. You’ll be attacked by some Soldats along the way so be careful. Once you reach it, you’ll be rewarded with Heisenberg’s Key and the Iron Horse Ball once you’ve used both molds. Now head back to The Duke.
You will come up against a heavily armoured Soldat along the way and you can only hurt him once you’ve busted his armour open with explosives. Do that and keep heading back to The Duke’s elevator. There’s a ball puzzle for the Iron Horse Ball in the room opposite the elevator. Once you’ve done that and got your Bister Skull, upgrade your weapons as much as possible at The Duke and then ride the elevator to B1. Use Heisenberg’s Key on the door at the top.
Enter the first door you come to and empty the room of supplies before heading on towards the Cargo Bay. When you walk through the next door, get ready for a fight.
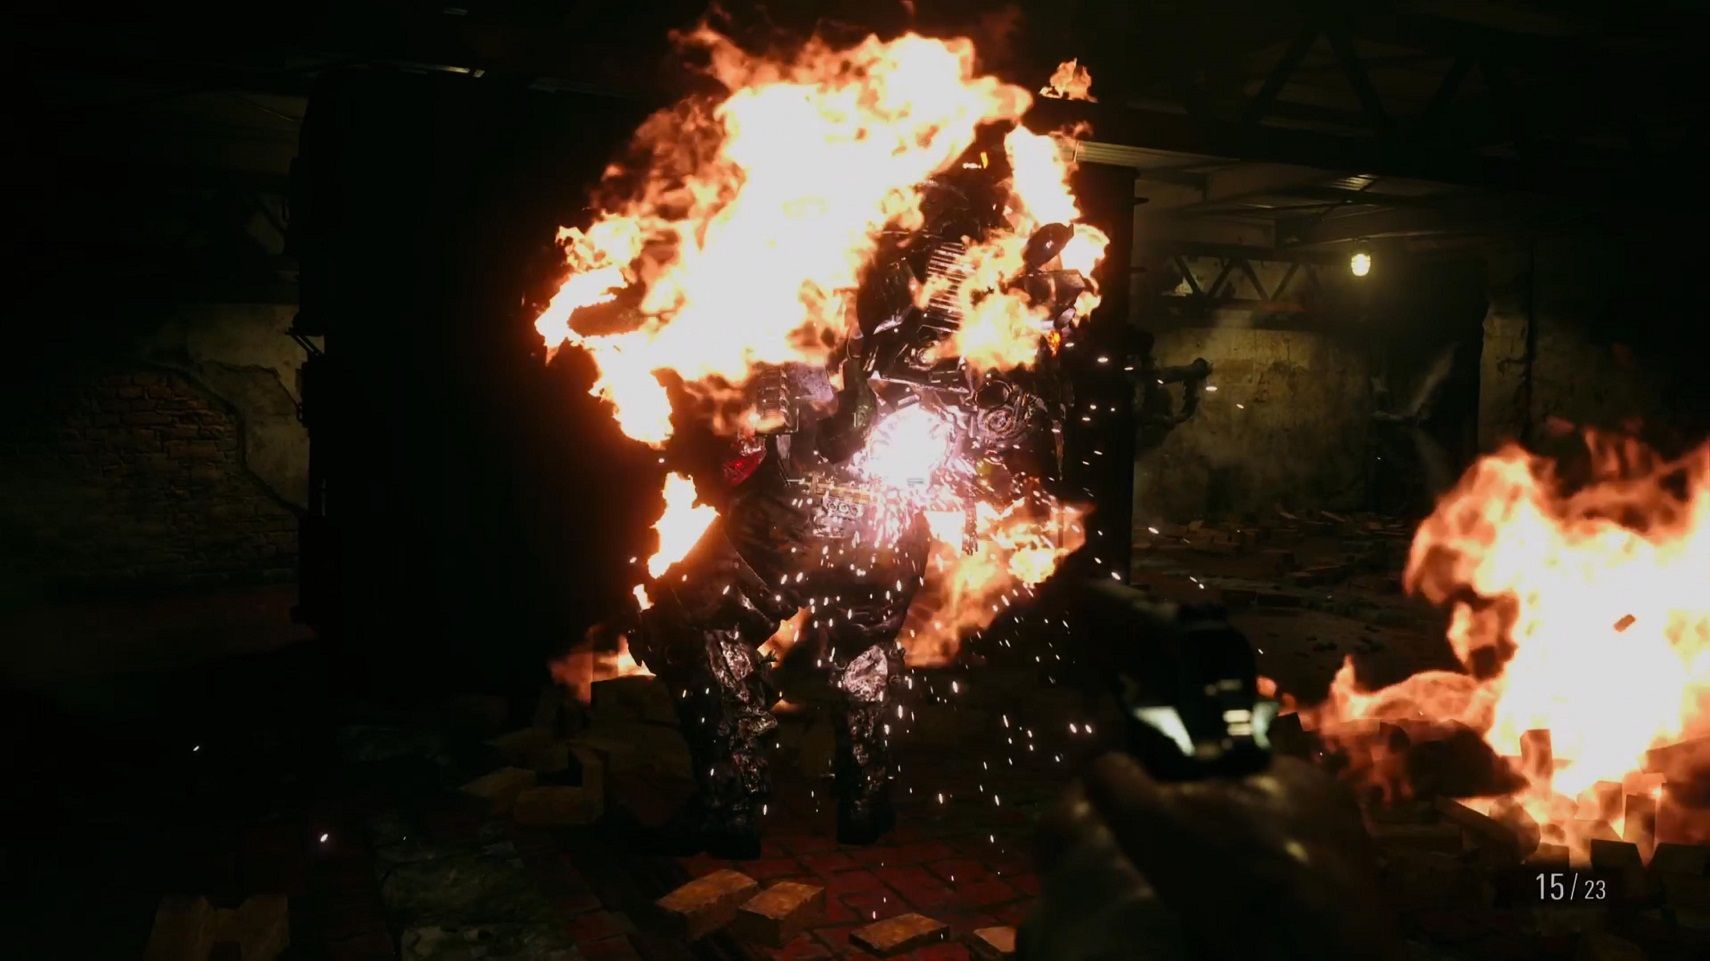
Sturm Boss Fight
The fight against Sturm isn’t too difficult, but it’s a bit of a war of attrition. He takes ages to go down. Here are some tips:
- You need to keep baiting him into the wall and then firing shots at his back.
- Use any mines you have for a couple of free explosive hits and just keep shooting him in the glowing part of his back whenever he gets stuck in a wall.
- About halfway through the fight, he’ll start using a flamethrower attack. Whenever you hear it charging up, take cover behind one of the metal walls.
- Sometimes you might even get lucky and be able to come around his back while he’s attacking with fire, allowing you to get some free shots in.
- Keep up the pressure and eventually, he’ll fall.
- Make sure you’re sprinting every time he charges and shooting whenever he’s stopped.
Once he’s dropped, loot his corpse for the Complex Mechanical Heart and then leave the room via the Northeast door. Grab the Cigar from inside the control room. Exit the control room on the South and drop down into the Cargo Bay. Pick up all the supplies dotted around in boxes and then climb the ladder on the South side, balancing across the beam. Hope into the crane and operate the lever. Step off when it lifts you up and enter the door. Interact with the door on the East and you’ll trigger a cutscene.
After the cutscene, you’ll find yourself in the Waste Runoff. Pull the grate away from the wall and crawl through. Interact with the debris on the other side to trigger another cutscene. When the cutscene ends, clear the room and hop into the vehicle before driving it into the elevator. Keep shooting on the left side of the elevator as it travels up and you’ll catch a missable Goat of Warding as you travel up.
Check out the Next link below for some tips on taking down Heisenberg.

