Quick Links
Echoing Ruins is the fourth in line out of the six biomes in Returnal, and you'll already know the game's basic mechanics by the time you get to the area. As you reach this biome, you'll find out that Helios is beside you again, and this is going to work as your new spawn point in the battle.
This means you won't spawn back in Overgrown Ruins if you're defeated in Echoing Ruins or further biomes. While this might be somewhat of a breather for players, the battles will also get much harder from this point and you'll likely be defeated a lot of times as you unlock new items and weapons.
How To Reach Echoing Ruins

It will take you plenty of hours to reach the Echoing Ruins biome in the first place. You'll start the game in the Overgrown Ruins where you'll learn the basic mechanics of the game. There will be plenty of areas you can't reach at the start, and you have to progress in the game to get specific upgrades.
After beating Phrike in Overgrown Ruins, you'll get to Crimson Wastes, which is designed like a desert in Returnal. It's not hard to beat the first boss of the game, so you'll likely reach the second biome quickly.
In Crimson Wastes, you'll have to fight Ixion. This boss gives you quite a tough battle by limiting your movement with multiple orbs and lasers. Finally, you have to beat Nemesis in the Derelict Citadel where you'll use the grapple that you obtain from Ixion. As you defeat Nemesis, a giant cutscene will trigger.
This cutscene will show Selene going back home, only to come back to Atropos where you'll spawn in Echoing Ruins. The first thing you'll notice about this area is that you have Helios with you again. Your spawn point after being defeated was always set at Helios, which is why it changes in this biome.
You'll also notice the same two entrances that you saw in Overgrown Ruins, and the door with a circle on top in the mini-map will lead you to the Tower of Sisyphus. Apart from this, the biome itself will have a lot of similarities to Overgrown Ruins.
How To Find Echoing Keys

While some rooms in Echoing Ruins might seem familiar to Overgrown Ruins, there are also a lot of differences. For example, you'll see a ton of places where you have to use the grapple to progress. This is because you'll already unlock this permanent upgrade in the second biome, and it also makes things a lot easier.
The same structure follows in Echoing Ruins where you have to go through the cyan-colored rectangular doors to progress the story, but you can also go through the blue triangular doors to get extra items, though these are optional. The enemy waves in Echoing Ruins will be a lot more difficult to handle.

Once you've gone through a few rooms in the biome, you'll come across a cliff shown above. You can drop down this cliff to reach the main attraction of Echoing Ruins where you'll see a red door and two cyan rectangular doors. You'll also find a Translocator, a Xenoglyph, and a couple of Fabricators here.
As soon as you drop down, your quest will update and ask you to get two Echoing Keys for the Echoing Vaults. When you get to the red door, it'll ask for these two keys to unlock. Something similar happened in Overgrown Ruins, except you needed only one key there. To find these keys, you'll have to go through the two cyan doors.

Both of these areas will take you through a bunch of rooms again. You'll also find special rooms like the Vault rooms marked with yellow doors and the hologram room found in every biome. You can simply head through a few cyan-colored doors to get the Echoing Key in each area.
The room where you find a key will also have a Translocator that can teleport you directly to the main room. You don't have to go past all the rooms again to get back there.
How To Reach Hyperion

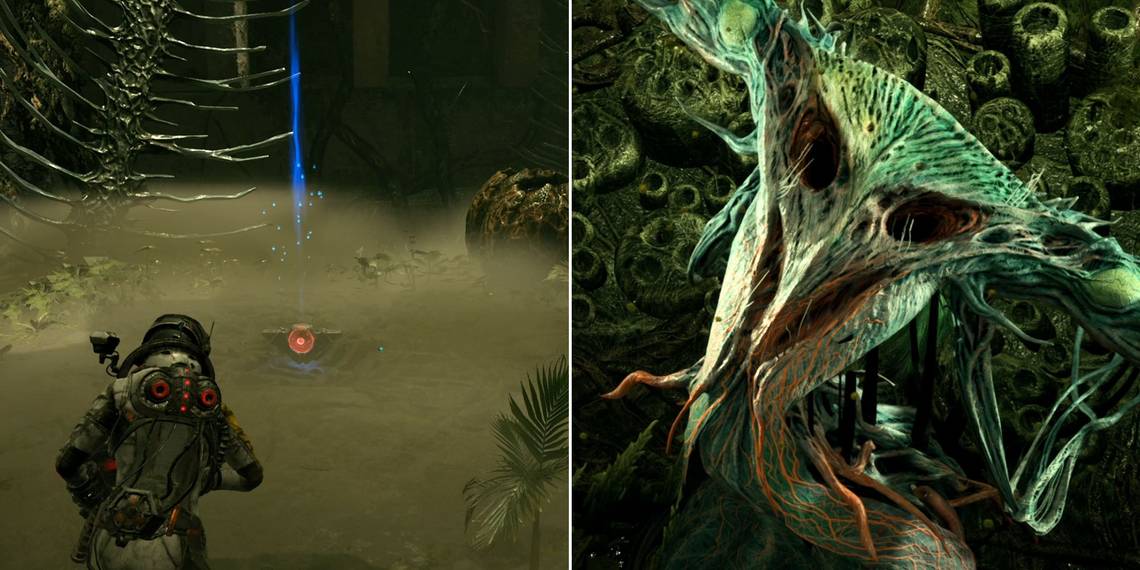
Entering the red door will take you to a familiar sight of the double stairs leading up to the final boss room. Both of these stairways will be plagued with different enemies exclusive to Echoing Ruins, and they'll also have tall eye towers that can easily take away a lot of your health.
You can either take it slow and defeat all the enemies in the area while being careful of the highlight spots or bulldoze through the area and ignore everything in your way. Though the second way might be risky and you might lose a lot of health.
In the next room, you'll see a Parasite Remover, a machine where you can put in the cube if you found it, and another Xenoglyph. There will also be two different paths leading to different places here. Funnily enough, you don't have to take either of these paths when you reach this place for the first time.

You'll see a few grapple points if you look above in this room, but they'll be too far. Look around the room to find the grapple on the lowest point, and then slowly follow the path to reach the top where you'll find Selene's body with a pistol beside it. As you've seen in the past three biomes, this marks the boss room in Returnal.
You'll have to beat Hyperion at the top to stop the melody that's annoying Selene. After defeating the boss, you can head to the same room you saw the two paths in, and you'll find the portal to Fractured Wastes here.
Tips To Survive In Echoing Ruins

Here are a few tips that can make it easier for you to beat the fourth biome in Returnal:
- The rooms in Echoing Ruins tend to overwhelm you with one or two large enemies and a bunch of smaller ones. It's important to defeat the smaller enemies first or you'll get hit from random places. You can leave the bigger fish for last since they're not very lethal in the biome.
- You might find optional rooms where you'll see red toxic water blocking your path. These rooms might look like you can pass them if you time your jumps well, but it's usually not worth it. It's recommended to ignore these rooms until you find a certain upgrade in Fractured Wastes.
- Use grapples as much as you can. Much like Derelict Citadel, you'll find the battles a lot easier with this mechanic. Whenever you find yourself in a tight spot, you can simply grapple away from the area and get yourself together.
- The boss battle in this biome will limit your movement more than any other boss, with a specific attack spawning vines around you so you can barely move. It's important to perfect your dodges for this since dash might not be as helpful if you keep using it here.
- You'll likely find the Electropylon Driver weapon before you reach the boss battle, and it's great for this entire biome. Since you have to move and dodge a ton of orbs during your run, this weapon simply lets you shoot the enemy once and passively drains their health.
- Make sure you interact with the Cthonos in the spawn area every time you start a new run. Echoing Ruins is filled with Ether, and you'll never fall short of this currency. Cthonos helps you get many new artifacts and consumables that can help you get past difficult situations.