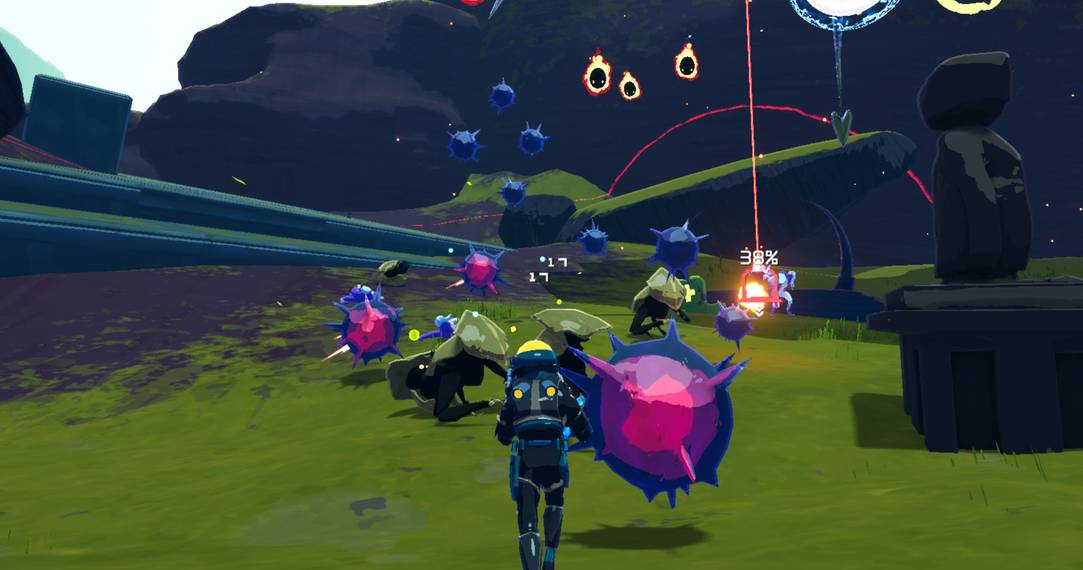
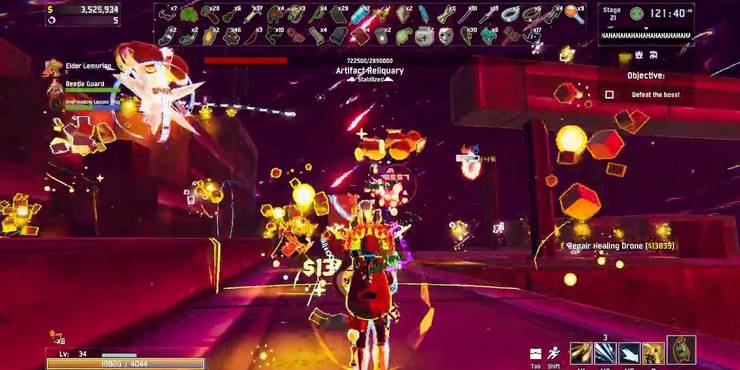
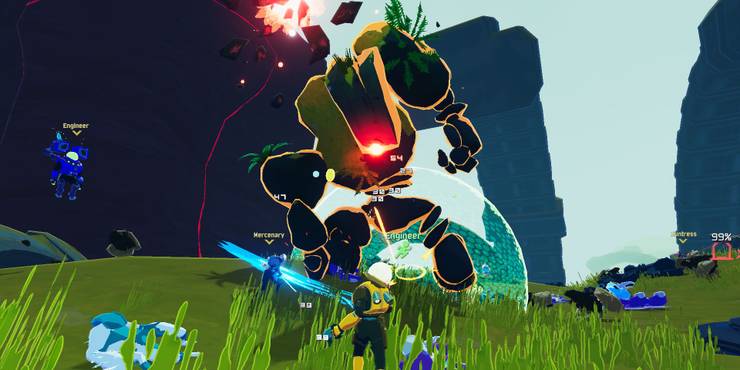
Risk of Rain 2 has recently released the Artifact system, a way for players to modify their runs in unique ways. Forcing enemies to drop items, spawning double the enemies, or making every enemy an elite are examples of what is possible.
Players can unlock these Artifacts by entering hidden codes scattered throughout the game in the Sky Meadow zone. Most come with some sort of tradeoff to prevent them from making the game objectively easier, but this isn't always the case. Some Artifacts thrive on making the game more compelling, while others make high-end runs much easier to achieve. Here are all of Risk of Rain 2's Artifacts ranked by their impact on difficulty. Artifacts more beneficial to the player are listed higher on the list.
If you're looking for how to unlock Artifacts and which Artifact codes to input at Sky Meadows, be sure to check out our handy guide!
Updated May 24, 2023 by Amanda Hurych: Risk of Rain 2 is still as fun as ever, and using Artifacts during a run makes it twice as entertaining. Not only can Artifacts make some runs a breeze, combining them can lead to one hell of a challenge if that's what you're in the mood for. We've polished this article to further highlight Artifact descriptions in this ranking.
16 Artifact Of Frailty
|
Artifact of Frailty |
Fall damage is doubled and lethal. |
|---|
Artifact of Frailty is much scarier than it sounds. If you accidentally jump outside of the map, you'll be reduced to virtually no health. Taking any damage before falling outside of the map will kill you, ending your run. Unless you're playing Loader, this Artifact is a game-changer and forces you to stick to the ground. This is not for the faint of heart.
15 Artifact Of Death
|
Artifact of Death |
When one player dies, everyone dies. |
|---|
This is pretty self-explanatory. The Artifact of Death does nothing if you're playing solo. If someone dies but has Dio's Best Friend, the run will continue, sacrificing the item.
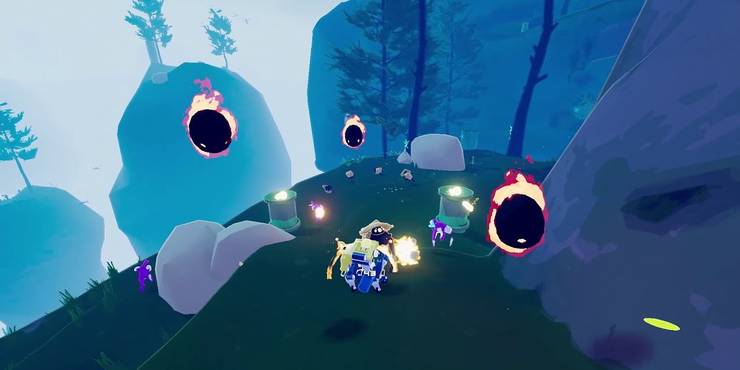
14 Artifact Of Dissonance
|
Artifact of Dissonance |
Monsters can appear outside their usual environments. |
|---|
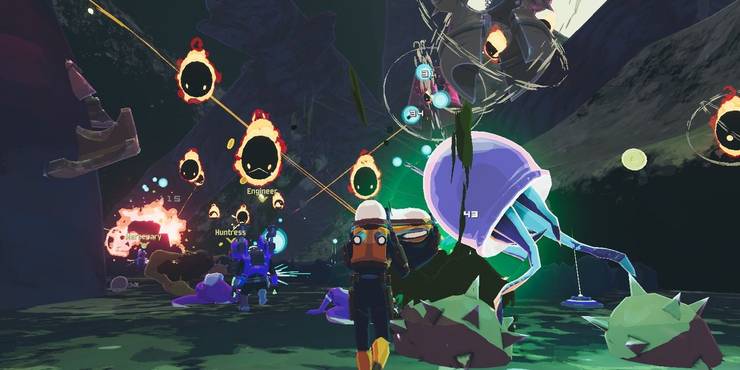
Enemy variety is plentiful in Risk of Rain 2, but many players agree that the first loop of a run is rather boring due to a lack of items and enemy variety.
Artifact of Dissonance fixes the latter, allowing any enemy type to spawn in any biome. You can now fight Imps in the first zone, Hermit Crabs in the second, or Brass Contraptions at the start. Overall, the game is much harder with this active, but masters of Risk of Rain 2 that can utilize their character's abilities to their fullest extent will find this Artifact a breath of fresh air.
13 Artifact Of Evolution
|
Artifact of Evolution |
Monsters gain items between stages. |
|---|
Is the game still too easy for you? Consider activating the Artifact of Evolution for a truly insane run. This artifact grants monsters items after every stage.
Just like your character, monsters can obtain buffs from items that make their attacks much more deadly. They can obtain virtually any item in the game, and the strength of their gear is three to four times more potent than your own. This results in chaotic runs where Wisps can spawn Sticky Bombs or bosses can fire AtG missiles. They don't drop their items on death with this active, so only use this if you want some truly chaotic runs.
Monsters gain items at each stage, following this order repeatedly until the run ends:
Common -> Common -> Uncommon -> Uncommon -> Legendary -> Repeat
12 Artifact Of Metamorphosis
|
Artifact of Metamorphosis |
Players always spawn as a random survivor. |
|---|
Metamorphosis will spawn you as a random survivor at every stage. You could start the level as a Commando, become Loader at the second stage, turn into the Huntress on the third stage, et cetera. Fortunately, you retain all of your items when you do switch characters. The skills at your disposal are tied to the survivor you're playing as at the time.
The mastery required to have a successful run with Metamorphosis is rather high. Certain strategies, such as stacking Bustling Fungus on Engineer, won't work here. It definitely makes the game harder, but it does offer a great deal of variety and forces you to master each survivor's skill set.
11 Artifact Of Spite
|
Artifact of Spite |
Enemies drop multiple exploding bombs on death. |
|---|
Clearing a massive group of enemies now comes with the risk of dying. Every enemy that dies will drop at least one bomb that will detonate after it bounces three times. Certain enemies can drop multiple bombs, resulting in a cluster of explosions if you kill a giant horde of enemies. This makes the game objectively harder on its own, forcing you to reposition frequently. However, pairing this with the Artifact of Chaos can make for a hilarious run.
10 Artifact Of Enigma
|
Artifact of Enigma |
Spawn with a random equipment that changes every time it's activated. |
|---|
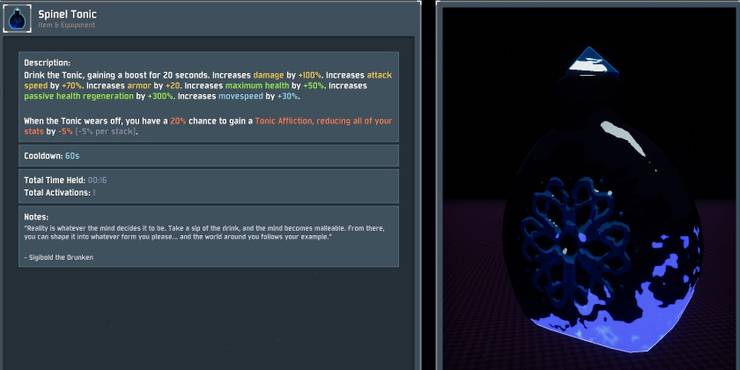
You can obtain any equipment from the Artifact of Enigma, excluding Milky Chrysalis, The Crowdfunder, or the Effigy of Grief. Lunar items, such as Spinal Tonic, can be obtained through this Artifact. It's a rather fun way of mixing up your game, although the inconsistency of this Artifact makes the game slightly harder than normal.
9 Artifact of Chaos
|
Artifact of Chaos |
Friendly fire is enabled for both survivors and monsters alike. |
|---|
If you play Risk of Rain 2 by yourself, using the Artifact of Chaos isn't a bad idea. This artifact enables friendly fire for both you and your enemies.
This does mean that multiplayer matches will test everyone's patience and be nigh-unplayable at later stages, but this is a fantastic pick for solo players. You can bait enemies to shoot each other and use enemies as pseudo-cover, altering the way you move around engagements. Elite enemies that ignite nearby targets or create an AoE freeze blast will affect enemies as well, making the early game much more interesting. Just be careful of your own items and allies, as they can easily kill you if you aren't careful. Engineer's turrets and friendly AI won't intentionally hit you, but you'll take damage if you get in their line of fire.
8 Artifact Of Kin
|
Artifact of Kin |
Monsters will be of only one type per stage. |
|---|
Only one type of monster will spawn per zone with this modifier active. If the game selects normal Wisps, for example, only normal Wisps will spawn for the rest of the zone.
Variants of enemies are disregarded with this modifier, so don't expect Greater Wisps to spawn if Lesser Wisps get selected. Still, this can result in some engaging runs where players fight Bettle Guards or Brass Contraptions exclusively. It makes runs much harder on average, but they become much more engaging because of this.
7 Artifact Of Vengeance
|
Artifact of Vengeance |
Your relentless doppelganger will invade every 10 minutes. |
|---|
Another modifier that makes the game harder, the Artifact of Vengeance, spawns a doppelganger every ten minutes that will attack you relentlessly.
This doppelganger uses your skills, equipment, and items. If you activate your equipment every half a second using Gesture of the Drowned, your doppelganger will do the same. This creates a high-intensity matchup against yourself that keeps every other zone much more interesting. If you find Monsoon runs too easy, use this Artifact to change it up. Should you take down your own doppelganger, you'll get a random item it had. It's also worth noting that your doppelganger counts as a boss, so Armor-Piercing Rounds and similar items work against it.
6 Artifact Of Soul
|
Artifact of Soul |
Wisps emerge from defeated monsters. |
|---|
Whenever an enemy dies, they'll deploy an ethereal Wisp in their stead. It has the same health and behavior as a Lesser Wisp, although it does not drop any Gold or XP when slain. It also doesn't drop any items if the Artifact of Sacrifice is active.
5 Artifact Of Honor
|
Artifact of Honor |
Enemies can only spawn as elites. |
|---|
While the Artifact of Honor is active, enemies will only spawn as elites. Elite enemies have special modifiers that make them much tougher than normal monsters. While they're tougher to kill, elite enemies do not drop increased Gold or XP as they would normally.
This makes the game drastically harder to start, as most elite enemies have over double the health of normal mobs. The upside is many items, such as the Wake of Vultures or Old Guillotine, all grant massive buffs against elite enemies. When you get great items, this modifier ends up becoming a net benefit for your run. In the early stages, however, this Artifact makes the game significantly harder.
4 Artifact Of Sacrifice
|
Artifact of Sacrifice |
Monsters drop items on death, but Chests no longer spawn. |
|---|
This is where Artifacts shine the most. The Artifact of Sacrifice completely changes the way you play. While active, enemies have a chance to drop items on death. In exchange, Chests don't spawn.
The beginning of the run will spawn few items, but this quickly ramps up as the difficulty scales and the enemy quantity increases. Elite enemies have a much higher chance of dropping items as well, which means this Artifact synergizes nicely with the Artifact of Honor. With items dropping from enemies instead of Chests, you can spend your money on shrines or drones much more than before.
The Artifact of Swarms halves the drop chance from Artifact of Sacrifice.
3 Artifact Of Glass
|
Artifact of Glass |
Allies deal 500% damage, but have 10% health. |
|---|
Shaped Glass is one of Risk of Rain 2's most powerful items, halving your health in exchange for double damage. If you hate purchasing this item every run, consider running the Artifact of Glass instead.
While active, you deal 500% more damage but have 10% of your total health. This Artifact also disables one-shot protection, meaning a single hit that does your total health pool will instantly kill you instead of dropping you to 1 HP. It makes the game much harder in the early game, but the massive spike in damage makes it much faster as a tradeoff. Slow starts are less of an issue while this Artifact is active.
2 Artifact Of Swarms

|
Artifact of Swarms |
Monster spawns are doubled, but monster maximum health is halved. |
|---|
Arguably the most fun modifier in Risk of Rain 2, Artifact of Swarms doubles the number of enemy spawns and reduces every monster's health pool by half, including bosses.
This modifier makes proc-based items much more powerful since more enemies are in each area. Unfortunately, Artifact of Sacrifice halves the drop chance provided by this Artifact. Despite that negative, the Artifact of Swarms makes chain effects much more powerful and early stages much more interesting.
1 Artifact Of Command
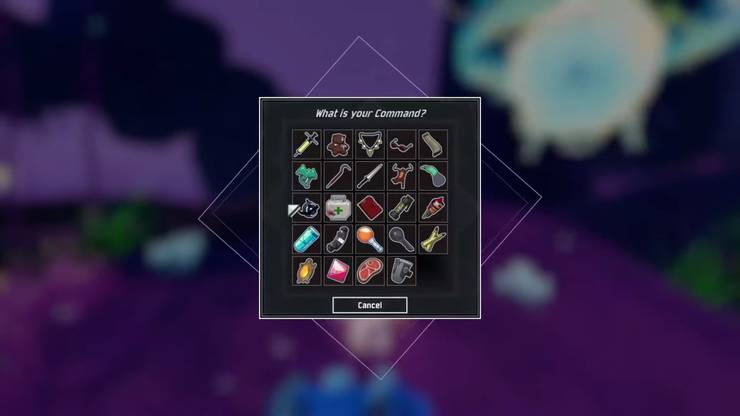
|
Artifact of Command |
Choose your items. |
|---|
Almost every Artifact in Risk of Rain 2 makes the game harder in some form. The Artifact of Command's only downside is deciding what you want to use.
Items that you interact with will provide a prompt asking what you want instead of granting a random drop. This means that you can choose any Common-rarity item when a Common item drops, Rare when a Rare-rarity item drops, and so on. Experimenting with builds has never been easier, and this gives a way for less-skilled or newer players to reach higher waves than normal since the reliance on RNG is practically removed.