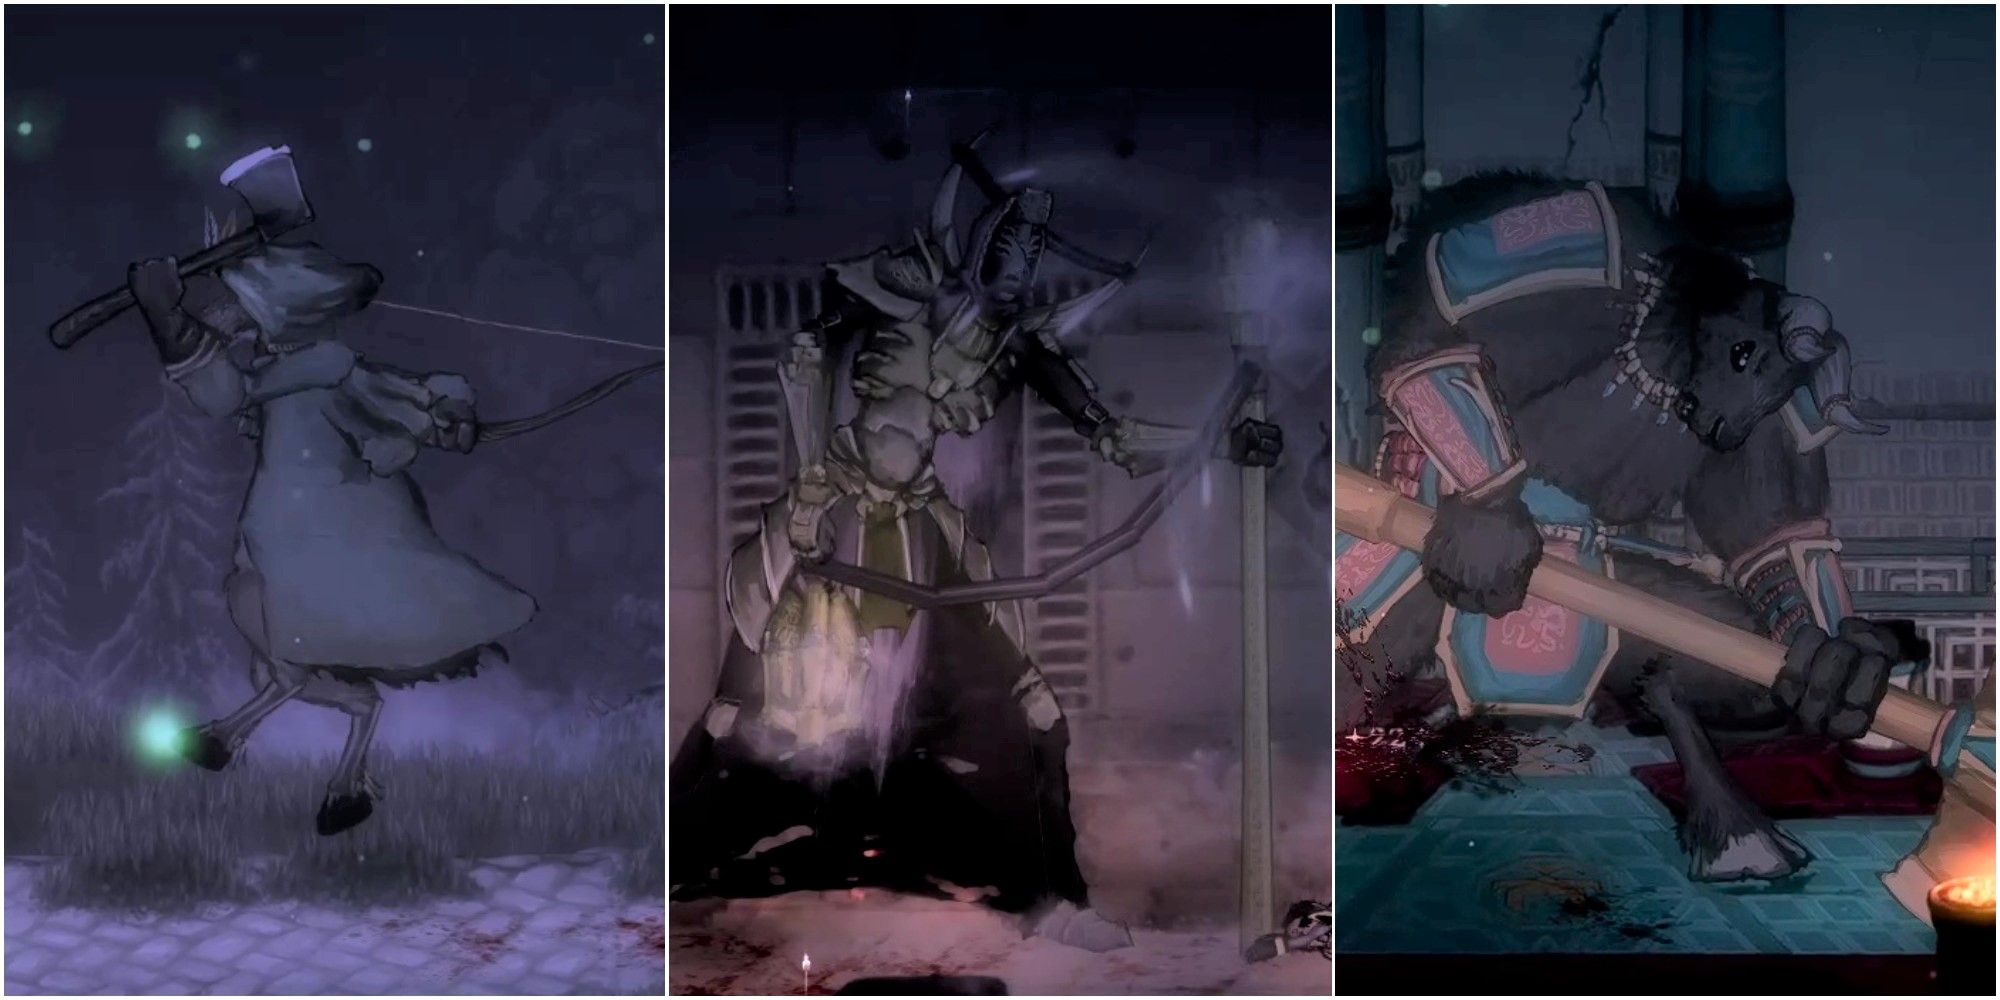
While the mage hunts are one of the biggest draws for Salt and Sacrifice, it's important not to forget that there are plenty of more standard bosses to take on. There are 11 of them, in fact, scattered across the game's five regions.
Some of these bosses are easier than others, and some of them may have you tearing your hair out with how frustrating they can be to fight. Here are all 11 mandatory boss fights in the game, ranked by difficulty.
11 Uryks, Necklace-Of-Ears
As you'd expect, the game's first boss isn't too hard. He has slow, easily-recognized attacks that are simple to dodge and then punish, and he's even weak to Firebombs, which you may have started the game with depending on the crime you chose.
As an introductory boss, though, he's pretty great - you'll learn that boss attacks are not to be taken lightly, and you'll get a good sense of how good your starting weapon is. He also drops a nice chunk of salt, which you'll want to use to level up.
10 The Hate-Cursed Matriarch
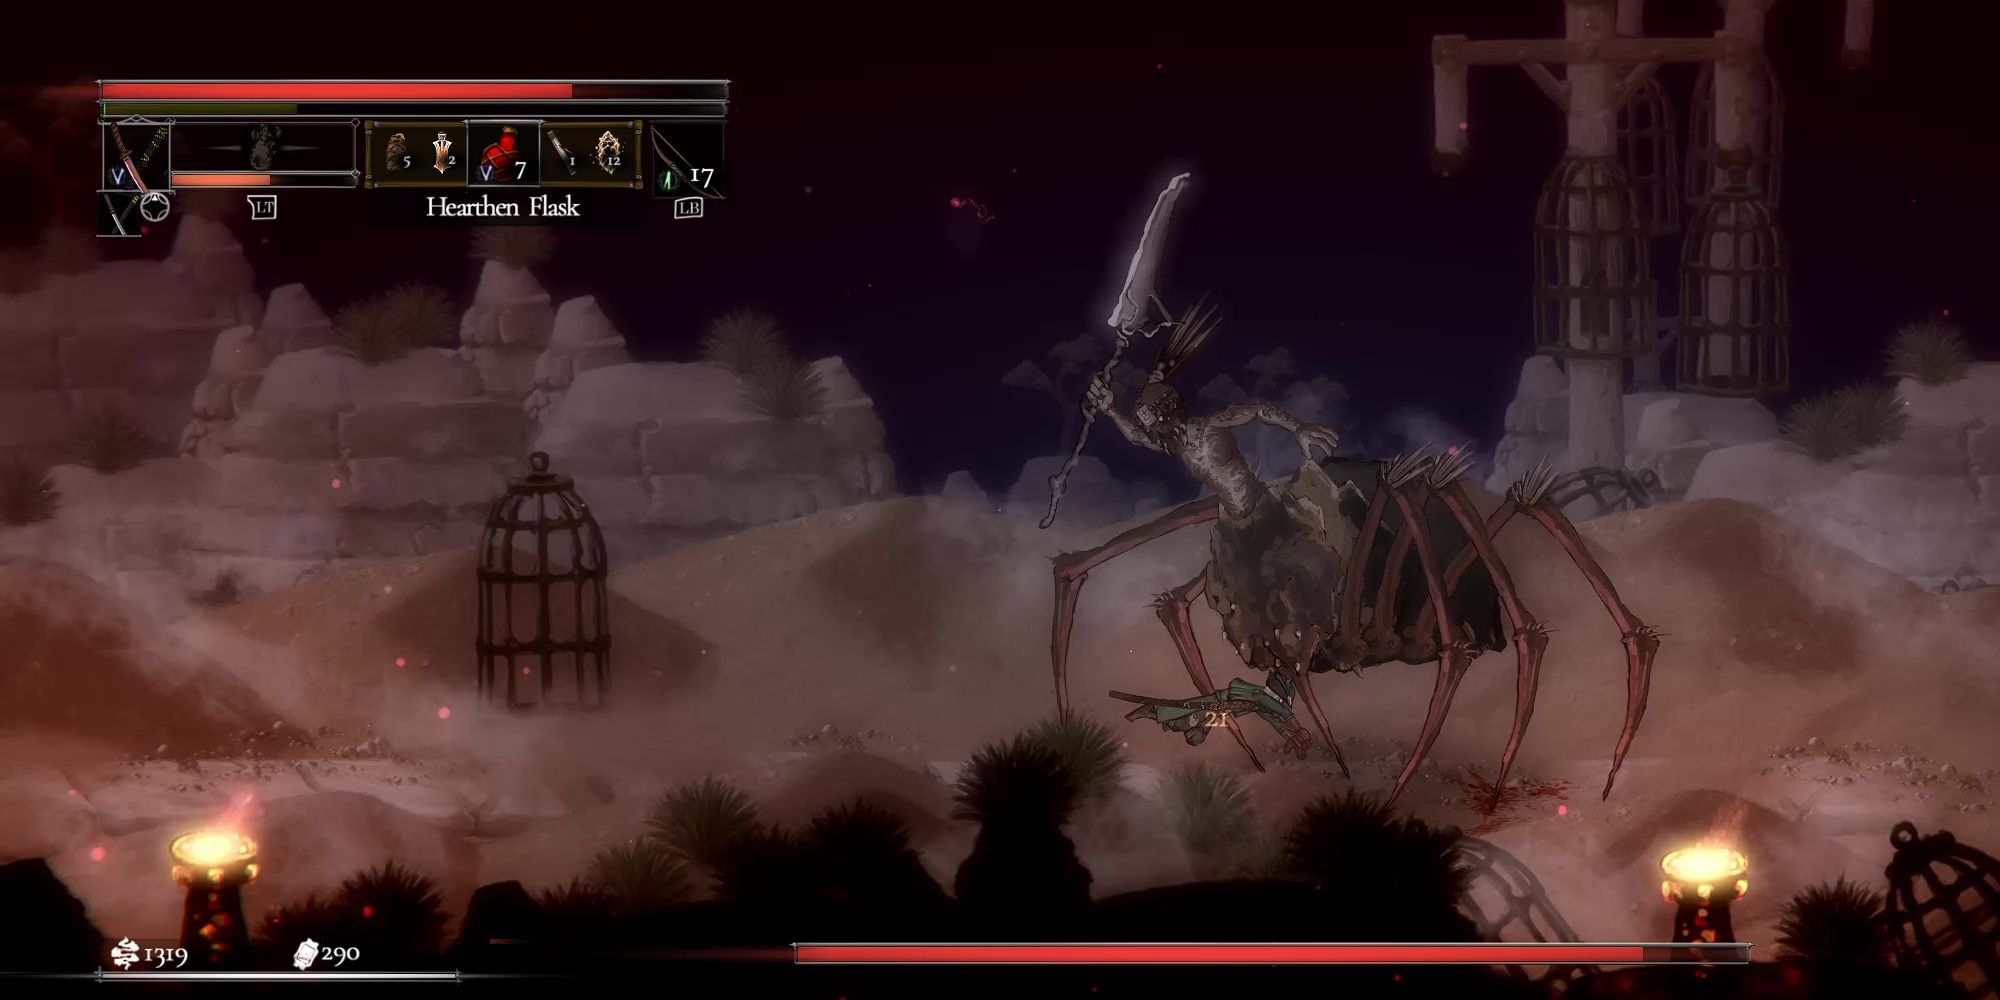
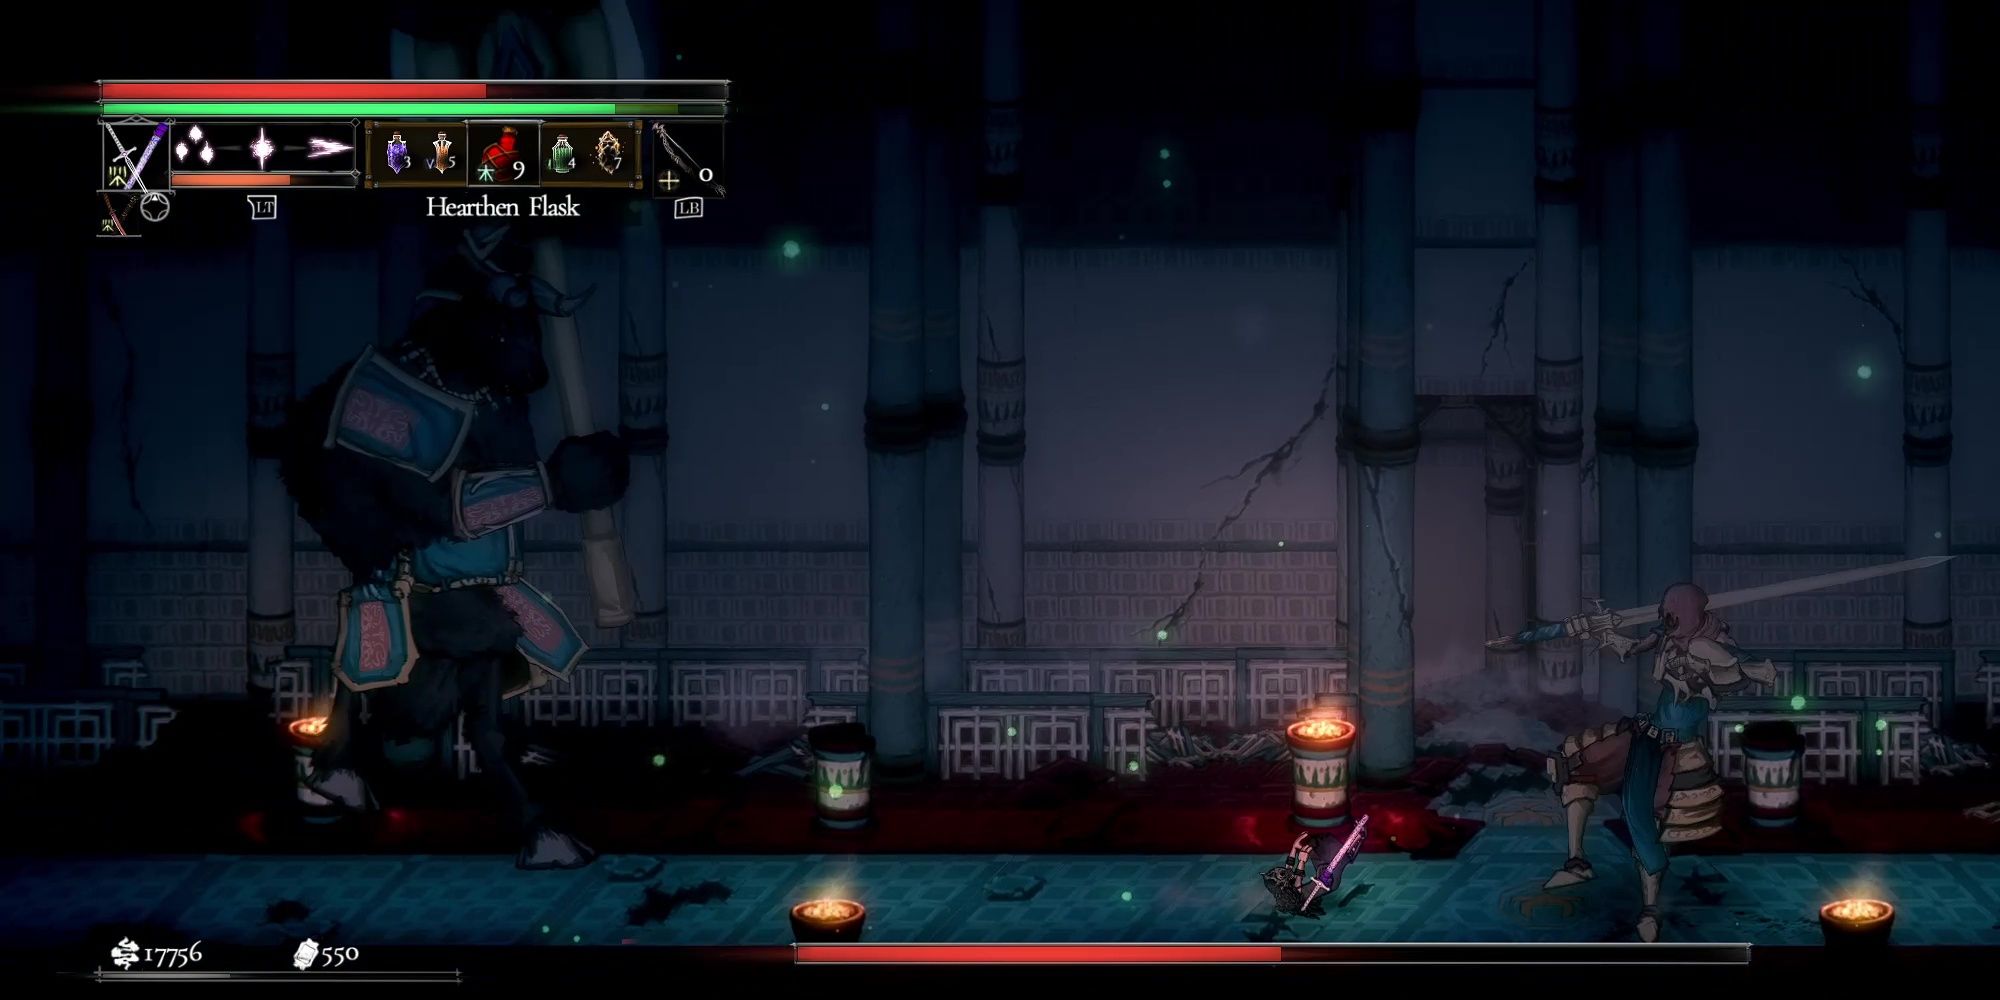
Often referred to as a knock-off Quelaag, the Hate-Cursed Matriarch is fond of lightning over fire, and she will happily spend the entire fight flinging bolts at you and trying to smash you with her gigantic spear. Her attacks hit hard, so consider investing in better armor at this point of the game.
She's not too tough to beat, but her constant attacks, both ranged and melee, teach you pretty quickly that learning how and when to dodge roll is a crucial ability to have in the world of Salt and Sacrifice. Learn it, and use it well.
9 Icon Of Pandemonium
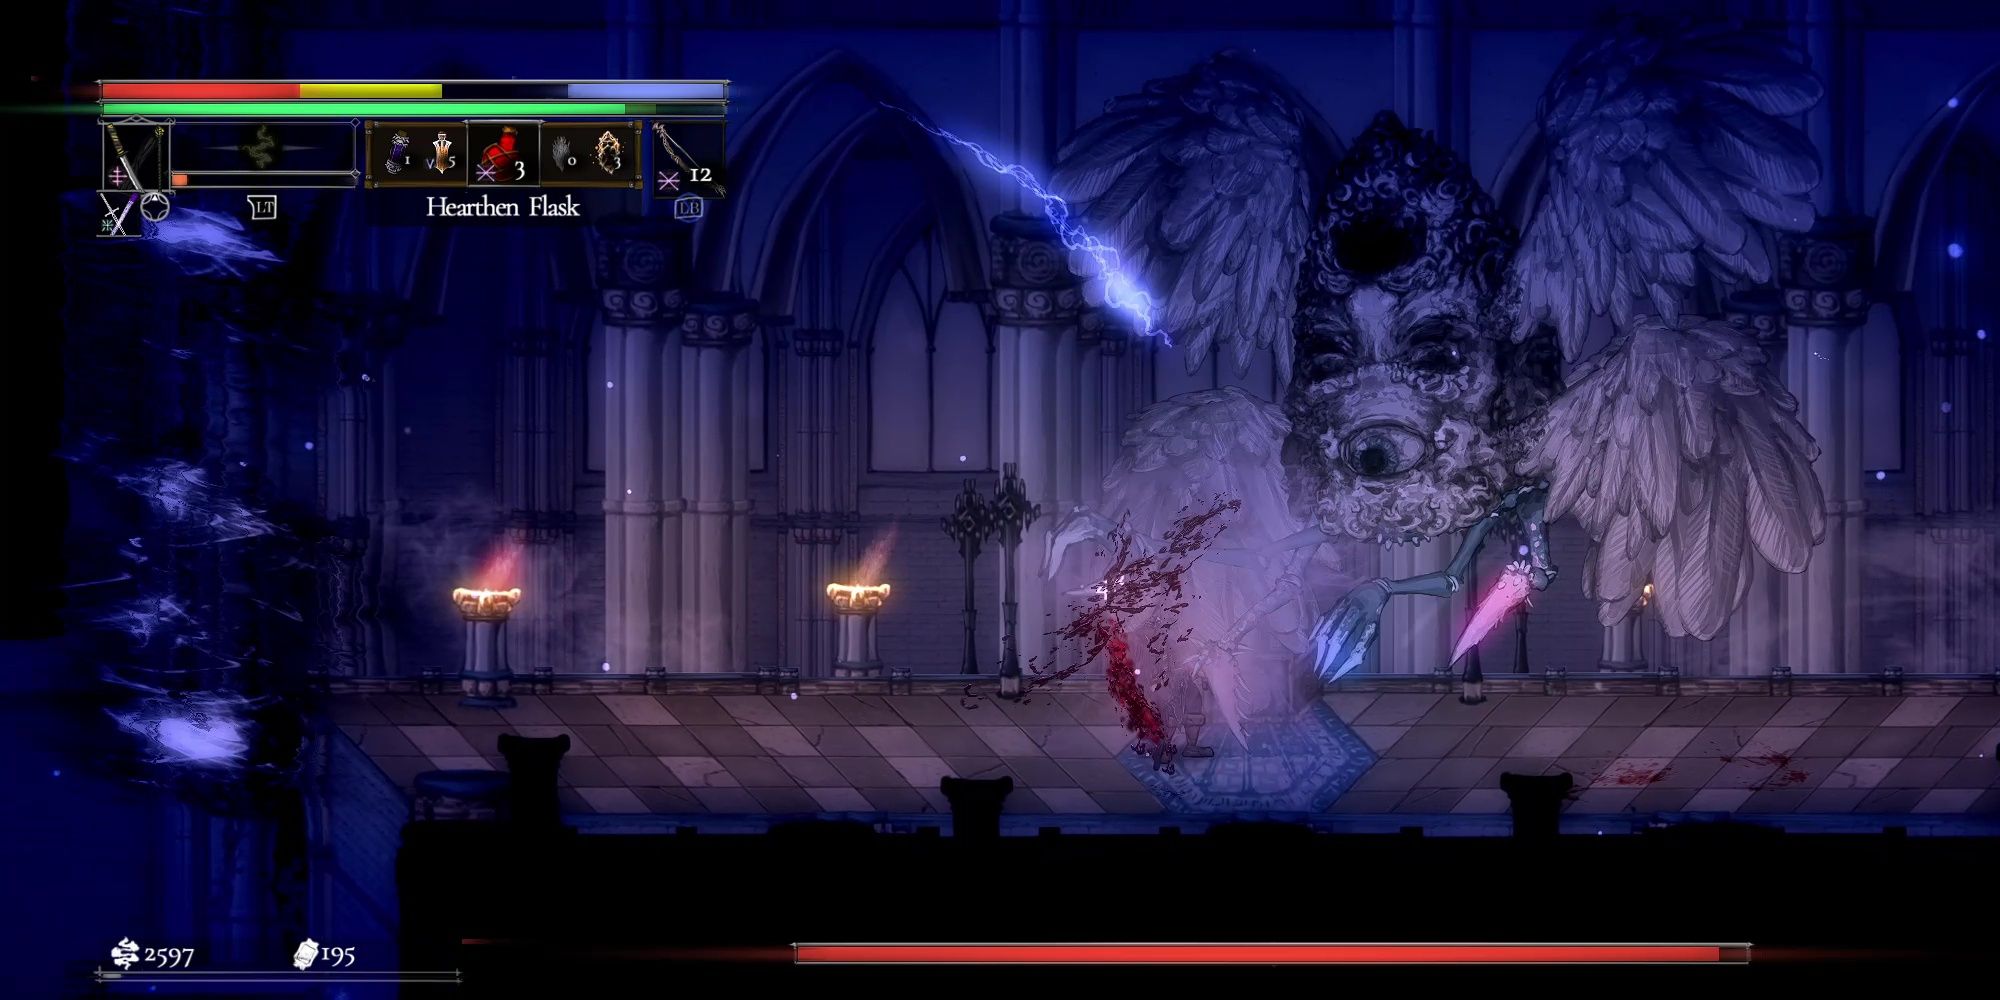
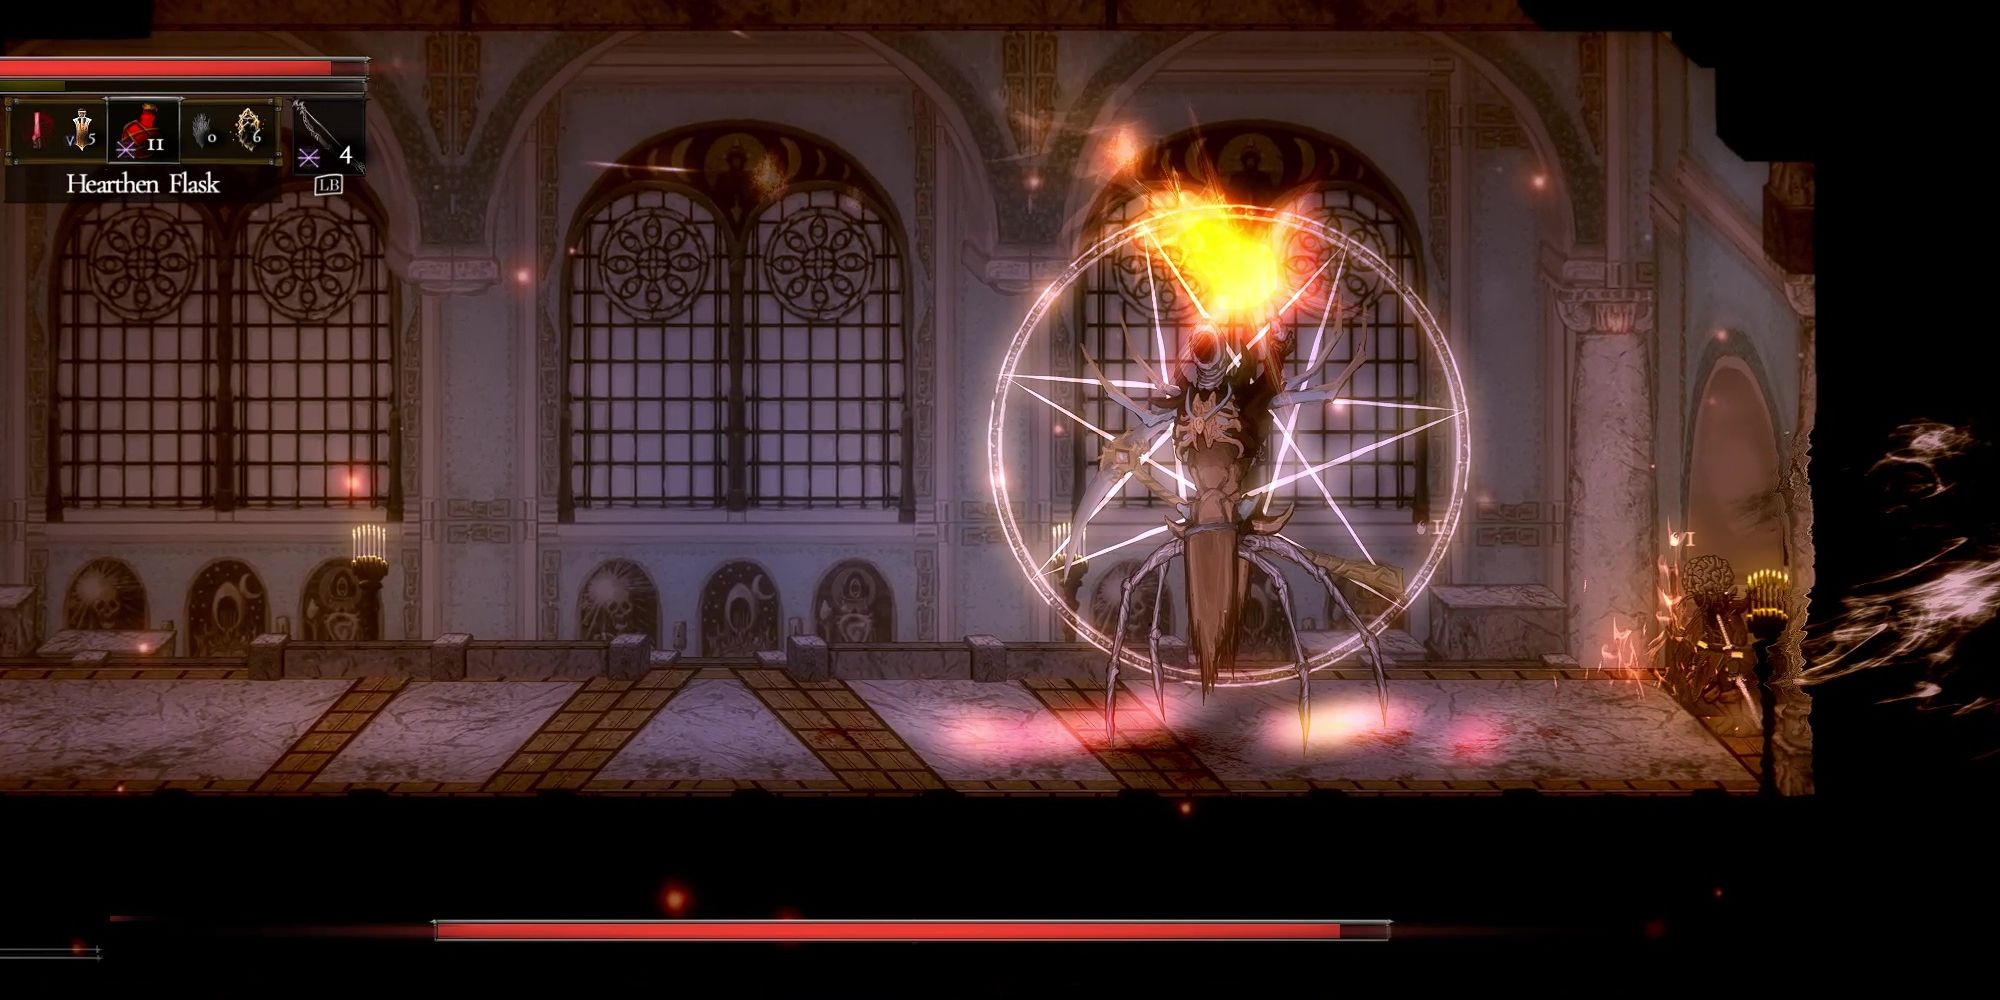
You'd expect one of the last bosses in the game to be a bit tougher, but Icon of Pandemonium has a moveset almost full of attacks you've seen before. Specifically, it uses lots of moves you'll have faced when hunting an Electromancer, and while they're still annoying to come up against, you'll have experience dodging them.
Thanks to the Icon's huge hitbox, the only significant advantage it has - flight - doesn't help it all the much in the end. You can consider the Icon a breather before going up against the other two bosses that Elder Copse holds.
8 Sapblood Heart
Located in the murky swamps of Corvius' Mire, you'll find this odd boss at the top of the Great Tree. It's something of a gimmick boss, only attacking when possessed by one of the invincible white spirits that infest the battlefield.
Striking hard and striking fast is the key to this fight, as eventually, there'll be more spirits than you can deal with, and they love to fire attacks at you constantly. All things considered, not too demanding.
7 Marega Gredanya
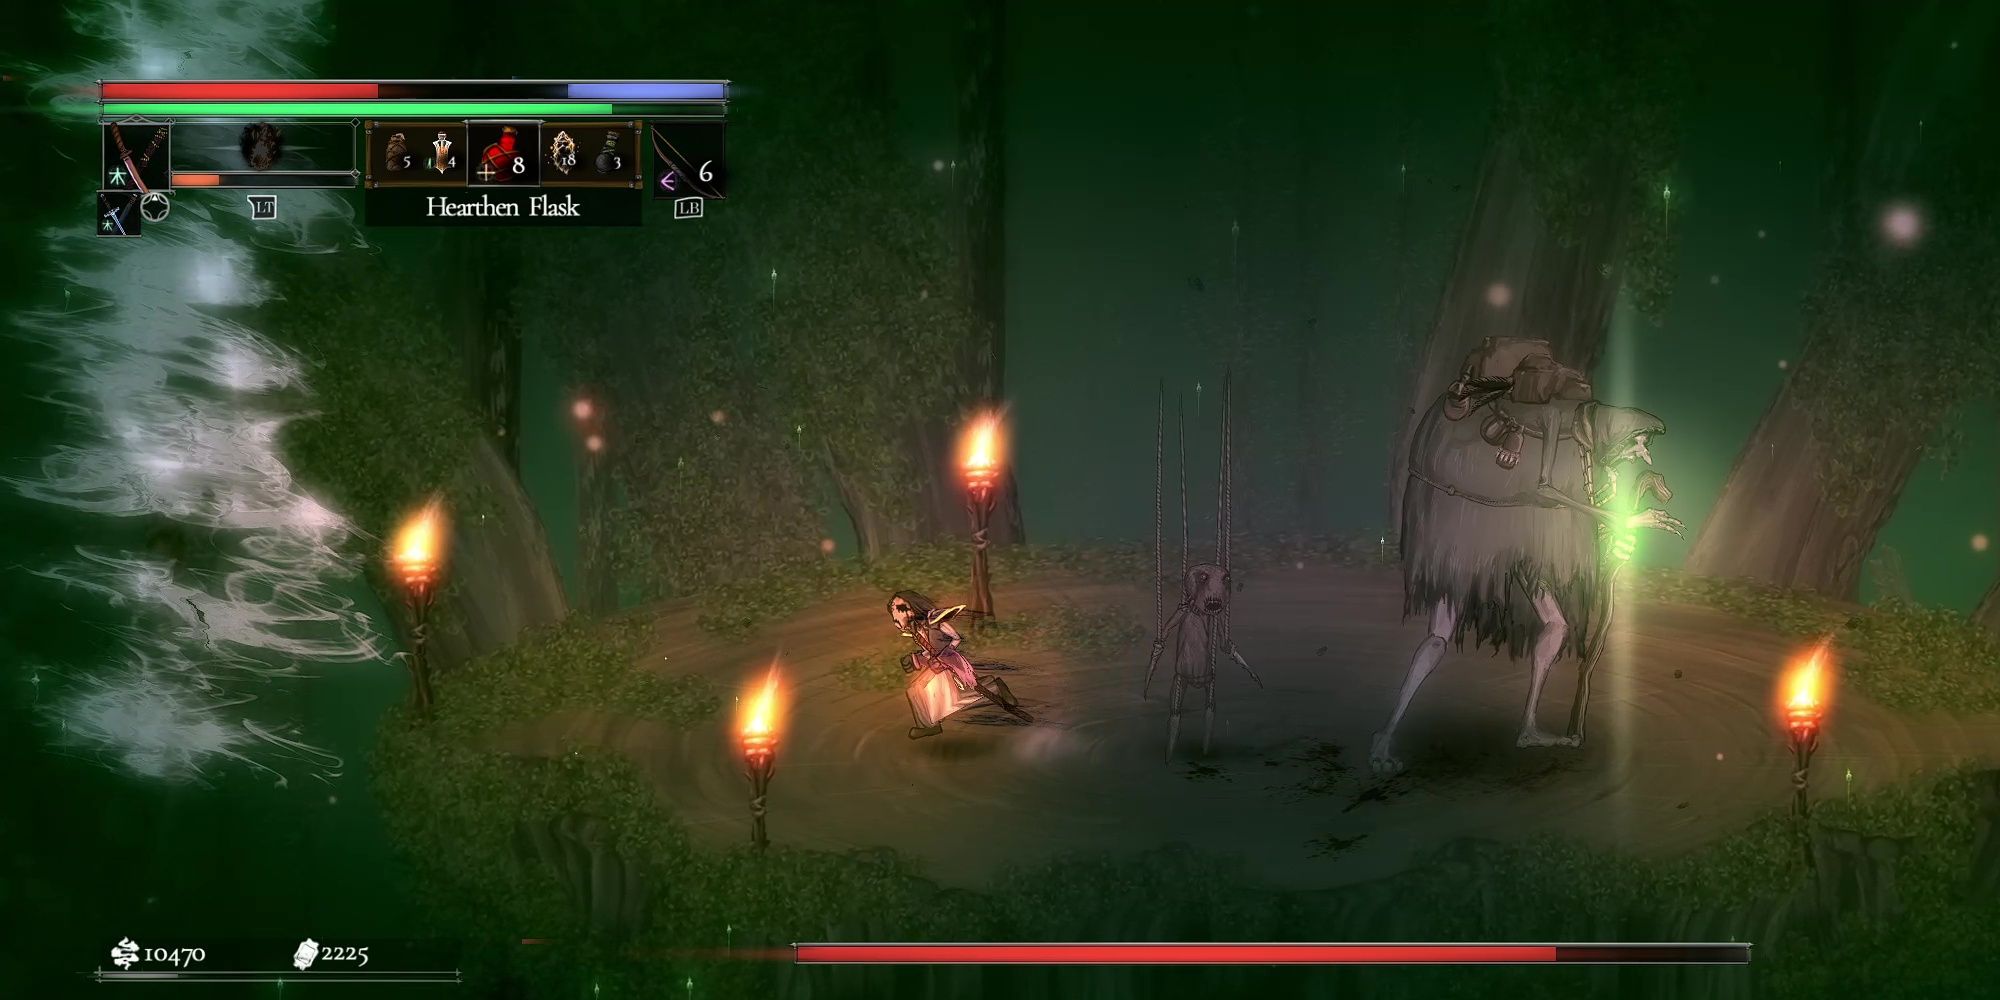
The other Corvius' Mire boss is more interesting and a bigger challenge than the Sapblood Heart. This bog witch can conjure horrible poppets to do her bidding almost constantly, and she can even turn invisible to boot.
This fight is all about managing your spacing and not panicking. The poppets eventually disappear on their own, too, so if you can resist the temptation to dive for them to take them out, you'll have a better time of it.
6 Kraeaxenar, Wyrm Of Sky
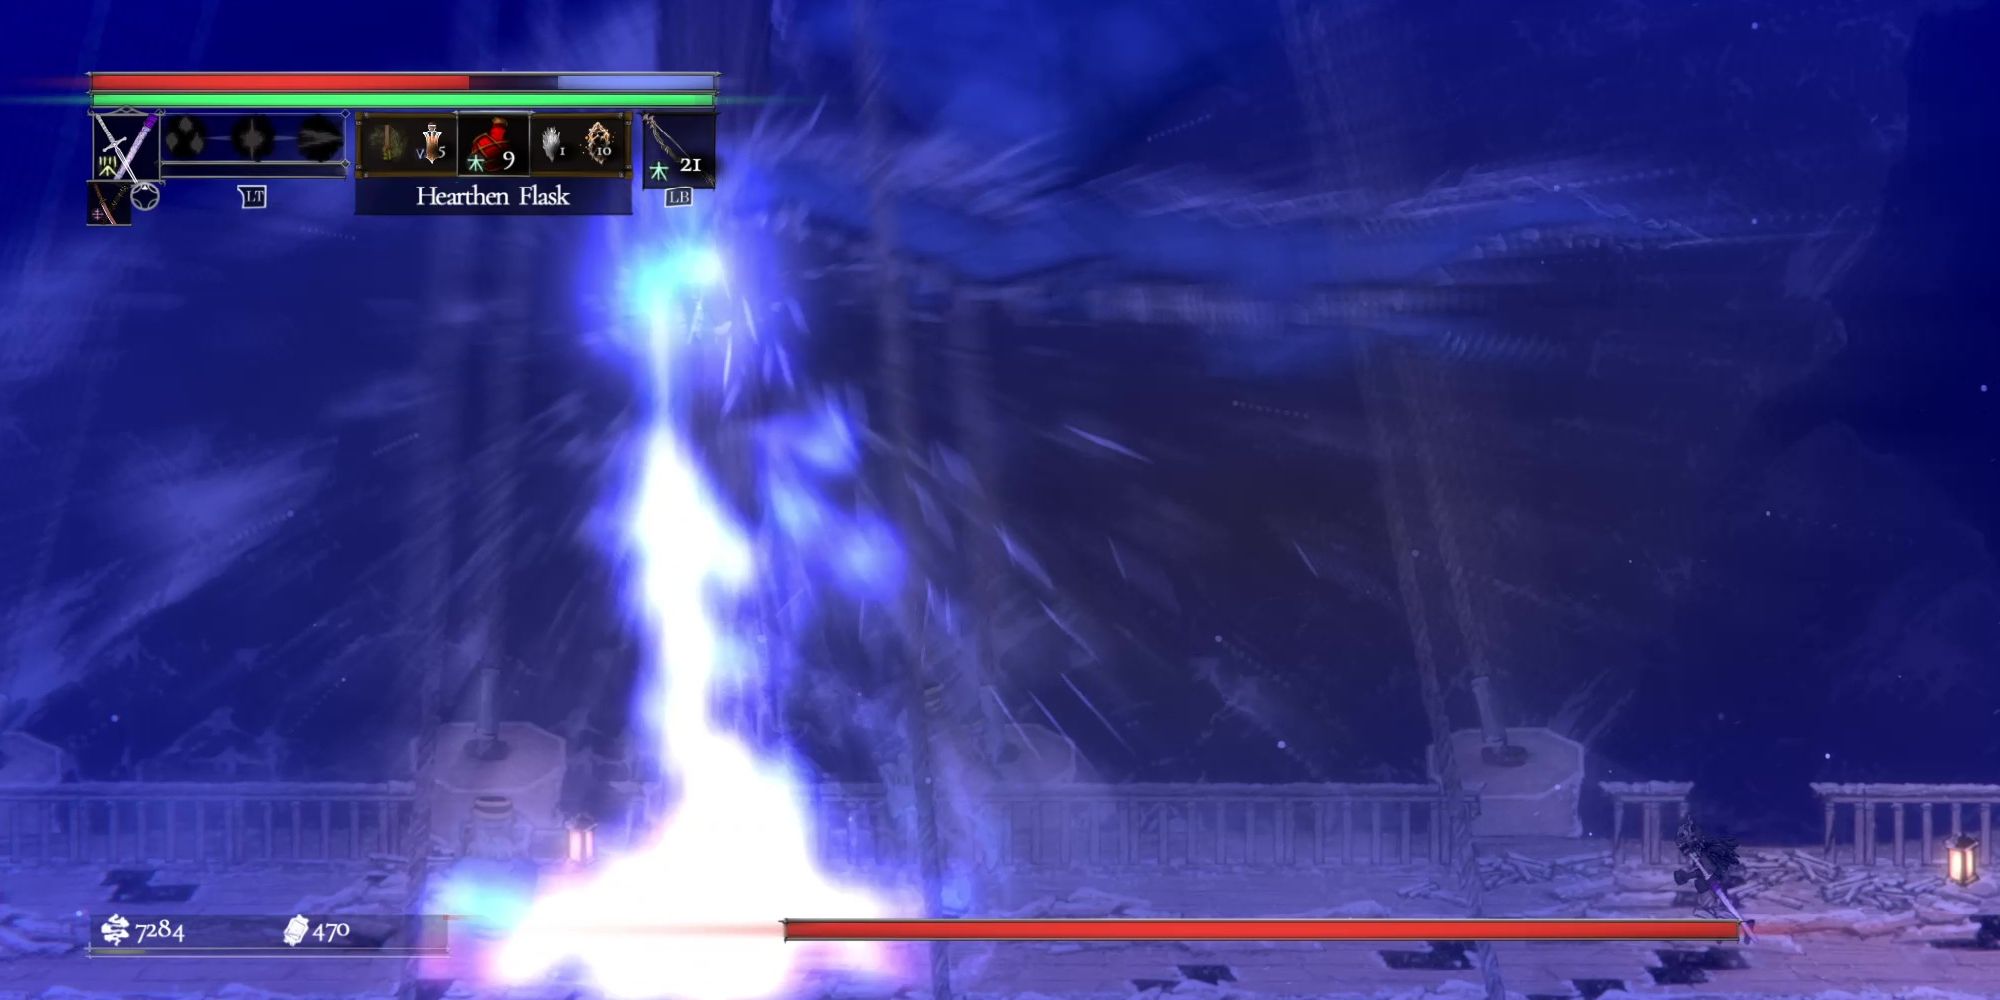
Dragons are usually the toughest enemies a Soulslike game can throw at you, and Kraeaxenar is no exception. When this thing hits you, it hits hard. You'll have to stay on your toes at all times, especially if it decides to go on a bombing run of the whole arena with its frosty breath.
That said, most of this boss's attacks are pretty well-telegraphed, and avoiding them shouldn't be too difficult. The difficulty will come from its large health pool, which turns this fight into a battle of attrition.
5 The Green Huntsman
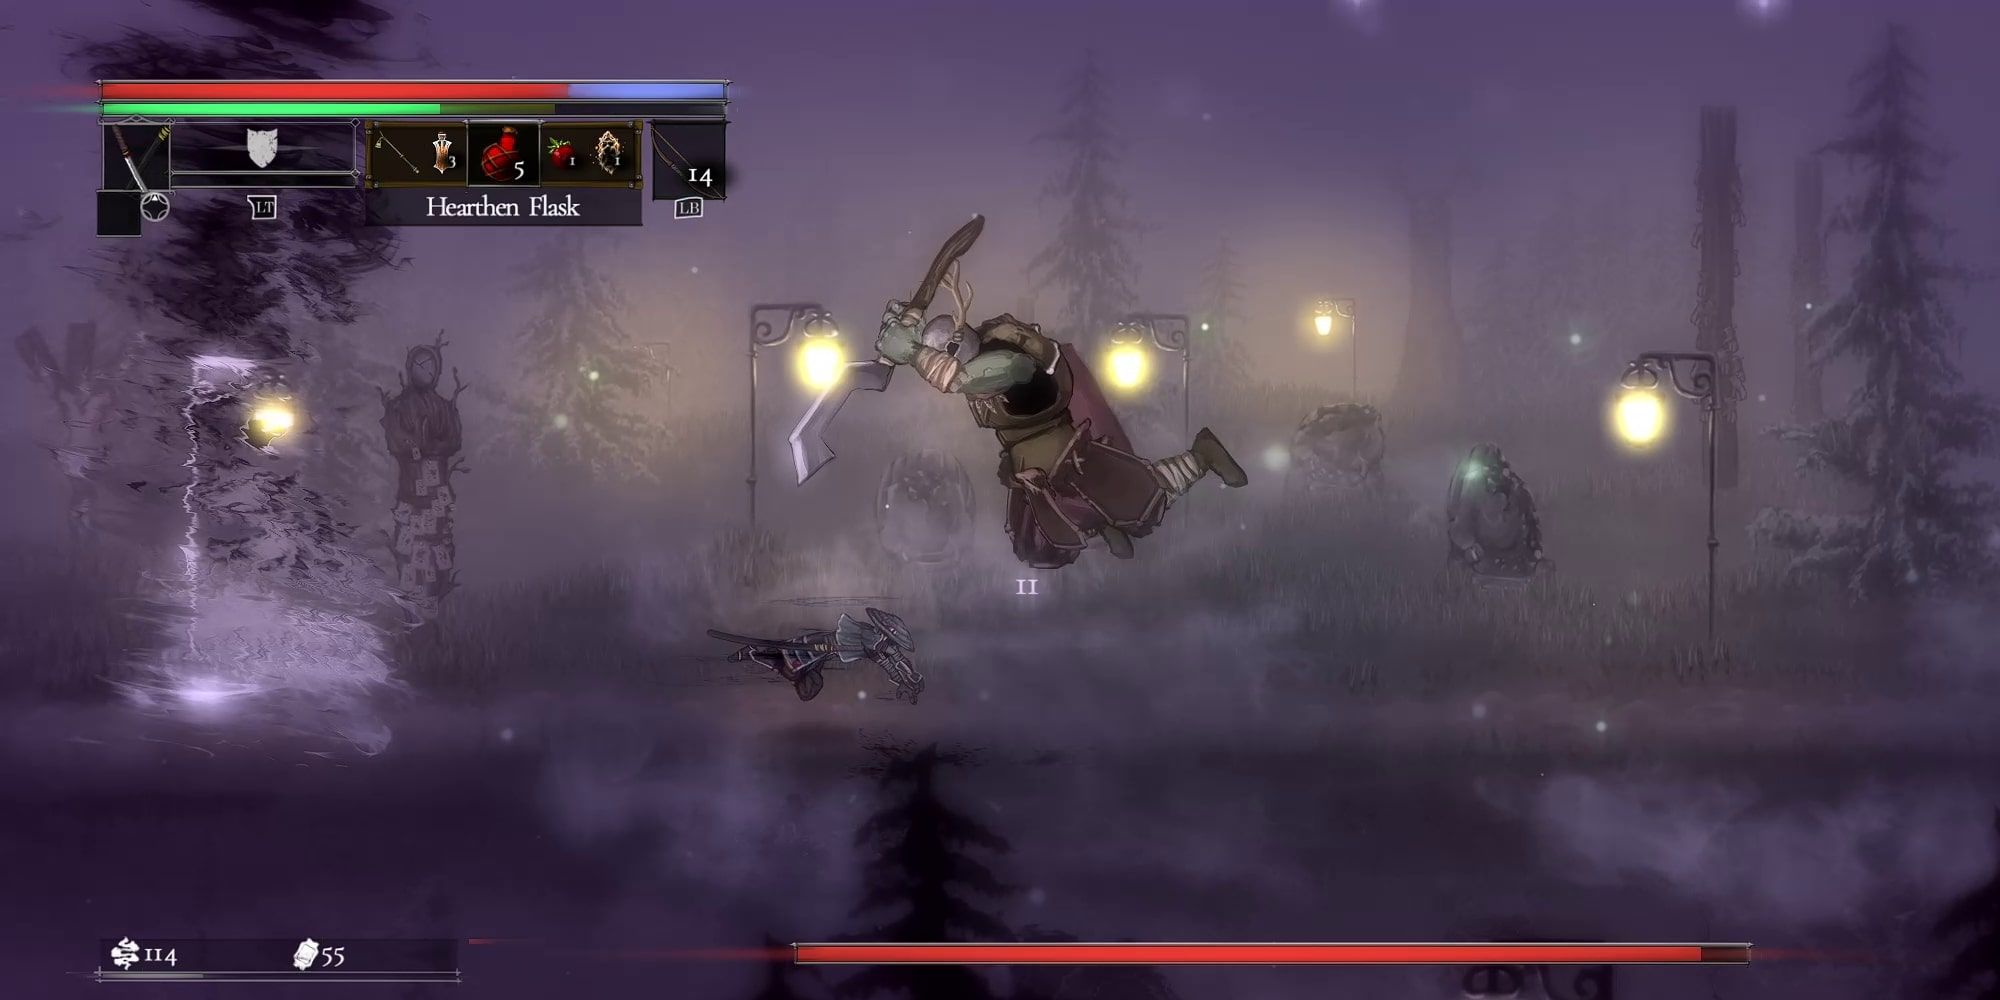
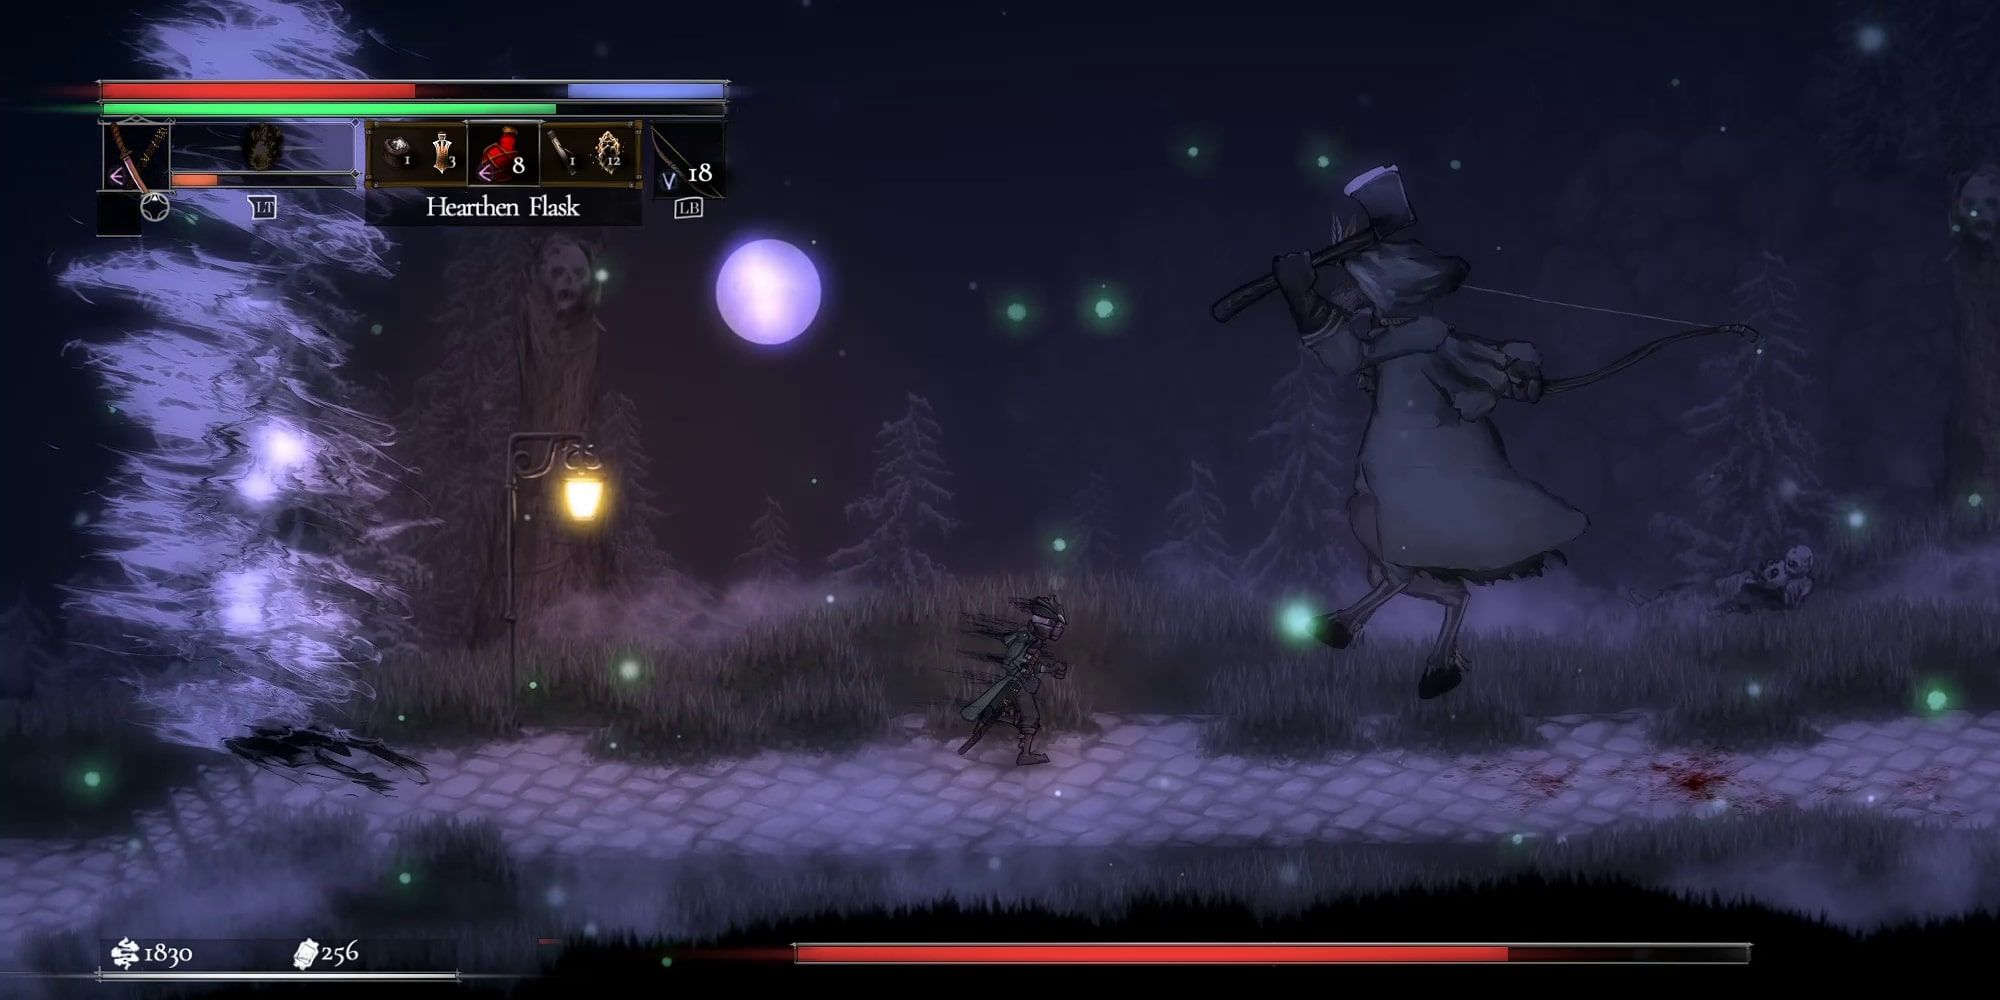
One of the few optional bosses in the game, the Green Huntsman is waiting to upset anyone who dares attempt to enter Ashpeak Castle. It's quite a nasty trick to play since this is one of the more ferocious bosses in the game.
The Huntsman is incredibly aggressive and gets more tricky to fight when he's low on health. He can even punish you for trying to heal up at a safe distance by sniping you with his bow - there is no safe distance with this boss.
4 The Two That Remain
Dual bosses will always be some of the trickiest fights to take on, especially in a game like Salt and Sacrifice, where enemies never seem to let up. This Ornstein and Smough knock-off will happily ruin your day again and again if you let them. Consider having a friend join you to even the odds.
Both bosses get tougher attacks when you whittle their health pool down, and they both have extraordinary leaps that they'll use to close any gaps - you have to stay on the offensive the entire time in this fight or risk getting pulverized. It's a very satisfying feeling, coming out on top.
3 The Worm That Does Not Die
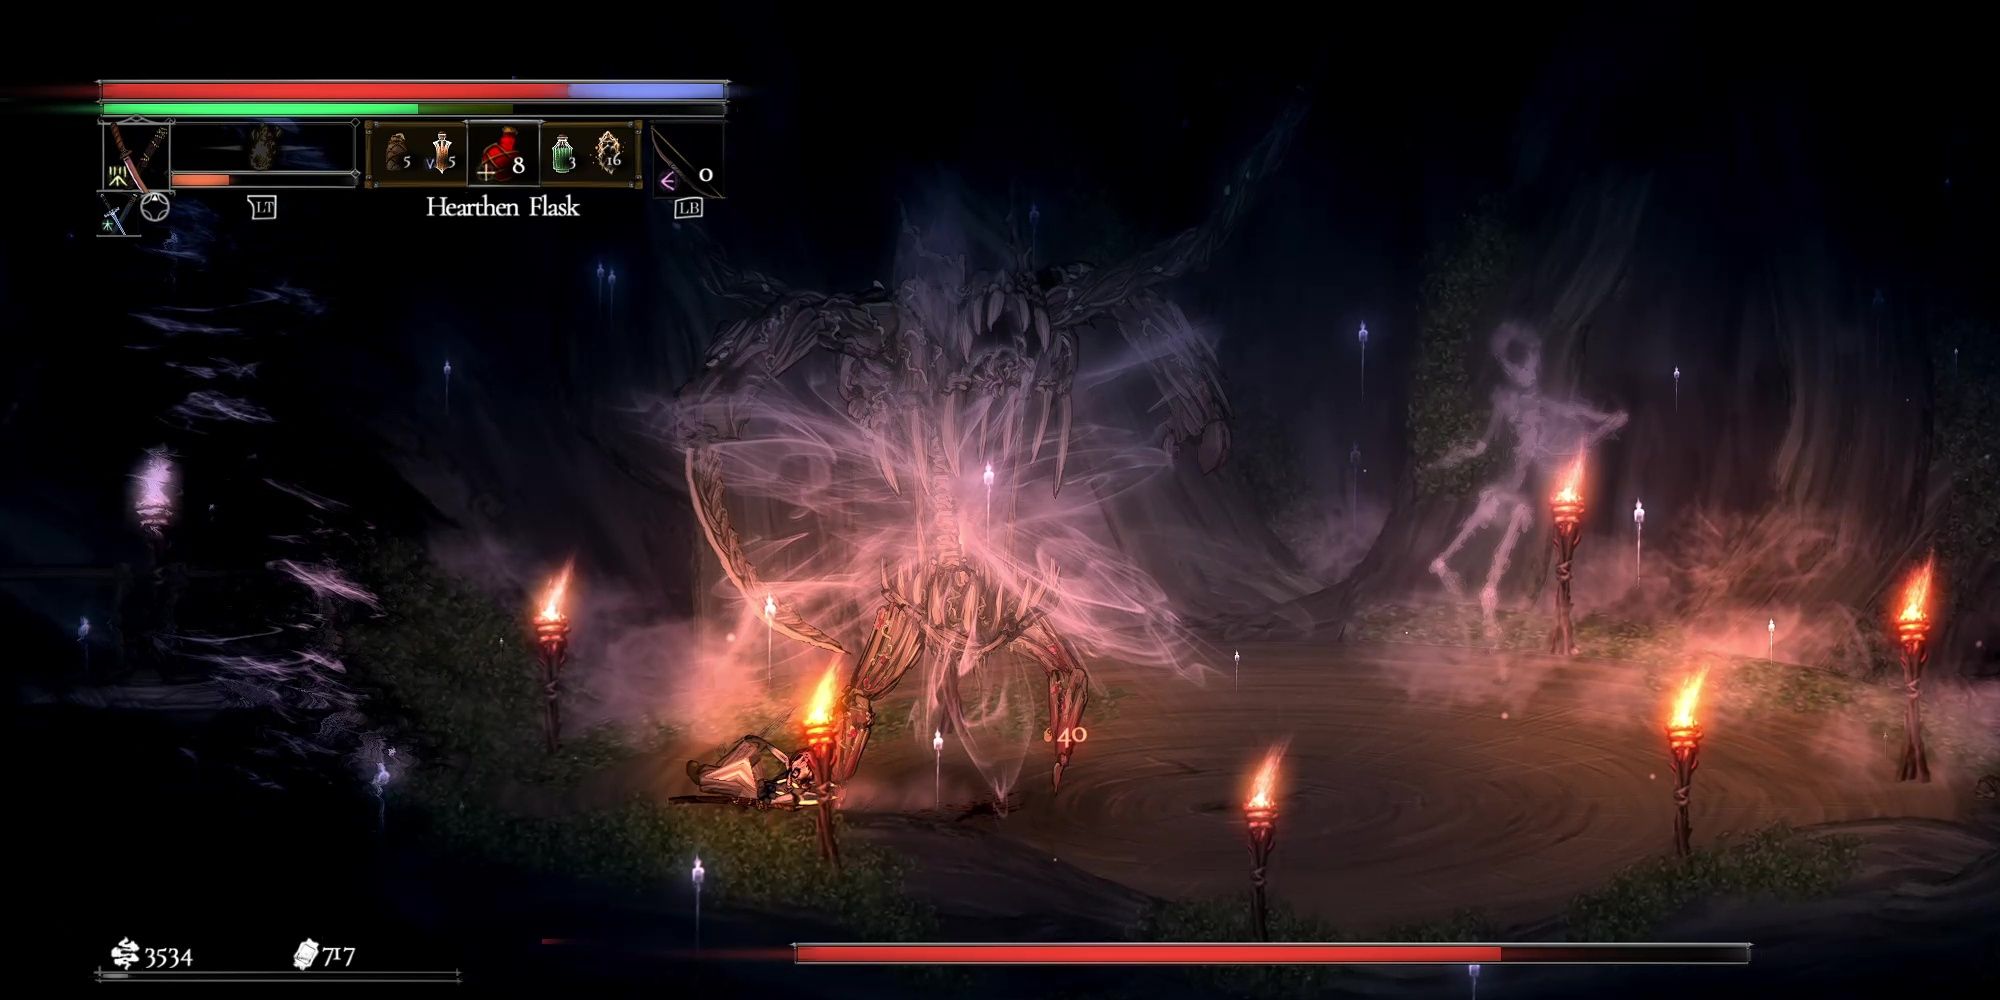
Compared to Icon of Pandemonium, the Worm That Does Not Die feels like a callous move. This boss fights with fire and is extremely good at it, flinging fireballs at you and summoning geysers of lava with reckless abandon.
Add to its fire moves the brutal scythe attacks the boss can pull out, and you've got yourself one frustrating boss to face. Beating the Worm That Does Not Die is a task that requires lots of caution and care, lest you get juggled in the air by lava geysers and lose control of both your character and your senses.
2 The Tireless Exalted
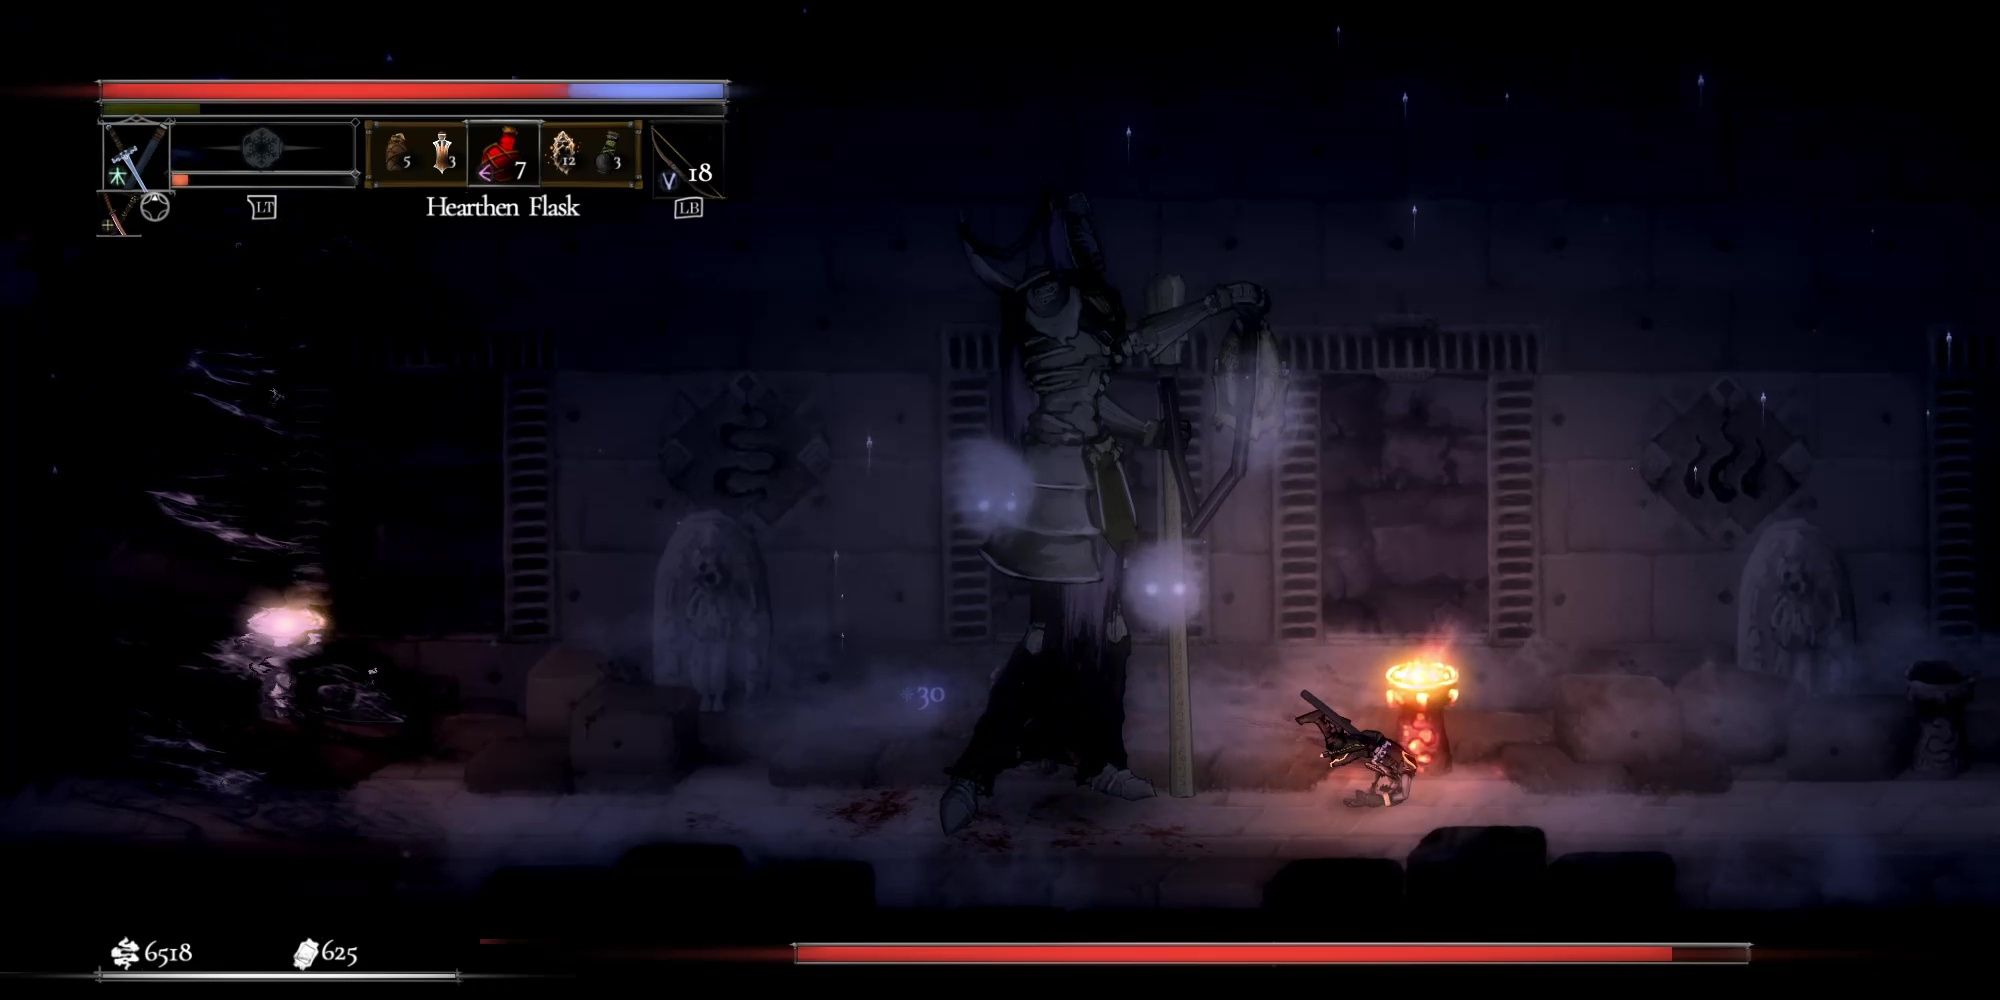
What's worse than a boss with an instant-death attack? A boss with two instant-death attacks! The Tireless Exalted is fought in the second area of the game, Bol Gerahn, and he's extremely tricky to fight. Throughout the battle, he will summon floating ghosts that, if touched, start stacking a status ailment that spells instant death. Once you've damaged him enough, he'll gain another attack that shoots death wisps at you that are even harder to dodge.
This would be fine on its own, but the Tireless Exalted also has pretty strong, long-reaching melee attacks that are pretty tough to dodge. Fitting in as much damage as you can while dodging attacks and certain death is one of Salt and Sacrifice's biggest challenges.
1 The Undone Sacrifice
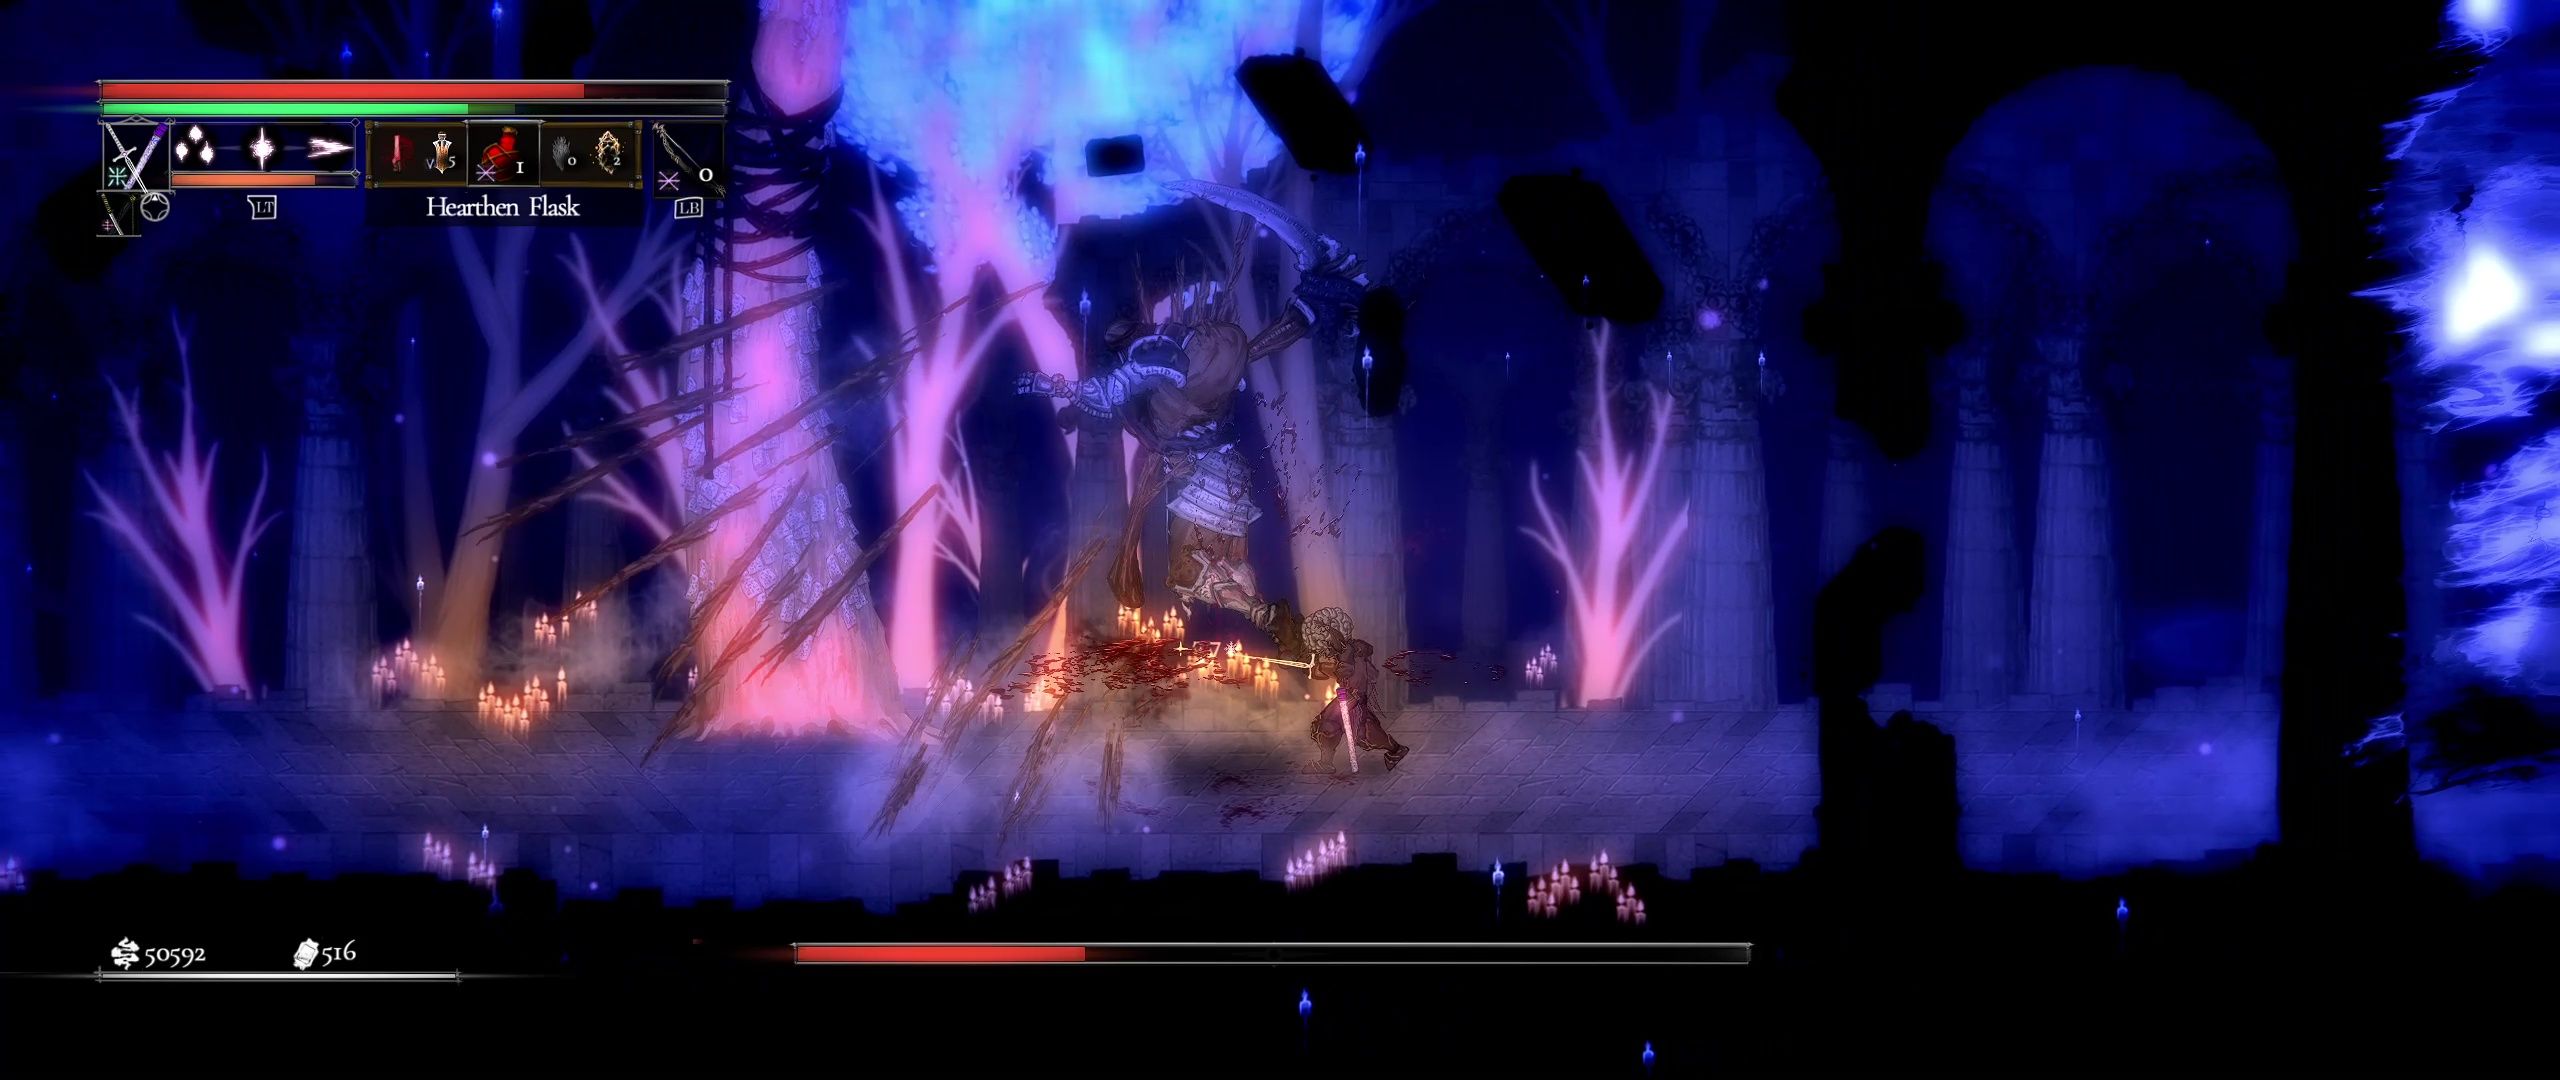
Rather fittingly, the game's final boss is also pretty firmly the hardest. Being able to defeat the Undone Sacrifice is an accomplishment that you can be proud of - no other fight in the game comes close, except perhaps the likes of the Umbramancer and the Bibliomancer.
With extremely fast attacks, oodles of health, and the fact that he gets incredibly aggressive when low on health, fighting the Undone Sacrifice is well and truly an uphill battle. You'll have to learn his moves, stock up on Hearthen Flask charges, and upgrade your weapons and armor a lot before you should even think about tackling him.

