Quick Links
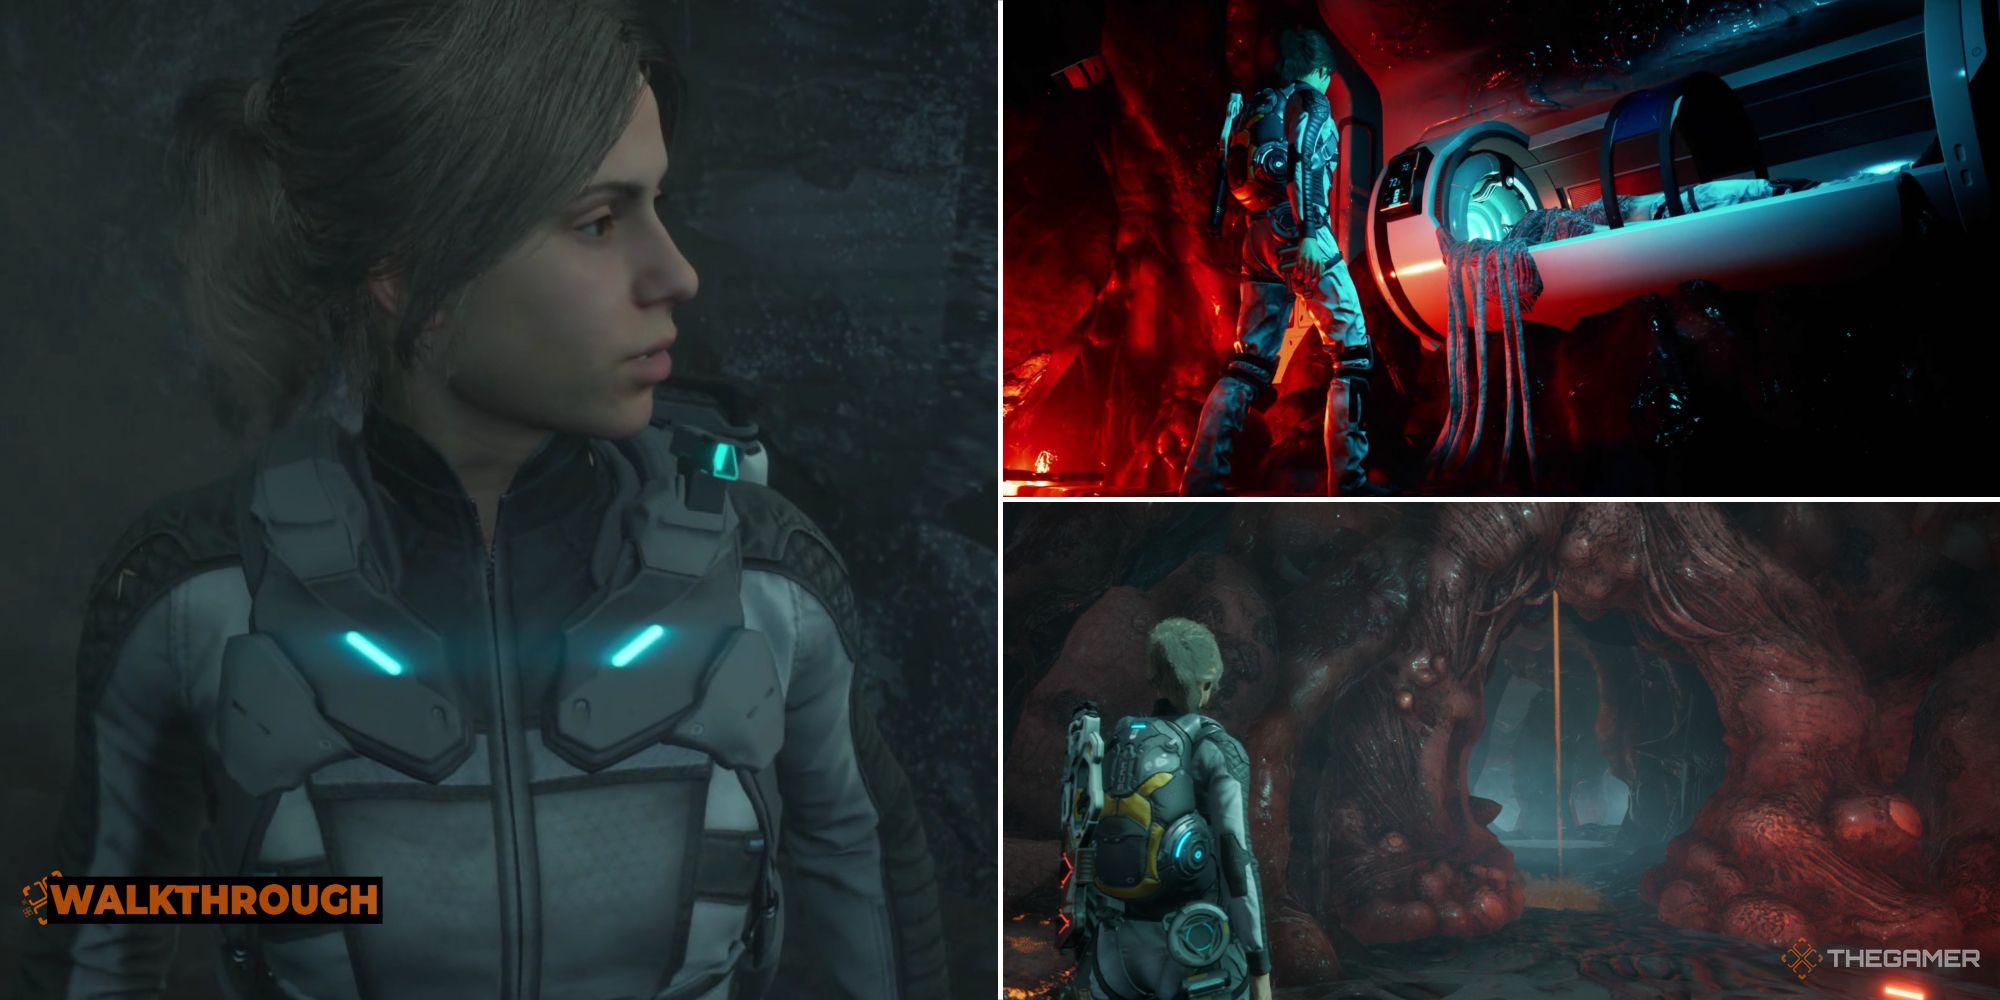
The fifth chapter of Scars Above involves lots of fights in tight quarters. There are also a slew of brand-new enemies that you'll have to face, several of which you won't have encountered up to this point. Surviving the caverns requires full use of your weapons and tools, as well as a bit of perseverance.
This guide not only includes the best routes to take through the tunnels, but also winning strategies for each of the chapter's challenging fights. Chapter Five has lots of surprises, so be sure not to let yourself get caught off guard!
How To Get Through The Caves Under Site Ven-Septa
As the chapter begins, Kate wakes up in a cave below the Ven-Septa facility. Take the only path forward and activate the pillar to the left. As you progress, you'll come to a small pool where you'll be attacked by a swarm of Arachnids. Once they're dealt with, take the high path to the left to find a Knowledge Cube. There's a second one on the right just past the pool.
The following chamber is guarded by two Alluvials; one weak against fire to the left, and another weak against electricity to the right. The left Alluvial is hard to see as you enter, but if you engage it first before moving too far to the right you can defeat it before getting its companion's attention.
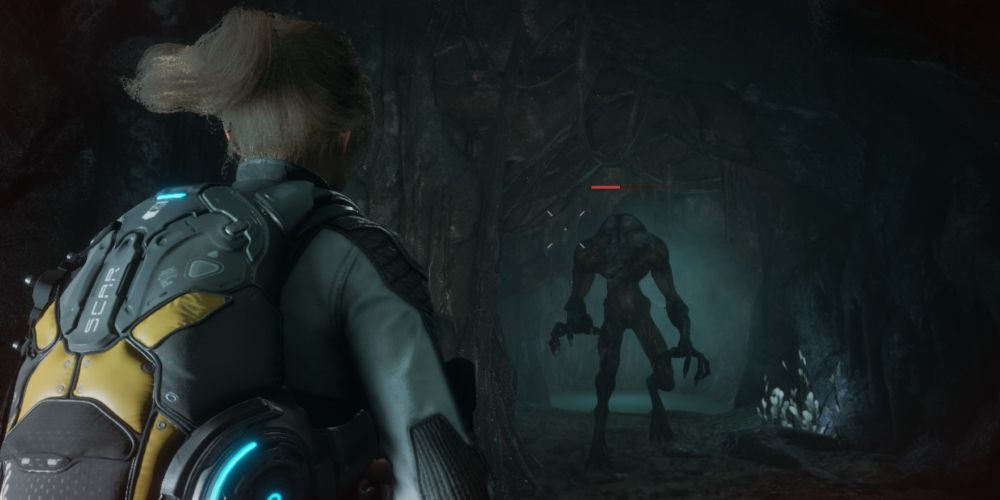
On the right side of the cave is a Knowledge Cube and a small passage leading to the next area. Squeeze through and climb the ledge ahead. As you continue down the tunnel, you'll be attacked by a Bipedal Stalker. It hits hard but is fairly straightforward; just retreat down the tunnel and keep shooting it until it drops.
The Chemical Atomizer is a great weapon against Stalkers, since they're usually at close range.
Scan the Stalker, then follow the tunnel as it curves to the right near a pool of water. In the next chamber, activate the pillar to the right and take the Knowledge Cube behind it, then look near the circular door on the left for another Cube. The door can't be opened, so keep going down the tunnel once you have everything.
When you reach a pool of water, check the right-hand tunnel for a Knowledge Cube, then cut through the stalactites at the side of the pool for another one. Take the path leading upward and squeeze through the passage at the end.
Defeat the pair of Alluvials in the next room, then look on the upper ledge for an Atomizer upgrade and yet another Knowledge Cube. Continue through the small passage at the far end of the room.
Follow the tunnel, grabbing two easy-to-spot Knowledge Cubes as you go. When you hear Robinson's voice, be on the lookout for a small chamber to the right with a third Knowledge Cube. After this, you'll follow a long, winding tunnel. At the end is a hallucination of the Alluvial King; when it appears, be ready to fight off a swarm of Arachnids guarding a Knowledge Cube.
How To Defeat The Exo-Mutant
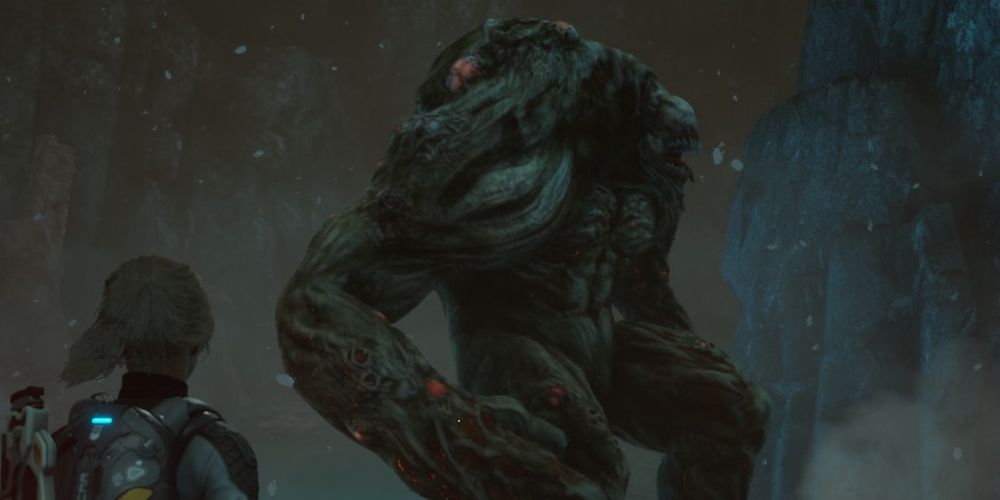
Take the Cube and continue along the only available path. When you come to the door, you can open it to return to the pillar; you'll need it, since the next room is a doozy. The large chamber contains an Omnivorous Colossus, two Stalkers, and several Scorpioid eggs. Luckily, they're fairly spread out, so you should be able to take them a few at a time. Use the water to freeze your opponents or slow them with the Gravity Trap if things get dicey.
Once the room is clear, you can gather several Knowledge Cubes before proceeding through the small space between two metallic pillars near the upper egg nest. Check the chamber to the left in the tunnels beyond to find two Knowledge Cubes, then proceed along the only path available.
When you reach the next underground pond, check the ledge to the left for another Cube, then head down toward the water. There, you'll find a new enemy - the Purulent Exo-Mutant. It regenerates quickly, so you won't be able to defeat it until you collect a new weapon in a chest to the right. The Fire Ray deals enough damage to overcome the monster's regeneration, especially if you target the nodes on its back.
Since the Exo-Mutant starts in water, you can buy yourself enough time to find and equip the Fire Ray by freezing it immediately.
When the Exo-Mutant is defeated, scan its body then exit the chamber through the passage near the chest that contained the Fire Ray. Activate the pillar in the next room, collect the Knowledge Cube to the right, and continue.
How To Open The Membrane
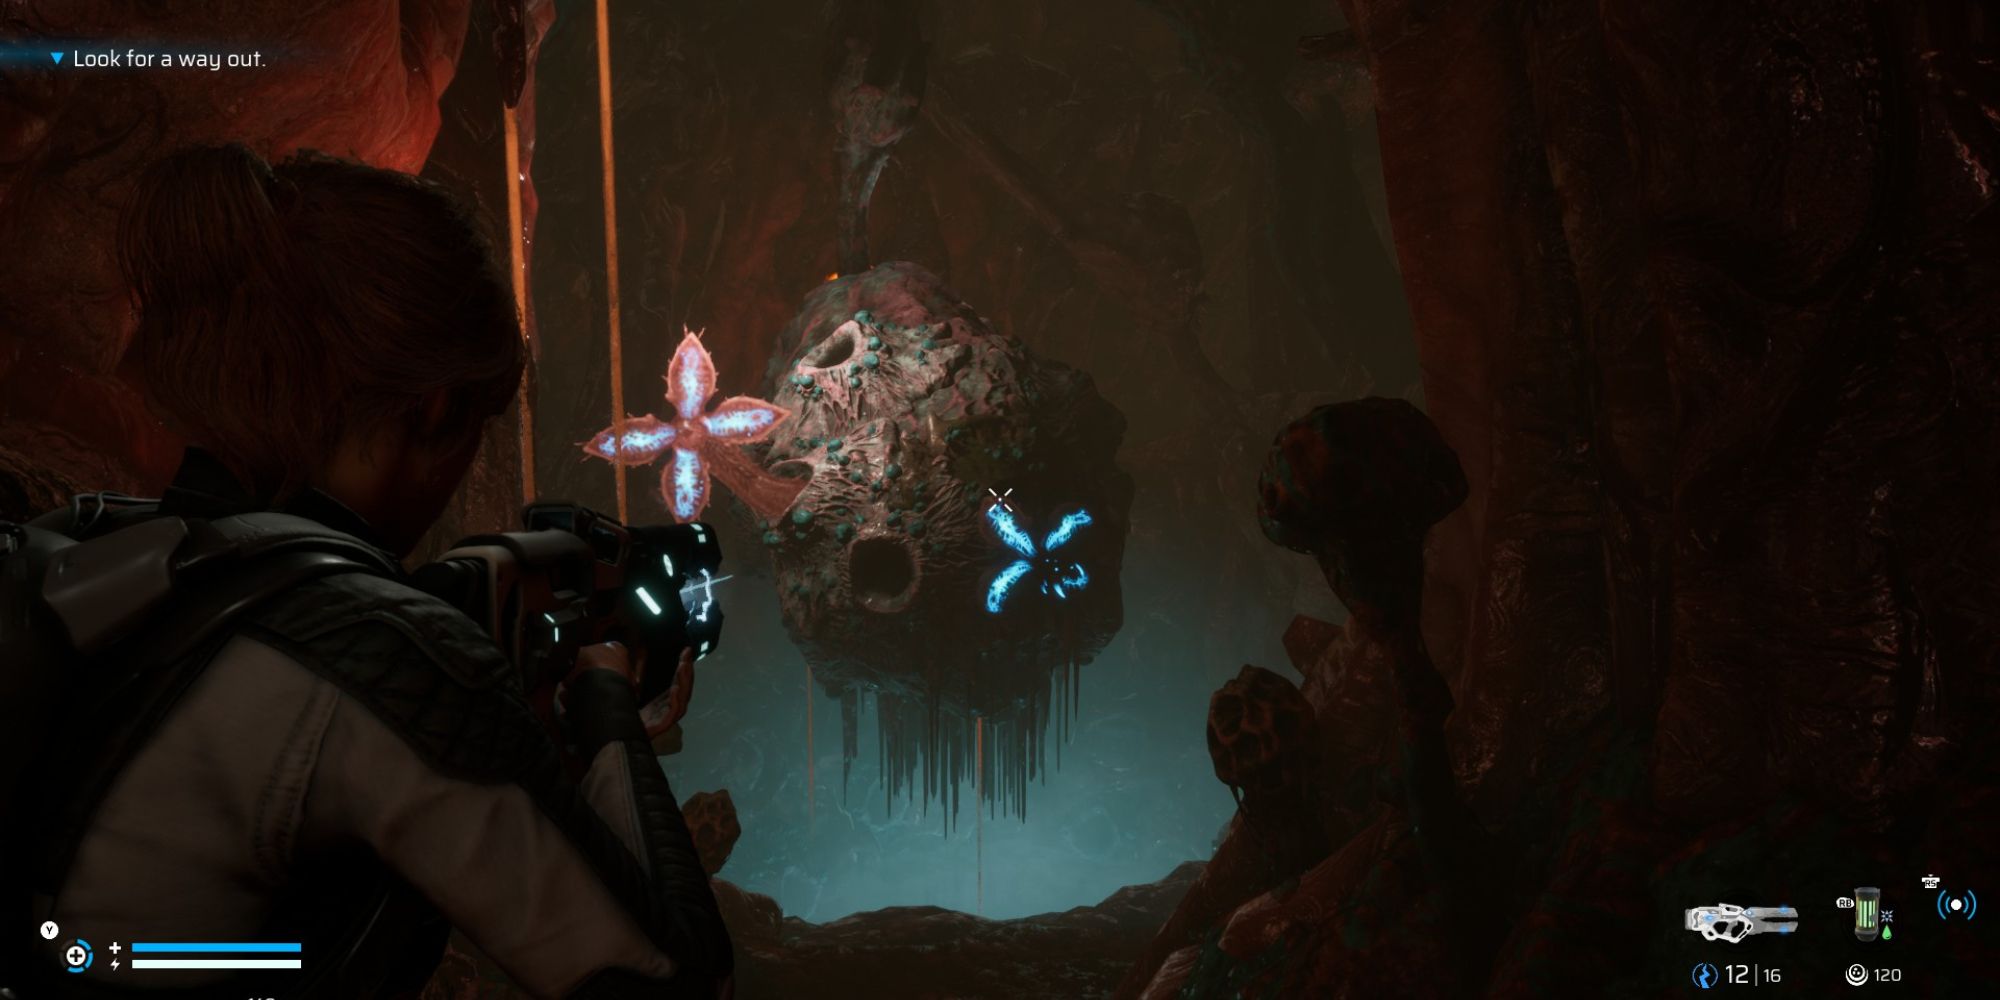
Across the bridge is an organic barrier blocking your way. Shoot the nodes near it with the Fire Ray to cause it to retract. You still can't fit through, so you need to find more nodes. The second set is above it and to the right, but watch out for Toxic Arachnids coming from the ledge above. Once they're defeated, go to the area they came from to get a Knowledge Cube.
You can get a second Knowledge Cube on the opposite ledge, but watch out for a pair of Stalkers as you cross. Once you've collected it, go down into the center of the chamber. Take the upper path on the left to get a third cube and an upgrade for the Fire Ray that reduces its charge time - just watch out for the Flying Leeches along the way!
When you finally enter the pool at the bottom, you'll have to fight a miniboss, the Feliform Cadaver. It leaves a toxic cloud in its wake, so have the Resistance Booster ready to counter the effects. It only takes two shots with the Cryo Launcher to freeze the Cadaver, even when it isn't wet, so slowing it down and firing away with VERA is more than sufficient to eliminate it.
After scanning the Cadaver, be sure to examine it a second time to loot a clip size upgrade for the Chemical Atomizer!
When the Cadaver is defeated, look for fleshy tentacles along the wall. Squeeze between them to find and destroy the final node and open the membrane above. Follow the tunnels beyond, and you'll come to a Tunnel Serpent nest. You can quickly destroy it by running around the outside of the chamber to the other side and detonating the nodes there. You'll also find a Knowledge Cube, so it's worth going there anyway.
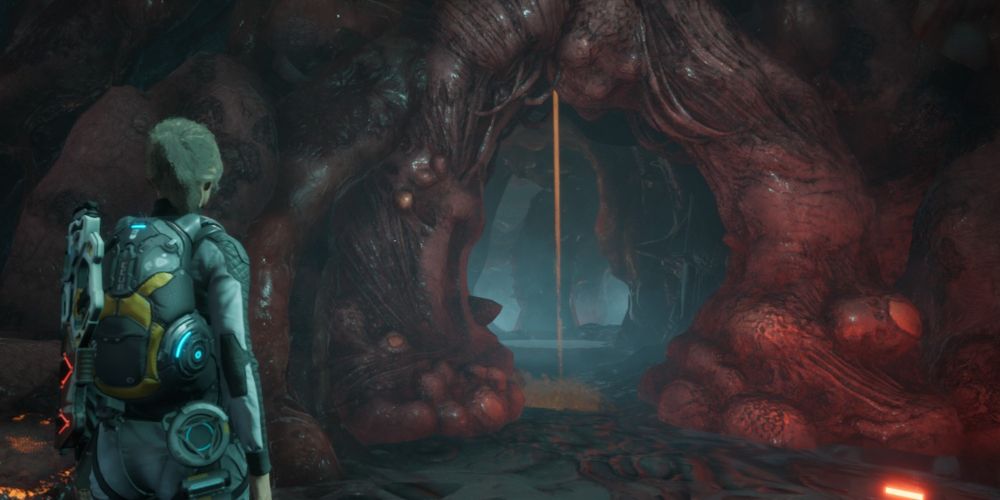
How To Get Through The Flesh Caves
Squeeze through the tunnel to the right of the nest, and climb to the top of the arch on the other side to get a Knowledge Cube before continuing further. Take a right at the fork; left is a dead end. Do the same at the next fork to reach the following chamber.
Loot the Mortis Beetles and the chest to the left to refill your Cryogenic Extract, and reload the Cryo Launcher if necessary. As you round the corner ahead, you'll be ambushed by Flying Leeches and Toxic Arachnids. Freeze them quickly, and move on after they're defeated.
When you come to a small pool of water, be ready for a Stalker to emerge from the right. If you have the Cryo Launcher ready, you can freeze it when it steps in the water, giving you plenty of time to finish it with the Chemical Atomizer. There's a second Stalker just ahead, so don't let your guard down!
Follow the tunnel until you reach a room with a Serpent nest and a pillar. You can destroy the using the same method as the previous method, but be warned that activating the pillar will cause it to respawn. Pick up the Knowledge Cube in the chamber behind the pillar, then continue counterclockwise along the path around the nest.
In the next set of tunnels, you'll be attacked from both sides by a pair of Stalkers and a swarm of Arachnids. The Gravity Trap works wonders here, as do melee kills against the Arachnids if you've unlocked the ability to heal when finishing an enemy in close combat.
Cross the bridge past the ambush site and check the room on the right for a Knowledge Cube. Equip your fire weapon of choice and continue down the tunnel. Kate will have another hallucination, this time of Mike. When you approach him, she'll snap back to reality with an Alluvial directly in front of her, ready to strike! Dodge backward immediately and defeat the creature before moving on.
When the tunnel curves to the left, look in the circular holes on the right-hand wall for a Knowledge Cube. There's another one on the left, just before you exit the next chamber. In the large room that follows, you'll see a pillar that turns out to be another hallucination - approaching it triggers a fight with two Bio-Mutants. Use the Protective Barrier to ward off their attacks, and light them on fire with the Heat Ray.
Use VERA and the Chemical Atomizer while the Bio-Mutants are on fire to save Incendiary Extract. You don't want to run out during this fight!
When the Bio-Mutants are beaten, check the right-hand side of the room for a Knowledge Cube, then squeeze through the passage at the far end. After another set of long tunnels, look for some orange nodes on the left. Destroying them with fire will open a shortcut back to the pillar, which you'll need for the boss fight against the Neuro-Parasite ahead.
How To Defeat The Neuro-Parasite
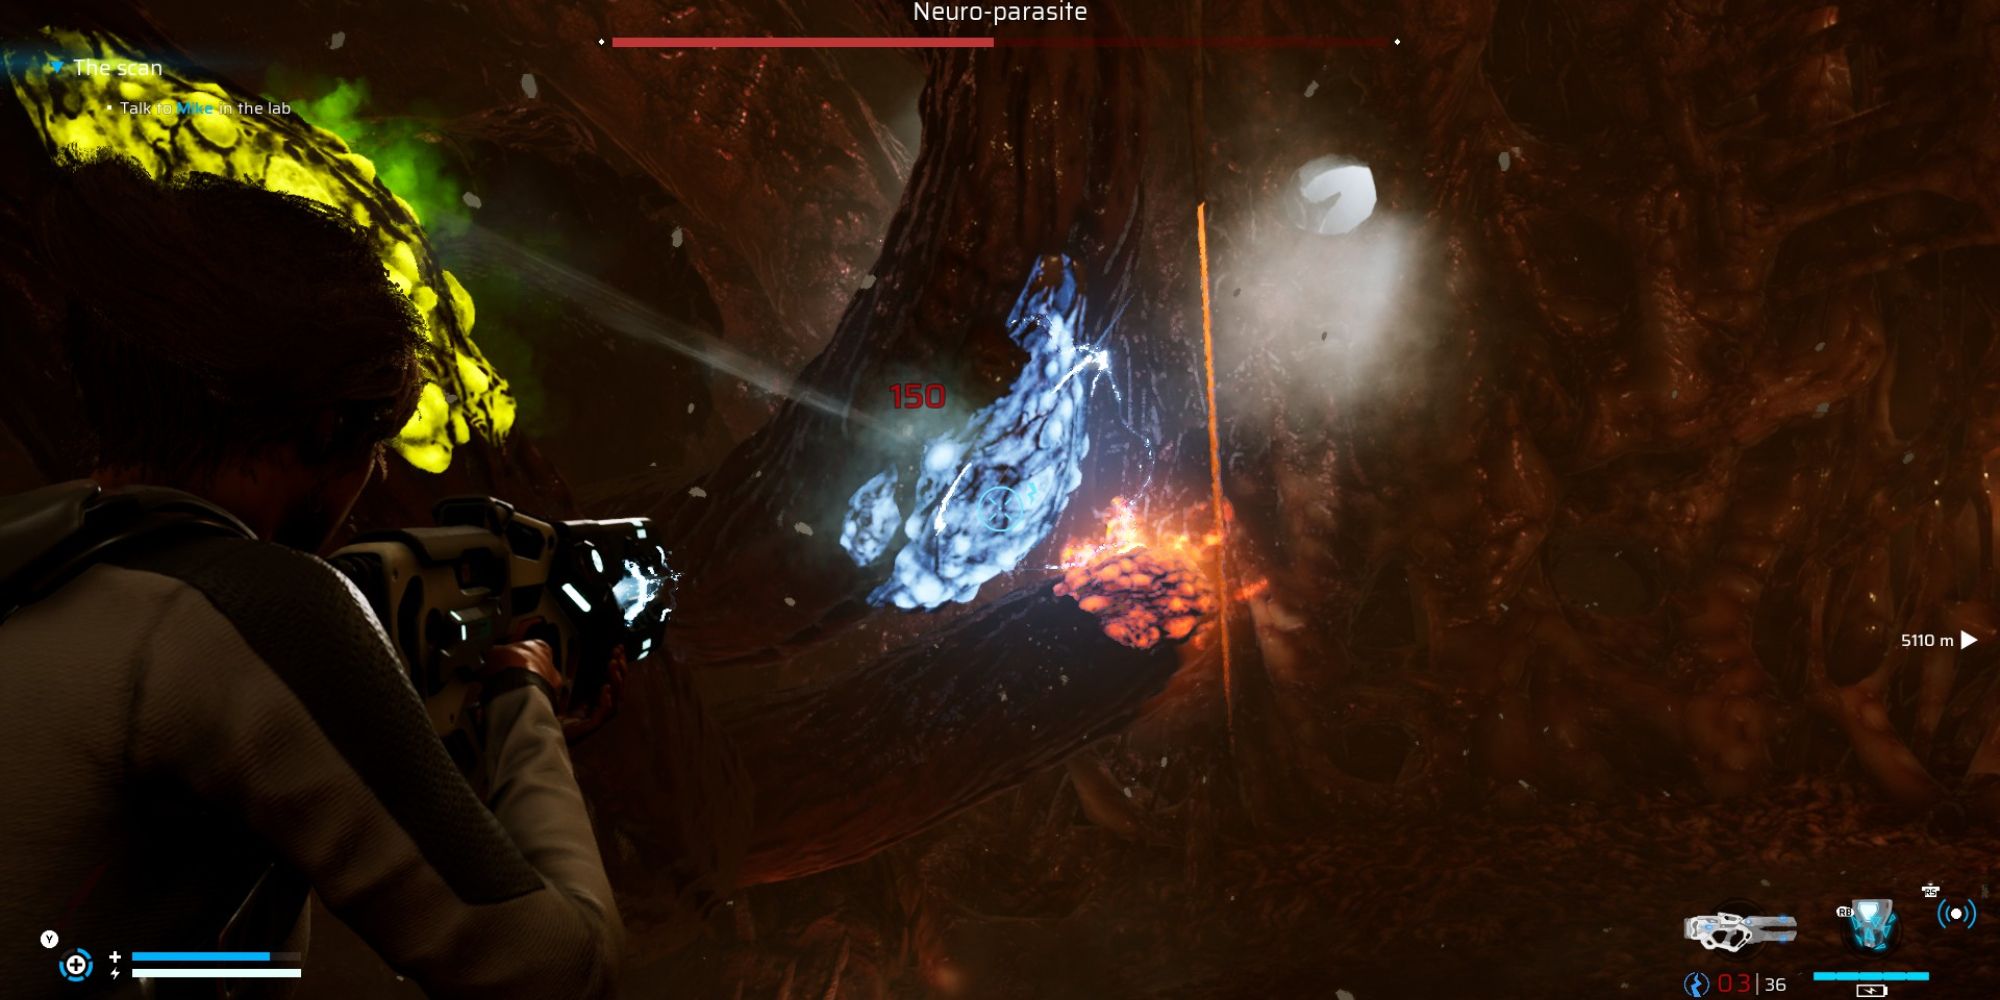
The Neuro-Parasite constantly spawns tentacles from the ground. These can be defeated by shooting them with the element of the matching color, but it's better to avoid them entirely and aim for the organism's main body. Shoot the nodes on its head with the matching weapon type - electricity for blue, fire for orange, and acid for green. When all the nodes are destroyed, the Neuro-Parasite's mouth will open. Quickly shoot all three nodes inside - if you aren't fast enough, it will trigger a cave-in, ending the fight and sending you back to the pillar.
When the nodes in the Parasite's mouth are destroyed, it will spray hallucinogenic gas. Use VERA to shoot the Tunnel Serpents that appear while your vision is clouded until you return to the main fight. Repeat this process three or four times, and the boss will go down.
There are plentiful ammo pickups at the back of the Neuro-Parasite's chamber. Use them to stay topped up!
After the cutscene, scan the Parasite's tongue to get the Spatial Shift ability. Walk along the tongue to reach the monolith beyond it, and shoot the nodes to the left, right, and above. Doing so re-activates the monolith, which you can then use to return to the Hermes.

