Quick Links
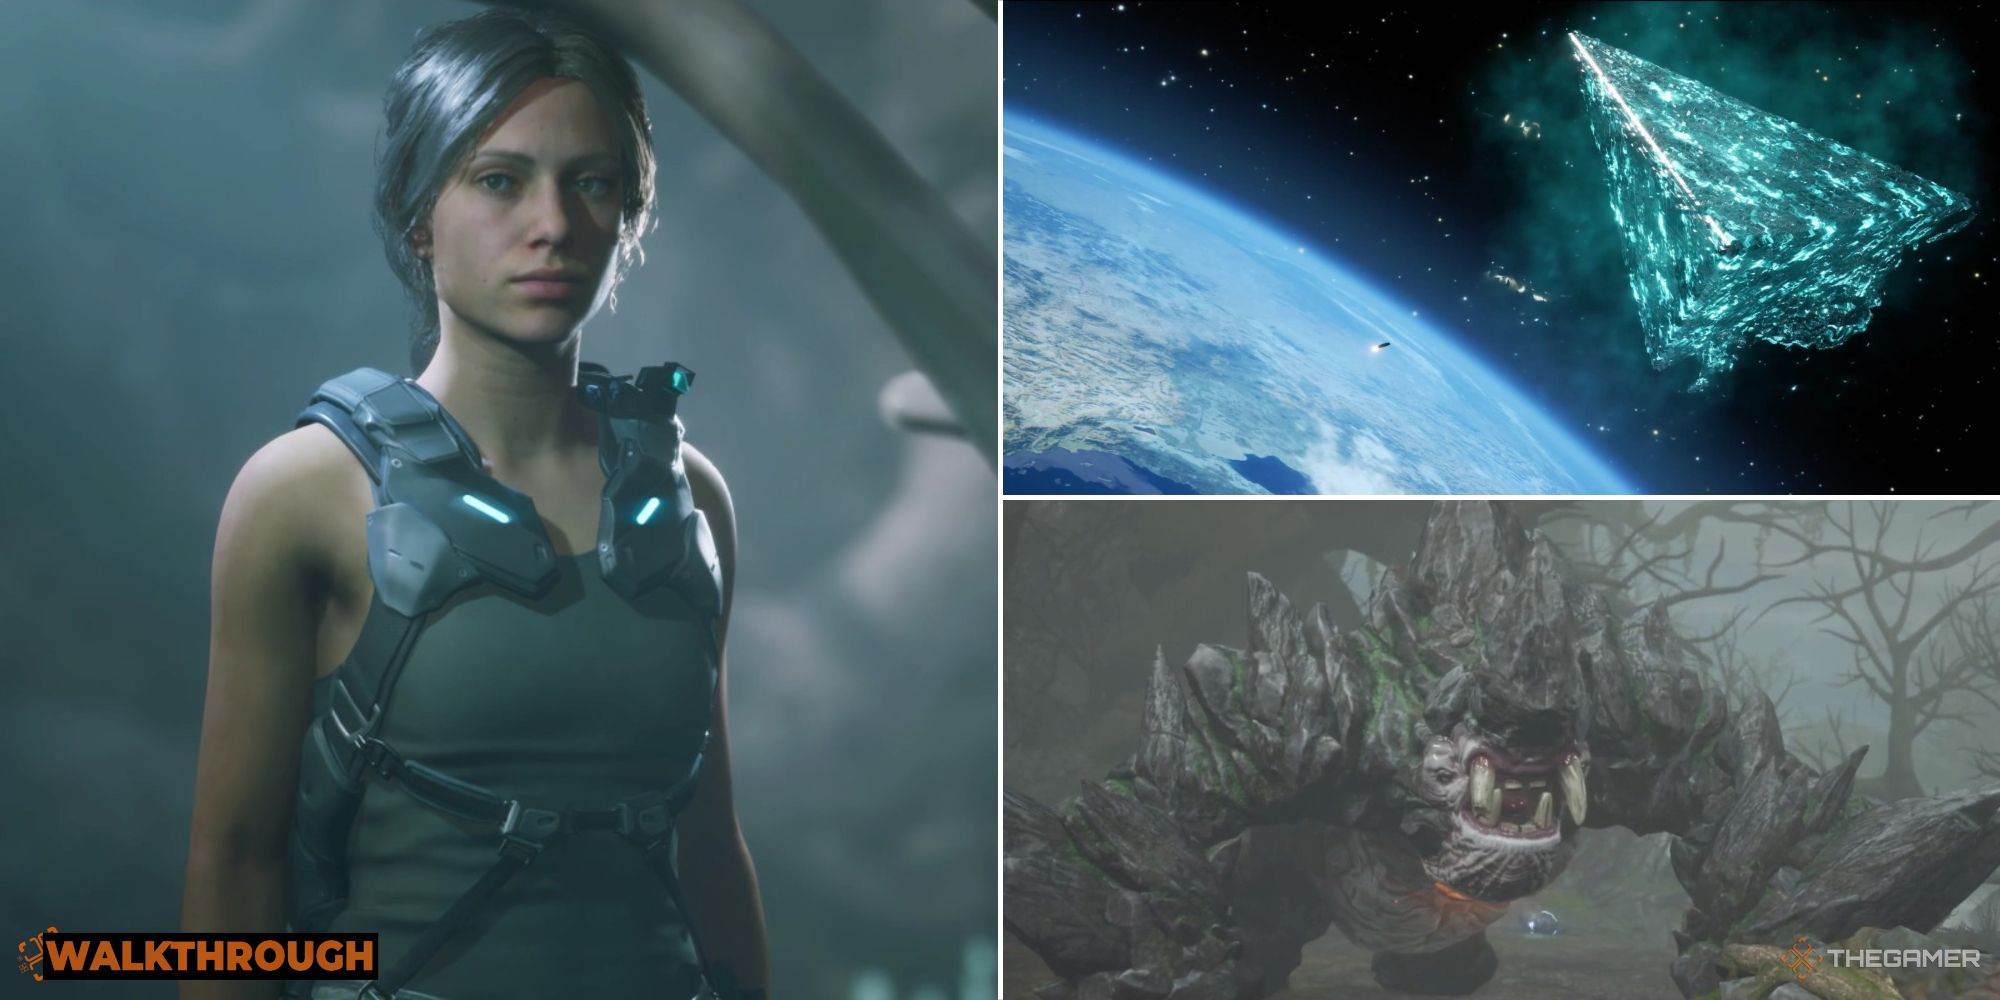
The first chapter of Scars Above introduces players to the game's alien setting and elemental combat mechanics. From exploring the strange planet to fighting off the ferocious local fauna, Kate will have her hands full as she tries to find her teammates and figure out what happened.
This guide will take you from the start of the game to the first boss fight, complete with strategies for key battles. If you're having trouble unlocking the way forward, or can't quite figure out the trick to defeating a specific enemy, we've got you covered!
How To Complete The Prologue
Gameplay begins in Kate’s cabin aboard the Hermes. Walk down the hall, enter the room on the left, and speak to Mike at the workstation there. Next, go across the hall to the equipment room and open the red case to the right.
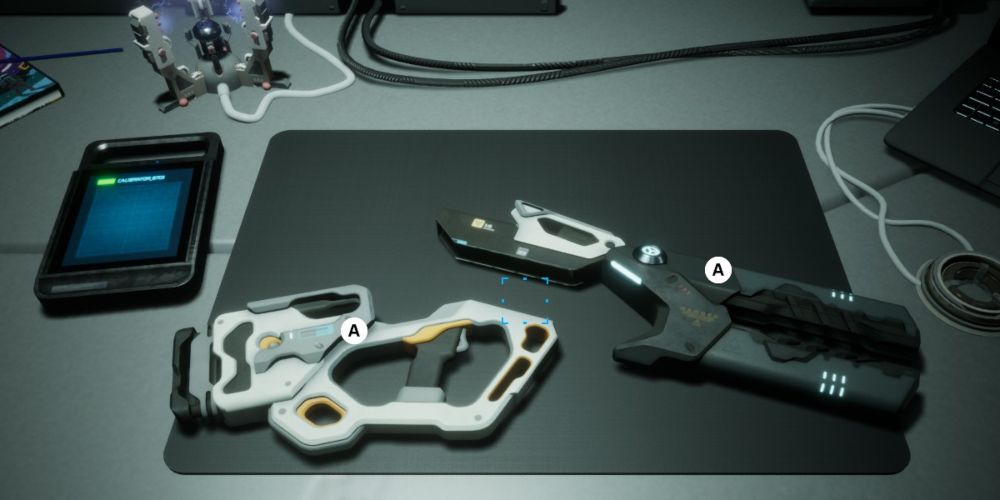
Interact with both of the case’s latches in first-person view, then open it up to retrieve the Welder. When you return to third-person view, use the crafting table immediately to your right. Make a Rail Module, then go back to Mike’s room. The assembly table in the center of the room can be used to combine the Welder and the Rail Module.
In the crafting view, place both items on the table, then interact with each to attach them to one another. Take the power cell in the upper left, and it will automatically be placed on the device by the laptop to the right. Use the laptop to adjust the frequency of the cell, moving the controls down and to the right until the waves on the screen are the same shape.
When the frequency is correct, place the power cell in the Welder, then use the tablet to the left. Press the action button when the moving cursor is inside the box to calibrate the Welder and finish the assembly.
Leave Mike’s room and turn right, entering the elevator that is now open. Ride it down to the engine room, then turn right at the end of the gantry. You’ll see the ship’s reactor.
Shoot the three rotating blue lights to add extra power to the engine, then shoot the core itself when Mike tells you to do so. The VERA only has limited shots, so you may need to reload.
Ride the elevator back to the main corridor, and place VERA back in the equipment case. Once that’s done, go to the other end of the hallway, where the door to the bridge is now open. Go inside and sit in the chair to the right of Commander Robinson to trigger a cutscene.
How To Open The First Gate
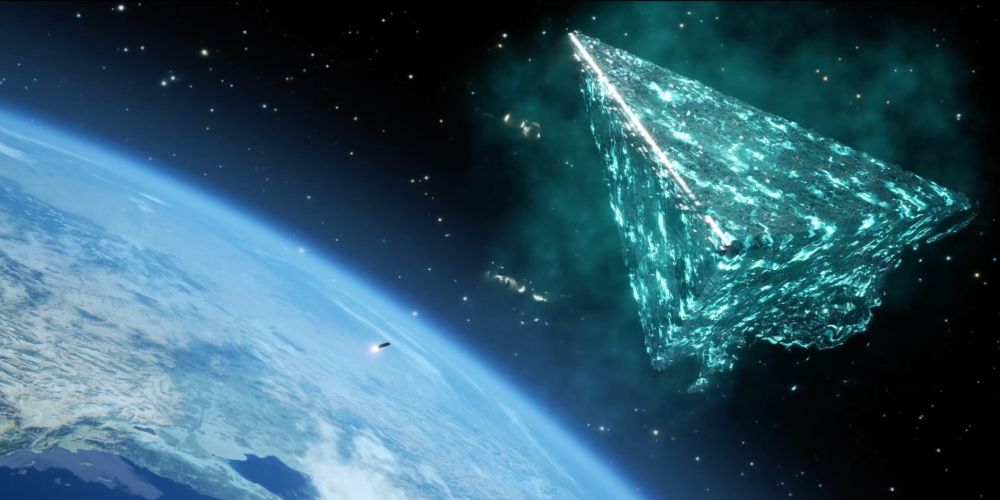
Kate will wake up on a strange planet. Look around for the Metahedron in the sky, and start making your way toward it. Follow the holograms that keep appearing, and you’ll learn core traversal mechanics like running and climbing.
When you come to a field, examine the obelisk in the middle - note that you’ll have to wait until your holographic guide disappears. When a storm kicks up, look for the objective marker on the horizon and follow it. When you’re within about 225 meters of the tower in the distance, another cutscene will trigger.
Before moving on after the cutscene, note the glowing pillar next to you. Interacting with these will restore your health and some ammo, but also respawn enemies. When you’re ready, walk along the path and look for some discarded equipment to your left, just before you reach a barrier made of vines. Open the crate and take the backpack inside, as well as the electric cutter underneath it.
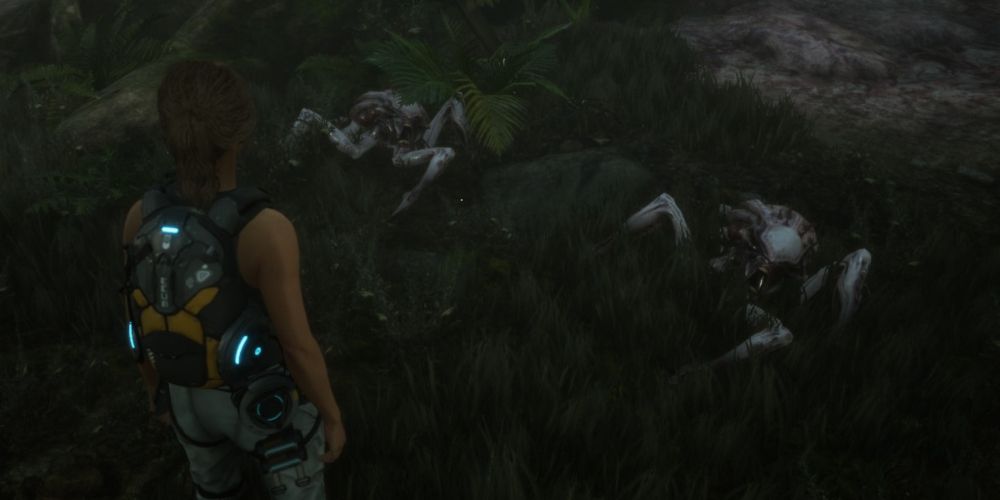
The electric cutter can be used to remove the vines blocking your way, and also serves as a melee weapon. Slice through the vines and continue. You’ll immediately be attacked by a spider-like enemy that can be easily defeated with two to three strikes.
When the spider is defeated, remember to scan its corpse and retrieve the Fiber it drops - you can’t do this with every defeated foe, so always be on the lookout for icons after a fight!
Move along the path, fighting and defeating any enemies that pop up. There’s a gate at the top of the hill that you can’t open yet, but scan it as well as the nearby purple flower in the swamp below. Next, cut through the vines at the far end of the swamp. Beyond, you’ll find the equipment case containing VERA.
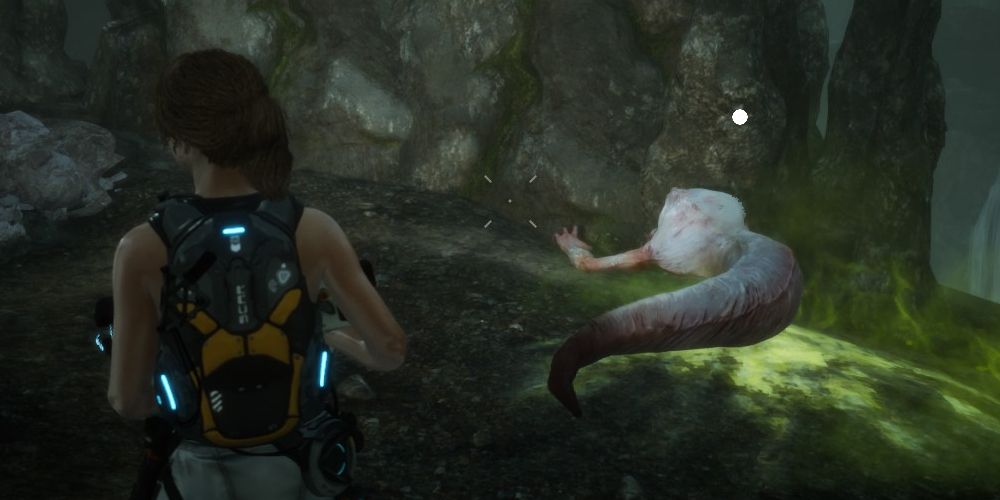
Once you’ve retrieved VERA, return to the area with the gate. You’ll be attacked by a Scorpioid, which hides under the water between assaults. Two shots to the head from VERA should be enough to kill it - don’t worry too much about conserving ammo, as you’ll take a lot more damage if you try to defeat the creature with melee attacks.
Once the Scorpioid is defeated, scan its corpse then use VERA to activate the locks on the gate. There’s a pair of Scorpioids in the water ahead - shoot them both, then check to the right to find your first Knowledge Cube. These grant progress toward unlocking abilities, so look for the telltale purple light wherever you go!
How To Get The Thermic Charger
Keep moving forward, and you’ll be attacked by a swarm of spiders. There’s a big one with a swollen abdomen - shoot it first, as it will explode and deal heavy damage if it gets too close. It also explodes upon death, which should kill the smaller creatures as well.
After the bug fight, you’ll climb down a small cliff. At the bottom, climb the ledge to the left before continuing to get another Knowledge Cube and some crafting materials. Next, continue along the path and activate the pillar to set a new respawn point.
Follow the cables on the ground into the cave on the right, and squeeze through the narrow passage at the far end. Scan the Scorpioid egg inside, and keep following the cables deeper in.
The cables lead to a shelter set up by Robinson. Turn on the power with the lever at the far end, then check the laptop near the crafting table. Listen to the audio log, then collect the thermic module taped to the back of the computer.
Use the thermic module at the crafting table to create a Thermic Charger. This can burn through the webbing back near the pillar, and also serves as a flame weapon. Make your way back to the pillar - when you reach the egg chamber, you’ll be attacked by a Scorpioid. Quickly shoot both eggs with the Thermic Charger to prevent them from hatching before engaging the main enemy.
How To Find Robinson's Trail
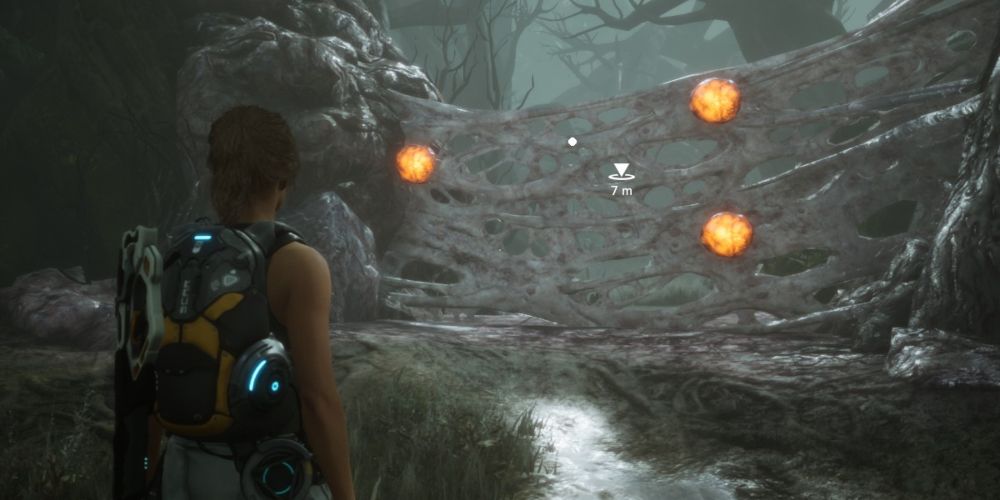
Leave the cave and burn the webbing by shooting the glowing spheres with the Thermic Charger. Use the pillar to heal and restore your ammo, then move on. Take the Knowledge Cube next to the gate straight ahead, then take the left-hand route deep into the swamp.
The path to the right, past the vines, is a dead end with a pair of Scorpioid eggs, but it has two Knowledge Cubes that are worth collecting.
You’ll soon encounter a large group of enemies - use VERA to discharge electricity through the water, damaging the swarm of Arachnids before focusing on the larger Scorpioids. After the fight, burn through the webbing blocking your way and follow the path in a counter-clockwise direction. You’ll find Tam’s log, along with a spare healing injector.
On your way back, you’ll be attacked by a pair of Scorpioids that weren’t there before - be ready!
Halfway back to the cave entrance, take the other path to find Robinson’s army compass and an ammo refill. Look over the ledge, and you’ll see a Scorpioid egg about to hatch - if you’re quick, you can burn it from above before the creature emerges.
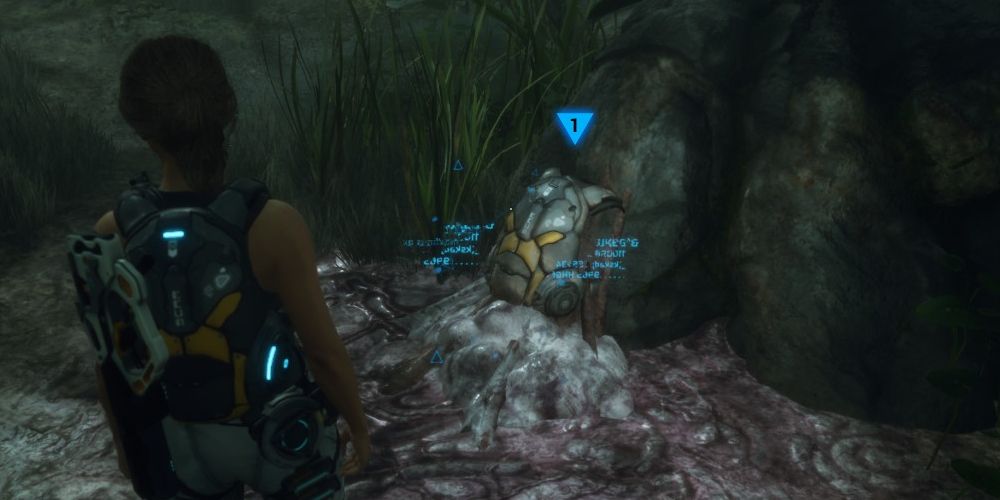
Hop down to where the egg was, and be ready to fight a handful of Arachnids and Scorpioids. Once they’re dispatched, cut through the vines to the right to reach the base of an enormous monolith. Keep left to find a Knowledge Cube, and walk toward the structure. When the hologram appears, search near it to find Robinson’s backpack.
How To Scan The Toxic Pool
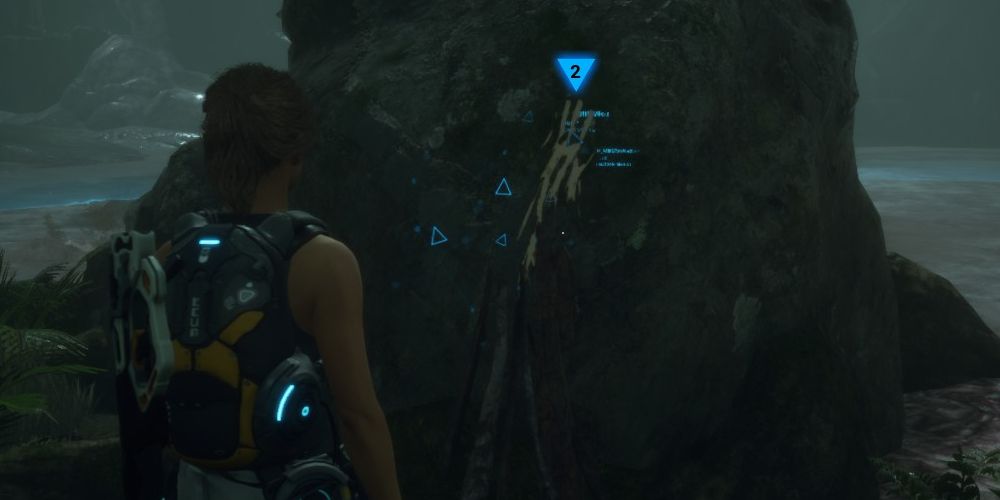
Scan the backpack, then start looking around for more clues. Facing the backpack, look for:
- A hand print on a rock ahead and to the left.
- The toxic pool straight ahead.
- A boot ahead and to the right, near the pool.
When you’ve scanned all four objects (including the backpack), go to the blue circle near the entrance to the area. Interact with it to learn Robinson’s fate.
Before moving on, walk along the edge of the pool to the right. Scan the eggs you find there to get some Cryonic Extract, which will be useful later.
Approach the monolith and scan it, then follow the path next to its base. On the right, you’ll see the other side of the gate that was blocking your way before. You can open it from this side, giving you an easy way back to the pillar.
After saving, continue along the path until you come to more vines - these don’t need to be cut through, you can simply push past them by interacting with them. On the other side, you’ll be attacked by an Exo-Alluvial.
How To Defeat The Exo-Alluvial
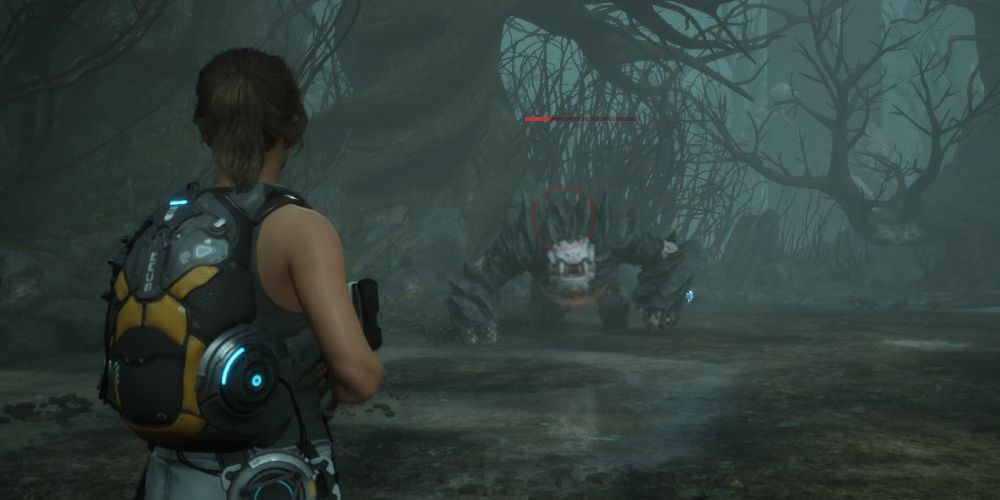
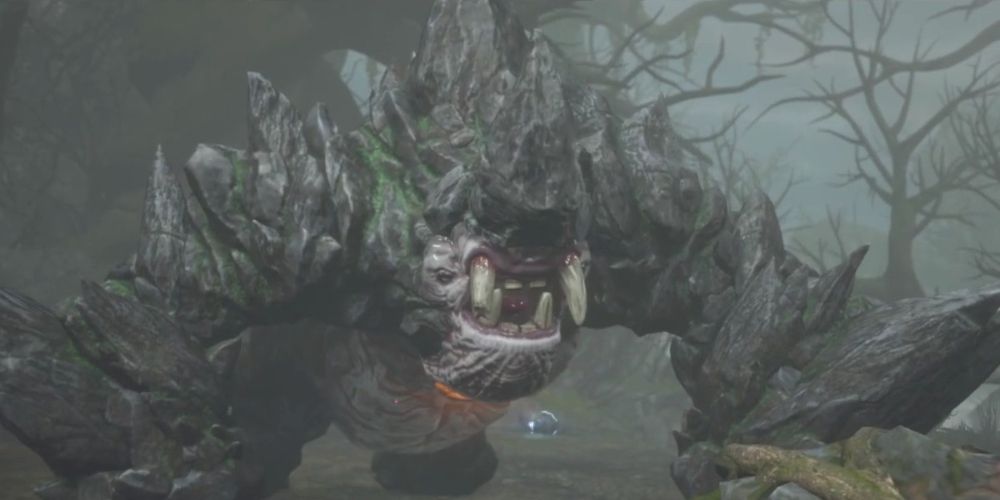
The Exo-Alluvial is heavily armored but has a red mark on its chest that is weak against fire. Equip the Thermic Charger and wait for the creature to get close. Before it attacks, it will rear up on its hind legs - use this opportunity to shoot the weak point, then dodge immediately before the Exo-Alluvial strikes.
Two shots should be enough to set the beast on fire, which will quickly wear down its health. At that point, a third shot to the chest should finish it off. Don’t forget to scan the body afterward! If you run short of ammo, look for red plants near the edge of the arena that can be harvested for Incendiary Extract.
How To Get The Cryo Launcher
Once you’ve beaten the monster, look for a path leading uphill near the spot from which it emerged. At the top of the hill are some arachnids and another Exo-Alluvial. Note the orange spores nearby - shooting these with the Thermic Charger will deal heavy fire damage to anything nearby.
Past the spores, there’s a ledge on the left with a Knowledge Cube. Pick it up, then continue uphill. The path will take a circular course, eventually leading down into some caves. Inside, walk on the ice to cross the toxic pool.
Scan the larval Mortis Beetles on the wall and harvest any Cryonic Extract that you can from them. At the other end of the pool, be ready for an ambush by three arachnids and a Scorpioid.
Continue along the frozen path, keeping VERA equipped to quickly shoot any Scorpioids that emerge from the water. When you reach the chamber with the Mortis Beetle Queen, activate the pillar to the left to set your respawn point and heal up.
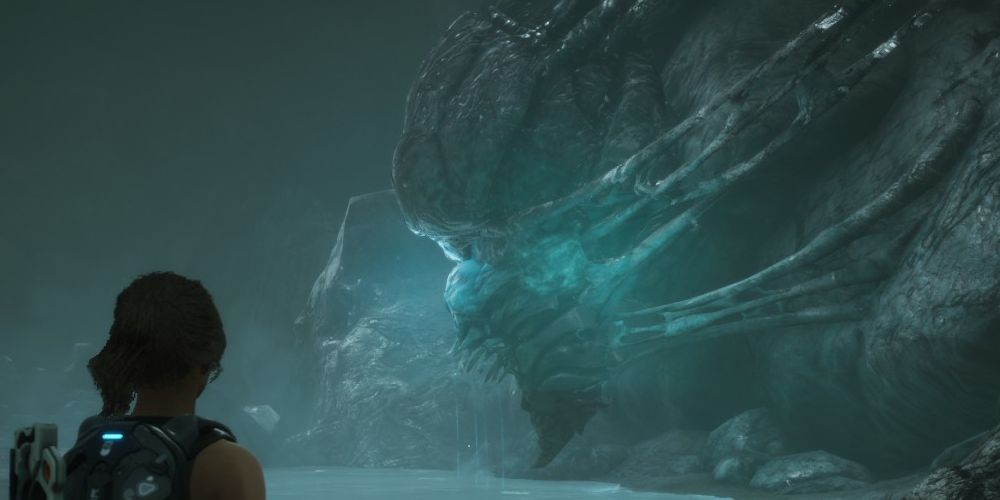
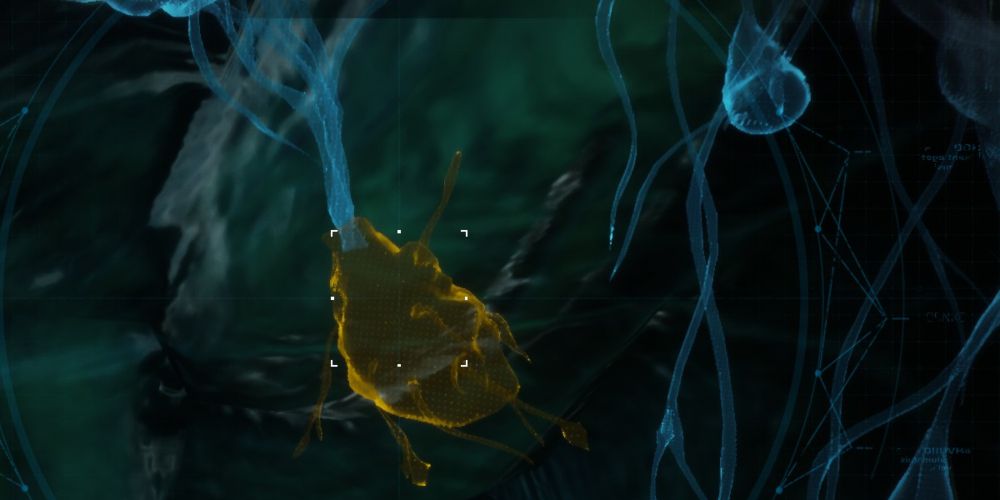
Use the ice to the right to approach and scan the Queen. You’ll be taken into first-person view. Examine the Queen’s head to reveal her neural pathways. Scan the gland nearest the front, the Queen’s stomach (near her stinger), her brain, and her spine.
When you finish your investigation, Kate will automatically craft a Cryo Launcher that you can use to cross the rest of the pool. Fire at the water to freeze it.
Crossing the toxic pool is a shortcut back to spot where you fought the first Exo-Alluvial. Along the way, you’ll be attacked by Arachnids and Scorpioids. Hitting them with the Cryo Launcher while they’re in the water will freeze them solid, making them easy targets!
Just before returning to the Exo-Alluvial’s lair, you’ll see some pipes on your right - scan them, and pick up the glowing red device next to them to get some info on the Alpha creature that you saw in the distance.
How To Defeat The Alpha
At the lair, you’ll come face-to-face with the Alpha. This fight is basically the same as the smaller Exo-Alluvial, except that the boss can take a lot more damage. Hit it in the chest with the Thermic Charger as it winds up to attack to set it on fire.
The Alpha is relentless - if you need a break to heal, fire the Cryo Launcher at it repeatedly to freeze it for a moment. Once it’s dead, scan it to receive the Phasic Barrier, which can grant you temporary invulnerability, then head back to the monolith.
The Scorpioids in the water will be back - be ready for them, especially if you’re low on health after the Alpha fight!
How To Find And Use The Alien Artifacts
Back at the monolith, use the Cryo Launcher to cross the toxic pool and follow Robinson’s trail. Use the pillar on the far side to save, then continue forward. Turn right at the fork, and you’ll encounter a pair of Exo-Alluvials.
Turning left at the fork is a dead end, but you can get a Knowledge Cube.
Since it’s raining now, it will be much harder to set the creatures on fire. Instead, freeze them with the Cryo Launcher, then hit their weak spot with repeated blasts from VERA. Once the enemies are dealt with, survey the area for Knowledge Cubes, then exit through the tunnel immediately to the right of the entrance.
Follow the path in a clockwise direction, stopping inside the webbed cave on the right for another Knowledge Cube. You’ll have to face a large swarm of arachnids, including the ones that explode, and another Exo-Alluvial. At the end of the trail, pick up the Alien Artifact to your right.
Proceed straight ahead to find a ledge that lets you drop back down to the pillar. Be sure to pick up the Knowledge Cube on the right before doing so! Alternately, if your health and ammo are in decent shape, you can double back instead to avoid fighting the Exo-Alluvials again.
Return to the area where you fought the arachnid swarm and look for red emergency flares. Push through the foliage there to enter a large swamp. Collect any Extracts that you need from the plants nearby, then turn left.
Omnivorous Colossus
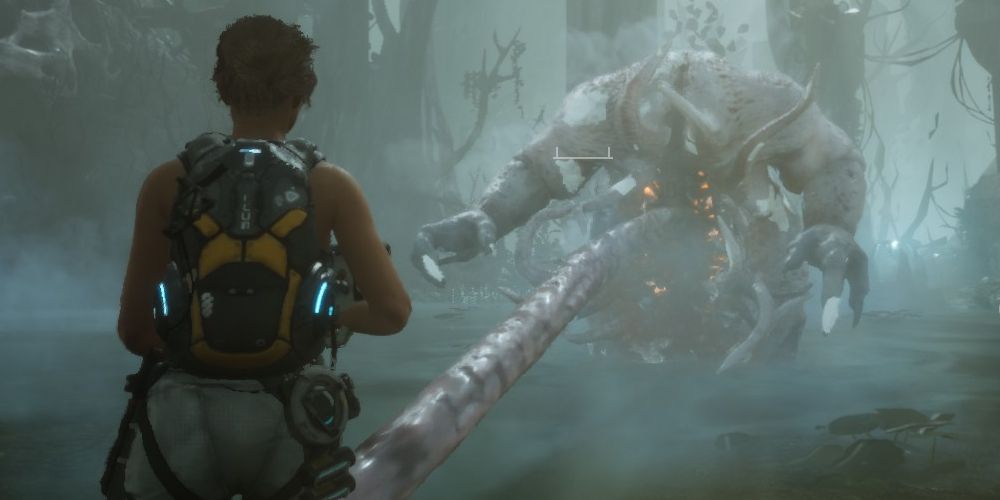
An Omnivorous Colossus will emerge from the water. It hits hard, so be ready to dodge! Freeze it with the Cryo Launcher, then run behind it to shoot the glowing nodes on its back with VERA. A few shots with the electrical weapon will cause the nodes to explode, killing the creature. This is the only feasible way to defeat the Colossus, as you’ll run out of ammo trying to bring it down with sustained fire.
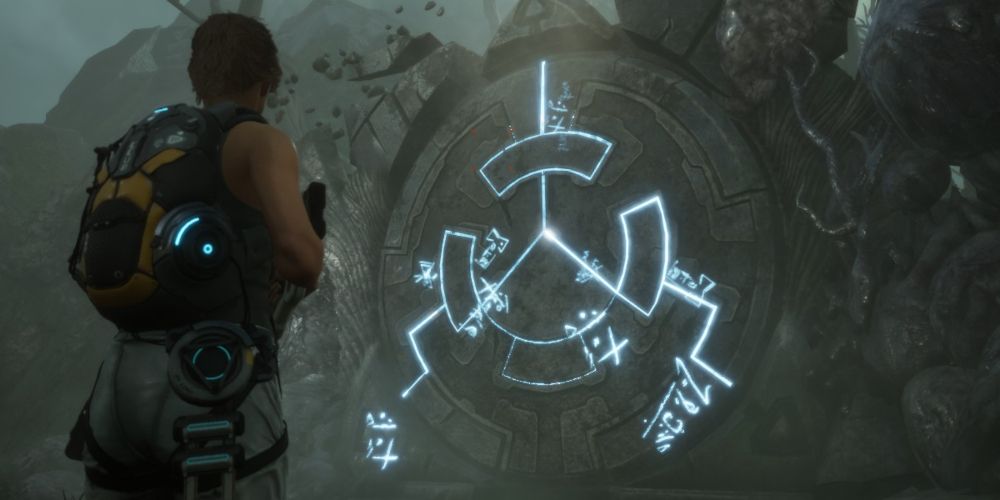
With the Colossus dead, take the Alien Artifact on the pedestal behind it. You can also listen to a recording nearby. Take both Artifacts to the hillside where you fought the two Exo-Alluvials in the rain; against the cliff wall is an altar where you can combine the objects.
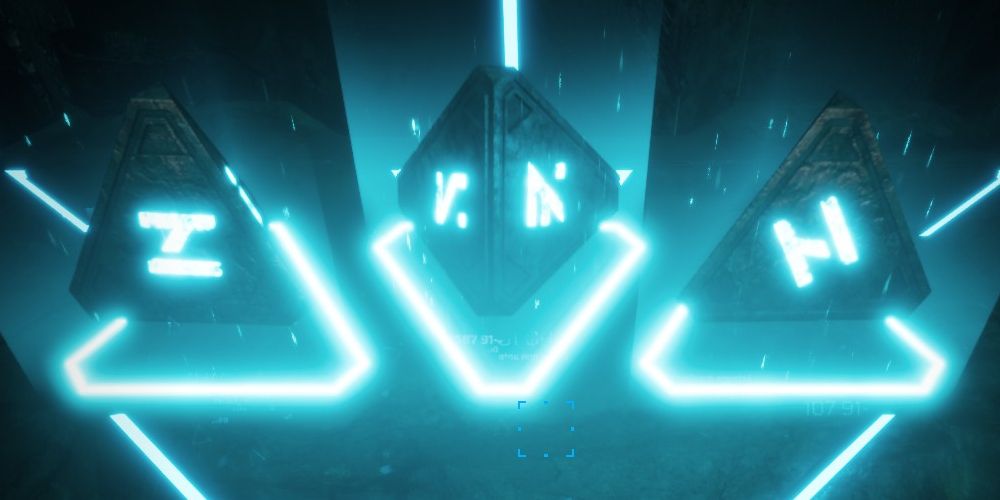
Place the Artifacts on the two empty slots to the side, then scan the altar itself. Kate will note the internal connections.
Note the symbols on the end-points of each connection. Place the artifacts so that the correct symbol is face-down on the slot connected to the appropriate power source. Note that you’ll also need to rotate the Artifacts so that they fit the triangular slots.
How To Reach The Top Of The Mountain
When all the artifacts are placed, a bridge will appear to your right. Use it to keep climbing up the hill. When the storm kicks up, stay to the lower path, and you’ll enter a cave to escape the elements.
Take the first left inside the cave and burn the egg that you find there. Beyond is a box with an ammo upgrade for the Cryo Launcher. Take it, then return to the main path, where you’ll fight an Exo-Alluvial.
If you die and respawn at the toxic pool, you can quickly bypass the pair of Exo-Alluvials guarding the bridge by freezing them and running. There’s no additional benefit to defeating them again, so this saves both ammo and health.
After defeating the Exo-Alluvial in the cave, look in the chamber beyond. There are a lot of eggs, but you can shoot the glowing nodes on the pillar to cause them to explode and destroy all the eggs at once. When the fire dies down, go inside and collect the Knowledge Cube and the audio log within.
Continue deeper into the cave by climbing the ramp on the right side of the Exo-Alluvial’s den. At the top, you’ll be charged by a single arachnid, which serves as a distraction for the egg on the right. Quickly burn the egg before it hatches, then melee the arachnid to avoid having to face a Scorpioid.
As you approach the exit, a swarm of arachnids will appear both in front of you and behind. The ones in front of you can be quickly killed with a blast from VERA to the nodes on the right, since they’re wet from the rain. Shoot them, then dodge out of the way to avoid any attacks from behind.
The storm makes the ascent up the mountain face slow-going, but there are no enemies here. Inside the next cave is a pillar - be sure to activate it to save yourself a long climb back up if things go wrong. Look near the pillar for an audio log, and on the ledge overlooking the caverns you just left for a Knowledge Cube, then go back outside to keep climbing.
How To Defeat The Alluvial King
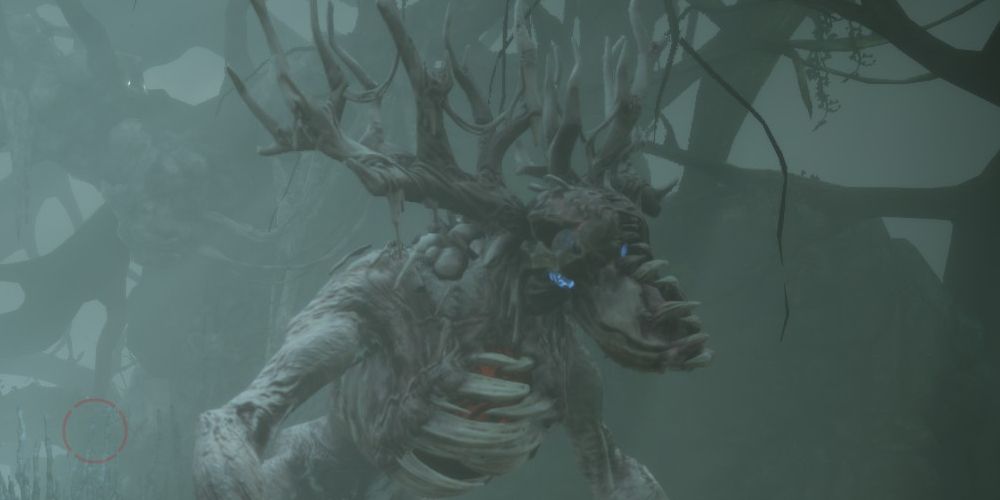
At the top of the mountain, you’ll face a monstrous creature called the Alluvial King. Start by shooting the red nodes on its body with the Thermic Charger. Destroying two will set the monster on fire and cause it to disgorge a blue mass from its mouth. Shooting this multiple times with VERA before it retracts will deal heavy damage.
When the King is down to about a third of its health, it will vomit worms into the water, turning the ground toxic. Freeze the surrounding water with the Cryo Launcher to give yourself a safe place to fight. If the King breaks the ice with his attacks, the Phasic Shield can buy you enough time to re-freeze it.
When the Alluvial King is defeated, you’ll progress to the next chapter!

