The sixth and final chapter of Scars Above sees Kate returning to several areas of the planet she's visited before. Armed with new tools and weapons, it's time to visit previously-inaccessible areas and battle the toughest mutants in the game. As the game's final challenge, Chapter Six is filled with both puzzles and combat.
This might be the endgame, but there are still plenty of surprises waiting for you as you gather the last components that you need to reach the Metahedron. Use this guide any time you get stuck, and you'll see the credits roll before you know it!
Laboratory

After escaping the caves, gameplay resumes back at the Hermes wreck. Walk to the base of the monolith to teleport to the Apparition's lab. Upon arrival, check to the right for a Knowledge Cube before setting off along the main path. There's a second Cube to the left just after the door to the lab becomes visible.
Approach the door, and the Apparition will open it. Collect the Knowledge Cube just inside the entrance, then open the chest on the right - you'll receive VOLTA, an alternate electrical weapon that fires rapid bursts.
Proceed to the next room, where the Apparition will activate a hologram. Examine it to trigger a cutscene, then leave through the door to the right. You'll follow a long, winding path back to the monolith. You can speed up the process by freezing water along the way with the Cryo Launcher; that way you can walk on the ice instead of wading through the swamp.
When you reach the monolith, you can transport to one of the three wilderness areas you've visited previously, in any order.
Swamp

The monolith drops you off near the toxic pool from Chapter One. Freeze the water to create a bridge, then refill your Cryo ammo with the Mortis Beetles to the right before crossing.
Activate the pillar on the far side of the pool, then use the console on the left to try and open the door. The Apparition will tell you that you need an access rod. Go back across the pool (you'll need to re-freeze the water after activating the pillar) and walk to the other side of the monolith. Fight the Colossus that emerges from the pool there, then push through the foliage under a tree with a white marking.
You'll find yourself at the spot where you fought the Alluvial Alpha. Take the left-hand path and use the Chemical Atomizer to melt the pipes that you find. It will take about three shots.
Field Outpost Tetra
Once inside, activate the pillar and walk along the path uphill. At the top of the climb, you'll need to vault over ledges on the right to continue. After the third ledge, pick up the Knowledge Cube on the left, then drop down into the main area ahead.
Don't freeze the water here - being above the water level can cause some of the bodies you need to search to become unreachable due to a bug.
Examine the body ahead of you and to the right, then take the right-hand path. Pick up the Knowledge Cube in the alcove to the left, and check the body at the end of the path. You'll be attacked by a Fungus Humanoid; these enemies can rapidly fill your Toxicity meter, so have the Resistance Booster equipped. The Fungus Humanoid is susceptible to fire, so burn it quickly and check the body a second time to get the access rod.
Return to the main path and check the body to the left, then squeeze through the tunnel nearby. On the other side, you'll be attacked by a single Scorpioid; kill it, then pick up the Knowledge Cube in the room before going back outside.
Approach the door at the far side of the area. Two automated turrets will come online, and at the same time an Alluvial will emerge from the right. Use the Gravity Trap to slow the group down and quickly destroy the turrets with the Chemical Atomizer, then finish the Alluvial. Use the access rod on the console by the door.
You need to calibrate the access rod by rotating its dials from the inventory screen. The correct code can be found by taking a hard-to-spot passage to the left of the turrets and using the vantage point to look at the icons on the walls. Using the number of lines on each symbol, the code is 3-1-2-3-1-2.
Adjust the access rod to show the correct code, then insert it into the console. When the door opens, pick up the Knowledge Cube on the other side and follow the path clockwise. Fight the swarm of Mechanical Arachnids that appear, then continue.
Uplink Facility
The path will drop you off back at the locked door. The code for this door is the same, so just insert the access rod into the console without changing it.
Inside, climb to the top of the path and attempt to squeeze through the door. Next, head down into the pool of water on the left. Defeat the Fungus Humanoid there, then check behind the waterfall for a VOLTA clip upgrade. Once you have it, head back and take the path you see to the right.
Be ready to deal with a Toxic Arachnid that will come down the path toward you; beyond it, take the Knowledge Cube near the floating drones, then take a right turn to continue upward.
On the way, pick up a Knowledge Cube to your left, then drop down into the uplink chamber. Activate the node, then leave through the passage to the left. This path leads back to the monolith, but you'll have to fight a Fungus Humanoid on the way. Be sure to pick up the Knowledge Cube on the left side of its lair after beating it!
The path back is long, but apart from a single Scorpioid after a drop, there are no enemies on the way back to the monolith. Once you arrive, activate it to choose your next destination.
Lake

The Hypothermia Meter starts ticking the moment you arrive at the Lake, so grab the Knowledge Cube to the left and start down the path right away. There's a bush at the top of the first ledge that you can burn if you need heat.
Turn right at the fork, but be ready to fight a Fur Colossus and several Scorpioids. By now you have Kate's full arsenal at your disposal, so this fight will be easier than it would have been in previous chapters.
When you reach the caves, take the right-hand path to get an extra Knowledge Cube, then cross the bridge at the top of the climb. Activate the pillar on the other side, then burn through the ice to reach the door to the upload node.
How To Find The Power Sources
The door requires four power sources in order to open. The first is easy to find; just inspect the body to the right of the door and take the power source from their hand. Insert the power source into the door to trigger an alarm, summoning two Security Drones and a Fur Colossus.
The Colossus' entrance opens a new path forward through the ice to the left; once the enemies are beaten, squeeze through to reach a new area.
Once you're on the other side, a Stalker and two Arachnids will emerge from the right. Defeat them, then check the room they came from for two Knowledge Cubes; one to the left and another to the right.
Use the alien blood sample to open the gene-locked door. There's another Knowledge Cube on the right as you enter; pick it up, then continue along the path. When you come to a fork, turn right. Fight or evade the two Scorpioids on the bridge above, and use the Gravity Trap to bypass the lasers at the top.
Past the lasers, pick up the audio log and remove the power source from the console on the right before dropping to the next area. The left-hand path at the fork would have taken you directly here. Defeat the two Stalkers and two Arachnids that emerge, then take the right-hand path to get another audio log and power source.
Head toward the facility at the far end of the area where you fought the Stalkers, making sure to pick up the Knowledge Cube behind the crates on the right just before the elevator. Take the lift to the upper floor and continue onward.
When you encounter a pool of water, be ready for an attack by two Scorpioids when you're halfway across. Defeat them or flee, and you'll get the final power source from a crate on the right just before a drop that returns you to the main door.
A new group of enemies will have appeared in front of the door - two Security Drones and an Exo-Mutant. Destroy the Drones first, since they can give the Mutant a shield, making it even tougher to kill than usual.
One the door is powered, you can access the uplink node inside. Do so, then take the elevator at the back of the room for an easy path back to the monolith, complete with extra Knowledge Cubes!
Grassy Plains

When you arrive, walk straight ahead past the cargo crates and follow the path beyond. When you come to a fork, melt the pipes in the rock face to the left using the Chemical Atomizer and enter the swamp beyond.
There are several clutches of Scorpioid eggs along the path - the faster you can burn them, the fewer enemies you'll have to fight. Every path here eventually leads to the exit, but you'll be ambushed by a pair of Alluvials as you approach.
When the Alluvials are defeated, squeeze through the gap in the rocks. The next section is free of enemies, but there are two Knowledge Cubes along the right-hand side as you proceed.
When you reach another gap, be ready for a swarm of Mechanical Arachnids to emerge from the ground on the other side. There's a pillar just past them, so don't be afraid to use everything you have for this final push!
Continue to the uplink chamber - much of the floor is glass, giving it the appearance of impassable chasms, but you can walk freely here. When you approach the chamber, an Alluvial will appear, supported by a Security Drone. When they're defeated, another Drone will appear alongside a Feliform Ripper. Finally, you'll have to fight an Exo-Mutant and two Mechanical Arachnids.
When all the enemies are defeated, check the rooms from which they came for Knowledge Cubes and audio logs. Once you've collected everything, squeeze between two pieces of equipment under the ramp that you came down to find a route back to the monolith. Stay left at the fork, and when you drop into the open plains, go through the caves to the left to get back. There are Arachnids, Scorpioids, Rippers, and a Colossus along the route, so be ready!
How To Beat The Omega

When you've activated all three nodes, the monolith will take you back to the Apparition's lab. Take the Seed from the hologram chamber, then follow the Apparition through the door to the left. Listen to the audio log on the crates on the left side of the room. After the scene that follows, return to the monolith to teleport to the Metahedron for the final battle!
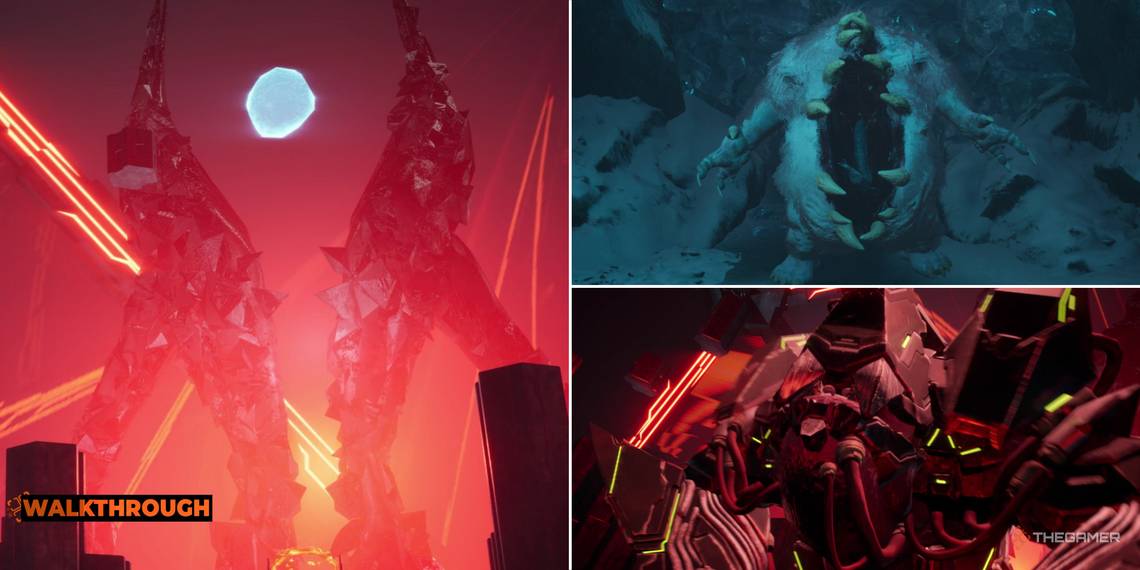
Once on board the Metahedron, follow the path to an elevator that will bring you to the Custodian. After a cutscene, he will release the Omega, a large cybernetic Alluvial. Its armor can be broken with repeated attacks - VOLTA or the Chemical Atomizer are best for this. Once its chest armor is broken, you can deal heavy damage with a shot from VERA to its exposed weak point.
Each time you damage the Omega's weak point, the Custodian will deploy a Drone to heal or guard the boss. Destroy the Drone as quickly as you can to prevent your work from coming undone. If you need to refill ammo, look for containers around the edge of the arena.
The Omega is very easy to set on fire, letting you deal heavy passive damage during the fight! Just make sure there aren't any drones protecting it before you try.
The Drones will try to use the Omega to block your shots to them - use the Spatial Shift to quickly get into position to shoot the green light on them. Cycle between breaking the Omega's armor, setting it on fire, hitting its weak spots, and clearing Drones, and it will eventually go down.
Once the Omega is defeated, scan its body and approach the console underneath the Custodian. It will teleport you to the Metahedron's core. Use the Seed on the orb at the center of the room to destroy the Custodian and teleport back to the monolith at the Hermes crash site. Board the ship to finish the game!