Quick Links
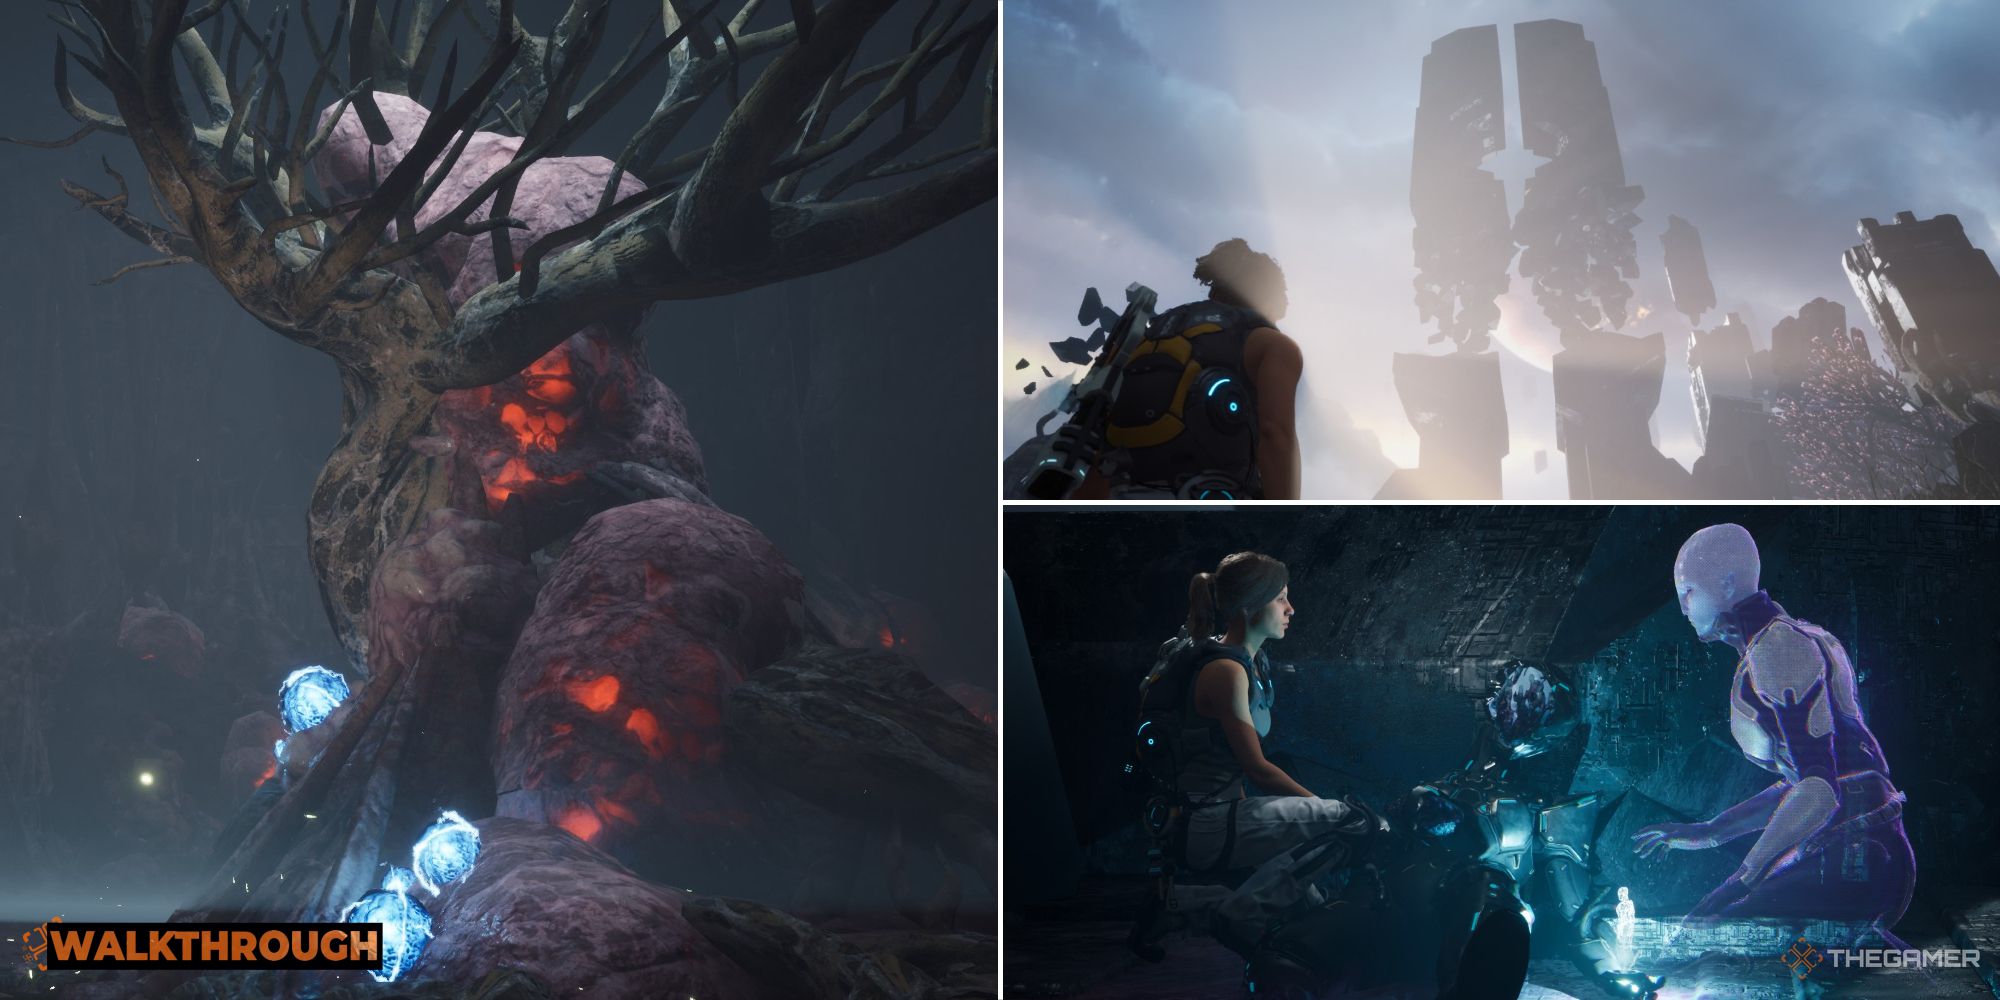
The second chapter of Scars Above is shorter than many of the others, but there is still plenty of dangerous combat between you and your objective. While this chapter doesn't include a boss fight, it will require some investigation and extrapolation as you search for Tam and Mike on the alien planet.
Whether you need help handling the new enemies that appear on the Grassy Plain, or with analyzing the evidence at the Hermes wreck, this guide provides a step-by-step walkthrough for Chapter Two. Keep reading, and you'll be ready for anything!
How To Reach The Caves
Chapter Two picks up immediately after the fight with the Alluvial King. Scan the corpse to get the Flammable Liquid tool, which functions like a grenade; throw it at enemies to douse them with liquid, then shoot them with the Thermic Charger to instantly set them on fire.
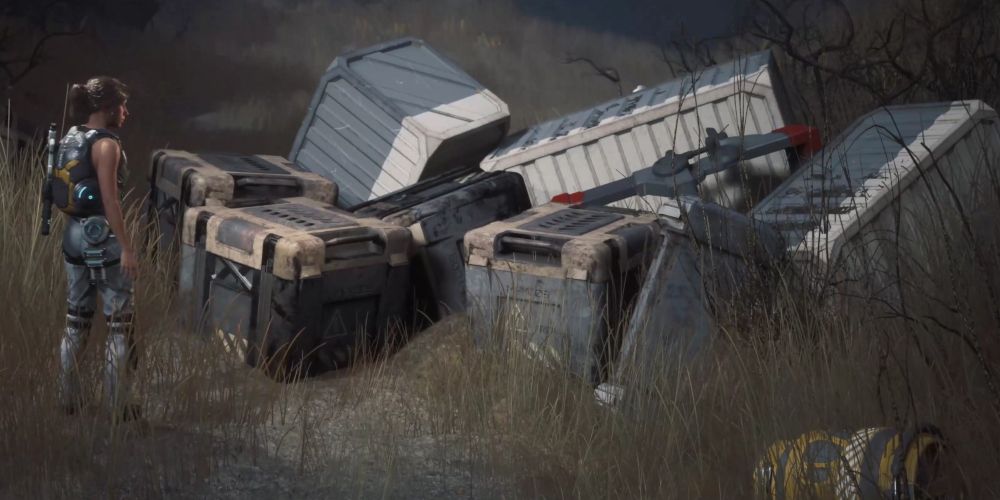
To the right of the starting position is a Knowledge Cube, and a small passageway that you can squeeze through. Following the path on the other side will bring you to the Grassy Plain. After a short cutscene, go to the far left corner of the area to find a Knowledge Cube and a clip size upgrade for VERA.
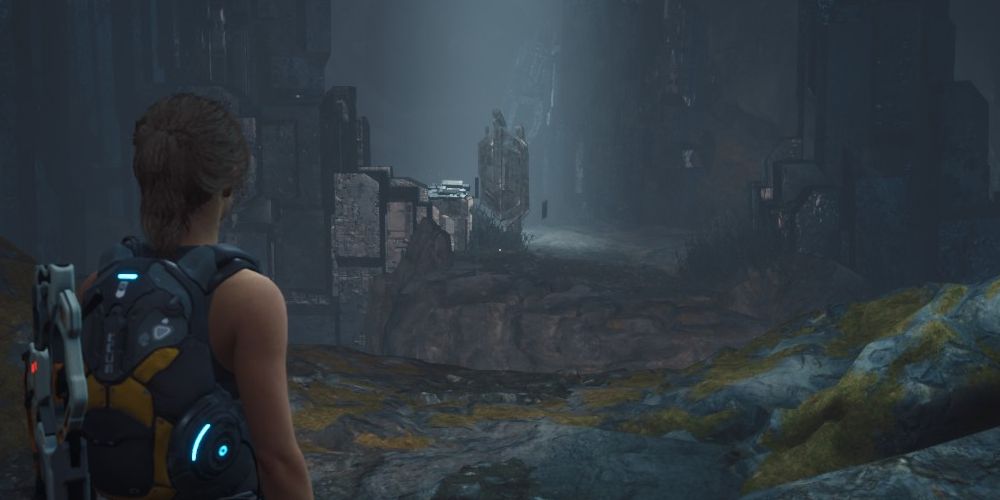
Continue up the hill to the right, keeping an eye out for Knowledge Cubes along the way - there are two between the Grassy Plain and the monolith at the top of the hill, where another cutscene will trigger.
When you reach the monolith, take the side path to the right. You'll find a Knowledge Cube and the entrance to a cave. Activate the pillar inside and continue along the only path.
How To Get Through The Caves
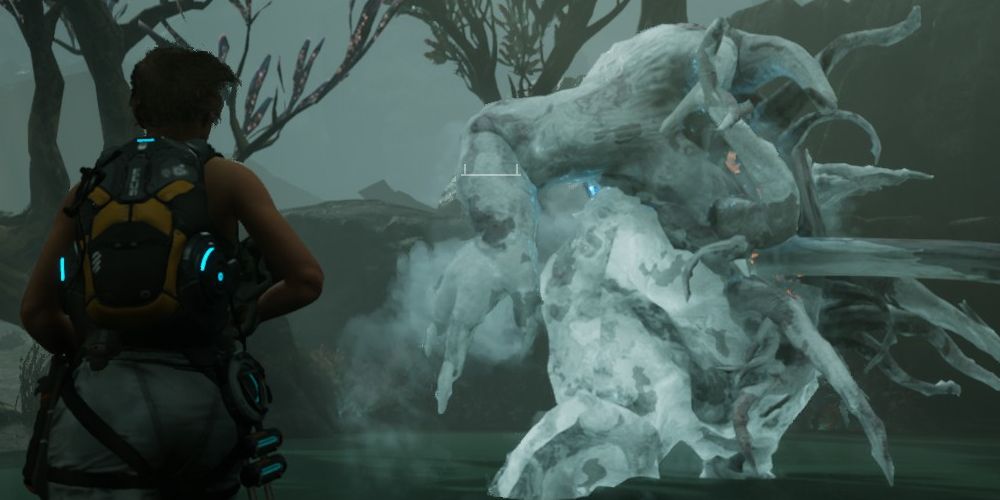
Shortly after the cave starts to show signs of organic growth on the walls, a Flesh Alluvial will emerge from the left. These enemies are exactly like the Exo-Alluvials in the previous chapter, except that their weakness is electricity rather than fire. They also throw pustules that will blind you if you're hit by them.
Scan the Flesh Alluvial after killing it and continue down the tunnel. Check the side room that the creature emerged from for a Knowledge Cube, but beware of the second Alluvial coming your way from the far end of the main path.
When you reach a fork in the road, a pair of Flesh Alluvials will attack from the right. Defeat them both, then check the room they came from for a Knowledge Cube.
Return to the fork and take the left-hand path. When you come to a pool of water, you'll see another Flesh Alluvial approaching from the right - ignore it for now, since a much bigger problem is about to emerge.
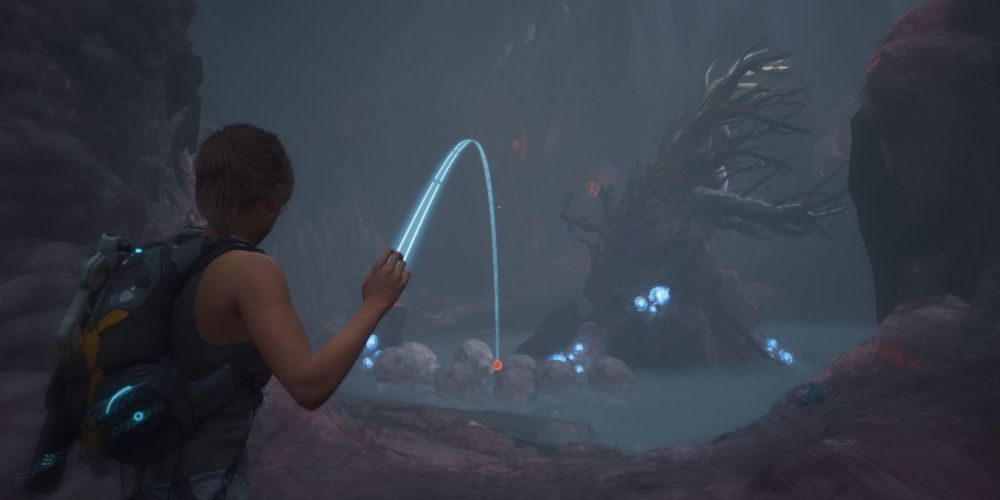
To the left is a large group of Scorpioid Eggs. The best way to deal with them is to throw flammable liquid from afar and light them all up before they hatch. If the Scorpioids do emerge, freeze them with the Cryo Launcher then use the galvanic nodes nearby to fry them.
Once you've defeated all the enemies in the room, check the base of the tree on the far side for a Knowledge Cube, then continue. You'll proceed up a winding path around the edge of the chamber; at the top is a ledge to climb. Before going up the ledge, look to the right for some Fiber and another Knowledge Cube.
At the top of the ledge, look to the left for a Knowledge Cube, then head toward the sunlight. Just before the mouth of the cavern is a small chamber to the left with a few Arachnids. You can get another Knowledge Cube inside.
The cave's exit is blocked, but there is a small passage to the right that you can crawl through. Follow the path, and you'll come to an alien pedestal. Activate it to create a bridge back to the pillar at the cave's entrance. Save at the pillar, then return to the pedestal.
How To Reach The Hermes Crash Site
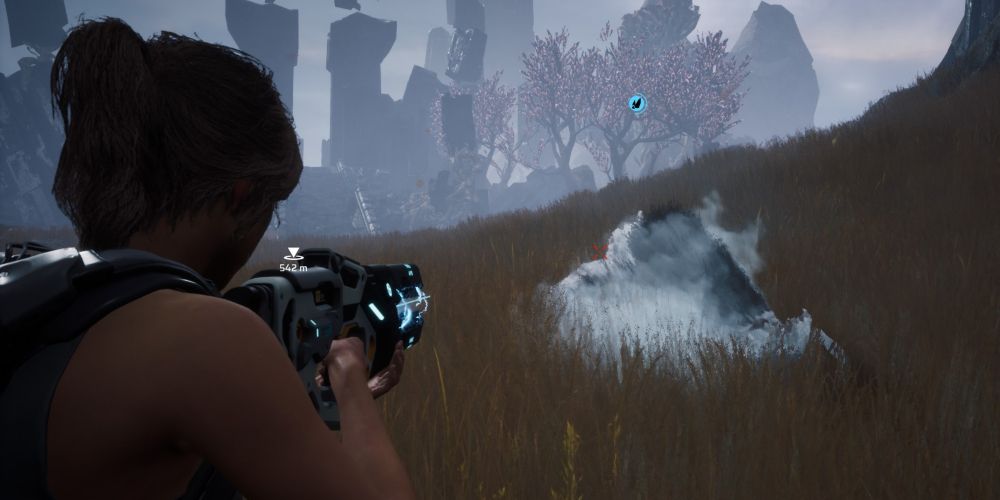
Look for a passage at the far end of the path, then follow the blood trail beyond. Scan the dead Alluvial that you find, then continue toward the alien structure on the horizon. In the tall grass, you'll be attacked by a Feliform Ripper. These creatures don't have any elemental weaknesses and are very fast. Slow it down with the Cryo Launcher to give yourself the best chance of defeating it.
While Rippers are slowed, you can deal the most damage by firing VERA into their open mouths.
Once the Ripper is dead, scan its body and continue to cross the field. There are two more Rippers at the other side - luckily they aren't very sneaky, and always growl when they first appear. Pass through the alien gateway to trigger a cutscene and enter the next area.
After the cutscene, you'll receive the Holo-Lure, which can be used to attract enemies to its position when thrown. Search to your left for a Knowledge Cube, then cross the bridge to find a forested path.
When you reach a fork, turn left and head downhill; the right-hand path is a dead end. At the bottom of the hill you'll fight a swarm of Arachnids and scan a burnt-out thruster from the Hermes. Try to avoid using VERA in this fight, as you'll need to conserve electrical ammo for later.
Dangling over the thruster is a supply container; shoot the glowing part with VERA to drop the container. You can then climb on it to reach a ledge with a Knowledge Cube and a powerful VERA upgrade that allows the electrical current to jump between targets.
Climb back down and continue along the path. On your right will be a ledge overlooking a pond you'll be passing through shortly. Burn the Scorpioid Eggs from above to save yourself some trouble when you arrive at the pond around the next corner.
When you drop down into the pond, an Omnivorous Colossus and two Scorpioids will emerge. Use the Holo-Lure to keep them distracted, and kill the Colossus quickly by shooting it in the back with VERA. Freeze the enemies as needed; once they're all defeated, push through the small passage nearby to continue toward the crash site.
The Scorpioids can quickly infect you with the Toxicity status. Use the Resistance Booster to remove it before you lose too much health!
How To Enter The Hermes Medical Lab
Before entering the Hermes, look to the right of the entrance for a Knowledge Cube. Once you've climbed inside the ship, go down the hall and enter the first open door on the right. Listen to the audio log inside and check behind the debris to the left for another Knowledge Cube.
Continue down the hall, and check the next room on the right for another audio log. Once you've listened to it, go directly across the hall and crawl through the collapsed corridor. Expect to take some damage, as you'll be immediately attacked from the right by a Scorpioid.
Once the Scorpioid is dealt with, pick up the jacket next to it and the keycard underneath. Return to the two rooms you visited earlier and use the keycard to open the locked drawers in each. You'll receive a melee upgrade and Tam's graduation photo. Use the latter to open the door locked by the keypad on the left side of the hallway with code 062010.
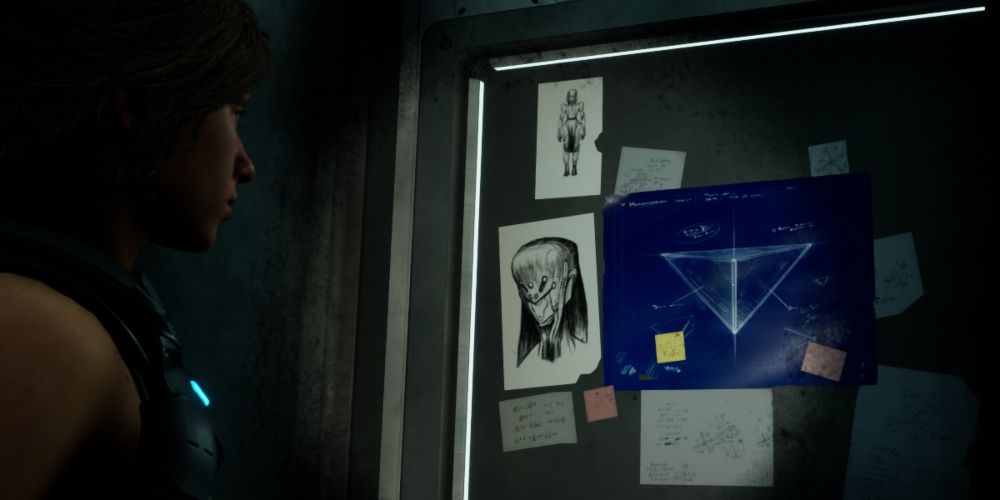
Inside the lab, scan the screen on the table, then examine Mike in the bio-bed. Scan the holograms of his heart and shoulder, then examine the diagnostic chart to the left. Finally, open the laptop on the table and check all the files on it. Once you've found everything, stand in the holographic circle that appears to reconstruct the scene in the lab.
Leave the ship and start walking toward the monolith on the right to complete the chapter.

