Quick Links
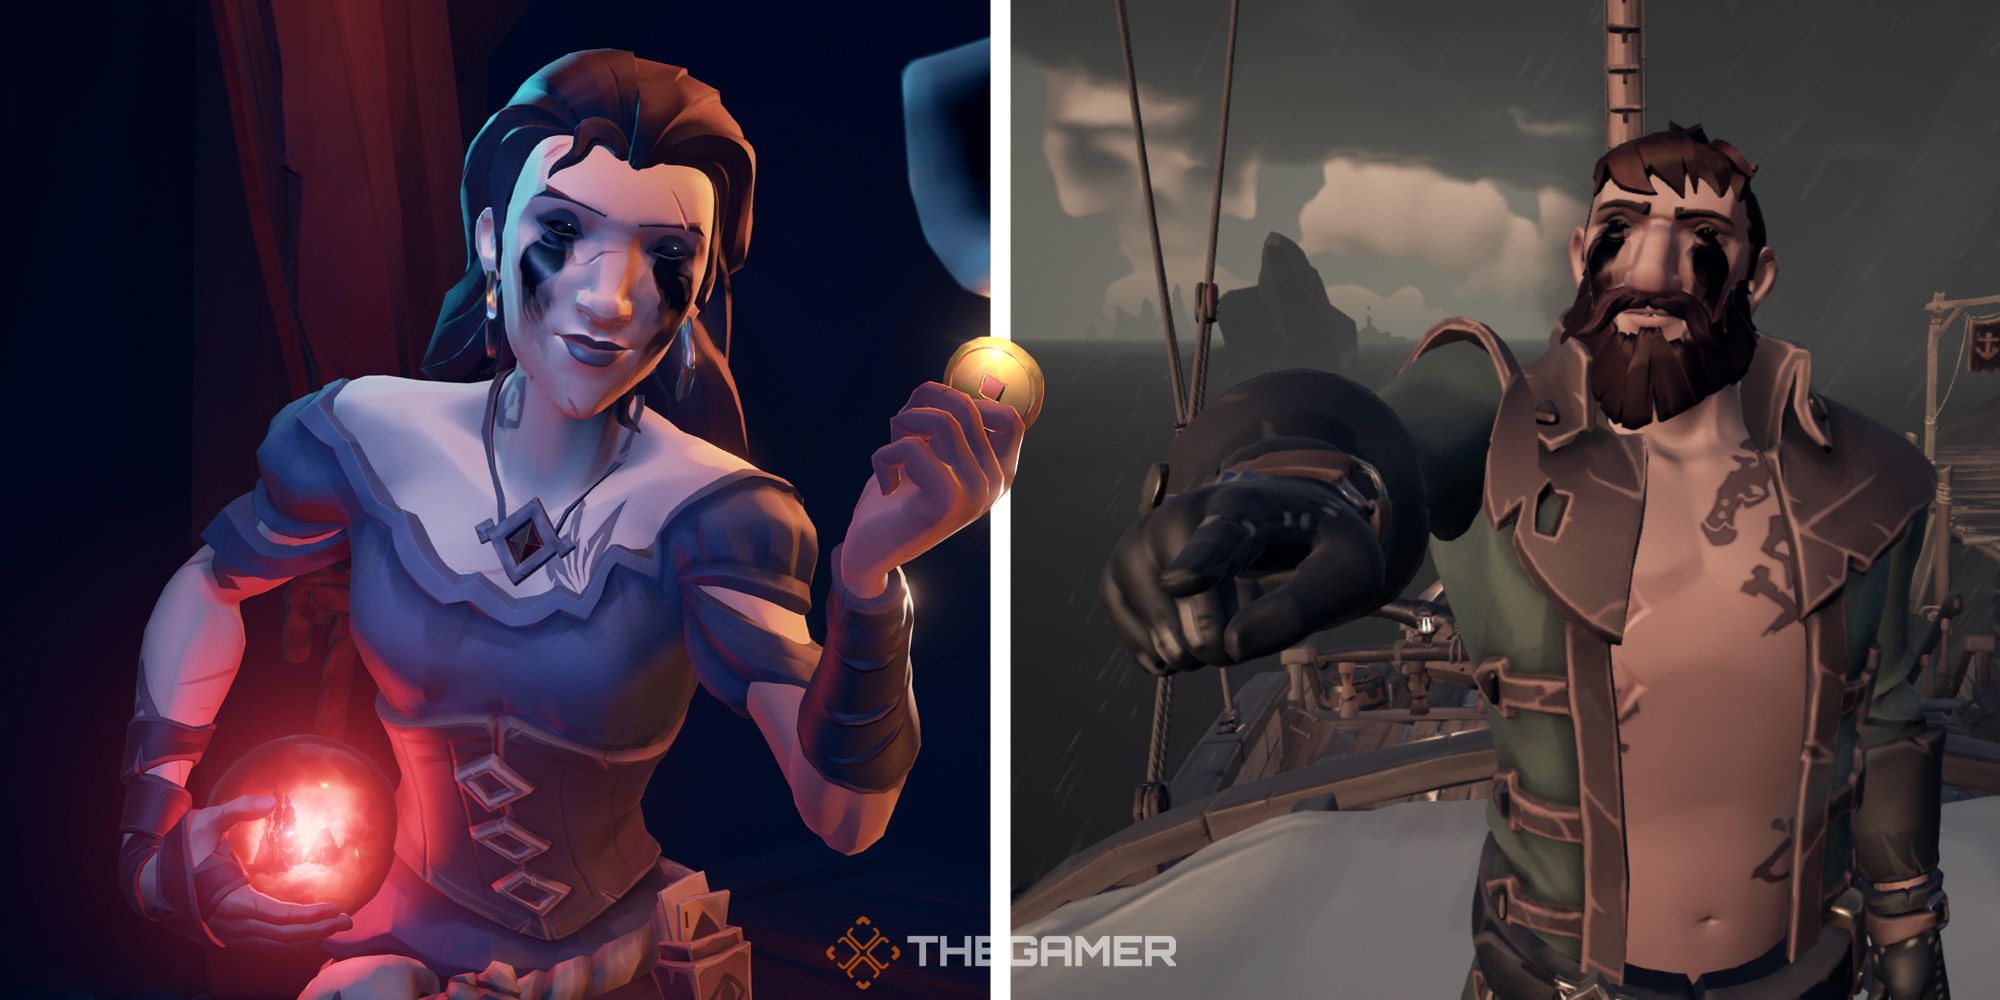
There might "only" be a handful of curses in Sea of Thieves right now, but that's likely to change based on their popularity. As cosmetic items, they are something that other players will recognize almost immediately and inquire about how they, too, might be able to show off their accomplishments with style.
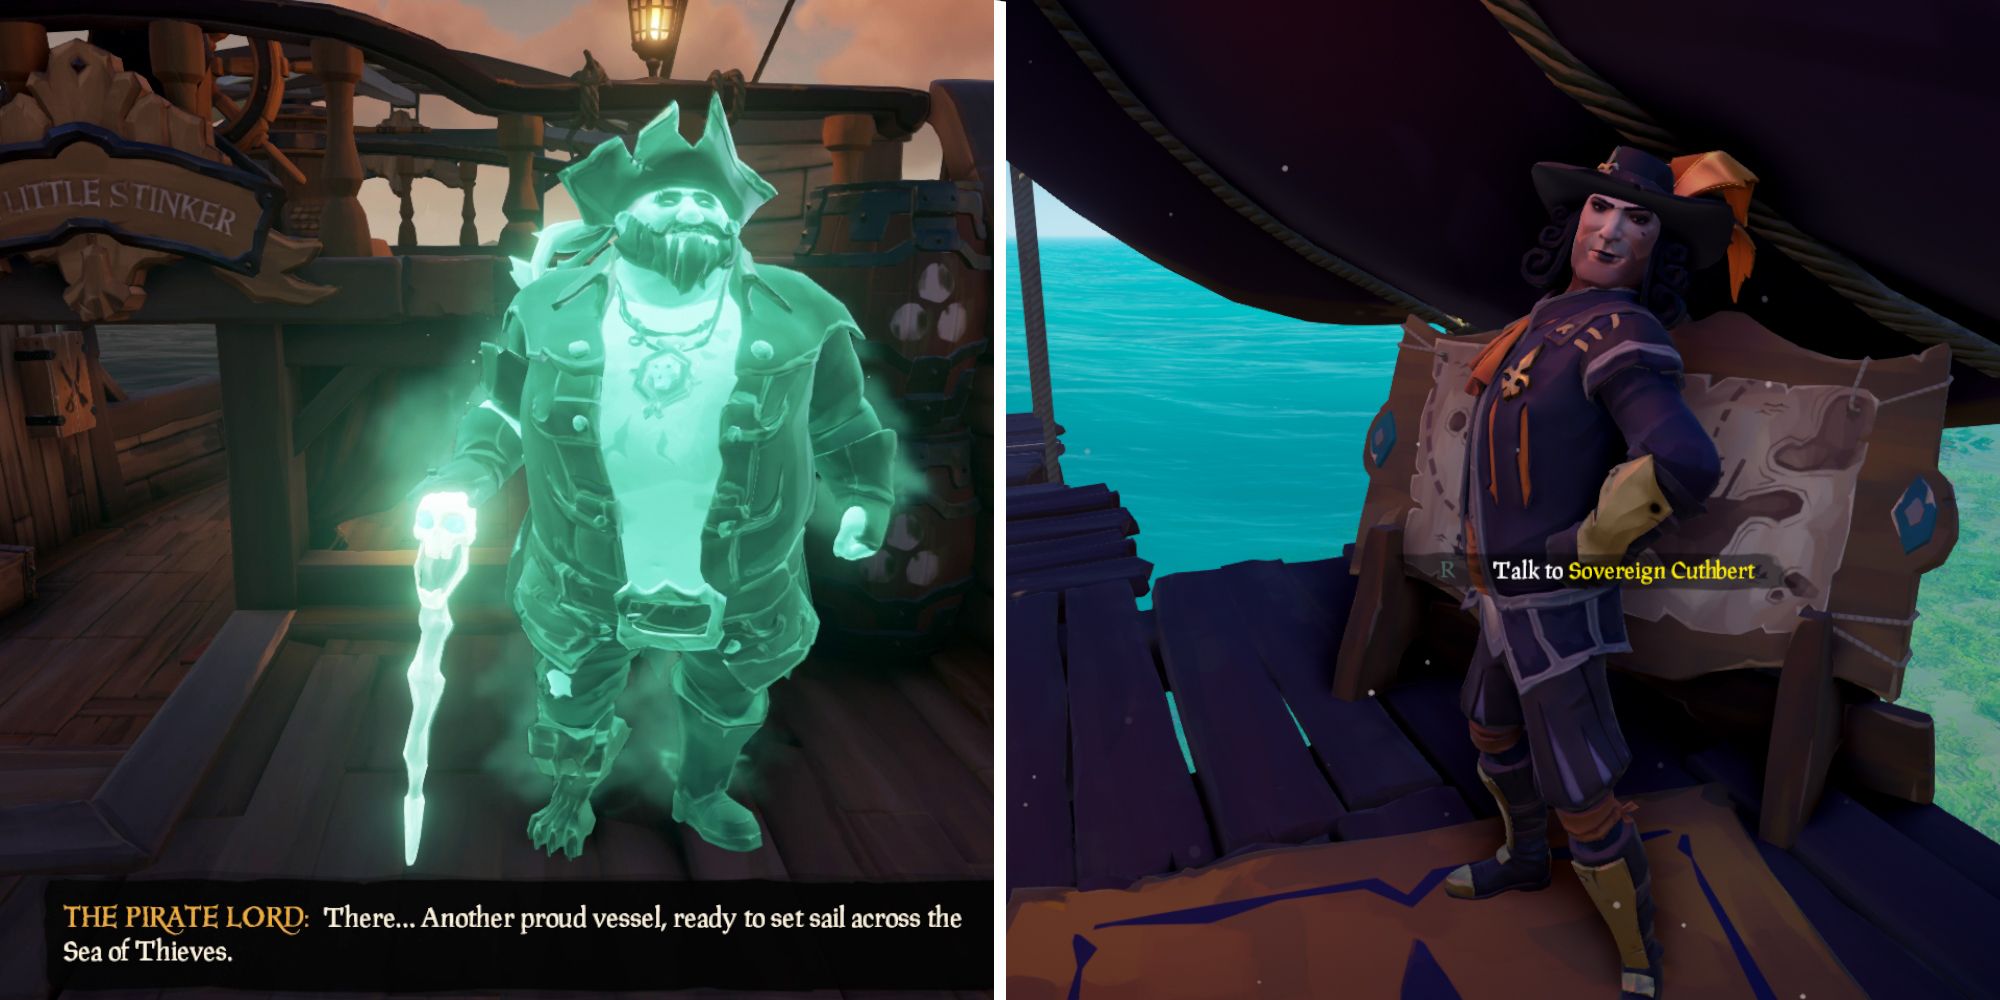
Sea Of Thieves: How Captaincy Works
If you want to be a pirate captain, this guide will explain how to buy your own ship and what perks captaincy will give you.Such cool effects don't come cheap or for free. The reason these curses are the talk of the town is because of their rarity. However, if you know where to look, put in a bit of work, and stay committed to the end, you'll be sure to have all of them in your inventory before you know it.
Updated November 8, 2023, by Sean Murray: You wouldn't expect a curse to be a good thing, but you gotta admit, they do give a certain panache to your swashbuckling. That's why we've updated this guide with improved formatting and links to other helpful Sea of Thieves topics.
Curse Of Sunken Sorrow
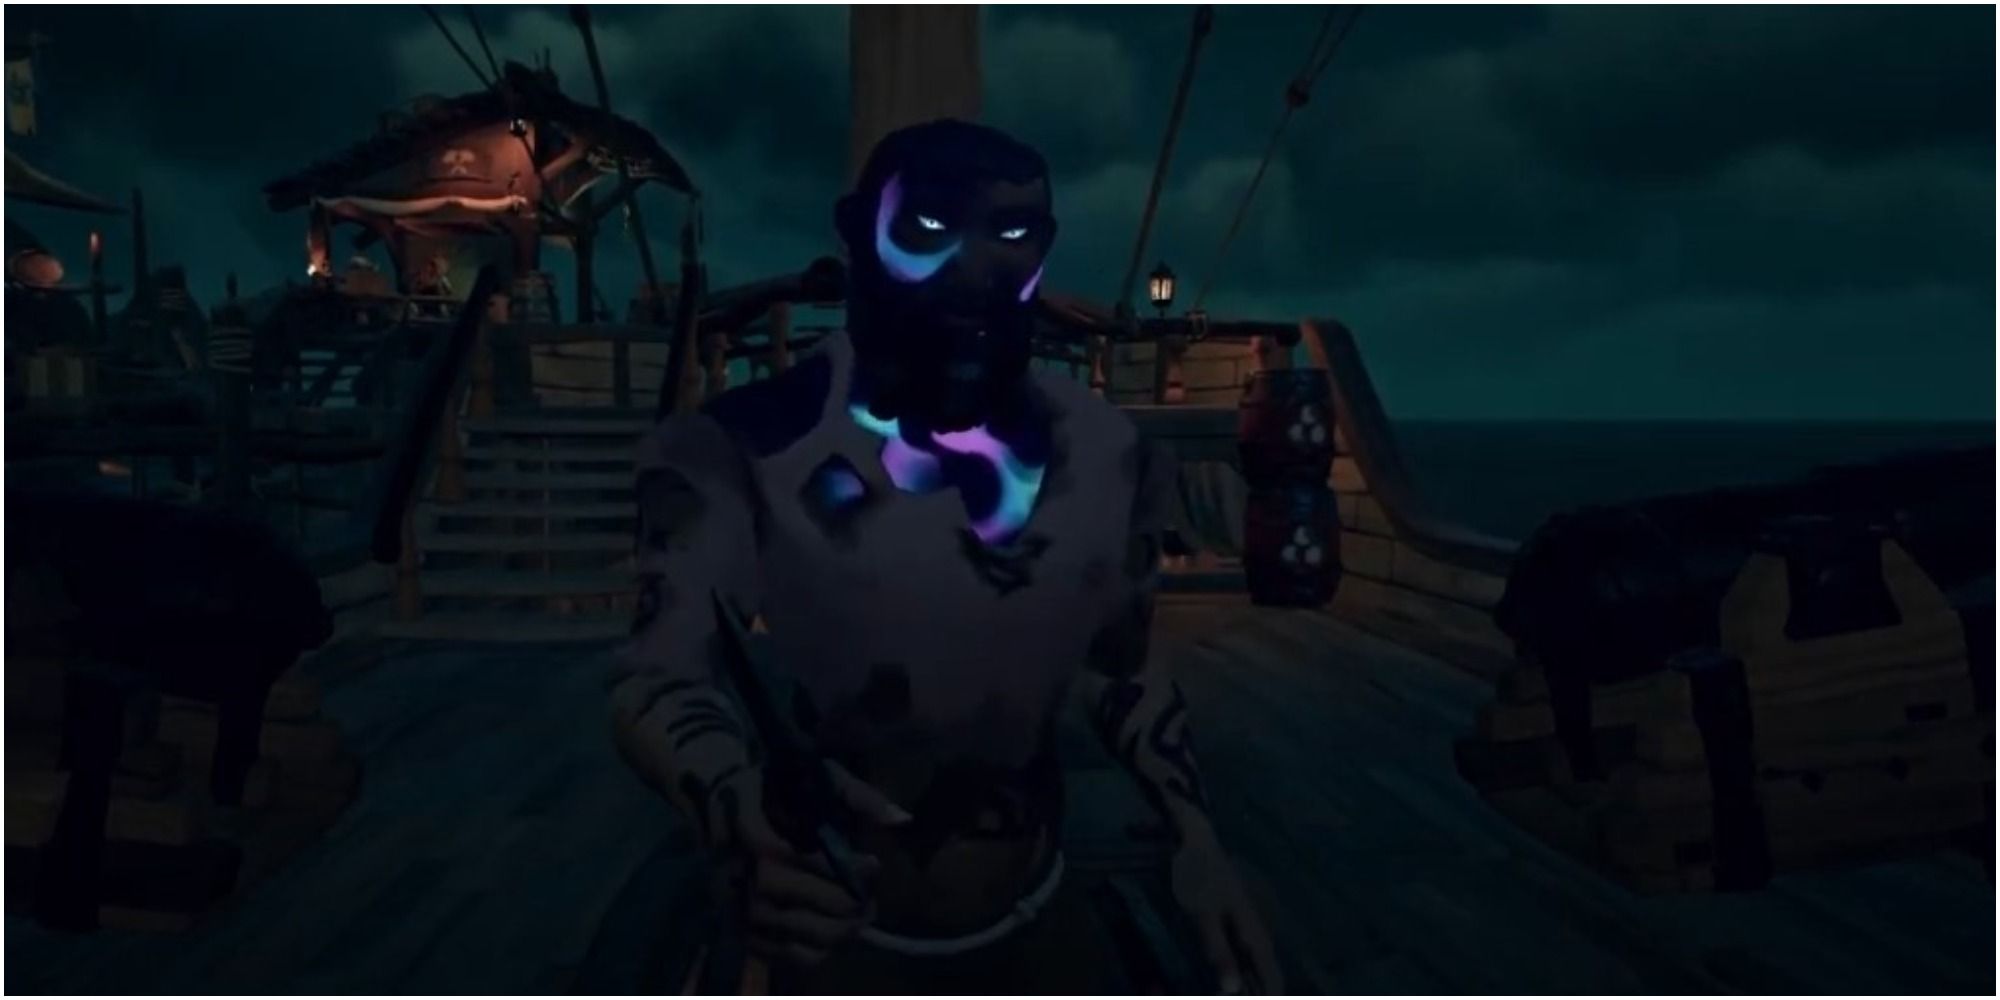
When you start seeing the neon glow-in-the-dark markings on the upper chest and face of some of your colleagues, they are probably remarking at the Curse of Sunken Sorrow.
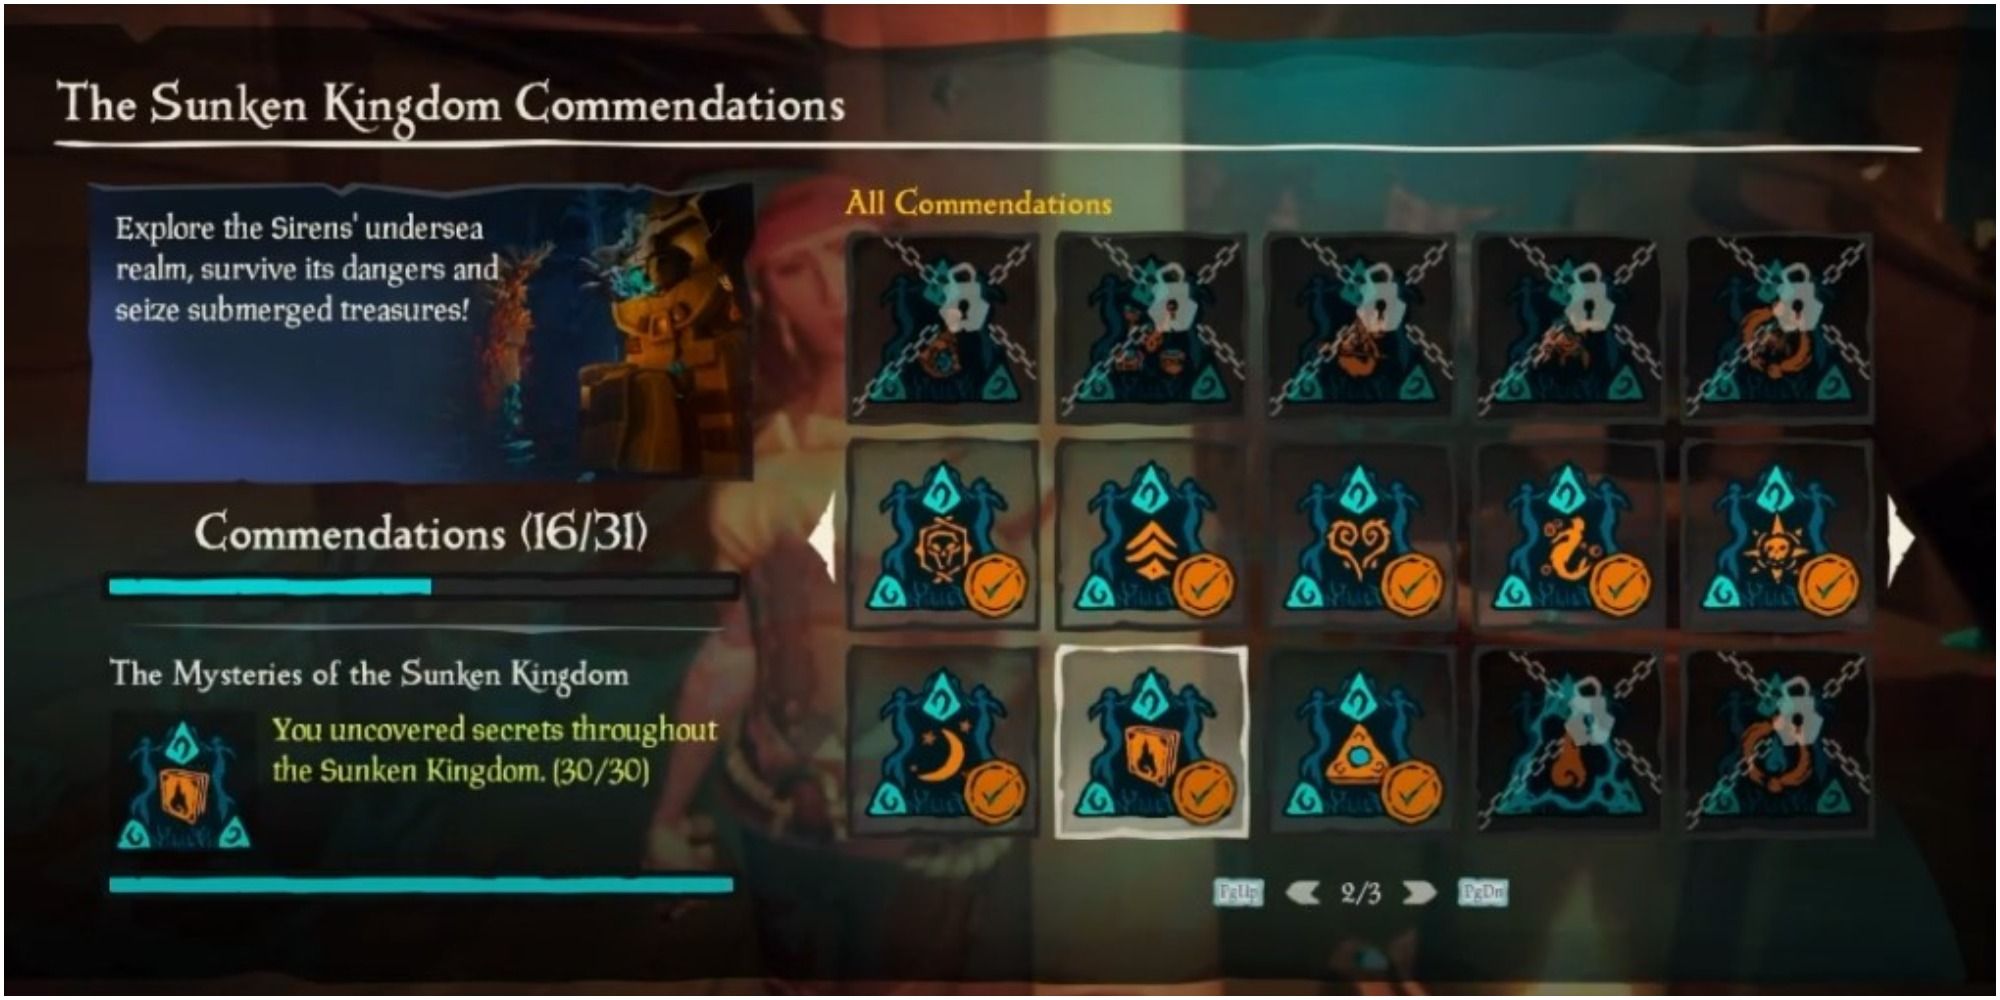
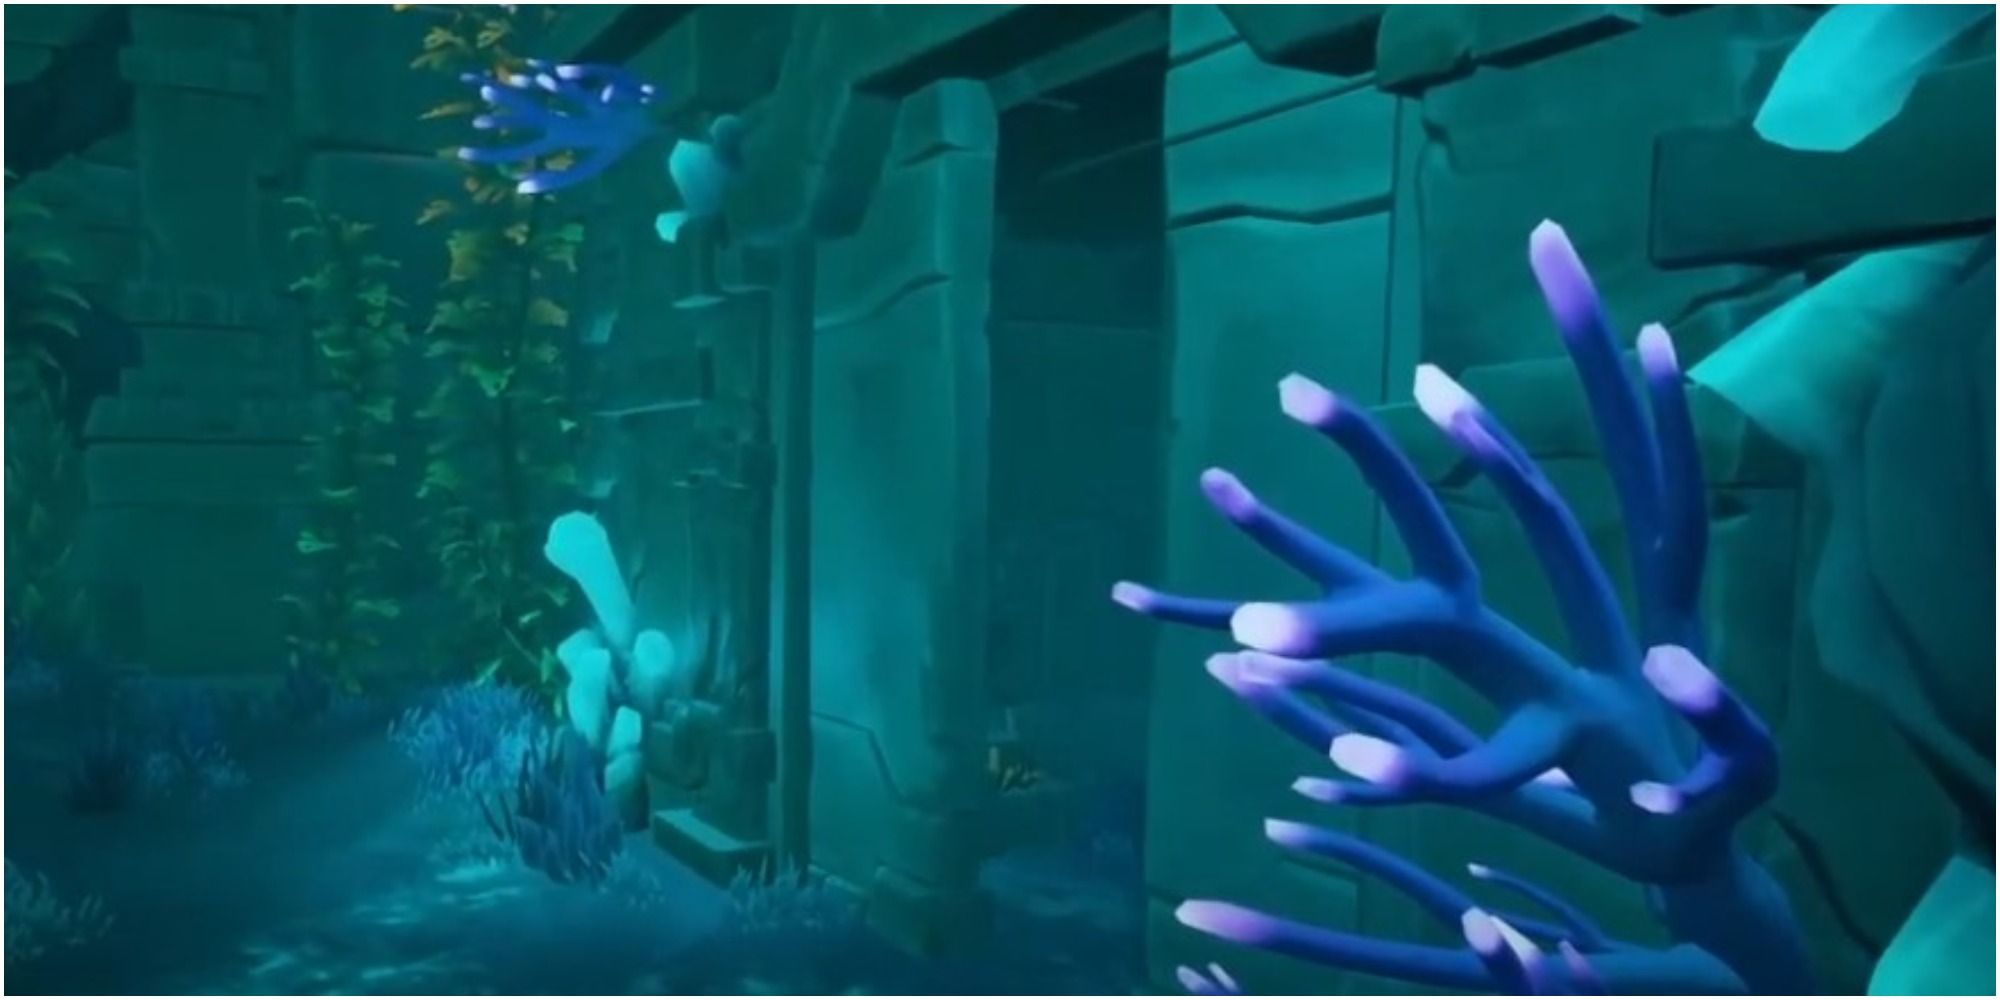
To start, you will first have to find 30 journals in the Sunken Kingdom accommodations. That means finding five journals in each of the following shrines:
- Shrine of Hungering
- Shrine of the Coral Tomb
- Shrine of Ocean's Fortune
- Shrine of Flooded Embrace
- Shrine of Ancient Tears
- Shrine of Tribute
This unlocks the quest called "The Curse of the Sunken Kingdom." Immediately after this begins, buy The Legend of the Sunken Kingdom from Larinna.
This will unlock a voyage that entails visiting the following three shrines:
- Black Water Enclave
- Sailor's Knot Stronghold
- Shrine of Ancient Tears
During these next few steps, if you lose any items or quit, you'll have to redo the voyage.
Be sure you have enough time to complete these steps, which can be time-consuming.
There are several items that are obtained on this journey that must remain on your person or your ship. They include:
- The Forbidden Coral Chest
- Gold Hoarders Medallion
- Three Forbidden Keys
- Mysterious Ancient Key (from the Forbidden Coral Chest)
The last step of this questline has you turn in the Mysterious Ancient Key to unlock a door. Head inside and claim the prize!
Legendary Curse
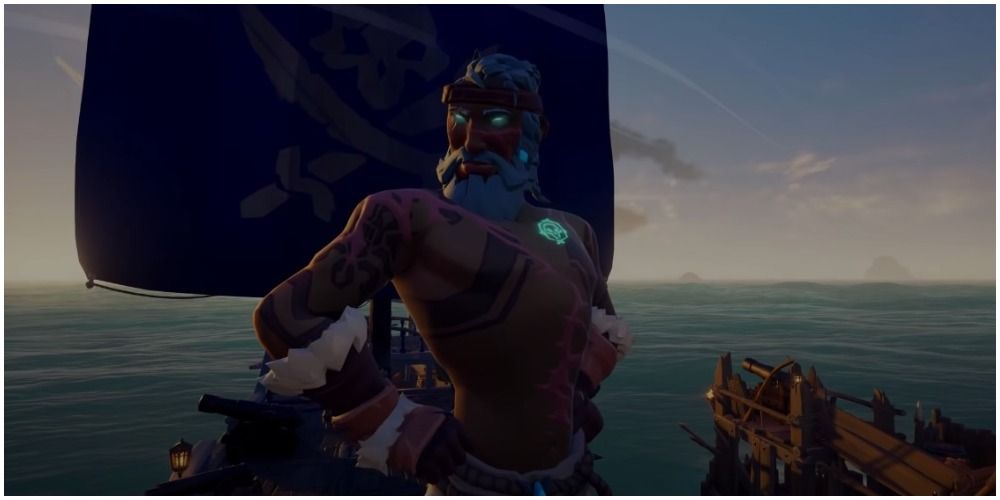
The Legendary Curse is noticed for its glowing blue eyes on the icon. Shirtless pirates will get an extra bonus, as a like-colored skull will be emblazoned over the heart.
To get the Legendary Curse, you will have to get to a legendary reputation level with at least three of the major companies. That's 50 levels with three of the following:
- Gold Hoarders
- Merchant Alliance
- Order of Souls
- The Hunter's Call
- Sea Dogs
- Reaper's Bones
You will also have to reach Renown level 100 during season one.
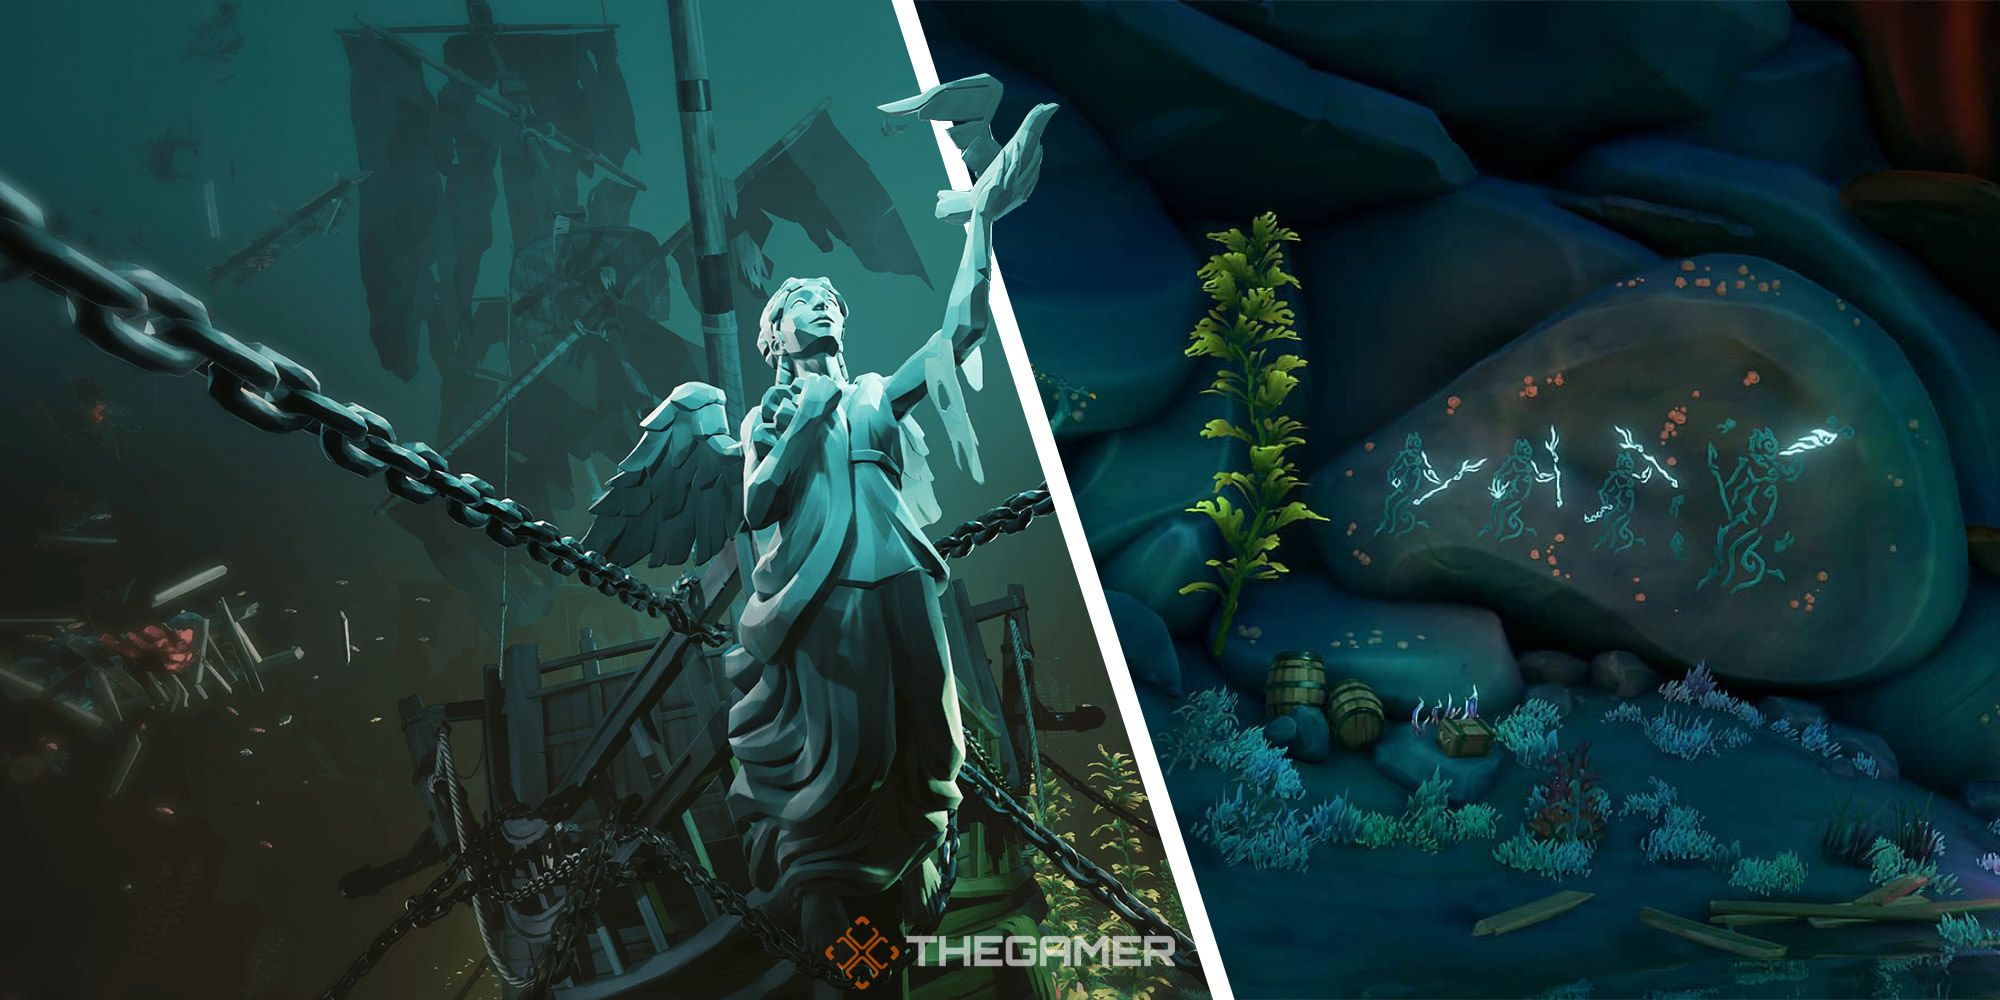
Sea Of Thieves: The Sunken Pearl Tall Tale Guide
Here is a walkthrough with some tips and tricks to help you solve all of the puzzles in The Sunken Pearl Tall Tale in Sea of Thieves.Curse Of The Order
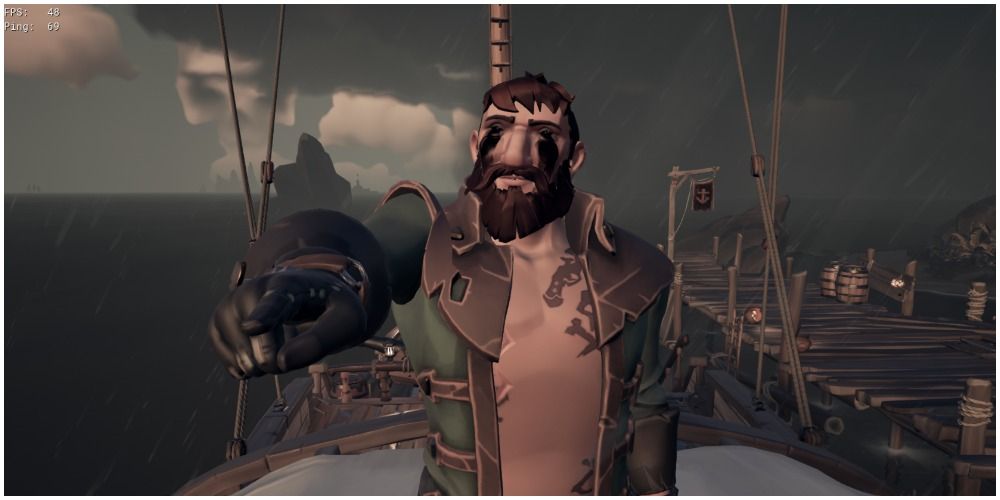
This item adorns the wearer's cheeks with pitch-black paint and replaces their eyes with black orbs. Getting it requires completing the questline entitled "The Cursed Rogue."
How To Complete The Cursed Rogue
Go to the Plunder Outpost, visit the Order of Souls tent, and find Madame Olivia inside. Her face is already under the effect of the Curse of the Order, so you'll know you're on the right track.
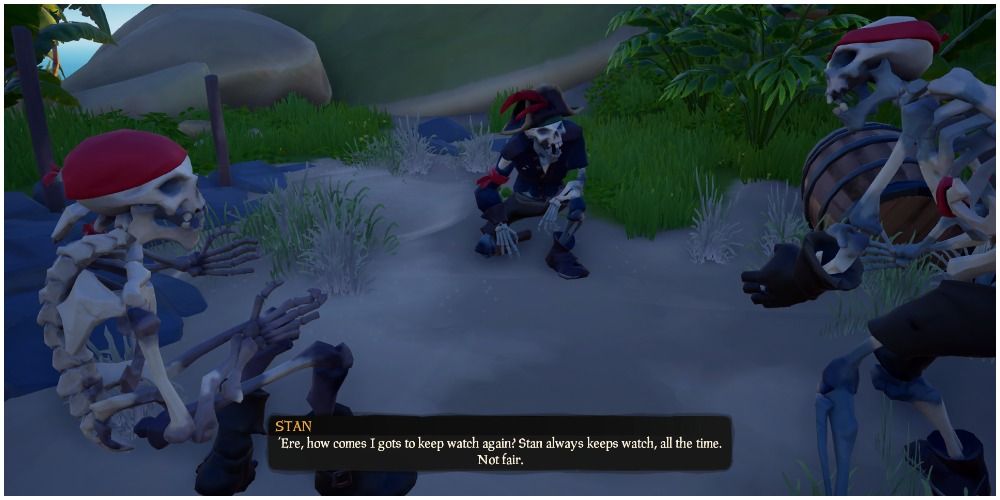
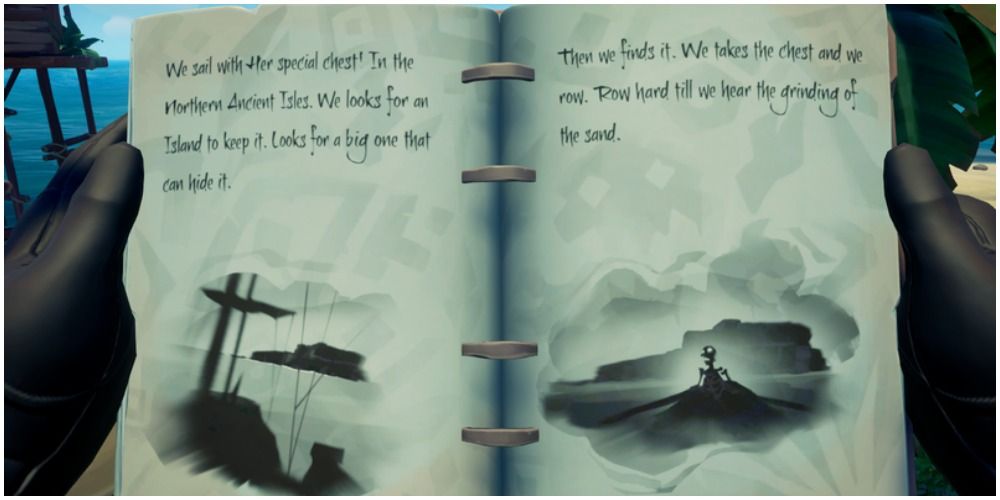
Vote on the Tale Book next to her and activate the Tall Tale. Read the book "Chronicle of Forgotten Lives." Your next task is to kill Captain Avery and her two mates, Stan and Jones, but her location varies based on the hint in the book.
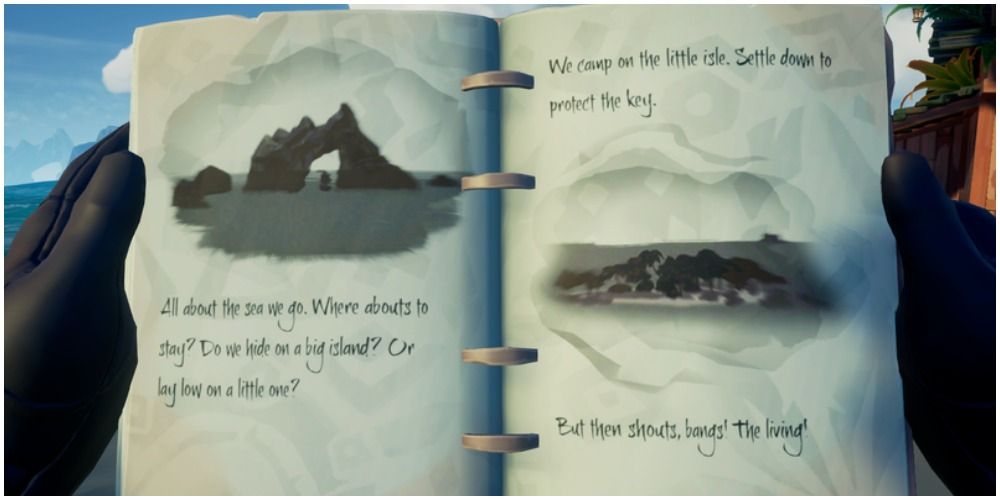
Look and read carefully. Captain Avery can be on any of several islands, and you'll need to use the clues and pictures to determine which one.
The following locations are the possibilities:
- Castaway Isle
- Barnacle Cay
- Devil's Ridge
- Shark Bait Cove
- Snake Island
- Wanderer's Refuge.
When you find them, kill Captain Avery and her two pals.
The appropriately named "Skeleton Key" will be dropped NEXT to her and not ON her, so make sure to look for it and loot it.
Reading the next pages in the book, entitled "The Memories of Blackheart Bill," will tell you where the Skeleton Chest that corresponds with that key is, and once again, it will vary based on the text and pictures.
The following locations are the possibilities:
- Crook's Hallow
- Discovery Ridge
- Lookout Point
- Mutineer Rock
- Plunder Valley
- Thieves' Haven.
You'll know you're in the right place if you do battle with another skeletal pirate named Captain Blake, who attacks along with a couple of henchmen.
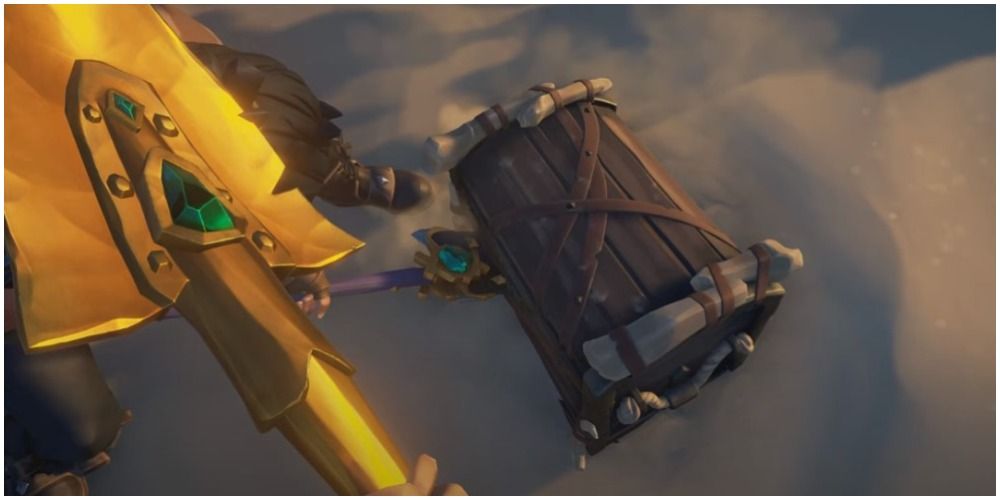
Unlike the key, the chest is buried at this location, so you'll want to look at the ground for abnormalities and then start digging.
Bring the best back to the ship. Open it up and loot the Broken Skyglass and Star Map.
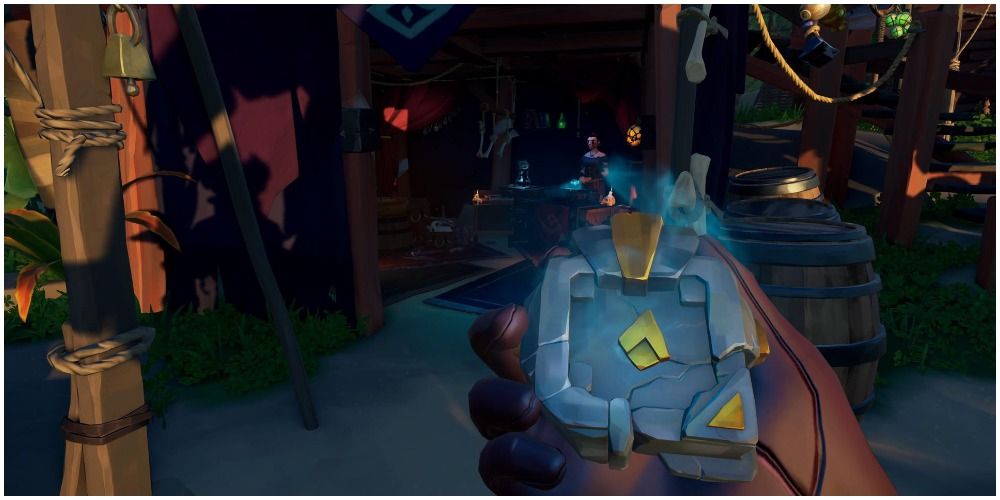
Return to Madame Olivia and she will trans-mutate the two items into the Enchanted Compass. Pick this up from the table.
You'll be killing a third and final skeletal pirate and her crew, but this time, her location is not hinted at by the book, but by this Enchanted Compass, which will point to her location.
The following locations are the possibilities:
- Cannon Cove
- Discovery Ridge
- Kraken's Fall
- Lone Cove
- Mermaid's Hideaway
- Shipwreck Bay
- The Crooked Masts
- Wanderer's Refuge.
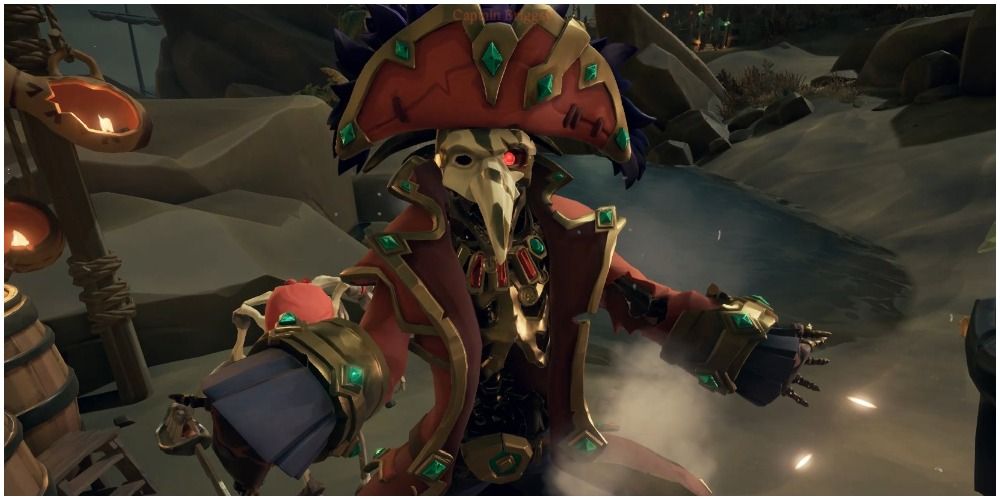
The target is Captain Briggsy, who is not one to be trifled with.
You will want to bring all of your friends along for this fight. Unlike the other two, she has limitless minions at her command and you'll most likely be overwhelmed.
Loot her skull off of her and return to Madame Olivia. Turning in the skull will complete the Tall Tale and give you the Fateful Memories Commendation.
Finally, go to the Vanity Chest and collect your well-earned Curse of the Order!
This is the only curse that grants some weaponry in the process.
Check your armory, and you'll have a hard-earned piece of equipment there — Briggsy's Sword.

Sea Of Thieves: How Sunken Merfolk Statues Work
Sunken Merfolk Statues are a helpful way to retrieve coral treasures from within the new Siren Shrines. Here's how to use them.The Ashen Curse
This curse makes the character glow internally in the chest, eyes, and hands area as well as provides some glowing scars to the head. It unlocks after finishing the Heart of Fire Tall Tale. Here's how to knock that out.
How To Complete Heart Of Fire Tall Tale
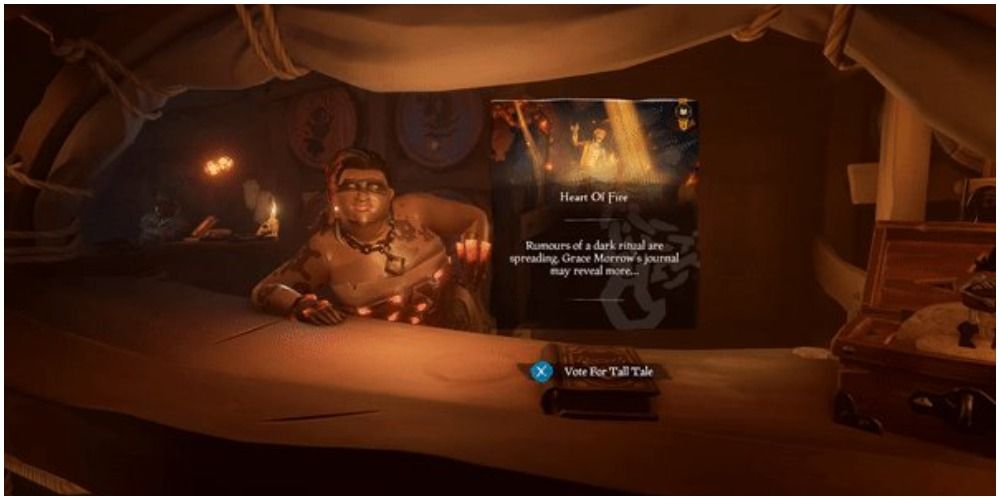
Go to Morrow's Peak Outpost and head to The Charred Parrot tavern. Inside, next to Tallulah, you'll find a Tall Tale to vote on. Go ahead and get it started.
Tallulah with chat with you a bit and then head outside to witness a conversation between Grace and Captain Pendragon. Thankfully, unlike the last Tall Tale, they will direct you specifically and the contents of the book are the same for everyone.
Follow their directions and head to the save in Liar's Backbone to begin the hunt for the traitor Stitcher Jim.
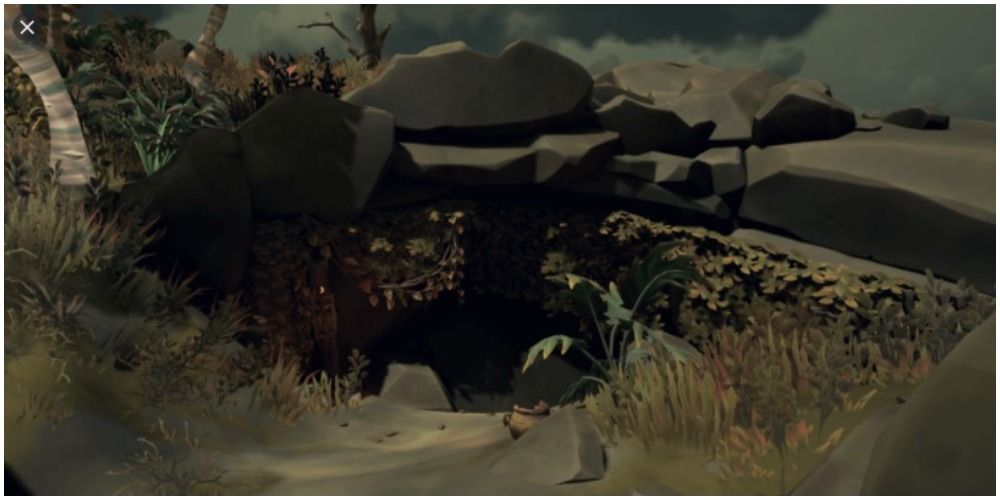
The entrance is on the north end of the island. It's hard to see, but you'll be able to spot a lever that removes a boulder and allows passage into Stitcher Jim's lair.
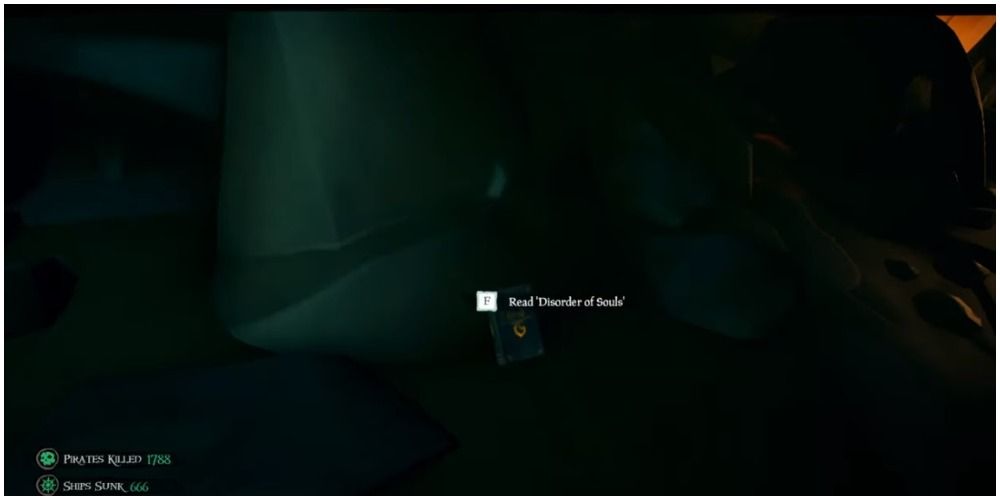
You'll need five journals to unlock The Ashen Curse, the first of which is in this very first room on a table to the left.
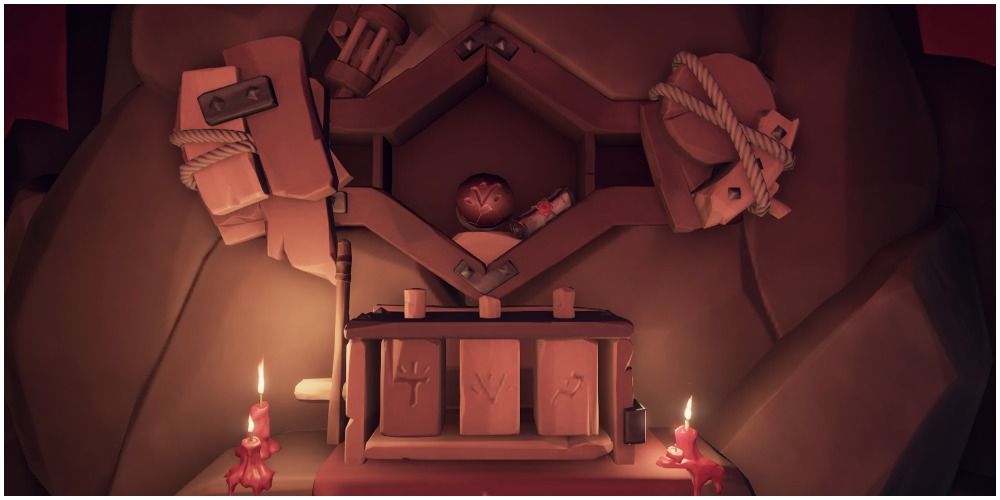
The rest of the room is a puzzle. Turn the pillars until they read "Captain Flameheart" and then pull the lever to reveal the Mysterious Key. Grab it.
The notes in the room reveal that Stitcher Jim has headed to Devil's Thirst and he's summoning an Ashen Lord, so make this the next destination.
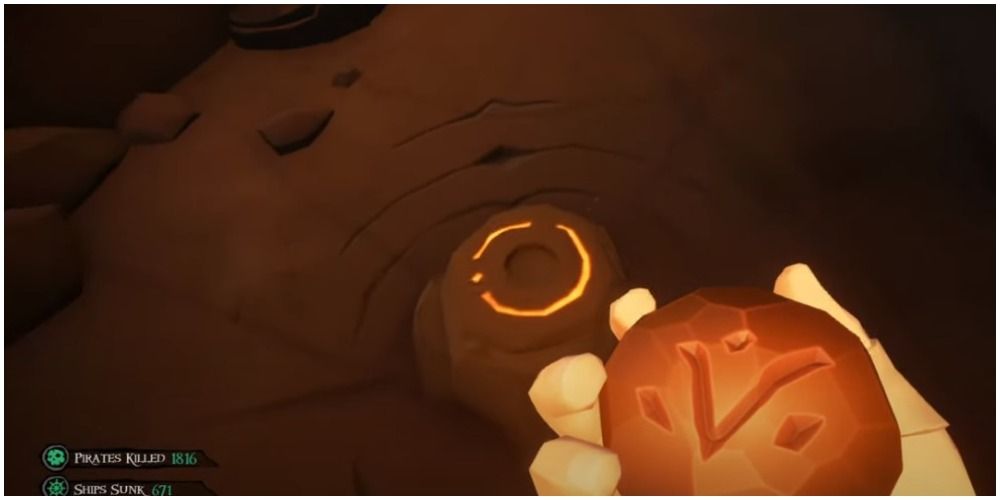
Once again, head to the north end of the island. This time, dive underwater and put the Mysterious Key into a receptacle. This will open a skull-shaped doorway right next to it.
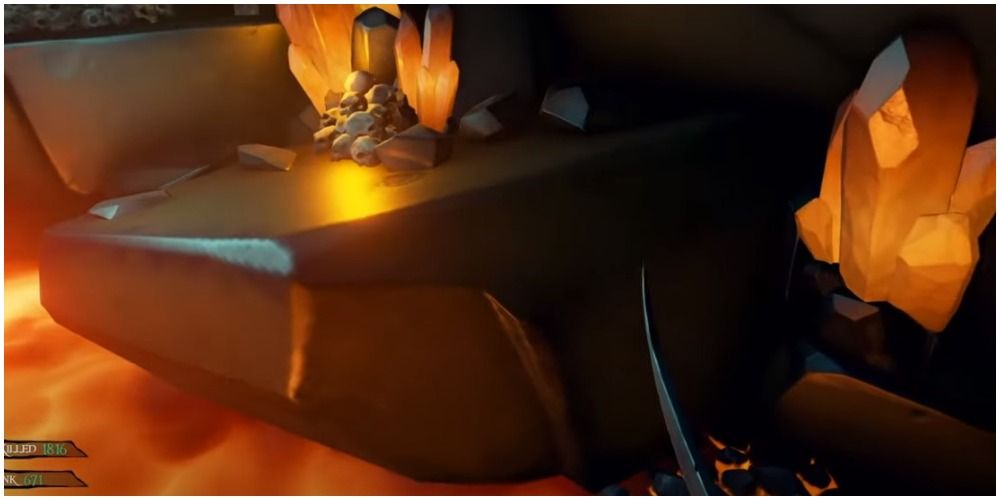
The following is a maze designed to drown you, but follow the orange crystals at every turn and you'll end up in the right place.
You'll end up in a chamber with three doors: a blue one, a green one, and an orange one. To open these doors, toss a firebomb at their corresponding symbols on the ceiling.
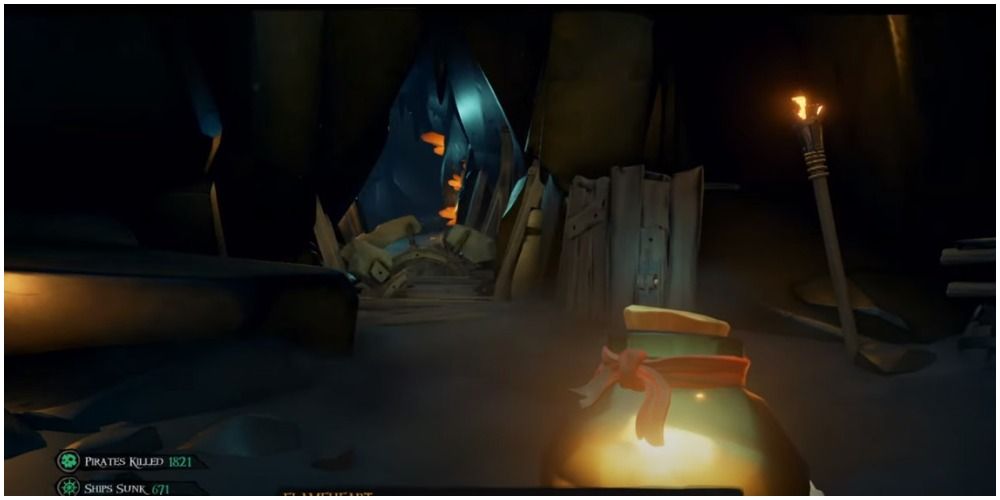
Take the blue door and head through. There will be fire traps that are avoided by waiting for them to shut off. Enemies will attack you as well, but kill them and keep going.
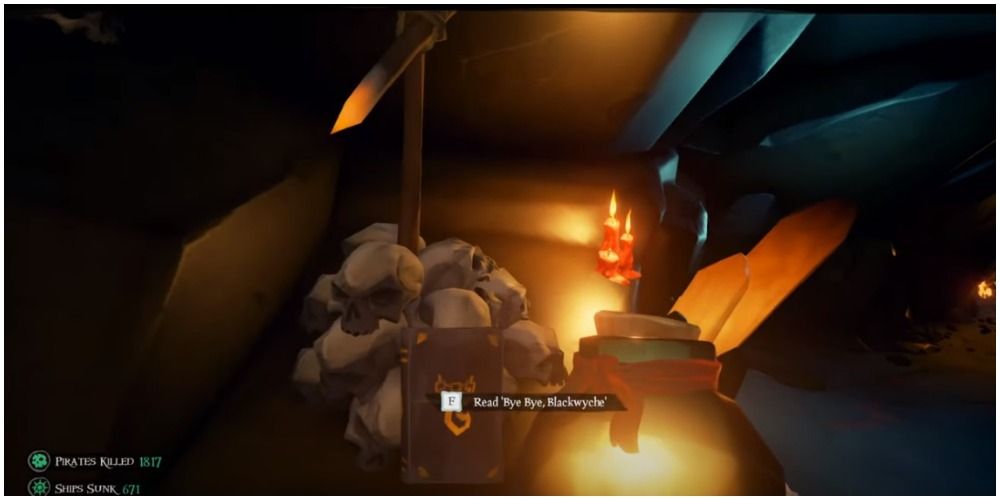
This second journal is easy to miss. It's next to a pile of skulls to the left as you jump from rock to rock across a shallow pool of lava.
You'll have to swim underwater, past some traps, and kill more skeletons. After traversing more fire traps, there will be a pully in front of a large lava pool.
Pulling it elevates some rocks out of the lava. Hop across them and make your way back to the starting room.
This time, you're going through the green door, but before you do, grab the third journal entry lying inconspicuously on the floor in front of the entrance.
This passage is much like the first: dodge traps, kill enemies, and throw firebombs at any skulls that are blocking the path forward.
The fourth entry will be at the end of the gauntlet, next to a wooden cross and a pile of skulls.
Like the last area, pulleys and levers will appear for you to yank, allowing you to return to the starting room.
Past the final door, there will be more traps and skeletons to fight as well as skulls that need firebombs to open doors. It essentially combines the skills used in the last two hallways.
When getting to the part with the rapidly whirling blades, there are four levers in the room (one of which is underwater), each of which disables a blade, so pull them all and run through as quickly as possible.
The fifth and final journal entry is easily missed since it appears in the middle of another trap. As spikes force you into alcoves on the right, look on the floor of the second alcove and pick up the last book!
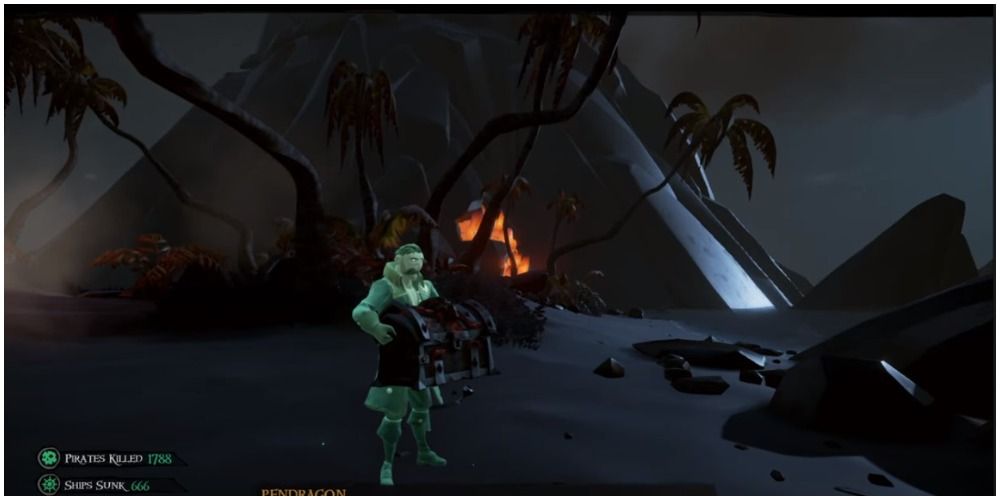
At the end of this hallway, you'll hear Stitcher Jim's cries of anguish. It turns out doing business with demonic Ashen Lords isn't as healthy of a business venture as he once believed. He'll run off, but he'll be forced to leave behind Stitcher Jim's Chest Of Rage. Pick this up and make your way forward.
This is a shocker, but the path out of here has even more fire jets. Surprise, surprise. Dodge them and make your way out of there. After getting to the surface, Captain Pendragon will be there and he'll unlock the chest for you.
This will unlock the Ashen Curse in your vanity chest.
This process will also unlock the Hull of the Ashen Dragon if you want this customization and would like your ship to match your clothing style.
Shores Of Gold Curse
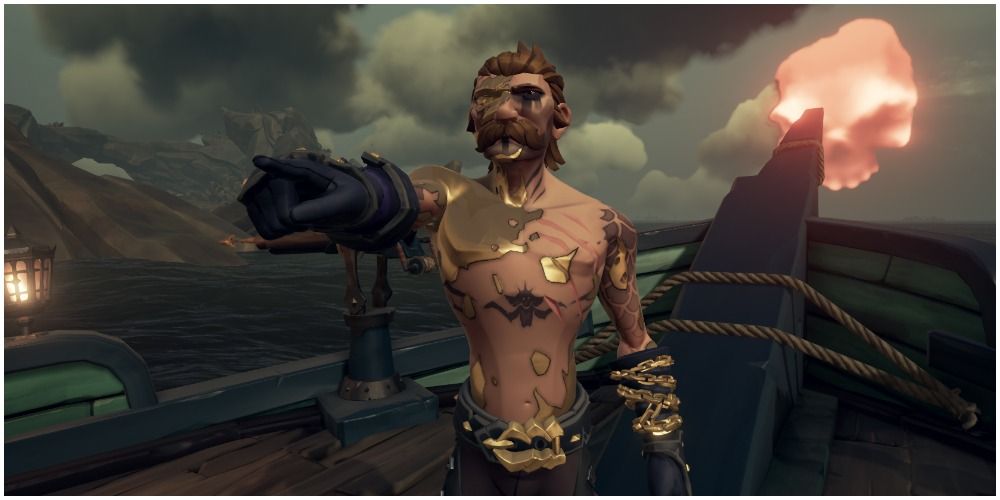
The Shores of the Golden Curse will take you longer than any other to complete. It's well worth it because the golden splotches look incredible on the character's skin, and it gives a cool effect to any scars it covers up as well.
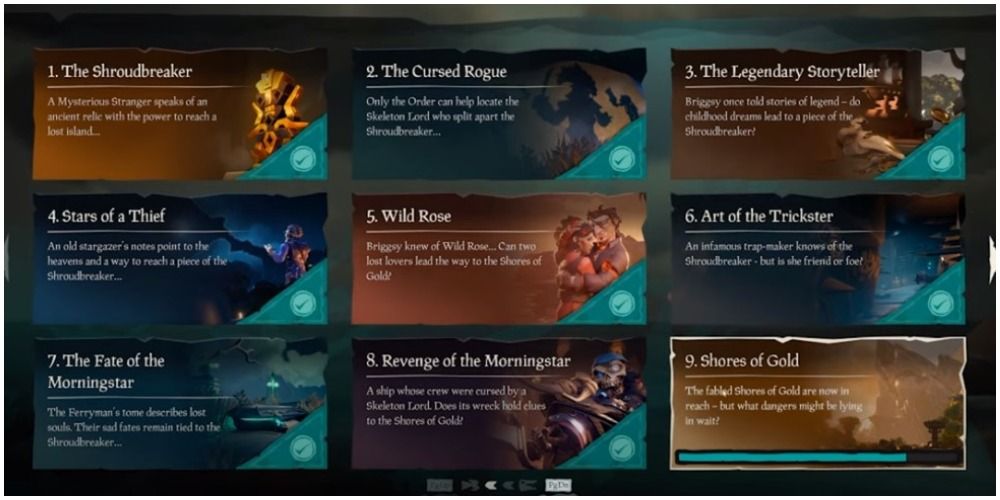
If you've followed this guide so far, you're well on your way. You'll need to complete the original nine Tall Tales five times each.
Find all the journals in each Tall Tale to receive the commendation.
You'll know you've done it if there is a checkmark in the lower-right-hand corner of the entry.
Complete the rest of the entries before doing the fifth run through of Shores of Gold, the ninth entry, since this is when the Shores of Gold Curse will be awarded.
The commendation you're looking for is called "Seeker of Grand Adventure." After getting it, like the other curses, you'll find it unlocked inside the Vanity Chest.
Fitting the theme of gold-plated customization, this ninth entry will give the Gold and Glory commendation, which also unlocks a Gold Hoarder Figurehead to put on your ship.

