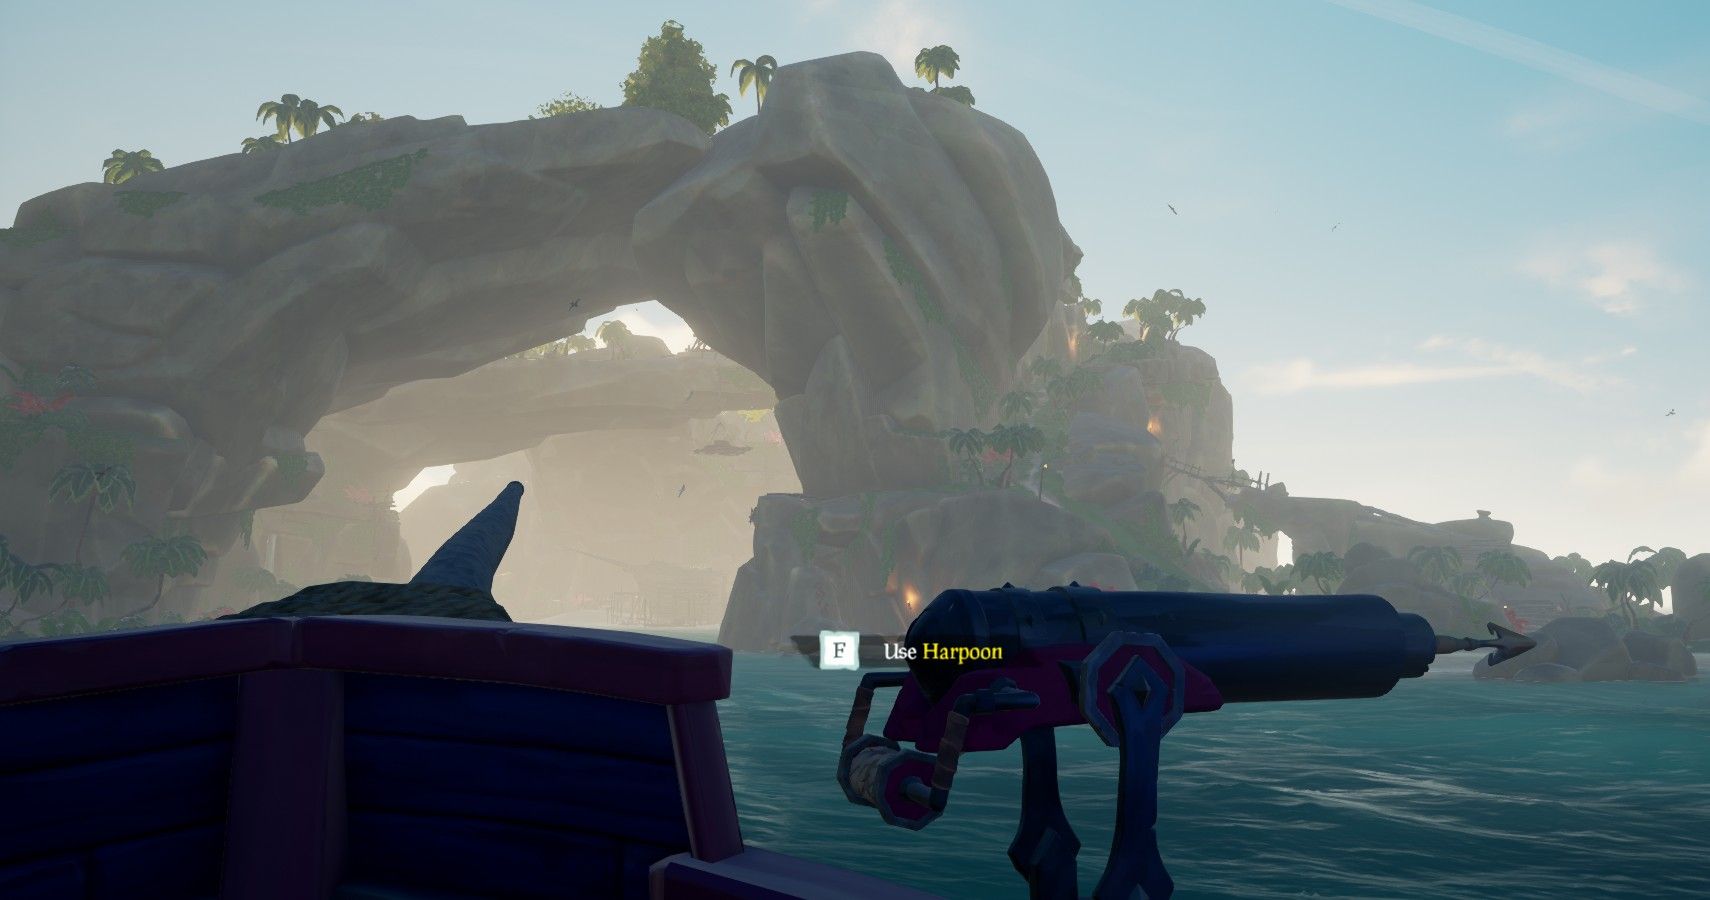
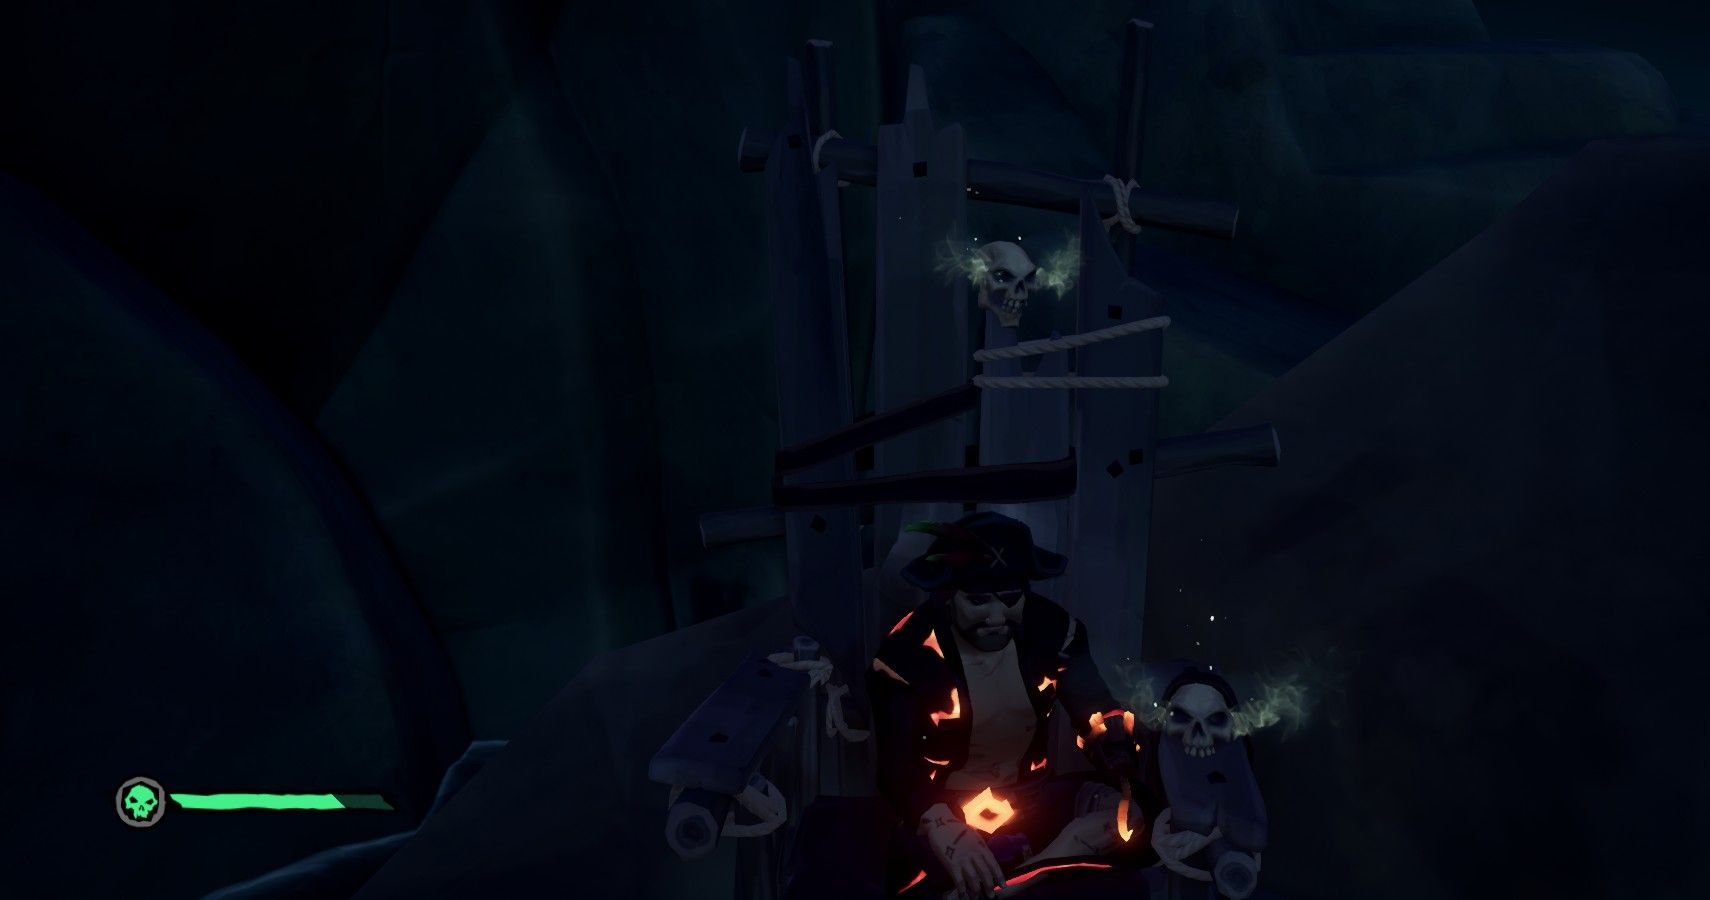
The Accomplished Trials of Exploration want you to see everything in Sea Of Thieves. Introduced in Sea of Thieves Season One, trials offer you the chance to unlock limited time loot for anyone that completes them. The Trials of Exploration take you across the entire map and off it entirely, often more than once. On top of that, these trials serve to highlight some of the secrets and mysteries that surround the pirate adventure game, and might perhaps inspire you to dig into the lore surrounding the various NPCs and factions of the game.
In total there are seven Accomplished Trials, each with three deeds needed to fully complete them, but this guide will lead you through each point by point.
How To Complete All Accomplished Pioneer Trials In Sea Of Thieves
- Cook some chicken on a campfire on Old Sailor Isle
- Find a rowboat on Old Sailor Isle
- Fire yourself from the cannon of the wrecked ship on Old Sailor Isle
If you’re doing all the Maiden Voyage Trials at once you’ll still be on Old Sailor Isle, if not you’ll have to load up the Maid Voyage tutorial from the main menu once again.
The first deed wants you to cook some chicken on the campfire on Old Sailor Isle. Before you can get the chicken meat you’ll have to get your sword so make sure you’ve followed The Pirate Lord’s instruction at least up to that point.
With sword in hand, you’ll have to find the chicken. They can spawn anywhere but I’ve had the most luck finding them behind the wrecked ship at the centre of the island. Look for open grassy areas and watch the surrounding foliage for movement. Once you’ve caught a chicken at the end of your sword, head back to where you started and the burning campfire near the water. As soon as the chicken is in the pan you should complete the deed.
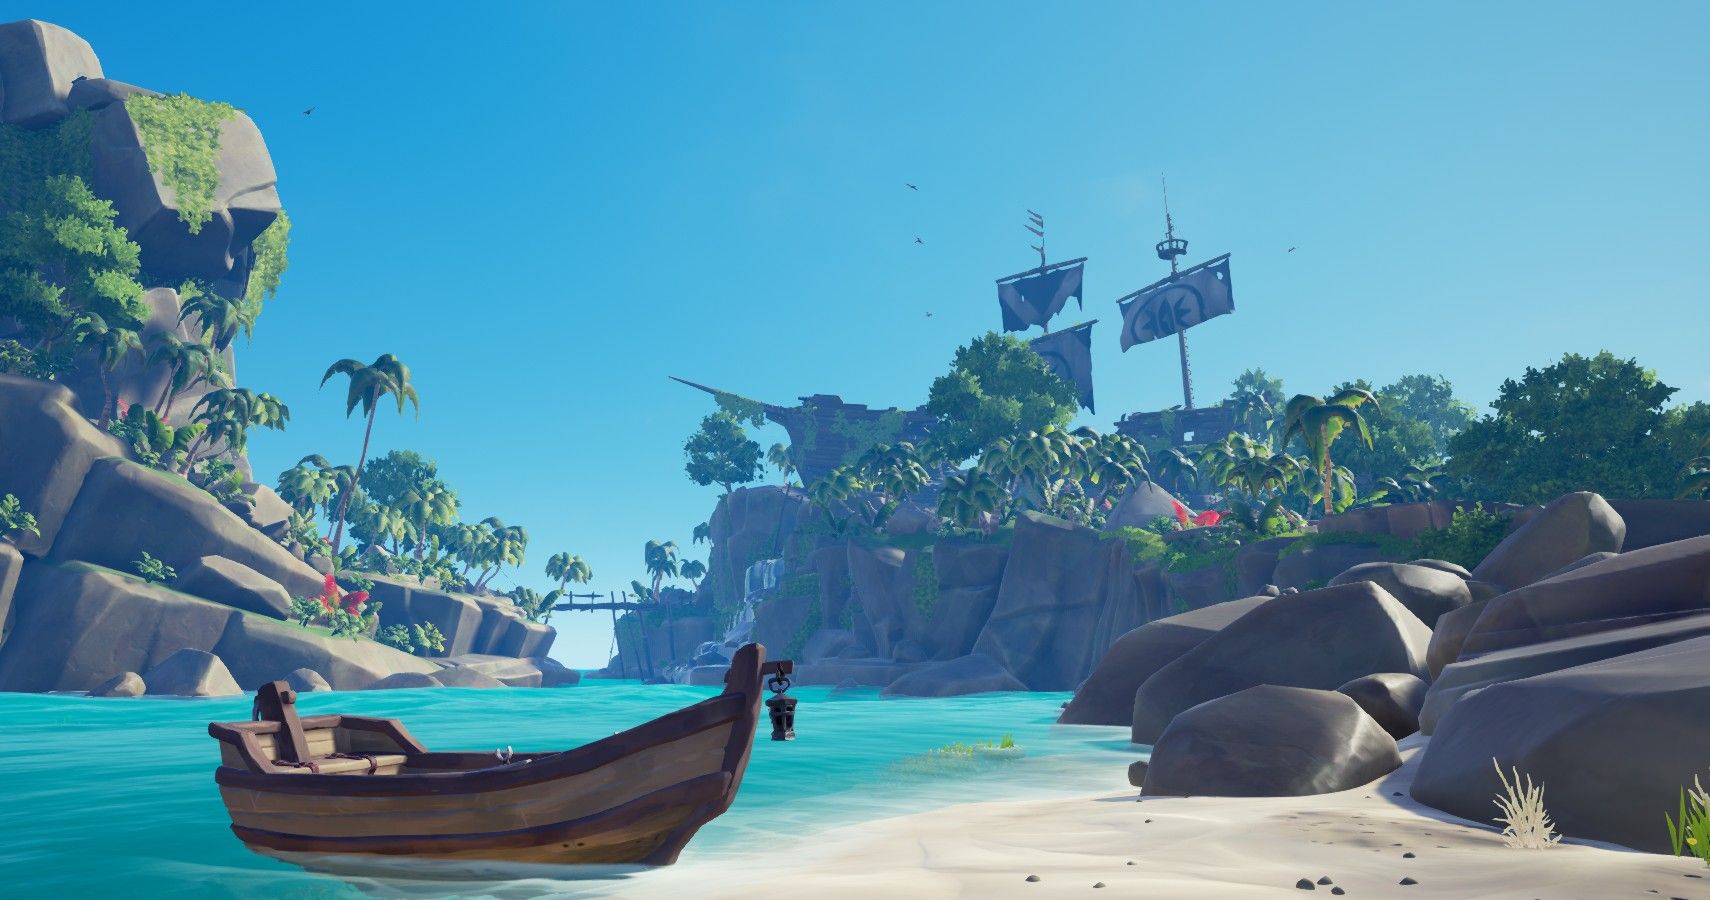
The second deed wants you to find the rowboat. Over the small bridge beside the wrecked ship is a smaller segment of the island. When looking at it from the bridge, jump into the water and swim around clockwise. You should come to a cave pretty quickly, and inside you’ll find a rowboat. Once you’re on the oars the deed should unlock.
The final deed wants you to fire yourself from the cannon of the wrecked ship. This one is pretty easy. The wrecked ship is the biggest landmark on the island, so you shouldn’t have any trouble finding it. Once at the base you can make your way up the ladder or stairs, but once you’re on top you’ll spy a cannon facing the other segment of the island. Climb in and fire to complete this deed.
The Master Pioneer Trial is the last that involves exploring Old Sailor Isle so check that guide if you want to finish it all up before sailing to the Sea of Thieves.
How To Complete All Accomplished Explorer Trials In Sea Of Thieves
- Find and destroy a Cursed Mermaid Statue
- Set foot on an island in each of the four regions
- Visit a skeleton Fort
- Visit a Seapost
The first deed in the Accomplished Explorer trial is to find and destroy a Cursed Mermaid Statue. You can find these randomly across the Sea of Thieves. They will often be completely submerged under the waves around the coast of the islands, or just jutting out of the water. Use the eerie humming that they emit to help find one.
To destroy one, you have to do consistent damage until it completely breaks. Its normally best to use a ranged when to open the attack and then go in with the cutlass once you’re out of ammo. The statues heal themselves quite quickly so can’t retreat and come back. That makes it more difficult because you will take damage when close to one of the statues. Make sure you’ve got enough food to sustain yourself, especially when you’re likely to be underwater as well.
There are three types of statue, Sapphire, Emerald, and Ruby. Sapphire are the easiest to destroy and can be handled by a single player and cutlass. Emerald statues are tougher, you’ll need to use your ammo be ready to ready high health food to outlast it. Ruby is almost impossible for a single player, and is easiest with a crew that can help deal damage quickly. Gunpowder Barrels can be very effective against statues, but making sure you’re not hurt is the blast is key, as the statue will repair itself while you’re on the Ferry. Cannons can work to, but only if you can get a direct hit on the statue which is impossible if it is deep underwater.
This deed will complete when the statue is completely destroyed.
The second deed is wants you to step food on an island in each of the four regions of Sea of Thieves. The four regions are The Shores of Plenty to the west, the Anicent Isles to the south, The Wilds to the north east and The Devil’s Roar to the far east.
You’ll probably unlock this deed naturally as you play since the other trials and game in general will lead you across the map, but not all you have to do is jump off your boat and touch the sand of one island in each region to unlock it.
The third deed wants you to visit a Skeleton Fort. There are ten skeleton Forts around the game, and you tell them apart at glance thanks to the watchtowers that surround them.
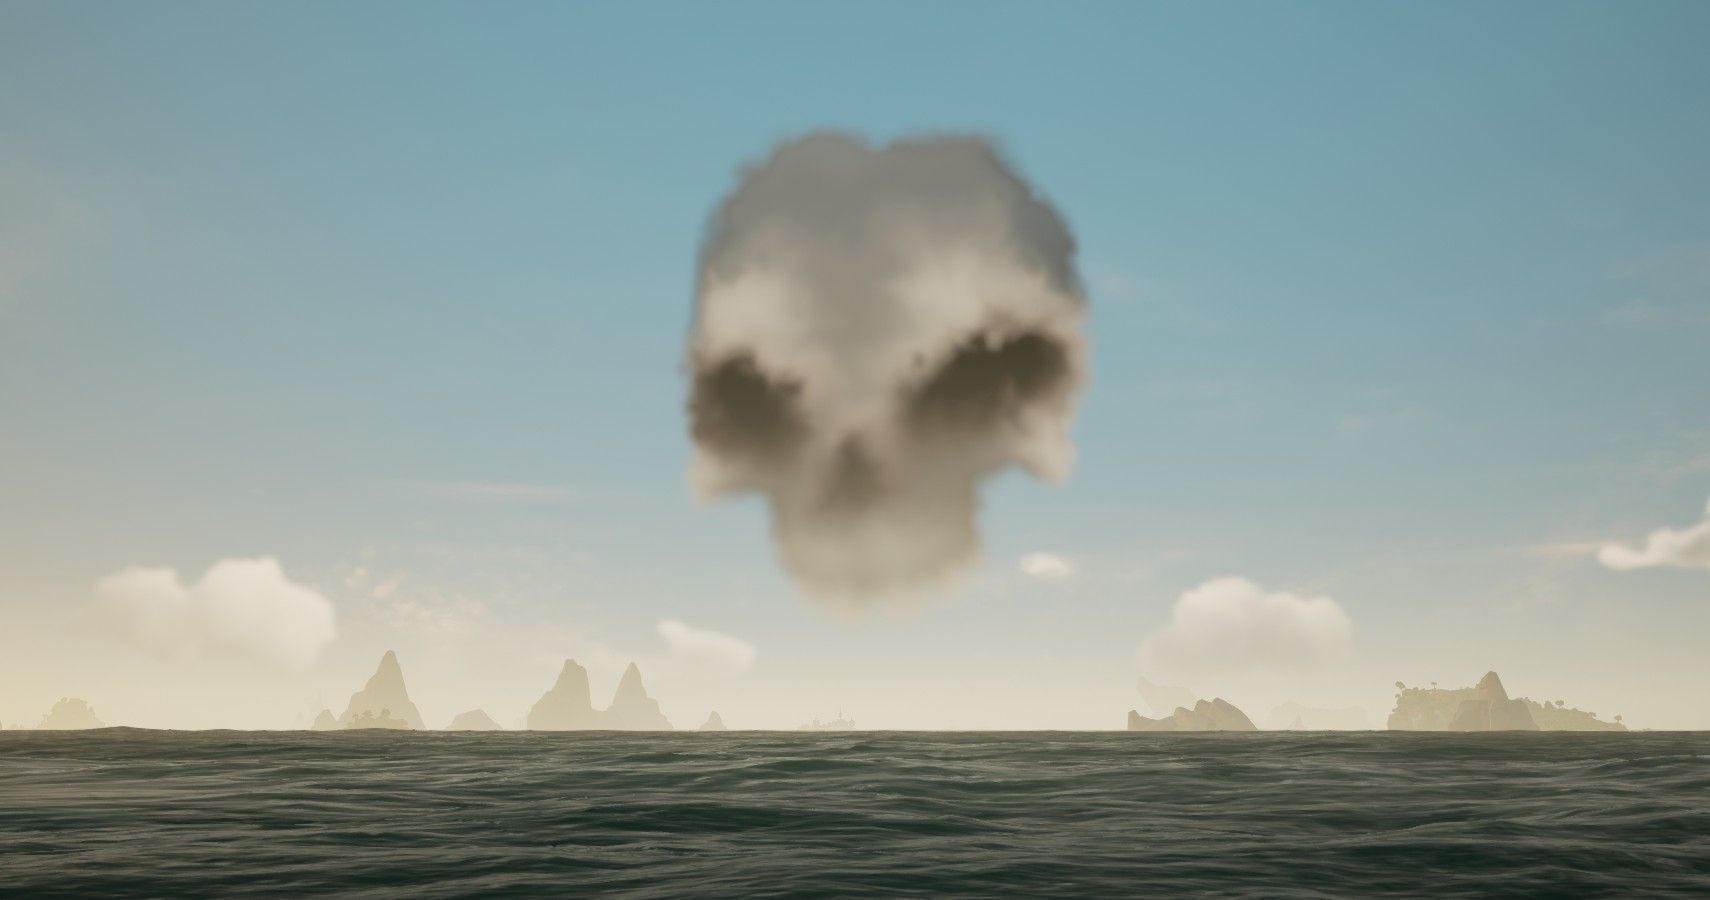
Occasionally these forts will activate, which you can tell because of the large skull cloud that appears above them. When active, the watchtowers will be manned, and waves of skeletons will attack anyone that comes to shore. Survive the onslaught and you’ll get the chance to raid the vaults by defeating the Skeleton Captain that appears once the waves are defeated.
The fort does not need to be active to unlock this deed though it might be best to find an inactive one and set foot on it before any enemies show up.
The final deed for the Accomplished Explorer Trial is to visit a seapost. These are tiny shacks set up on sea rocks throughout the Sea of Thieves, and will be marked on your map.
Seaposts also serve as the home of the Hunter’s Call Trading Company, so you will be heading to one of them to hand in any cooked fish and meat you have.
How To Complete All Scavenger Pioneer Trials In Sea Of Thieves
- Hand in a Shipwrecked Chest to the Gold Hoarders
- Hand in a supply crate of any kind
- Hand in an Ashen Key to Larinna or the Reaper’s Bones
The first deed in the Accomplished Scavenger Trial wants you to find and recover a Shipwrecked Chest. While you’ve undoubtedly found all sorts of treasure and adventures above the waves on The Sea of Thieves, there is a few secrets hidden underneath. Scattered randomly around the open waters are unfortunate shipwrecks left submerged and ripe to be explored.
If you’re lucky, these wrecks will have the mast or the front of the ship stabbing out above the waves, but a lot of the time they will be completely submerged. Look out for large flocks of birds circling the water, for they indicate a shipwreck beneath the water (a smaller flock will circle floating barrels). Once you’ve arrived at the shipwreck you’ll have to dive down and find a way in. All shipwrecks have the same layout as a galleon so you won’t be totally lost if you’ve set foot on one before.
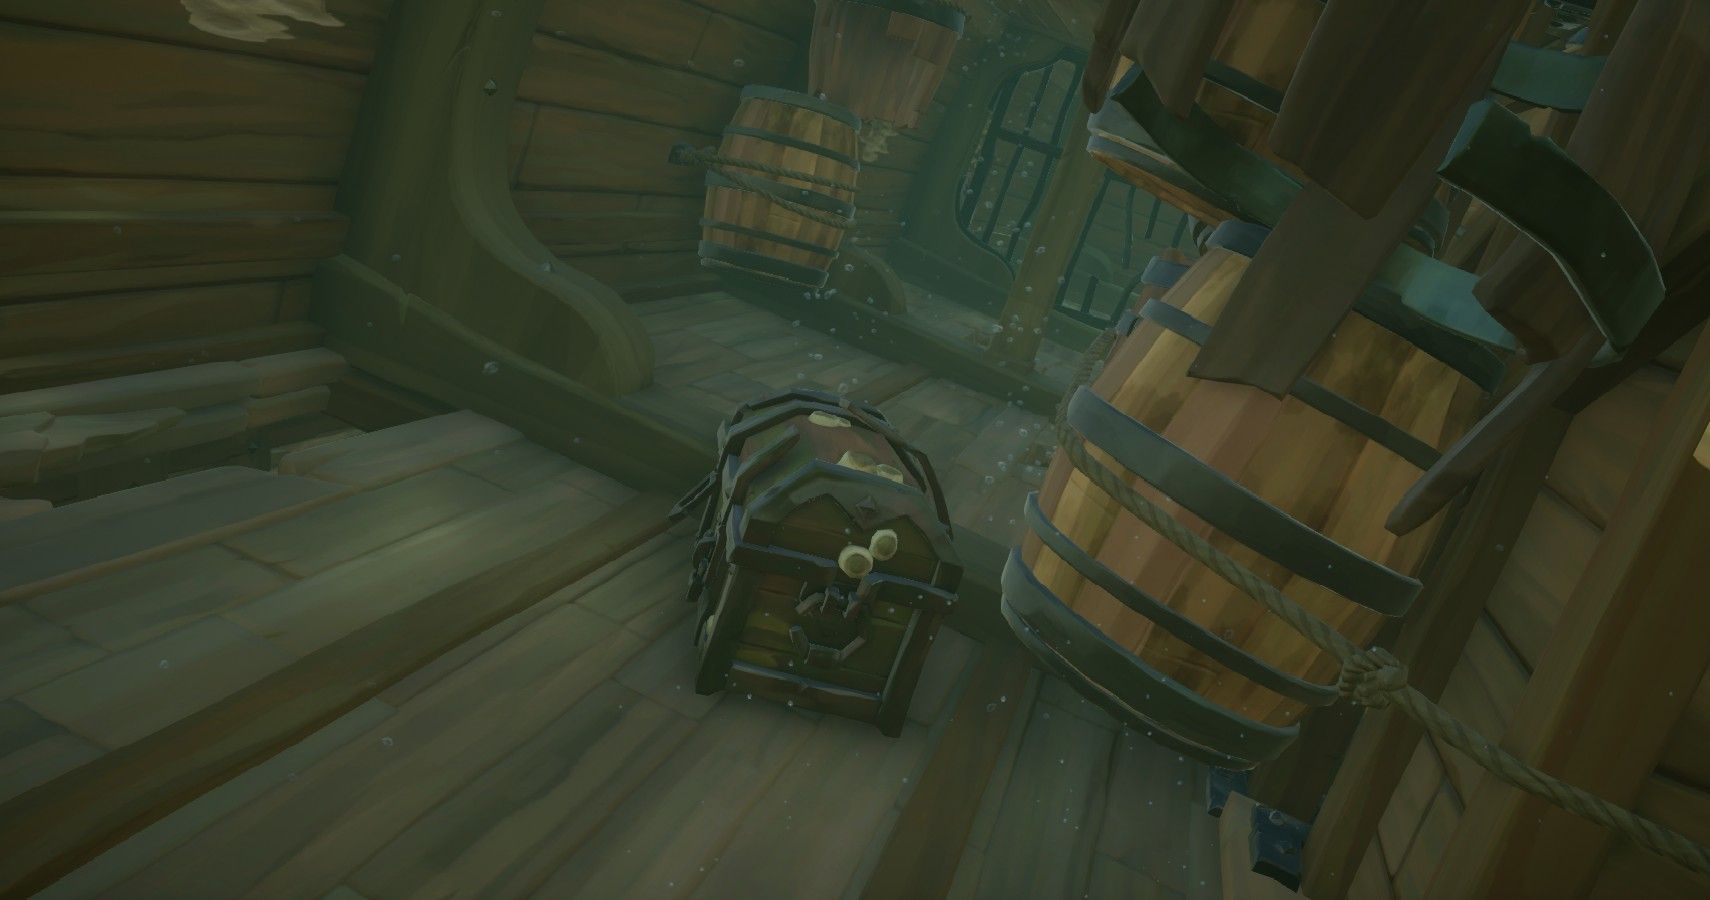
Shipwreck chests are distinctive from normal chests because they look more worn, broken, and encrusted with barnacles. Find one onboard the lost vessel and return to the Gold Hoarders to complete this deed. Sometimes shipwrecked chests can be found washed up on island beaches so if you’re having no luck with the birds, start searching the islands. They can also be taken as booty from sunken skeleton ships, if you spot one of them through your spyglass. Or of course you could try and steal one from another players ship.
The second deed wants you to hand in a supply crate of any kind. Supply crates can be found scattered across the islands of Sea of Thieves and come in three variants. They can either hold fruit, wood, or cannonball, and when you come across them they might be partly full or completely empty. Before you turn one in though they have to be completely full, which means making sure there are fifty pieces of the necessary resource inside, a fairly costly amount.
Once full you can turn them into any Merchant Alliance representative at any outpost. Because they cost so many resources, it is recommended you do this at the end of your session, as you might need those supplies to fight off any ships, heal yourself, or repair your damaged hull.
The final deed will look very familiar to anyone working there want through the trials. It wants you to hand in a Ashen Key to Larinna or the Reaper’s Bones. Voyages to recover Ashen Keys can bought from Larinna who stands outside every tavern on every outpost in the game. You can also come across them yourself by defeating Skeleton Captains randomly spawned on islands.
You can also be rewarded Ashen Keys from defeating Skeleton Lords, Ships, or Forts.
You’ve done the final one before. Find an Ashen Key and hand it to Larinna. You can purchase an Ashen Key Voyage if you want.
How To Complete All Accomplished Historian Trials In Sea Of Thieves
- Find some of Umbra’s Immortalisations
- Find all of Umbra’s Journals
- Find and examine a nameplate at Shipwreck Bay, or a unique rock painting at Snake Island, Plunder Valley, or Thieves’ Haven
The Accomplished Historian trails ask you to continue your search for the chronicles of the Sea of Thieves that you began as an aspiring historian. The first deed wants you to find five of Umbra’s Immortalisations. You will have already found one on the Ferry of the Damned. Four more can be found at Sancturary Outpost so head there to quickly finish this deed.
The first can be found at the Shipwright’s (on the pier with the Merchant Alliance). Look at the pillars holding the makeshift roof and you’ll spot a bucket nailed to it. Interact with that bucket to find an immortalisation about Carson Iz Pro.
After that head to the tavern. Look at the plaque above the tavern entrance and you’ll find the immortalisation of Clumsy George.
After you’ve learned about Clumsy George, head inside the tavern. Look for the flag of three monkey heads draped over some barrels. Interact with it to find the immortalisation of Triheadedmonkey.
The final Immortalisation can also be found inside the tavern. Look for the portrait of a pirate standing in front of a kraken attack. Interact with the immortalisation of Captain B to complete your fifth immortalisation and finish this deed.
The second deed wants you to find all ten of Umbra’s Journals. These books, named Legends of the Sea can be found all over the Sea of Thieves, but you won’t be able to complete this deed unless you are a pirate legend, or at least have one in your crew since one of them is the Legends Hideout.
They aren’t that hidden so once you’re in the right area, you should be find to find them. We’ve listed their location in order below, which might not be the most efficient way of finding them.
On Devil’s Ridge, head to the south beach and look for a painting for a boar battle. From here you should be able to see a large rock overhanging over the area. Climb to the top and you’ll find the first journal.
On Crescent Isle, you’ll spot a wrecked barrel cart on the south side of the large cove. Look inside the destroyed barrel to find the second journal.
Over on The Devil’s Thirst, you’ll find a shelter made of a scuttled ship on the south coast. Search inside to find the third journal.
The Crooked Masts has the most difficult to reach journal of them all. Sail and anchor on the north side of the island, so you can see the beacon platform suspended high on the rocky mountain. Fire yourself up there with one of you ship’s cannons and you should find the journal on the corner. While you’re there you can light the beacon with a Flame of Fate to complete a Aspiring Lightbringer deed if you haven’t gotten round to it already.
The fifth book is on Krakens Fall. On the south east side of the island you’ll find Penelope near some Kraken bones. The journal is on top one of them.
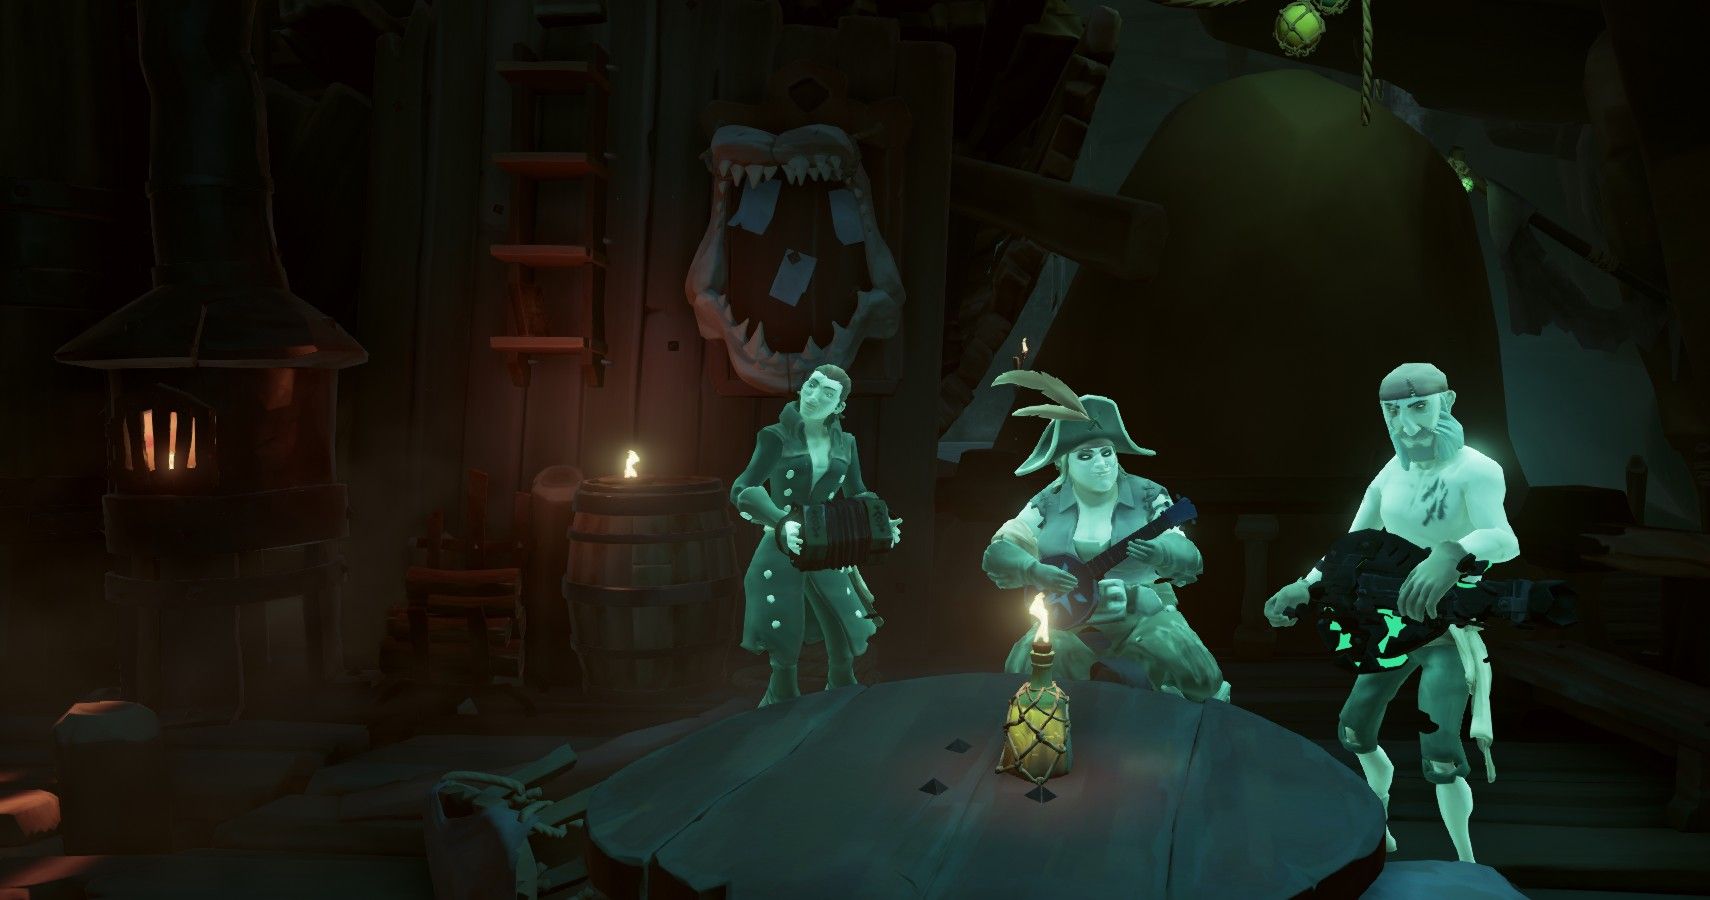
The next journal is the one hidden in the Pirate Legend Hideout. You can find it behind the ghost band on a shelf.
On Hidden Spring Keep, you can find this journal on the south west tower. There’s a ladder to reach it so you don’t need to worry about using the cannon. Its normally best to get this journal while the fort is not active.
Shipwreck Bay has the eighth book. You can find it wedged under an ornate chair in the Captains Quarters on the large shipwreck that dominates the southside of the island. If you still need to find the nameplate on this island, you can find it just outside the Captains Quarters on your way out.
The penultimate book is Wild Treasure Store. This tiny shelter from the waves is hiding the book underneath a hammock.
The final one of Umbra’s journals is found on the Fort of the Damned. It is hidden on the watchtower west of the vault. Its recommended you don’t head there if other players have activated the Fort, since they probably won’t believe you’re coming here to read.
The final deed for the Accomplish Historian trial is the same as the Aspiring Explorer. Find either the nameplate at Shipwreck Bay, or a unique painting on Snake Island, Plunder Valley, or Thieves Haven.
You might have done it while getting Umbra’s journals, or when doing the other trial as you only need to find one. If you’re still looking it is recommended you head to Thieves Haven since you can strike off a couple Accomplished Throne Seeker deeds while you’re there.
On Shipwreck Bay you can find the nameplate above the Captains Quarters of the huge shipwreck on the southern coast. In Thieves Haven you can the painting in the caves on the northern section of the island. Plunder Valley has a unique painting at the base of its huge rocky outcrop at the centre of the island. On Snake Island look for the huge snake statue on the middle island and check the rocks facing north to find the painting. For more information on these, check out the Aspiring Explorer guide.
How To Complete All Accomplished Throne Seeker Trials In Sea Of Thieves
- Sail to Thieves’ Haven
- Sit on the Throne at Thieves’ Haven
- Sit on the Throne hidden in a sunken cave on K-9
Hidden across the Sea of Thieves are ancient and remarkably unfriendly looking thrones. They are normally in hard to reach places, making them worthy deeds for anyone looking to explore the game.
The first deed in the Accomplished Throne Seeker Trial is to simply set foot on Thieves’ Haven This is one of the largest islands in the game and can be found in the Anicent Isles region at L-20 and M-20 on the map. Once you’ve sailed there, simply touch the island on foot to complete this deed.
The next deed is much tricker. It wants you to sit on the Throne on Thieves’ Haven. Sail to the east side of the island and pay careful attention to the rocks jutting out of the water. One of them has the throne atop it, but is inaccessible from the island itself. Instead you’ll have to fire yourself from the cannons on your ship to reach it. There is a small ledge on the right which can be handy for slowly yourself down if you find yourself bouncing off the rock.
Once you make it, use your emotes to sit on the rock to complete this deed.
The final deed wants you to head to another throne at K-9. Pirates looking at their map might notice there isn’t a charted island there, but that doesn’t mean there isn’t a throne. Head to the coordinates and you will find a ring-shaped island. Go diving in the water at the middle and find a way around the shipwreck there to uncover a tunnel that leads to the throne.
Take some fruit with you as you might start drowning given the length of the time you’ll be underwater. Once again use the sit emote on the throne and this deed will be complete.
How To Complete All Accomplished Throne Climber Trials In Sea Of Thieves
- Sit on the Throne at Shipwreck Bay with another crew
- Sit on the Throne atop Devil’s Ridge
- Sit in the Throne atop Hidden Spring Keep
- Sit in the Throne atop Mermaid’s Hideaway
Now that you’ve got a test for the thrones, this trial wants you to find some of the highest throughout Sea of Thieves. The Accomplished Throne Climber deeds are each dedicated to a different throne so to complete this trial you’ll find yourself sailing across most of the game. It might be worth looking at other trials as you go and see if there’s any you can do at the same time.
The first deed points you the throne at Shipwreck Bay. Unlike the other thrones in this trial, this deed specifies that you have to sit on this throne with another crew. That means that before you even get to the throne, you’ll have to have a friend from another crew to come with you. Use the alliance flag and in-game to try and organise this friendship, however temporary.
Once that is settled, head to Shipwreck Bay in the Wilds at M-10 on the map. Once there, you’ll be able to see the throne from the northeast side, atop a large rock, but won’t need to cannon yourself there. Instead there is a broken mast that can help you get up there if you look around. Once both you and your friend are sitting on the throne, the deed will be done.
The second Throne in this list is on Devil’s Ridge. You don’t need anyone else with you this time so head over to the Ancient Isles region to find Devil’s Ridge at P-19. This island has a huge peak that stretches to the north, clearly visible from a distance away. The Throne is hidden on the ledge just underneath it. There’s no way to make it there along so you’ll have to align your cannons and fire yourself over. Sit on the Throne and you’ll finish this deed.
Next up is the Hidden Spring Keep in the Shores of Plenty at I-8 on the map. It is recommended that you get this Throne while the fort is inactive so you don’t have to worry about any of the skeletons or their cannons. See that tower at the very top of the fort, the one you can’t get to the top of on foot? That’s where then the Throne is, right at the top. The only way to get up there is through trial and error, but its good to remember that the ship, and therefore the cannons, roll gently on the waves, so while you’re adjusting the aim try to account for that.
The final Throne in this Trial is at Mermaid’s Hideaway in the Shores of Plenty at B-13 on the map. This island has unique columns of rock that make up most of its height. Unfortunately, the Throne can be found on one such column that you cannot reach from the island itself. You can see it on the isolated column to the southeast and will once again have to use your cannon to fire yourself up there and sit on the Throne.
How To Complete All Accomplished Statue Smasher Trials In Sea Of Thieves
- Hand in a Mermaid Gem to the Gold Hoarders
- Hand in a Mermaid Gem to the Merchant Alliance
- Hand in a Mermaid Gem to the Order of Souls
- Destroy all three kinds of Cursed Mermaid Statue
The Accomplished Explorer has already taught us the basics about Mermaid Statues, the focus of the Accomplished Statue Smasher Trials. But while you’ll need to find some to complete the final deed, there are other methods of getting the gems.
The first three deeds want you to turn over any Mermaid Gem to the three main Trading Companies. That would be the Gold Hoarders in their tents on the beaches of the outposts, the Merchant Alliance on the piers, and the Order of Souls in their spooky shacks underneath the Premium Store.
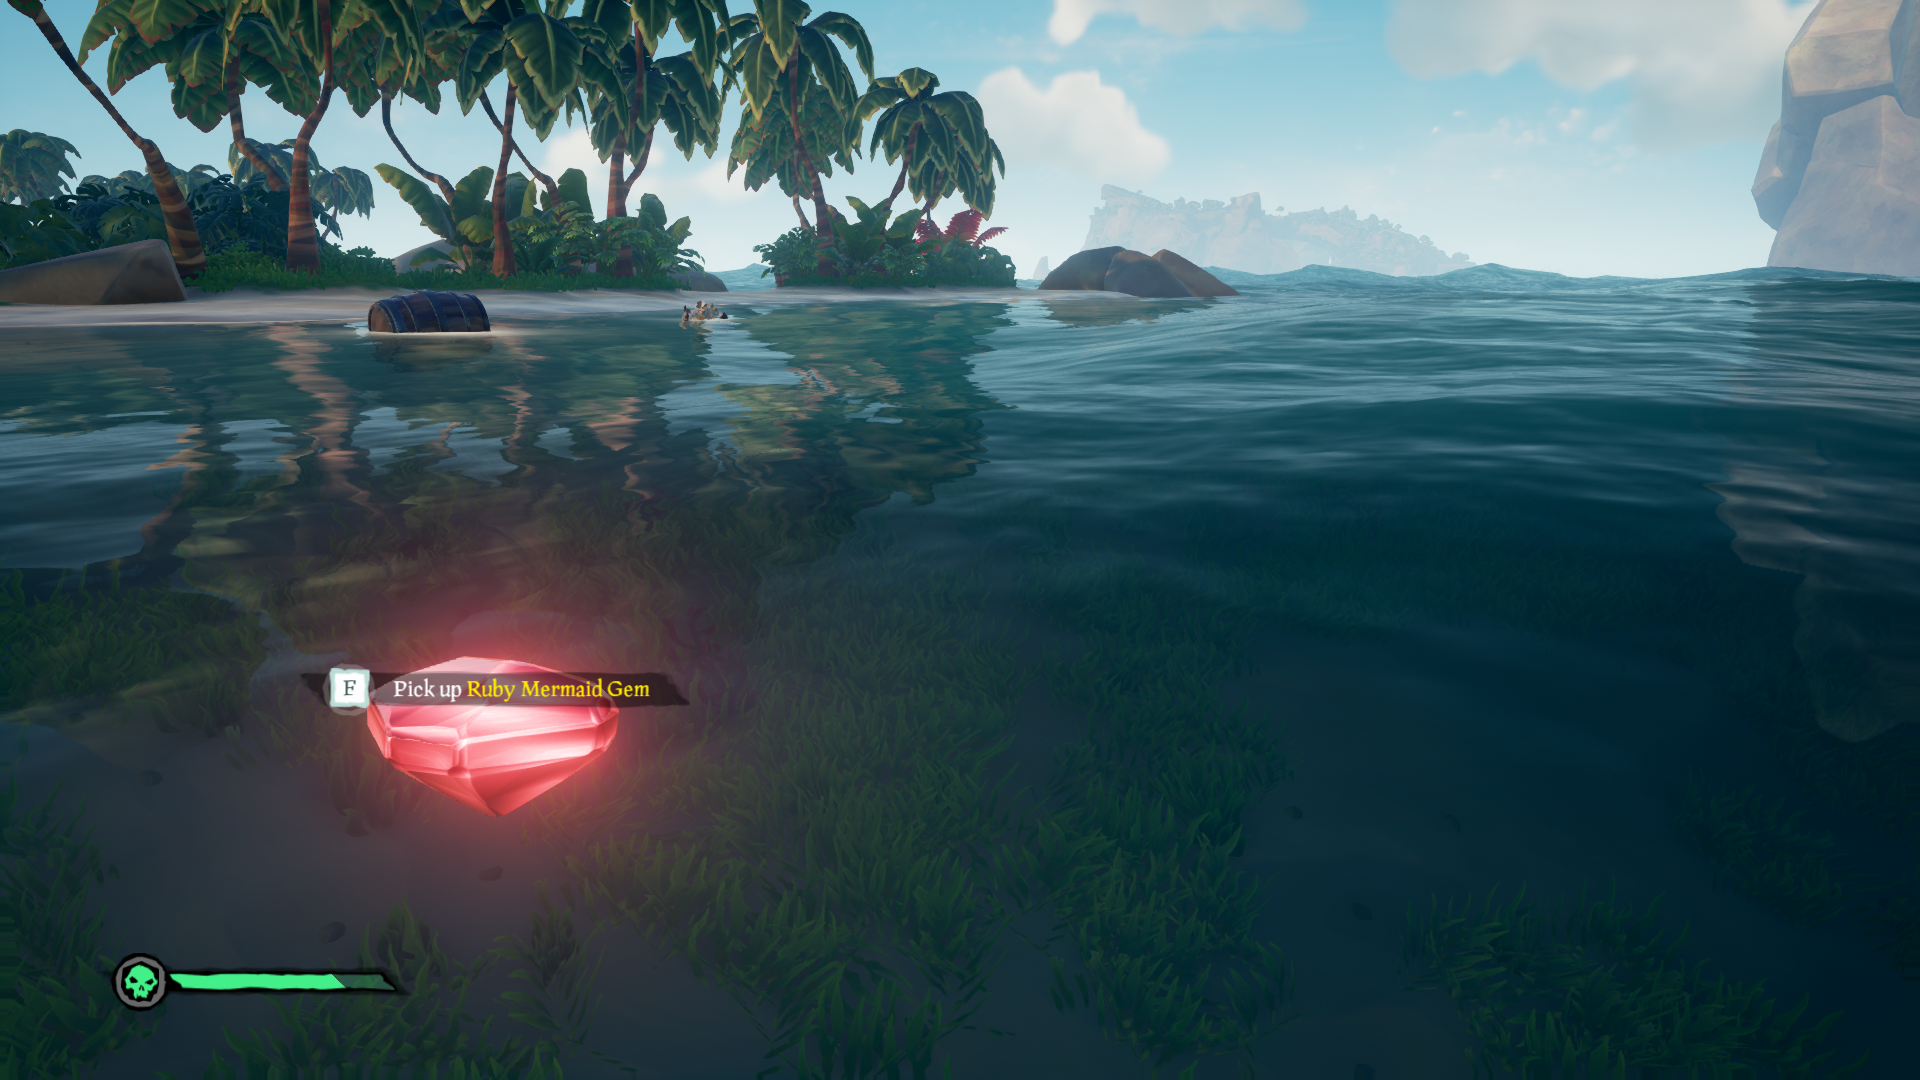
While the most definitive way of finding a Mermaid Gem is to destroy the Mermaid Statues, it is not the only way. Sometimes you can find Gems washed up on shore as you explore the islands so be sure to look out for their trademarked colour reflecting the light. You can also receive them as a reward for Gold Hoarder treasure hunts, which can be useful for players that don’t have a full crew to destroy the more difficult statues.
You can also find Mermaid Gems in the vaults of Skeleton Forts and the hold of Skeleton Ships to. These are not guaranteed but since this trial doesn’t specify the type of Gem needed, it can be worth remembering if you see some tattered sails on the horizon. Once you’ve collected a Gem simply turn it in to one of the trading companies at the outpost to complete that deed. Make sure you remember who you’ve already handed it into though, so you don’t accidentally duplicate it.
The final deed wants you to destroy all three kinds of Cursed Mermaid Statues. You’ll usually find these statues submerged around the coast of the islands and can hear them humming when you are near one. To destroy one of each type you’ll find to find a sapphire, emerald, and ruby variants, and will probably need a whole crew to destroy the latter.
Sapphire ones can be destroyed by yourself with a ranged weapon and cutlass. Remember to take some food with you to heal though. Emerald are trickier, and you’ll definitely need some food to heal yourself. You might also need a friend or some gunpowder barrels to finish the job too. Ruby statues are the toughest, and you’ll have to have help to destroy.
Remember that the Statues heal over time if you’re not constantly attacking them so you have to make sure you’re keeping the pressure on even if its just a sapphire one. Once you’ve destroyed one of each, the deed will complete.

