Dawnguard is a DLC for Skyrim that came out in 2012. It introduced a vampire-versus-werewolf plotline, a new weapon (the Crossbow), and two new organizations to join. However, you may not have realized that one of your miscellaneous tasks was actually unlocked by Dawnguard, too!
The quest "Lost to the Ages" was also added with the Dawnguard expansion, and starts off as an innocuous miscellaneous item - you may have just scrolled right by it dozens of times. However, if you're trying to clear out your quest journal, you'll need to finally figure out what's up with Arknthamz. This guide will lead you from start to finish so that you can complete it without worry.
Discovering The Quest
There are three ways to initiate this quest. Whichever route you take, this quest isn't assigned its own name right from the get-go. You'll find it under the Miscellaneous tasks.
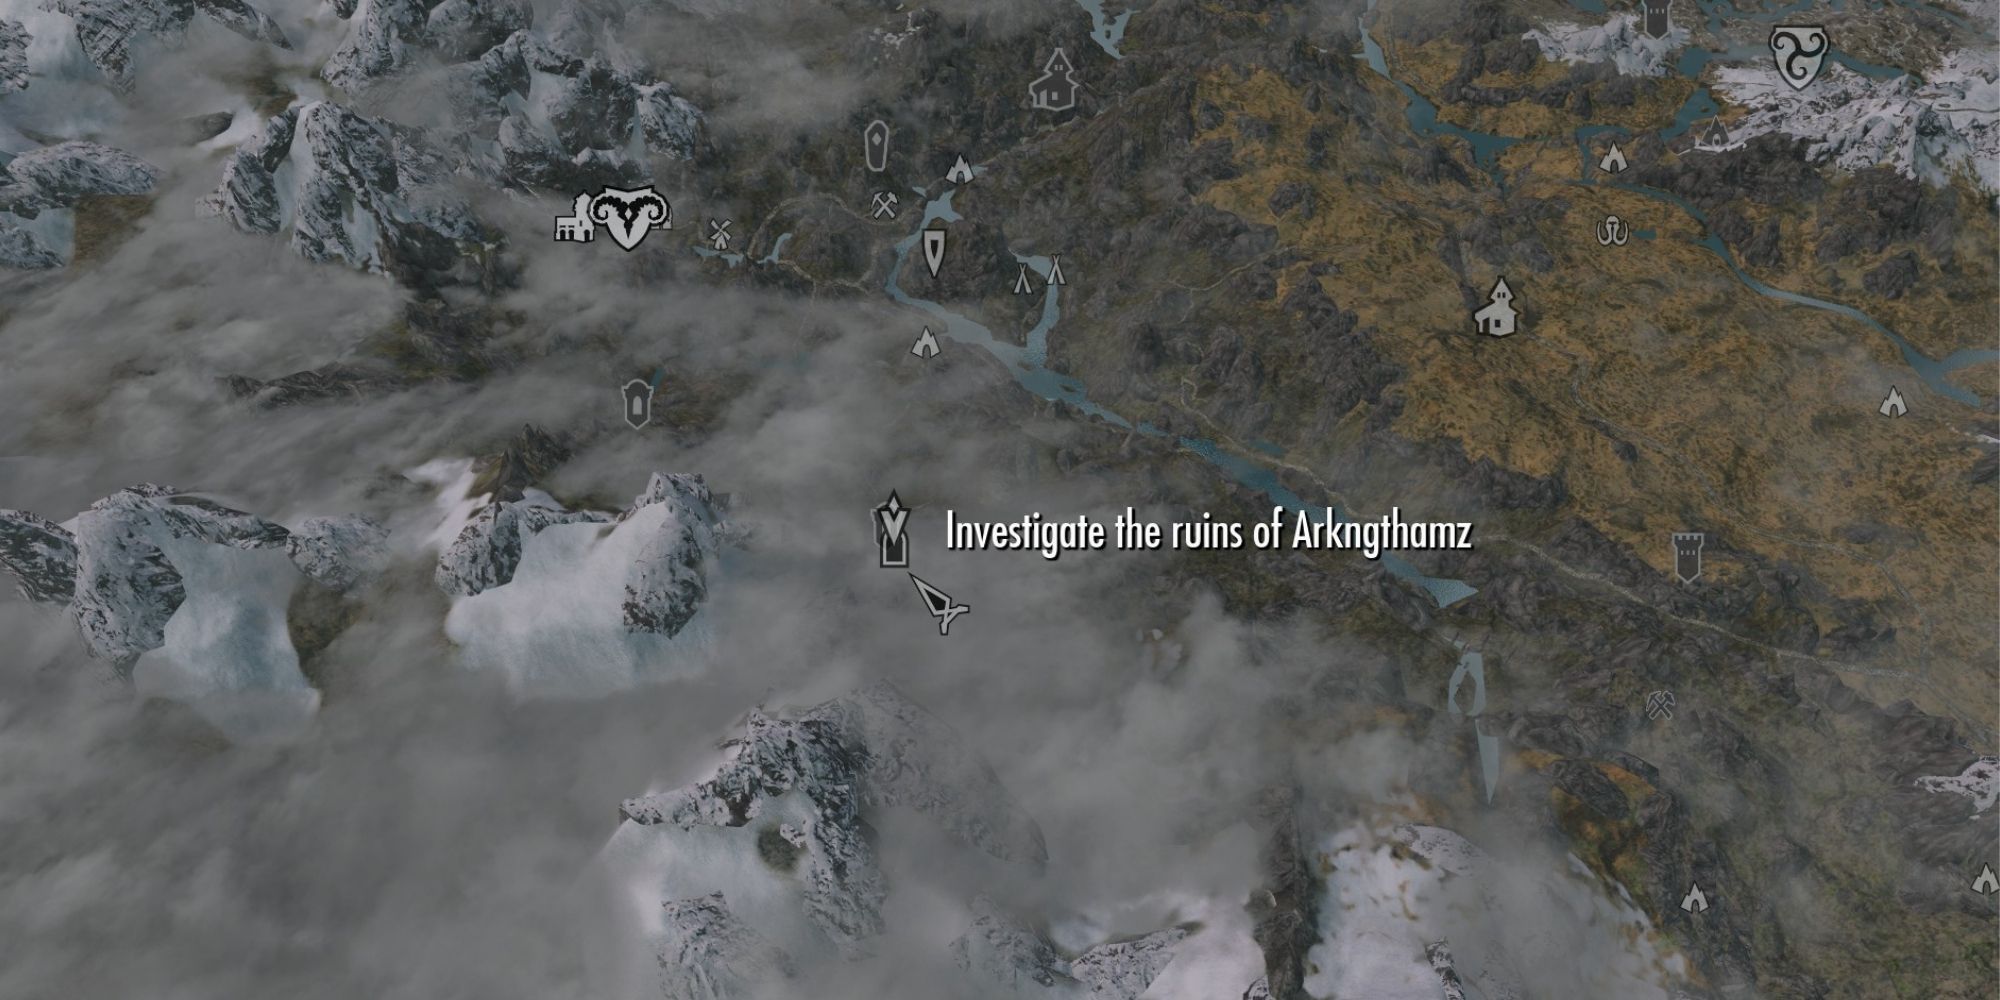
- Find and read a copy of The Aetherium Wars (Miscellaneous task: "Investigate the ruins of Arkngthamz")
- Discover an Aetherium Shard before reading Aetherium Wars. (Miscellaneous task: "Identify the Crystal Shard.") If this was the way you discovered the quest, you'll need to do one of the other two methods in order to know where to go.
- Find and enter Arkngthamz with no understanding of what you're getting yourself into. (Miscellaneous task: "Investigate the ruins of Arkgthamz")
The first thing to do is reach Arkgthamz, which is in The Reach, south of Markarth. If you found it already, you'll be lucky enough to just teleport. If it's a new location for you, fast-travel to your nearest identified location and start running - or trotting! It's a good idea to bring a horse, since its gravity-defying powers will help you to traverse the rocky landscape much quicker.
Inside Arkgthamz
Upon entering Arkgthamz, you'll start to hear a ghostly voice. Continue on until you meet Katria, the ghost of a Nord who died in these halls. If you insist that you need to push on, she'll decide that she cannot convince you not to and offers her help. Agree to take it! As you cross the chasm in front of you, check the little island for Katria's body and loot it to get her journal.
Push through the pipes to reach a flooded room and climb up the pipe along the wall to get to the next section. In the room where Katria comments on the Dwarven machine that you won't find in Skyrim clans, attack the rotating mechanism to open the next door.
Progress through the tunnels, killing Falmer as you go. When you pass through the Chaurus encampment, you'll want to exit by the right-hand side. The next area you reach will include a few trees and bushes, with a toppled log on one side. At the end of that log is Katria's bow, Zephyr, which you can pick up and use - it fires 30% faster than other bows.
Tonal Lock
The final room asks you to solve a puzzle. There are rotating mechanisms like the ones you've seen before, built into the wall. Katria will stop you to explain that this is a deadly test called a "Tonal Lock" and failing it is what caused the earthquake that killed her. You must hit the mechanisms in a precise order. Katria's journal and a scrap of paper found on a dead adventurer provide the clues you'll need.
This is the order:
- Bottom Left
- Bottom Right
- Top Left
- Top Right
- Bottom Centre
Adding Zephyr to this dungeon is a clever way to give you a bow for this part of the quest. If you're out of arrows, just go back and loot some of the Falmer. Alternatively, projectile spells also work.
The door will unlock and you will get access to the final room, full of Dwarven treasures to loot - and an Aetherium Shard. Katria explains that this is the key she spent her life looking for, made out of pure Aetherium, but that it's been split into four pieces. Your next task will be to find the other three! The quick exit to this dungeon is hidden in the nearby river, just past the skeleton with a spear coming out of its chest.
Tracking Down The Shards
Note that the quest markers on your world map for tracking down the Shards are notoriously buggy. They may appear as soon as you leave Arkgthamz, they may appear when you've gotten close enough to one of them, or they may not appear at all. If in doubt, refer here for help.
Deep Folk Crossing
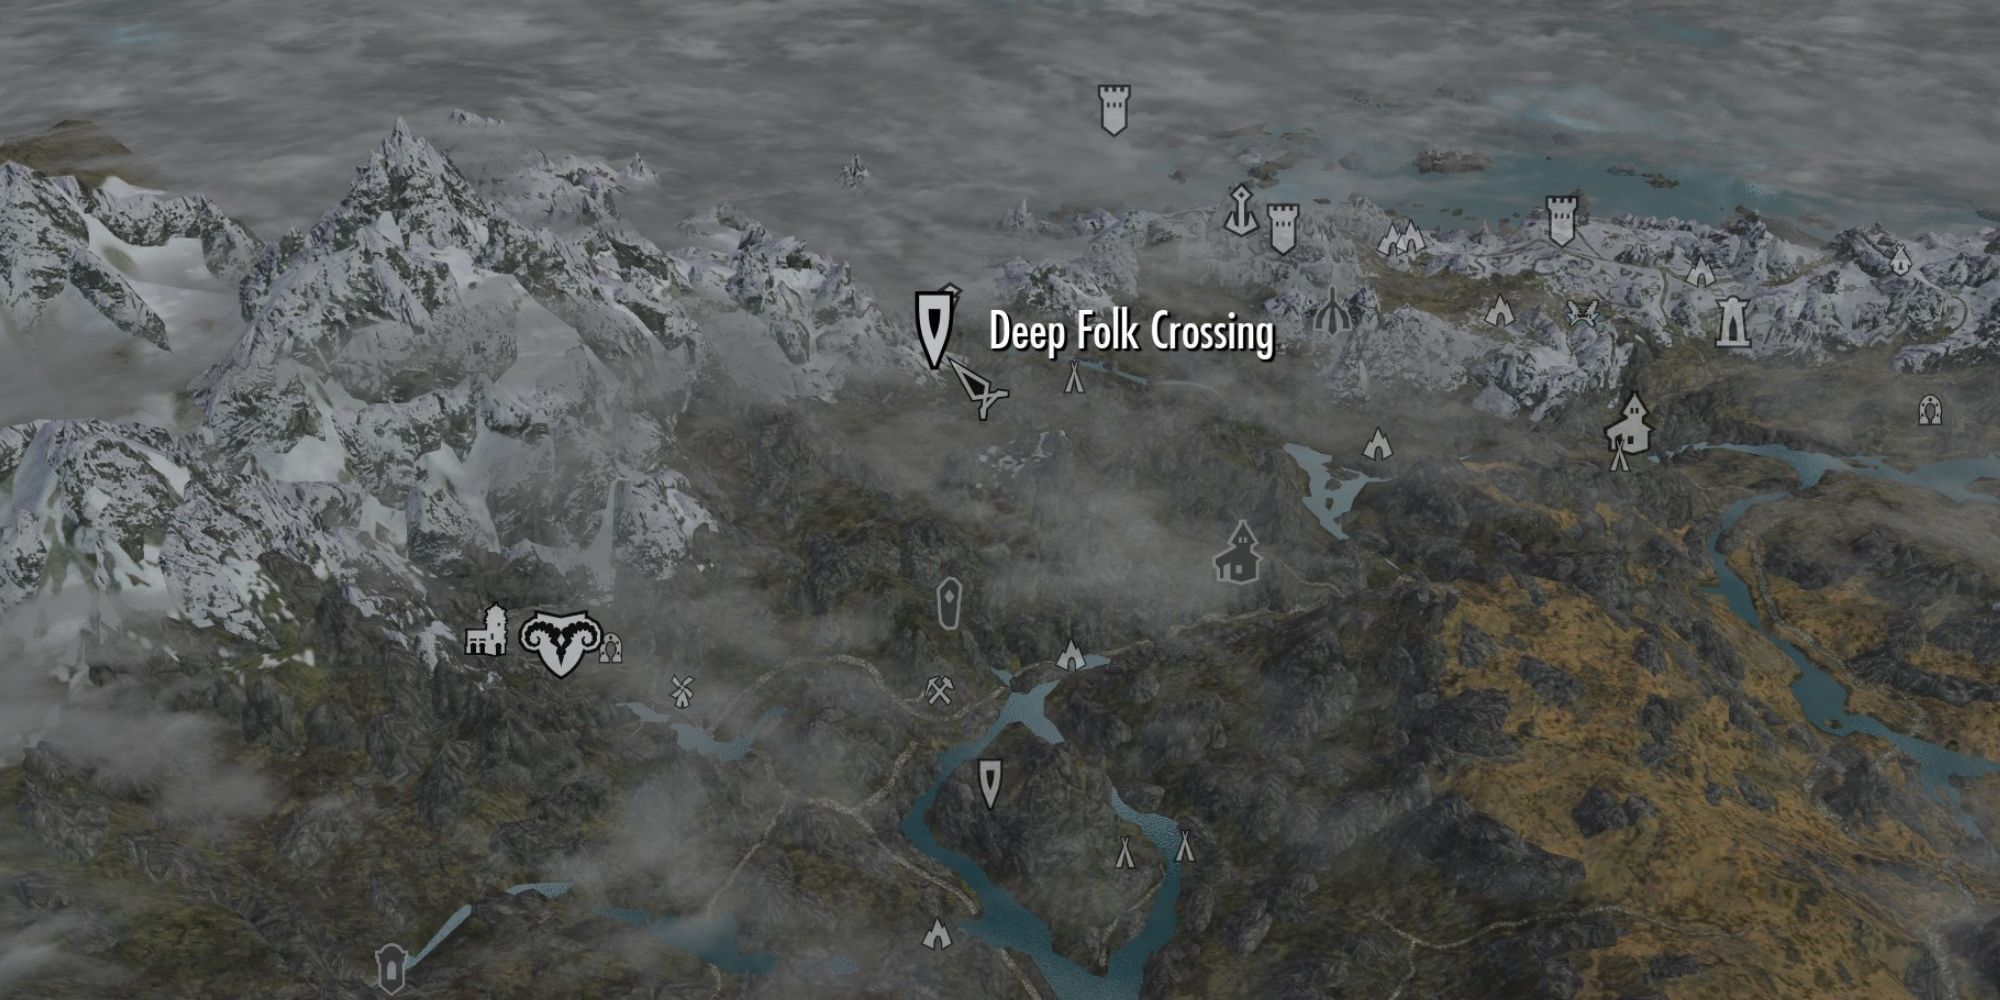
The Deep Folk Crossing Shard is probably the easiest to obtain. Deep Folk Crossing is a Dwemmer Bridge crossing a river in the far north of The Reach.
Cross the bridge, walking north, and then follow the slope up to find a little Dwarven plinth with a Dwarven Sword and Helmet on one side and an Aetherium Shard on the other.
Mzulft
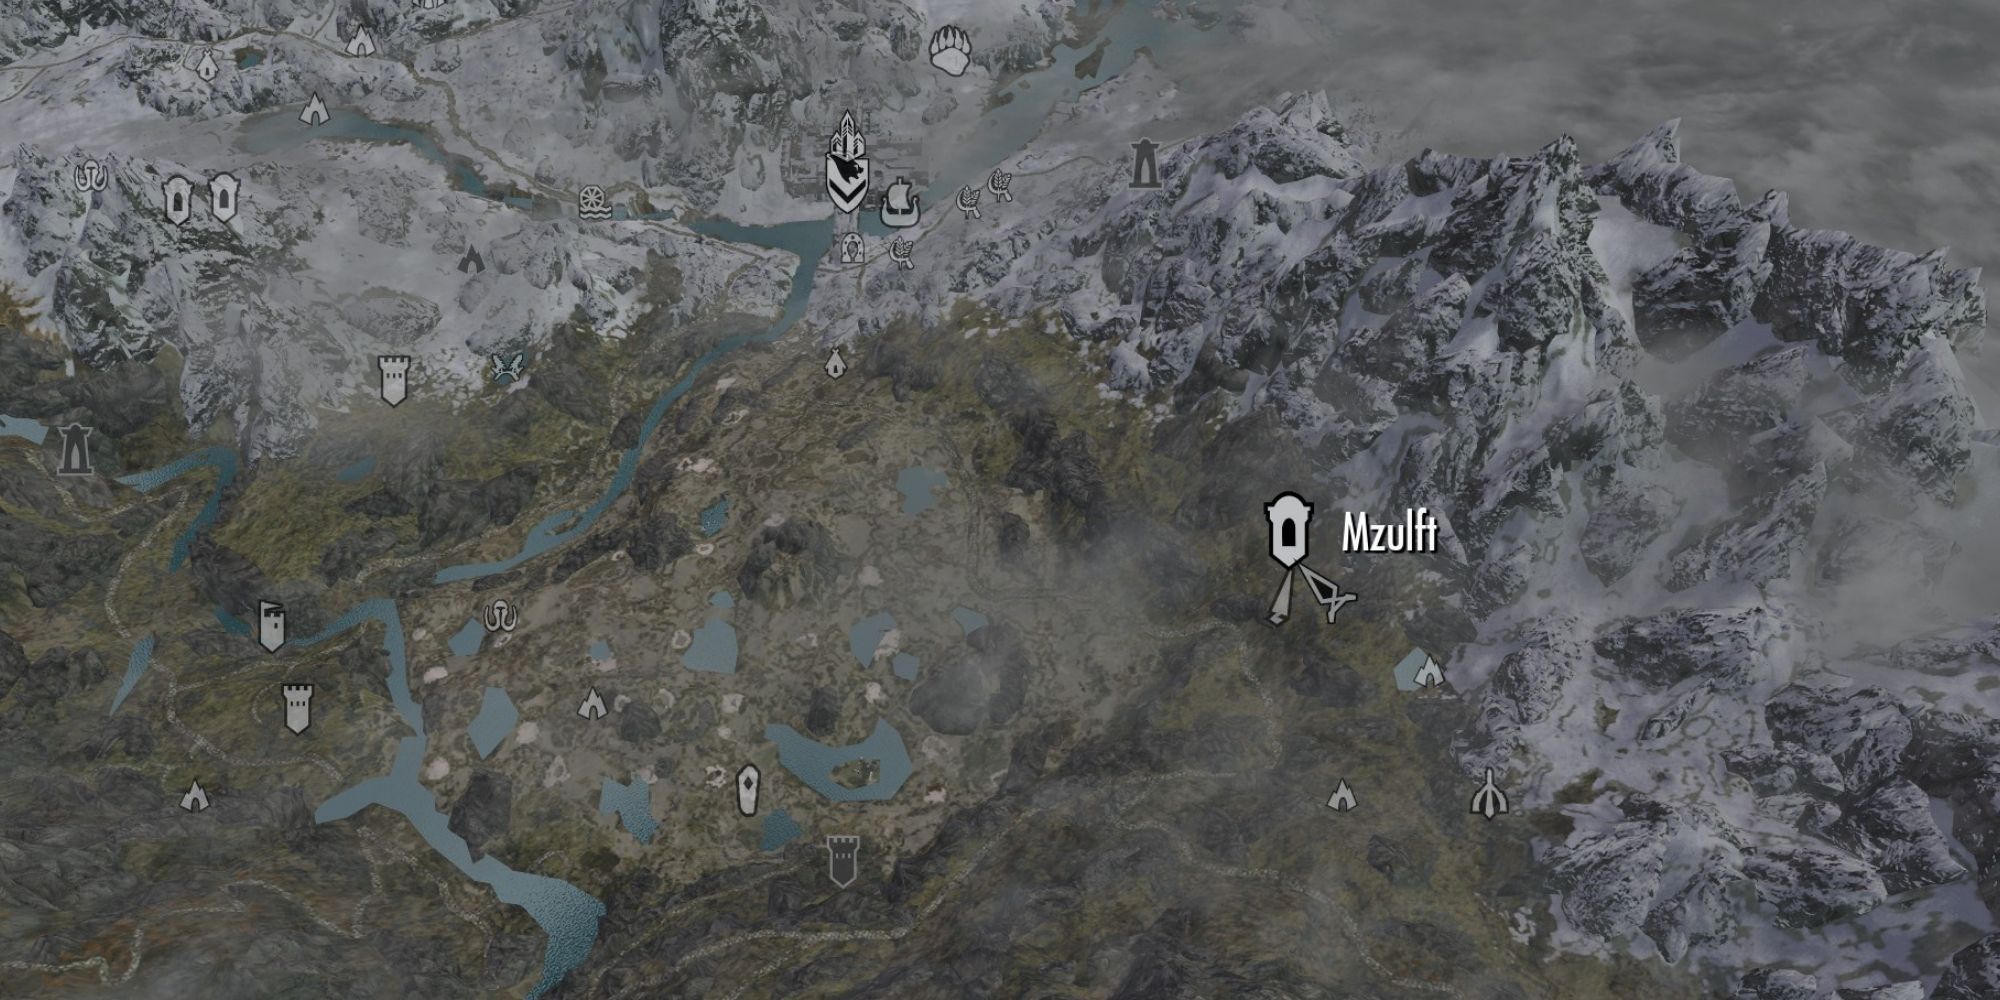
The next Shard is at Mzulft, a Dwemer ruin in Eastmarch, southeast of Windhelm. You may recognize the name; that's because it's a critical part of the College of Winterhold storyline. No need to worry if you haven't done the College of Winterhold yet. The main section won't be available to you, but it doesn't matter because you're entering a side room. This might be the Shard you've already found, if you were really adventurous during the College quest.
Its door is labeled as a "Dwemer Storehouse." Inside, Katria will be waiting for you. She'll ask for help unlocking a door - you can either unlock the "Expert" lock in front of her, or unlock two "Apprentice" locks to circumvent it. Inside, past those doors, along with Dwarven goodies, is the Aetherium Shard.
Raldbthar
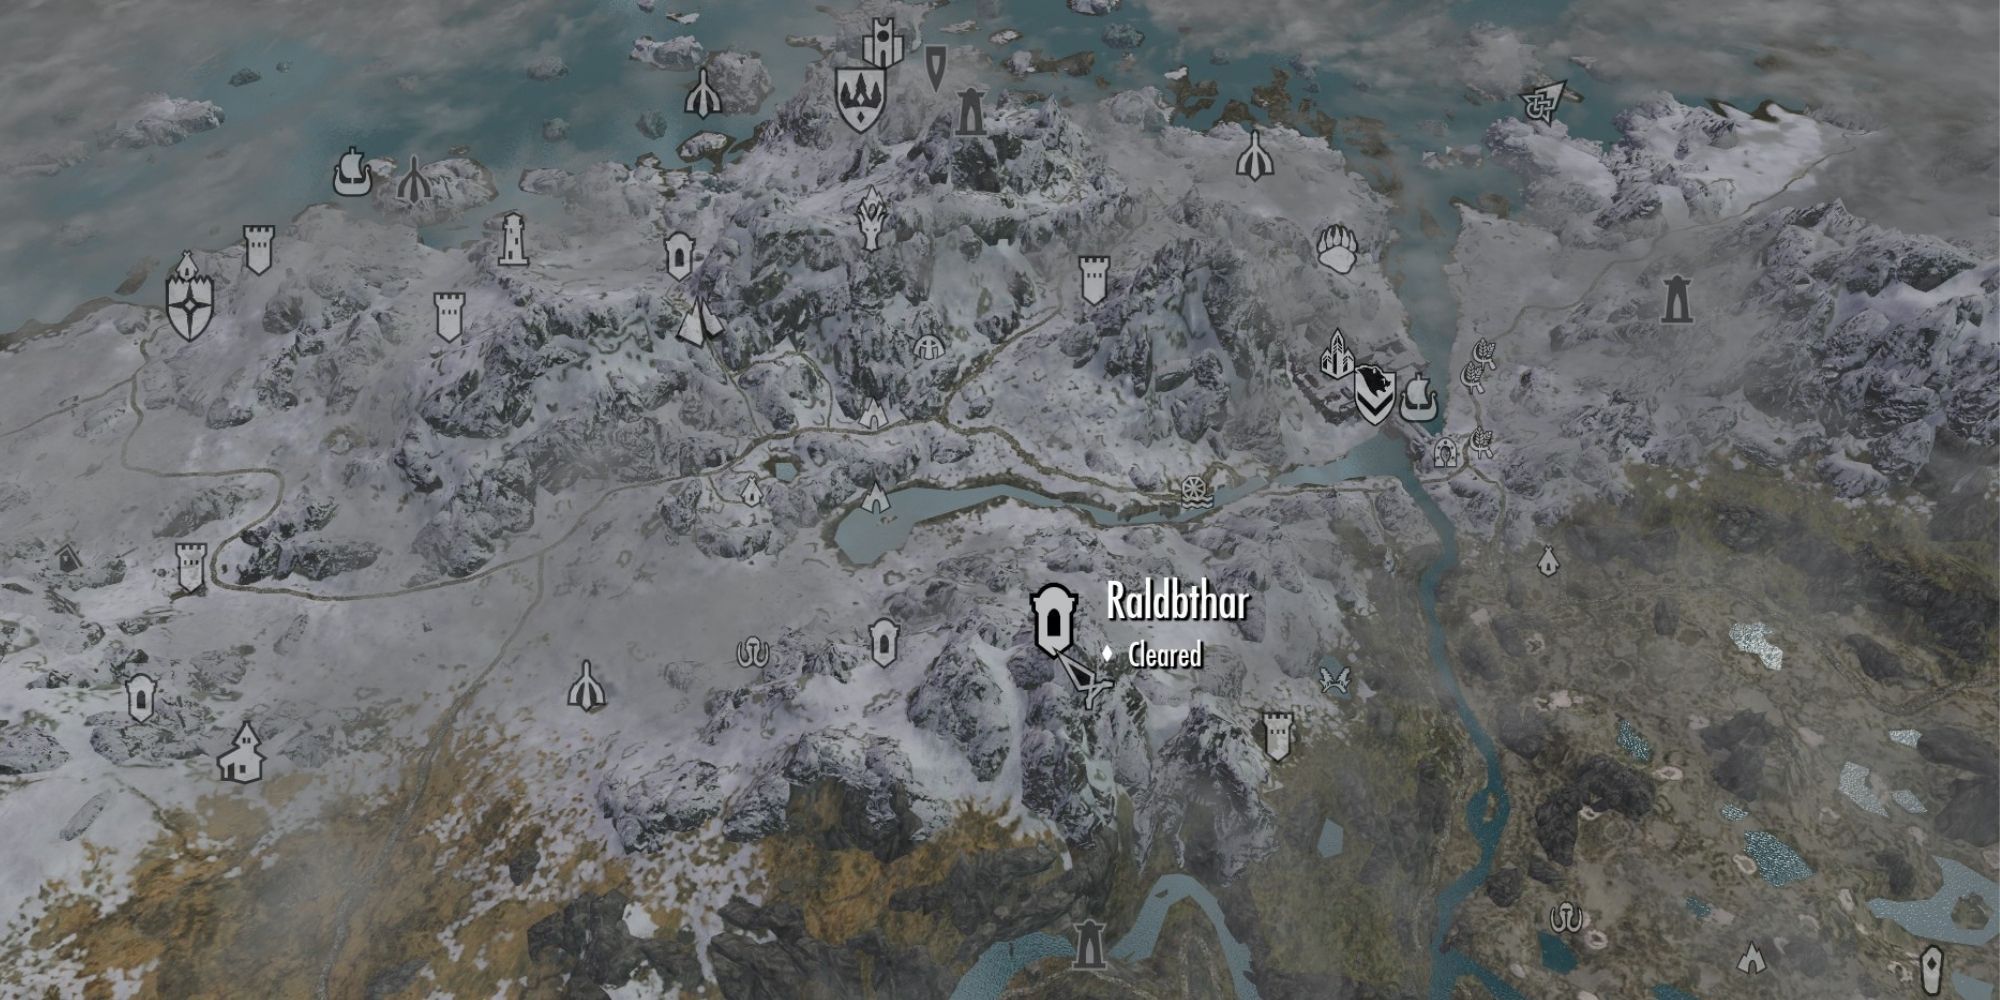
The third Shard is in a Dwemer ruin called Raldbthar. If you found one of these Shards in advance, it might have been here, since the player progresses through it during the Dark Brotherhood quest "Mourning Never Comes."
These caves are riddled with bandits, Falmer, and Dwarven machines. Once you arrive and push your way through the first through enemies, you'll enter another area that's called "Raldbthar Deep Market."
There are several puzzles to solve as you venture forth. The first is a room with four buttons - you need to hit the button second from the right. Next, there will be a room with a raised bridge. You need to lower it, but there's no power. To restore power, check all the gears for blockages (i.e. a Human Spine) - and don't forget the one underwater!
You should be able to press forward easily now. Your next challenge is the giant Dwarven Centurion. Once it's finally dead you'll progress into the final set of rooms and eventually see the Aetherium Shard sitting alone on a pedestal. Assuming the Quest Marker is working, let that be your guide.
The Forge
When you finally have all four Shards, venture to the Forge. There should be a quest marker on your map, but you can also rely on Katria's notes. It's marked as a location on the map as the "Ruins of Bthlaft". Be sure to bring a bow or some other projectile spell with you, since you need to deal with a few more rotating devices. Push forward to find the Aetherium Forge.
You'll need to deal with the Dwarven countermeasures; there will be a few waves of Dwarven Spiders and Dwarven Spheres before a boss fight with a Dwarven Centurion called "The Forgemaster."
Your Reward
Once you've taken it down, you'll finally have the opportunity to use this gorgeous forge. Grab the "optional" crafting items off to the side of the room and then interact with the forge. There are three possible items you can craft:
- an Aetherial Crown, which allows you to take on two different Standing Stone abilities
- an Aetherial Shield, which turns enemies ethereal
- an Aetherial Staff, which spawns a Dwarven Spider of Sphere ally
Katria will say a brief goodbye and thank you for helping her with her unfinished business in the mortal realm. Investigate the room, if you want (spells and shouts like Become Ethereal will help), before departing!

-(right-Katrias-dead-body).jpg)
.jpg)
-(right---Zephyr-lying-on-the-log).jpg)
.jpg)
.jpg)
.jpg)
-(right---Aetherium-Shard).jpg)
)-(right---Aetherium-Shard).jpg)
-(right---Aetherium-Shard).jpg)
.jpg)
-(right---the-Forgemaster-attacking).jpg)
-(centre---aetherial-staff)-(right---aetherial-shield).jpg)