There may be a mountain of side quests to undertake in Skyrim, but there are also many more unmarked locations that are well worth exploring and give some great backstories to both the land and its people. One of these locations is Shalidor's Maze, tucked away in the Labyrinthian just waiting for an aspiring mage to find and conquer.
Created by the Archmage Shalidor to test his students at the College of Winterhold, the maze is an incredibly unique location that threatens to push even the most devoted mage to their limits when it comes to the practical application of their powers.
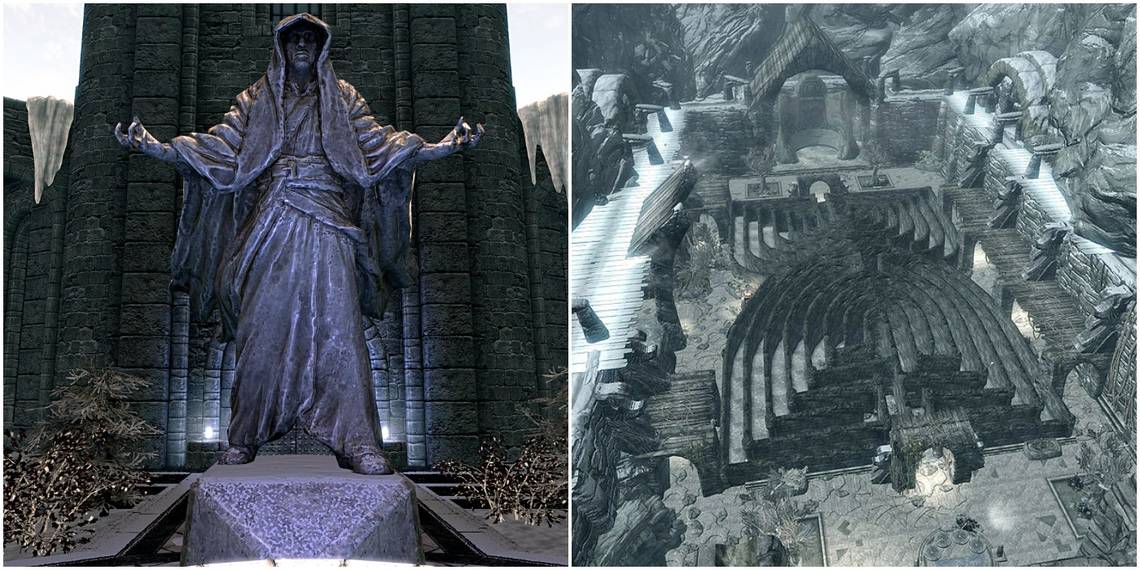
Where To Find Shalidor's Maze

In order to conquer Shalidor's Maze, you'll first have to find it, which isn't as simple as just fast traveling to the location. In Labyrinthian, found just south of Morthal and where you are sent to find the Staff of Magnus for the College of Winterhold storyline, there are several other locations that you can explore in this immediate area, including Shalidor's Maze. The door to the maze is found just next to the half-submerged shack where the Wooden Mask is located and is fairly hard to miss once you know it's there, though you can also potentially walk right past it since the door is often hard to see from the outside. There is no key or switch needed to enter the maze and you can attempt it at any time, though it would be wise to have gained a few levels as the final boss is particularly difficult for low-level players.
Getting Started

As you enter the maze area, you will be greeted by a burnt-out corpse clasping onto a Soul Gem and a sheet of paper as if his life depended on it. As you get closer, four staves will emerge from the ground in a semi-circle around the dead body, all of which are worth taking in order to complete the maze.
While the staves aren't needed to complete this side quest, they do make life a lot easier, especially if you aren't invested in any school of magic or have only invested in one or two. After taking the staves, make sure you also take the sheet of paper that the burnt corpse is holding onto, as this gives you the main clue of how to traverse the maze.
Traversing The Maze

Although it's called a maze, it's basically impossible to get lost inside Shalidor's Maze as it is a linear path with only one route. That being said, it is possible to get turned around if you are having to fight off the Skeever that like to hide around every corner and lunge at you without warning, so as long as you are able to remain facing forward, you should be fine.
Every so often, you will come across a locked gate with a sigil on the wall that represents one of the four staves that you took at the beginning of the maze. These sigils will open the locked gate to the next room when the appropriate spell is used on that particular sigil with the sole exception of the Conjuration staff. Like the note taken from the dead body says "Conjure not, but be conjured instead," which simply means don't use the Conjuration staff on the Conjuration sigil. Once you reach the Conjuration sigil in the underground area, turn around so that your back is facing the sigil and head in the opposite direction where a set of stairs should ascend back up to the top level.
After taking the stairs back up to the top, you should be near the Word Wall for the Dismay Shout, which acts like a Fear spell when used, as well as the opposite entrance to Shalidor's Maze. Head back inside and follow the path to the end, where there will be a portal to a plane of Oblivion and the boss battle waiting for you.
Shutters

At nearly every corner inside the maze, there will be shutters that can be opened as you progress that, while they aren't particularly useful, do hold some random items like Dwarven Dynamo Cores and gemstones. If you open all of them, you should be able to see the entrance of the maze from the center, which, while a neat little addition, doesn't actually do anything.
Dremora Boss Battle

Once you reach the Trial of Conjuration, the location of the portal to Oblivion, save your game and jump inside, where you will be warmly greeted by a leveled Dremora mage that summons two Atronachs to its side. After dealing enough damage to the Dremora, both you and it will be returned to Nirn to finish off the battle, where it becomes clear exactly what happened to the burned corpse at the entrance of the maze. After defeating the Dremora, you can loot its corpse to acquire the Diadem of the Savant, a crown that reduces the Magicka cost of all spells by 5%. If this crown is combined with the Restoration Potion glitch, you can cast all spells with no Magicka cost, and it's a great way of power-leveling just about every Mage skill in the game.
While the Diadem of the Savant is a great reward, there is a bug that allows you to get it without having to complete Shalidor's Maze. Instead of going to Labyrinthian, head to Froki's Shack where, just outside of the house on a wooden stool, for some reason, the Diadem of the Savant is laying there waiting to be taken.