Quick Links
Unlocking new weapons in Sniper Elite 5 generally consists of just playing the game. They're usually acquired by completing missions or murdering various, very specific, Nazis across your journey. Augmenting those weapons, however, is a slightly more involved process.
In Sniper Elite 5 you have to find various workbenches hidden in each level, and each one will unlock new attachments for that class of weapon. Walking up and interacting with these workbenches is enough to unlock your new toys, and it also gives you the opportunity to change your loadout on the spot. Let's go over the locations of every rifle workbench in the game.
Workbenchs Overview
In each level, there are three workbenches to be found. Each one corresponds to a different class of weapons (one for rifles, one for SMGs, and one for pistols). These workbenches double up as a kind of collectible, a lot of which are hidden away in some dark corner of the war-torn landscape. Finding these can be well worth the effort; each workbench unlocks attachments for different styles of play, some give you suppressors for a stealthy approach, and some enabled you to increase the rate of fire. Each has its own pro and con, it's just up to you to decide how you want to take down the Third Reich.
Rifle Workbench Location 1 - The Atlantic wall

The first rifle workbench can be found just after you meet up with Blue Viper. Just head up the stairs, dispatch the Nazi and unlock the door. Inside you'll find the workbench and all the ammo you could possibly use.
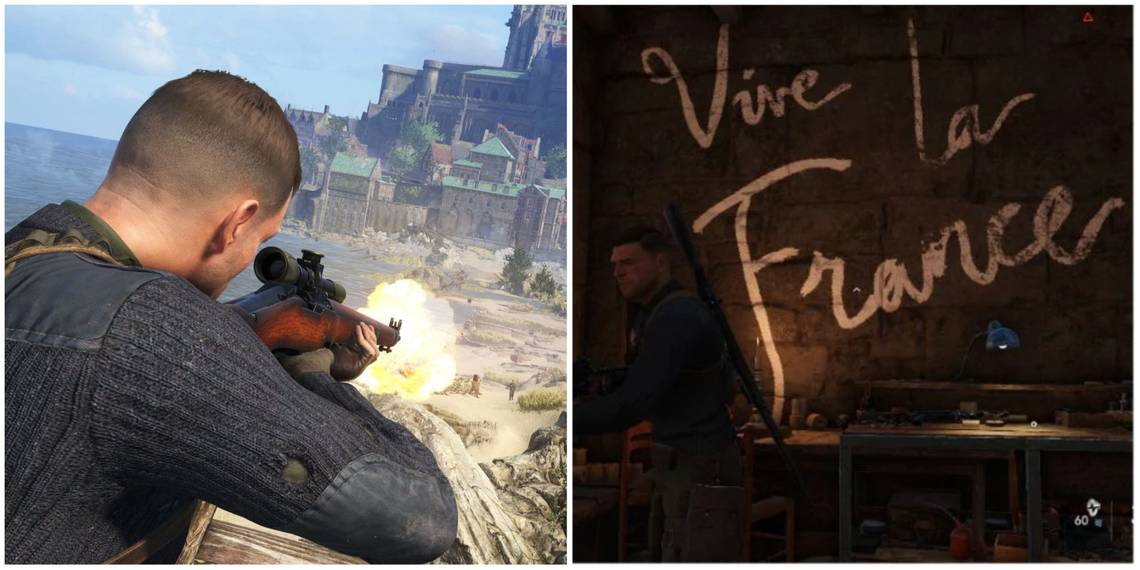
Rifle Workbench Location 2 - Occupied Residence

This workbench is inside the Chateau. You can either access it from the moat outside, or by heading through the front gate and down to the cellar. The courtyard of the Chateau can get pretty hectic, so if you're playing on a higher difficulty it can be well worth it to sneak in from the outside, so as not to gain too much attention.
Rifle Workbench Location 3 - Spy Academy

This workbench is a little more difficult to access than the ones previous. First, you need to acquire the Cellar Key, hidden in a building on the north-western corner of the island. Once you have this, you'll want to approach the building depicted on the map from the northern side. If you're coming up from the beach, there are some vines you can climb. Once up, you should be able to unlock the door and use the rifle workbench.
It's important to approach from the western side as the door on the eastern side is padlocked from the inside.
Rifle Workbench Location 4 - War Factory

Pretty much dead-center of the map, you'll find a warehouse with a Resistance logo painted on the inside. Go through the next room, and you'll find a ladder that takes you down to the cellar where you'll find the rifle workbench. The door next to the painted Resistance logo is padlocked from the outside, so if you choose to, you can use armor-piercing rounds or explosives as per the tooltip.
Rifle Workbench Location 5 - Festung Guernsey

The rifle workbench for this mission is hidden inside a church at the center of the map. To access it, however, you're going to have to approach from a different angle; there are some vines running along the outside wall of said church. Simply climb those vines and you'll have plenty of special items, and a rifle workbench, to boot.
This safehouse also offers a decent vantage point across most of the map, so it's a nice opportunity to put your sniping skills to the test from relative safety.
Rifle Workbench Location 6 - Liberation

In the Northern part of the map, just before the heavily guarded bridge, you'll find a house with a Resistance logo. Inside you'll find the safe house. You'll need to climb up the side of the building to access the workbench. Don't forget to blow the bridge after you're done and welcome in your heavily-armored friend.
Rifle Workbench Location 7 - Secret Weapons

The western side of the map has a long building, patrolled by a gunship. Just beyond this building is an Armory. There is a Nazi Officer near the building who has the key, or you can blow the door with a satchel charge if you choose. The rifle workbench and a bunch of special items are your rewards for spoiling the Nazi rocket party.
Rifle Workbench Location 8 - Rubble And Ruin

Once you get through the destroyed town, you'll be prompted to enter the sewers. These sewers begin with some winding, claustrophobic tunnels, but they eventually lead to a large room. One of the two soldiers in the center of the room has the key to the armory, located just opposite where they were originally standing. The workbench is inside.
That's all of the rifle workbenches in the Sniper Elite 5 base game. Not only do these give you a gameplay advantage, but a lot of the time they lead you to an under-utilized part of the game map, giving you an excellent vantage point, or just a boatload of ammo and special items.
Discovering and interacting with every workbench in the game will also unlock the Tinkerer achievement.