Quick Links
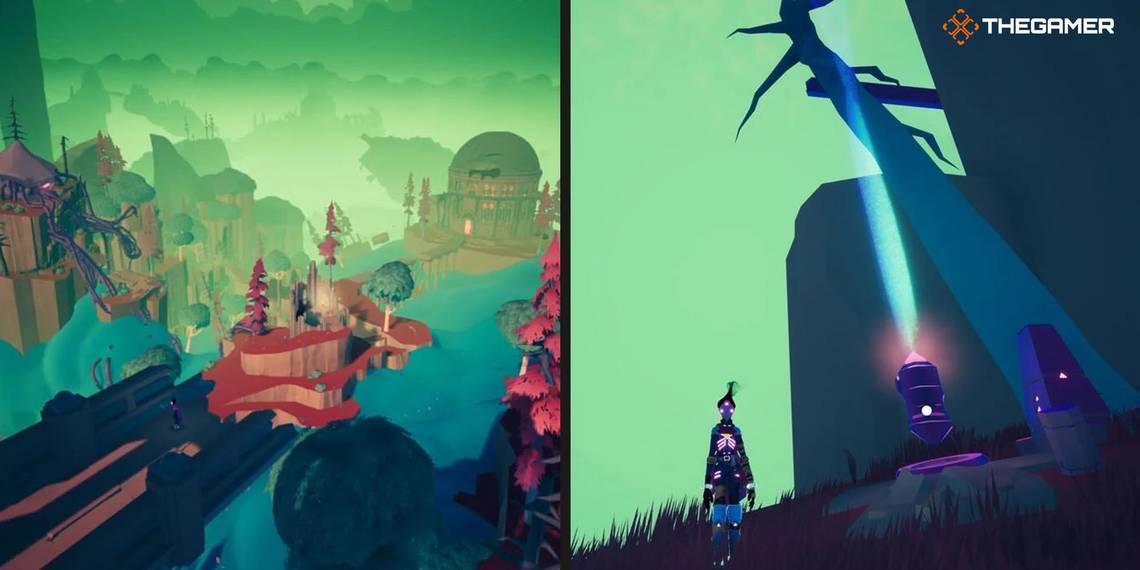
In Solar Ash, you take control of Rei as she tries to stop the Ultravoid from destroying her planet using a device she and the rest of the crew of "Voidrunners" call the "Starseed". As you skate around the ruined remains of previous worlds in the space-exploration odyssey, Rei finds these Voidrunner Caches left behind by the rest of her crew, detailing their experience in the Ultravoid.
Collecting all of them in each area nets you a shiny new outfit to wear and each one has its own unique ability. So, without further ado, let's take a look at the Ironroot Basin, the forest-type area of the game, and show you where all the Voidrunner Caches can be found.
Cache #1: Right Above The Entrance
Right as you walk into the Ironroot Basin and "store your Plasma" at that first checkpoint, you can see the first Voidrunner Cache on the right. It's directly above this courtyard area you start in, on a cliff you can't quite reach. And, while the sniper-like Void-creature on the wall looks like it's hinting at how to get up there, you actually have to explore a bit in the sea of clouds just past this area to reach this high-up Cache. On your right just after leaving the entrance, you'll see this giant machine collapsed on a building to the right.
This is apparently called a "Harvester", and the building its corpse is laying on is where you need to head to get up here. Once you're just outside the entrance to the Harvester building, head to the right of the entrance and look down. You should see the Voidrunner Sigil glowing on the wall below, as well as a line of Plasma. This path leads you back and around to a cliff where you can easily make the jump to the first Cache of the Ironroot Basin.
Cache #2: Under The Mirrorsea Bridge
From the first Cache, head back out into the cloud sea and start heading as far back as possible. Past that giant locked building you'll need three switches to open, and past all the little alcoves hiding these little naval mines, until you reach a big staircase that's partially broken about halfway up.
Go up these stairs, and instead of using the grapple point to the left, head into the cloud sea area on the right. Follow these clouds as far back as possible and you should see the Voidrunner Sigil on the wall right before the clouds end. Jump onto the little cliff face here directly underneath the giant bridge leading to the Mirrorsea and you should see the second Cache sitting on a small floating platform directly ahead.
Cache #3: In The Back Alley
Head back to the staircase mentioned for the second Cache, but instead of going up this staircase, head down past it and to the right as if you're heading toward that building covered in black goop one of the anomalies is in. When you reach the landmass this building is on, stay in the cloud sea and head left into this little alley area packed with tons more naval mines.
Follow this path leading around to the back of the cliff-face carefully until you arrive at the hidden entrance at the back. In here sits the third Cache. But, be careful, there's another one of those sniper Void-creatures on the ceiling of this room, so get rid of it before attempting to open the Cache.
Cache #4: Right Behind The Locked Building
This next one is easy to miss surprisingly, despite being in such an obvious spot. So, the main objective in Ironroot Basin, like all the other areas, is to clear out the anomalies to wake up the Massive Anamoly, then take that out to charge another pip of the Starseed. And, while you're doing that in this area, you'll have to activate three different switches to open this locked door in the central building.
Well, if you head directly behind this dome-like building, you'll see the pattern on the floor that denotes the Void "trap" that hurts you if you stop moving while on it. Follow this pattern all the way behind the big building and hit the core of it to get rid of the pattern on the ground. Then and only then will you be able to reach and interact with the fourth Cache in plain sight in the middle of the area.
Cache #5: Behind The Harvester Building
The last Cache is incredibly easy to find, as you just need to head back to the building with the defunct Harvester on top. Climb the stairs again and get to the entrance, but this time, instead of heading right, head to the left. Follow this narrow pathway around to the left as it takes you behind the Harvester building, and you'll see the finale Cache for the Ironroot Basin.
Finding all the Caches here nets you Verses Suit, which is our personal favorite, as it drastically reduces the cooldown time of your boosters, making it very easy to literally speed past most sections of the game that are meant to be more carefully platformed across.