The Luminous Peak is the final area of Solar Ash and is a lava world where you'll need to clear out all the anomalies to activate the Massive Anamoly Boss and then clear that out too, just like all the other areas of Solar Ash.
And, again like the other areas, there are a bunch of Voidrunner Caches to be found here. Luminous Peak is a lot more spread out compared to most of the other areas in Solar Ash, which can make finding or backtracking for the Caches a slog if you don't know where you're going. So, with that in mind, let's go over all their locations now.
Cache #1: On The Roof Of The First Ruins
The First Cache is pretty easy to grab once you know where it is. From the entrance to the Luminous Peak, keep naturally progressing until you come across the only way forward blocked by a Void barrier. Hit the core and dissipate the Gate, and as you walk through and around the other side, you should see another ruined building you can walk underneath.
But, instead of continuing forward, climb the small cliffs behind you using the anomaly ooze on the walls and use these cliffs to jump to the roof of the ruins. Once you get there, the first Cache should be right in front of you.
Cache #2: At The Back Of The Lava Cave
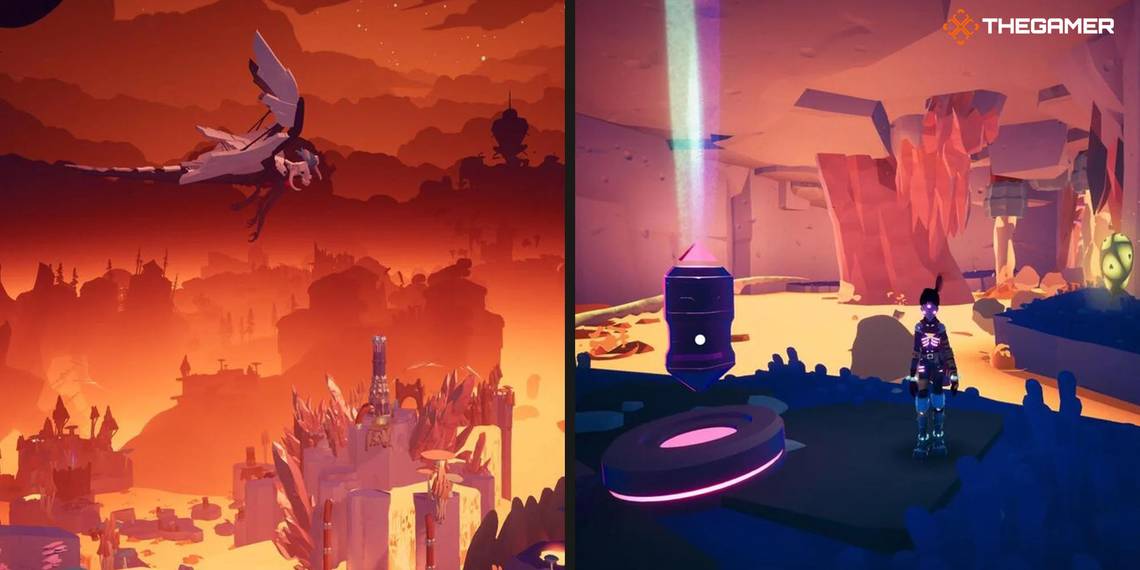
After the first Cache, just keep trucking along clearing out anomalies and opening shortcuts until you come to the Yellow Grindrail seen in the first image above. Once you see this, the second Cache is close. Ride the yellow grind rail and it should take you to a small cave filled with lava pools.
You should be able to see the Cache on the opposite side of the cave, but you can't quite reach it yet, so ignore it for now. Instead, keep progressing and climbing up this area until you get to a small step up with the Voidrunner Sigil on the wall right to the left of it.
Don't worry, you have to go this way to climb to the top, so it's very hard to miss the Sigil. In any case, once you see it, jump off the platform and onto the anomaly ooze just under the Sigil. Keep climbing down this goop until you arrive at the back of the cave from earlier and the second Cache.
Cache #3: On The Floating Building Ruins
Once again, after getting the second Cache, you don't need to keep an eye out for anymore until you reach this floating patch of debris that switches your camera perspective once you start climbing it. You'll need to climb up to progress the story, so you'll assuredly get there at some point. Once you're climbing the remains of this tall building leading to the first large Lava Orb area, you're already basically at the third Cache.
You should see a red receptacle for the glowing "fruit" energy seen in the Eternal Garden about halfway up the building. Go just a bit past this receptacle, and the actual glowing red "fruit" should be right there. Hit it and carry its "particles" back to the receptacle to activate the grind rail. Then, just hop on that rail and the third Cache is right there at the end of it.
Cache #4: In Plain Sight On The First Lava Orb Island
The next Cache isn't too far from the last one, so just keep an eye out. After climbing the ruined building, you'll end up on the first big Lava Orb "island". And, while traversing it to find a path of reaching the second big Lava Orb island, you should stumble across the fourth Cache pretty easily.
But, in case you somehow miss it, it's right near those grapple points just after the anomaly you clear on the smokestack-like structure in this area. Instead of taking the grapple point, look to the right, and you should see the fourth Cache clear as day.
Cache #5: On The Second Lava Ball Island
The fifth Cache is even harder to miss than the fourth, but we'll point it out just in case. After getting the fourth Cache, you'll head back to the Grapple Point, then climb the anomaly ooze to find that incredibly long grind rail that leads to the second Lava Orb island.
On this island, you'll be tasked with clearing out quite a few sniping Voidcreatures and figuring out how to progress. Once you get to this climbable anomaly ooze with the Voidrunner Sigil next to it that leads to the next area, you're there. After climbing up and getting to the checkpoint, you should clearly see the fifth Cache right in front of you. But, be careful, as there's a sniping Void-creature that fires at anyone who gets too close to it.
Cache #6: Near The Bird-Infested Smokestack
The final Cache is pretty easy to miss, and a lot of you will probably have to backtrack to find it. Throughout the course of your Luminous Peak adventure, you've been clearing out anomalies just like you did for all the other areas. Well, quite a few of the anomalies in this area were covering these smokestack-like structures, and the last Cache is right next to one of those smokestacks. You'll know you're at the right one by three key features:
- The Island has a lot of those relatively harmless-looking bird-like Void-enemies on it.
- The checkpoint for this area is directly beneath ruins that are basically the same as the one that the first Cache was on.
- You took a long red grind rail to get here.
After clearing out the anomaly on this island, all you have to do is hit the same mushroom-like object that spawns the grind rail taking you to the top of the smokestack. Once you're on top, look down at the roof of the ruined building beneath, and you should clearly see the final Cache. Jump down and activate it to get Tufte's Suit.
The funny thing is if you've been following our guides or clearing out all the Caches before moving on up to this point, then Tufte's suit serves absolutely no purpose since it pings any unfound Voidrunner Caches in the area whenever you Scan.