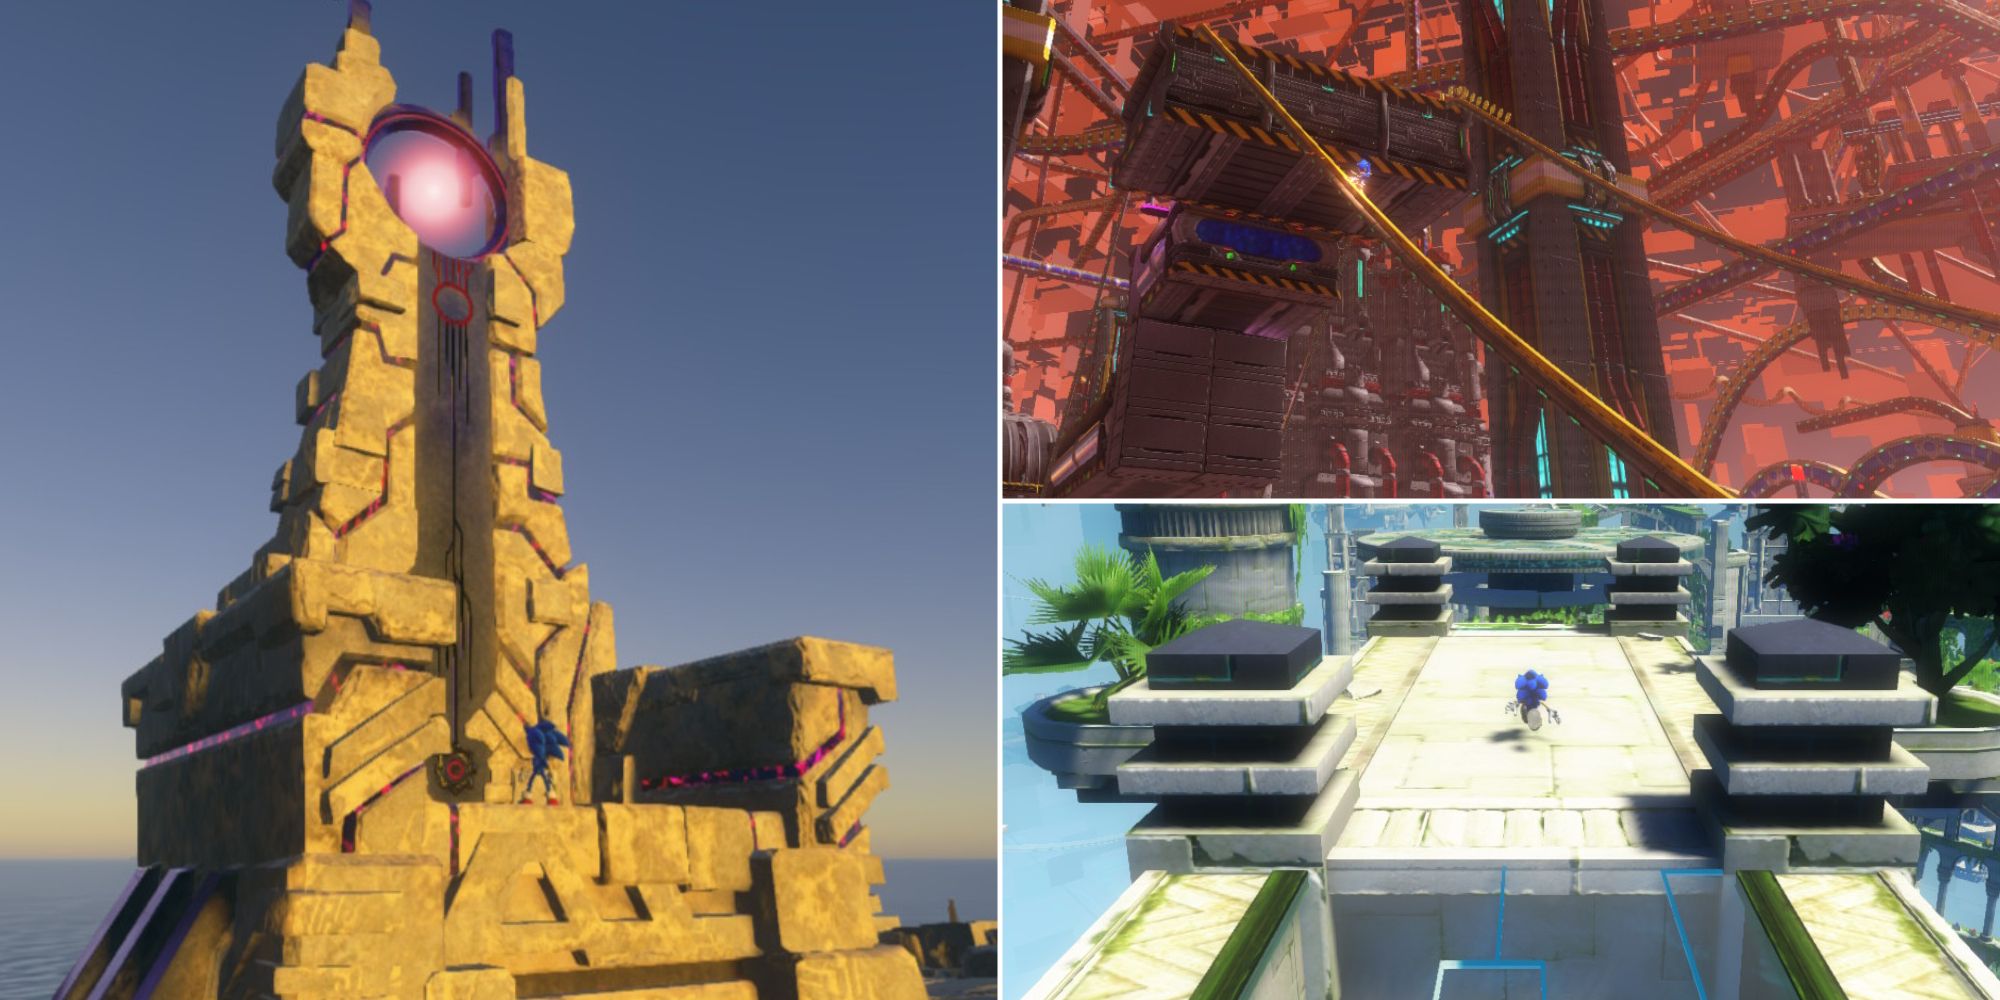
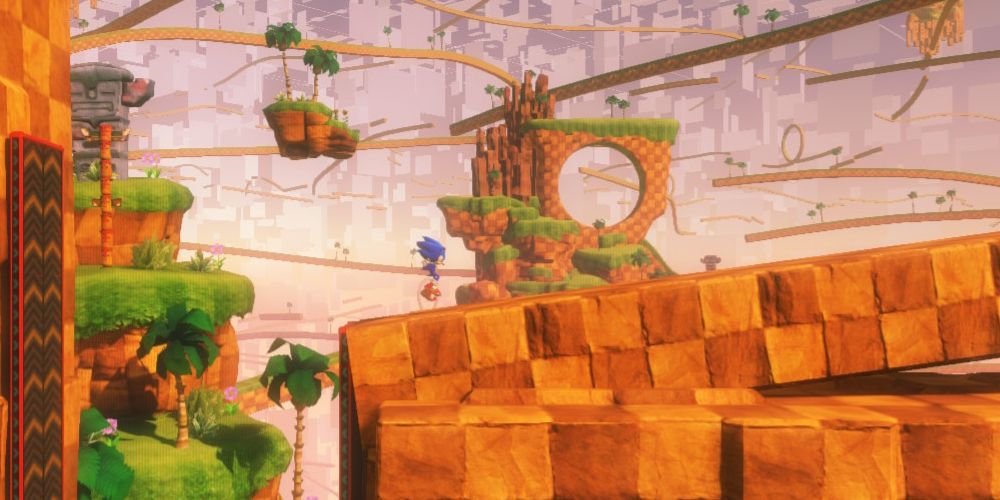
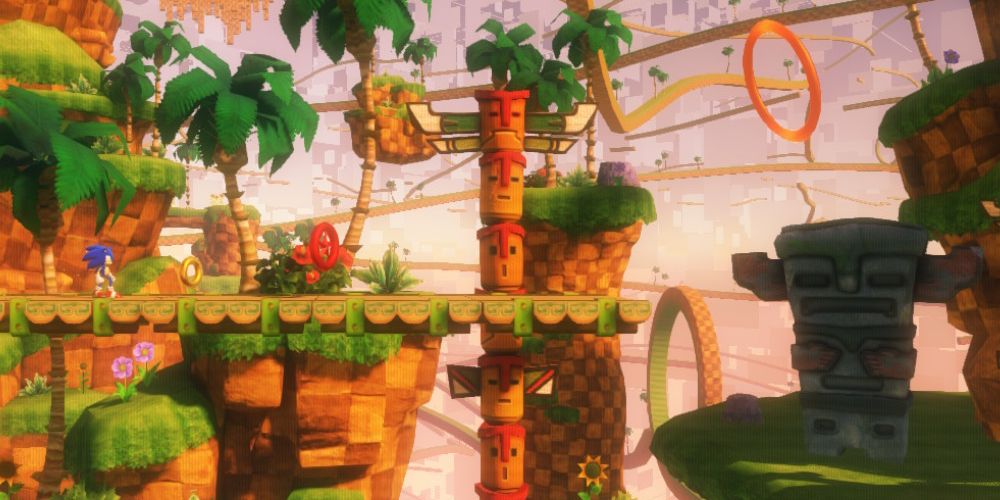
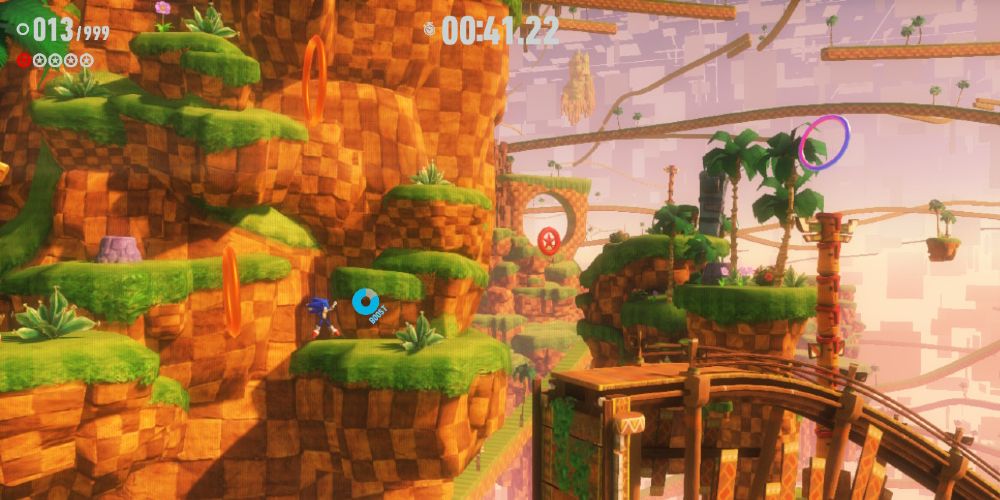
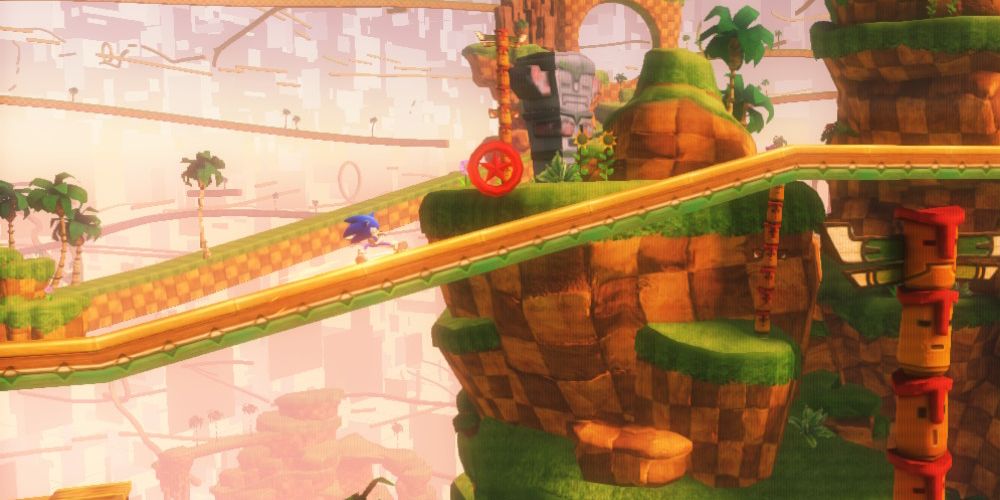
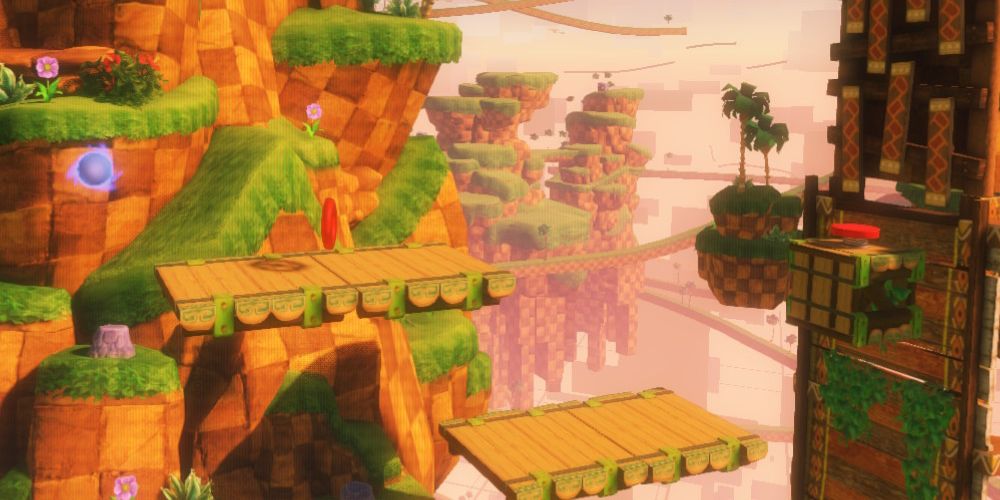
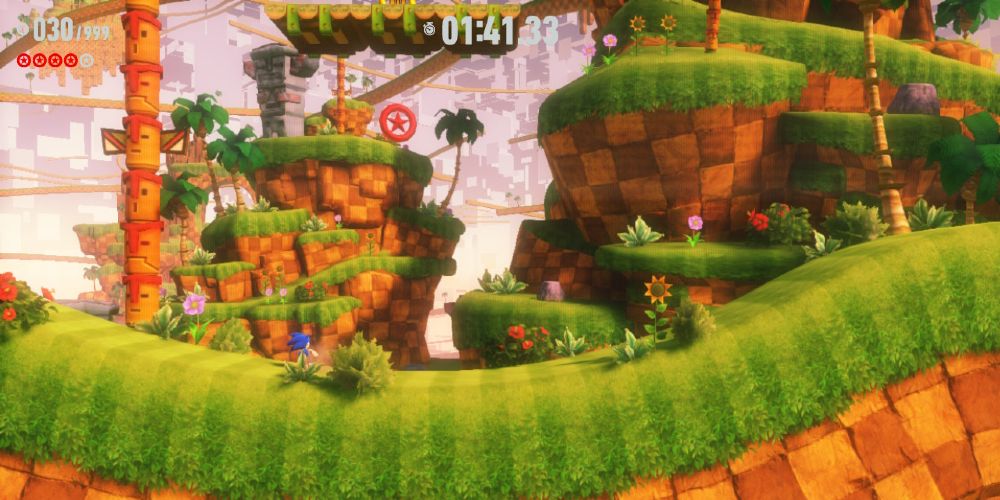
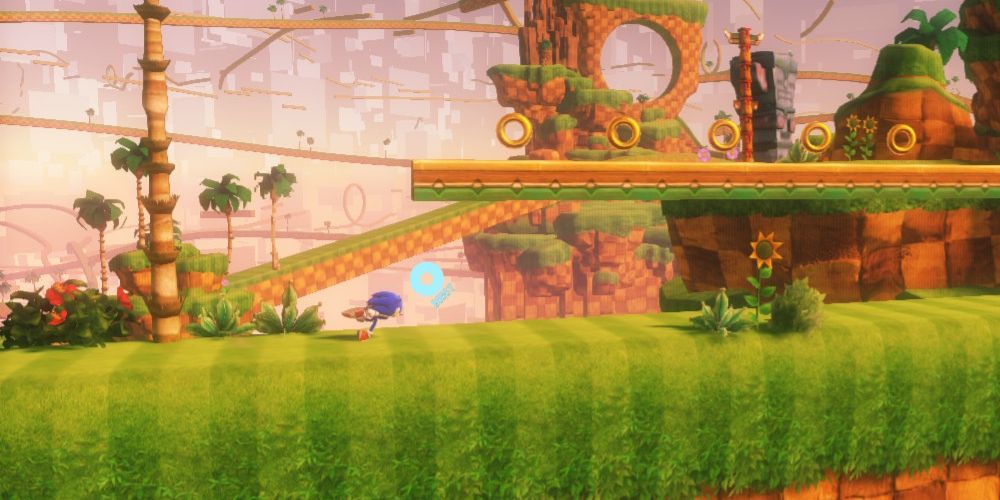
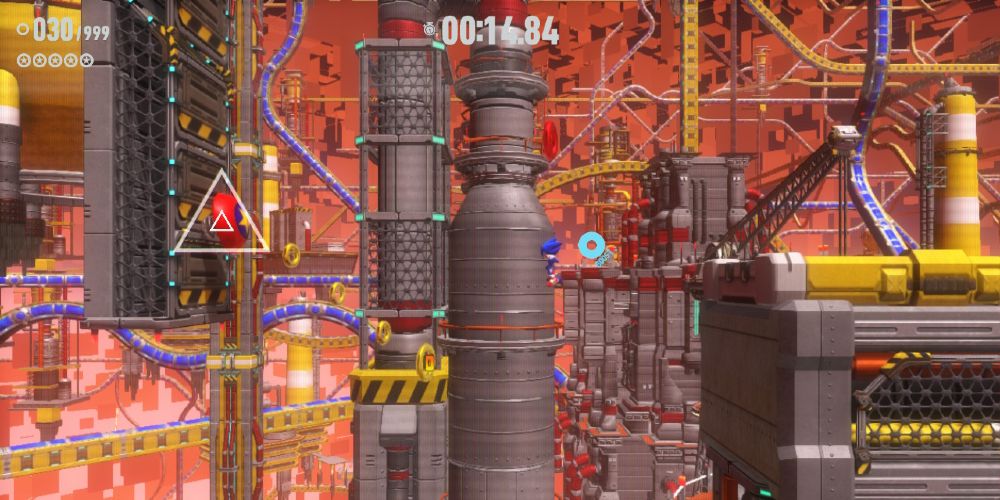
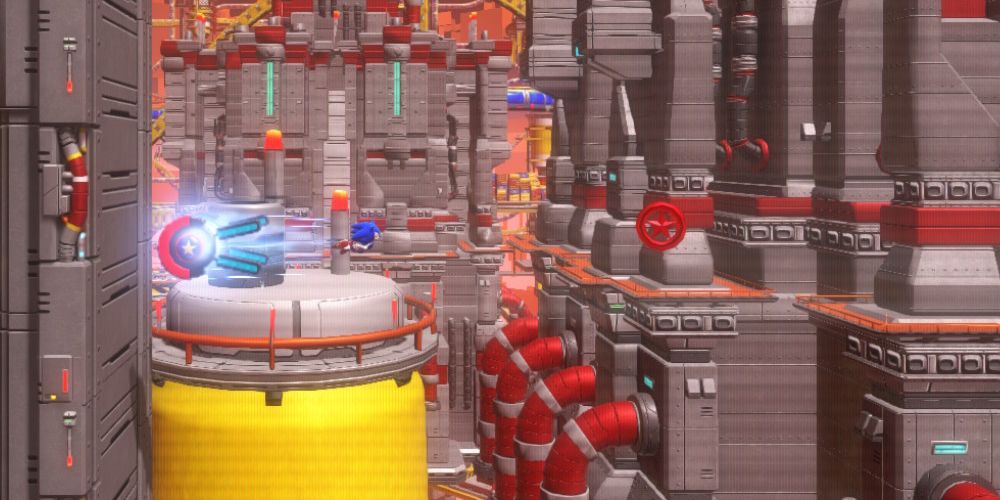
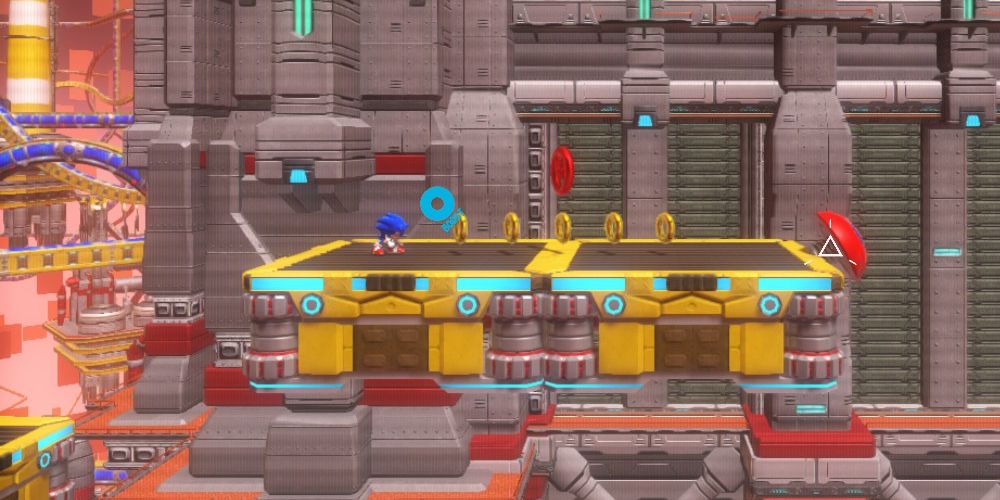
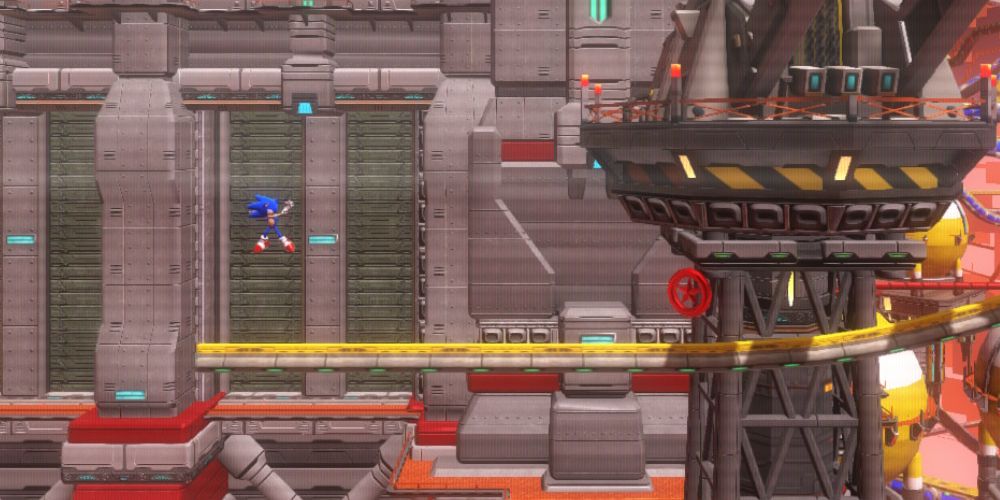
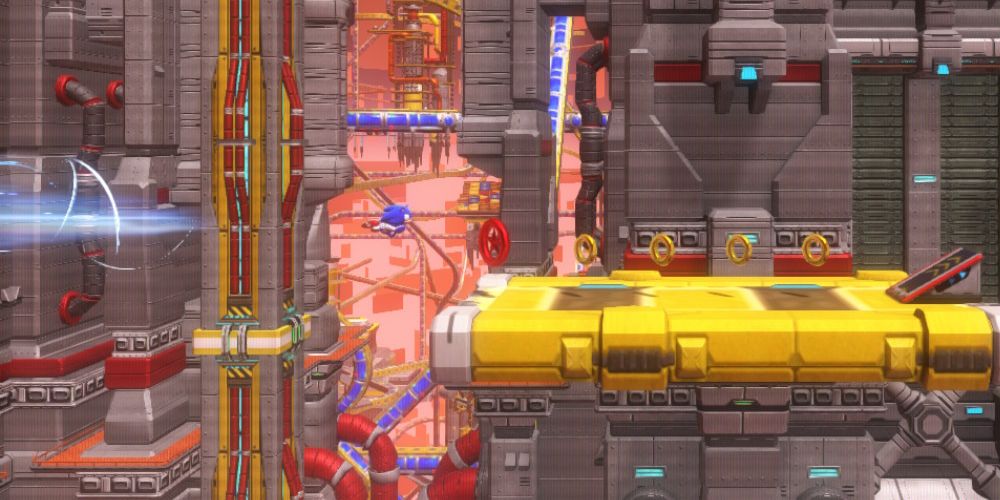
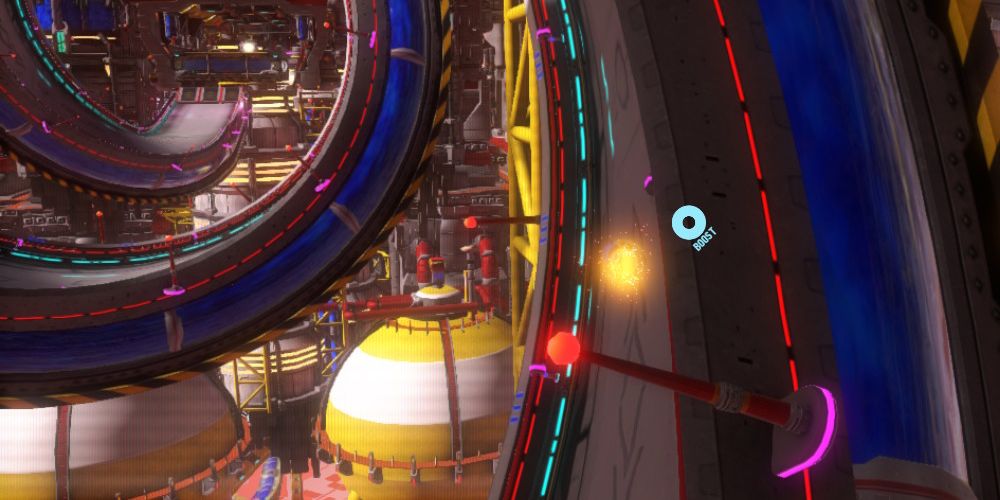
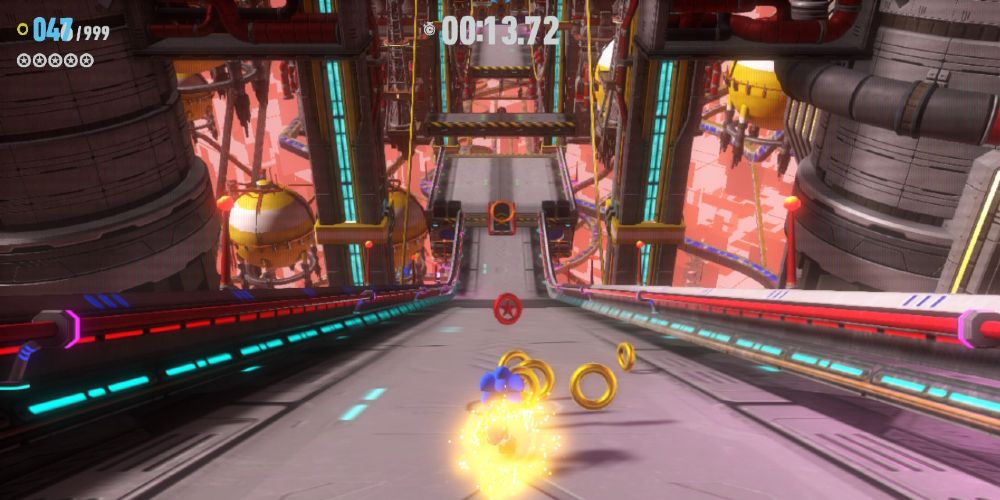
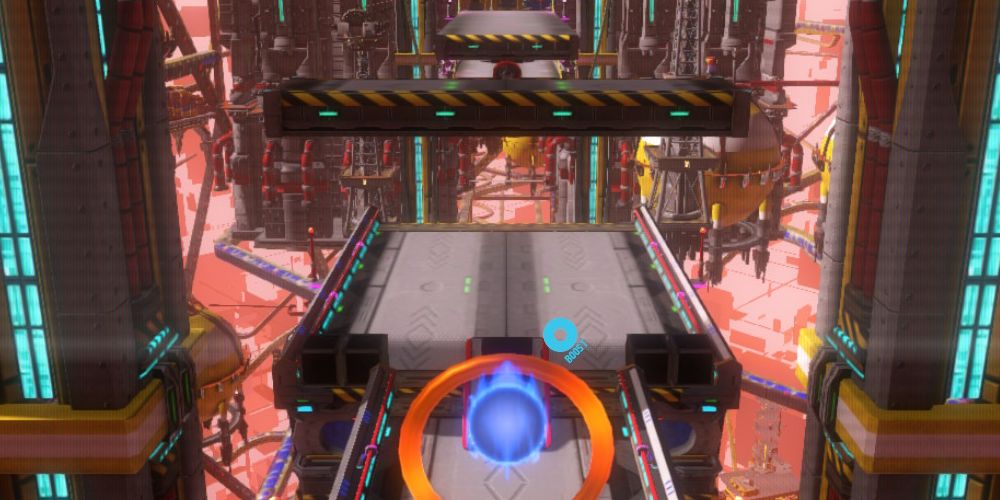
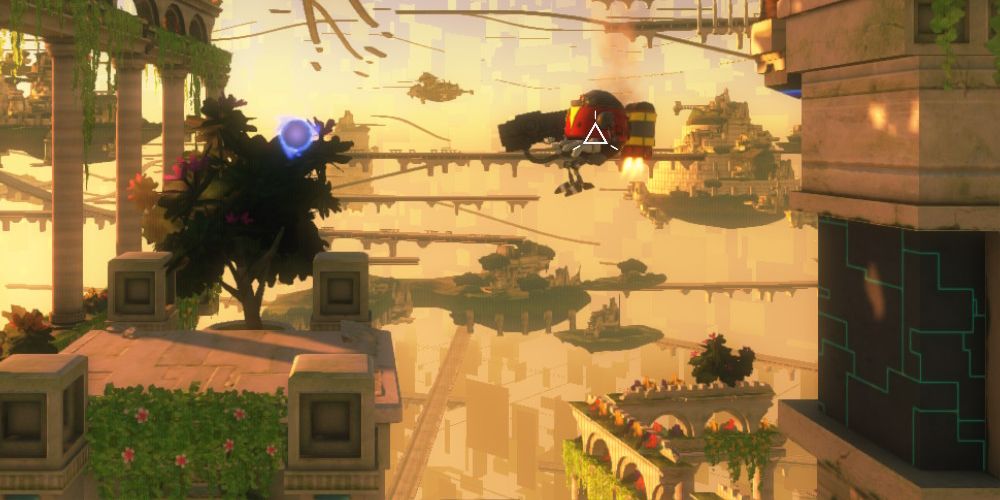
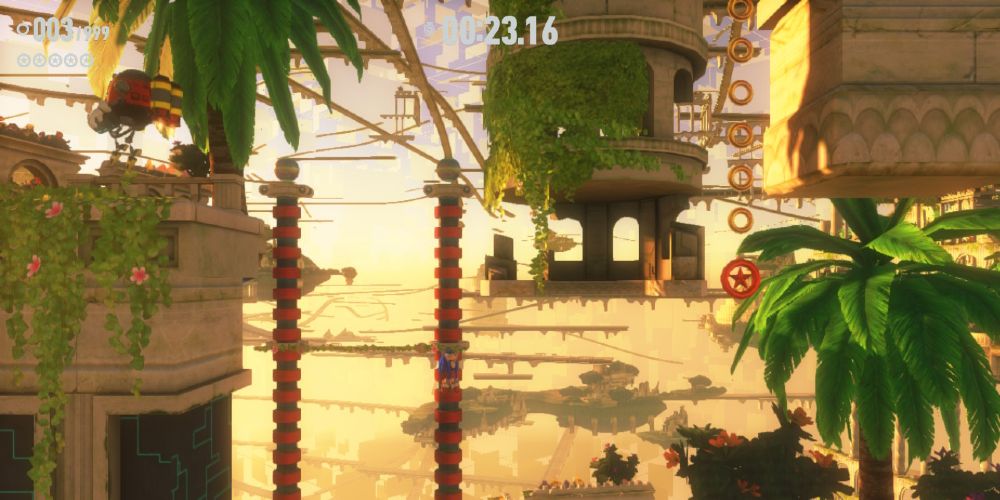
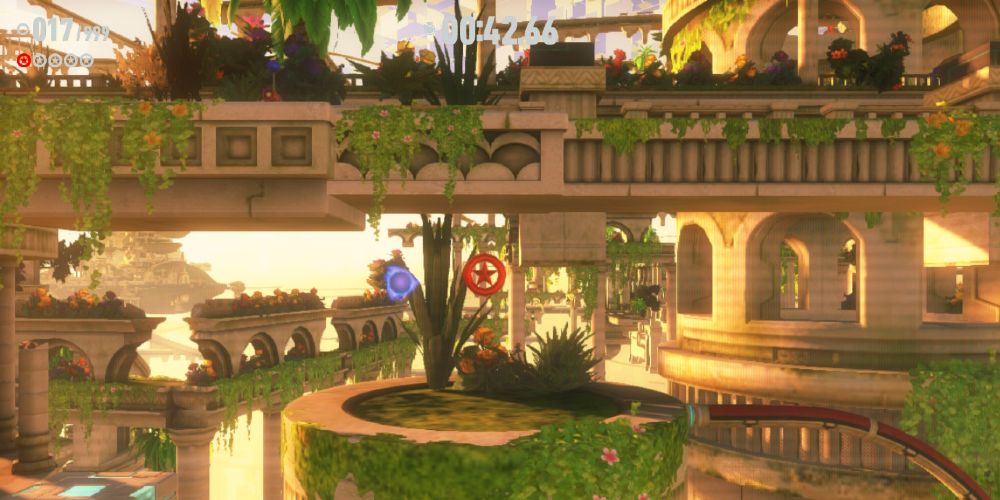
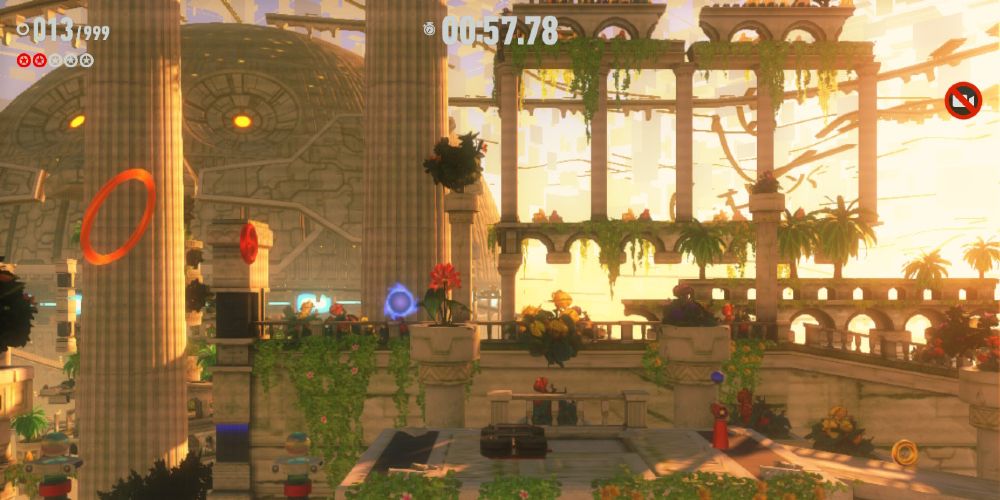
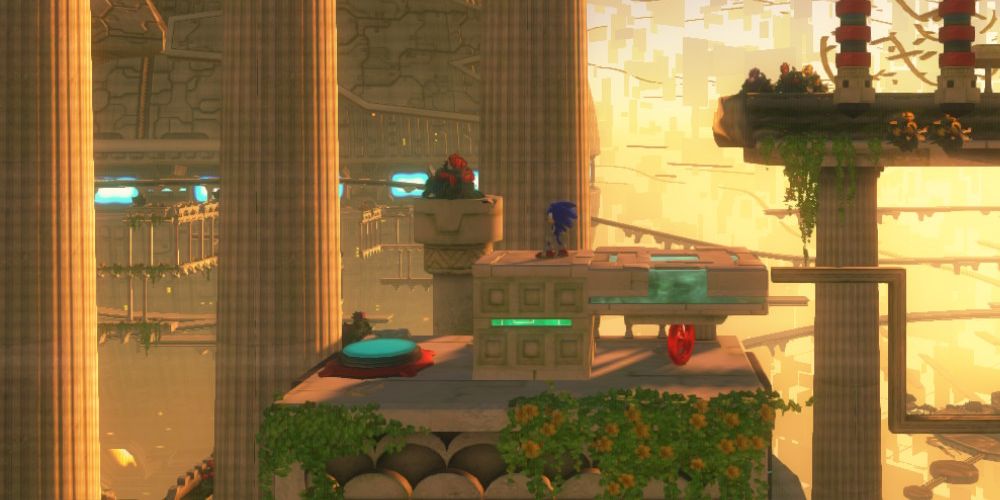
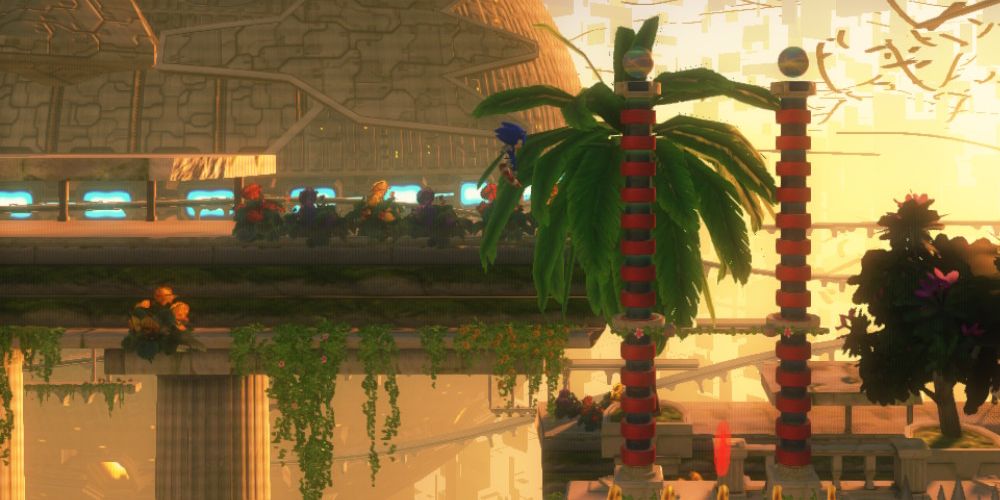
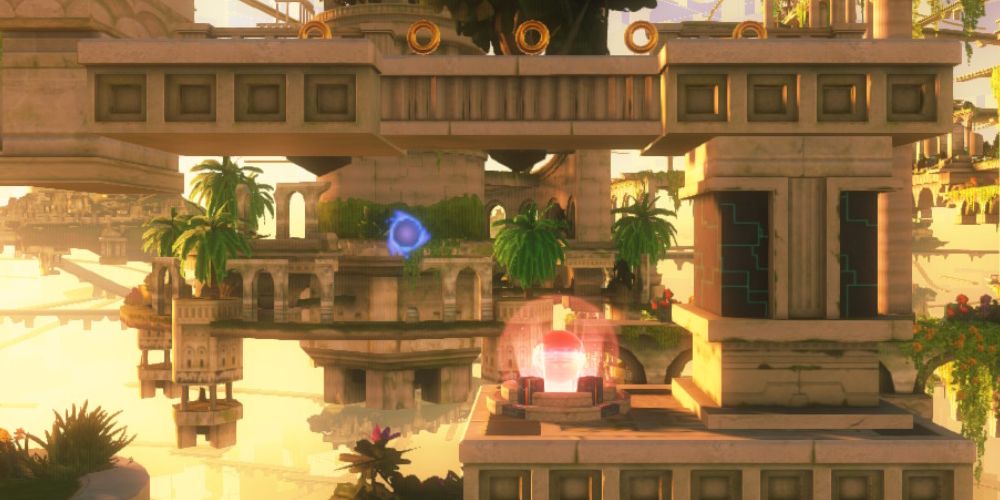
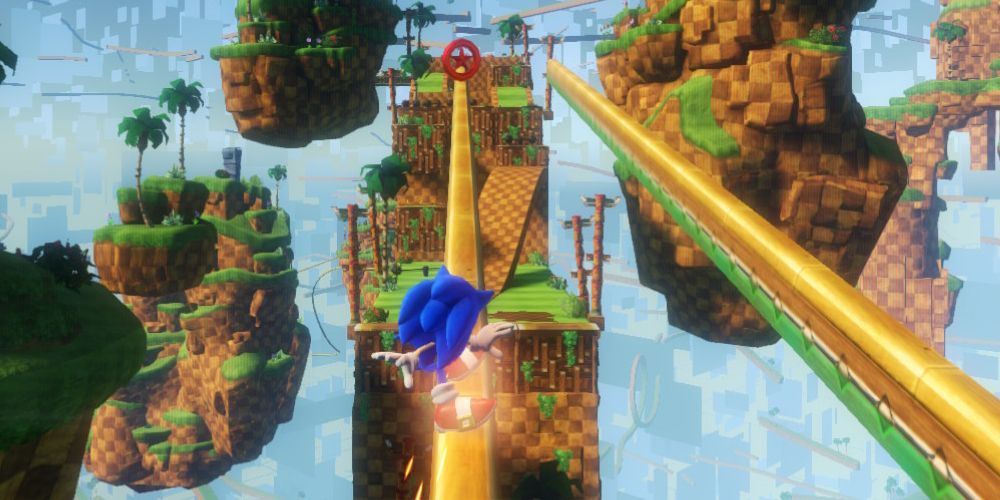
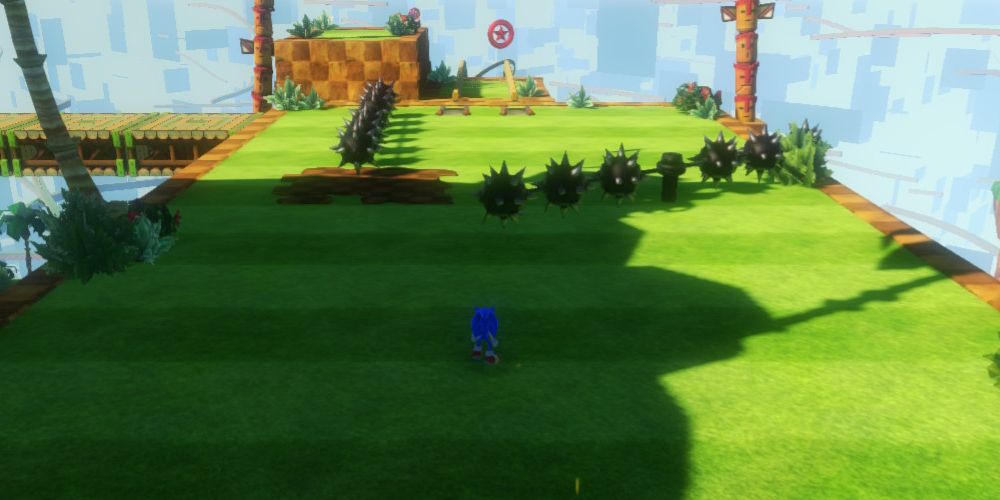
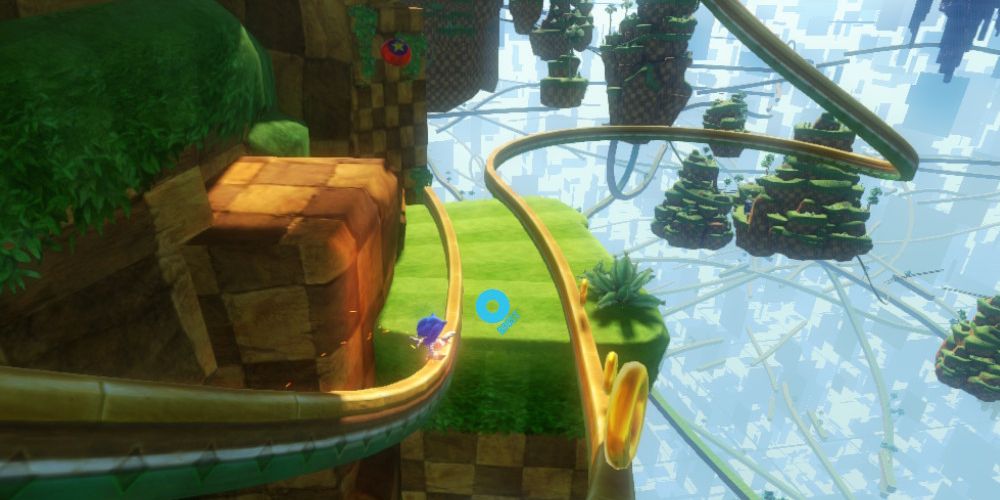
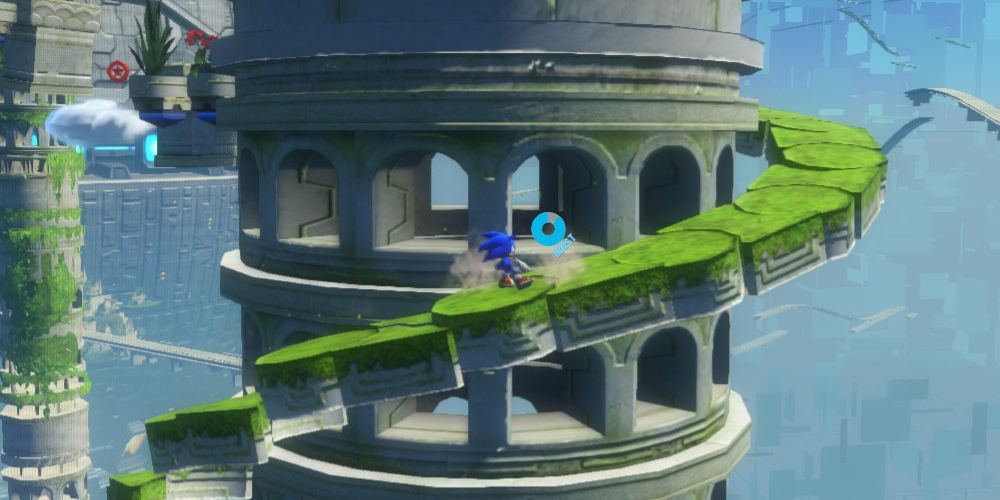
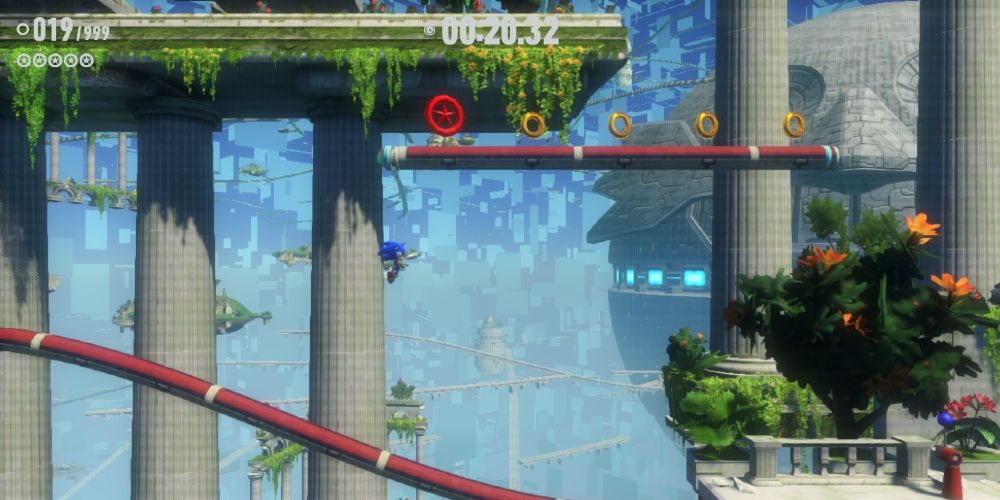
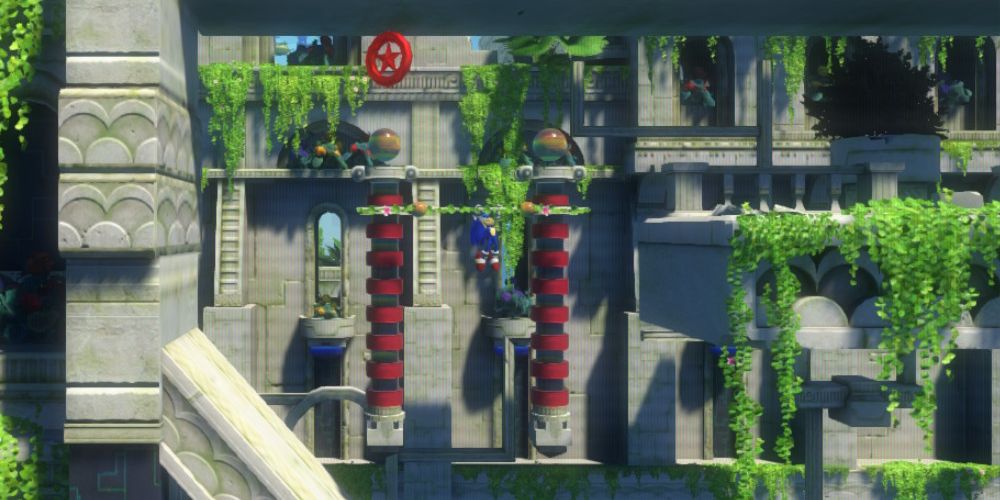
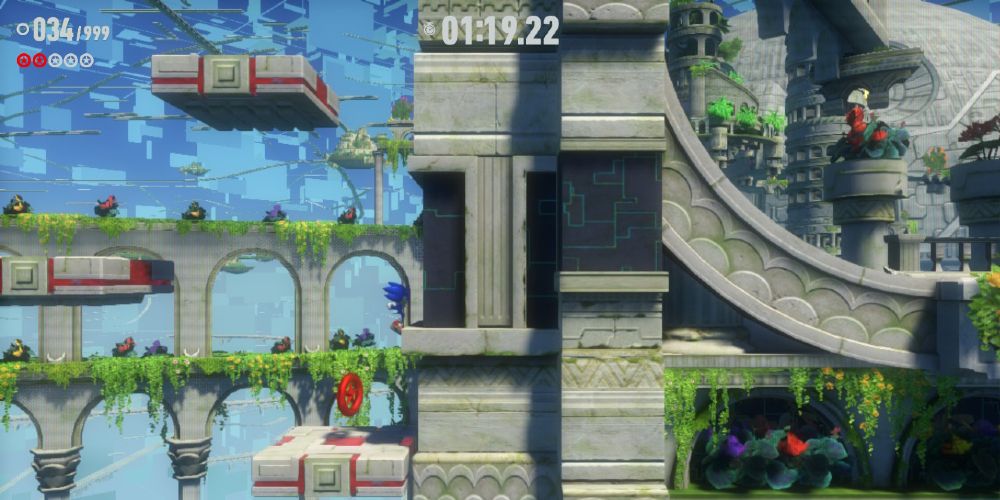
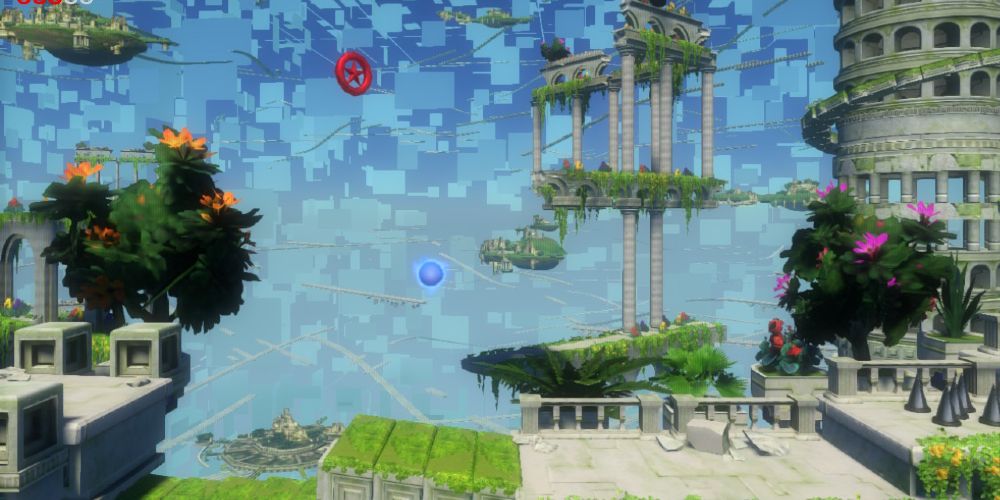
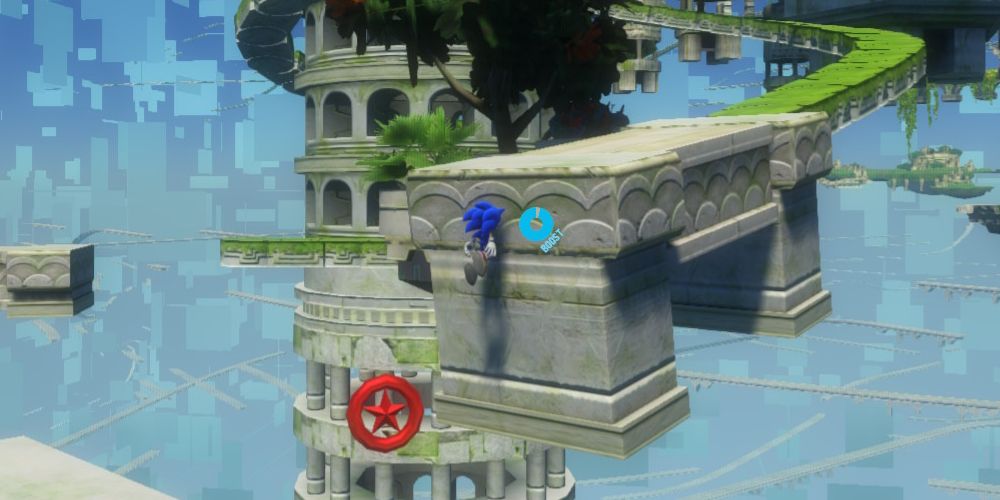
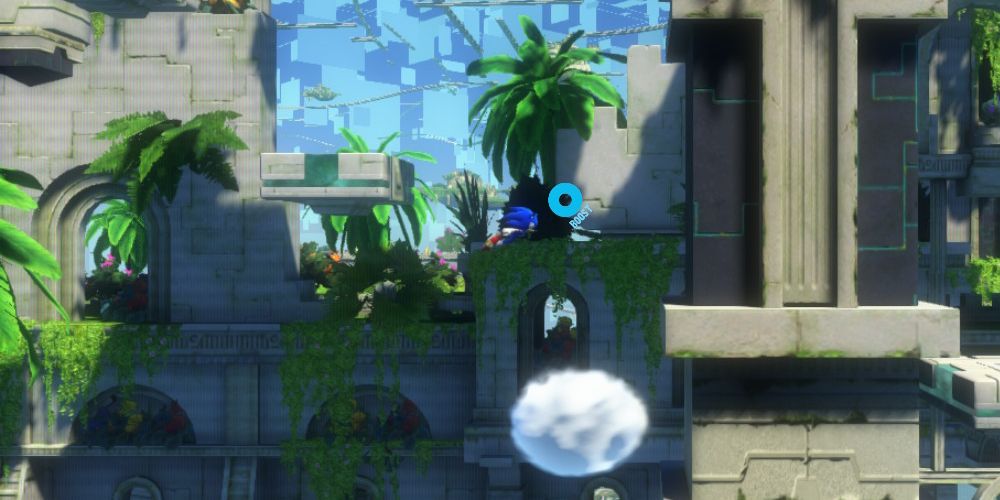
The fast-paced Portal Stages of Ares Island let you take a break from the sandy dunes of the overworld in Sonic Frontiers. Each boasts multiple routes and secrets to discover, along with challenging times to beat for attaining S-Rank! There are also plenty of traps to avoid, some of which seem entirely innocuous.
If you're looking to complete every Portal Stage on Ares Island with full honors, this guide will help you find every Red Star Ring - some are off the beaten path! We've also included tips and shortcuts for getting a faster time on each stage.
Stage 2-1
Stage 2-1’s Portal is on a plateau just northwest of the first Strider; run straight ahead after arriving on Ares Island, and you’ll see the Guardian, which you can defeat to get a Portal Gear. Once you’re on the plateau, be sure to collect all the lost Koco along the edges and get the two Red Seeds hidden in containers!
Red Star Rings
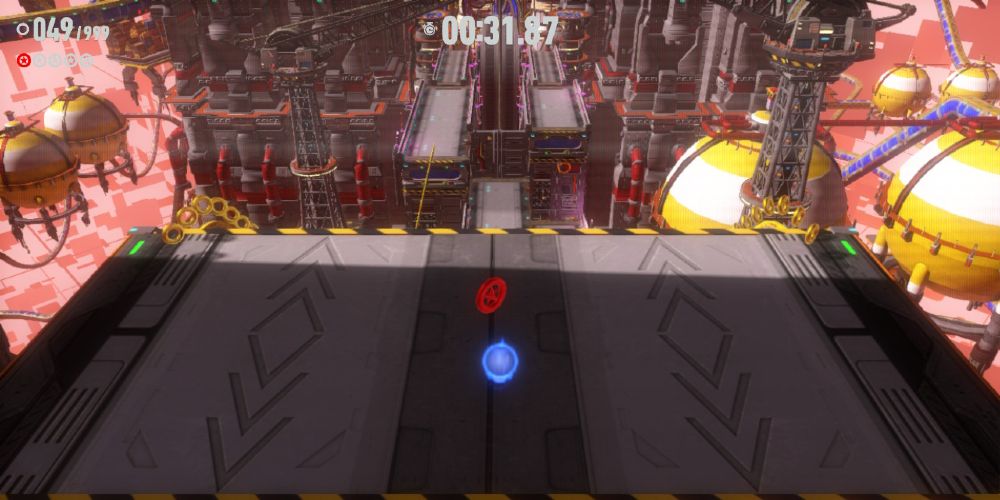
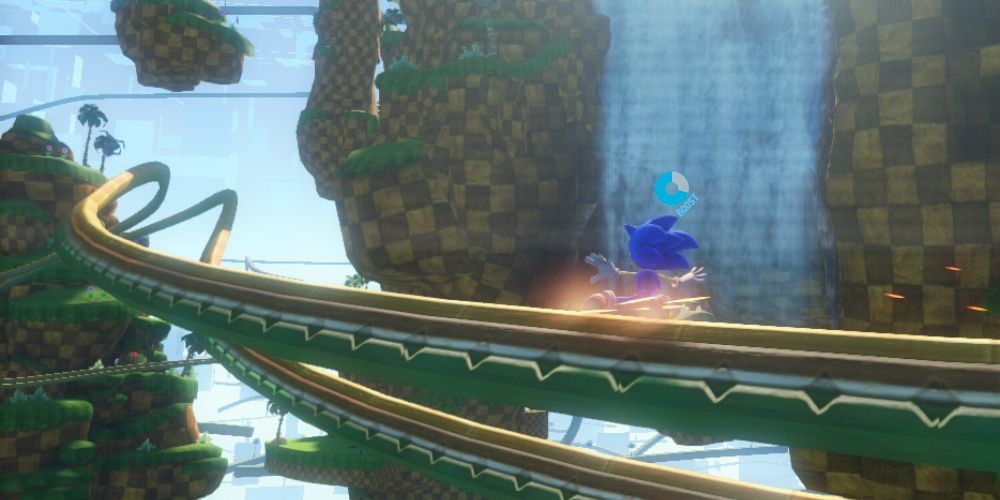
The first Red Star Ring appears shortly after the stage begins. Take the high road when the path first splits, and you’ll find it on you way.
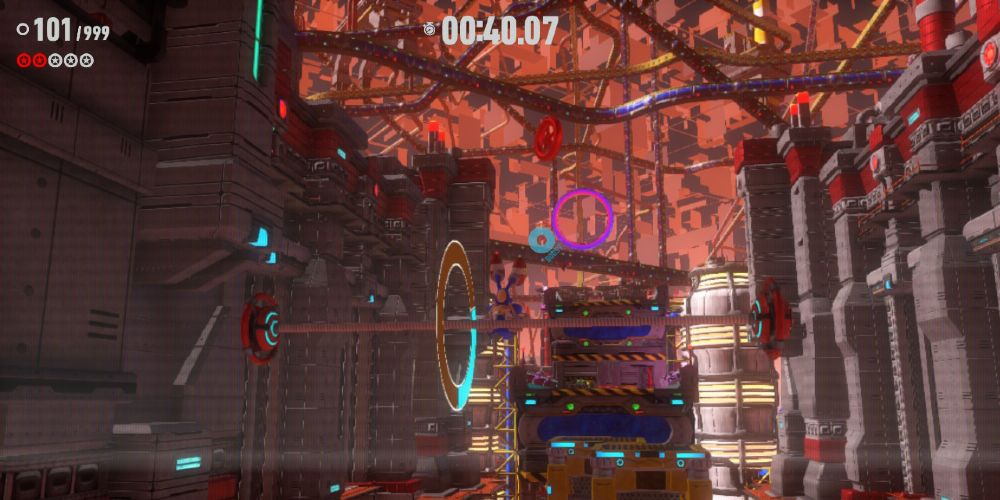
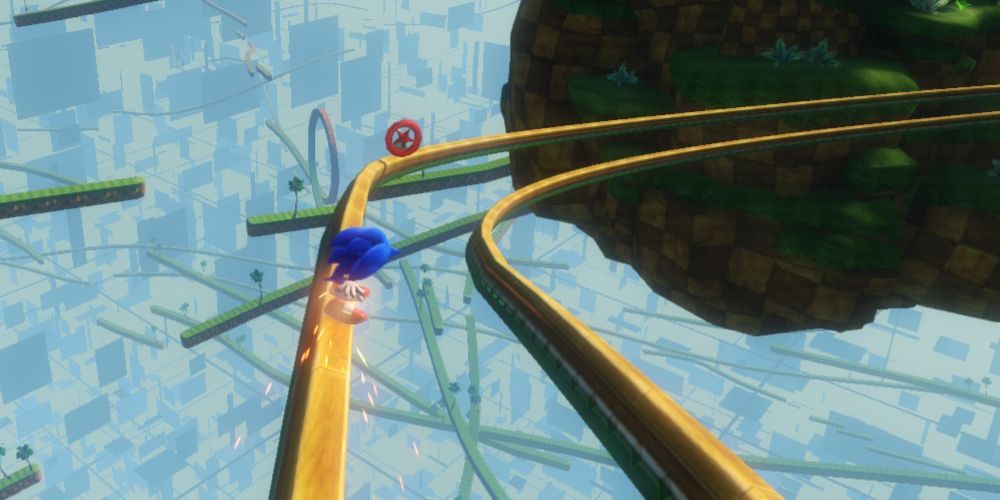
After the first big loop, ride the grind rail to a set of boosters that will shoot you to the second Red Star Ring. Be sure to take the lower orange boost ring, as the higher one will shoot you over and past your prize! If you miss it, there’s a spring directly below that you can use to try again.
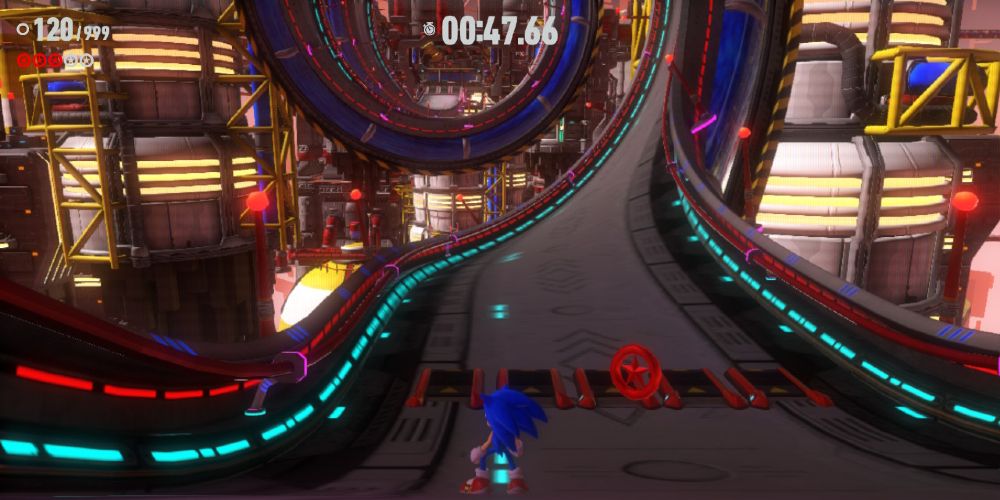
The third Red Star Ring is on the grind rail immediately after the second checkpoint. Just stay on the rail, and you’ll get it as you pass.
Keep to the high road after getting the third Red Star Ring, and you’ll find the fourth one on a platform just before a big loop.
The fifth Red Star Ring is just before the goal - stay on the ground level and jump to catch it before completing the stage.
S-Rank Tips
This is a fairly easygoing stage. If you keep boosting and jump at the end of every platform to keep your momentum going, you can easily clear it with an S-Rank and thirty seconds to spare!
Stage 2-2
The Portal to Stage 2-2 is on a small island in the southeast corner of the map. You’ll have to navigate some rails to get there; use the tall plateaus on the islands leading to the Portal to find the easiest route.
Red Star Rings
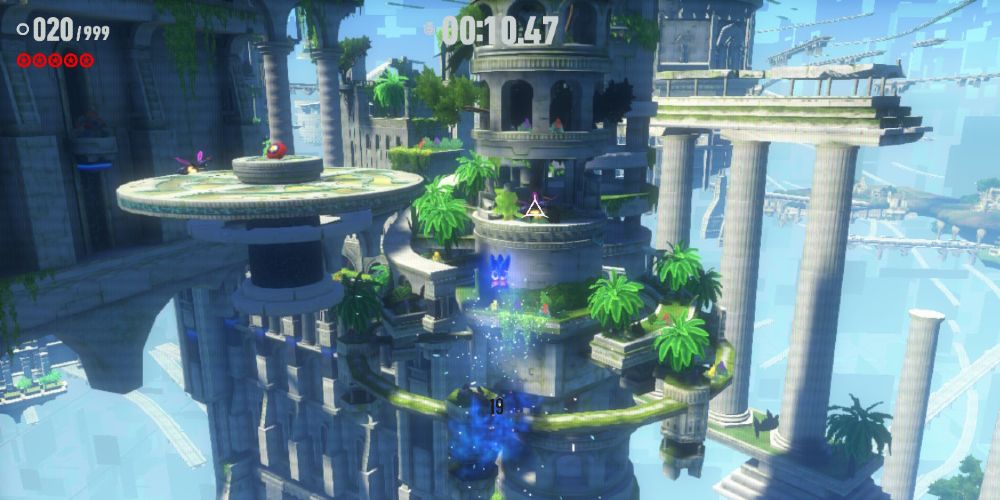
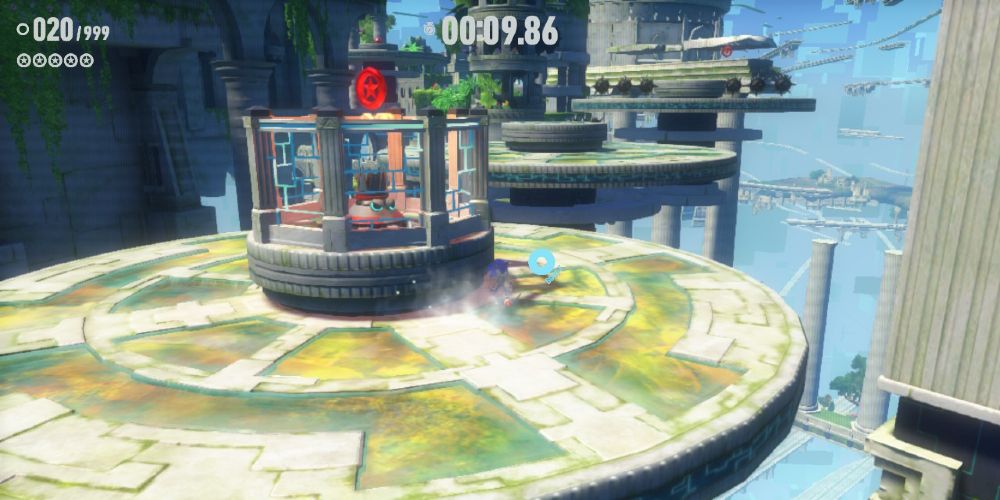
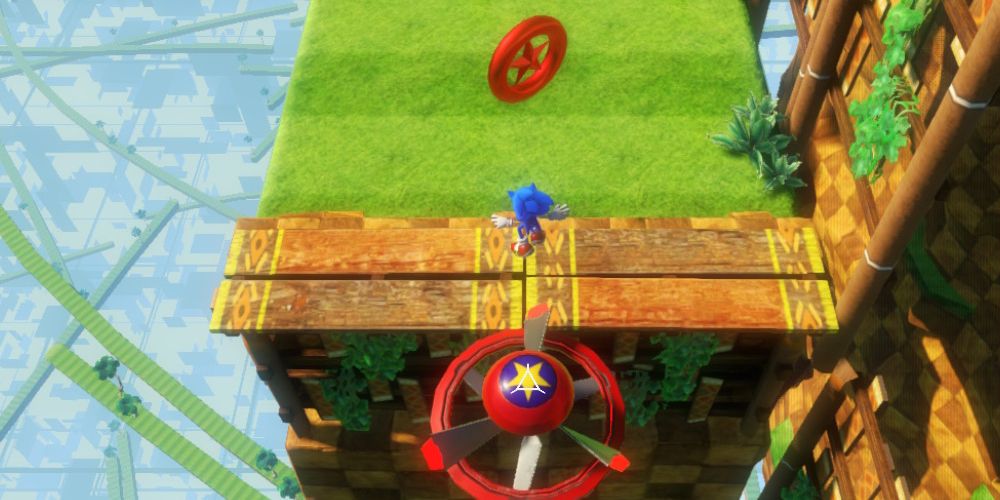
Look for the first Red Star Ring above a glass tube at the end of the first set of rotating discs. There’s an enemy inside the tube that shoots upward, so be very careful when collecting this ring! A Light Dash is a safe but slow way of getting it without too much danger.
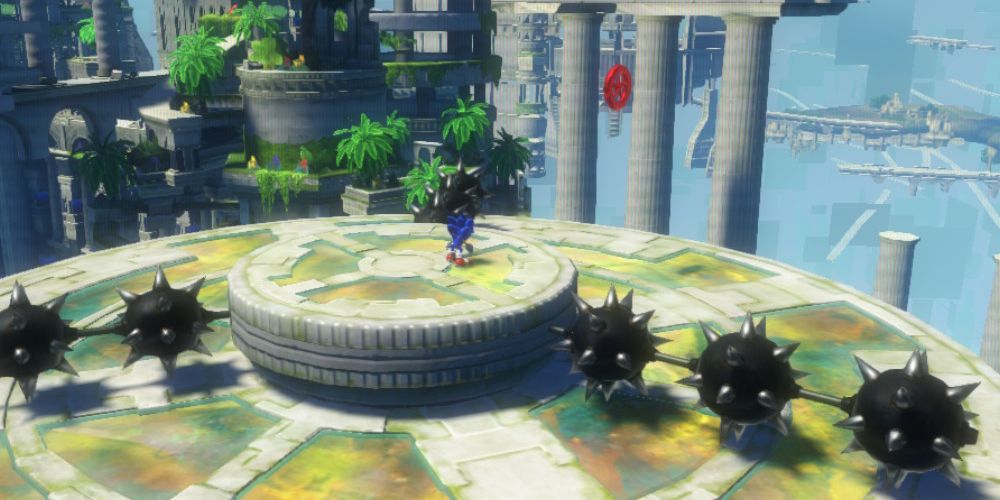
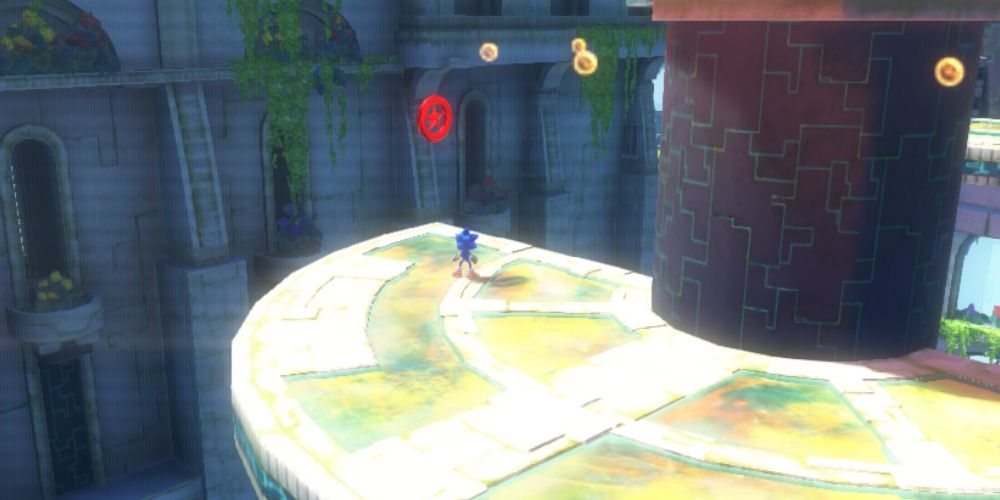
Immediately past the first Red Star Ring, the second is on the far side of a rotating disc. Watch out for the spikes as you carefully jump toward it!
After springing to the second section, the third Red Star Ring is on your left. If you’re going for speed, a single jump is all it takes to clear the chasm before the platform rotates out of the way.
Beyond the platform with the third Red Star Ring is a line of rings leading to a springboard. Use Light Dash to hit the springboard, and you’ll automatically collect the fourth Red Star Ring.
The final Red Star Ring is just before the goal - you can easily catch it as you jump over the final pitfall.
S-Rank Tips
Stage 2-2 has no checkpoints, so if you fall you’ll be sent back to the beginning. For this reason, it’s best to go for S-Rank after you’ve already gotten the Red Star Rings so that you don’t need to take any unnecessary risks.
- You can save a lot of time with double-jumps and boosts when navigating the first set of rotating discs, but be very careful not to overshoot; if you miss a disc you won’t have any way to recover and will have to start over!
- Instead of jumping to the platform with the second Red Star Ring, cut the corner and use Homing Attack to hit the enemies over the chasm. This lets you skip the dangerous spikes.
Stage 2-3
Chances are you’ll find the Portal to Stage 2-4 before you find the one for 2-3. Stage 2-3 is located northwest of the main oasis, in the northern half of the map. If you need a Portal Gear, there’s a Tank to the south that has one.
Red Star Rings
When you first go through a half-loop that flips you upside-down, you’ll see an orange boost ring. This will shoot you straight to the first Red Star Ring.
Just before the first checkpoint, you’ll drop into a cannon. Press the button that it indicates, and it will shoot you to the checkpoint, picking up the Red Star Ring along the way.
Immediately after the first checkpoint, the first ramp will launch you toward an orange boost ring. If you hit it, it will send you to a raised platform with the third Red Star Ring.
Immediately after the third Red Star Ring, you’ll have an opportunity to jump to an orange boost ring by bouncing off a balloon. Make sure you hit it, and stay on the grind rail that it sends you onto. You’ll get the fourth Red Star Ring as you slide along the rail.
When you reach a cannon at the end of a loop, perform the correct input to get the fifth Red Star Ring as it shoots you along the path.
S-Rank Tips
It’s always worth losing a half-second to confirm which button a cannon wants you to press; getting the input wrong can cost you a run.
After the second cannon, remember to jump over the upcoming wall.
Stick to the high road to bypass as many cannons as possible. Bouncing off of balloons and taking boosters or grind rails will shave several seconds off of your time.
Stage 2-4
Stage 2-4 is on the large stone structure above the Oasis that Sonic and Knuckles drain together as part of the storyline. You can reach it before or after this event by using the rails, springboards, and balloons over the water.
When you reach the top, look for a switch that will cause a springboard to appear back on the ground - this will make it easier to return later. Sage is also nearby, if you have enough Memory Chips to speak with her.
Red Star Rings
To collect the first Red Star Ring, just stay in the center of the track throughout the first sequence. You’ll get it after the second loop.
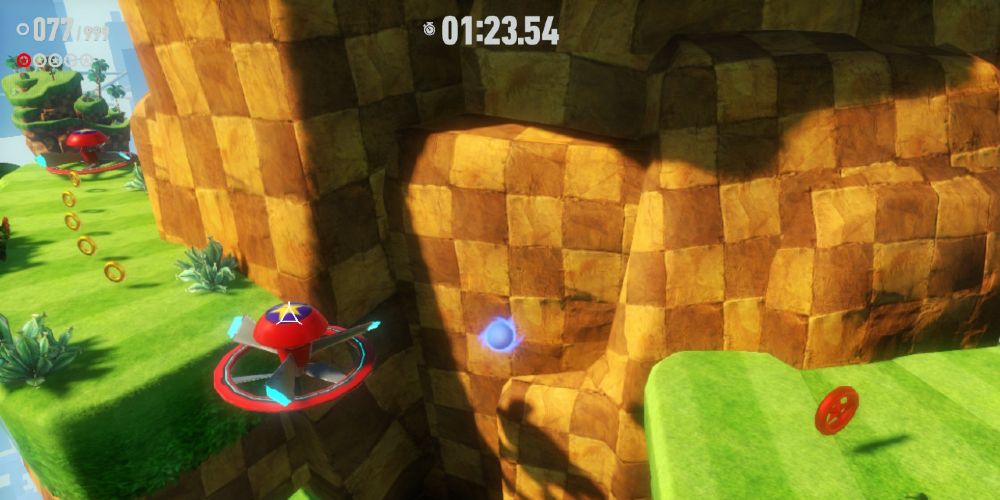
The second Red Star Ring is at the top of the mountain of boxes that you’ll have the option to climb. If you fall off, you’ll be stuck on the low path and won’t be able to get it on this run.
After the path splits to the left and right, you’ll hit a swing bar when the two routes converge. Time your jump carefully to catch the third Red Star Ring.
After the double swing bars, the fourth Red Star Ring is in the middle of the track before the next big loop.
The final Red Star Ring is automatically collected as you make the jump to the goal. Beware of the robot that appears directly in front of you just before the finish line!
S-Rank Tips
Finding and utilizing shortcuts while avoiding speed traps are essential for getting an S-Rank time on this stage.
- If you manage to hit the boost ring directly above the first Red Star Ring, be ready for a robot to appear in front of you. If you time it right, you can Homing Attack into it and then follow up with another Homing Attack to the swing bar behind it.
- Take the left-hand grind rail after collecting the second Red Star Ring. The right-hand one will drop you into a pit that takes a while to climb out from.
Stage 2-5
Stage 2-5 is located on the westernmost point of Ares Island. Go west from the Oasis after draining it as part of Knuckles’ quest chain and follow the path when it turns slightly south. The Portal is behind some cliffs, but you can go around them instead of climbing them - you will, however, probably need to defeat the Strider in front of the cliffs before continuing.
Red Star Rings
After defeating the first set of enemies, you’ll see the first Red Star Ring as you drop to the bar below. As you pass underneath it, use Light Dash to get the Red Star Ring and the normal rings above it. You can also boost after hitting the last enemy in the sequence to jump over the tower and get the Red Star Ring from above.
The second Red Star Ring is immediately after the first checkpoint. Jump to grab it before boarding the grind rail.
The third Red Star Ring is just before the second checkpoint. You’ll see it whether you approach from above or below, but it’s easier to collect from the higher road thanks to the boost ring there.
After the second checkpoint, you’ll climb up using some bars and clouds. At the top of the climb, press the button on the floor to open the path forward and access the fourth Red Star Ring at the same time.
After collecting the fourth Red Star Ring, climb upward using the newly-available bars and clouds. The final Red Star Ring will be at the top of the climb, just before the goal.
S-Rank Tips
This is a stage where it’s easy to make mistakes, and each one is costly.
- Take the high road as much as possible, using Homing Attack to bounce off of enemies and balloons whenever you can.
- Double-jump between hanging bars to bypass them as quickly as possible; you don’t want to wait for them to get into position if you don’t have to.
- After the first Red Star Ring, jump over the spring at the end of the straightaway. You’ll find a glowing red teleporter that acts as a shortcut to the checkpoint!
- During the final ascent, you can bypass the hanging bar by double-jumping to the lowest cloud.
Stage 2-6
The Portal to Stage 2-6 is in a green area southwest of the White Emerald Vault.
Red Star Rings
Once you’ve defeated the stage’s first enemy, the camera will shift to some springs to the right. Use them to ascend the wall, then use the floating spring to reach the first Red Star Ring before continuing.
When you’ve passed the second checkpoint, stay on the left rail. You’ll get the Red Star Ring as you grind.
After the second Red Star Ring, you’ll see a floating spring that brings you between two outcroppings. Land on the left-hand outcropping, then double-jump across the to right outcropping to get the third Red Star Ring. If you try to go to the ring straight from the spring, you’ll either come up short or overshoot.
After climbing the tower, you’ll encounter a long rail-grinding sequence. The fourth Red Star Ring is on the left rail, just before the end.
The last Red Star Ring is precariously positioned above two spinning spikes just before the final grind rail.
S-Rank Tips
Stage 2-6 is tricky, since it has lots of shortcuts but also several routes that look like shortcuts, but aren't!
- After the hang glider, stay on the left rails. You’ll need to use Homing Attack with perfect timing at the end to hit a spring without falling off the stage, but this path saves several seconds.
- The stage has several buttons that create ring trails you can follow with Light Dash. Ignore these. The extra rings aren’t worth the additional time these routes take.
- After dismounting the grind rail past the second checkpoint, boost to the left in the air. You’ll be able to reach the hornet with a Homing Attack, bypassing the first stage of the tower climb.
- The long rail grind at the top of the tower midway through the stage has several risky but time-saving shortcuts. Look for opportunities to use Light Dash or Homing Attack to cut corners - just don’t fall!
Stage 2-7
The last Portal on Ares Island is just southeast of the Yellow Emerald Vault, amid some crumbling ruins. You’ll need to use some grind rails to reach the landmass that it’s on.
Red Star Rings
The first Red Star Ring is on the highest grind rail just before the first checkpoint.
You’ll find the second Red Star Ring above a hanging bar just past the enemy robot in the zig-zagging section.
After the spinning disc with the vine handrails, a red spring will bounce you to the third Red Star Ring.
Just past the spike pit with the hole in the center that you need to jump through, you’ll land on a crumbling bridge. Double-jump and boost to get the fourth Red Star Ring above the bridge before it’s too late!
You can catch the final Red Star Ring immediately after the first crumbling spiral tower. There’s a cloud below it that you can use to bounce back up.
S-Rank Times
Stage 2-7 requires a lot of precision, but the time requirements are forgiving enough that you can afford to be careful.
-
Stick to the lower paths, since you don’t need to be fancy and unnecessary risks can cost you time.
- The exception to this is the very first cloud. Jump when the track dips for the first time Boost forward to land on the cloud. The path looks like it’s doubling back, but it takes you straight to the first checkpoint, saving a lot of time!
- Use Homing Attack to bounce off of enemies whenever you can. This often allows you to bypass slower methods like hanging bars.
- Don’t try to get S-Rank on the same run that you collect all the Red Star Rings. You’ll have enough to worry about doing one or the other without trying to do both simultaneously.

