Quick Links
Splatoon 3 is not a one-trick pony. Sure, its main draw is its excellent competitive online multiplayer and plethora of modes associated with it, but that’s not its only attraction. Alongside this, it has the rather excellent Turf War Battle card game, a fantastic single-player campaign, and the phenomenal Salmon Run.
Salmon Run’s initial inception during the earlier days of Splatoon’s history cemented it as one of the best cooperative horde-based games on the market, and it has only gotten better since then. It is fast, frantic, fun, and if we are being frank, difficult. There is a lot to this mode, and we are going to cover it all.
What Is Salmon Run?
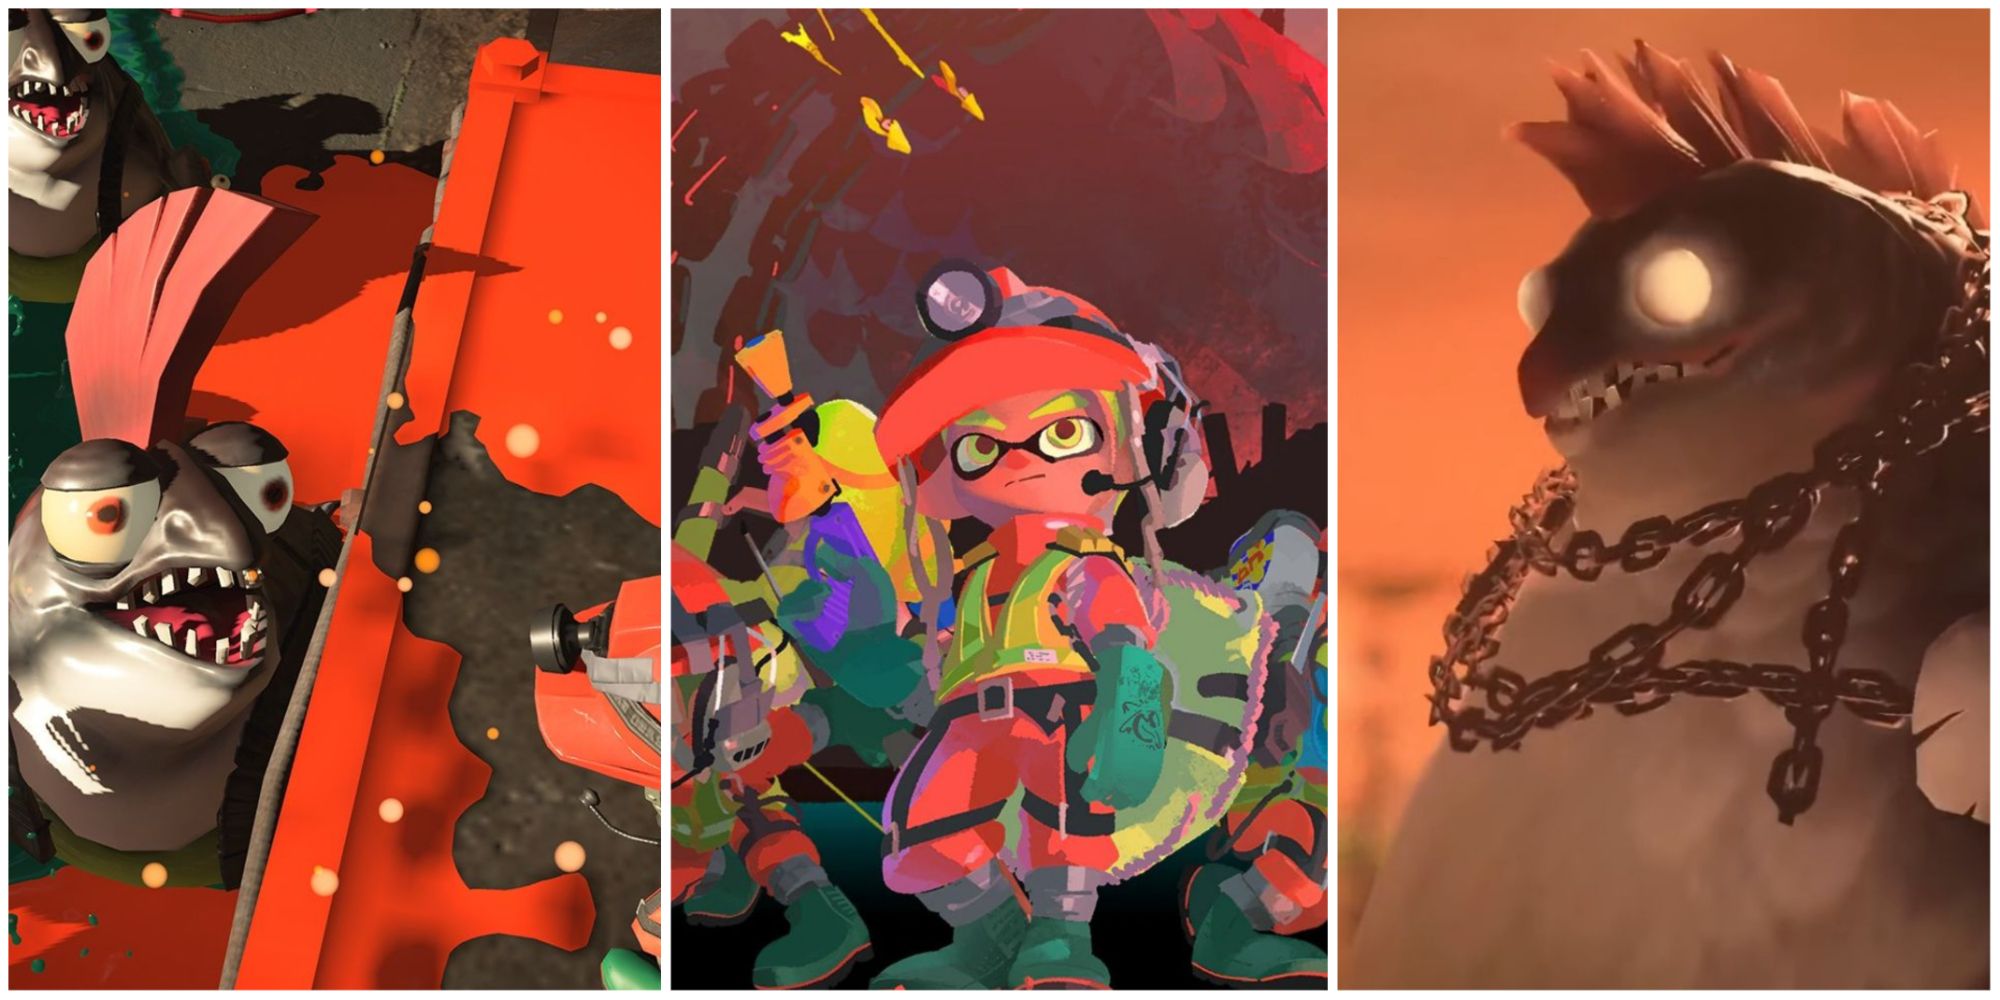
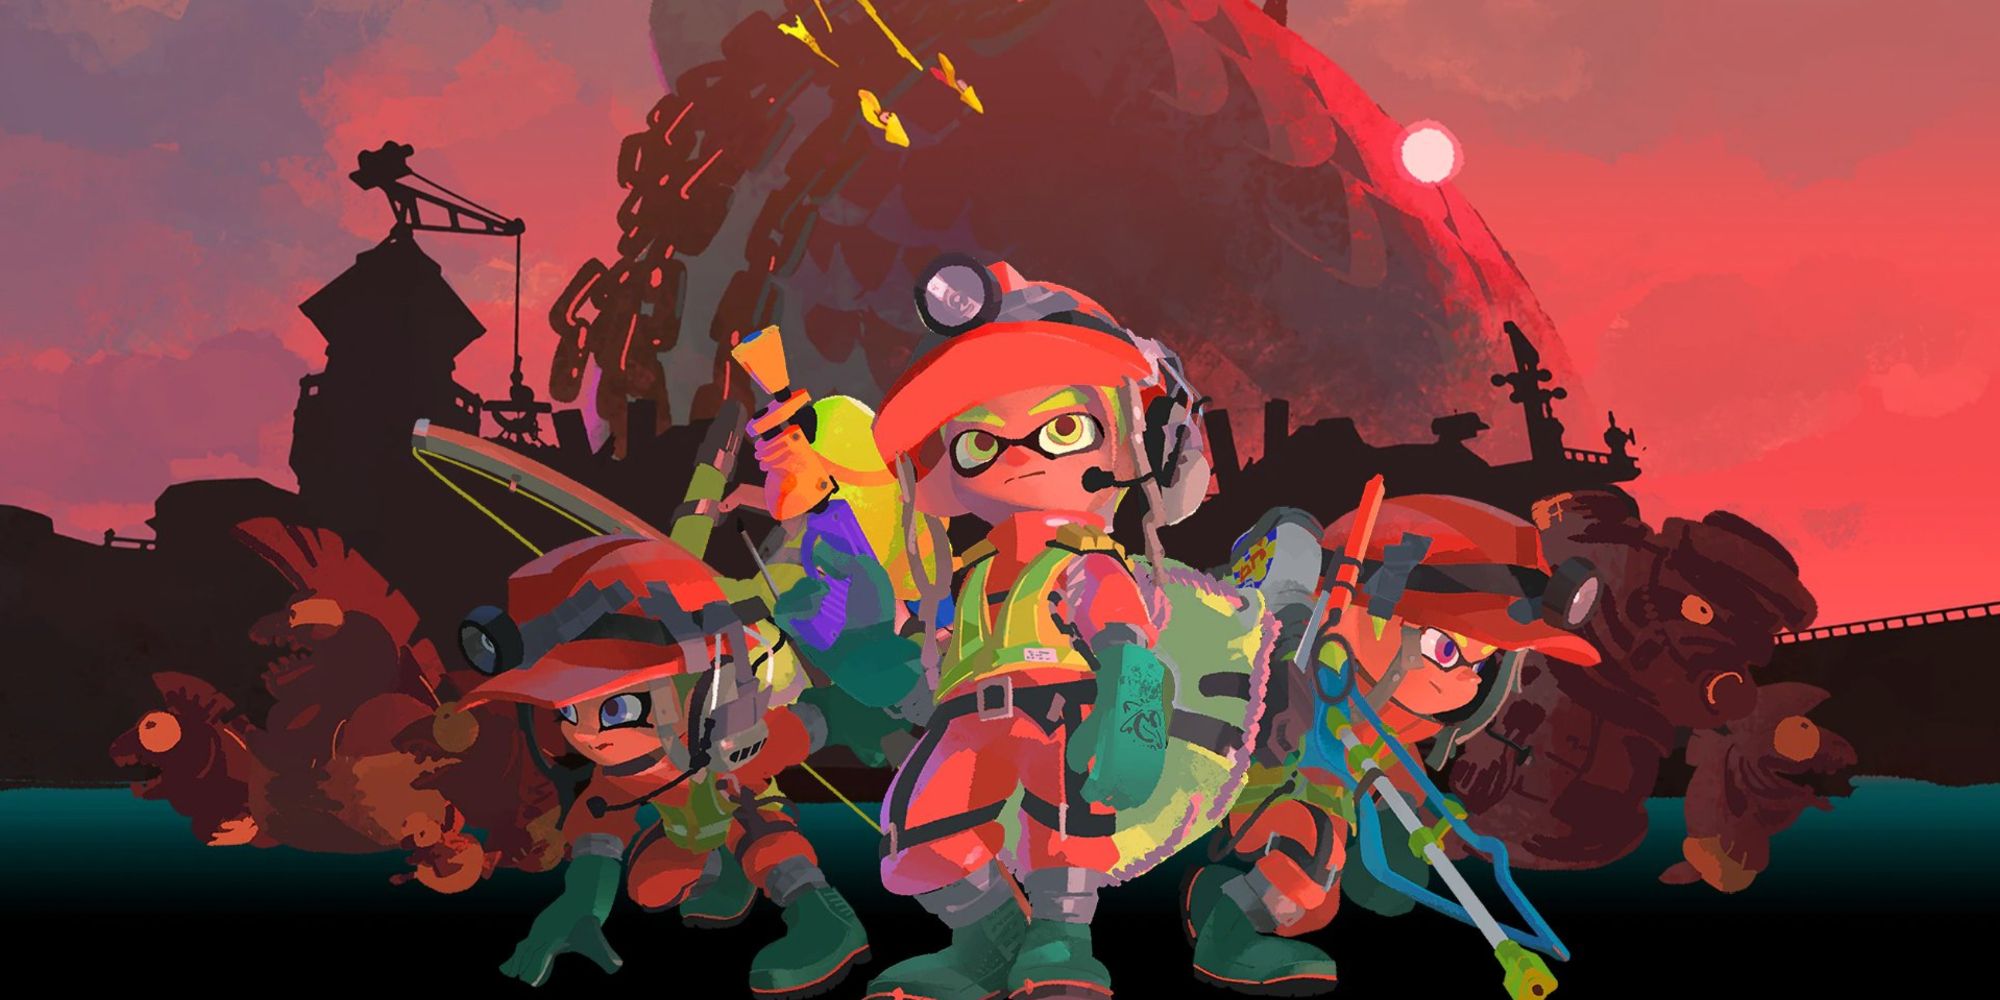
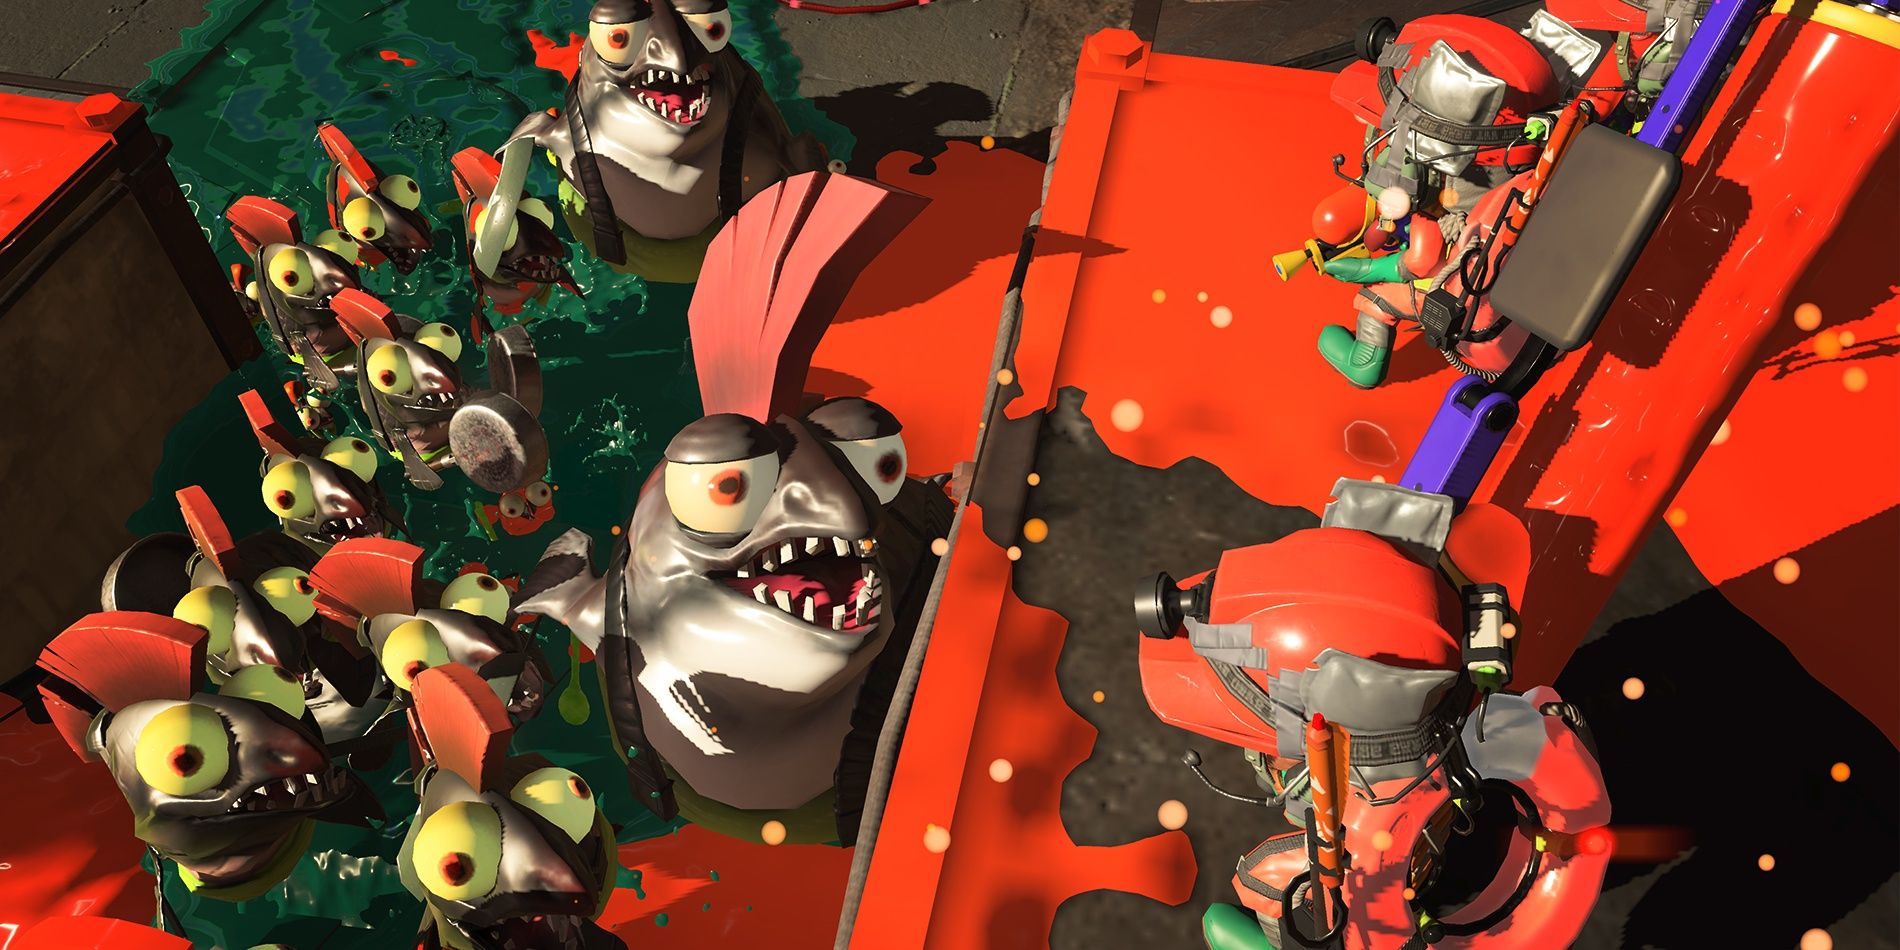
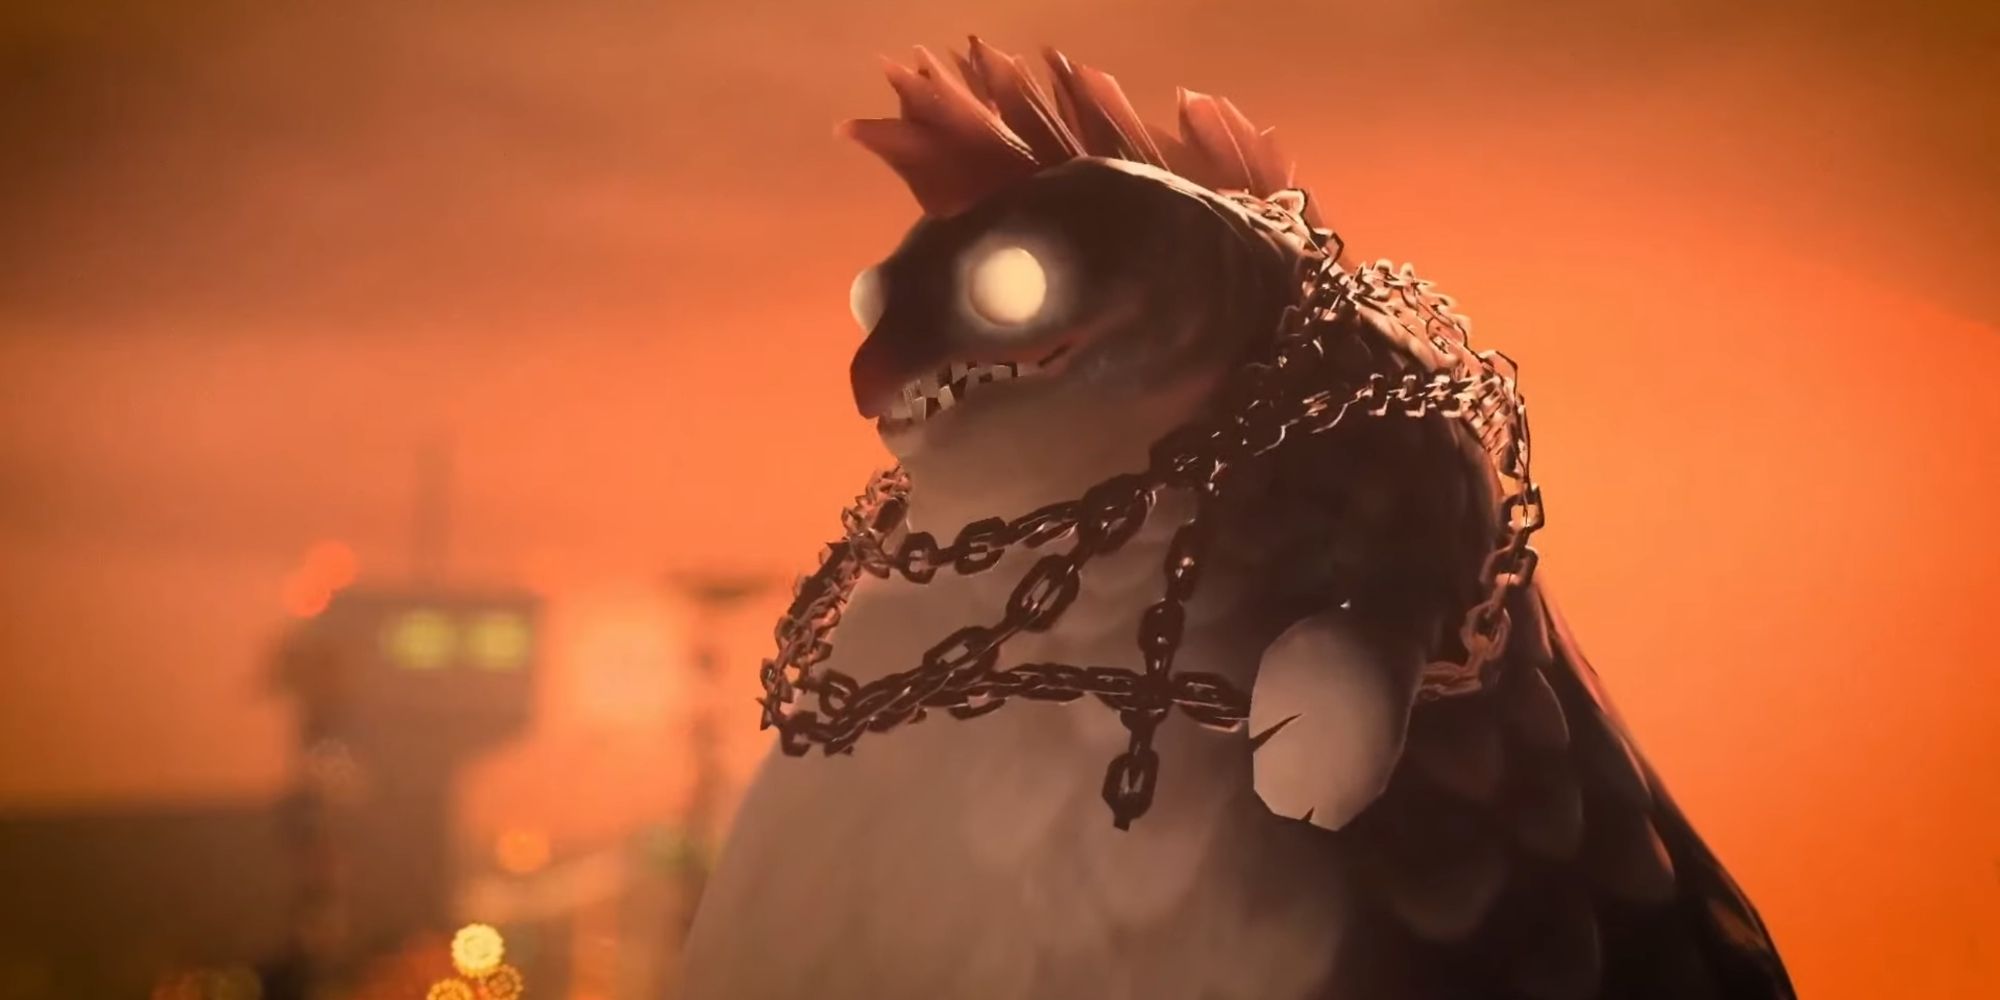
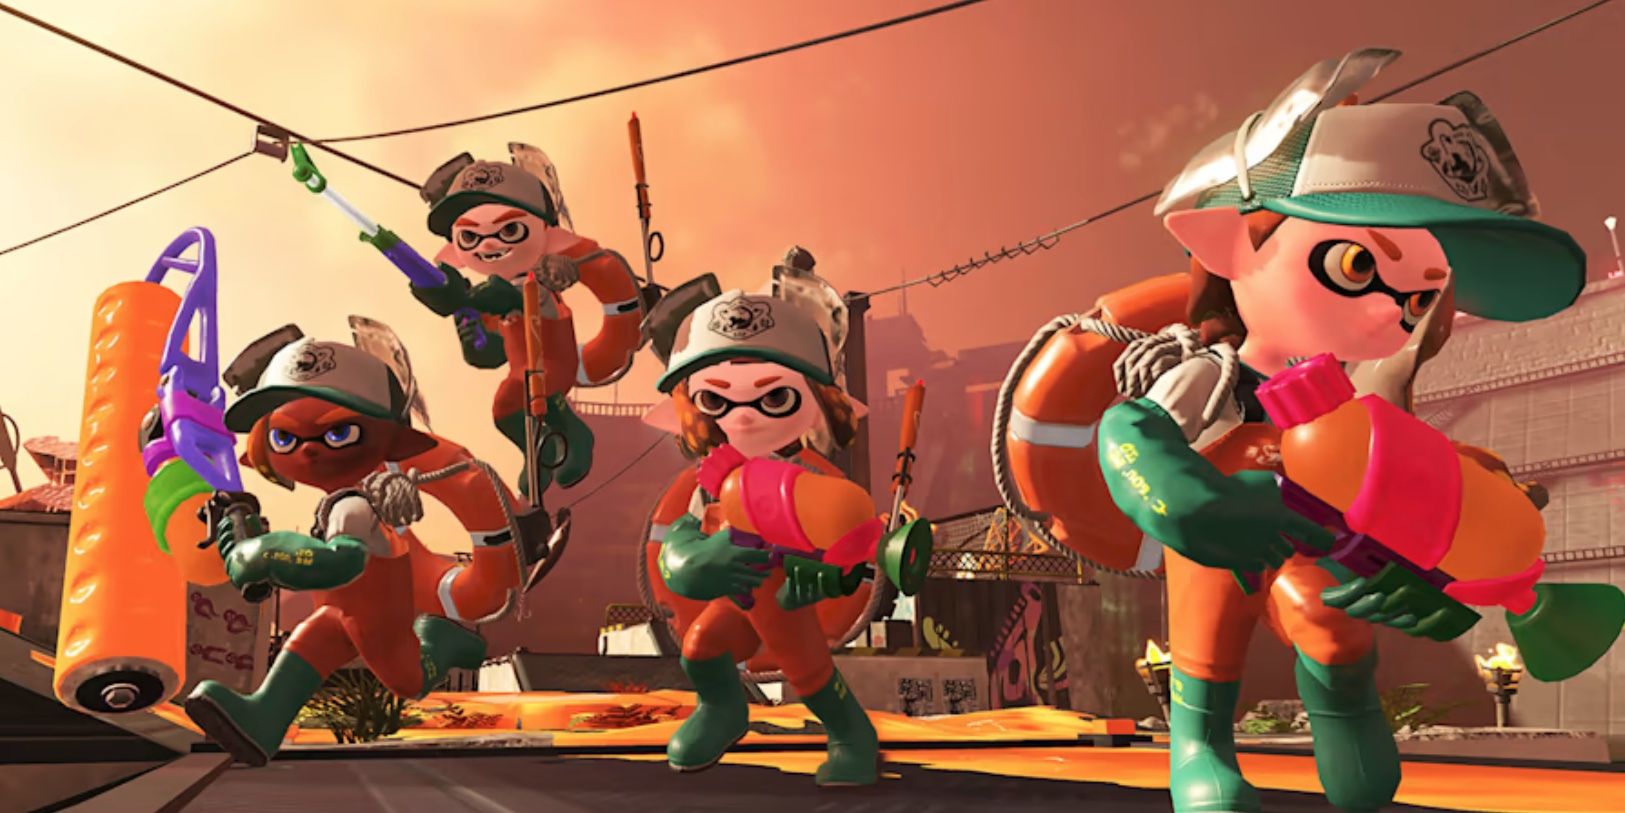
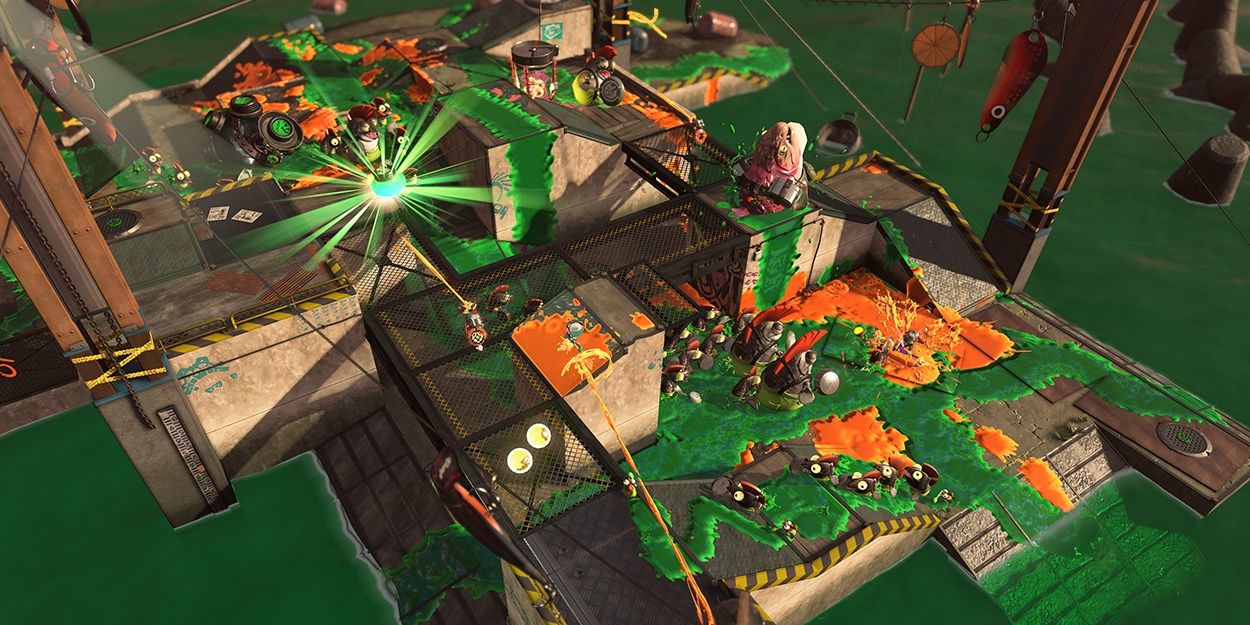
Salmon Run is, in short, a Horde mode for Splatoon. You and three randos/friends team up to tackle three progressively more difficult waves of enemies in an attempt to secure as many Golden Eggs as possible. These eggs are protected by waves of Salmonoids, with the most powerful Salmonoids being unique Boss Salmonoids. These are your targets, and they don’t go down without a fight.
Salmon Run is incredibly easy to pick up and play, but like everything else, it is difficult to master.
Rewards For Playing Salmon Run
Your reward for playing Salmon Run is, well, more Salmon Run. The better you do, the better the reward. The trade-off is that Salmon Run gets harder. The harder it gets, the better your reward. It’s a wonderful loop of increased stakes that keeps the game feeling fresh and new each time you play.
Of course, there are tangible rewards too, and these come in the form of randomised baubles that grant armour, chunks, tickets, and money. All of these are worth striving for and can help you in every other aspect of Splatoon’s gameplay.
Maps, Challenges, And Weapons
Splatoon 3 expertly keeps Salmon Run fresh in a number of ways (one of which we have already covered). Another way it does it is through the ever-changing map and challenges that come with it. No two games of Salmon Run are the same, and the more you play, the more you will see.
Sometimes you will get a standard three-wave affair, other times, you will be forced to fight unique waves of enemies, or deal with a high/low tide. How about a turret defence section, or a harrowing fight against spectral Salmonoids with gaping maws the size of skyscrapers? It’s all here, and more.
As if that wasn’t enough, Splatoon 3 also cycles its weapons between waves, so you, as a player, need to constantly adapt. For an extra bit of spice, Splatoon 3 also changes up which weapons are used daily, further augmenting the replay cycle.
Don’t Forget To Ink!
You may be playing an awesome horde mode, but don’t forget that inking is the core of Splatoon 3’s gameplay. This applies to Salmon Run as well. Inking, like with the core game, allows your team to move quicker. This is essential for effective travel in Salmon Run as you will frequently be forced to move from one side of the map to the other.
Not only that, but Salmonoids leave a trail of bluish-green ink when they walk(?). This can disrupt your ability to move, and this only gets worse when bosses get involved as these enemies have the potential to clag up huge areas of the map with opposing ink. Be a good teammate and ink as you play.
Don’t forget that inking a downed ally also revives them, so keep an eye out for inflatable rings!
Communicate!
Splatoon 3 has voice chat if you use the Nintendo App, but it's only really viable with friends. This makes communication rather difficult if you want to give precise commands. However, it is possible to communicate using your D-Pad. You can only do three commands, but these are more than enough to rally a team to relevant areas of the map. "This Way" is literally all you need. If you have a bundle of Golden Eggs, or if you have spotted a boss, then this can help direct your team.
"Booyah" on the other hand can power the mighty Booyah Bomb, as well as celebrate after a close victory. Finally, "Help!" will let players know you have died, and need a revive. It's a simple system, but it will win you games.
How To Defeat Every Boss Salmonoid
If you are planning on playing Salmon Run, you are going to have to kill a lot of bosses. The thing is, there are a lot of bosses, and they all have unique defeat requirements. The bosses themselves are not hard to kill once you start hitting their weak spot, but solving the puzzle to get to that point can be quite tricky.
Do be aware that not all weapons can easily tackle each boss. Salmon Run is a team game, so help where you can, and lean on your allies when you can’t.
Big Shot
Bigshot is a mostly passive boss. It will set up a powerful cannon and then alternate between firing the cannon and retreating to the ocean. The cannon itself tends to target areas near your Egg Basket, and creates shockwaves when it lands. The best way to deal with Big Shot is to quickly move in for the kill before it fully sets up.
Big Shot has no defences, so a few quick blasts of ink will finish it off. You can then use its cannon to launch eggs towards your basket to quickly claim your reward.
Drizzler
Drizzler is more of a nuisance than a threat, but they can very quickly get out of hand if not dealt with. They launch ink clouds that coat the ground in enemy ink and slow your movement. The damage itself is very low, but the hindered movement can leave you exposed to other Salmonoids.
Drizzler is immune to damage due to its ink-proof umbrella shell, however, it will expose itself during its attack animations. You can quickly destroy Drizzler by shooting its exposed fishy body.
Fish Stick
Fish Stick is another annoying boss who tends to just get in the way. A giant pillar will be dropped onto the arena with a school of Small Fry flying at the top of the tower. They will constantly spray ink around the tower, disrupting movements and making it harder to engage enemies in the immediate area.
To kill it, get to high ground and shoot all of the Small Fry. Once they are all dead, Golden Eggs will spawn at the top of the pillar. Use your ink to swim up the pillar and grab them. The Pillar will persist until the end of the round.
Flipper-Flopper
Flipper-Flopper is very dangerous and can very quickly kill party members if you aren’t aware it is on the hunt. Flipper-Flopper will launch a large ink rink that will damage and seriously hinder any teammate caught in it. Flipper-Flopper will then dive into the Ink Ring, killing anyone caught in the ring.
Flipper-Flopper can be killed in two ways. Firstly, you can just shoot Flipper-Flopper whilst it is in the air, although they can be difficult as it has armour and it tends to float high above the arena, making many weapons useless. The best way is to fill in Flipper-Flopper’s ink ring. When Flipper-Flopper lands in a ring of your colour, it will become staggered and can be quickly dispatched.
Flyfish
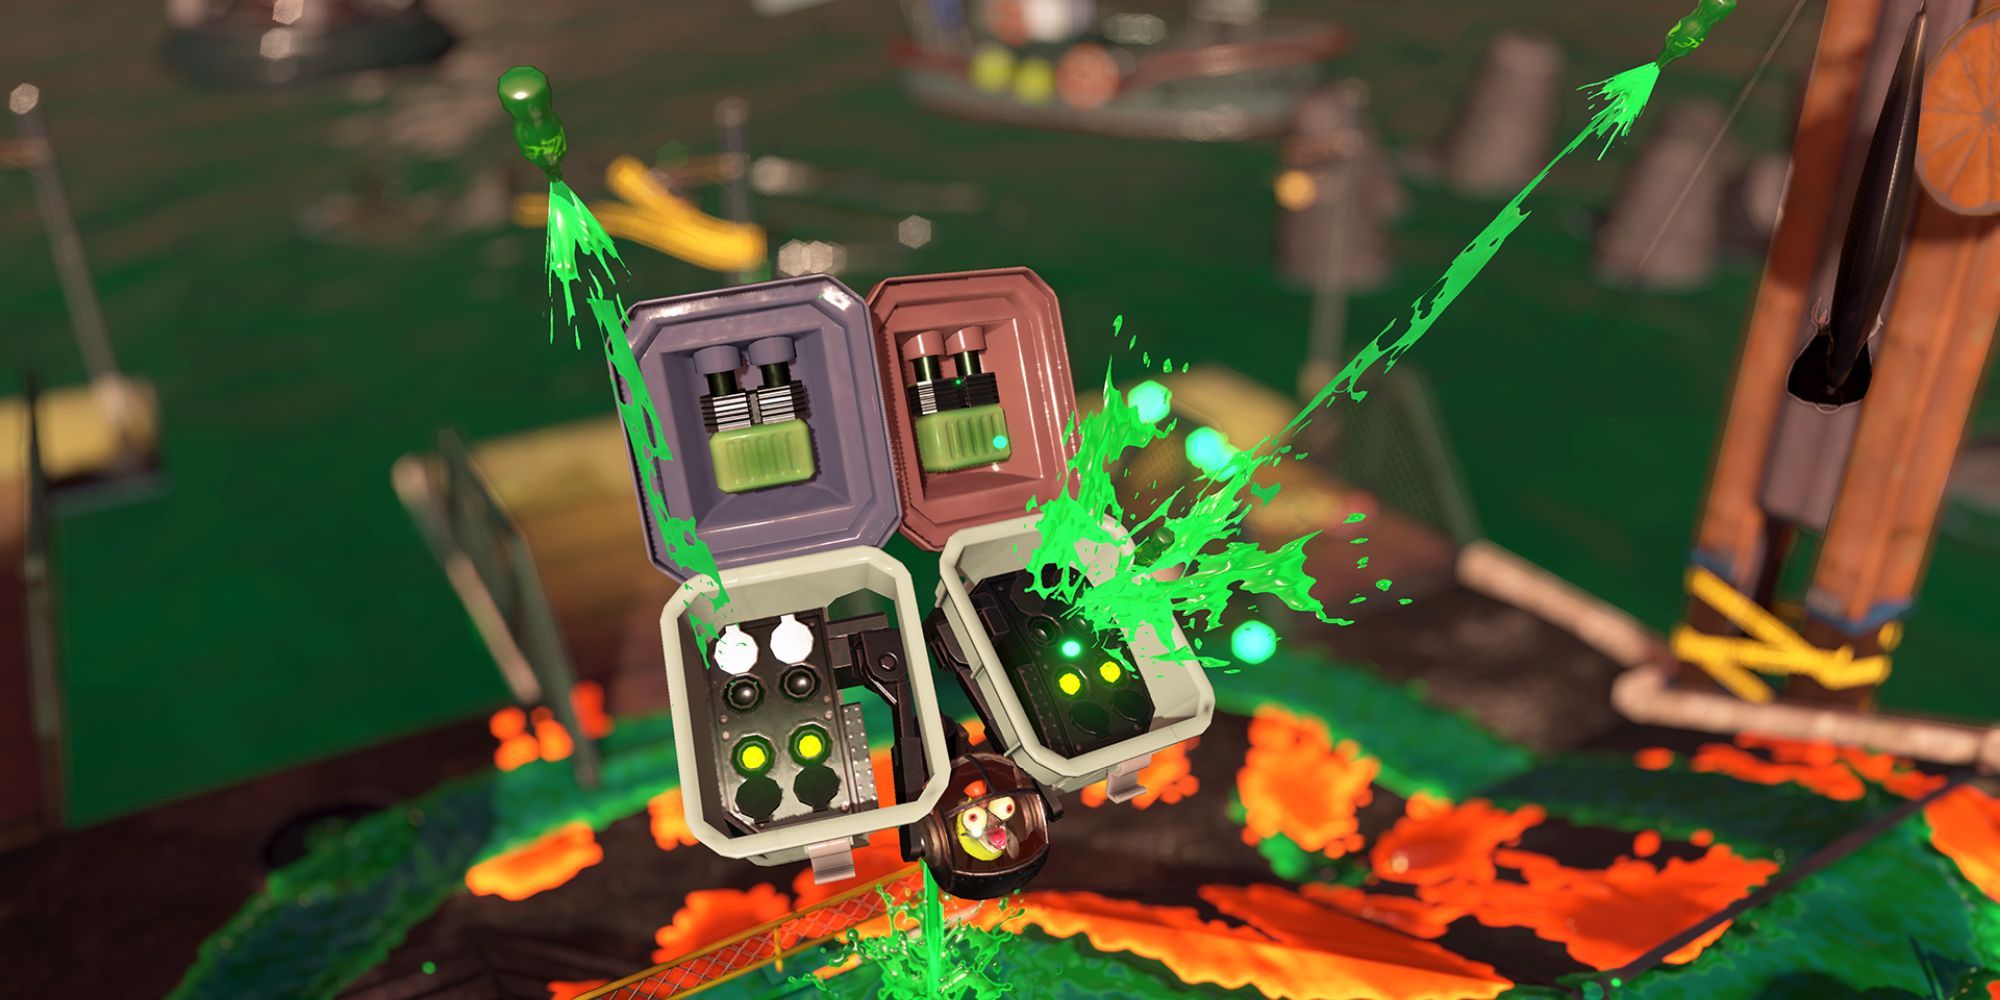
Flyfish is two flying bin-mounted rocket launchers. It attacks from a distance and can be a nightmare to deal with if you can’t take it out before it starts firing. Each bin will launch four missiles at the party, with each missile dealing enough damage to kill an ally. Not only that, but they also leave ink.
Flyfish is immune to standard attacks. The only way to kill it is to destroy both of its bins. To do this, you need to throw a Splatbomb into each of its bins. Once this is done, it dies. You will likely need a teammate to kill it in a single volley as Splatbombs take a lot of Ink to throw.
Maws
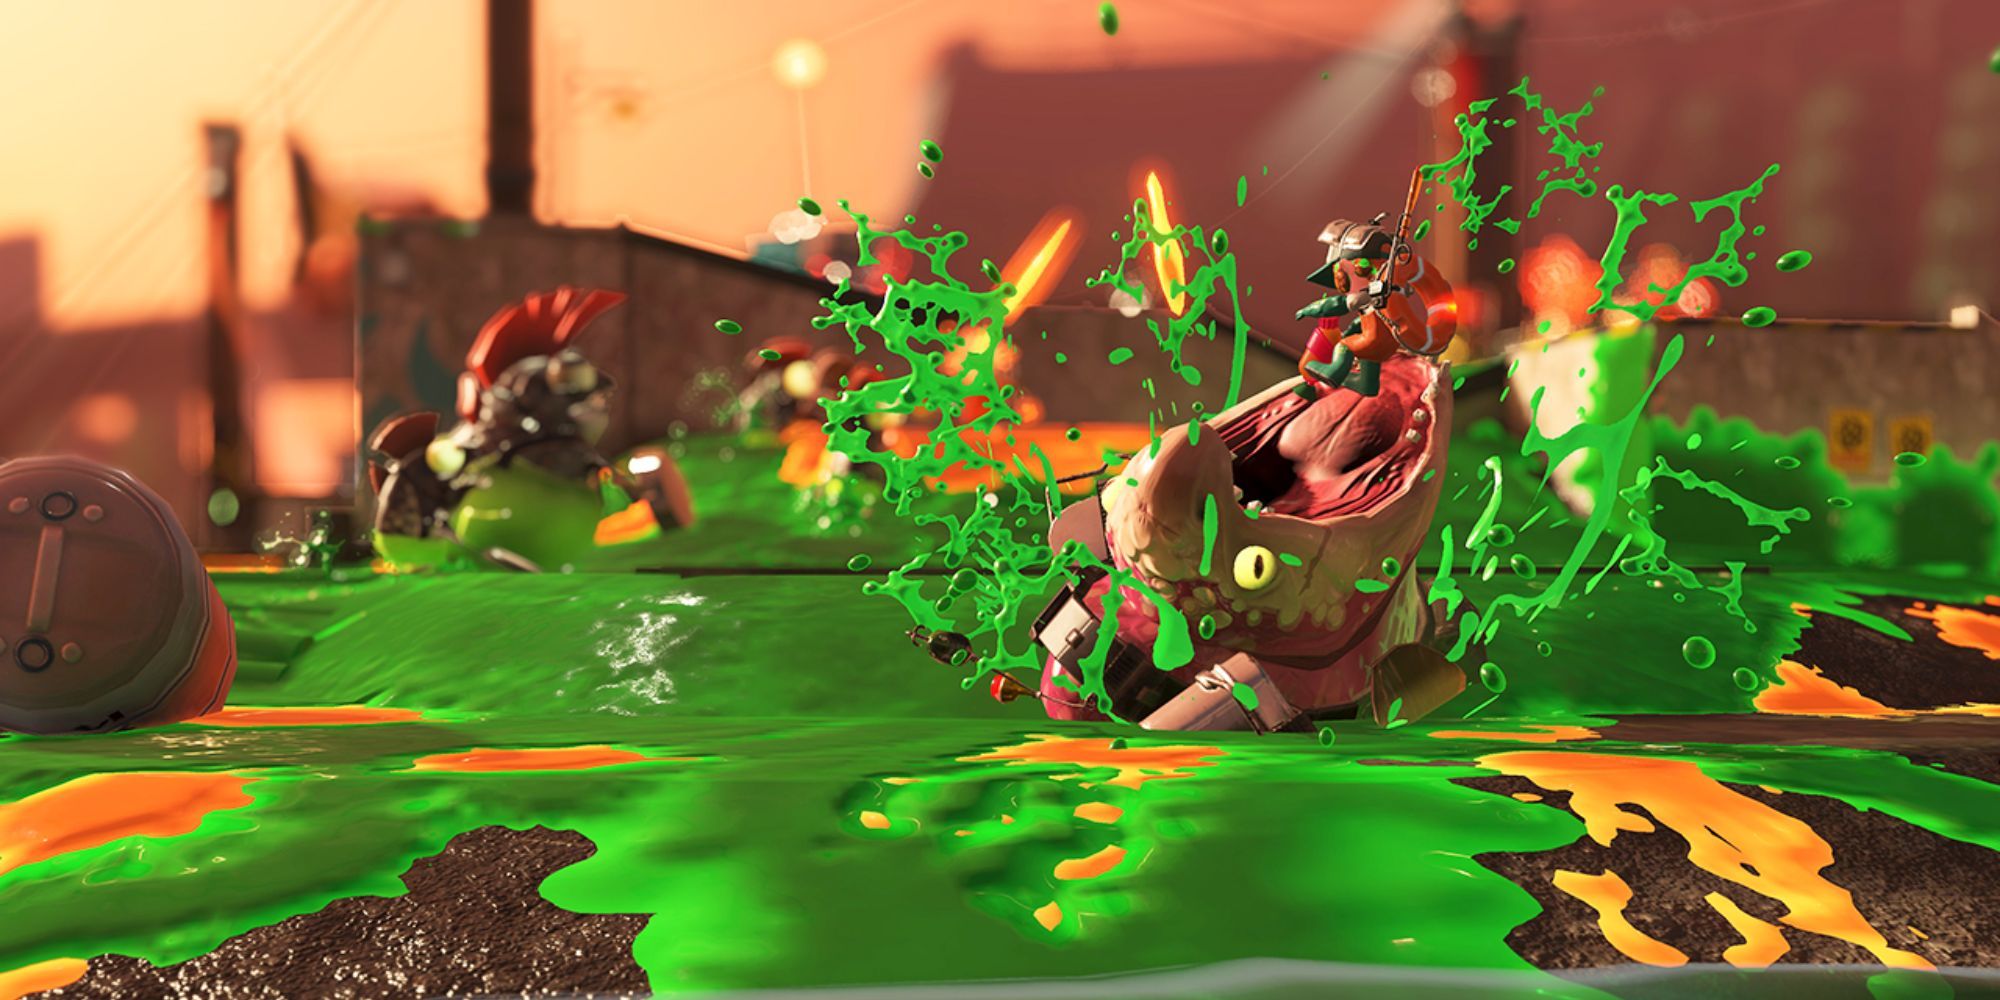
Maws is a shark that erupts from the ground and eats anything directly under it. It telegraphs its attack zone with a small glowing ring, which signals you have a couple seconds to move before you instantly die.
Maws can be quickly dispatched by baiting their attack and then firing on its exposed body. You will likely need multiple teammates to take it down as it is fairly tanky.
Scrapper
Scrapper’s attack mostly by charging at you. This charge will kill you if it hits, but it doesn’t charge constantly, making it a rather unreliable damage dealer. Where Scrapper shines is in its defence, as it is practically immune to damage. It can also rotate quickly to prevent enemies from getting behind it.
To take out Scrapper you will need to do one of two things. You can either attack it from the front for long enough to stagger it before moving around to its vulnerable rear, or you can have one teammate distract it as someone attacks it from behind.
Slammin’ Lid
Slammin’ Lid doesn’t attack in the traditional sense. Instead, it will try to overwhelm you with the force of numbers. Slammin’ Lid spawns enemies constantly from its forcefield, increasing the number of lesser Salmonoids on the field at once. Slammin’ Lid also flies, making them difficult to hit.
To kill it, you need to attack the Salmonoid hidden on top of Slammin’ Lid’s saucer. You can either get to higher ground and attack it from the air (you can also jump onto the saucer itself if you can get high enough). Alternatively, if you stand in the field, Slammin’ Lid will slam its saucer down, exposing the pilot for a quick kill.
Steel Eel
Steel Eel is a visually imposing boss who attacks mostly by moving into you. This is enough to kill you. It also constantly spreads ink using its large number of inkjets. Finally, Steel Eel is immune to damage due to its steel body.
Steel Eel can be killed with a bit of patience. Steel Eel will relentlessly hunt one ally, which allows the rest of your team to move without issue. Its weak point is the exposed Salmonoid at the rear of Steel Eel. Shoot that a few times and the boss will collapse in on itself and die.
Steelhead
Steelhead is arguably one of the hardest bosses in the game. This is because its sheer size makes it difficult to hit its weak point. If you can’t get some sort of elevation, you will struggle to kill this boss. It only has one attack, and that is to launch a large ink balloon that will instantly kill anyone hit.
Its weakness is that very same bomb. You need to shoot it enough for it to explode - killing Steelhead.
Stinger
Stinger is incredibly dangerous if left alive, but also one of the easier bosses to kill if you are quick. Stinger is a sniper and will fire a piercing beam of ink that will quickly kill anyone hit. To kill Stinger, all you have to do is shoot its tower until it collapses. This will reveal the Salmonoid for you to kill.
Beware Of Snatchers
The reason for killing bosses is to obtain their valuable Golden Eggs. These are used to reach your assigned quota and are the most important thing in Salmon Run. The Salmonoids are also aware of this and will send Snatchers to grab any Golden Eggs that are left unscored for long enough.
They are easily killed, but they are also very quick. If you don’t deal with them swiftly, you will start losing valuable eggs. Consider leaving a team-mate to guard the egg pile to protect them from Snatchers.

