Quick Links
Star Wars Jedi: Survivor is a tale of two games. On one hand, Survivor features a steady string of difficult encounters. And the combat is most certainly a central element. On the other hand, there is a lot of game that has nothing to do with dicing up enemies with a lightsaber.
First and foremost, Survivor is filled with carefully crafted environments that conceal a litany of collectibles. And some of these collectibles are downright deviously hidden. We'll give you all the tips you need to get started.
Updated May 5, 2023: We've updated this article to include a video guide that breaks down our best beginner tips for Star Wars Jedi: Survivor players.
Healthy Body, Healthy Jedi

You have a number of avenues available to you once you unlock the ability to level up. But what should you spend your precious points on? Maybe a fancy new lightsaber attack? Oh, maybe we should power up the Force Push! Absolutely not. Even on the regular difficulty, Cal doesn’t take hits well at all. The boy is soft, and you need to toughen him up.
So, we recommend that you spend your early-game skill points on increasing Cal's health and improving the effectiveness of the stim packs. Yeah, we know, that isn’t exciting, but it will make surviving boss fights far easier to do. This is, of course, even more important if you are playing on a harder difficulty setting.
Bank That Experience

Jedi Survivor-and its predecessor Fallen Order-takes a number of cues from Sekiro; that much is obvious. One of the key elements that was taken directly from that title is how experience works. You will gradually fill up an experience bar, and when you do, you will gain a skill point. Once you have that skill point, it can’t be taken away from you.
So, if you are about to encounter a tough foe, and you are close to filling that experience bar, you may want to consider backtracking, filling it up all the way, and then banking that point. That way you can confront said tough foe without the fear of losing your experience.
Of course, even if you die, you will be able to reclaim your experience points by landing a hit on the enemy who killed you or, in the case of bosses, touching the glowing spot where you died. But if you die on the way back, that experience will all be lost. Not to mention the fact that sometimes the game seems to bury your corpse under the surface of the world, making it impossible to retrieve. You are better off just banking the point.
Don't Be Afraid To Hold Onto Skill Points

While we heavily encourage you to invest in making Cal more resilient, once he is a little tougher, you may want to consider holding onto your skill points. You are going to unlock a number of different Battle Stances as the game progresses.
You may just find that one of them is a better fit than the stances you begin the game with. You are only able to have two stances equipped at a time, so you may as well hold off on investing in any given stance until you have had a chance to try out the additional stances you unlock a little later down the line. If you are getting the itch to spend those points, consider investing in Force abilities instead.
Don't worry, you will encounter additional stances quite quickly. Once you finish your first tour of Koboh, you will very quickly acquire the Blaster Stance and the Crossguard Stance.
Make Sure To Unlock Those Shortcuts
If you aren’t aware, Survivor's stages tend to fork in a number of different directions. However, you are mercifully provided with a number of shortcuts. These allow for quick backtracking to a meditation point.
Survivor can be a tough game, death can be just around the corner. But if you have been dutifully unlocking shortcuts, then when you inevitably die you should be able to make it back to your corpse in short order. Save yourself the tedium and make sure to be mindful of finding every shortcut.
Do A Loop Around The Perimeter Of Every Room
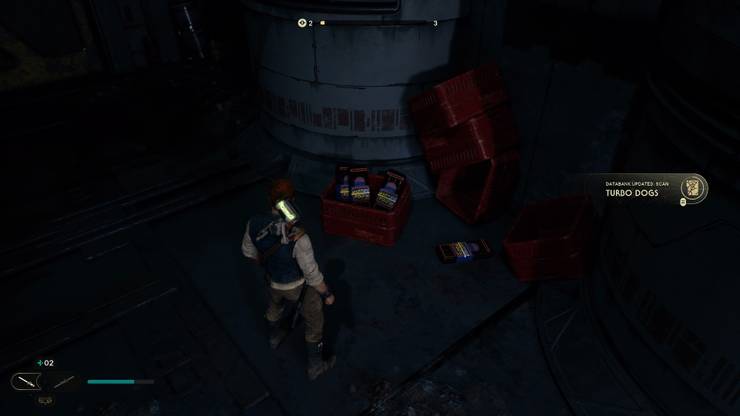
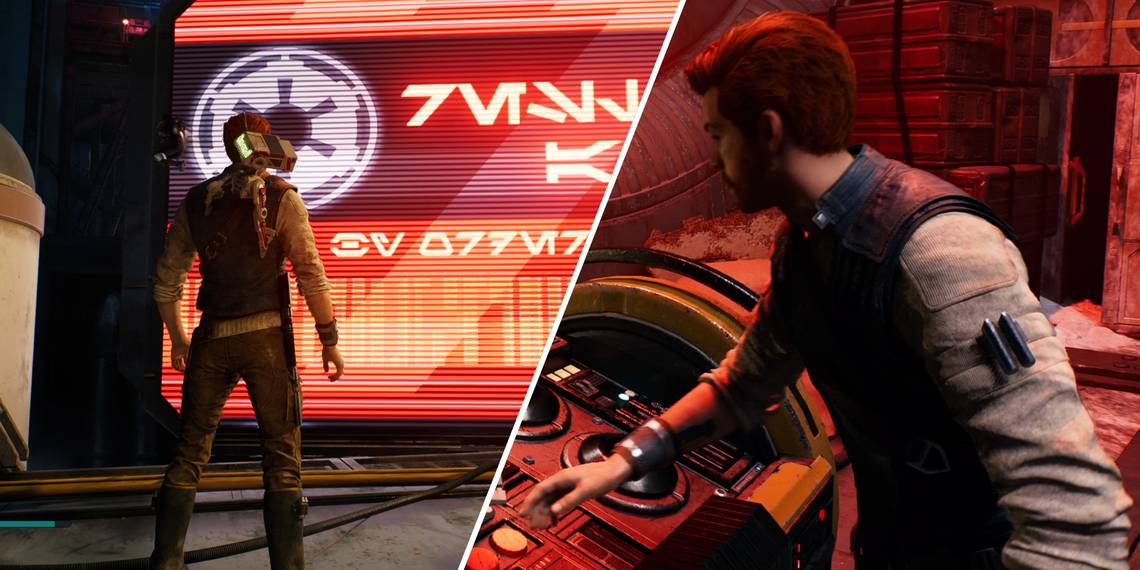
BD-1 is always on the lookout for something to scan. And given the amount of rewards that are in play, you are going to want to scan anything and everything. What makes this difficult is that some of the things you can scan don't necessarily stand out.
BD-1 does give you some indication when there is something to be scanned, beeping and booping as he is want to do, and hopping down from your shoulder once you get close enough to something of interest. However, some of these areas are pretty big. So, get into the practice of circling every area you enter, just in case there is something to scan that may not be obvious to you at first.
Crank Up The Volume
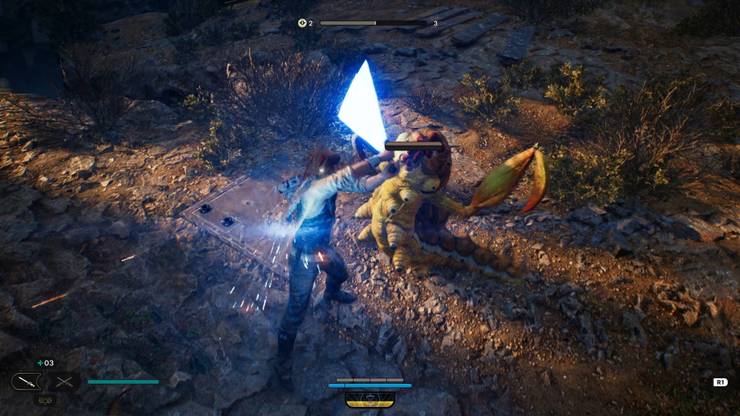
Star Wars Jedi: Survivor is absolutely obsessed with ambushing you. One of the first enemies you will face is heavily camouflaged. Turn a sharp corner and there is a real chance something may just happen to be waiting around the bend to sucker punch you. Thankfully, the game does provide you with one invaluable tool: incredible sound design. Your ears are just as valuable as your eyes when playing Survivor.
Once you learn to instinctively hit the block button the second you hear an enemy grunt, boop, or snarl, the days of being hit by those ambush attacks will come to a close. Make sure to keep your ears peeled in combat as well; enemies will telegraph their attacks with unique animations, but their attacks also tend to have distinct audio cues. This is best exemplified by the hovering droid, which will make a distinct sound just before it fires its blaster at you.
Forget About The Force, Use The Photo Mode Instead
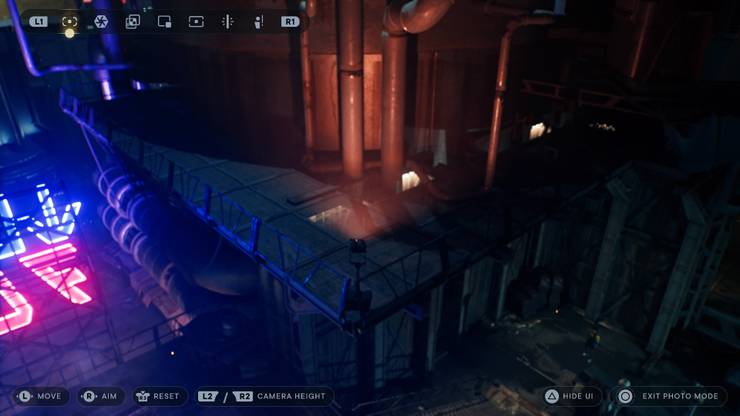
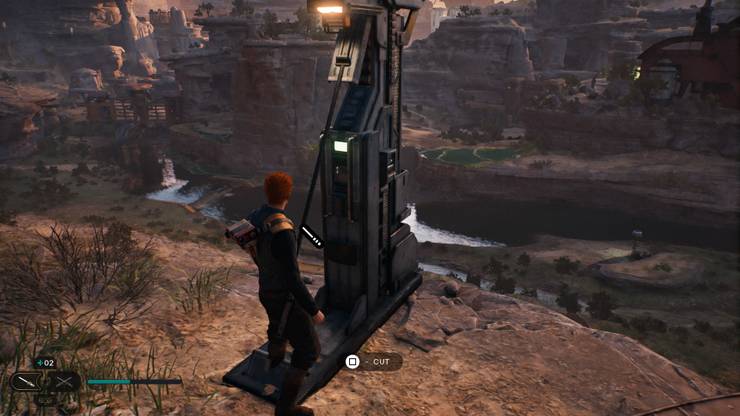
While you may think that the photo mode exists solely to take neat-looking pictures of your character striking poses, there is actually a sneaky gameplay purpose it can play as well. You see, in the photo mode, you can swivel around the environment. You can even zoom out quite a bit, which will allow you to see substantially more of the level than you would otherwise be able to.
So, if you are wondering if there may be a goodie hidden on that path above you, instead of wasting time trying to figure out how to get up there, pop into photo mode and see if there is, in fact, anything worth your while. If there is, you can then use the photo mode to potentially work backward and find the path to it. You can use this to scope out the location of chests, force echoes, and other goodies. It may feel a little underhanded, but just consider it Cal’s "Force Sense" or something.
Using The Map To Its Fullest Potential
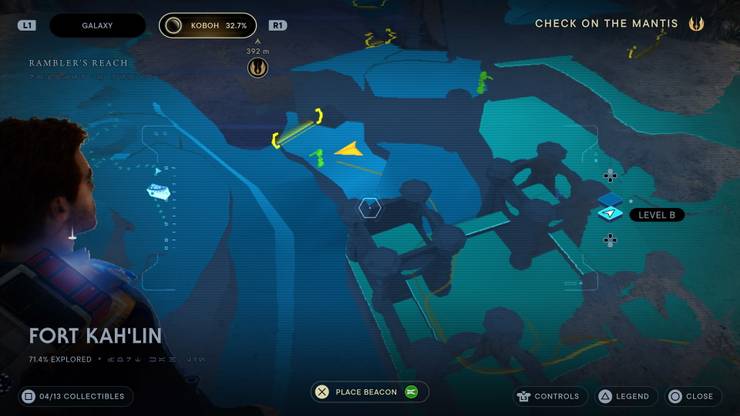
Let’s be extremely clear here: the map in Star Wars Jedi: Survivor is top-notch. We’re talking heads and tails above the average map. For starters, it gives you a trail, which shows you exactly which way you came. This is fantastic for when you have gotten turned around. A quick glance at the map will tell you where you came from.
Another excellent feature is how the map tracks every collectible in the area you are currently exploring. This feature means that the map also operates as a checklist for intrepid explorers. If you haven’t found everything in a given area yet, you know you may want to take another glance around.
If you are missing a collectible, but there is a red door on the map, you can probably be pretty confident that you are going to have to come back for the missing collectible later.