The Key To Tanalorr is one of the primary quests in Star Wars Jedi: Survivor's second chapter. As Cal typically does, this mission starts with him stumbling into some long-lost Jedi secret. He has a knack for that sort of thing, really. While Cal won't be swinging around that fancy lightsaber of his a whole lot during his impromptu spelunking escapades, he will be doing a little amateur treasure hunting. More than anything, though, Cal is going to be platforming and solving puzzles.
If you just scrunched your nose up and recoiled, worry not. We have done all the heavy lifting and will show you how to complete every puzzle. We will also lead you to those concealed treasures. Use this guide, and you will be back to killing stuff with your future sword in no time!
The Smuggler's Tunnels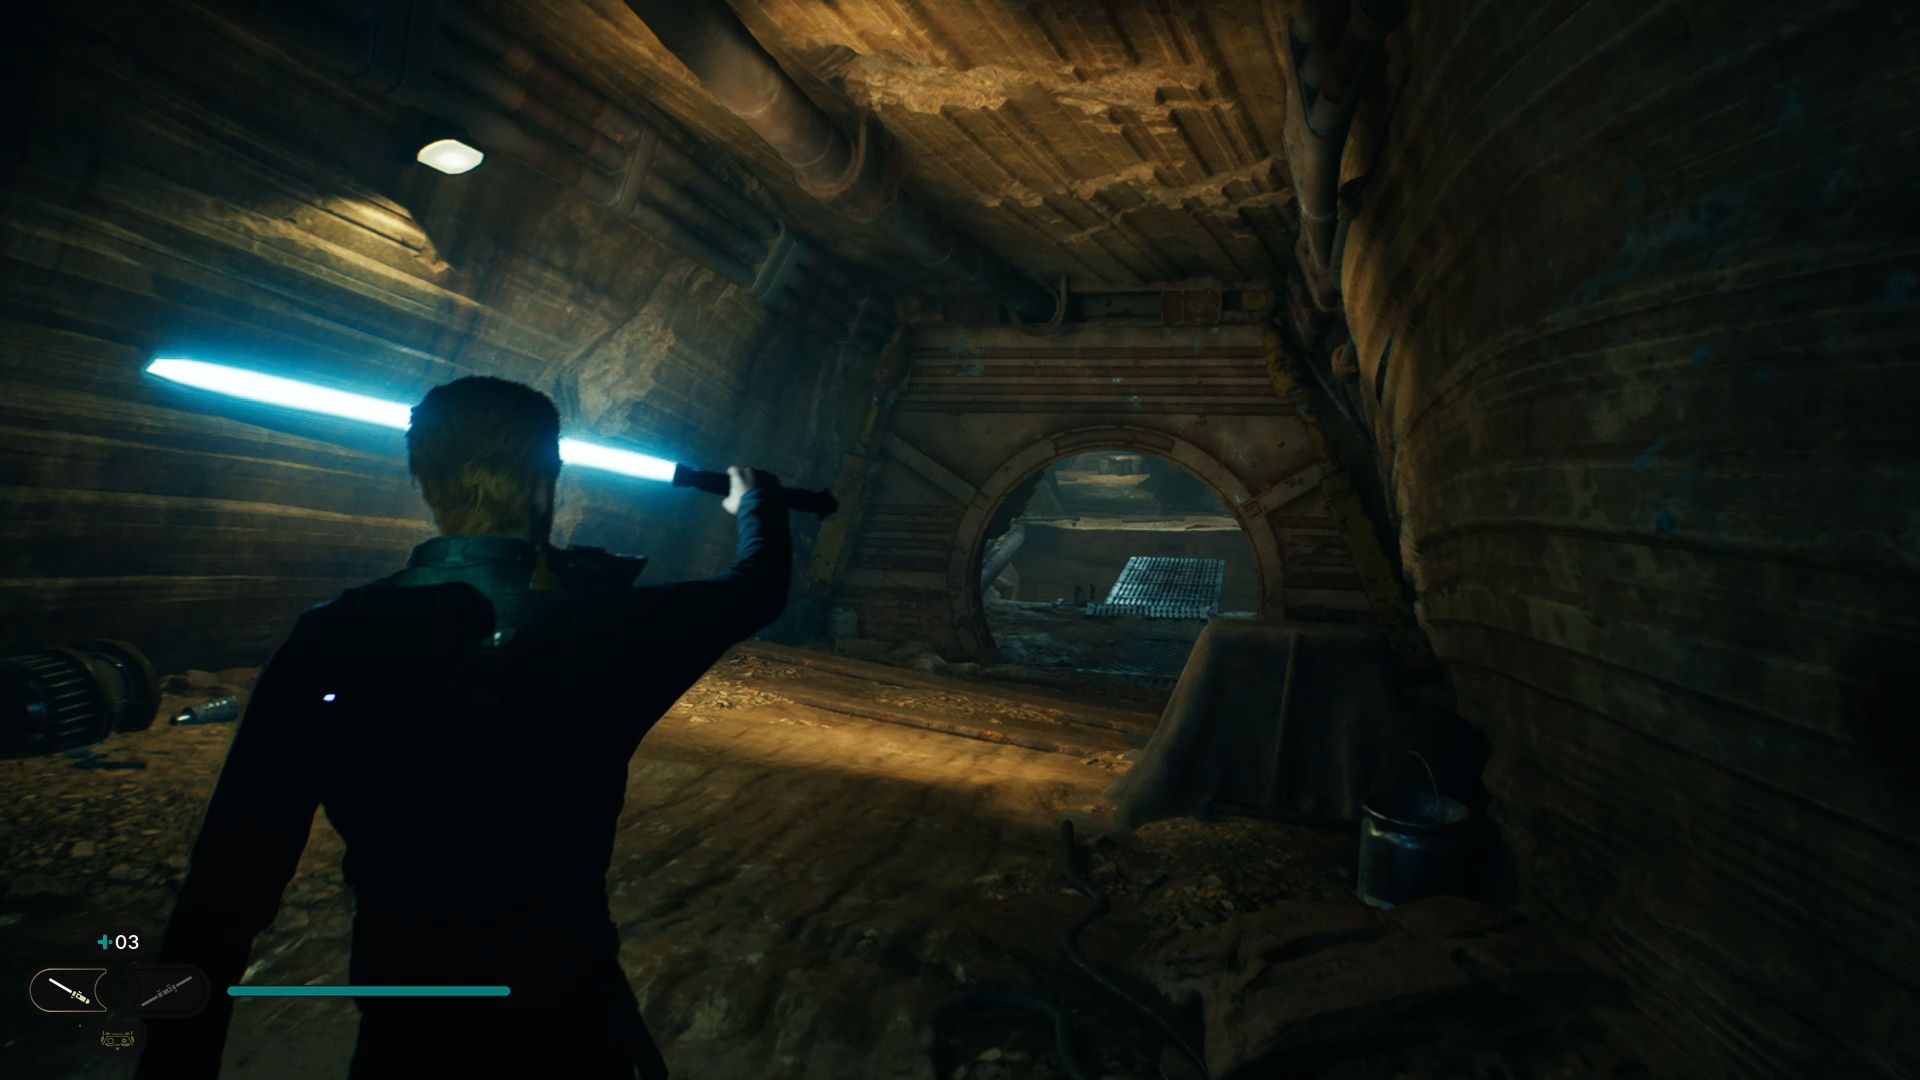

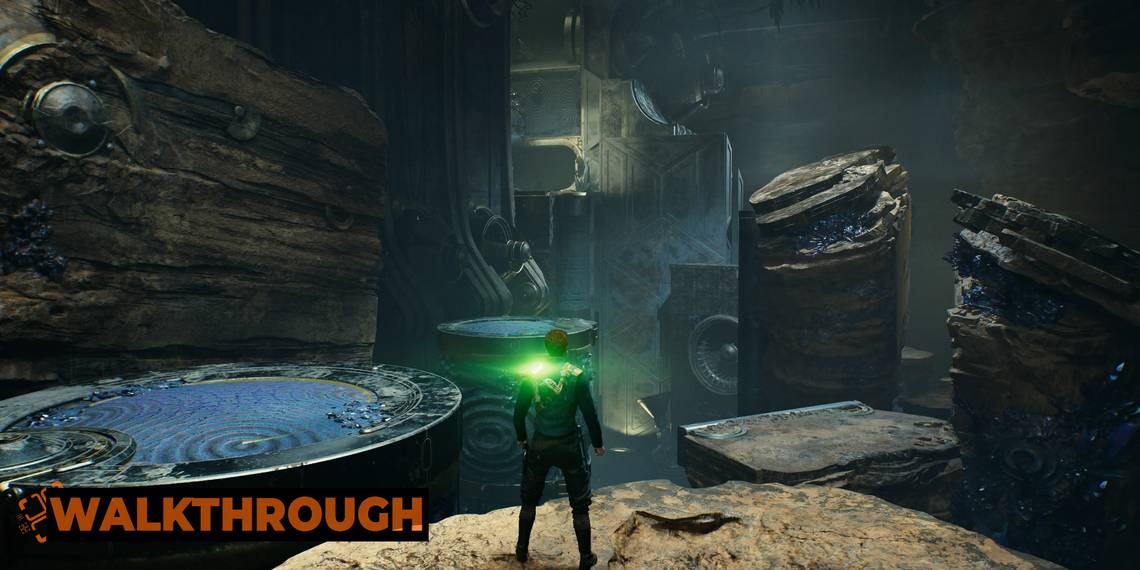
You'll enter into a dark tunnel from Greez's bar. You'll hop over a little gap, and then enter into a room. The main path is to your left, but you will want to scan the rock wall on your right to get the "No Way Out" Databank Update entry. Back on the main path, you will run into a forcefield-protected doorway. Take a right, slide through the narrow gap in the wall, and you will enter a large arena. This is going to be your sole combat encounter.
You may notice that there are a lot of collectibles listed for this area in the map menu. Unfortunately, you aren't going to be collecting many of these until you get the ability to break through those green barriers.


There isn't much to this combat encounter. You'll square off against three Gorgers; they are easy enough to parry, and shouldn't give you too many issues. There are some Shiverpedes hidden around this room as well. As they tend to do, they are going to look to ambush you. There is one near the Force Echo and another hiding on the platform in the corner of the room. Just be prepared to parry their surprise attacks. Make sure to grab that Force Echo, by the way. It is in the cavern section near the water.


When you want to move on, go to the corner of the room, hop up on the rock structure, then run across the wall to the other side. Hop along the rock structures and Force Push the damaged wall. Next, scan the scraps with BD-1 for another Databank Update. Now, work your way around the room by jumping and swinging. You will inevitably stumble upon a giant mechanical sphere and scavenge your gyro from it. Unfortunately, BD-1 can't stop being an agent of chaos and you are going to plunge into the abyss below.
Collapsed Passage

Once you drop down into the Collapsed Passage, you will have a Meditation Spot to use. Now, hop across the different structures, and do a little wall running.


You will get to a section where you hop between two walls. Once you get to the top, turn around, and hop back down again so that you can grab a Datadisc. Climb back up after you do, and scan the wall with BD-1 for the "Disaster" Databank Update. Crawl through another tight crevice, and you will enter into the Chamber of Duality.
The Chamber of Duality


The Chamber of Duality is one of seven puzzle dungeons that were created to train Jedi. Needless to say, this is when the puzzle-solving begins! Grab the sphere that is socketed into the wall (and glowing purple) with your Force Pull, then plug it into the brazier-looking orb holder that is glowing blue. This will create a bridge to walk on. You will now encounter ZN-A4 (also known as Zee).


After a brief cutscene, grab that same orb from the beginning with your Force Pull and plug it into the lone orb holder to the right of Zee. Once you cross over the bridge, pull the rope from the wall, and connect it to the anchor point. This will lift the large door.


Once inside, grab the Datadisc that is to the left of the gate. Then, yank the orb from the wall, and take it back to the way you came (this will avoid throwing it over the gap. All you need to do now is to slot that orb into one of the two orb holders to the left of Zee, and grab the orb from the other orb holder to fill the second.


This will build you another bridge. To the left of it, you can run along the wall, dropping you down into a section with a chest. Open it to get the "Jedi Paint" for your weapons. Continue along the path until you hit a section where you hop from wall to wall. Pull the rope from the ceiling, and tether it to the nearby tethering point. You can now hop down and finish freeing Zee.

Before you follow Zee to the elevator make sure you grab the Force Echo. It will be accessible now that the rubble is out of the way. Follow Zee back up the elevator, and you can hand the Gyro back to Greez. Upon showing up at the bar, Bode will join you. This will conclude the "Bring Gyro Module To Greez" objective, and start the "Open The Forest Gate" objective. Which will be tackled in the next guide!