Star Wars Jedi: Survivor continues following fugitive Jedi Knight Cal Kestis and his trusty droid BD-1. Picking up five years after the events of Jedi: Fallen Orden, Kestis is still trying to liberate the galaxy from the Empire one planet at a time.
After suffering ship damage from the mission on Coruscant, Kestis crash lands on Koboh and reunites with Greez Dritus, the true captain of the Stinger Mantis. While Dritus fixes the ship, Kestis explores Koboh and awakens Dagan Gera, a corrupted Jedi from the days of the High Republic.
Landing On Jedha
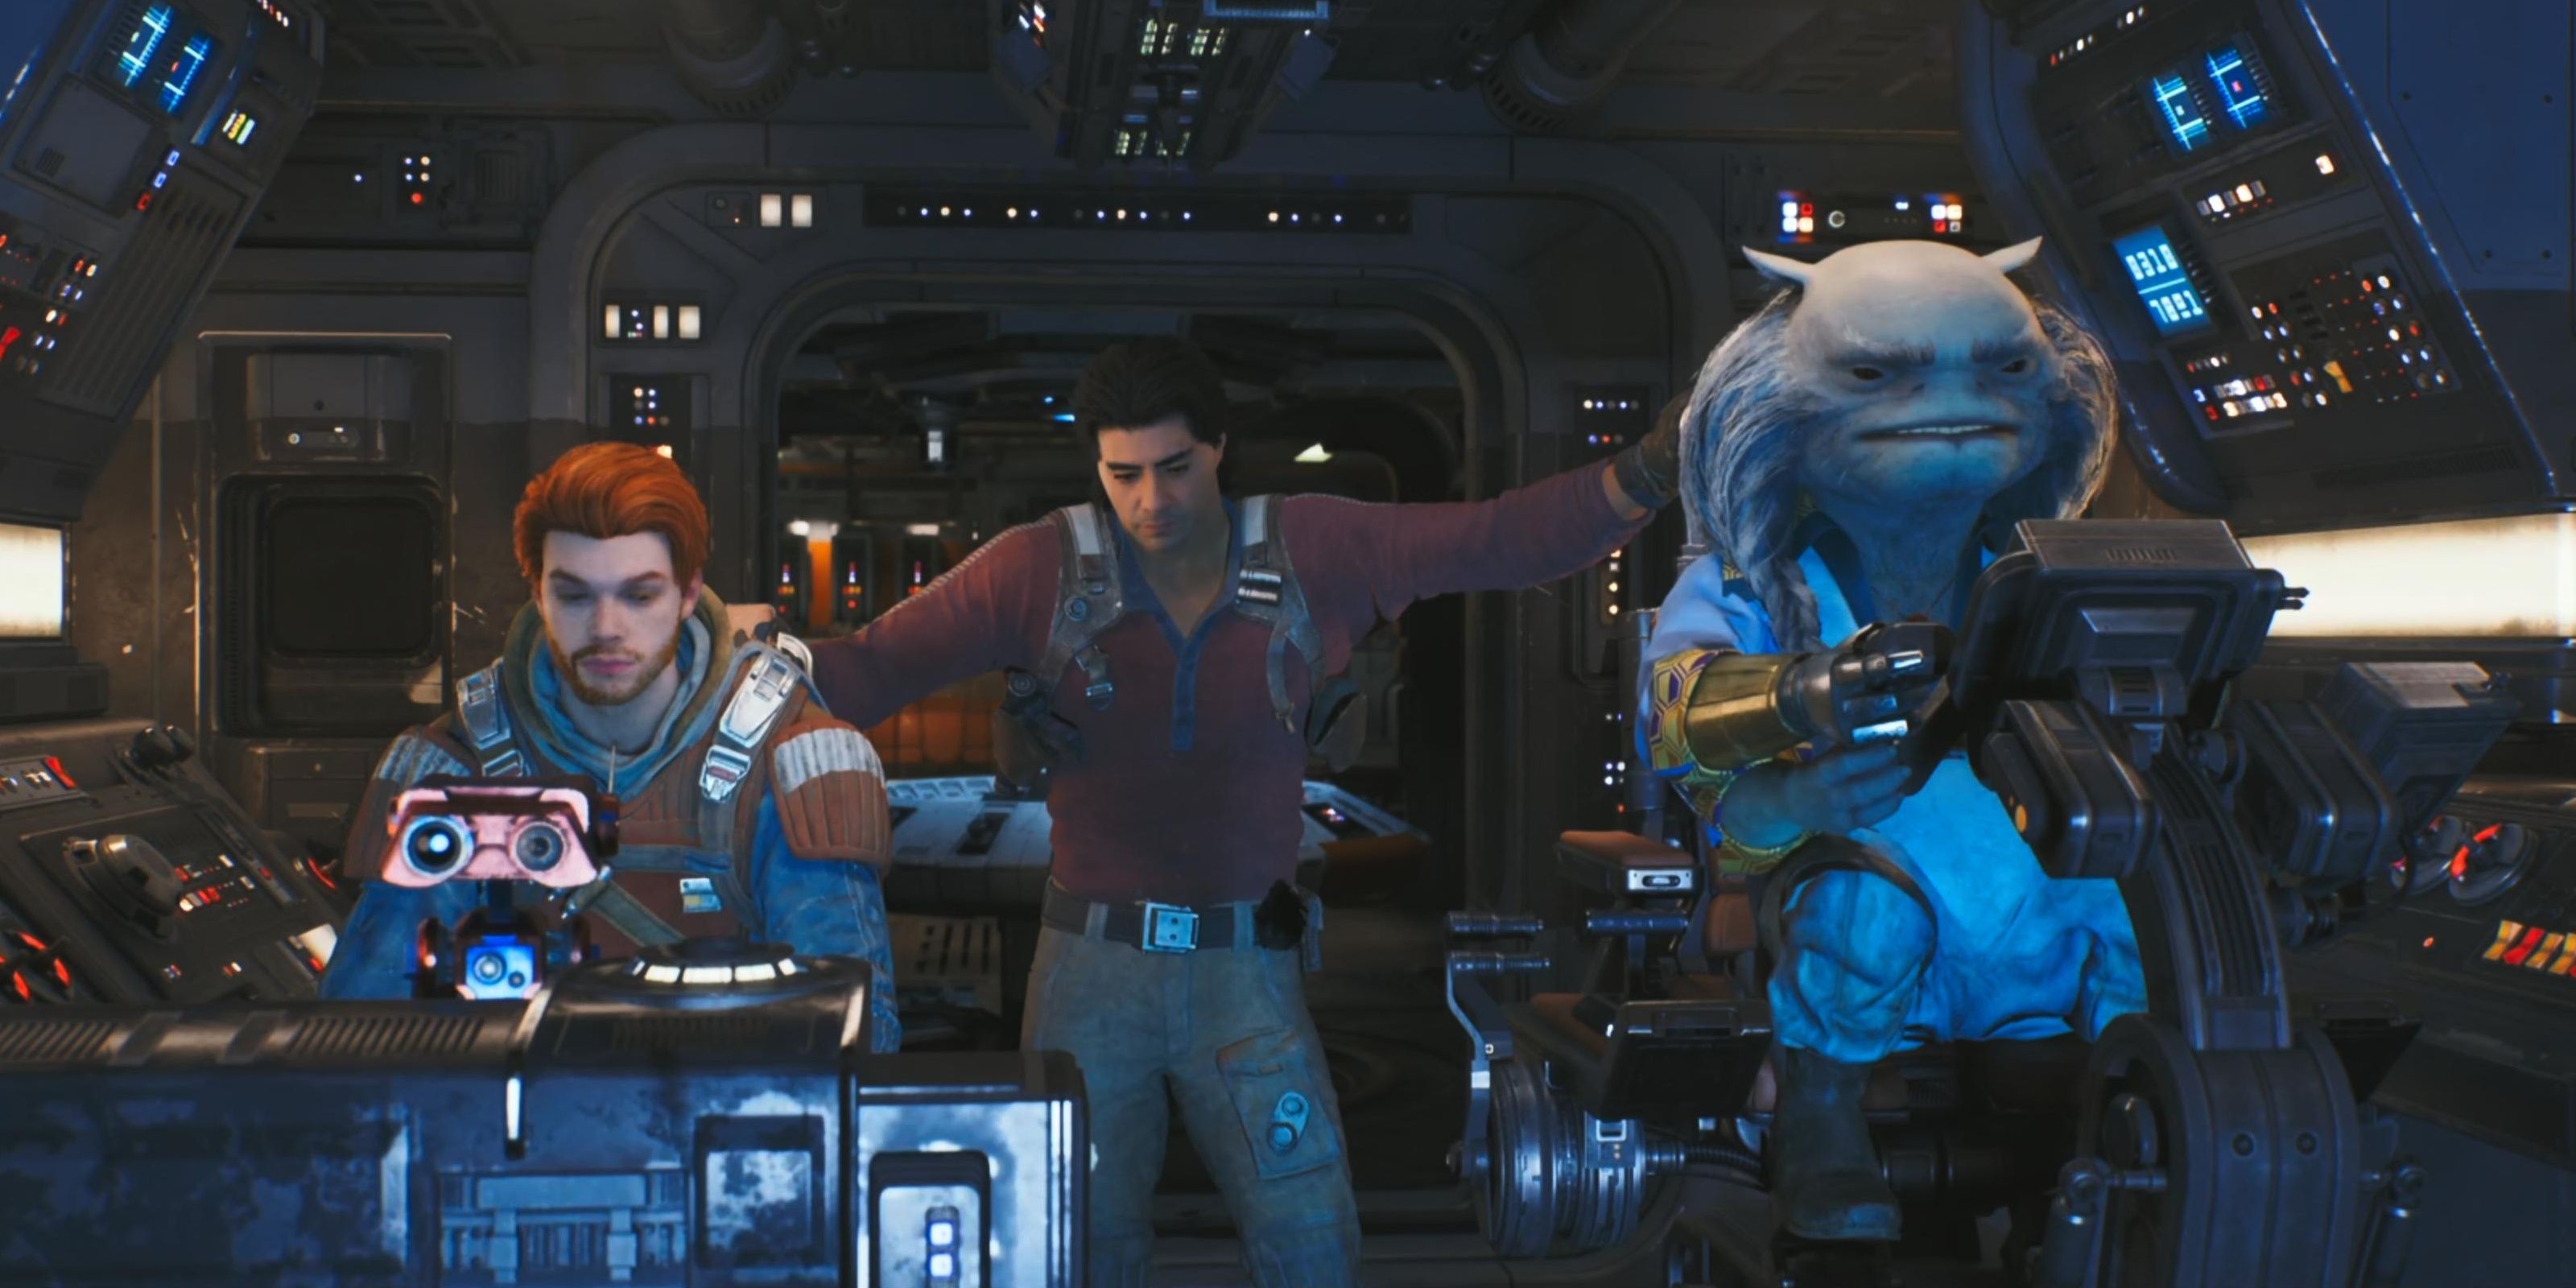
After surviving his first encounter with Gera, Kestis recruits Dritus to pilot the Mantis again and they set a course for Jedha. Speak with Zee outside the Mantis, then head inside the ship to trigger a cutscene.
Before flying to Jedha, be sure to visit Doma’s Shop, the garden on the roof of Pyloon’s Saloon, and Zee’s Shop next to the aquarium.
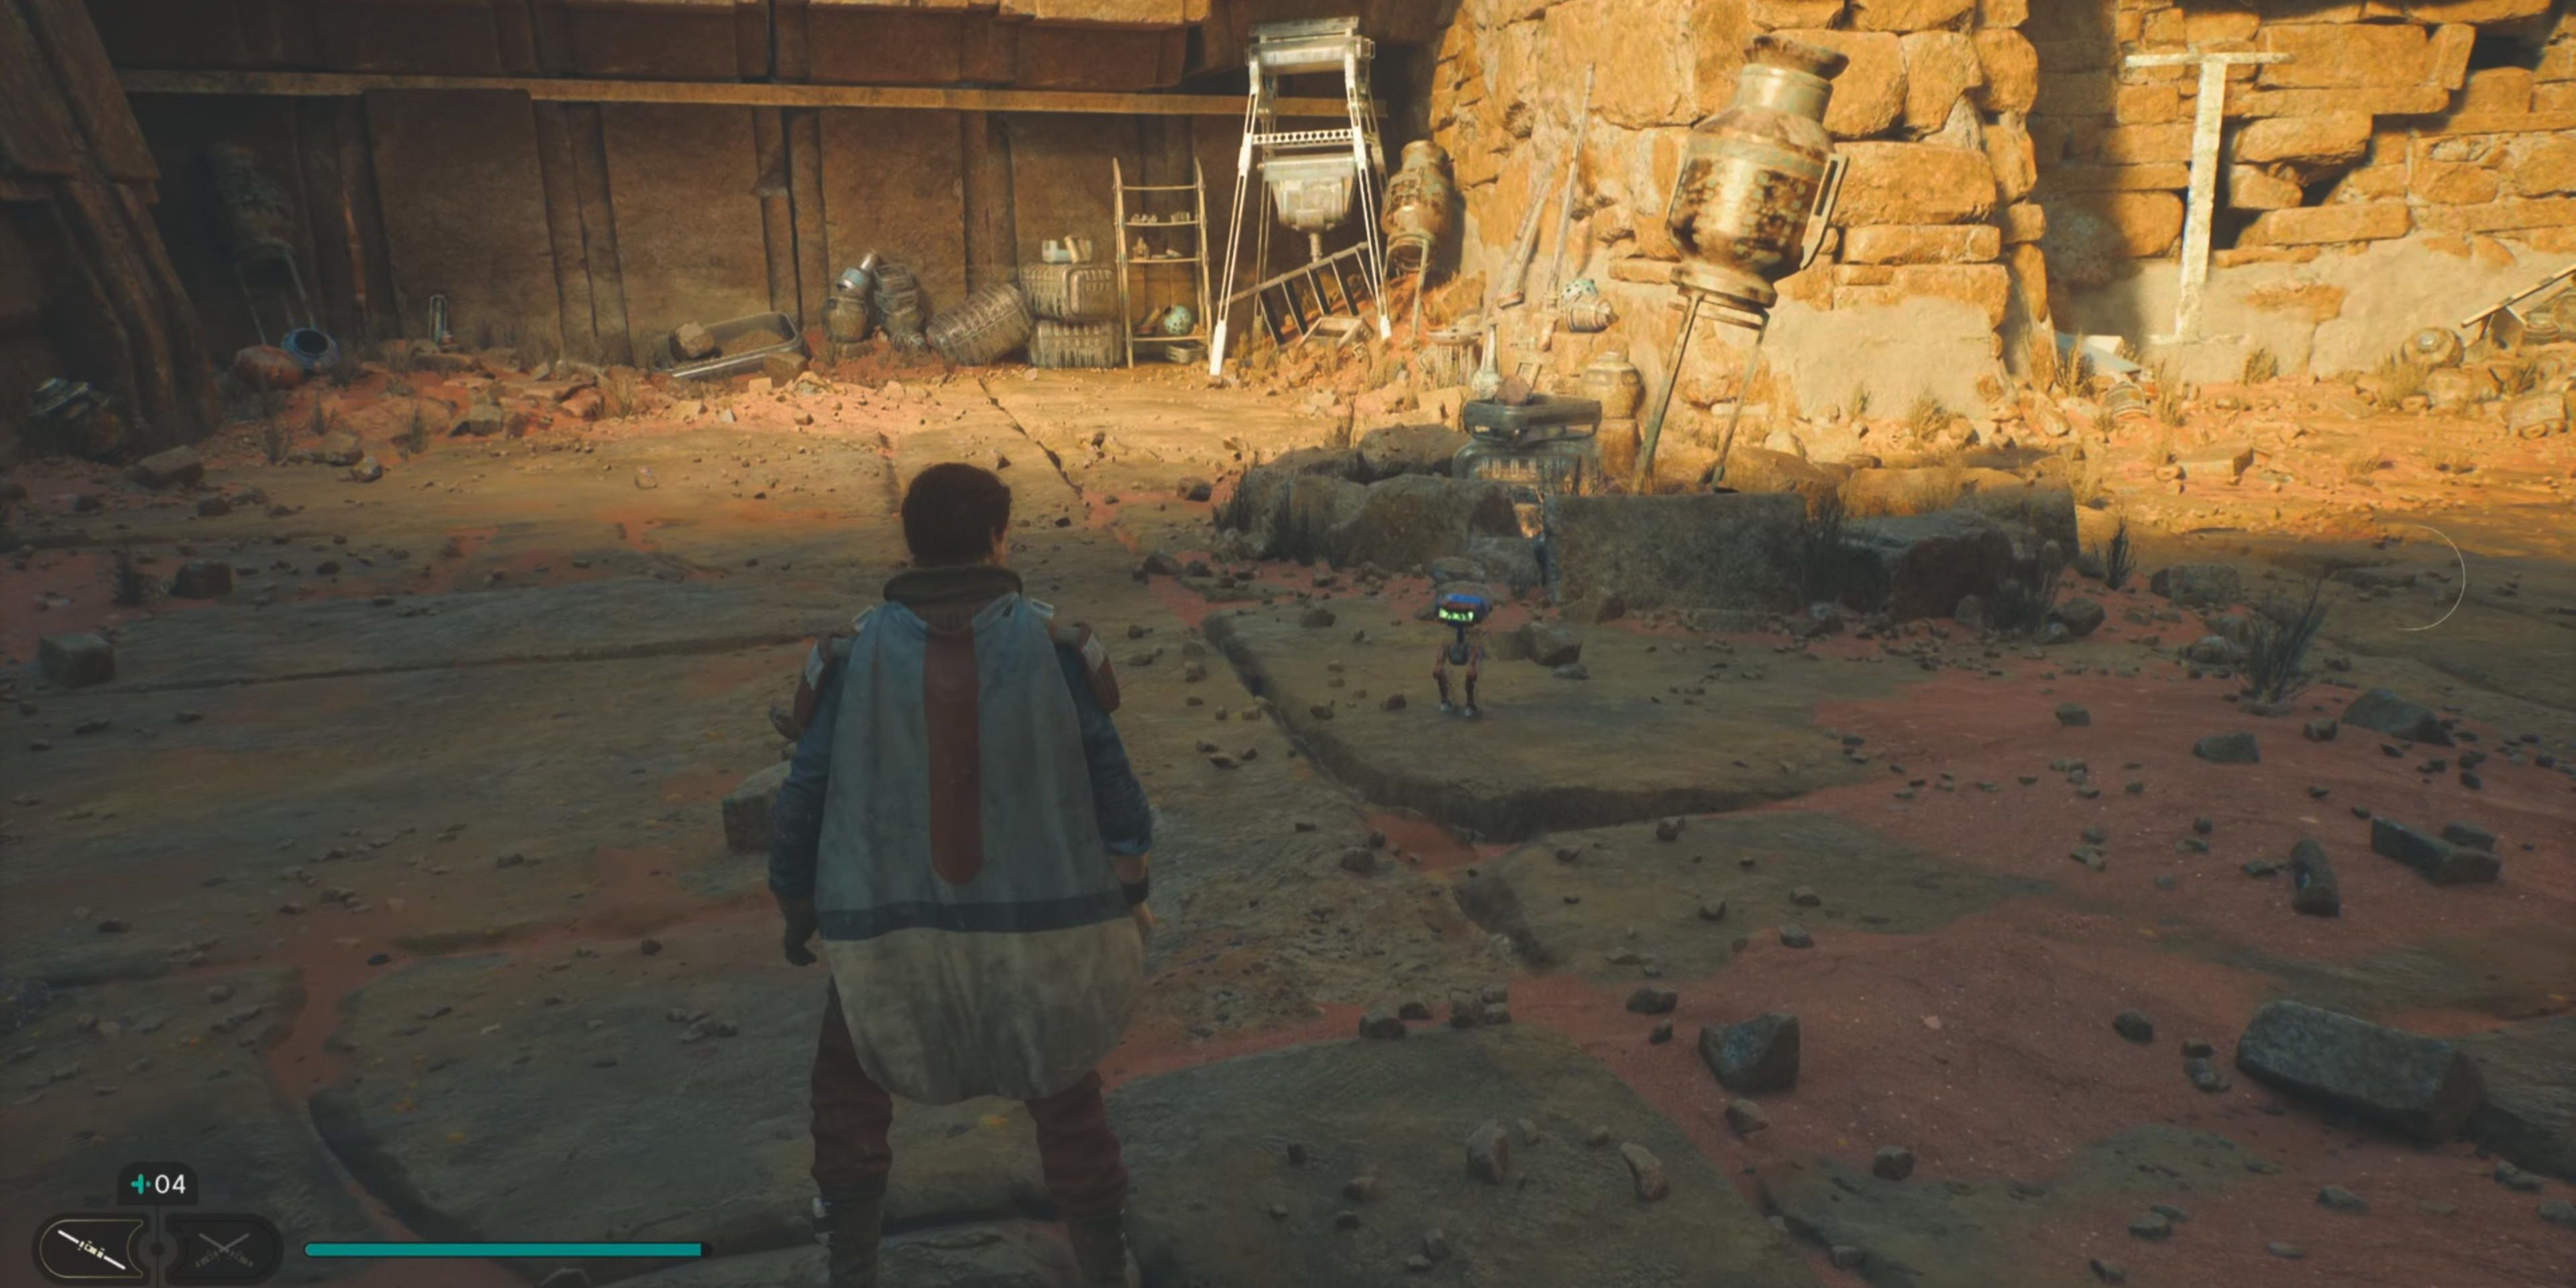
Once the Mantis is in the air, Dritus will ask Kestis to interact with the holotable again to receive a message from an Anchorite on Jedha. When you arrive on the desert planet, Dritus and Bode Akuna stay with the ship while Kestis searches for Cere Junda’s contact.
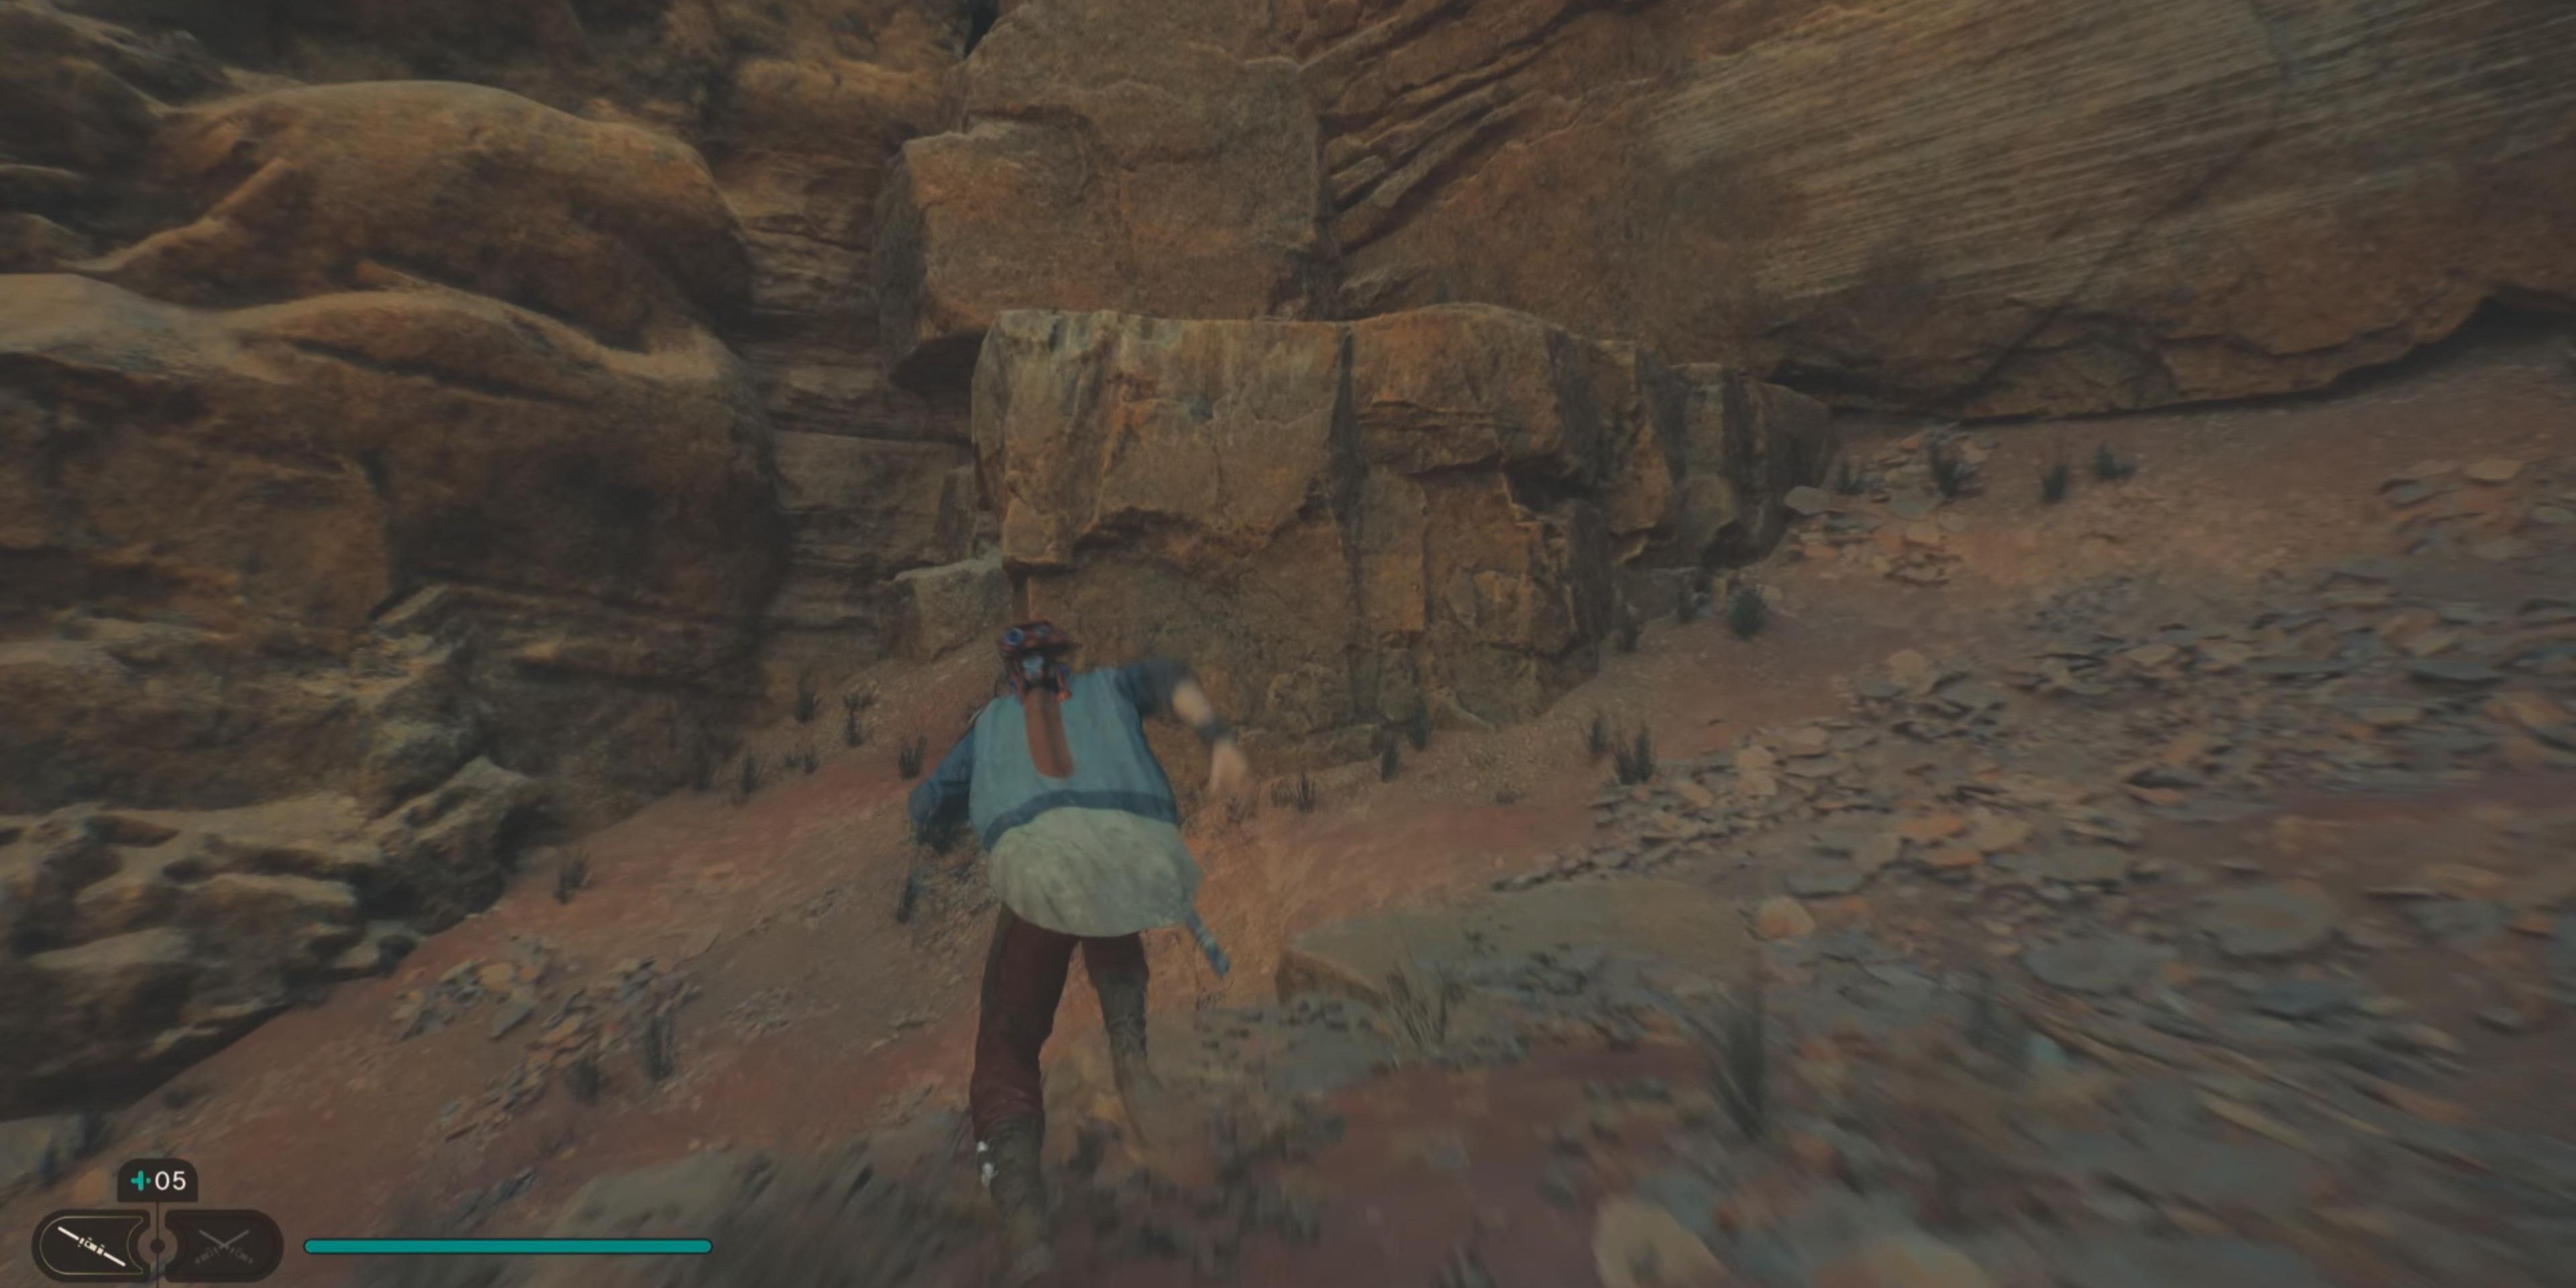
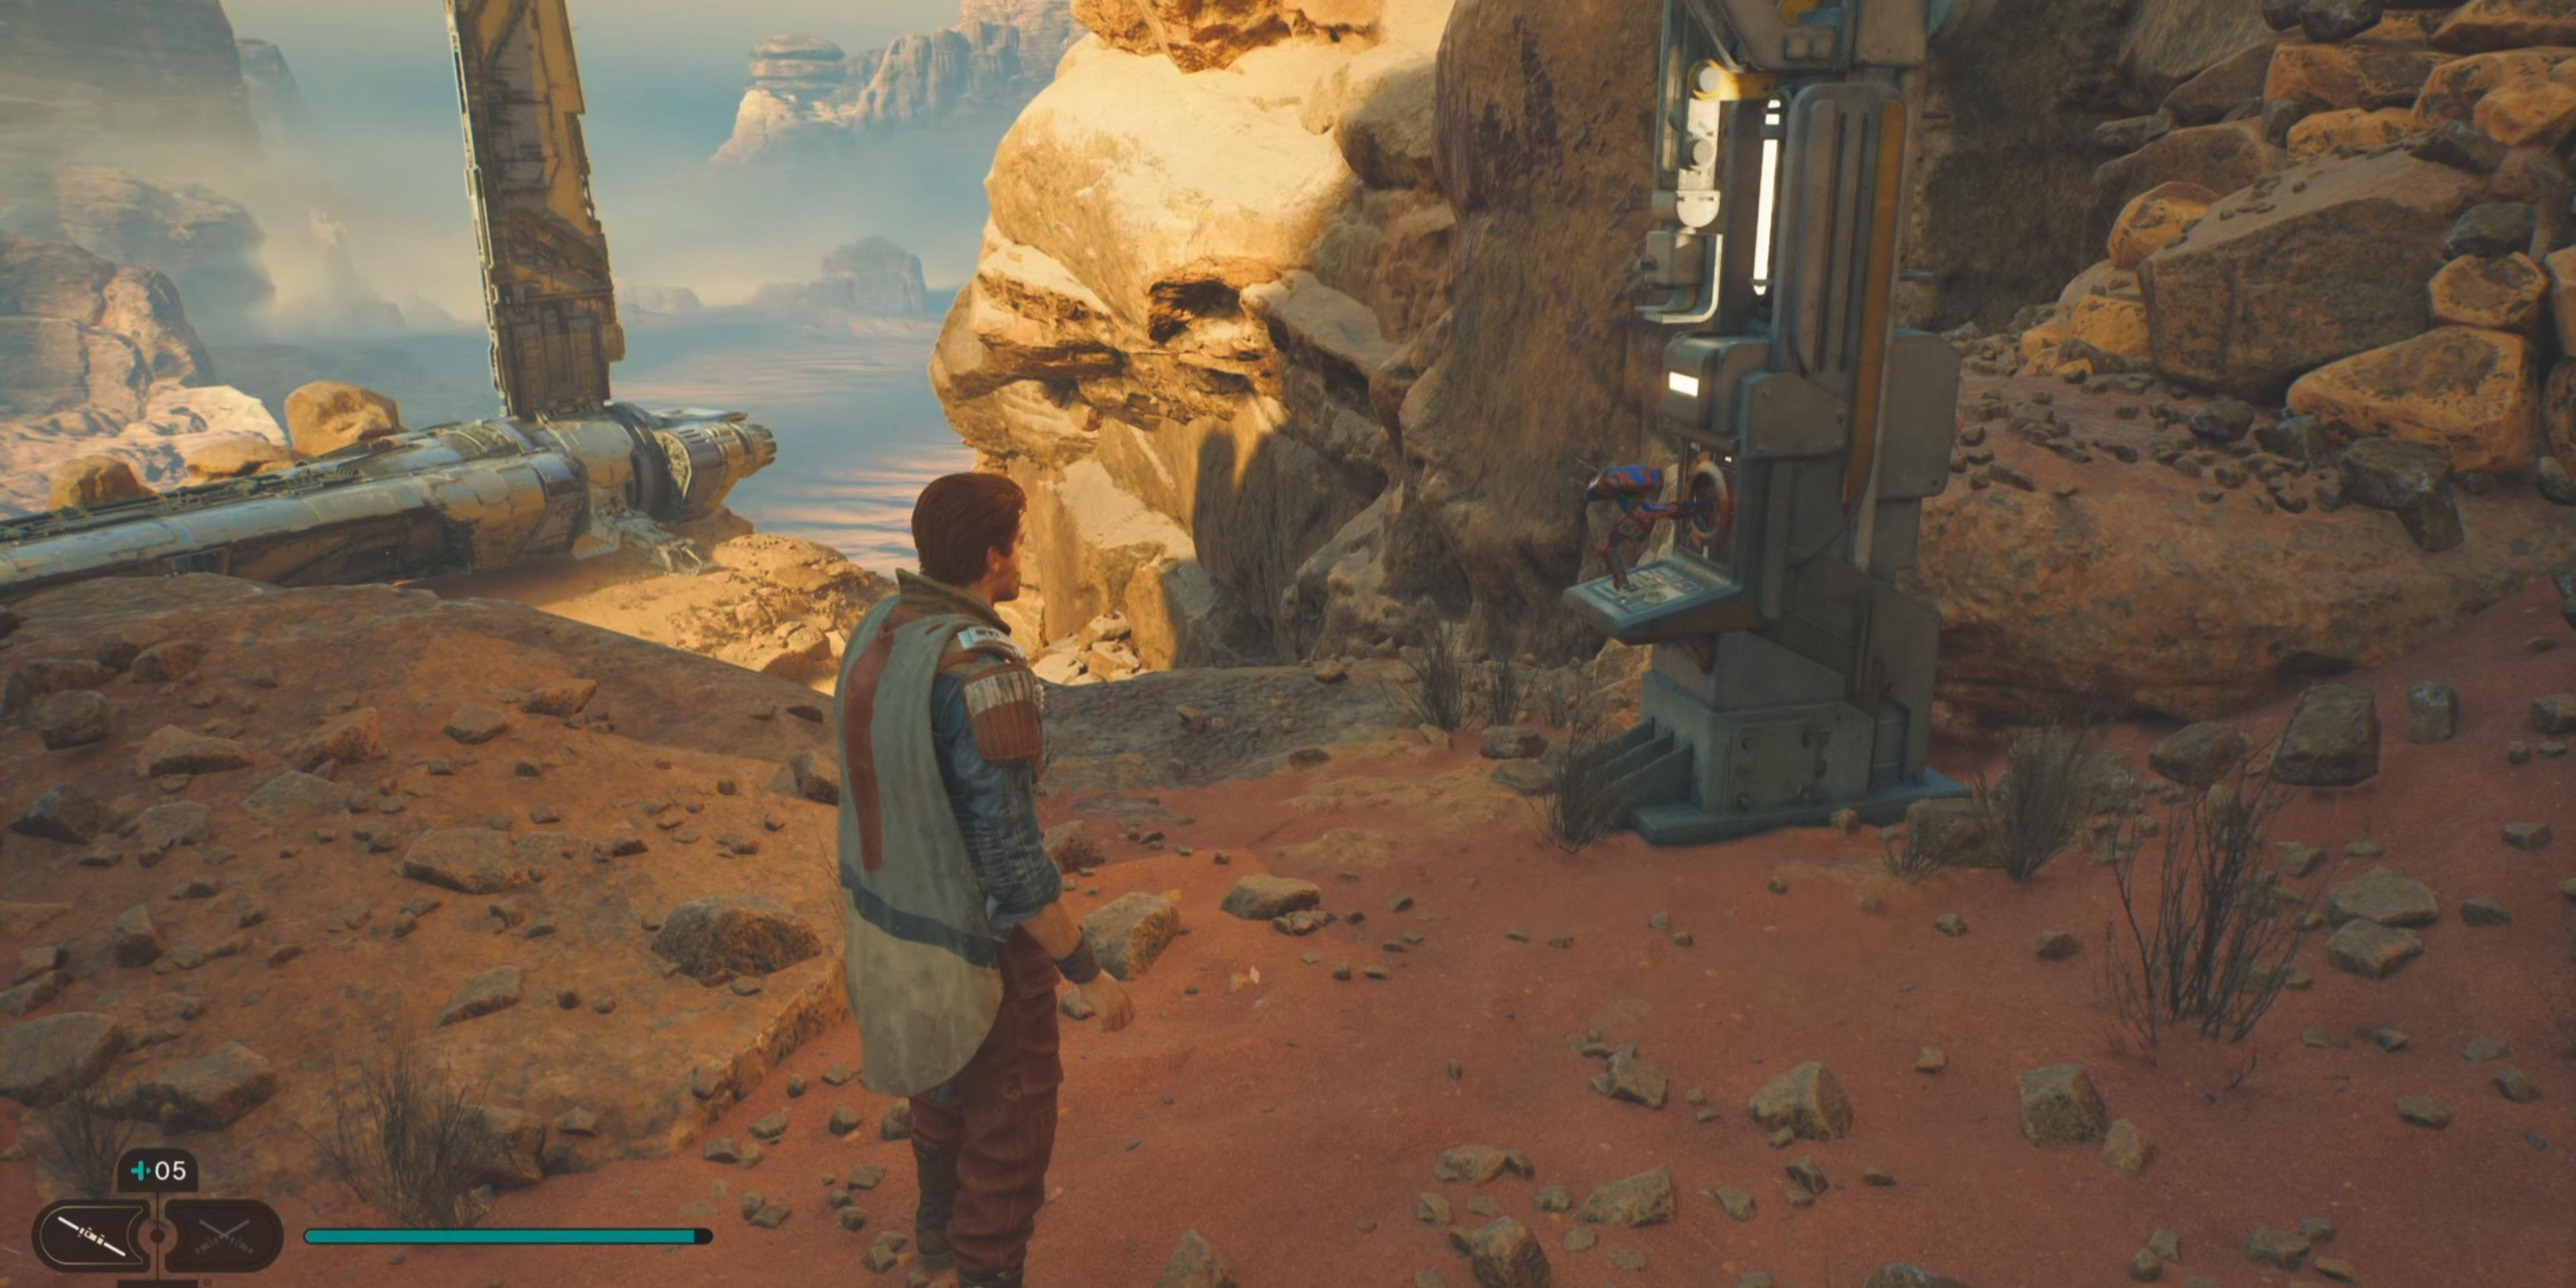
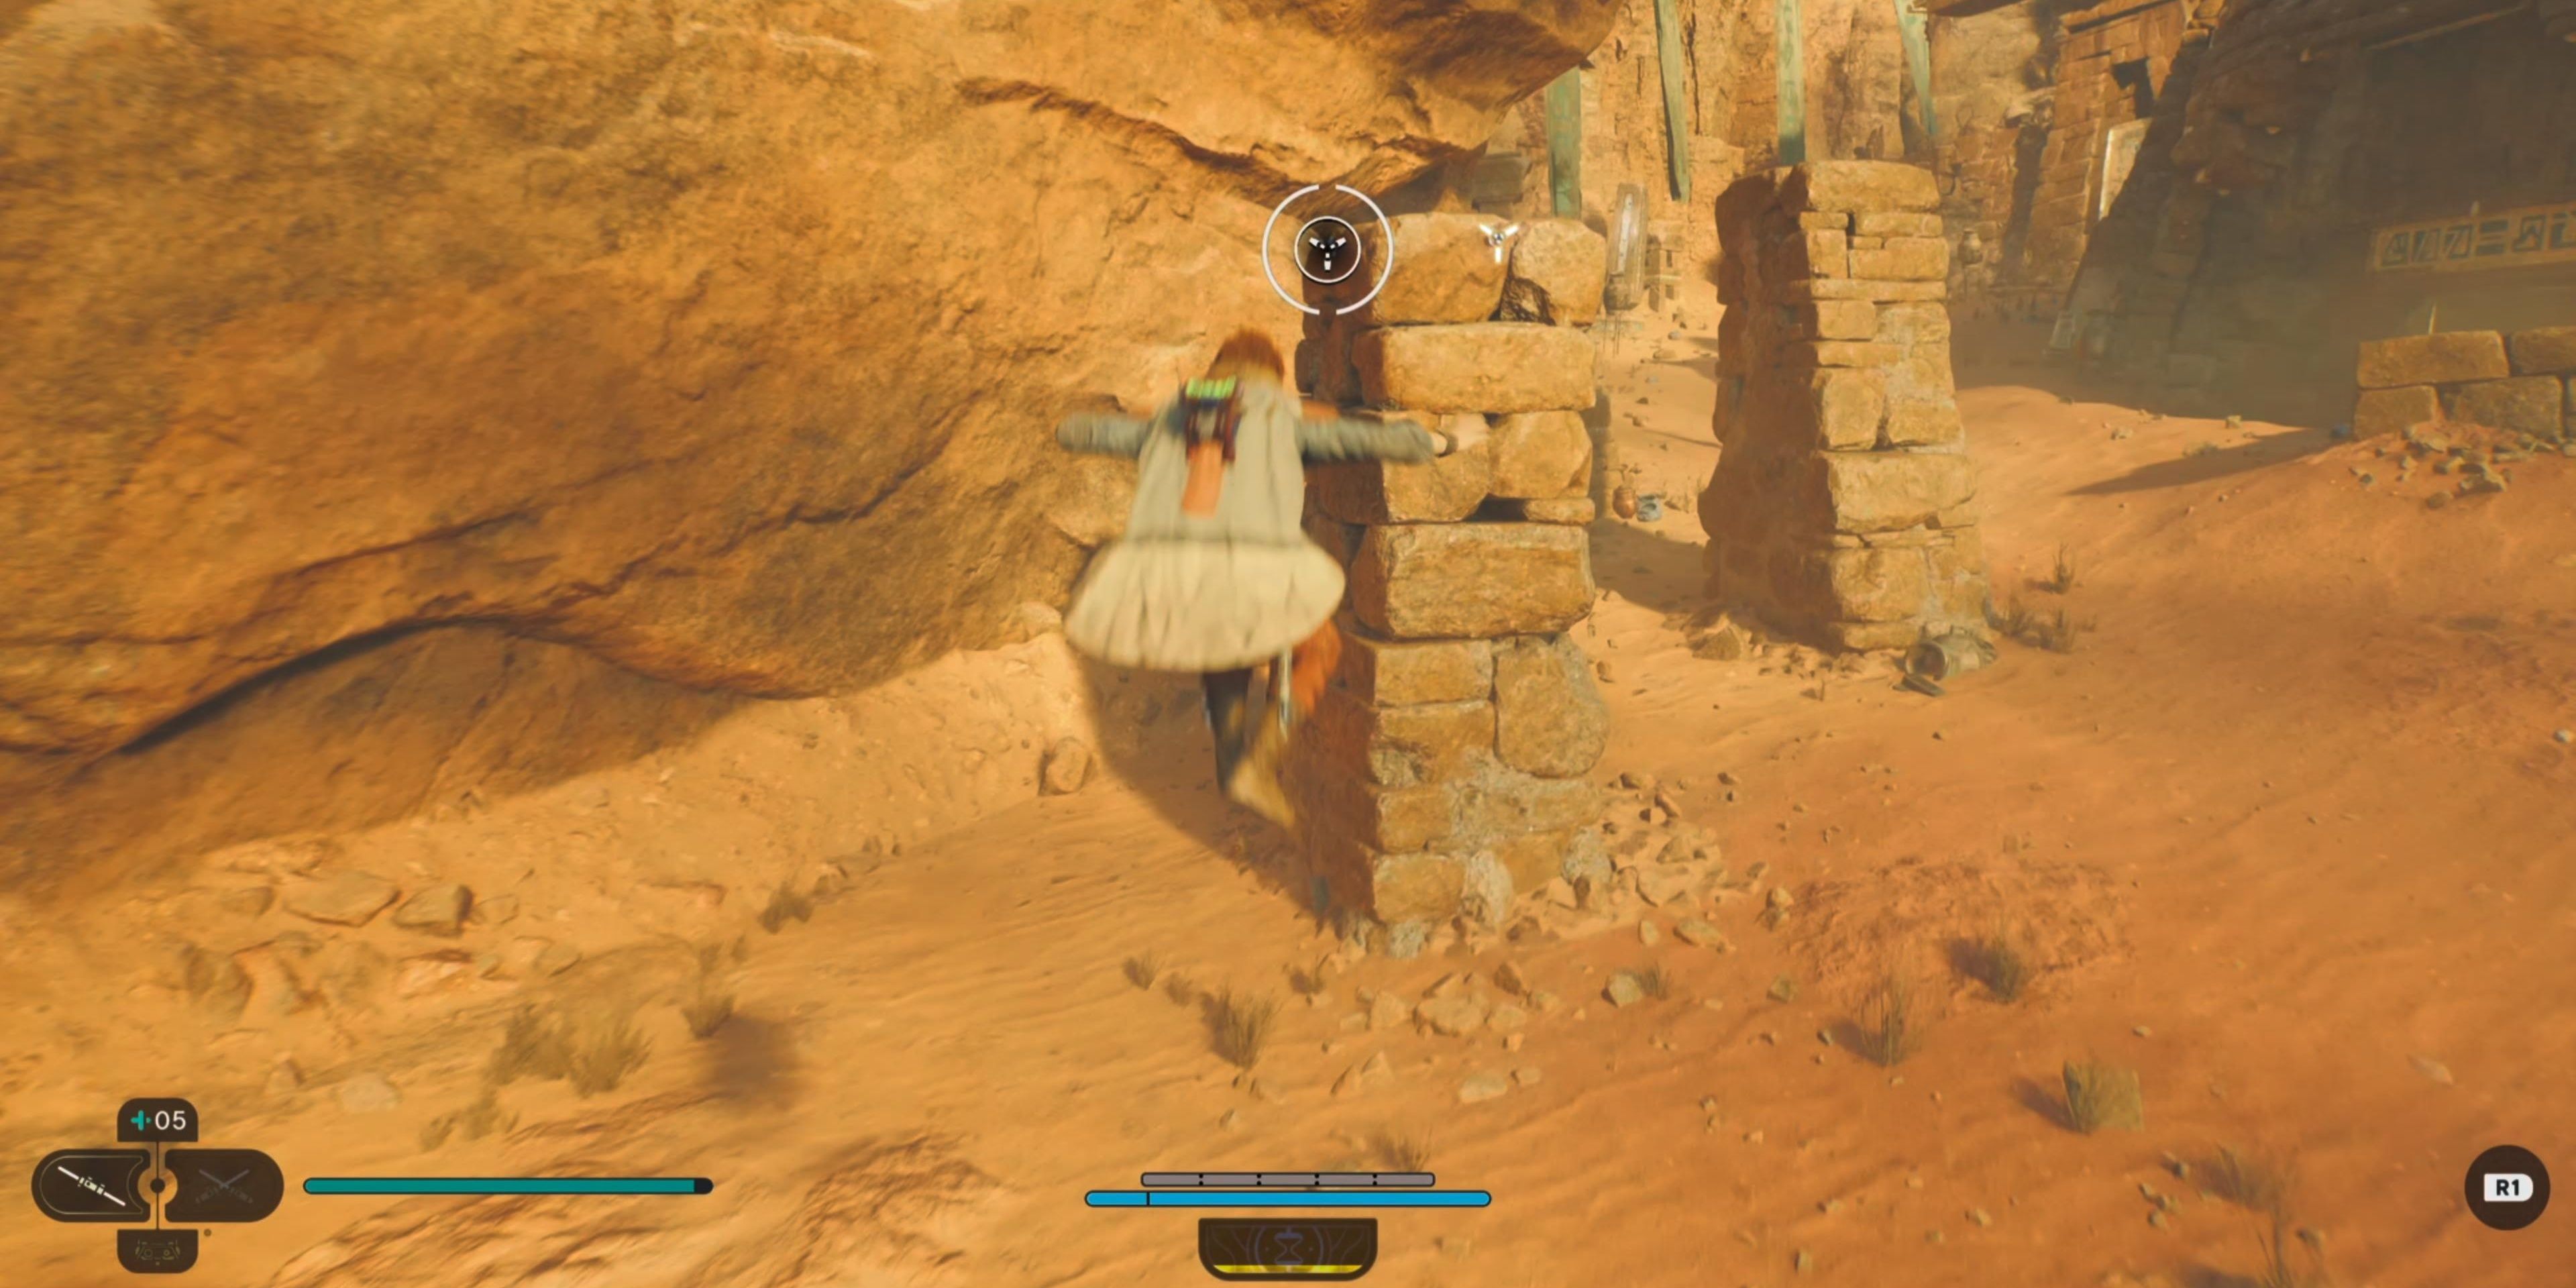
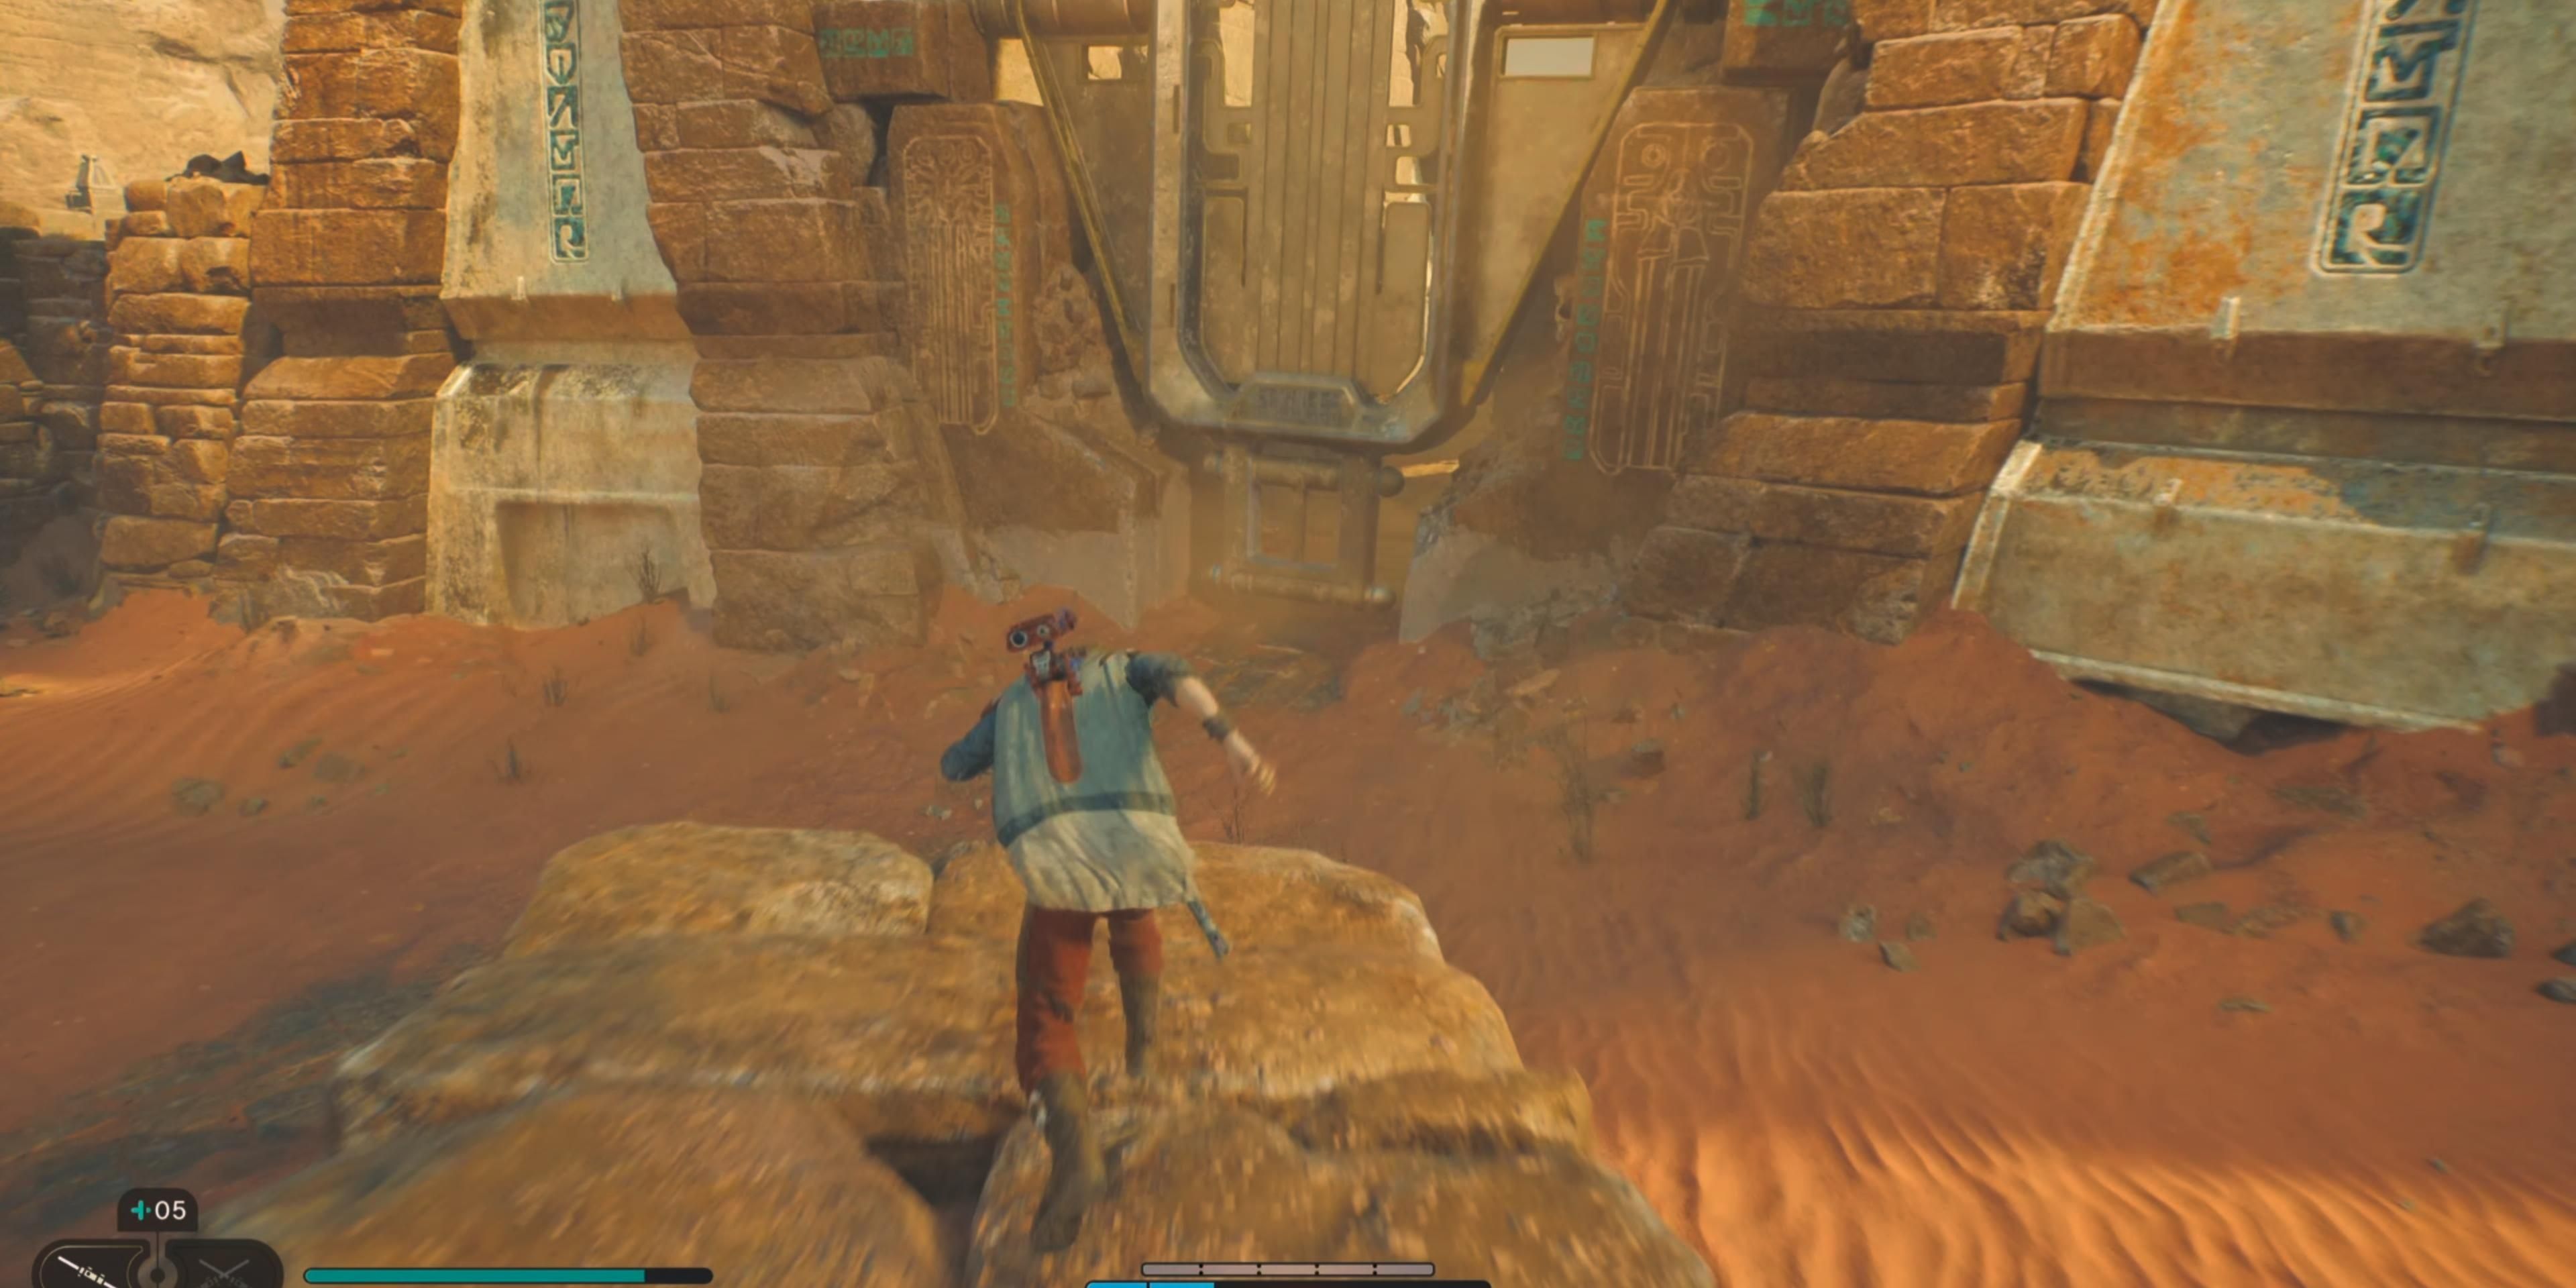
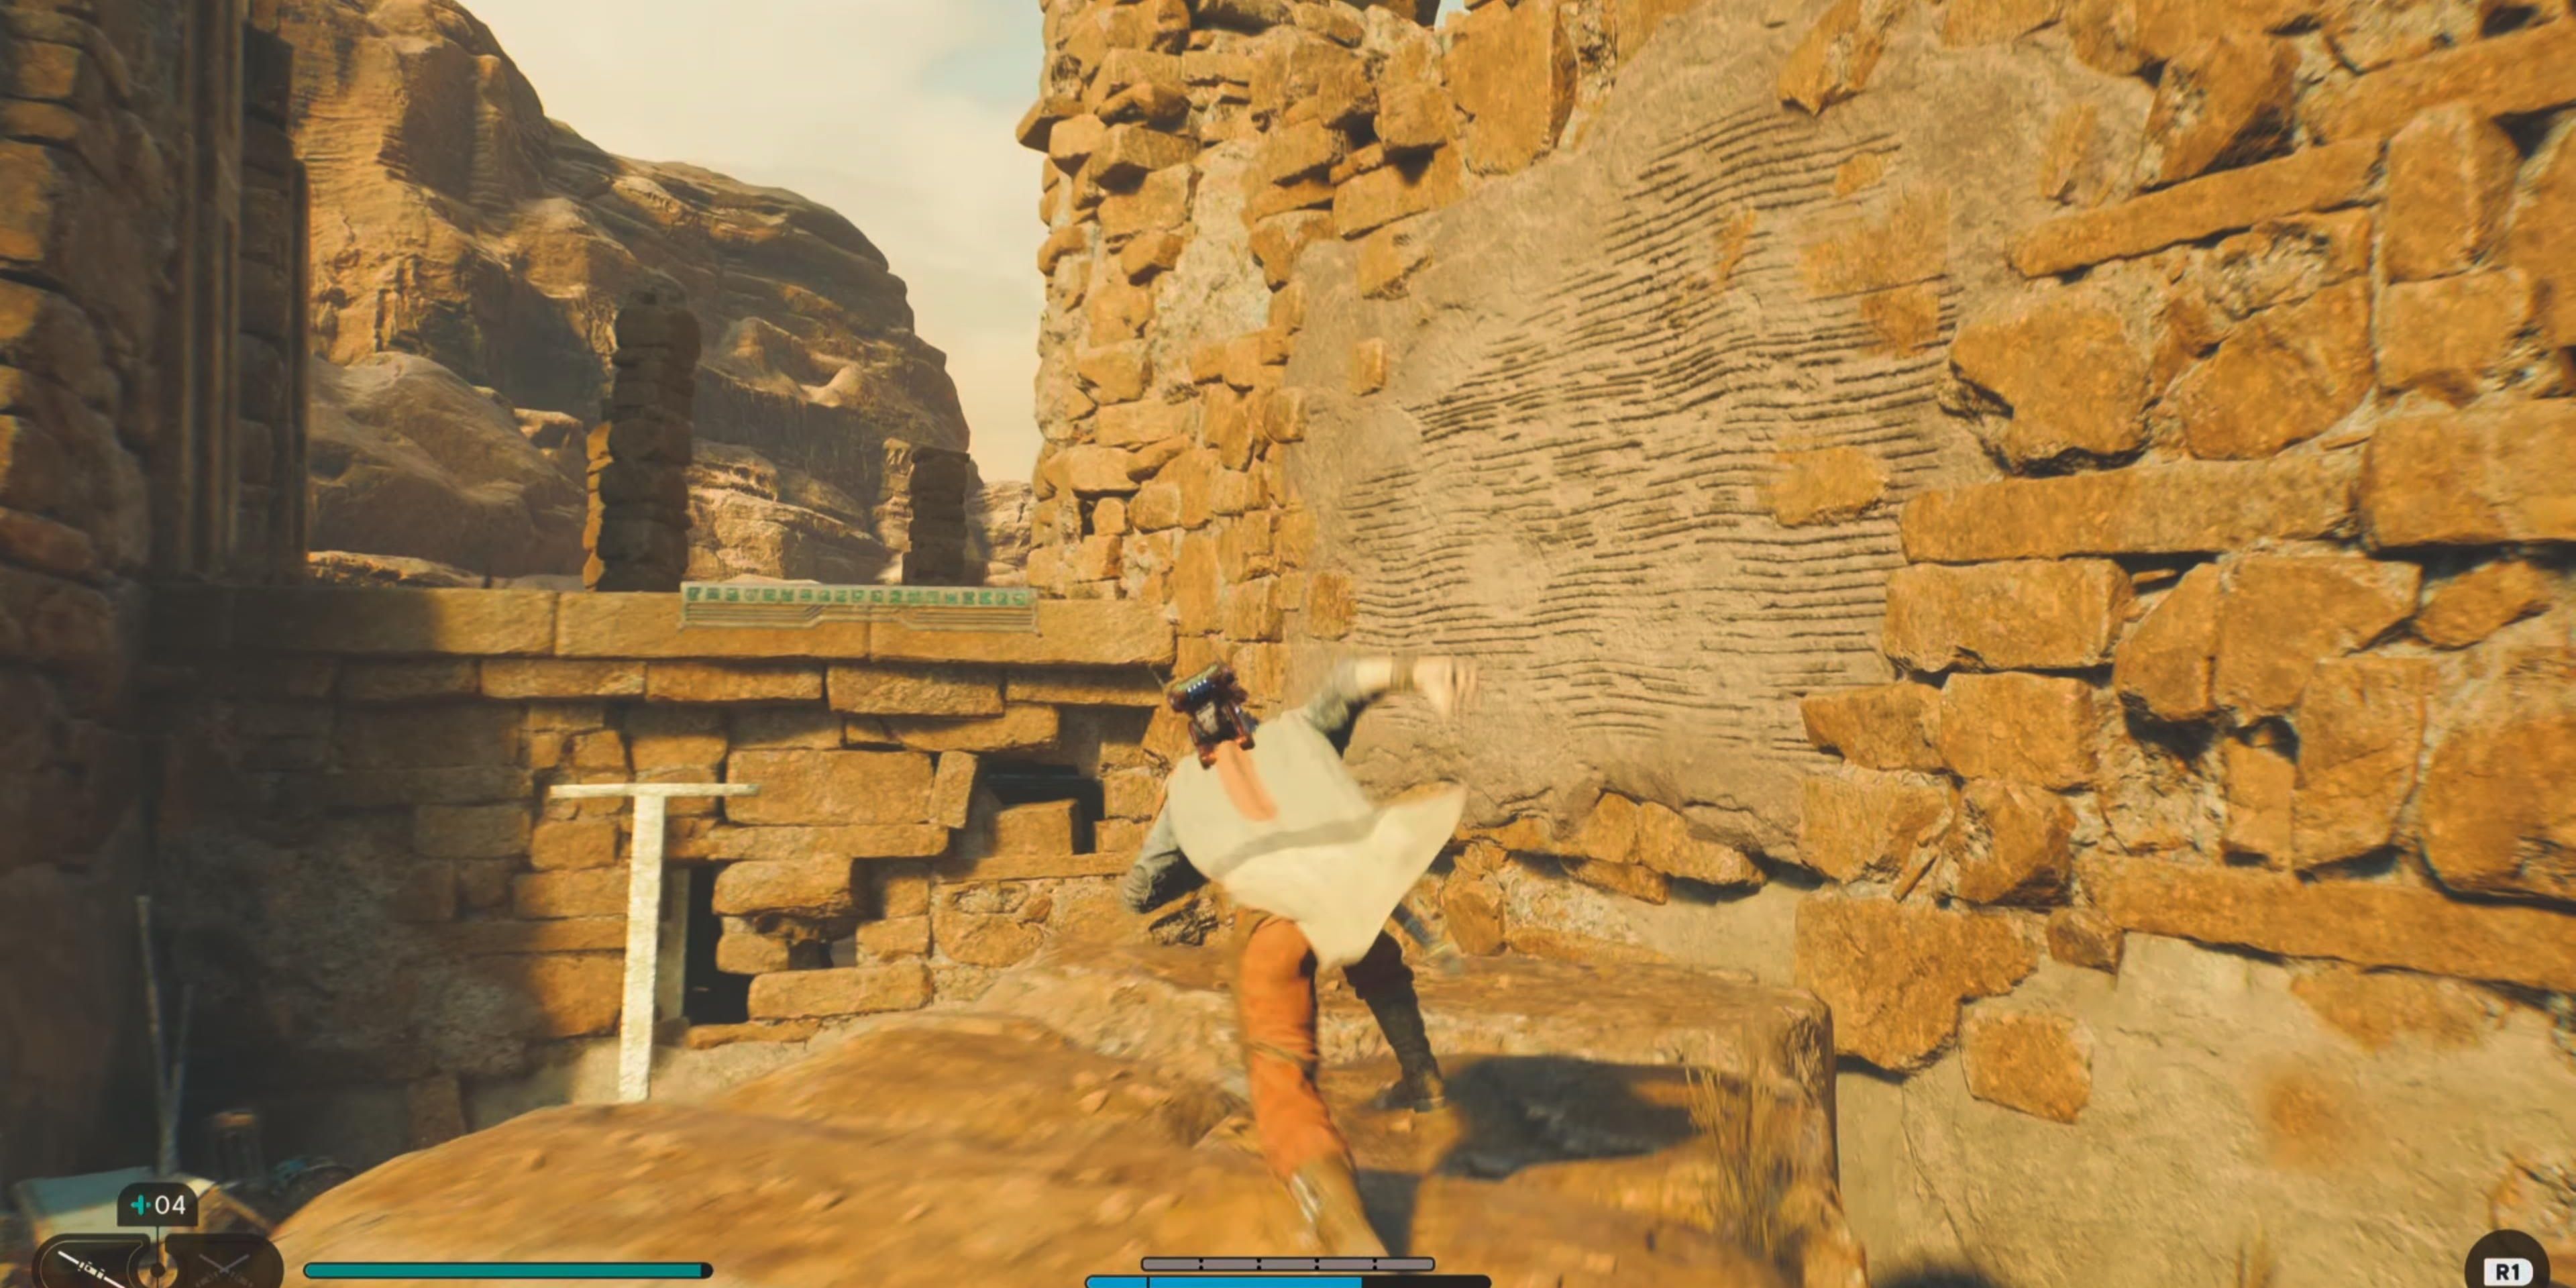
You won’t be able to run up the slope to the left of the Mantis, so you’ll need to jump on the large boulders and then wall run for Kestis to land on the slope at a different angle.
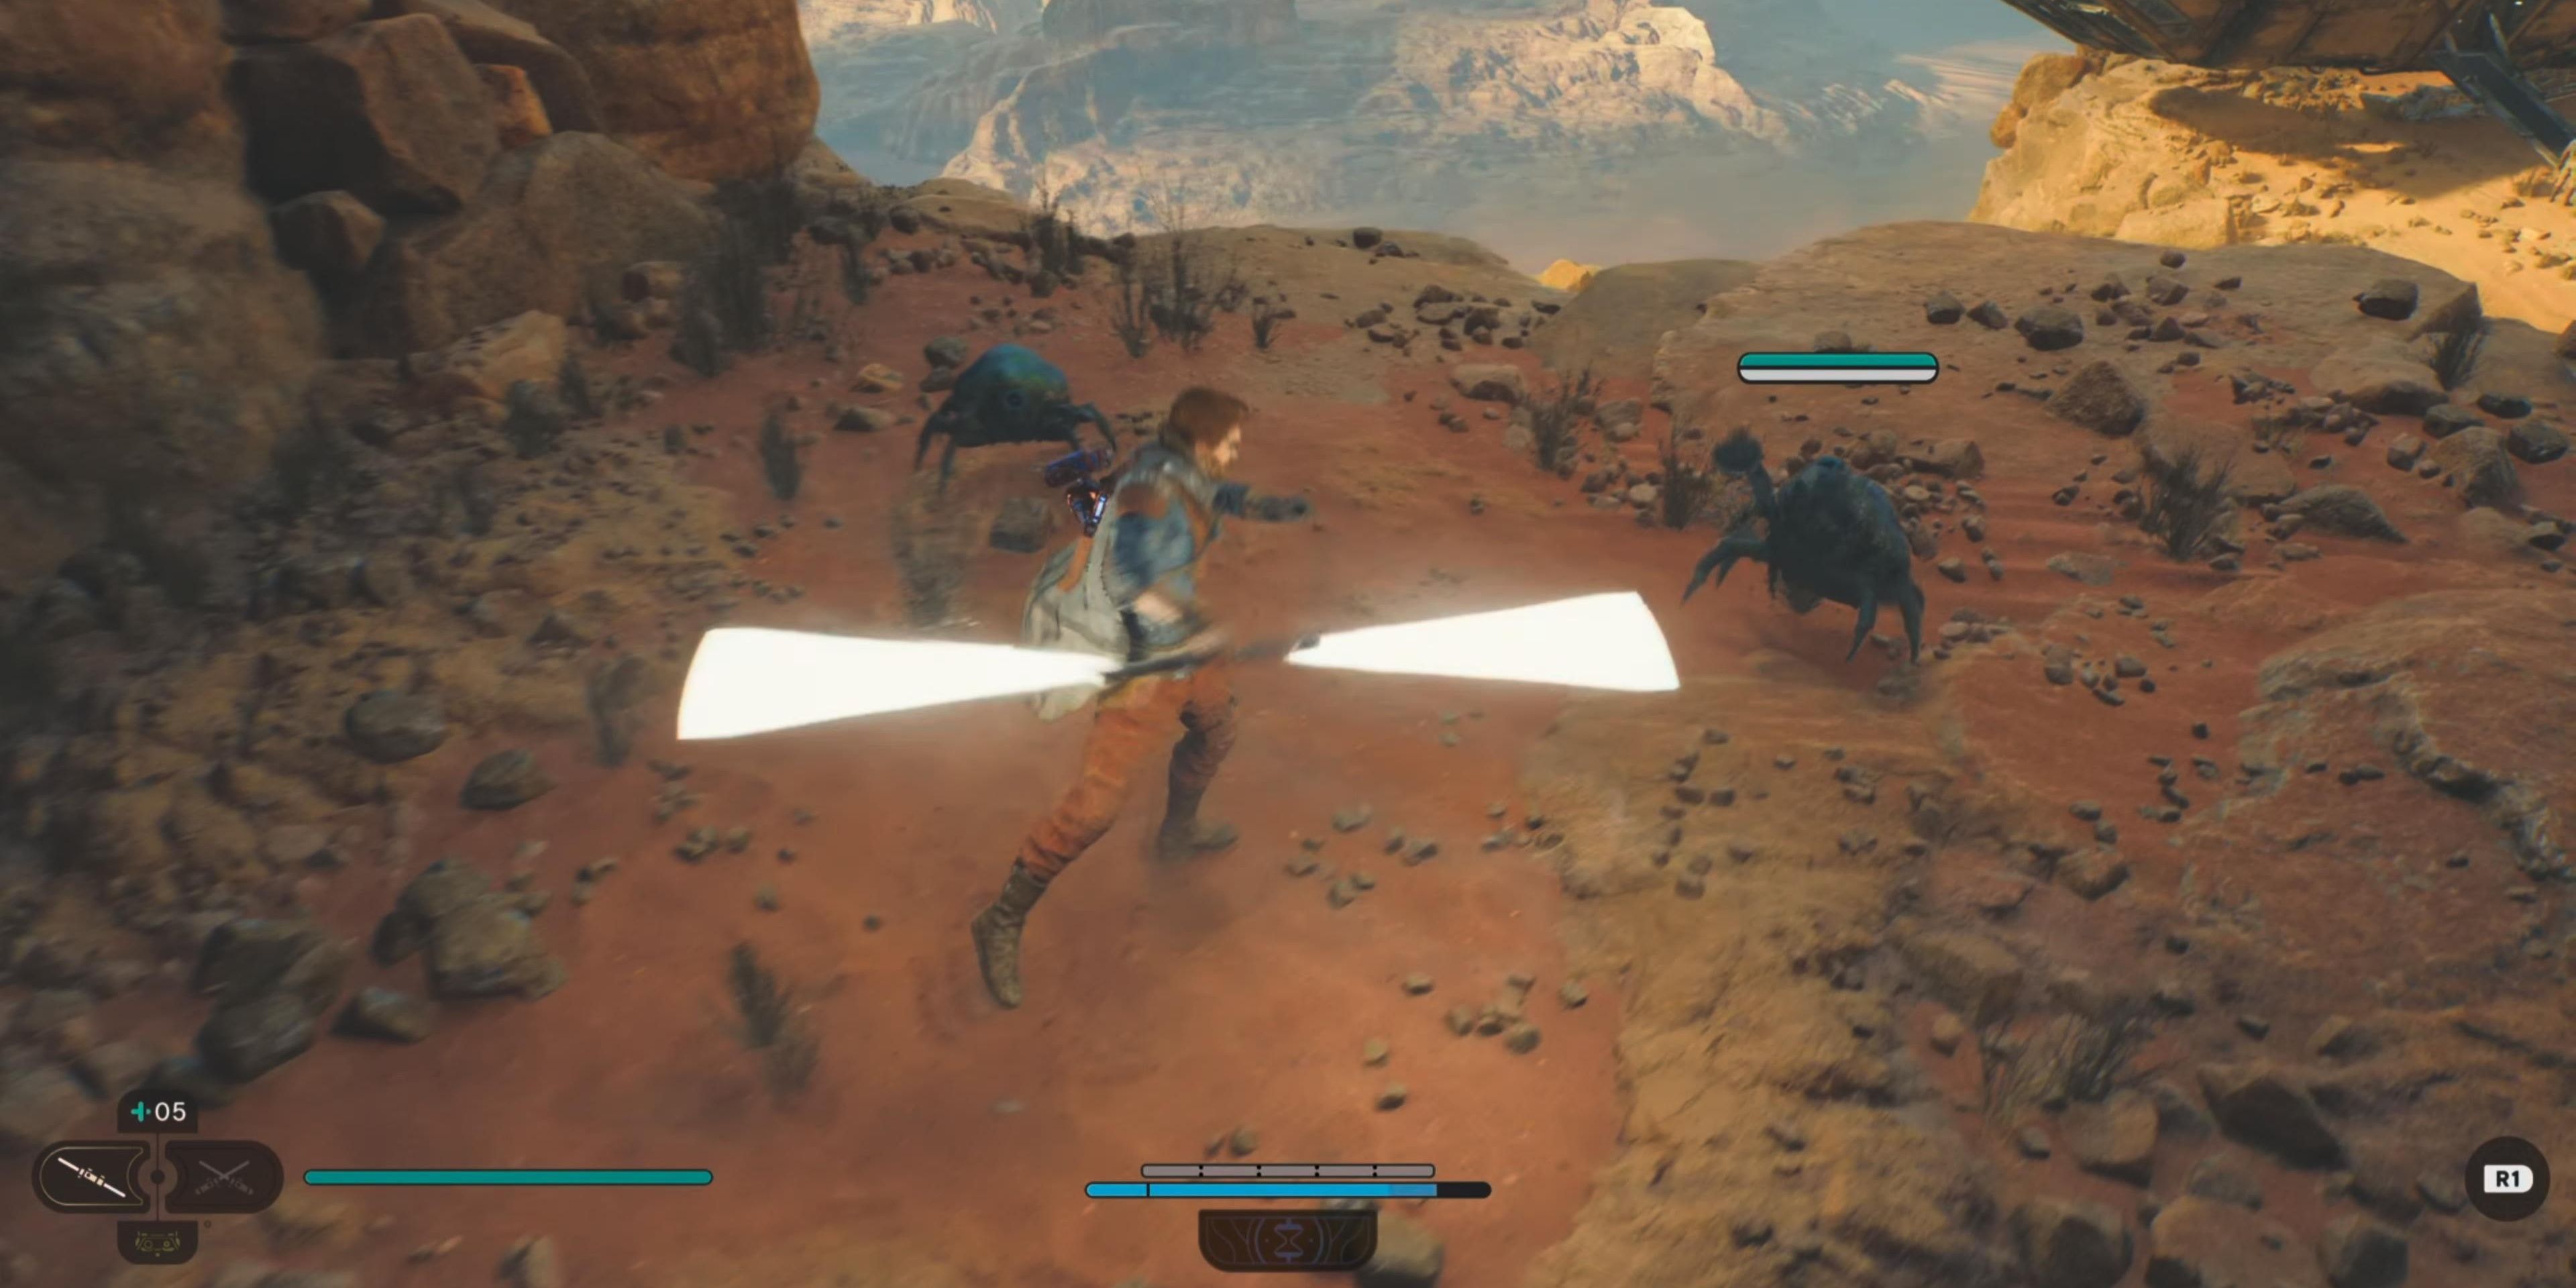
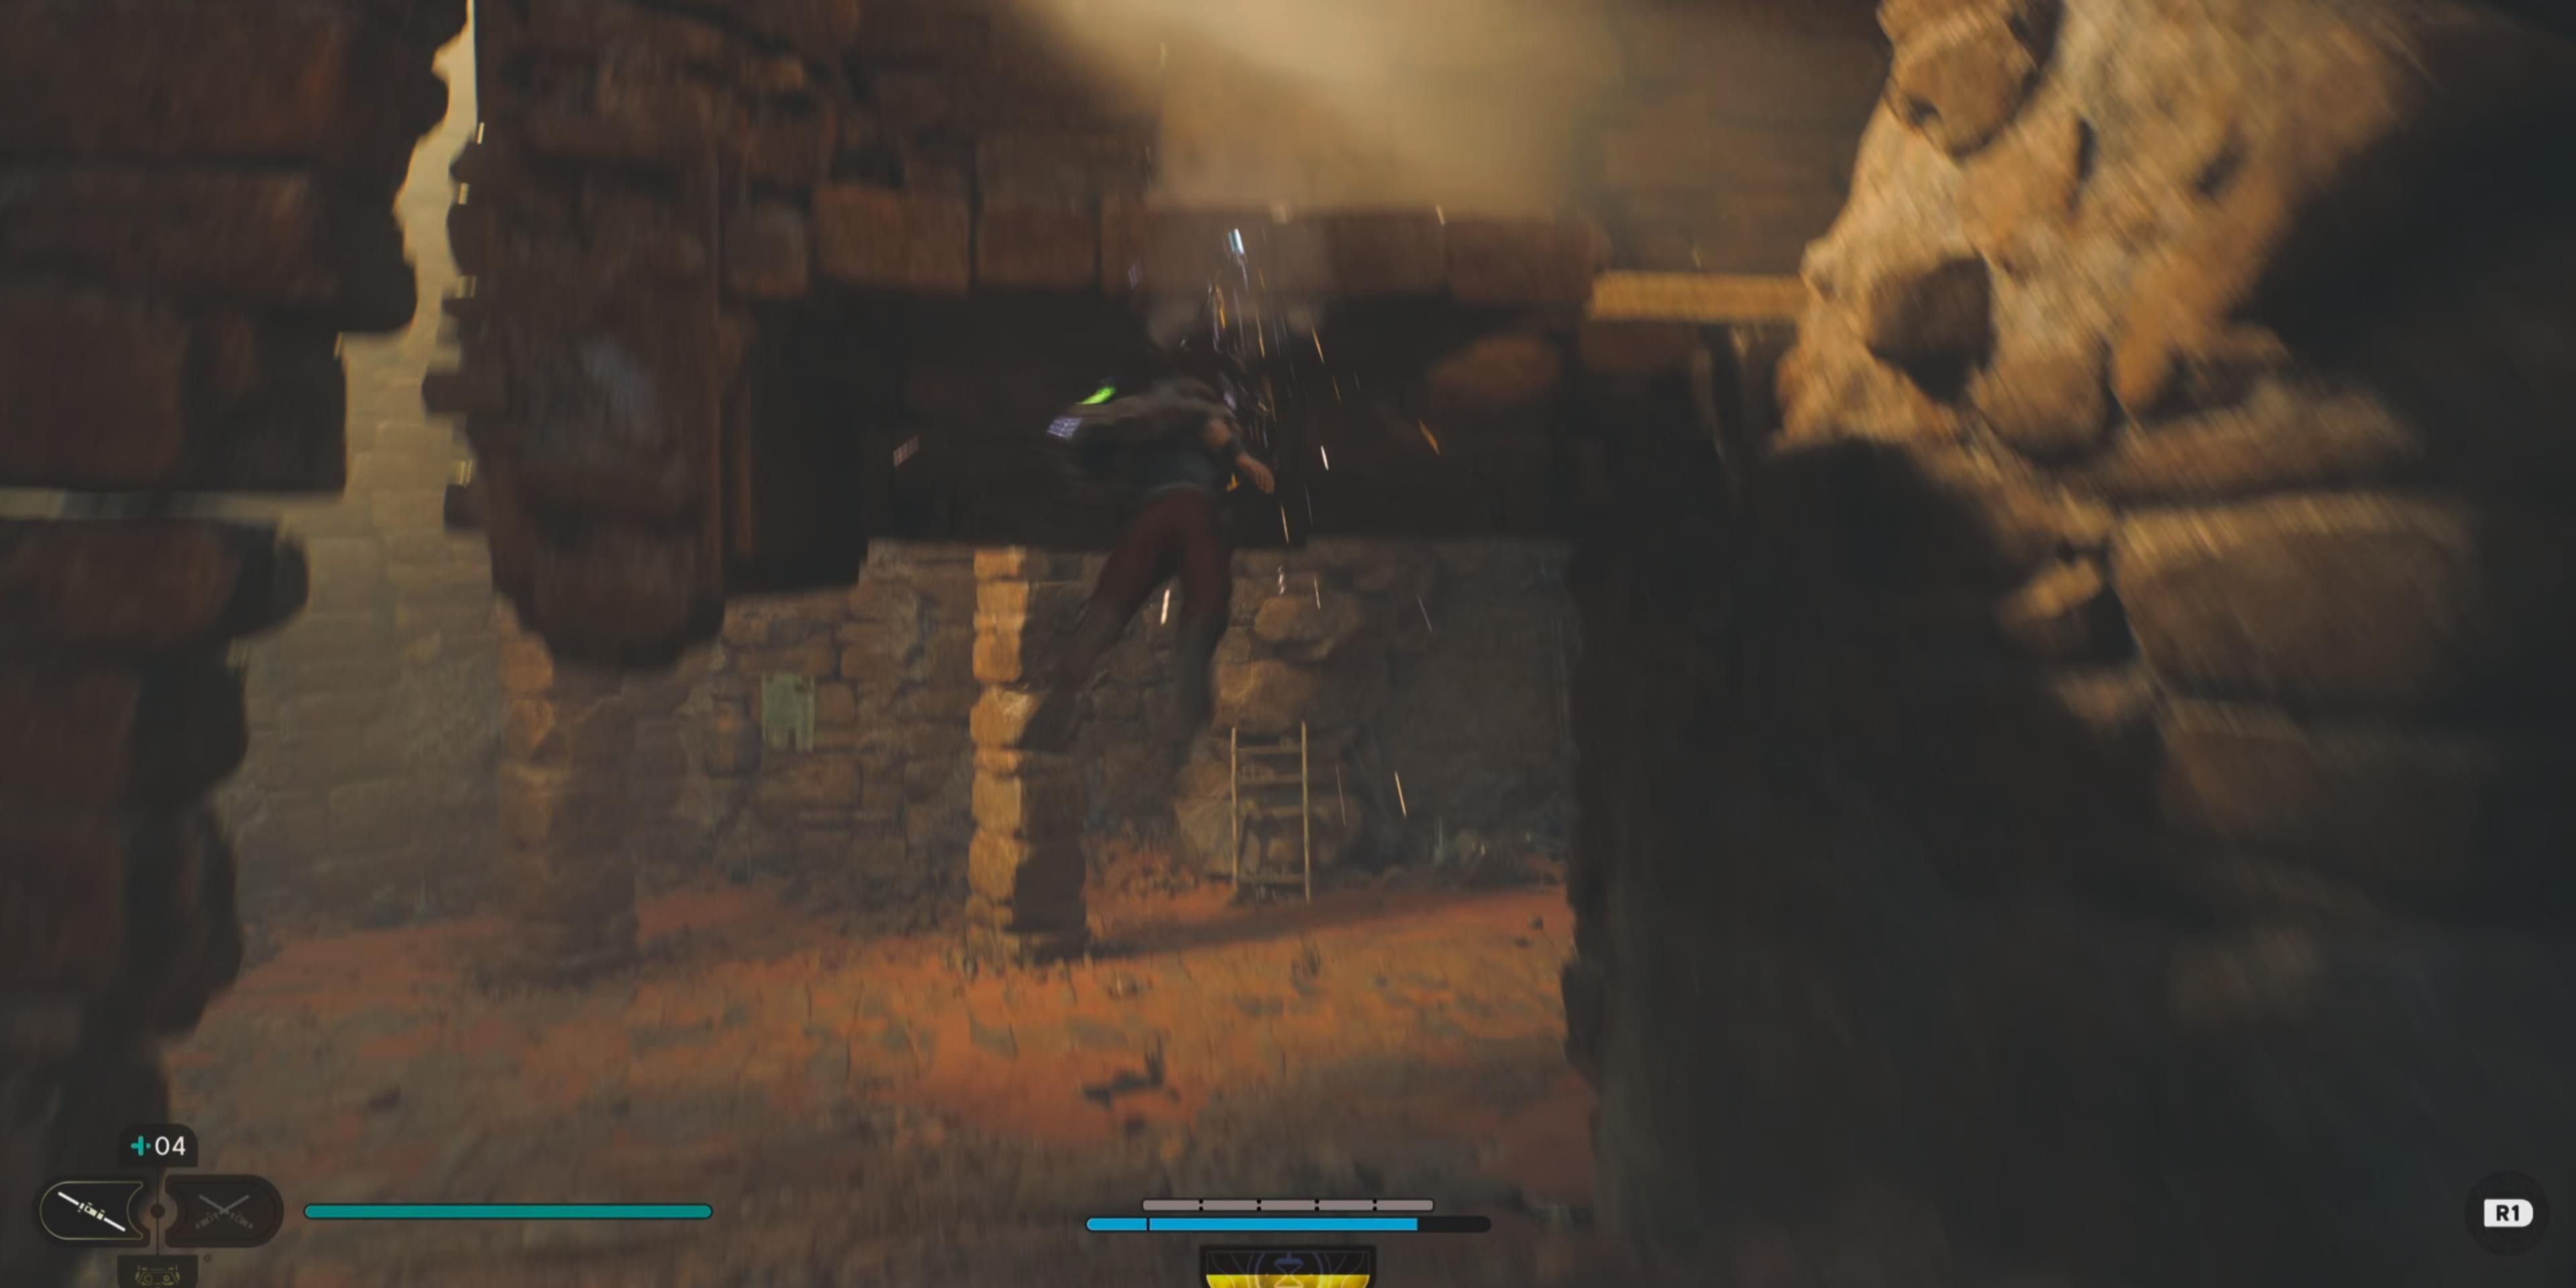
Slide down the slope to reach the elevated surface and defeat the group of Hardshells.
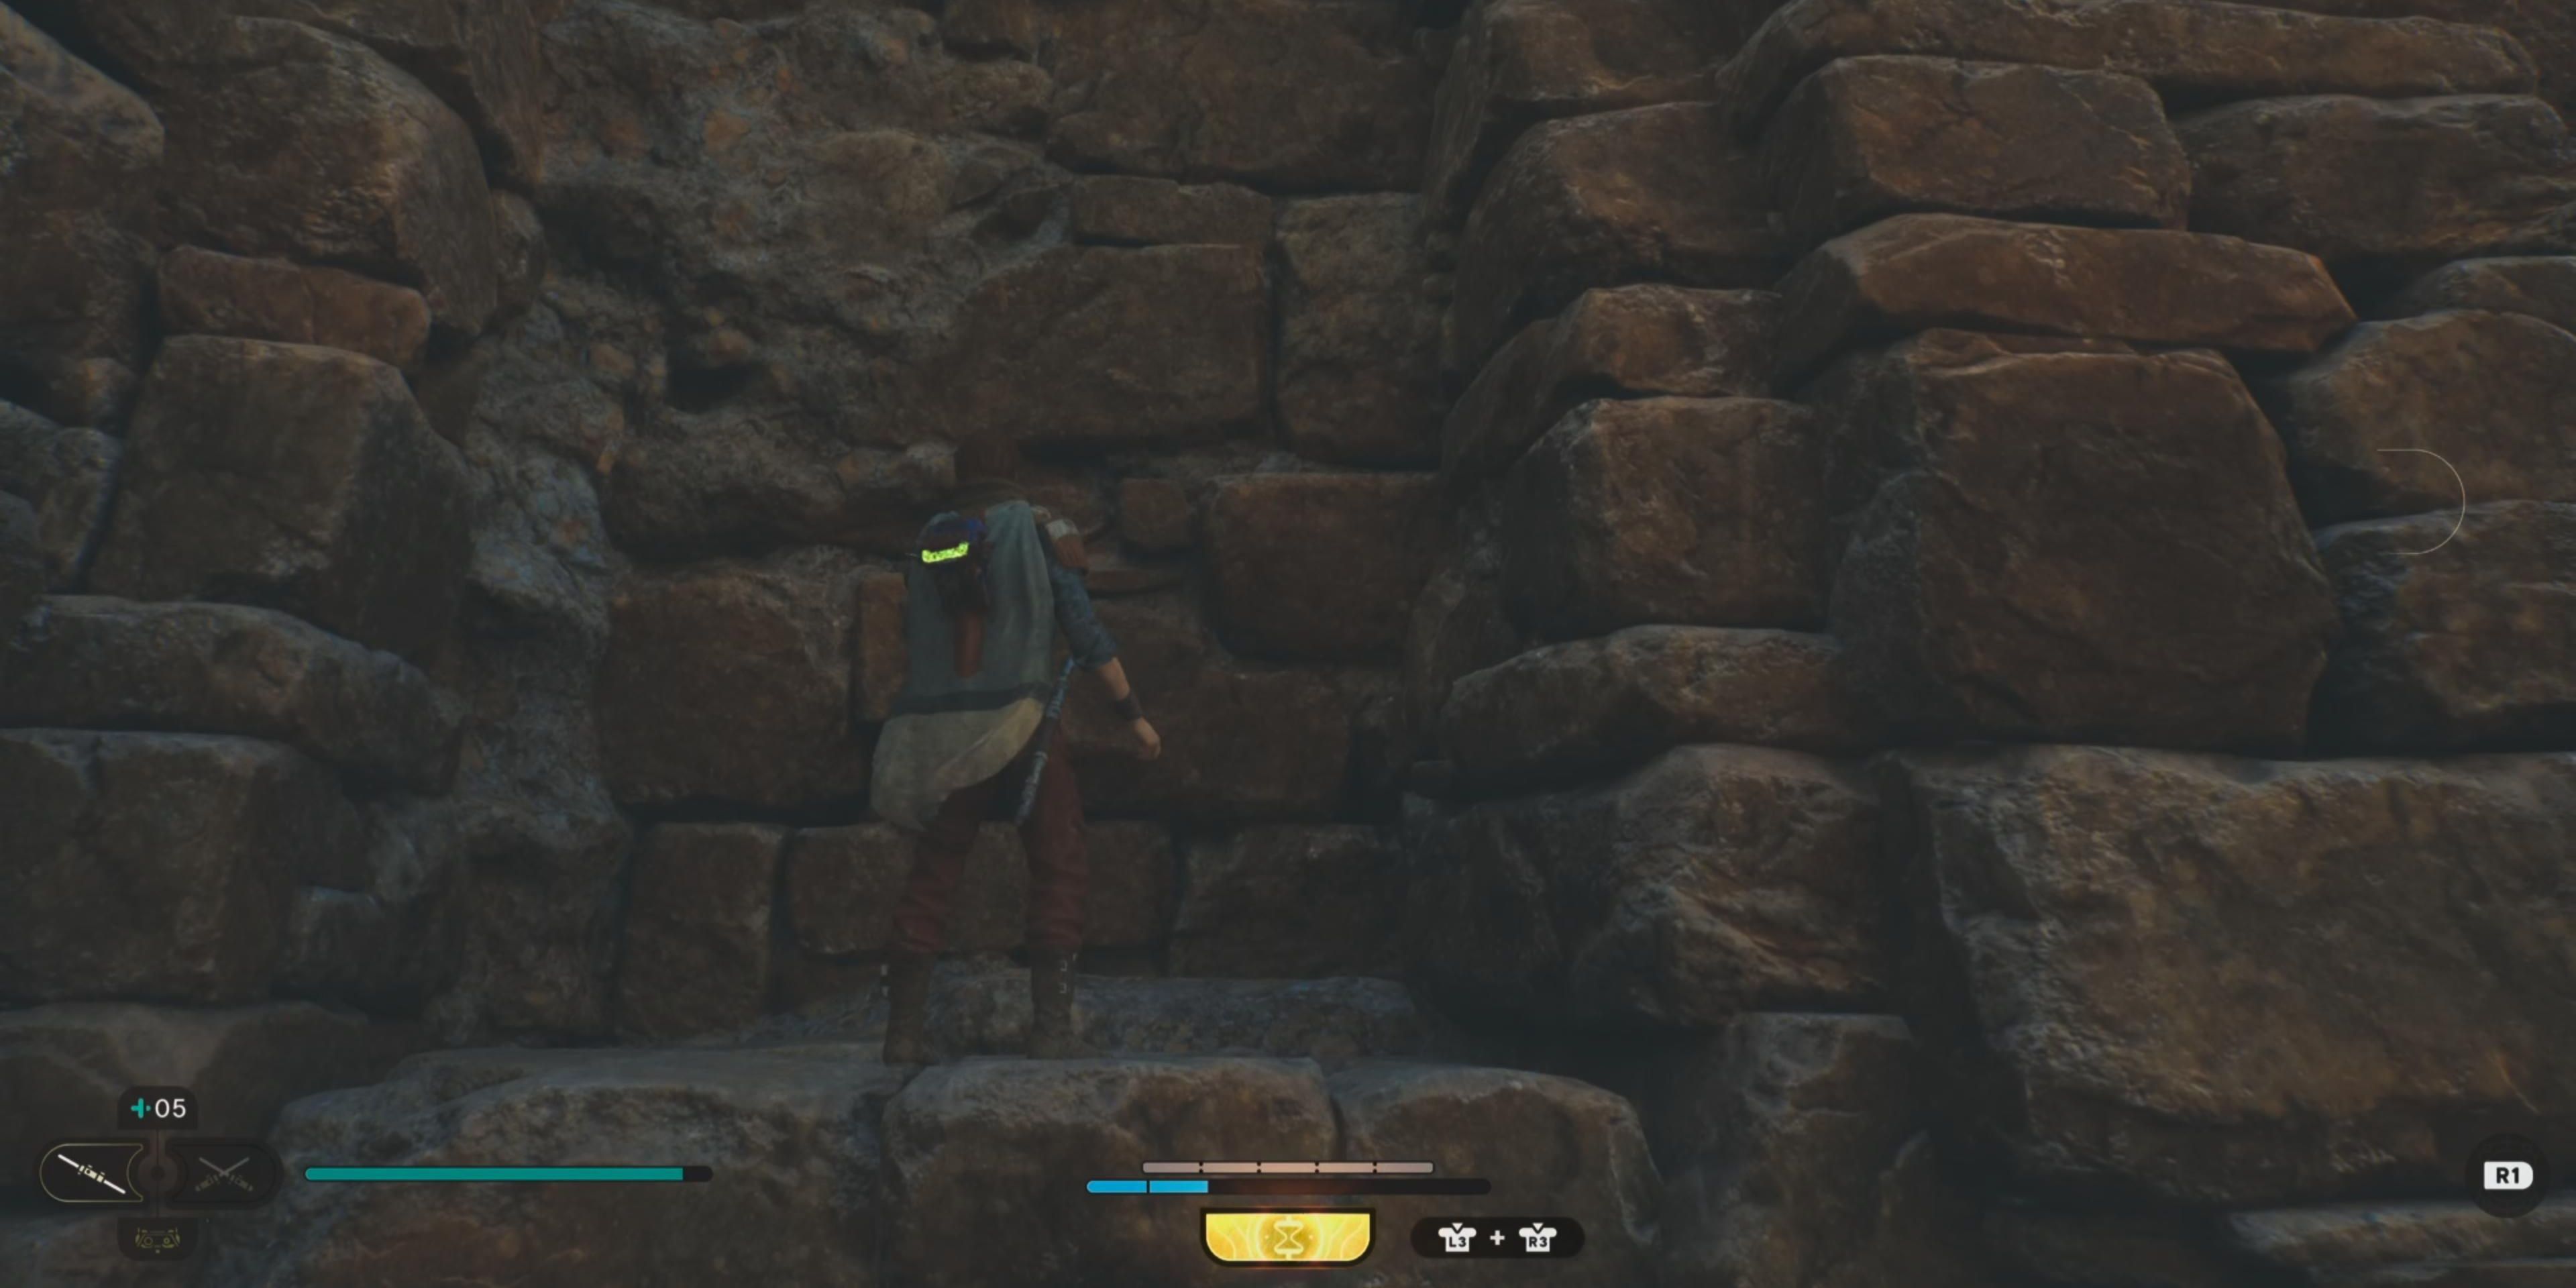
Scale the wall on your right by alternating jumps to ascend the cliffside until you reach the rock ledge.
Shimmy across the ledge toward the left until you reach the end, then jump up to grab onto another ledge and continue shifting toward the left.
When you reach the top, use BD-1 to activate a shortcut back to the ship.
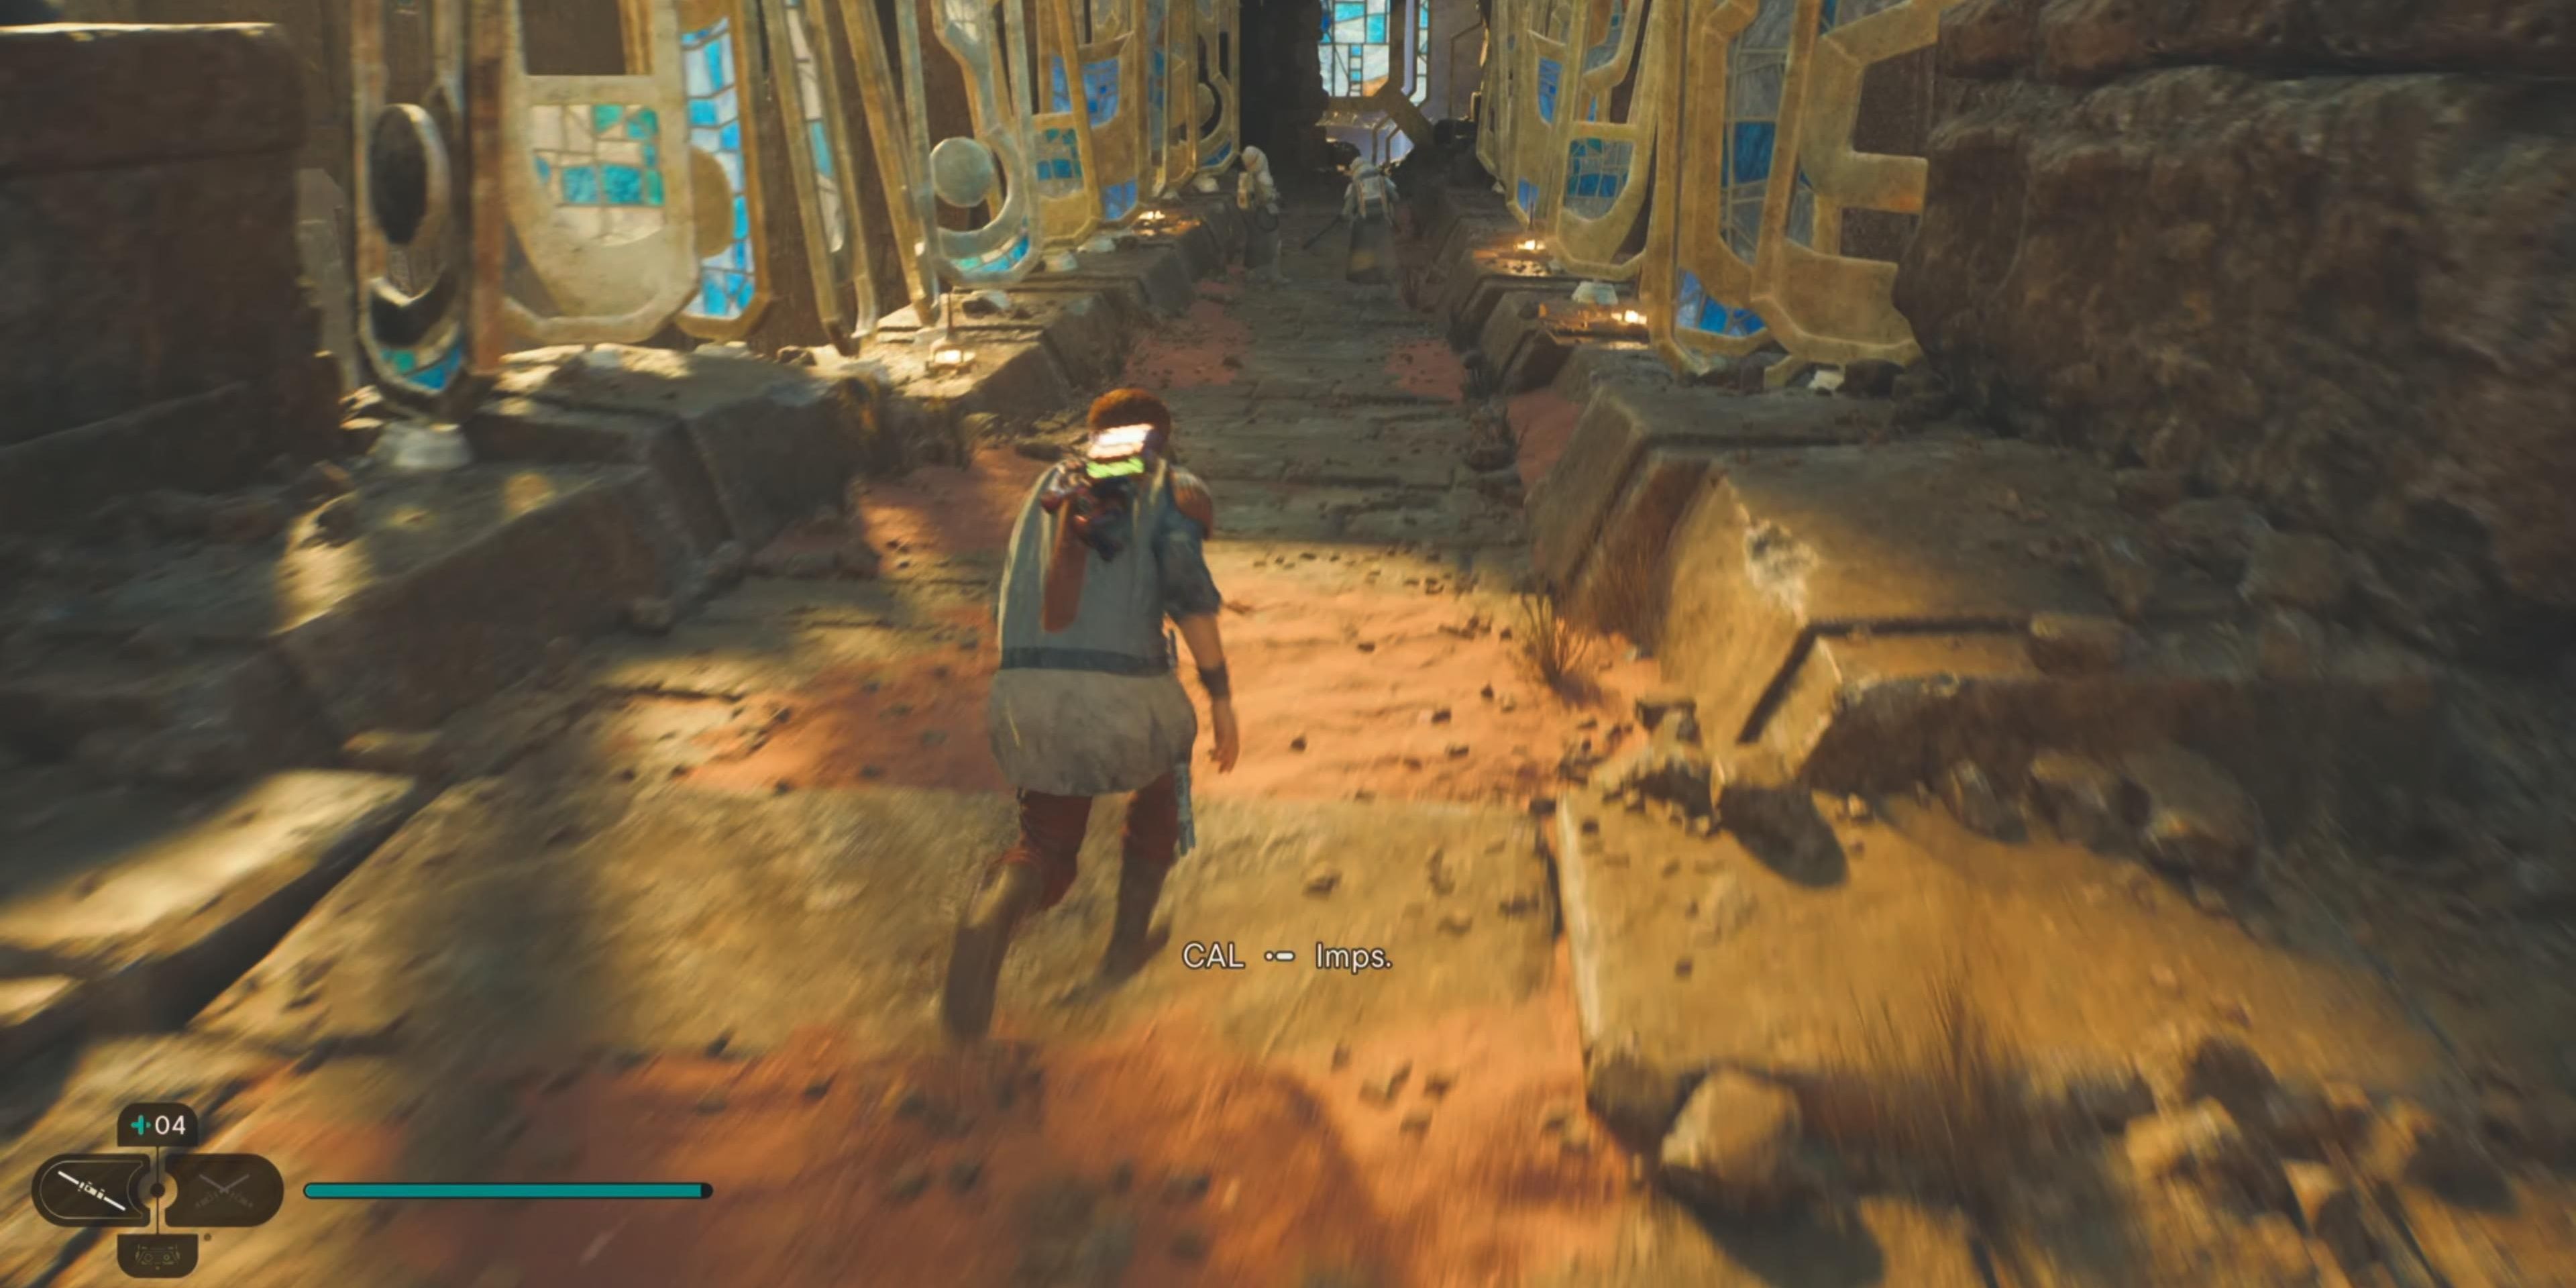
Continue heading up the hill until you reach the Monastery Walls and find the first Meditation Point.
Avoid The Sand
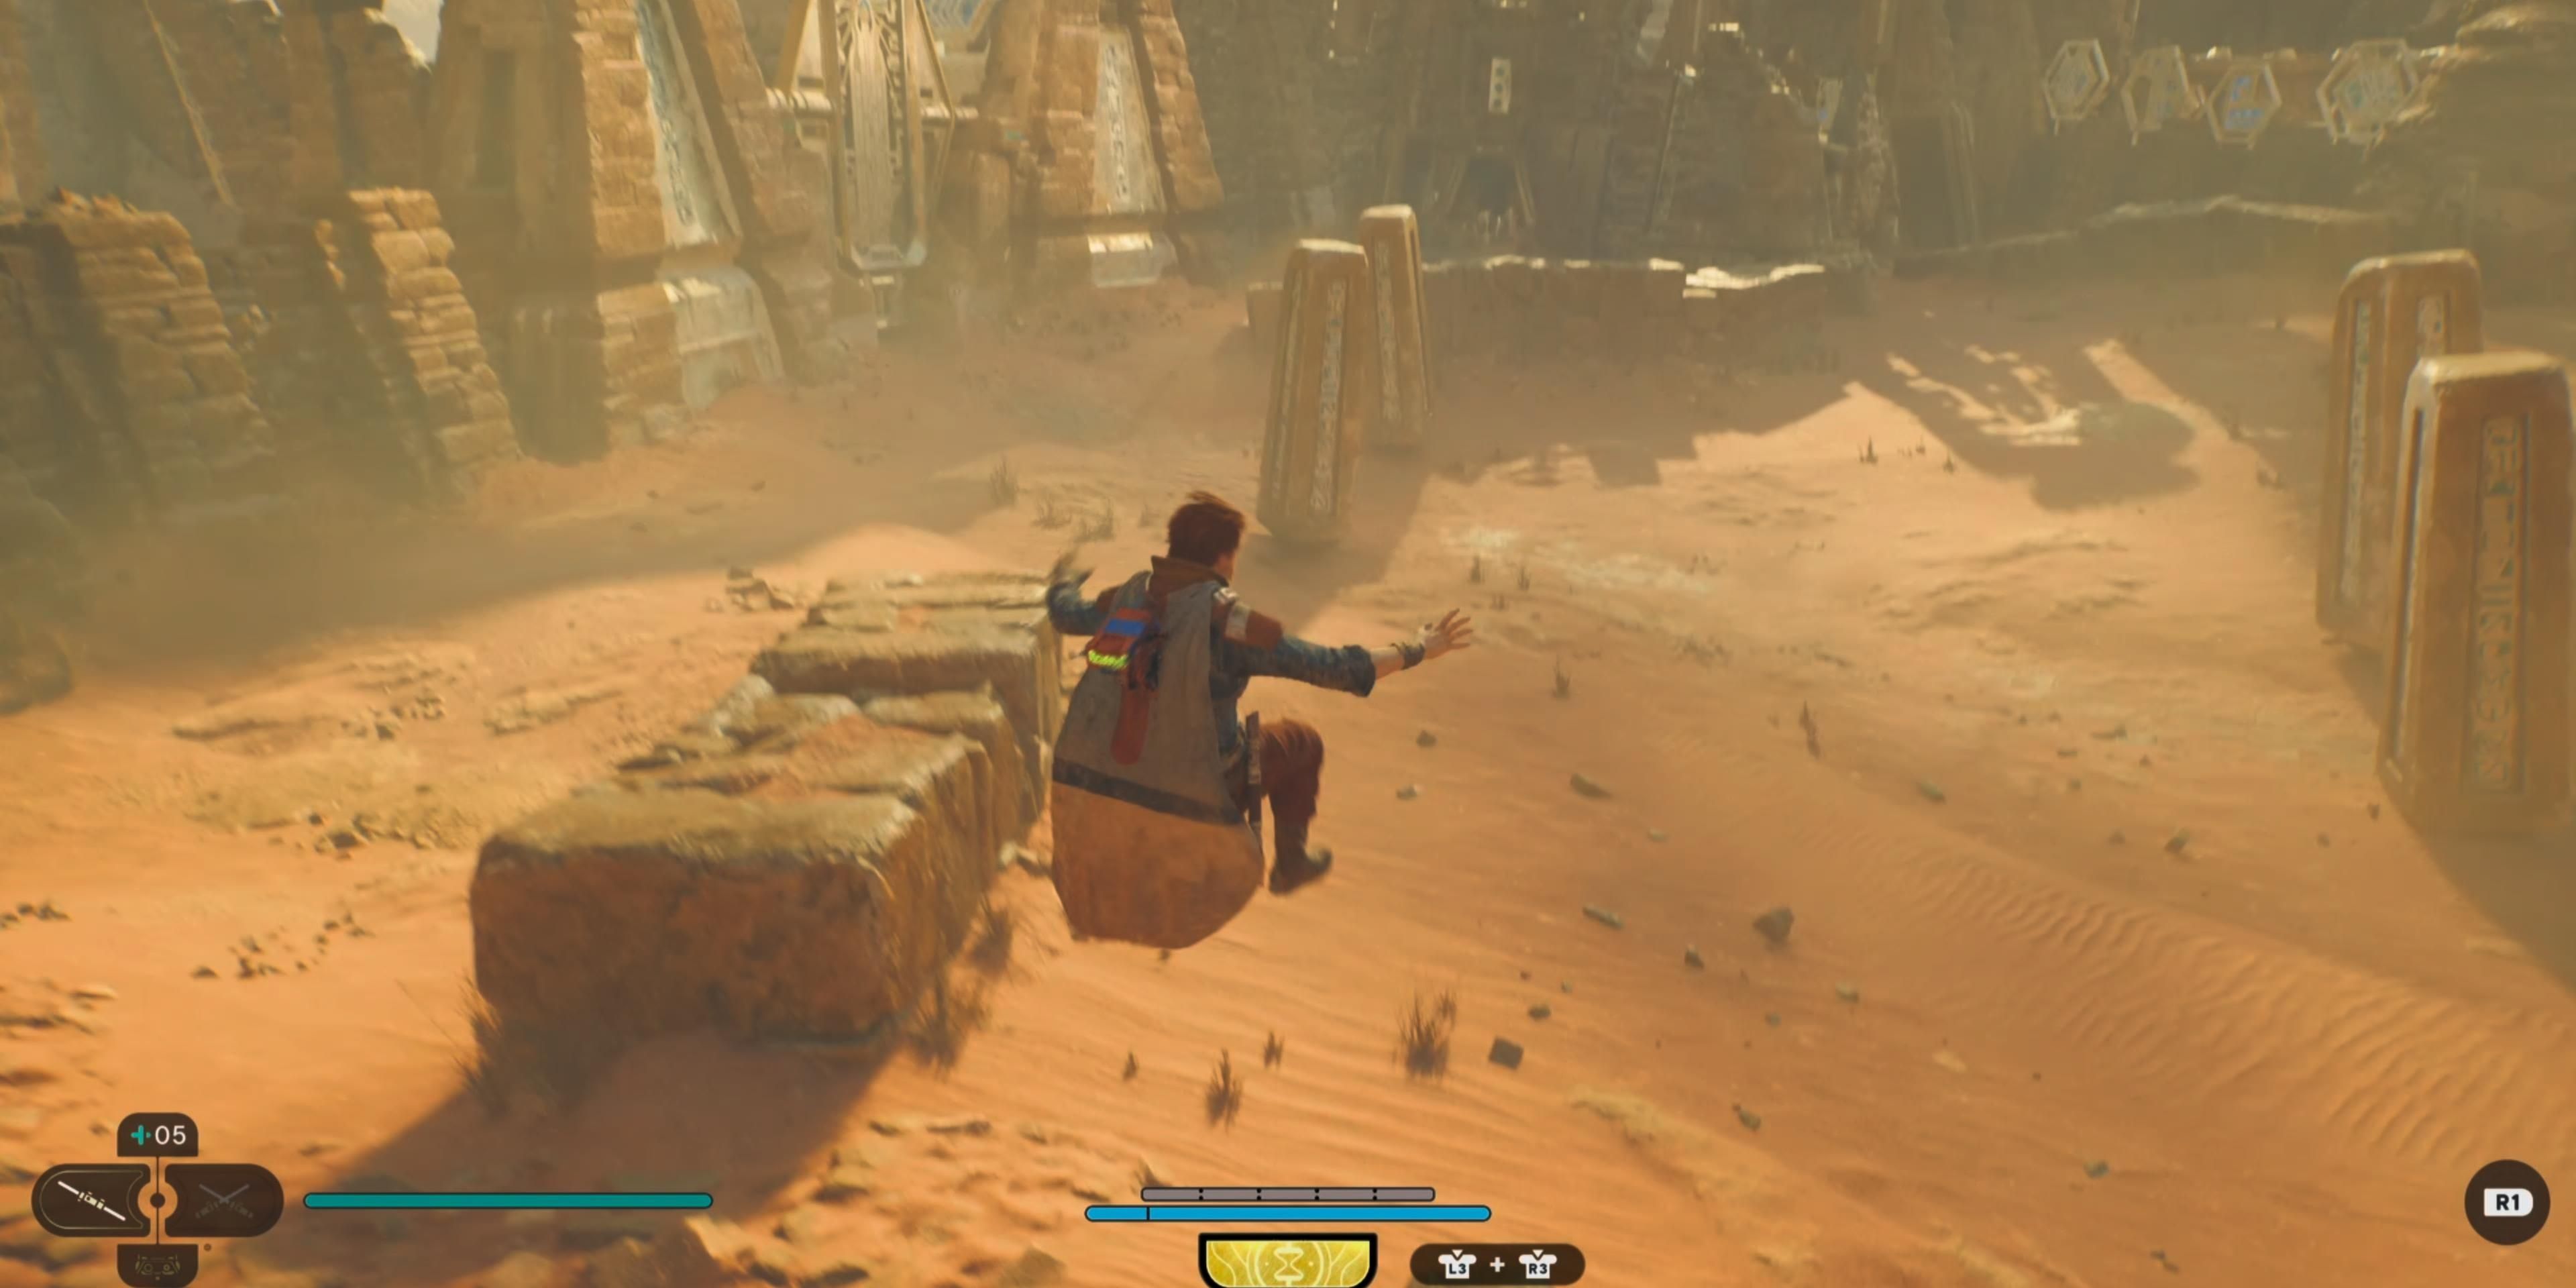
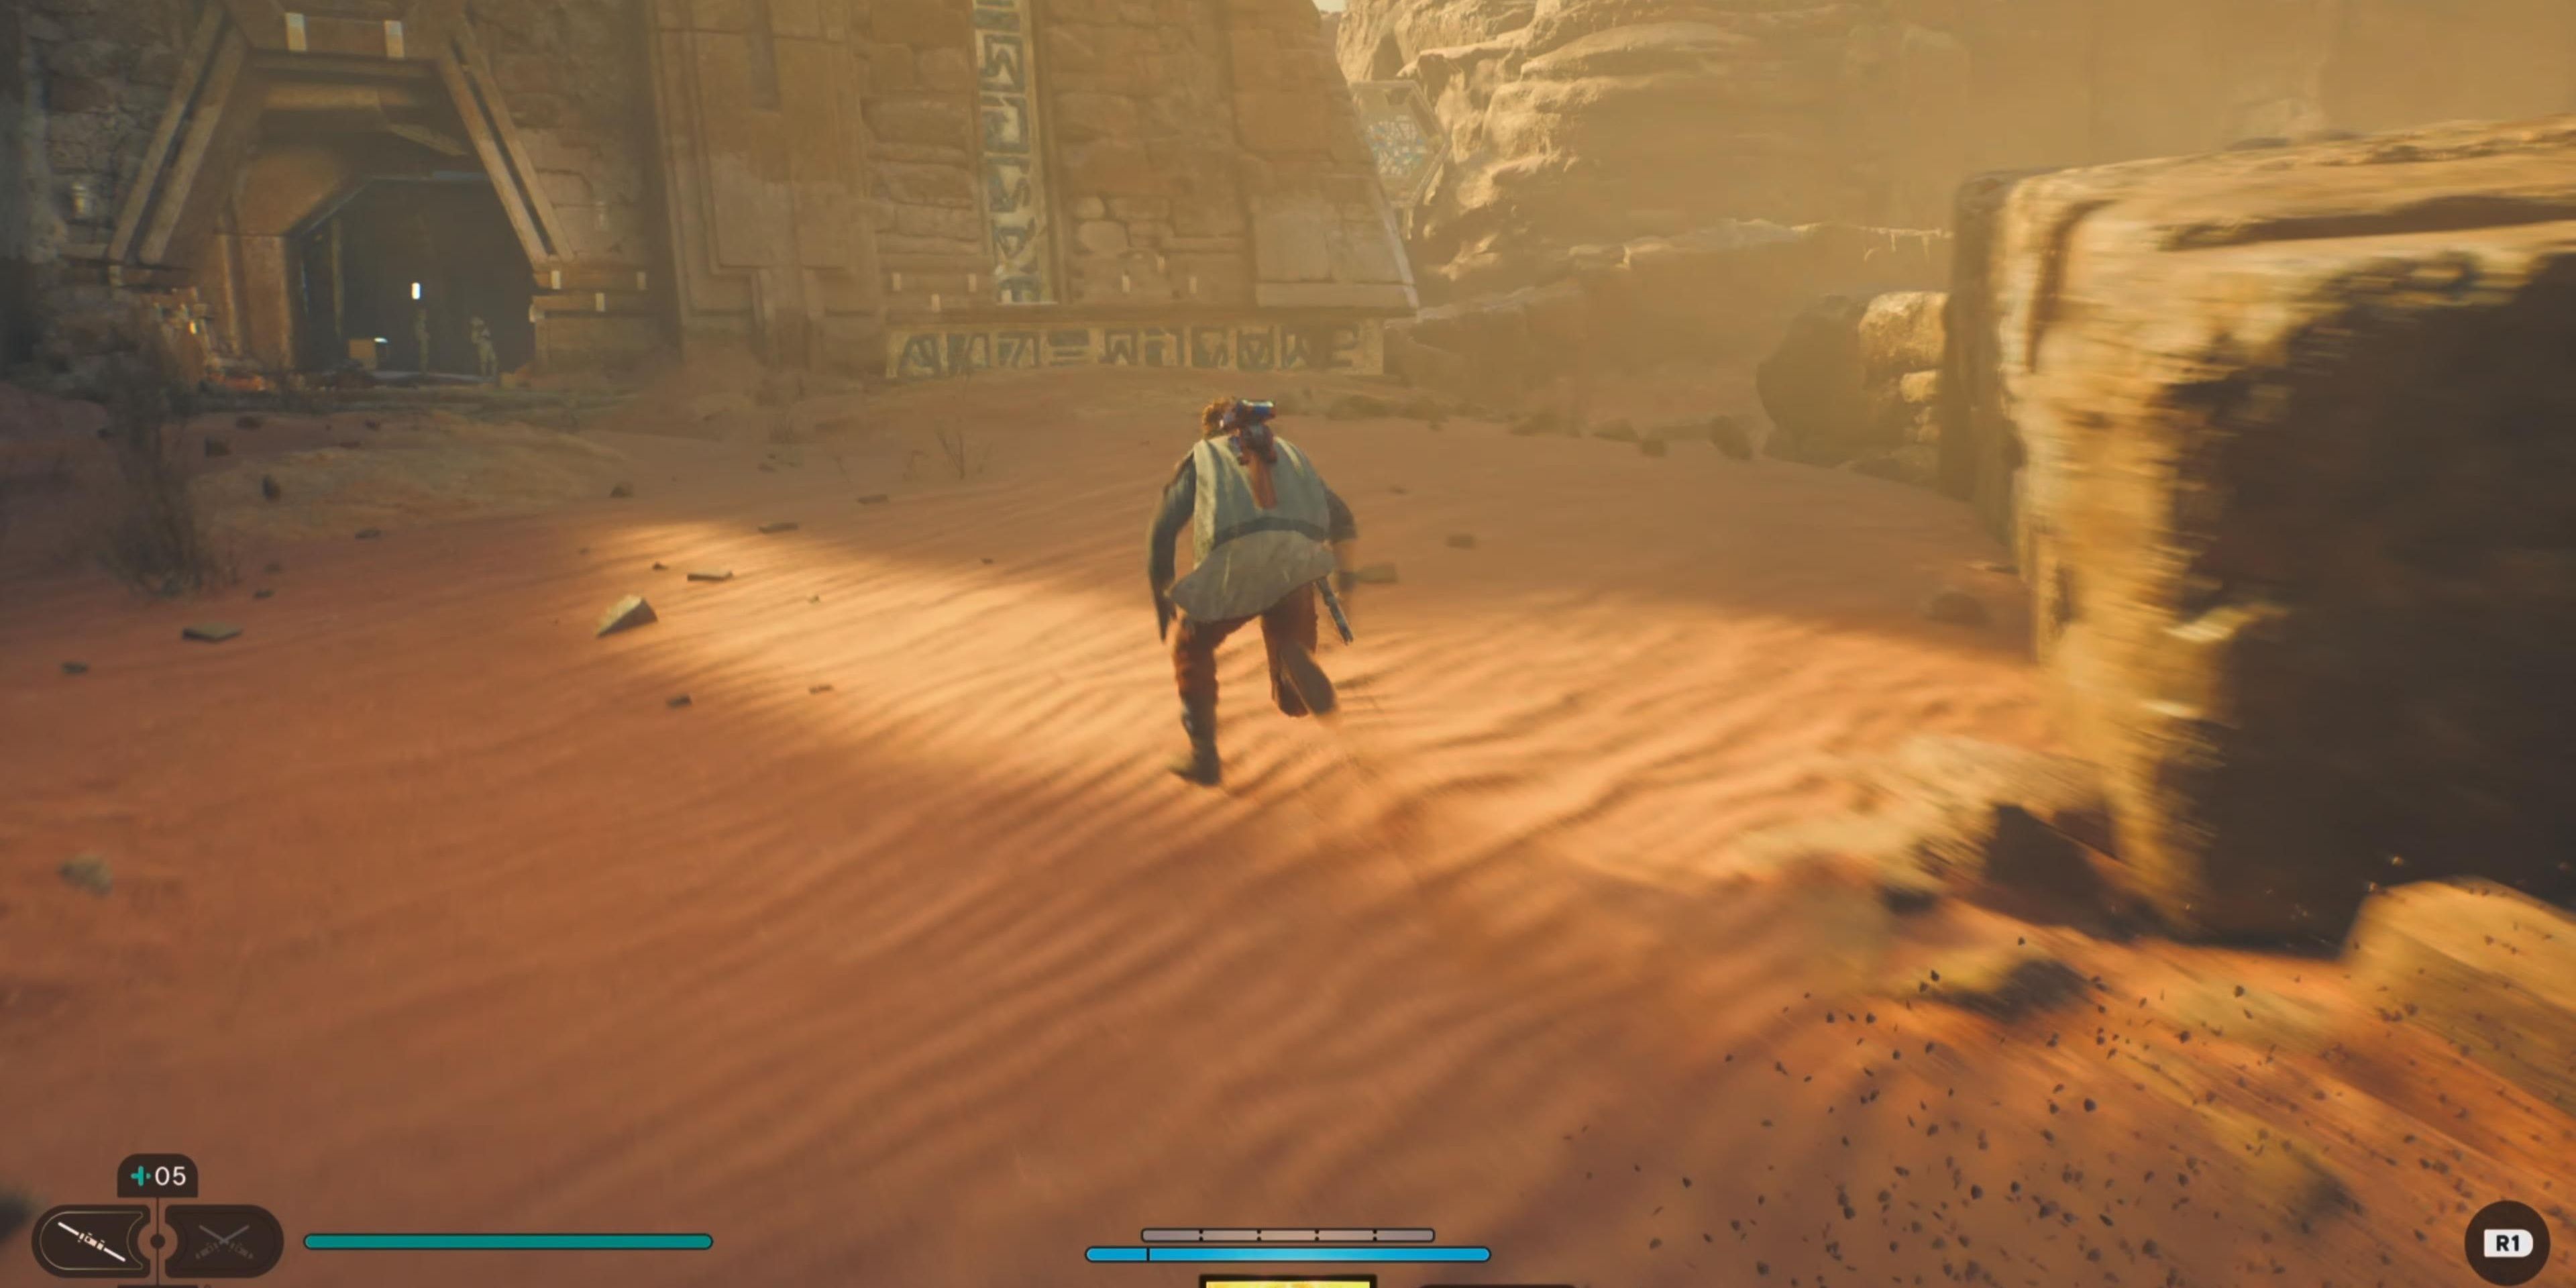
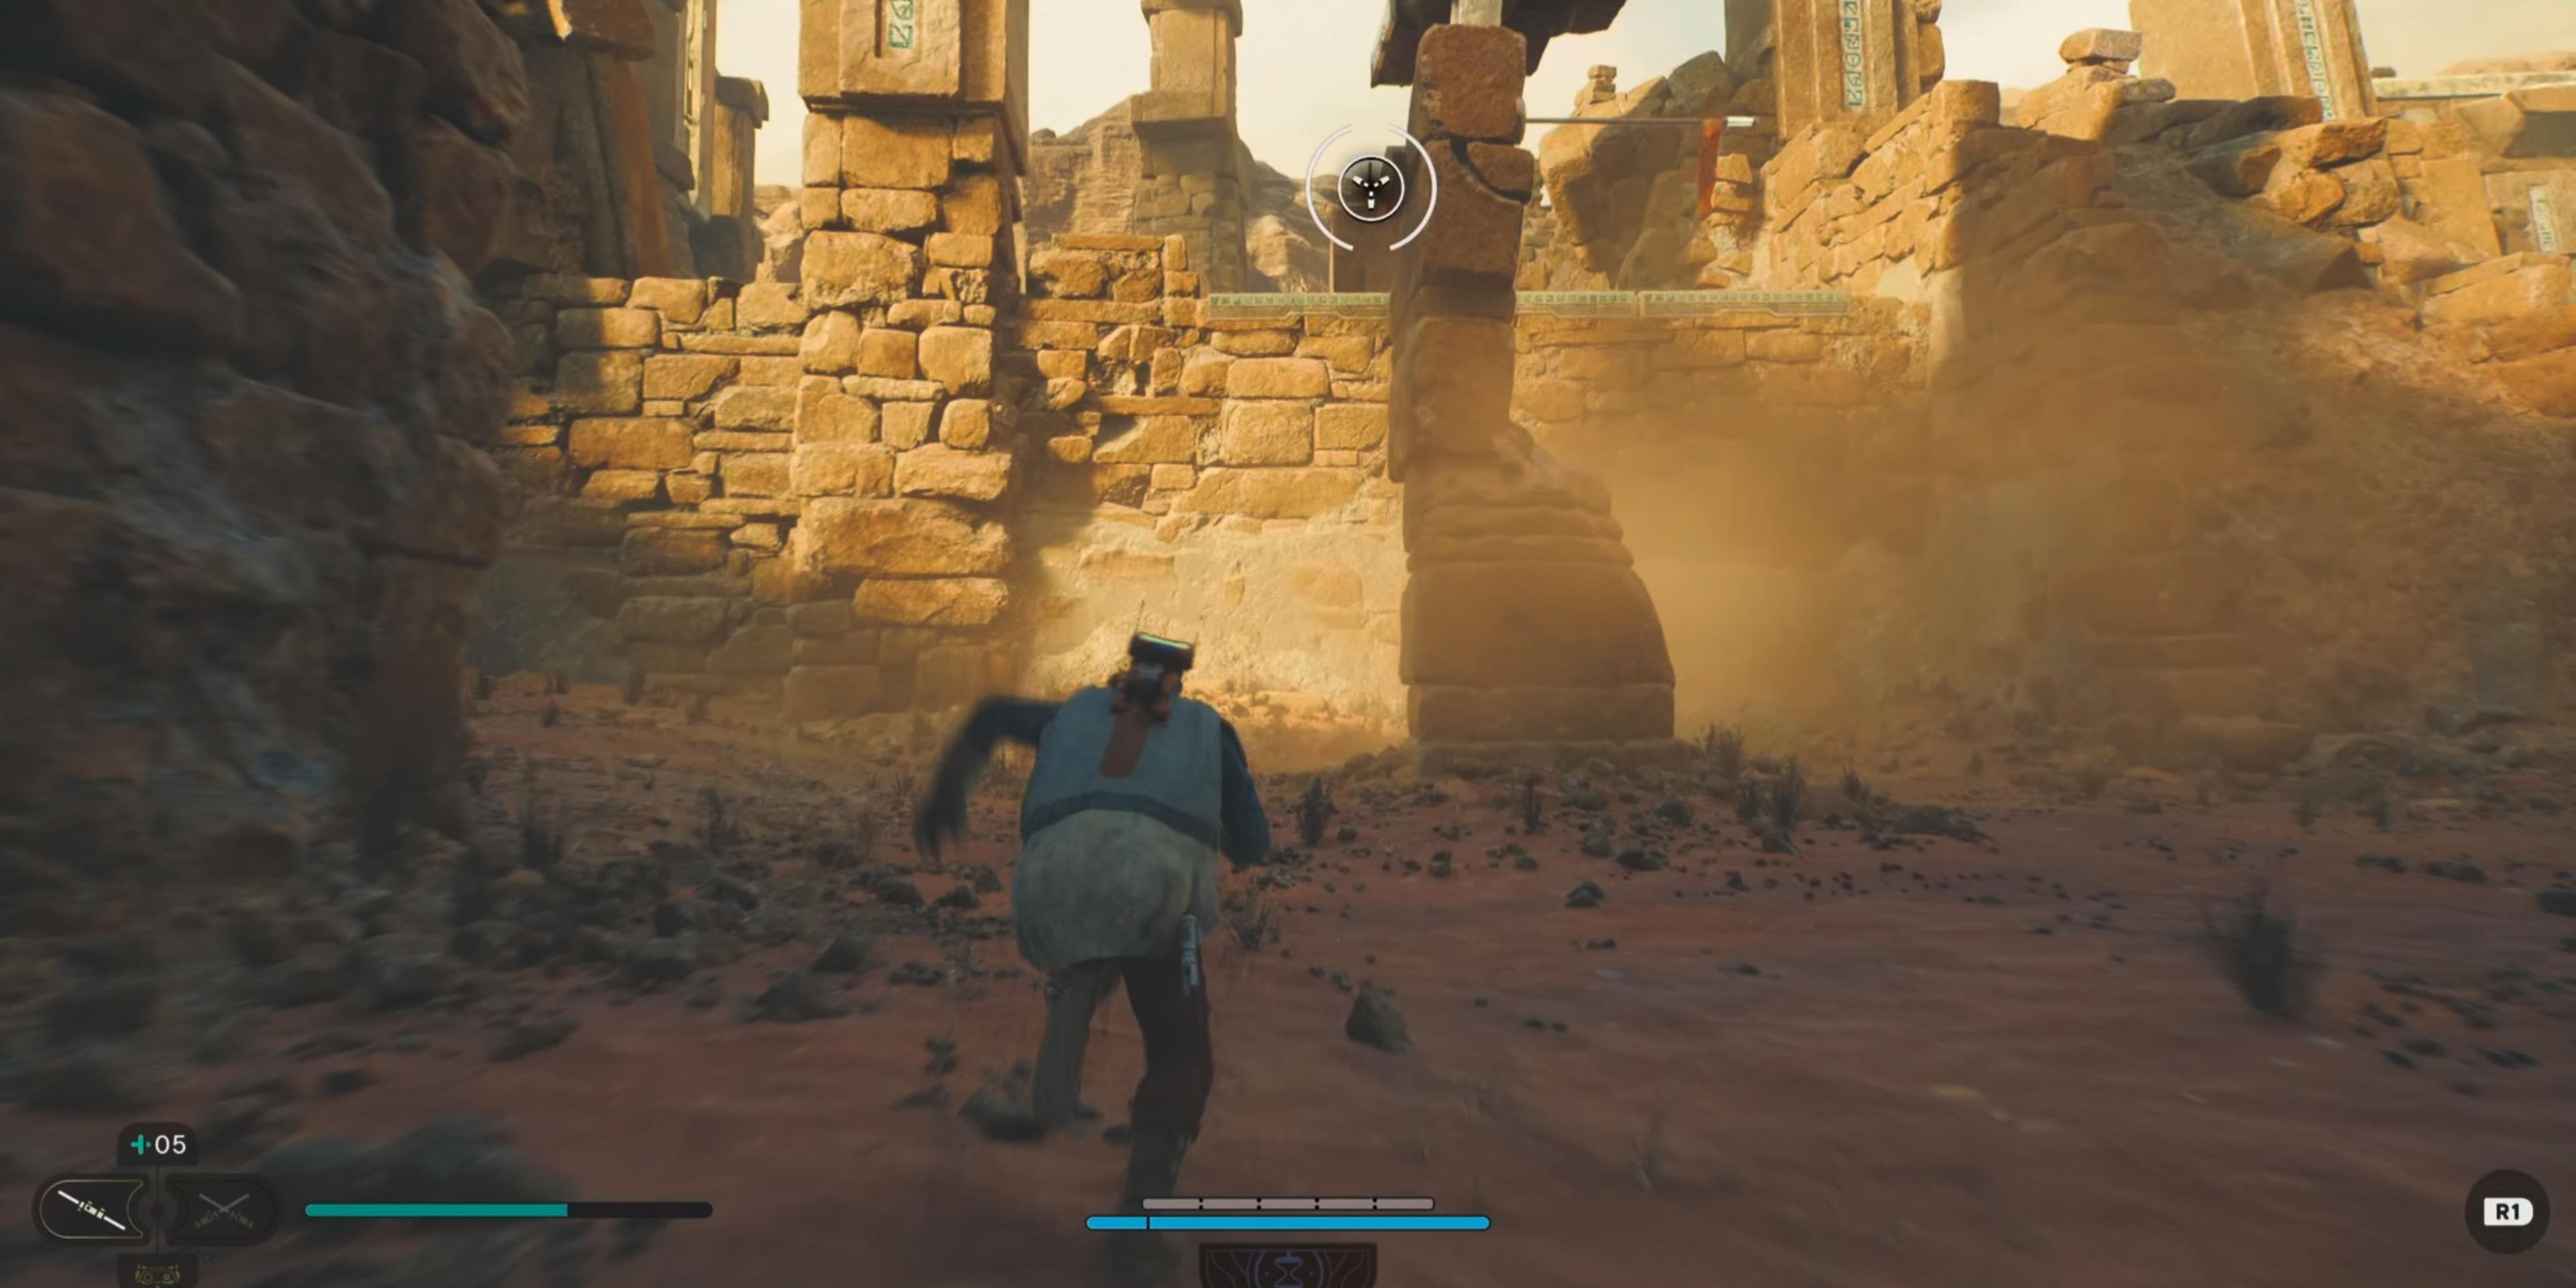
Once you’re finished at the Meditation Point, keep moving down the hill, and you’ll overhear a pair of Stormtroopers perish in the sand, prompting Kestis to warn against walking on the sand.
Use your ascension cable to reach the nearest rock pillar and then jump to the next one.
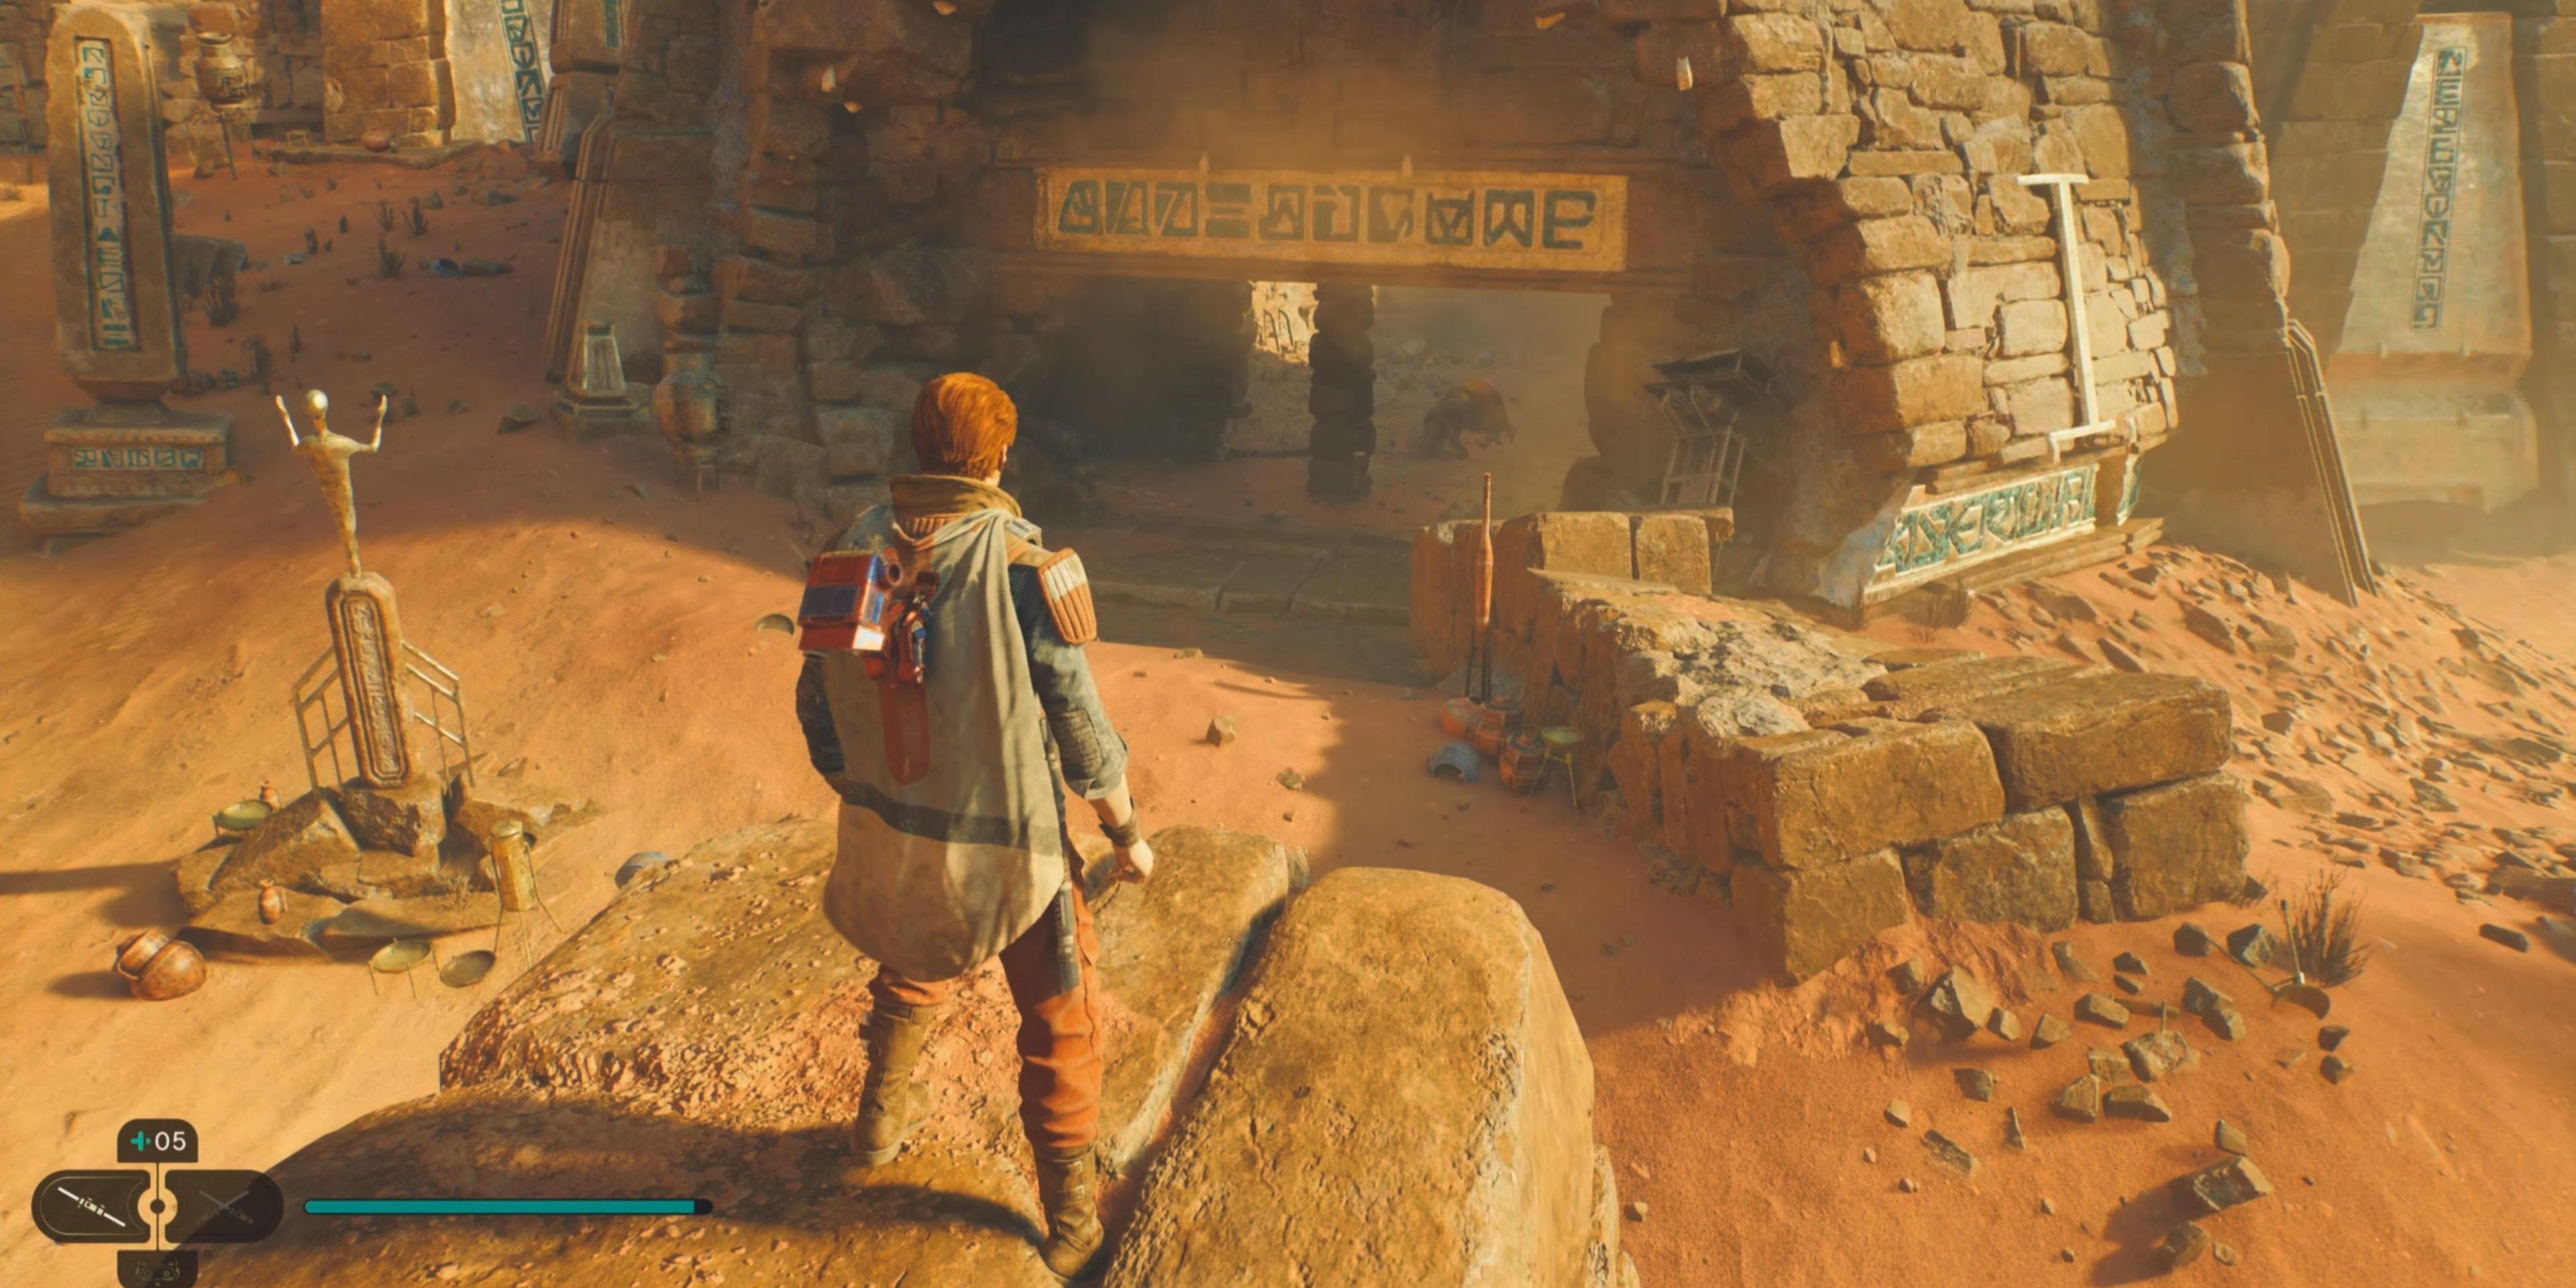
Drop down from the pillar and quickly run into the side-covered area to encounter a Sutaban. The giant creature will try lunging at you with an unguardable attack, as well as slamming the ground in front of it.
Prioritize dodging over blocking against this creature because its long, wide arms might harm Kestis around his block.
After defeating the Sutaban, you’ll notice that you can’t climb up the slope, so head back out of the sheltered area and continue running up the hill.
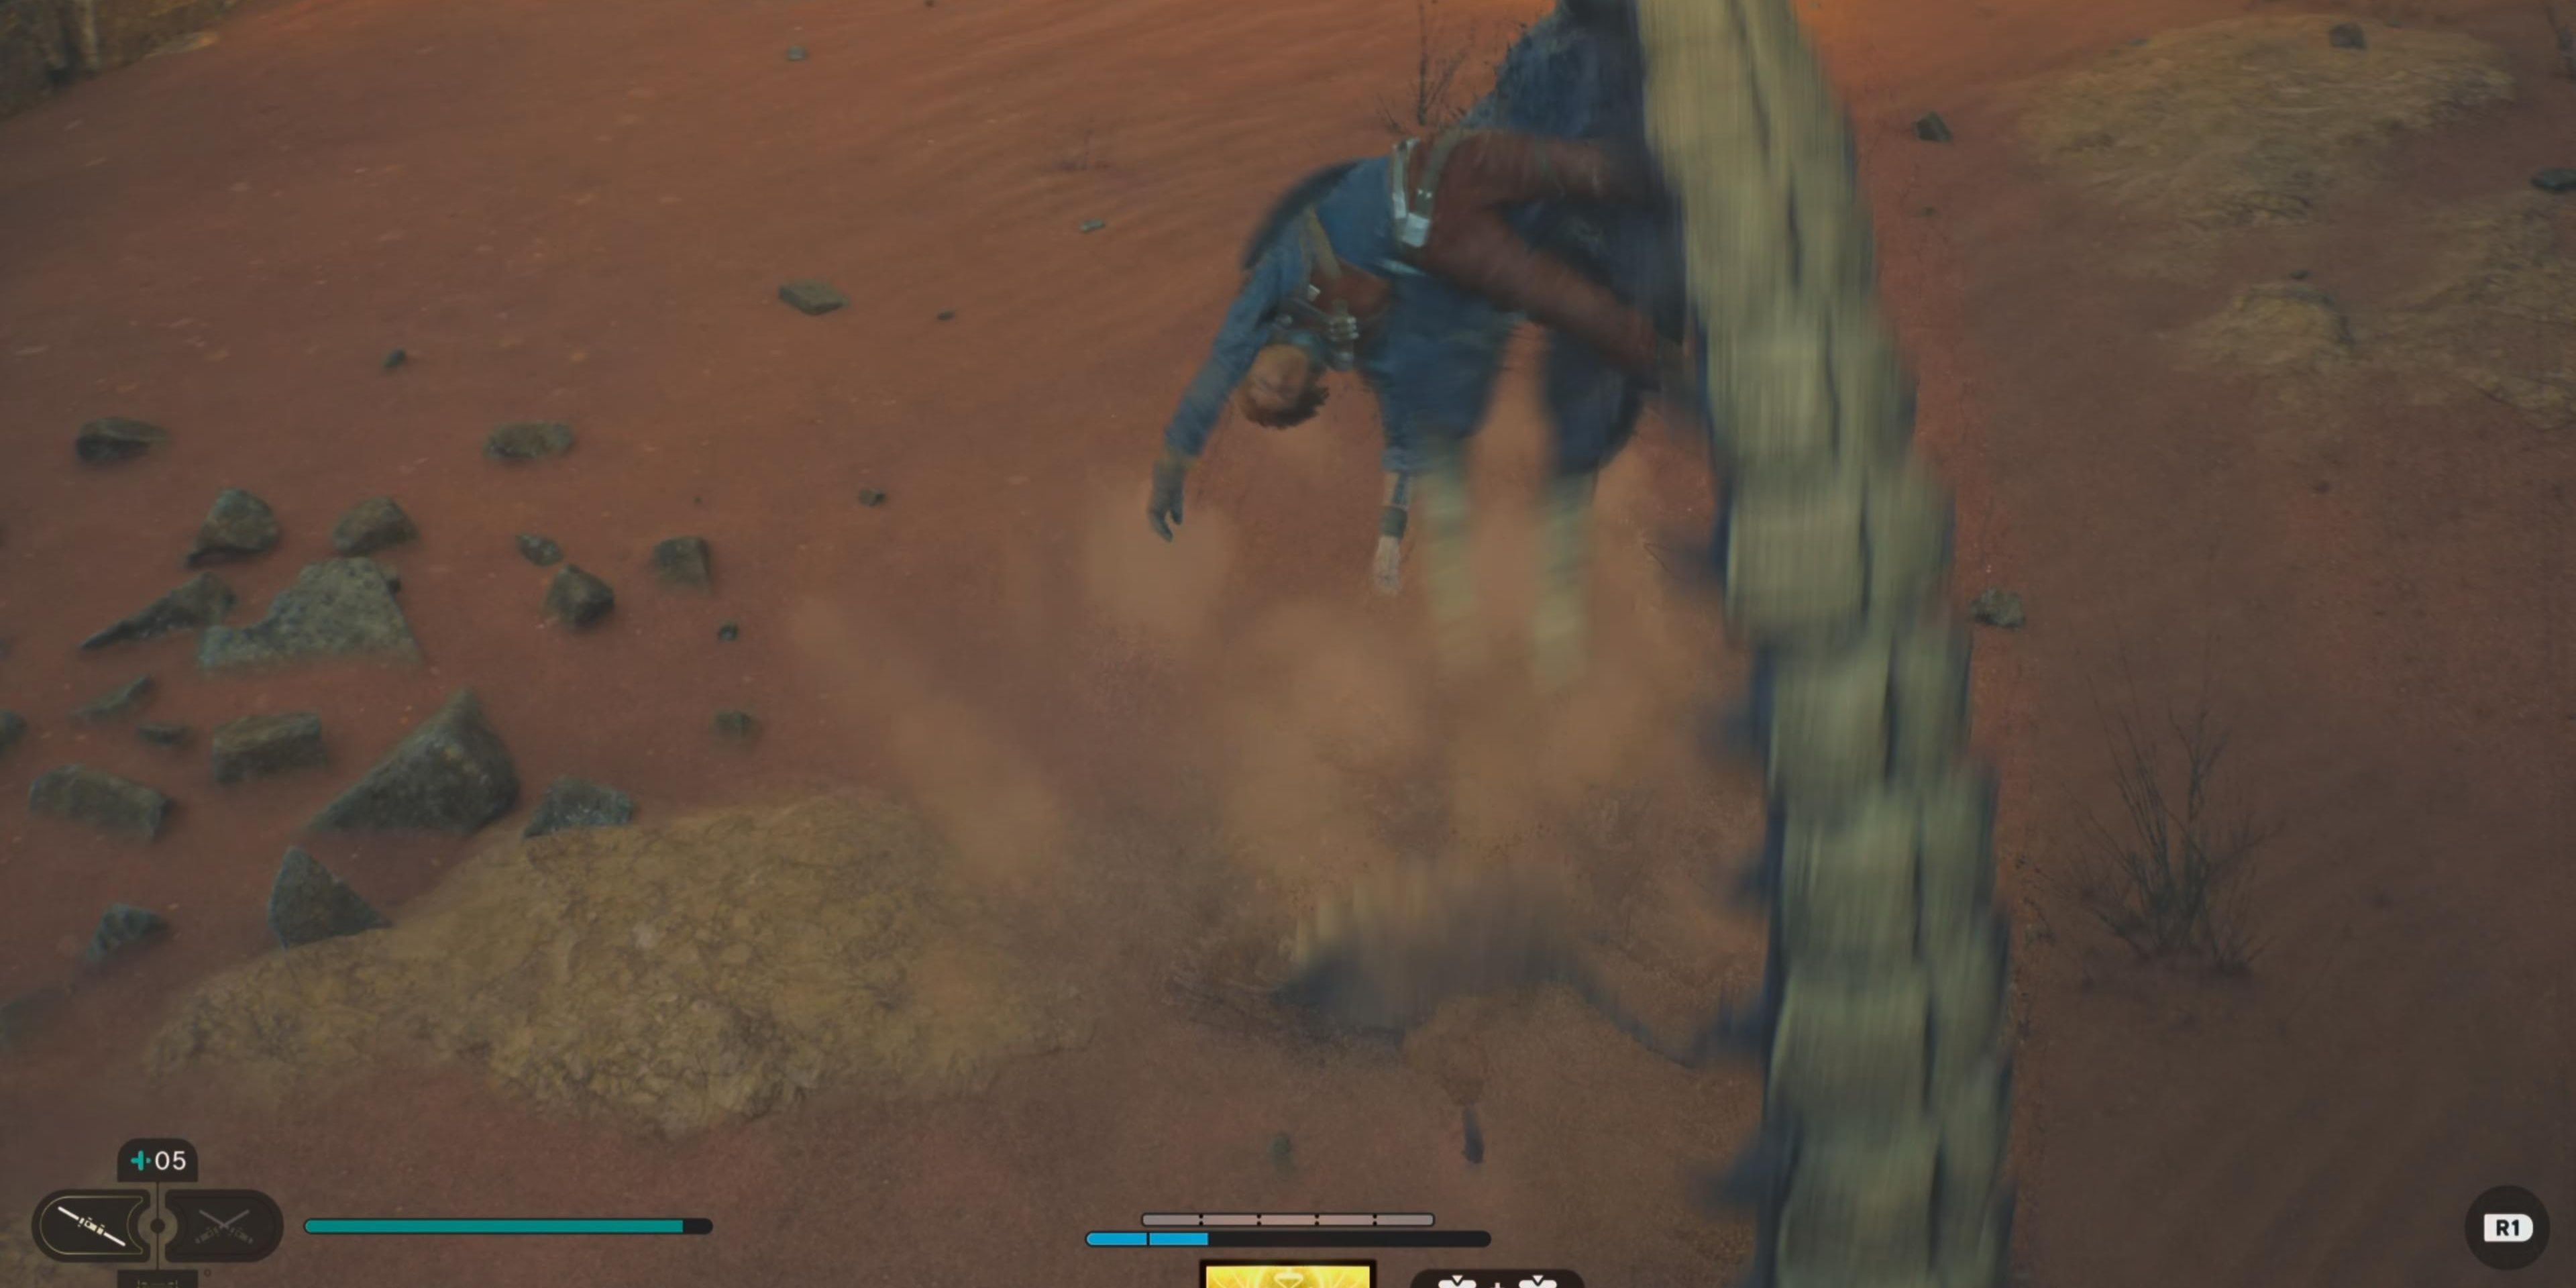
When Kestis is running directly on the sand, it will attract the attention of an underground beast. You won’t be able to survive very long on the sand until Kestis is yanked down into the depths and loses health.
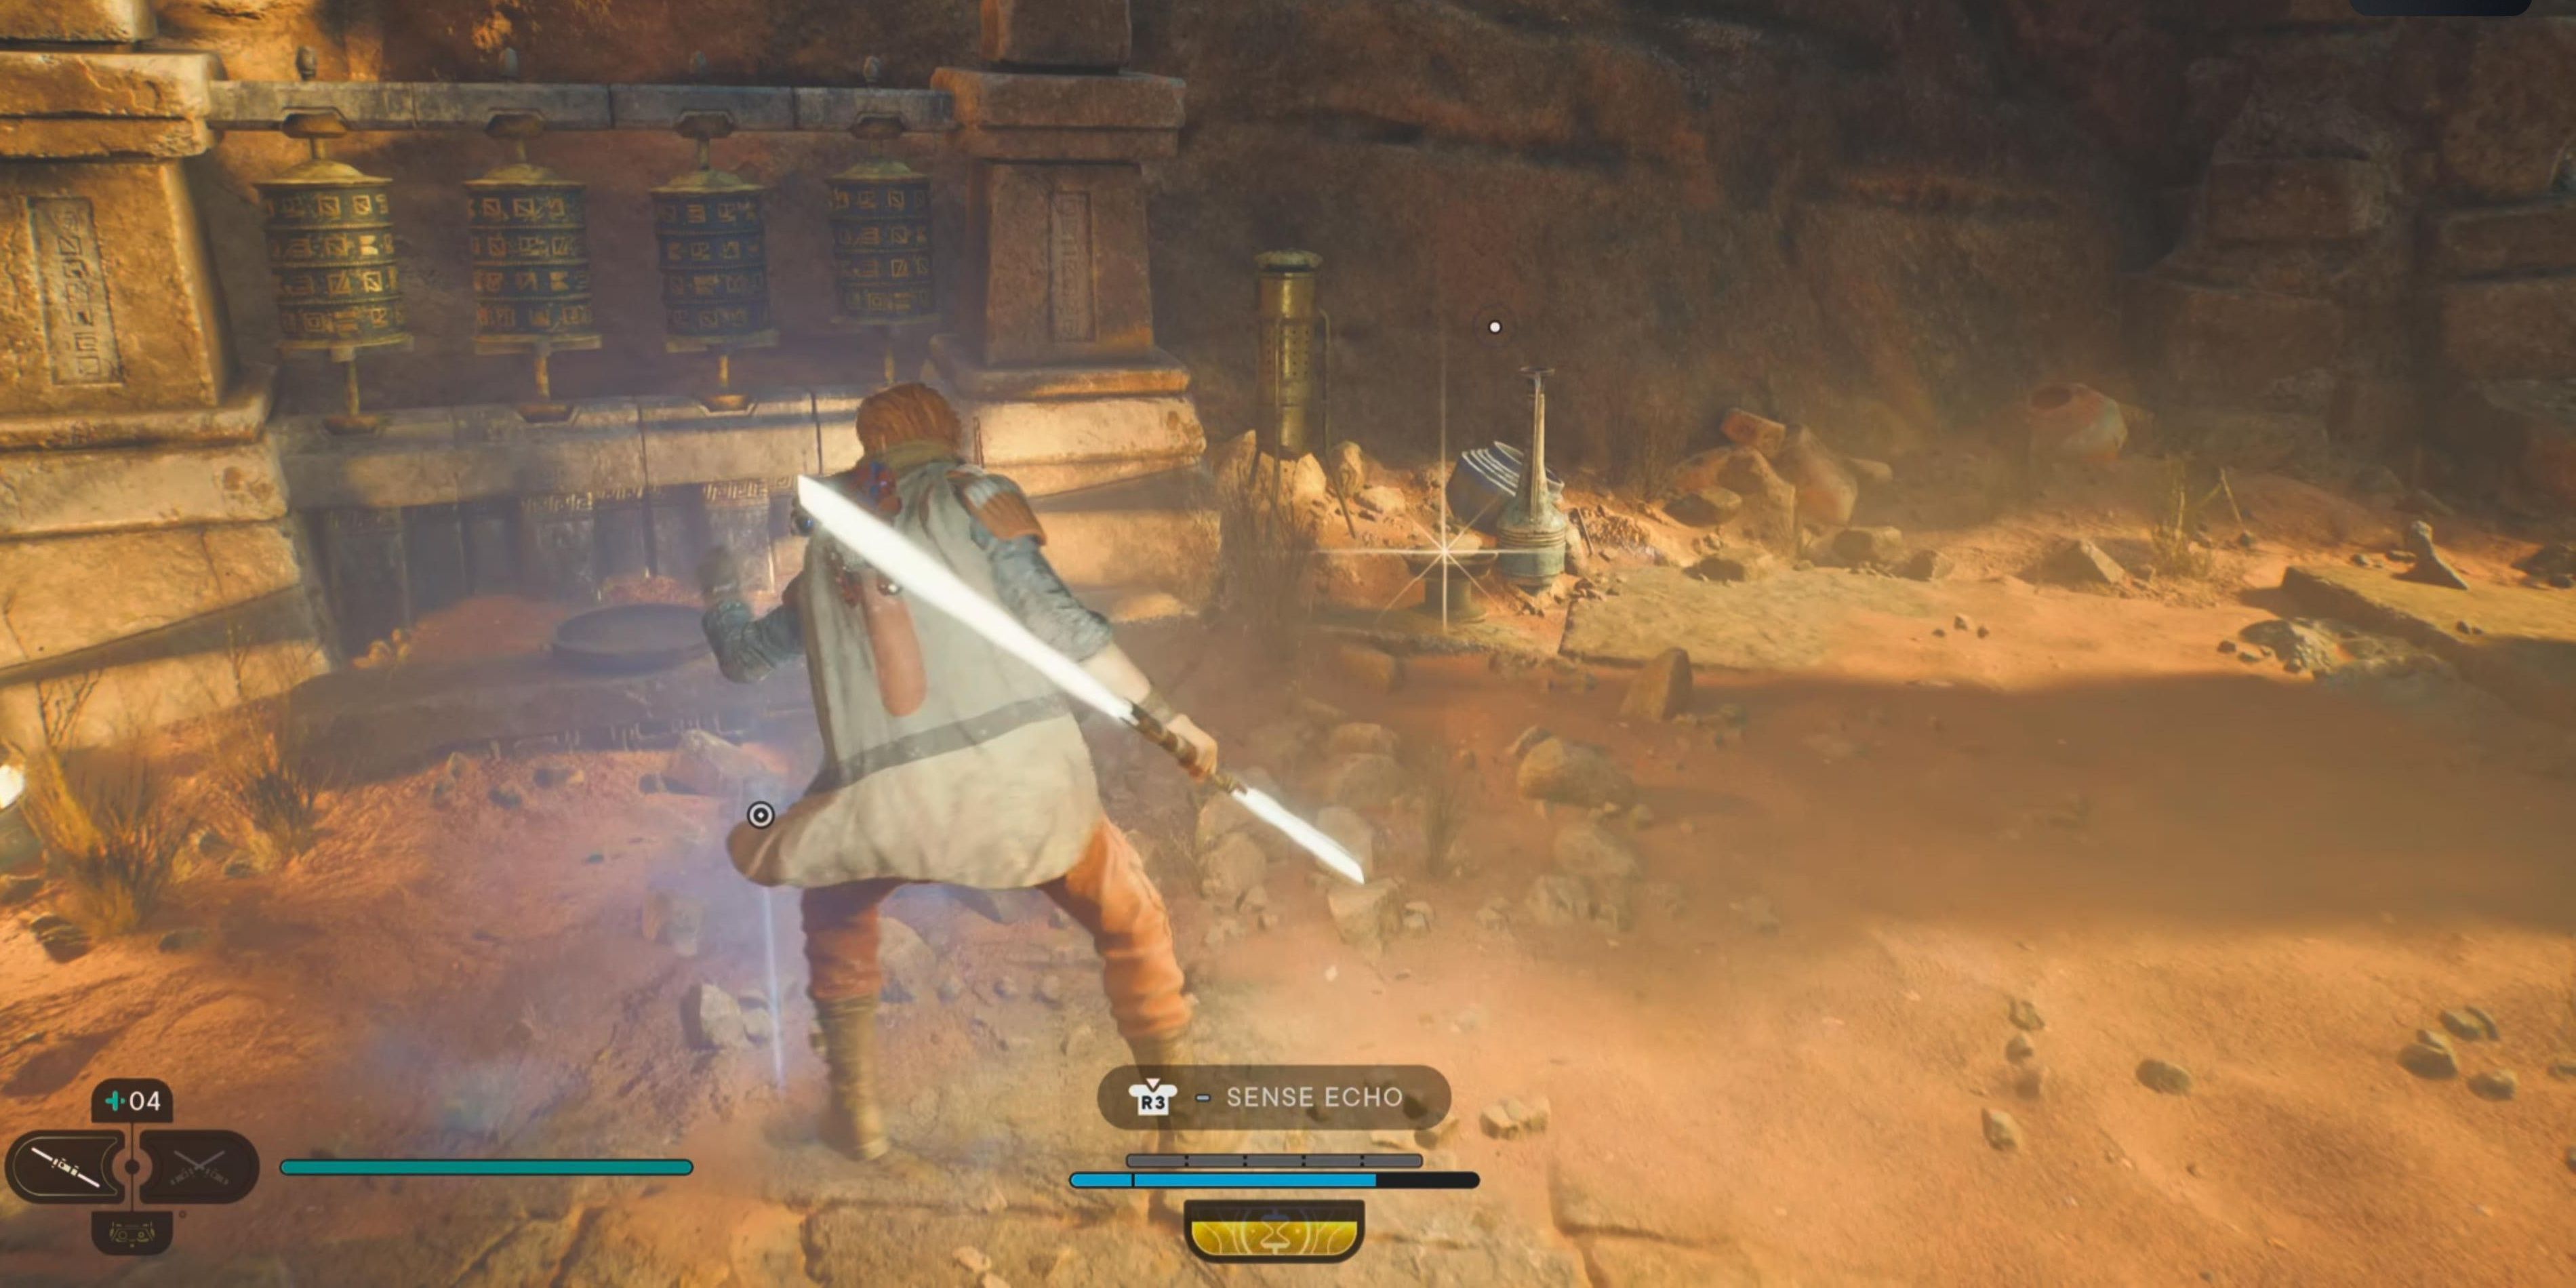
Climb up the small ledge and clear out the Hardshells in the area. Sense the Echo and then pick up the Jedha Scroll next to it.
Jedha Scrolls are the collectible on this planet, similar to Priorite Shards on Koboh.
Slide down the slope, but before you reach the bottom, you’ll be prompted to use your ascension cable to reach an above section of the structure.
If you miss the interaction, you’ll end up in the area you previously killed the Sutaban, and you’ll need to loop back around.
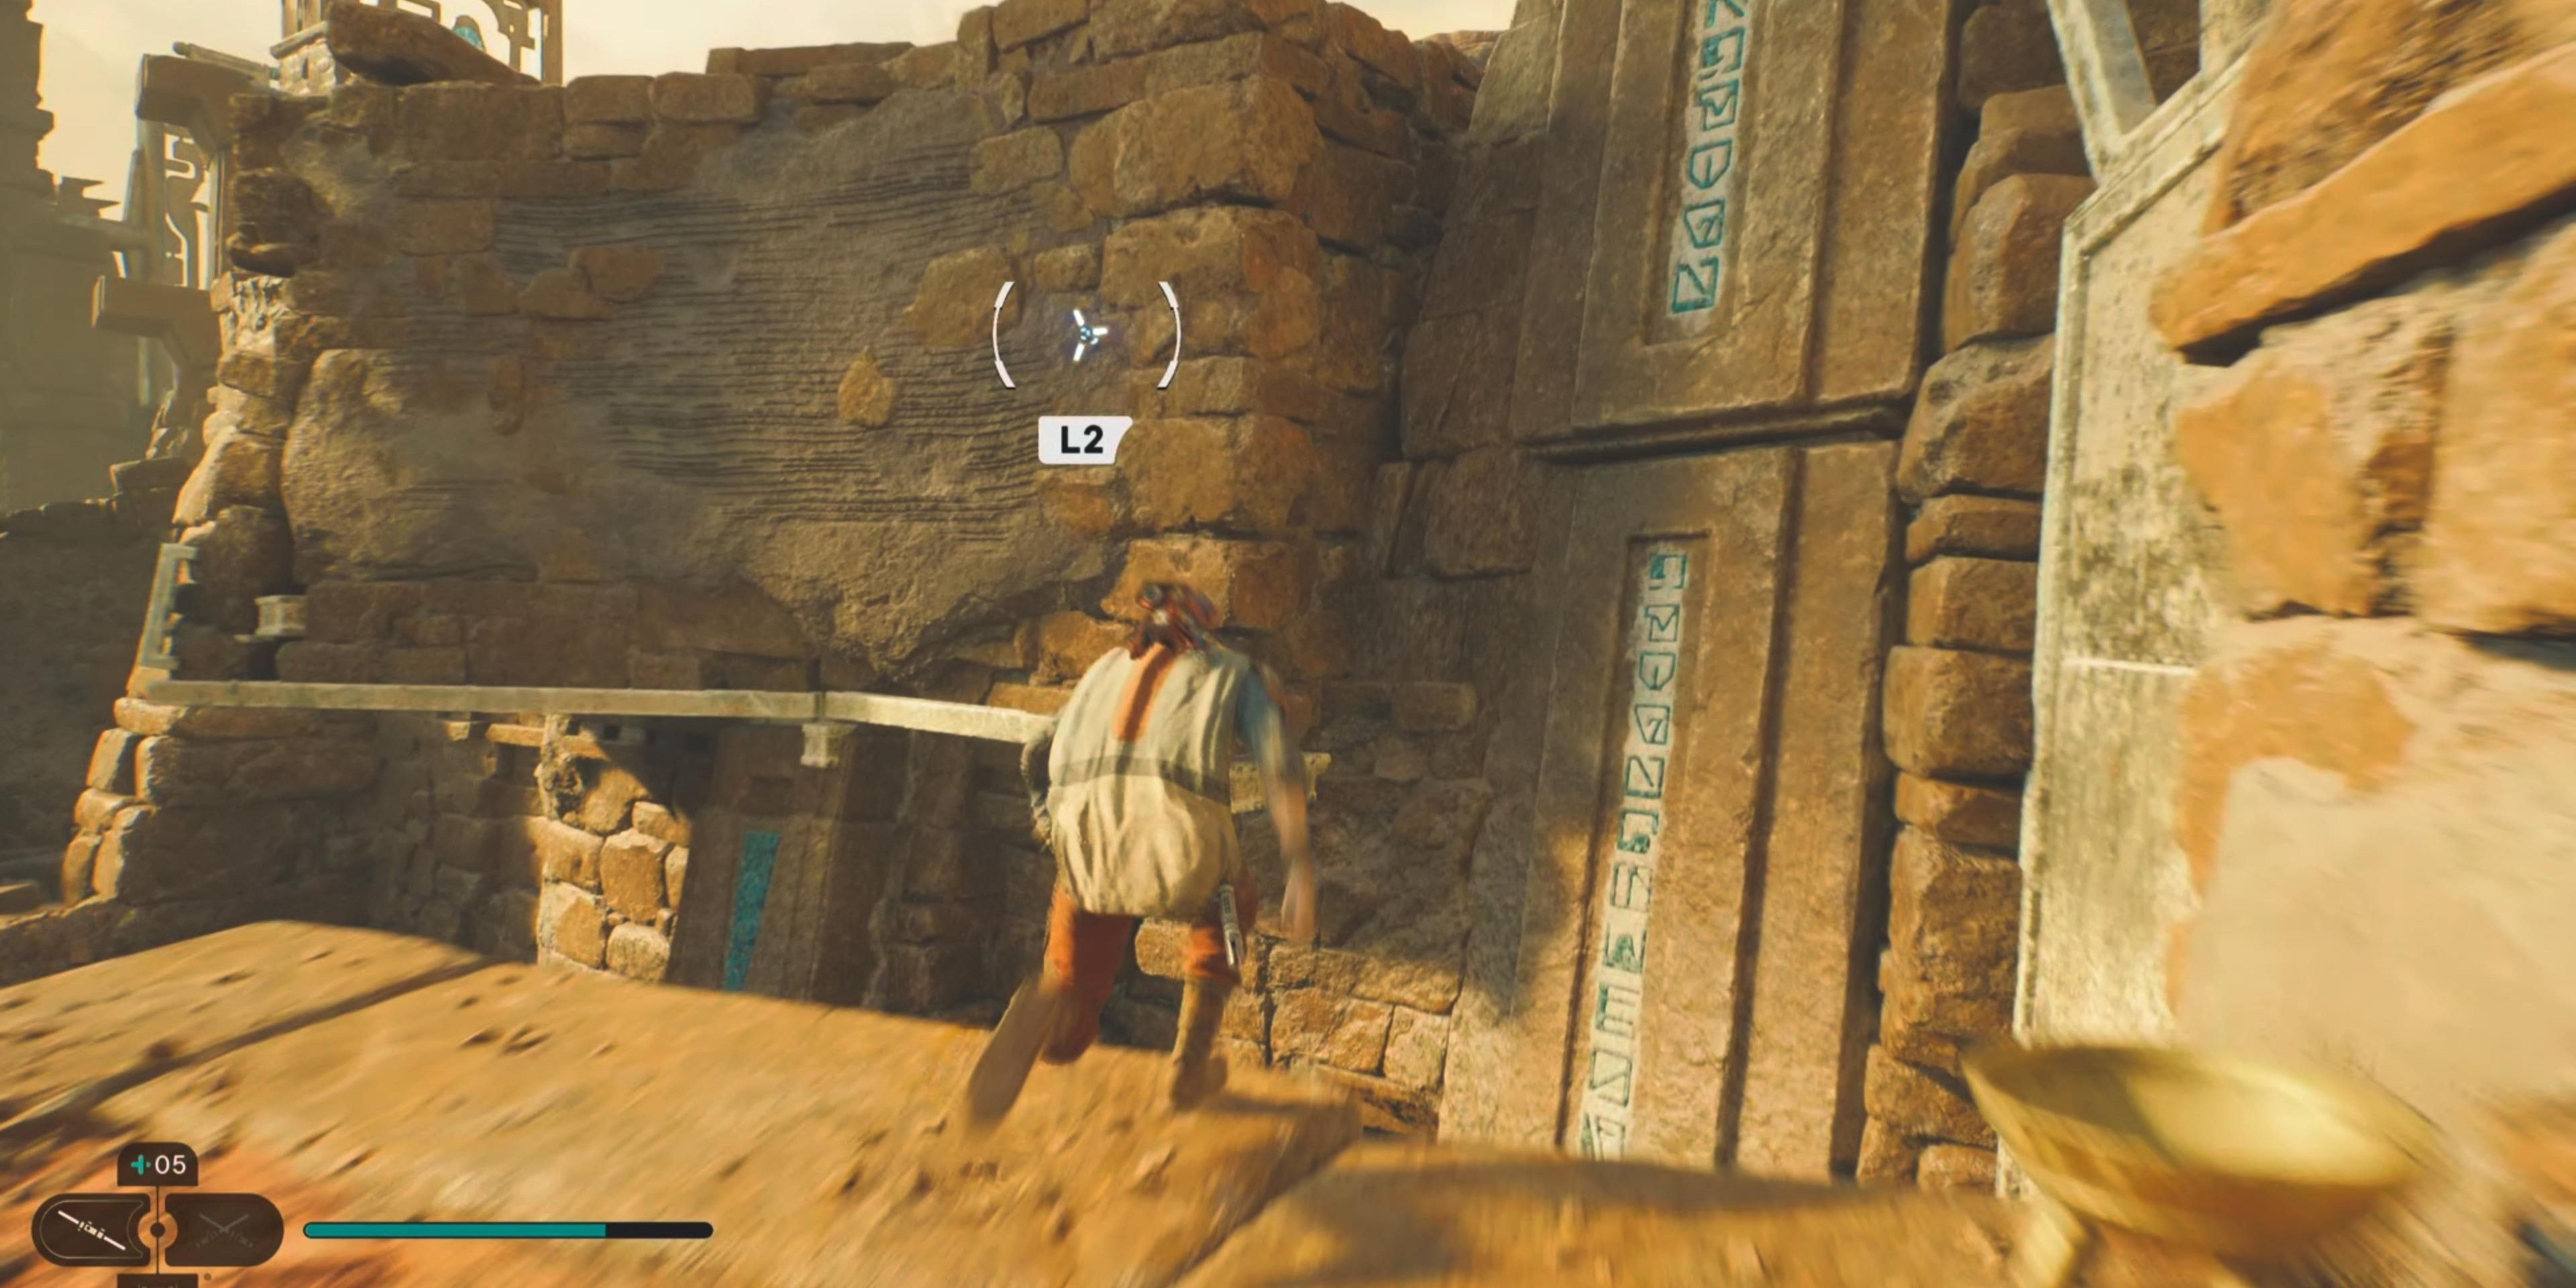
Walk across the metal bar (you’ll need to drop down to continue moving underneath the blocked wall), then wall run around the corner of the structure to find a crate with the Nocular Head component for BD-1.
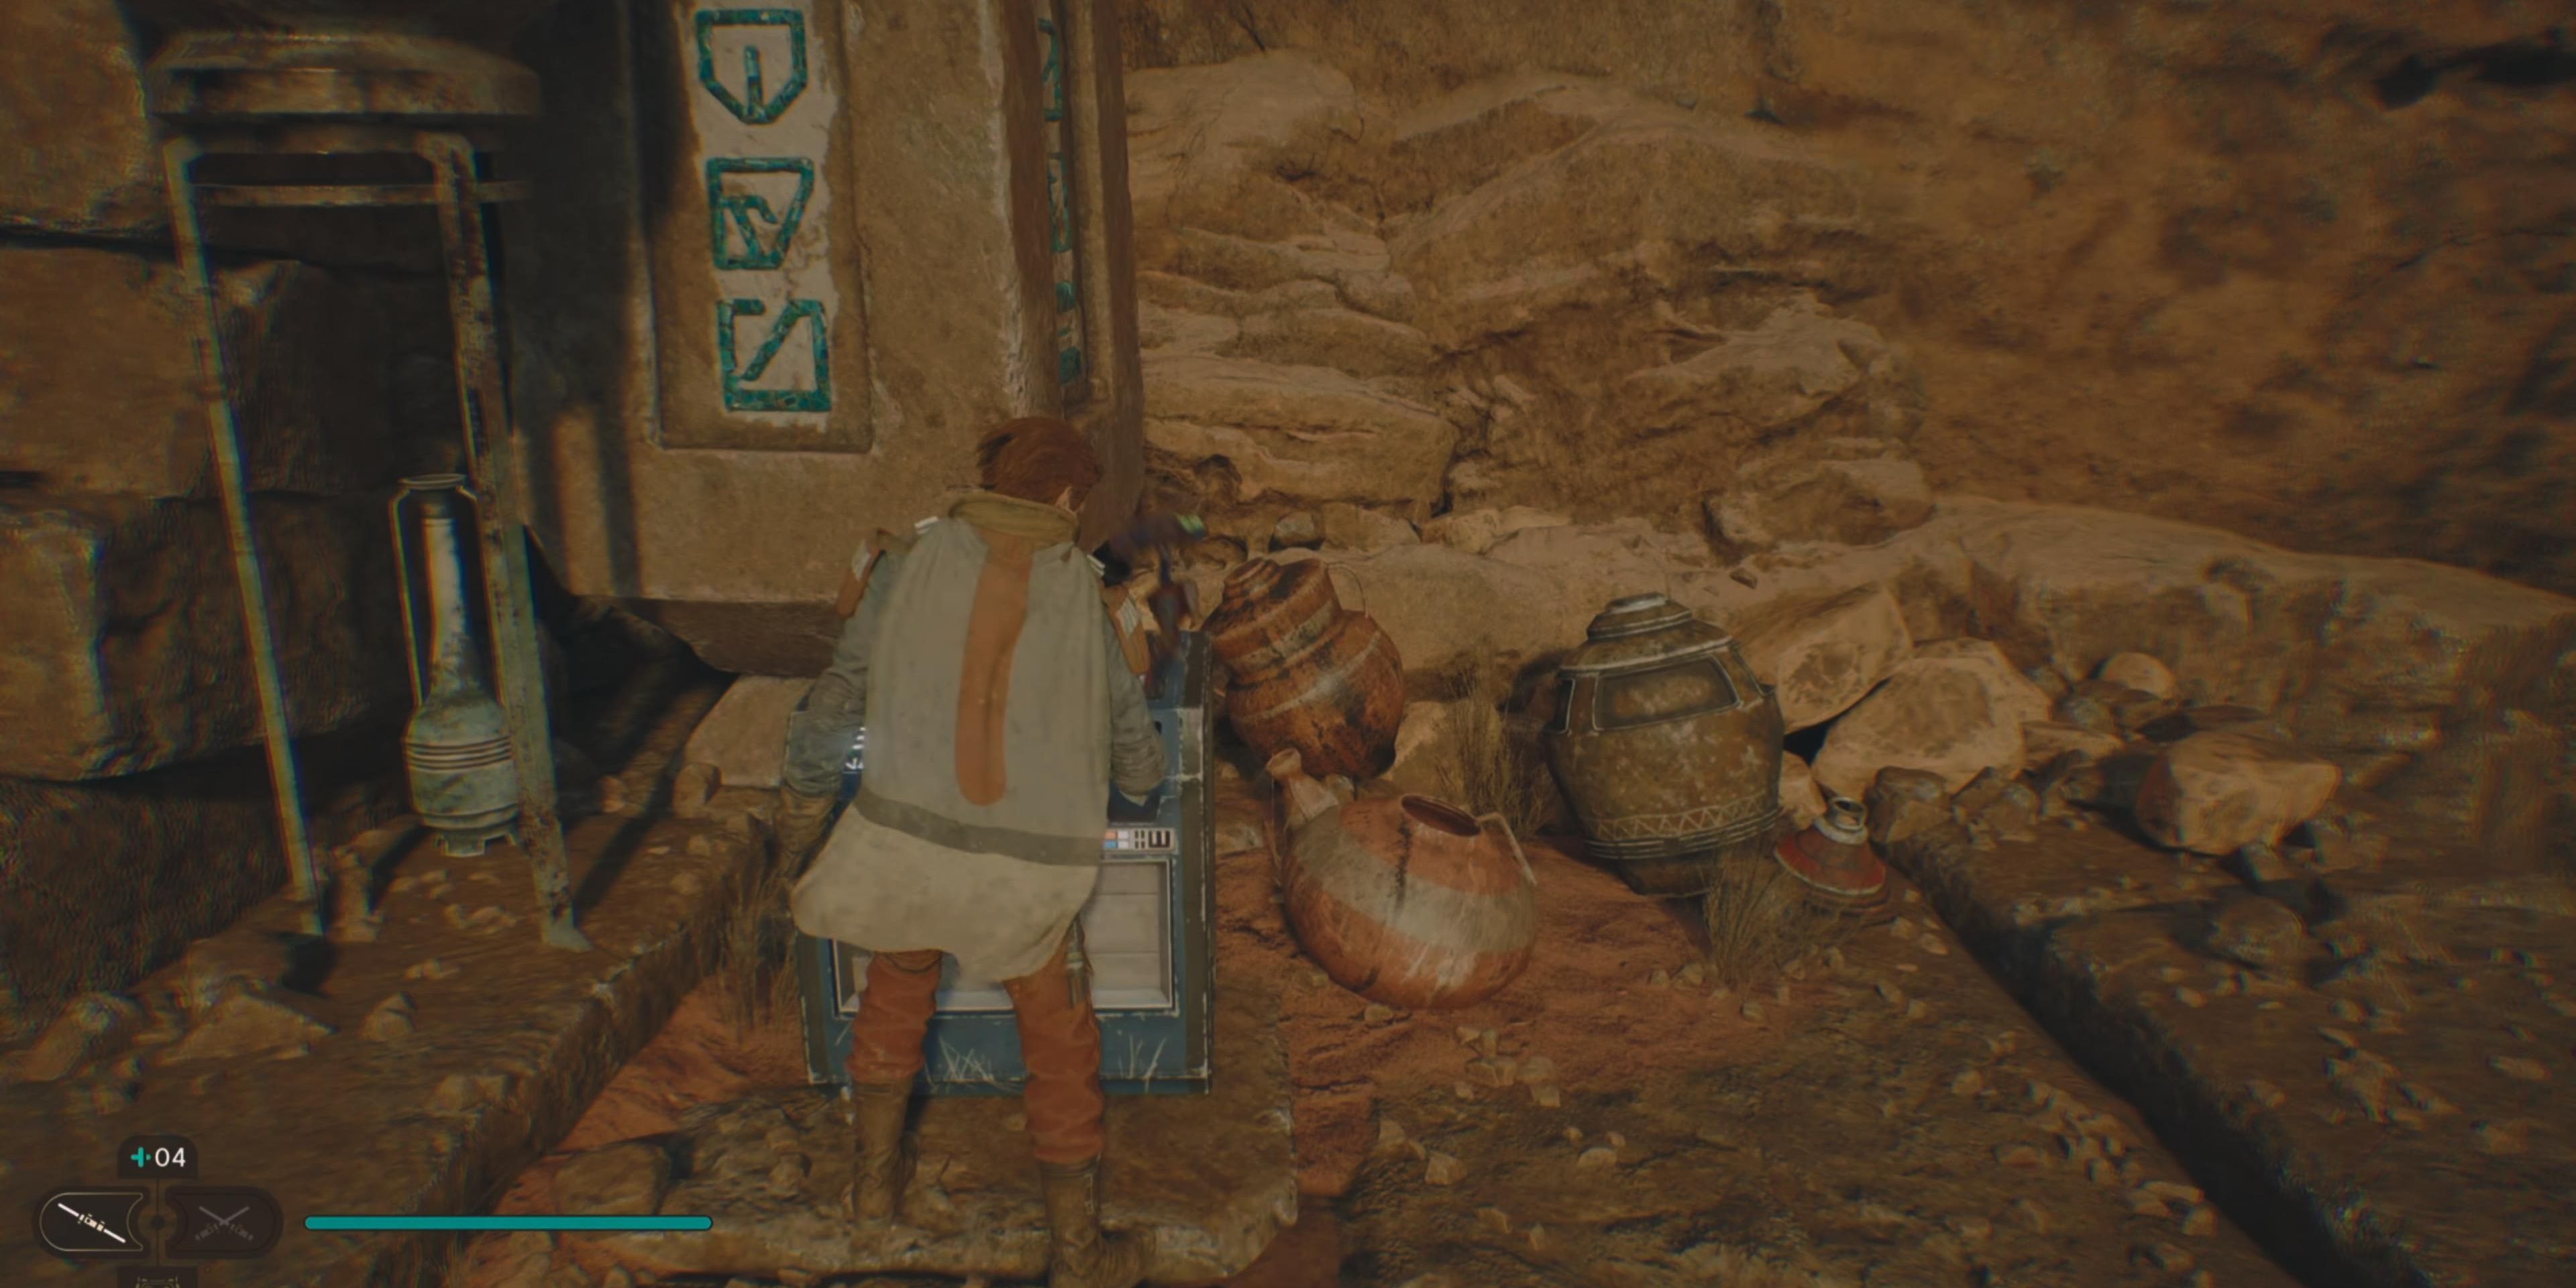
Run back along the wall and return to the platform you were just on after climbing up from the metal bar. Carefully jump across the three slim rocky pillars to reach the other side and open the crate to the left to find the Wanderer Shirt for Kestis.
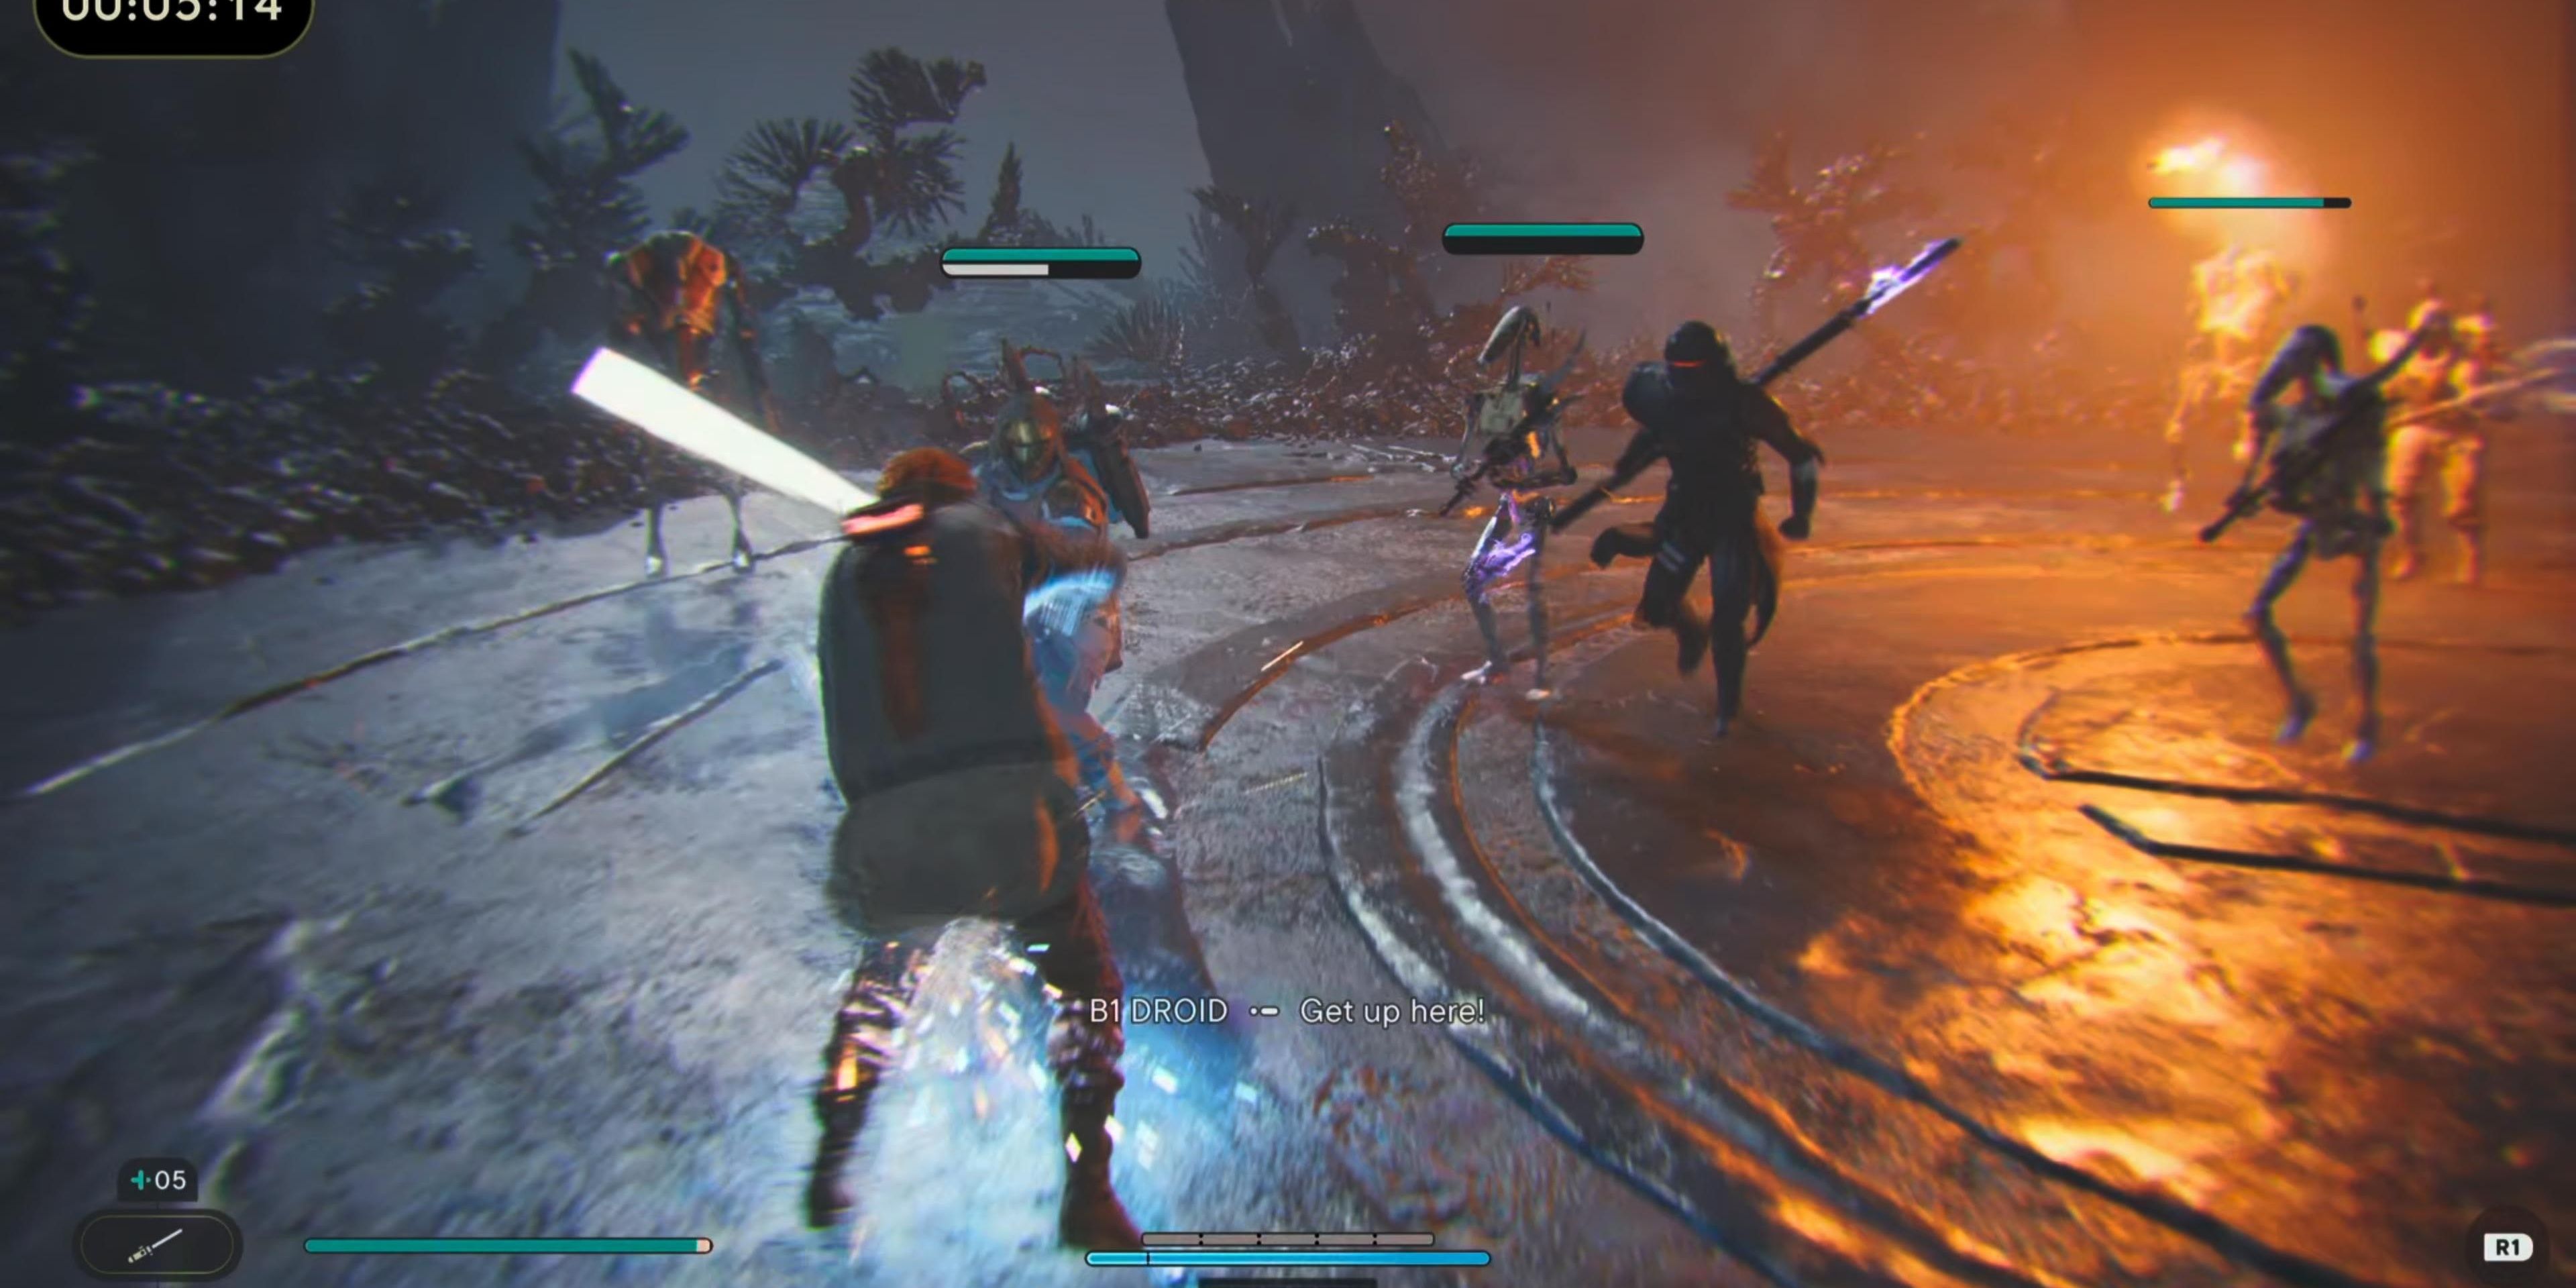
Besides the crate, there will be a Force Fracture as well. The Fractured Tradition is simple: defeat all the enemies by only using the single lightsaber stance.
The group of enemies will consist of various droids and raiders. Completing the Fractured Tradition with reward you with massive experience.
Try to use the rockets fired by the B2 droids to your advantage.
You can grab them with the Force and reroute them into enemies or simply be near groups of enemies so the rockets can inflict damage to them too.
Return to the large rock pillars that you initially used the ascension cable and head down the path to the left, making sure you avoid running on the sand.
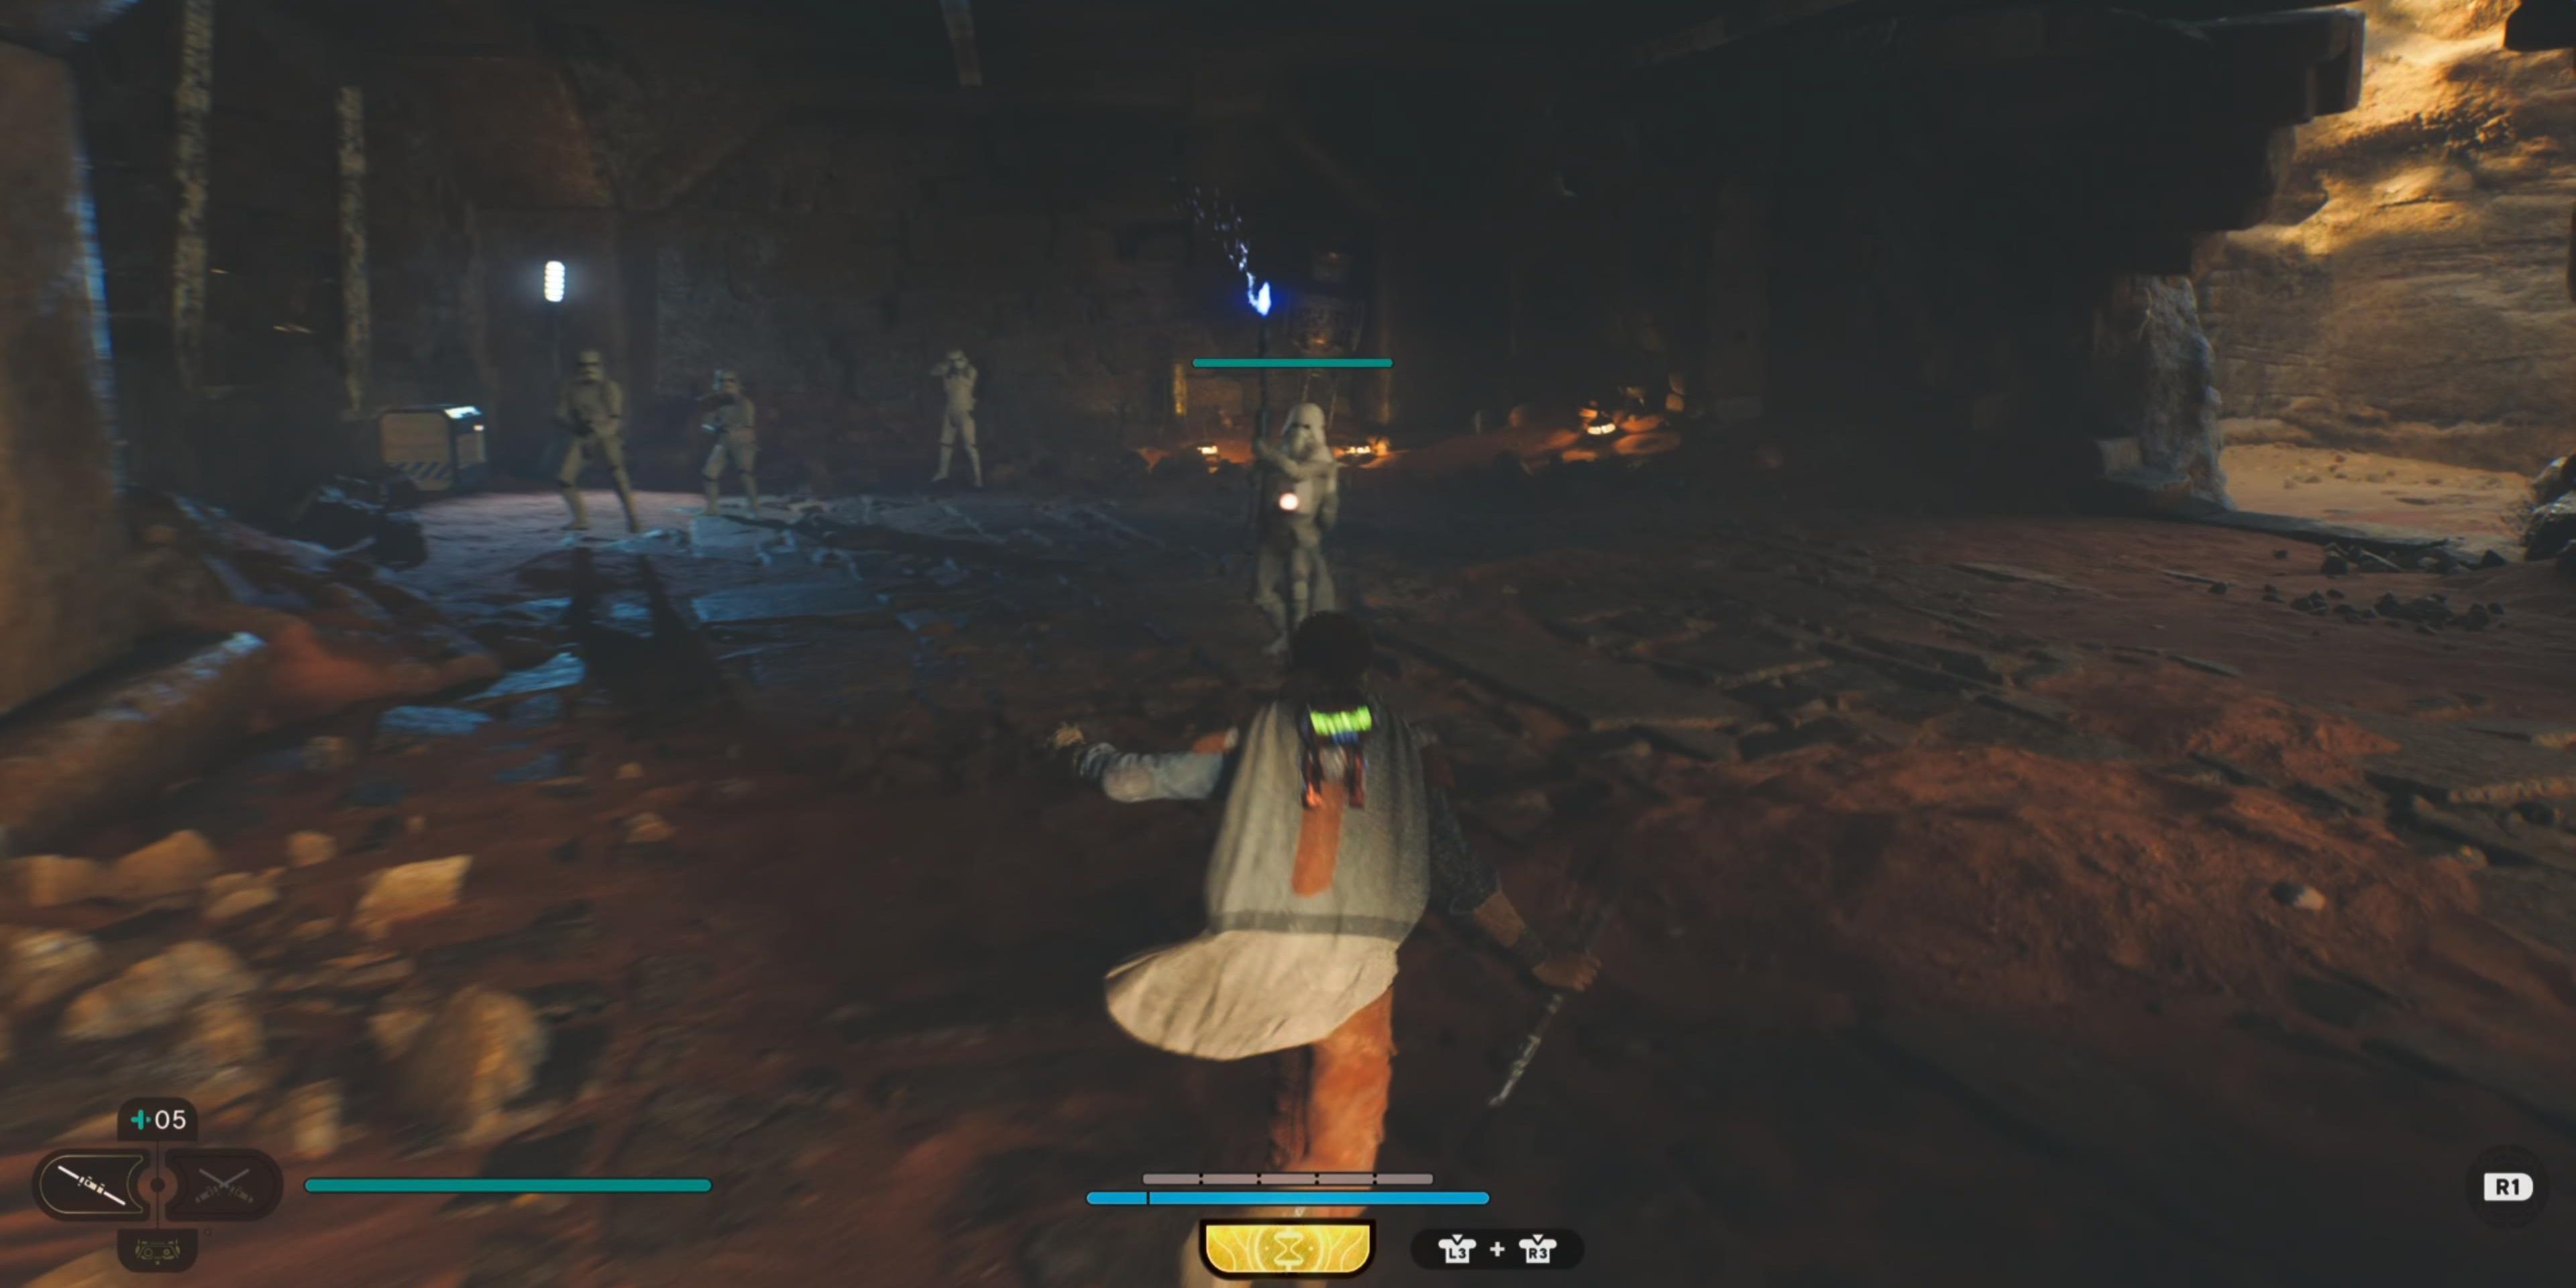
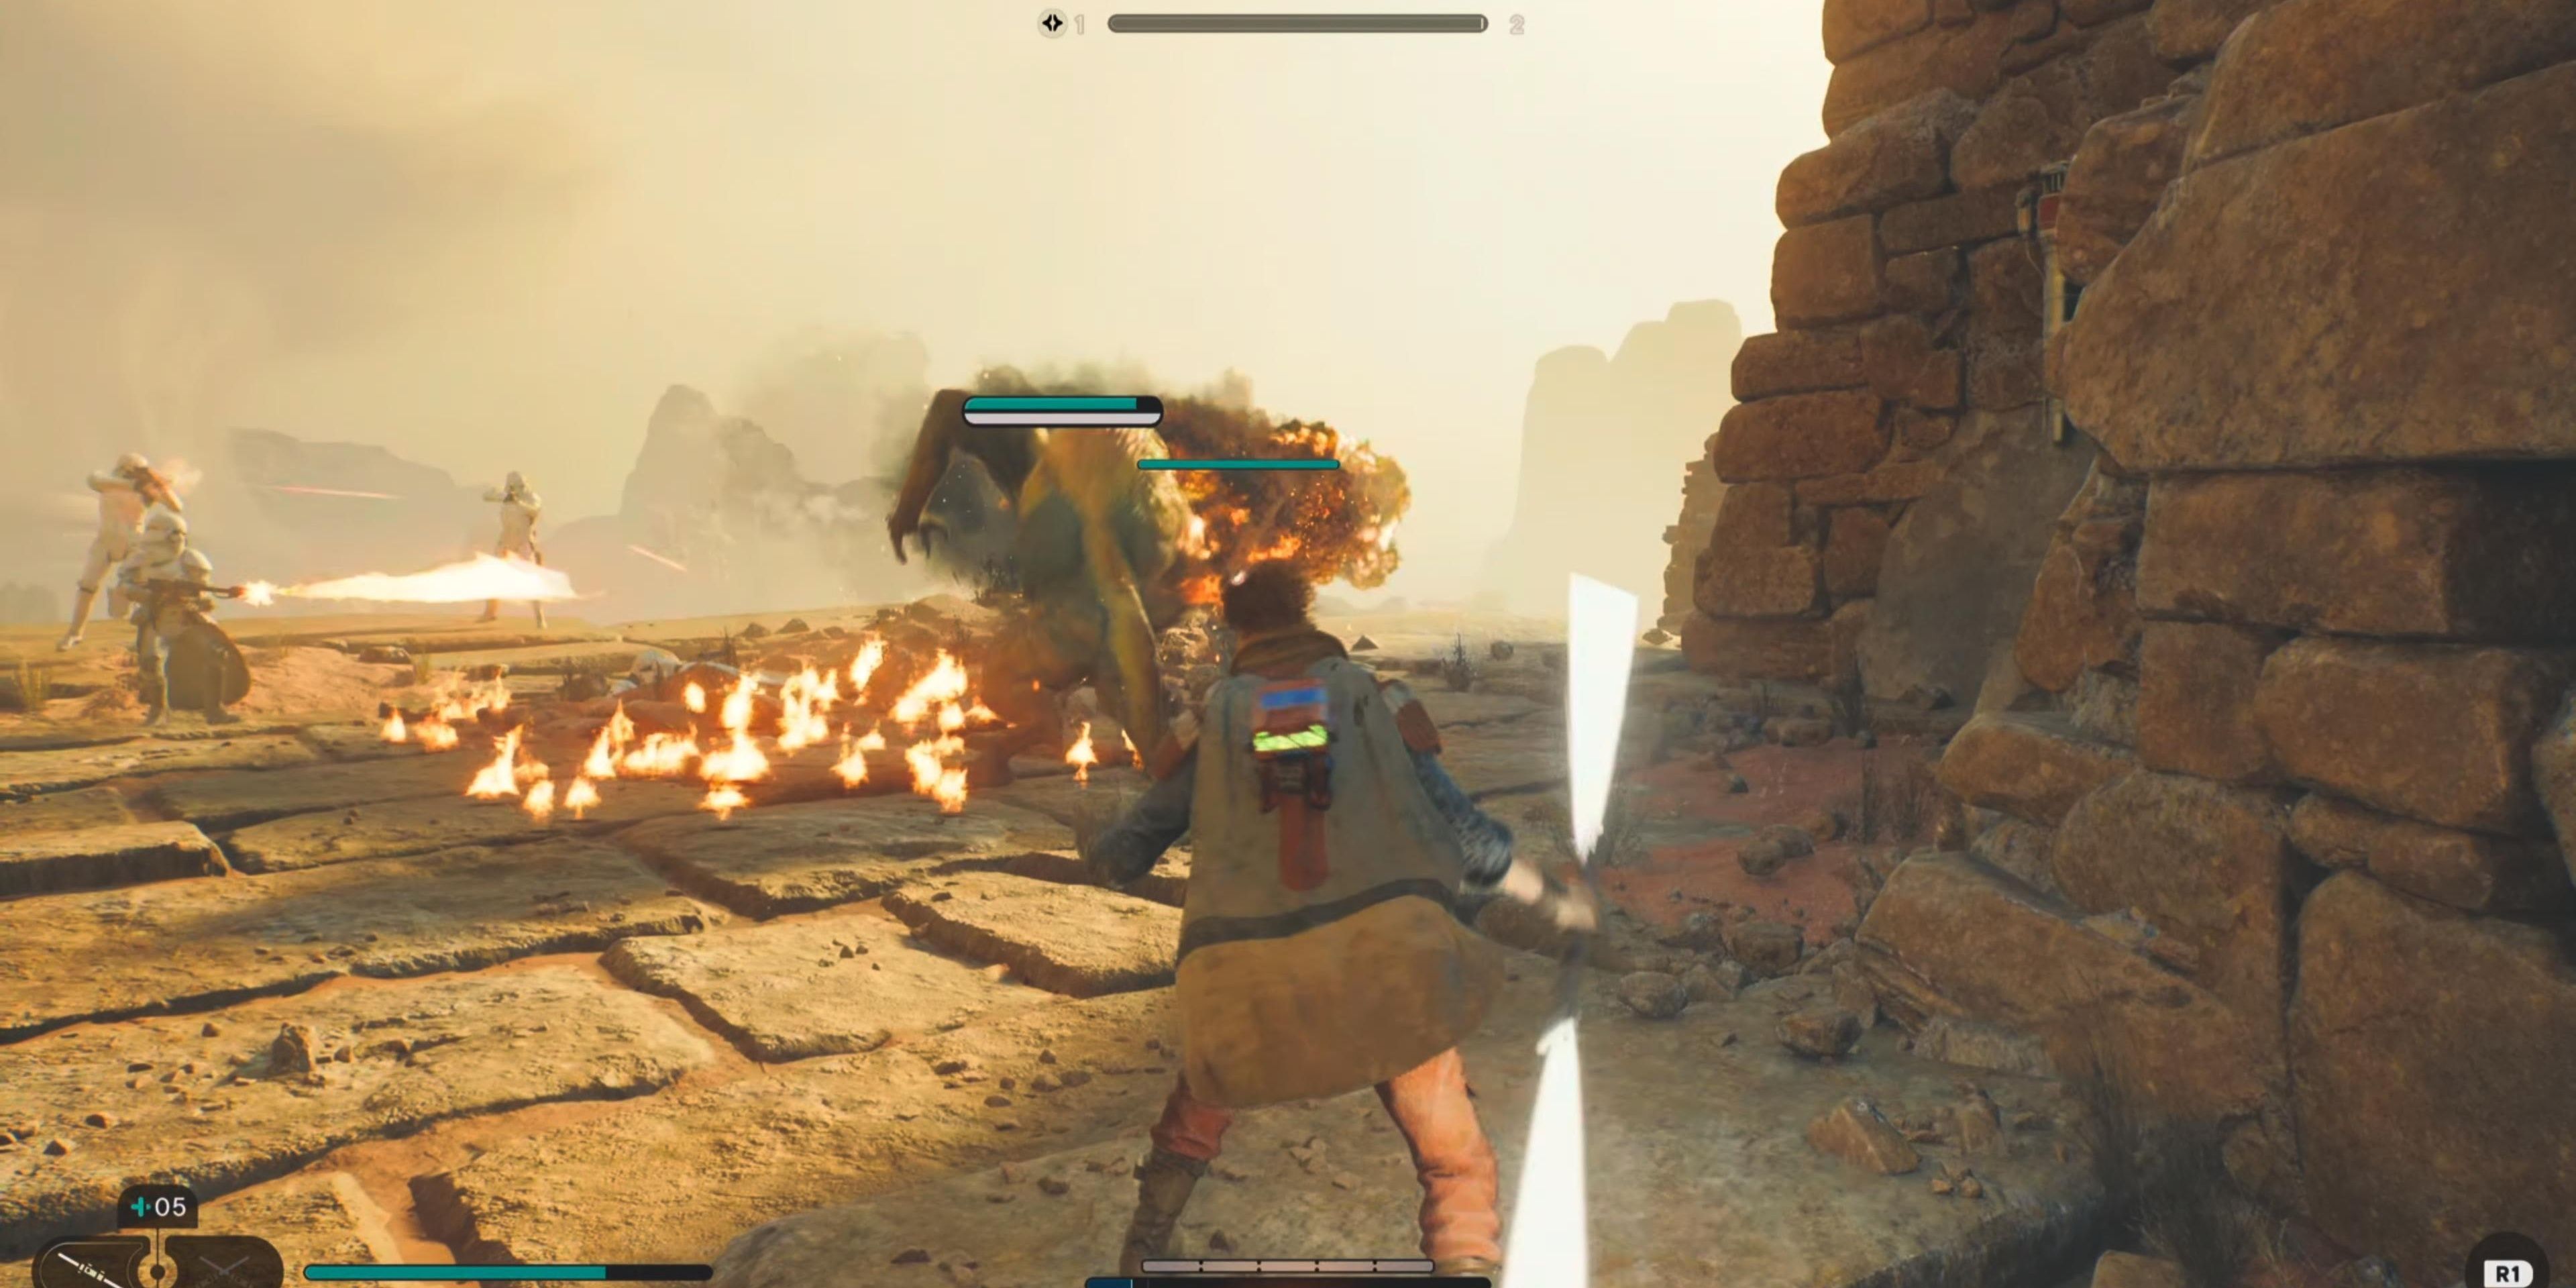
Eventually, you’ll run out of boulders to stand on so make a mad dash to the next structure ahead down the path. There will be a group of Stormtroopers inside, as well as a Flametrooper.
Flametroopers might seem dangerous, but if you pull them with the Force, you can quickly kill them.
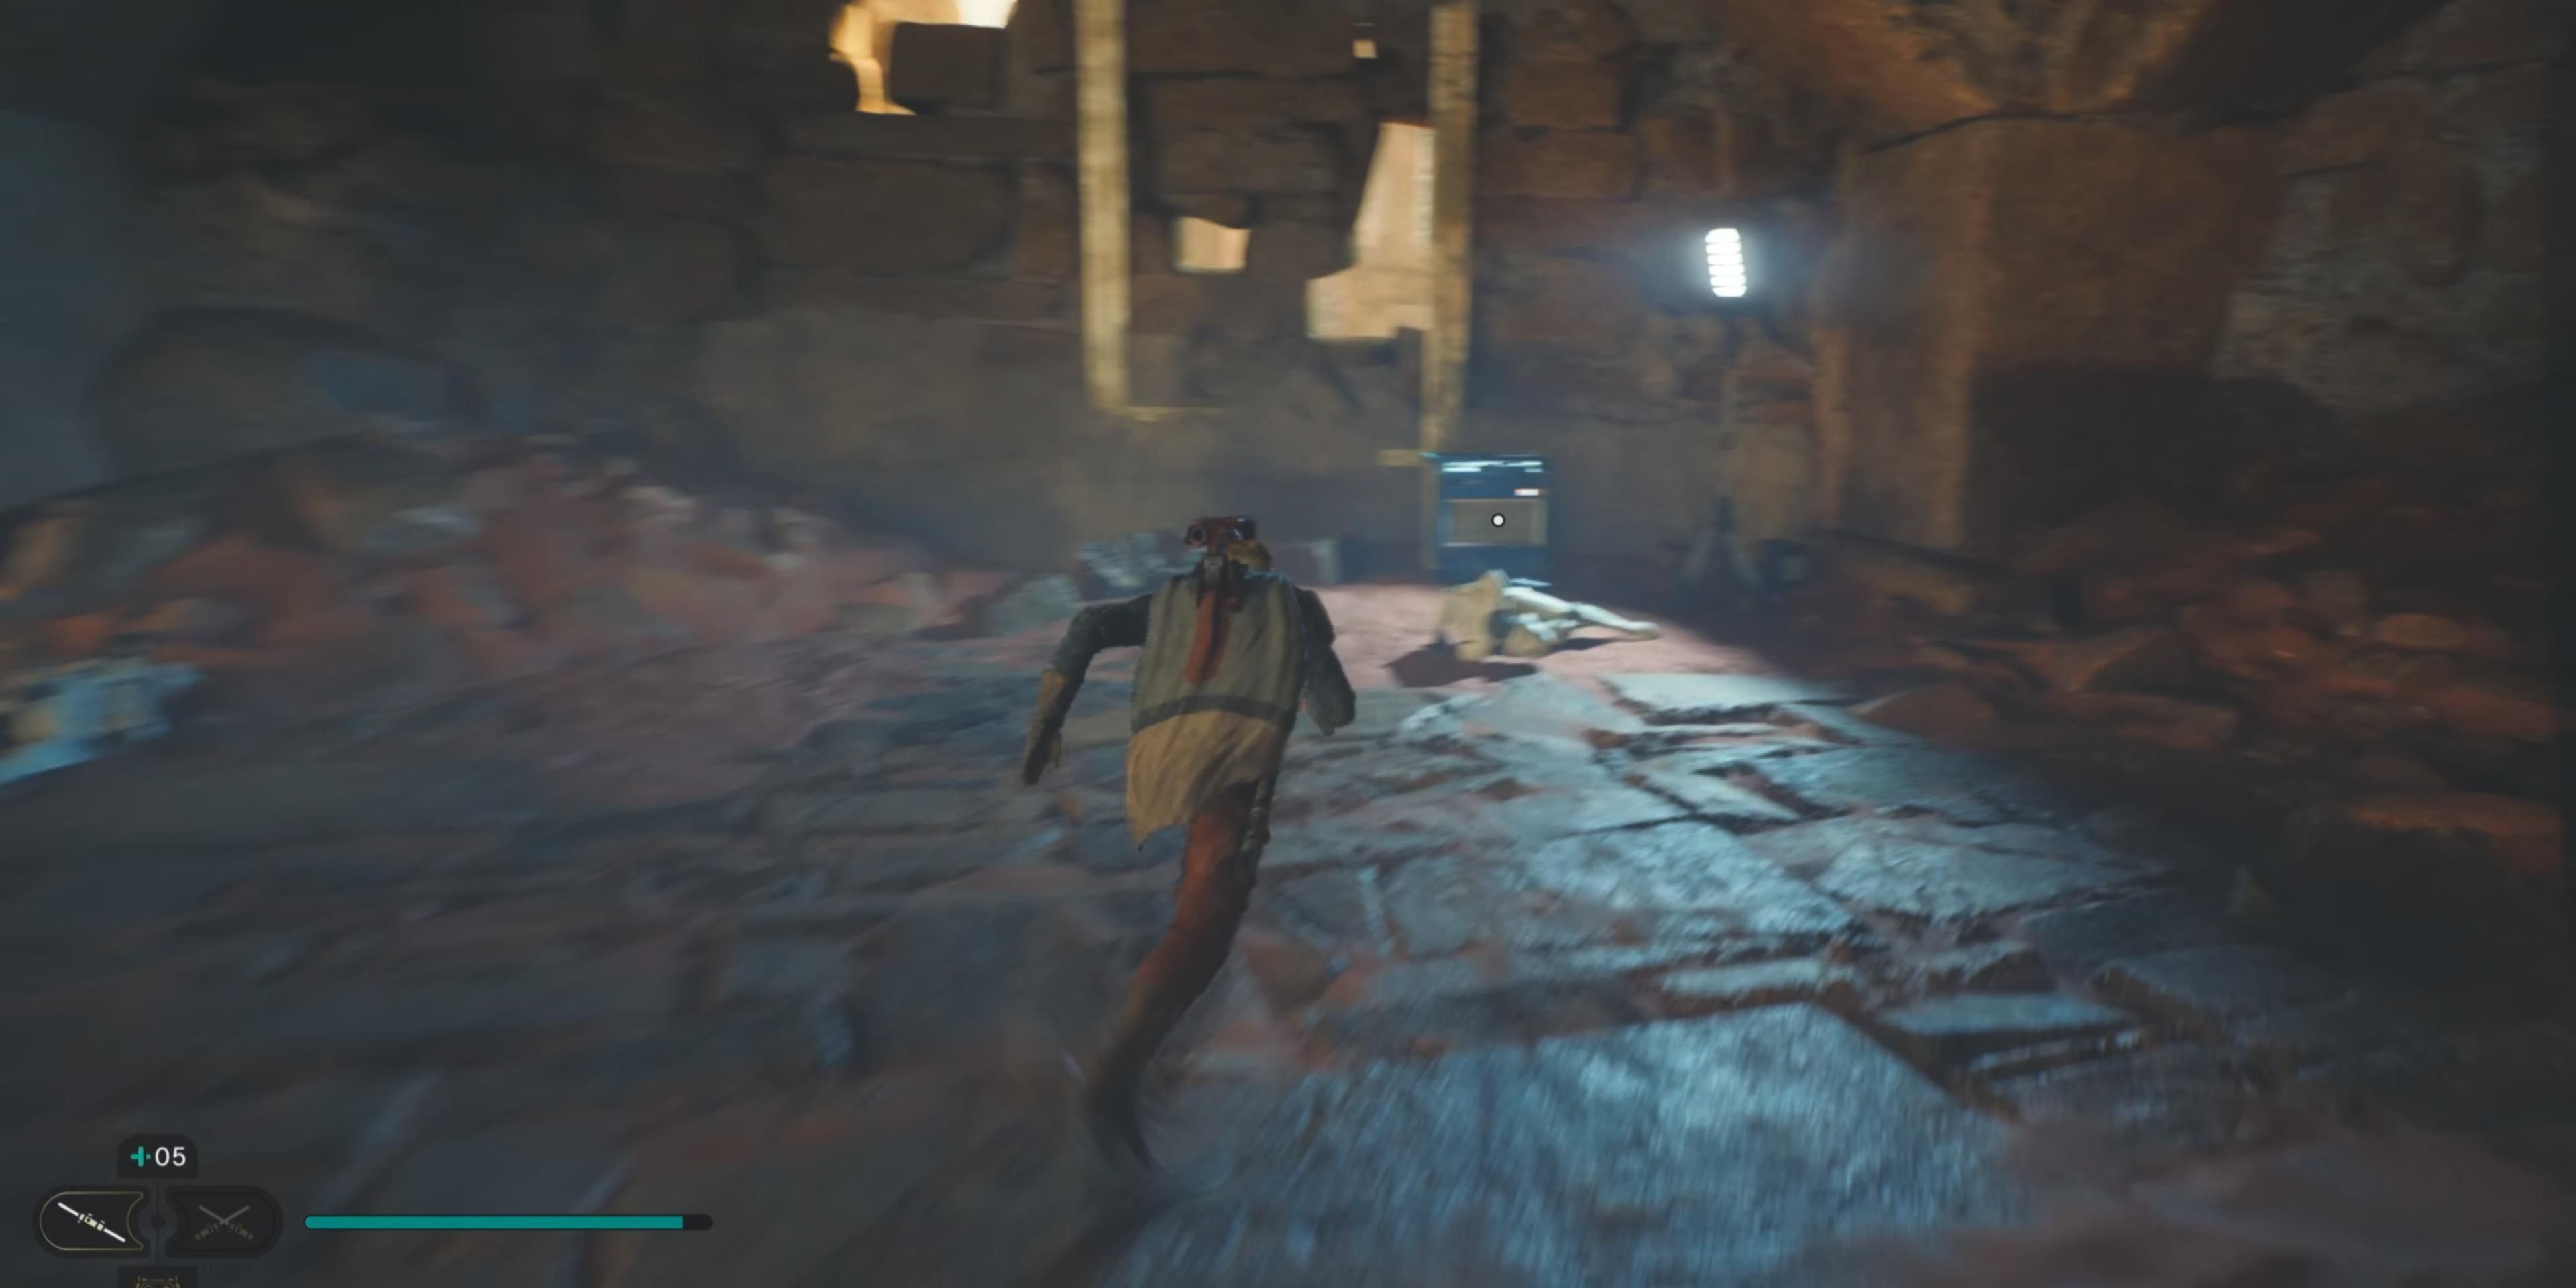
After taking them out, open the crate on the left to find Nocular Audio Sensors for BD-1.
Head outside through the other busted hole in the wall and across the broken rock bridge to find a prayer altar.
Scan the alter, then jump down to the sand and run back toward the area where you defeated the Stormtroopers but veer to the right and stay outside.
Climb up one of the openings in the rock wall to find a Jedha Scroll.
Return to the last boulder before you needed to make a run into the area with the Stormtroopers, and you’ll notice a giant barrier that you can interact with by using the Force.
Once you pull open the barrier and enter the new area, you won’t have to worry about the sand beast for now.
Finding Cere’s Contact
The path in front of you will fork but head down the left side first. There will be a group of Stormtroopers patrolling on the cliff, but a Sutaban will begin attacking them.
Take advantage of the chaos and kill any unaware Stormtroopers before turning your attention to the Sutaban. Once the danger has passed, collect the Jedha Scroll nearby and head back down the path and go up the right side.
Use your ascension cable to run on the wall which will take you to another ascension cable marker and another wall to run on.
The ground beneath Kestis will break apart, and he’ll slide down another slope toward a group of creatures.
Leap over the creatures and quickly use your ascension cable to attach yourself to the nearest stone pillar before the sand beast grabs you.
Continue shifting around the ledges and jumping to the highest ledge, then drop down to land on the metal bar.
Swing across to the ledge and kill the group of Hardshells. Have BD-1 scan the databank nearby, then jump on the slightly elevated rock bridge on the right and wall run to reach the next platform.
Cut the rope to create a shortcut and pick up the Jedha Scroll located nearby. There’s also a workbench next to the Jedha Scroll you can use.
Walk back to the left path and take down the two Flametroopers. Follow the path until you reach a long metal bar for you to move across with a large group of Stormtroopers underneath you, and you’ll find the next Meditation Point.
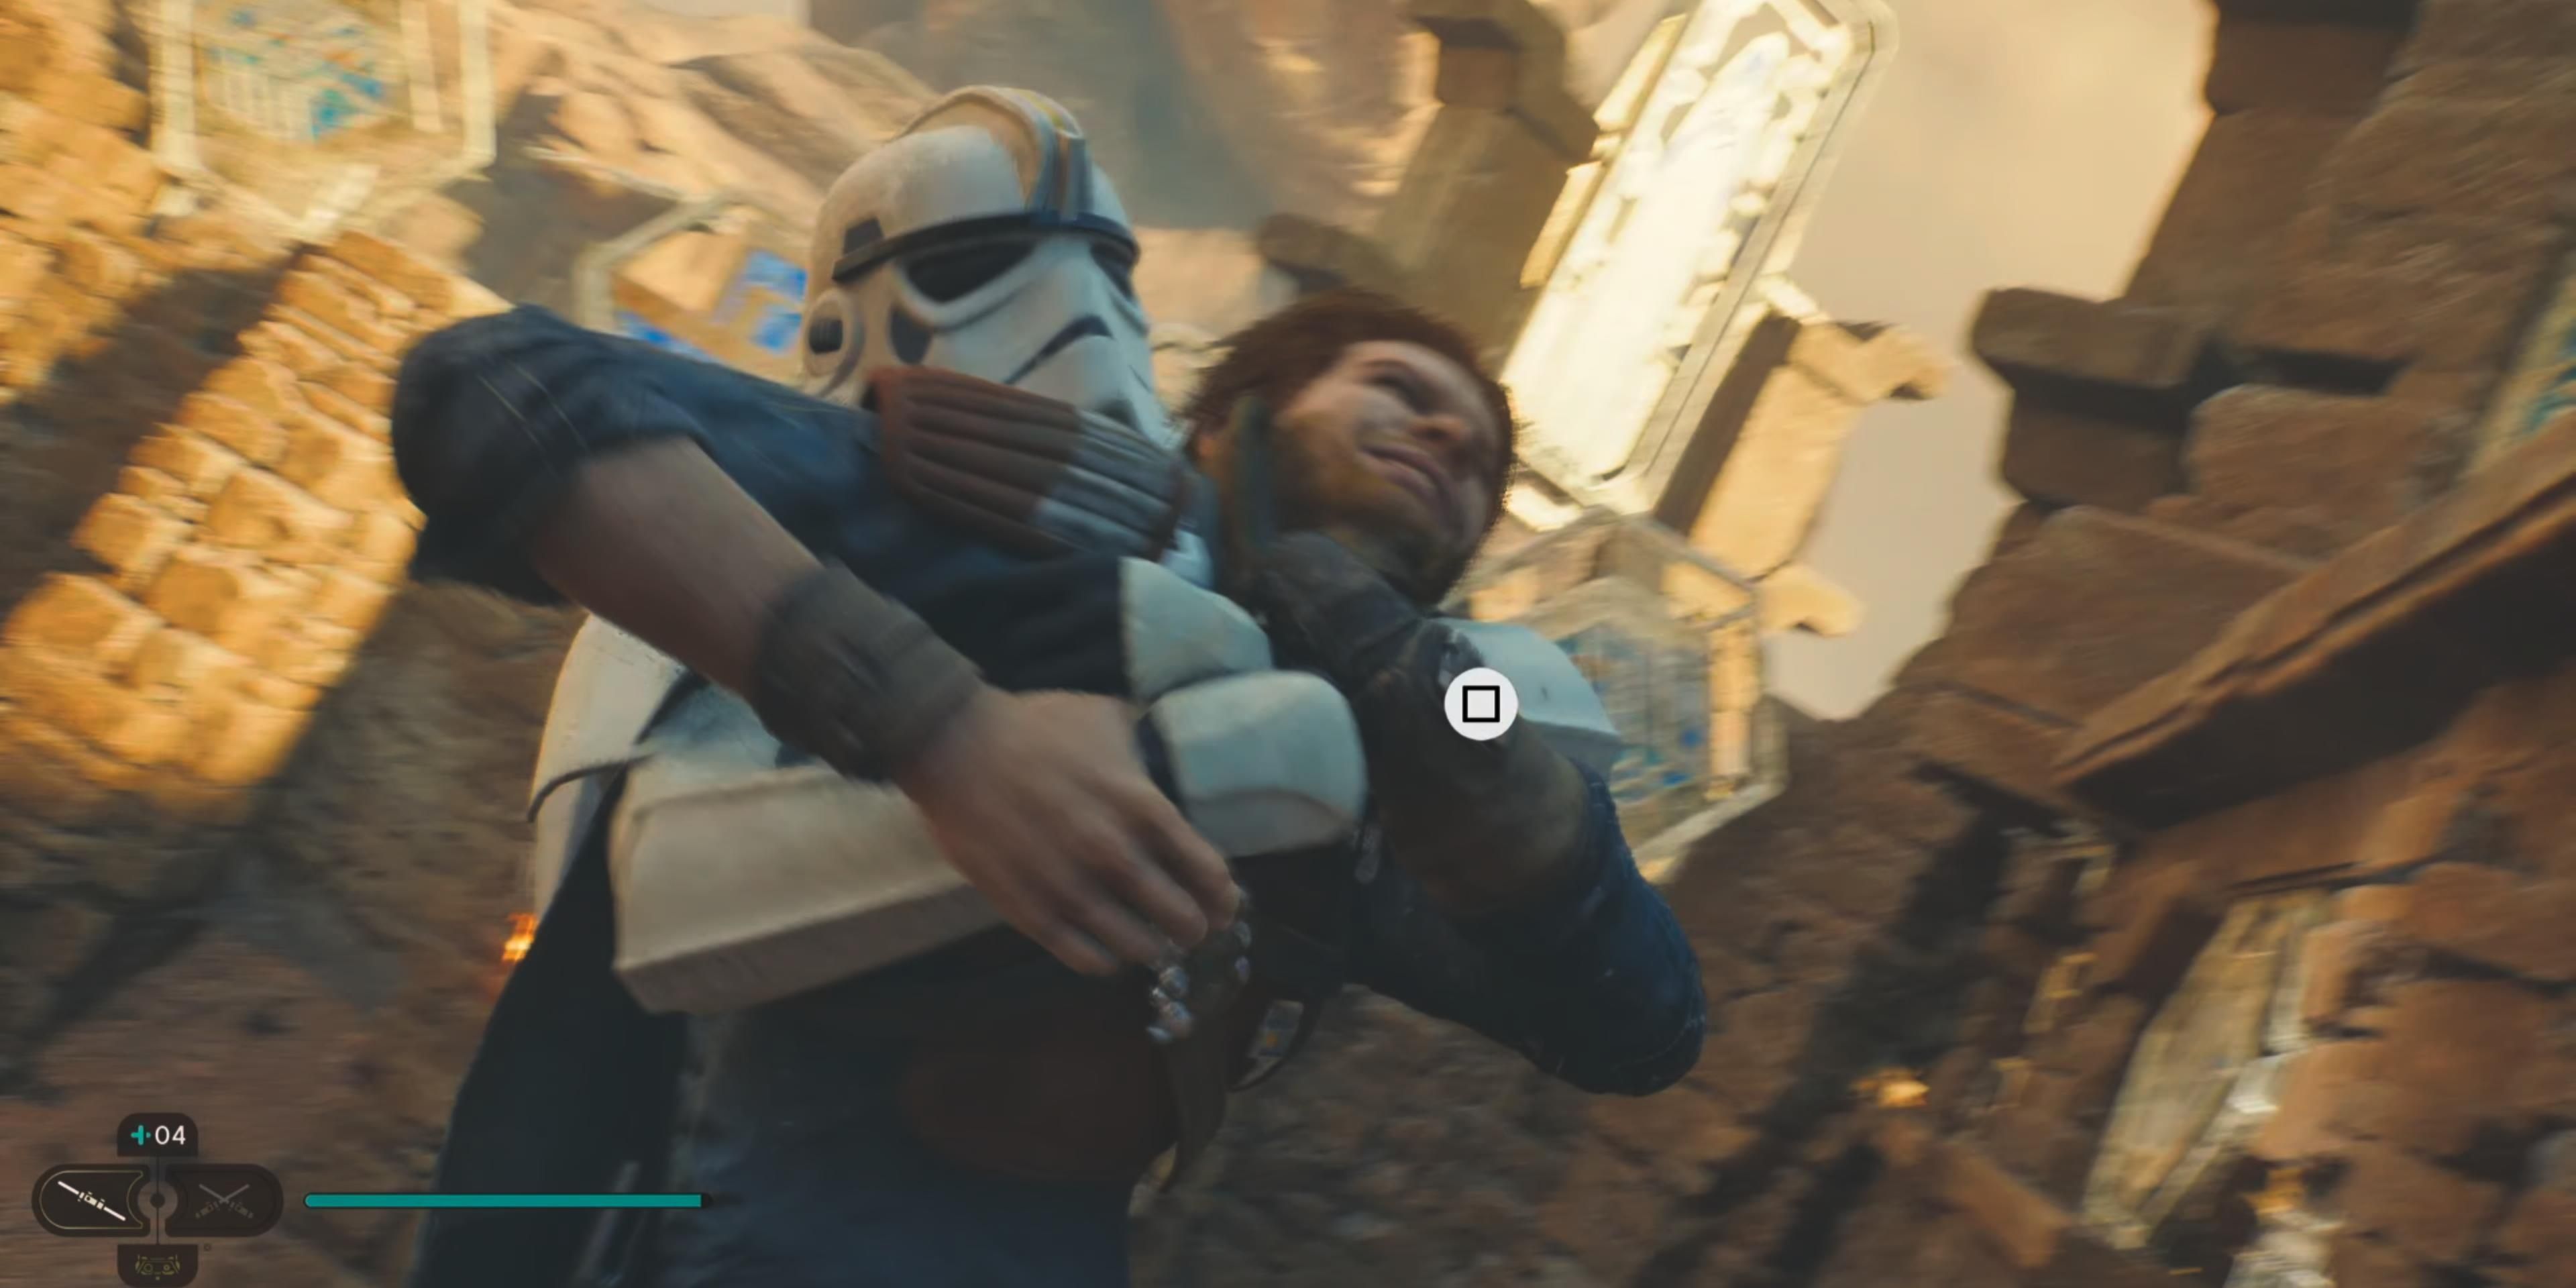
Continue following the path and jump on the walled metal web to climb on the wall to the right and shimmy across the ledge to trigger a cutscene with a Quick Timed Event.
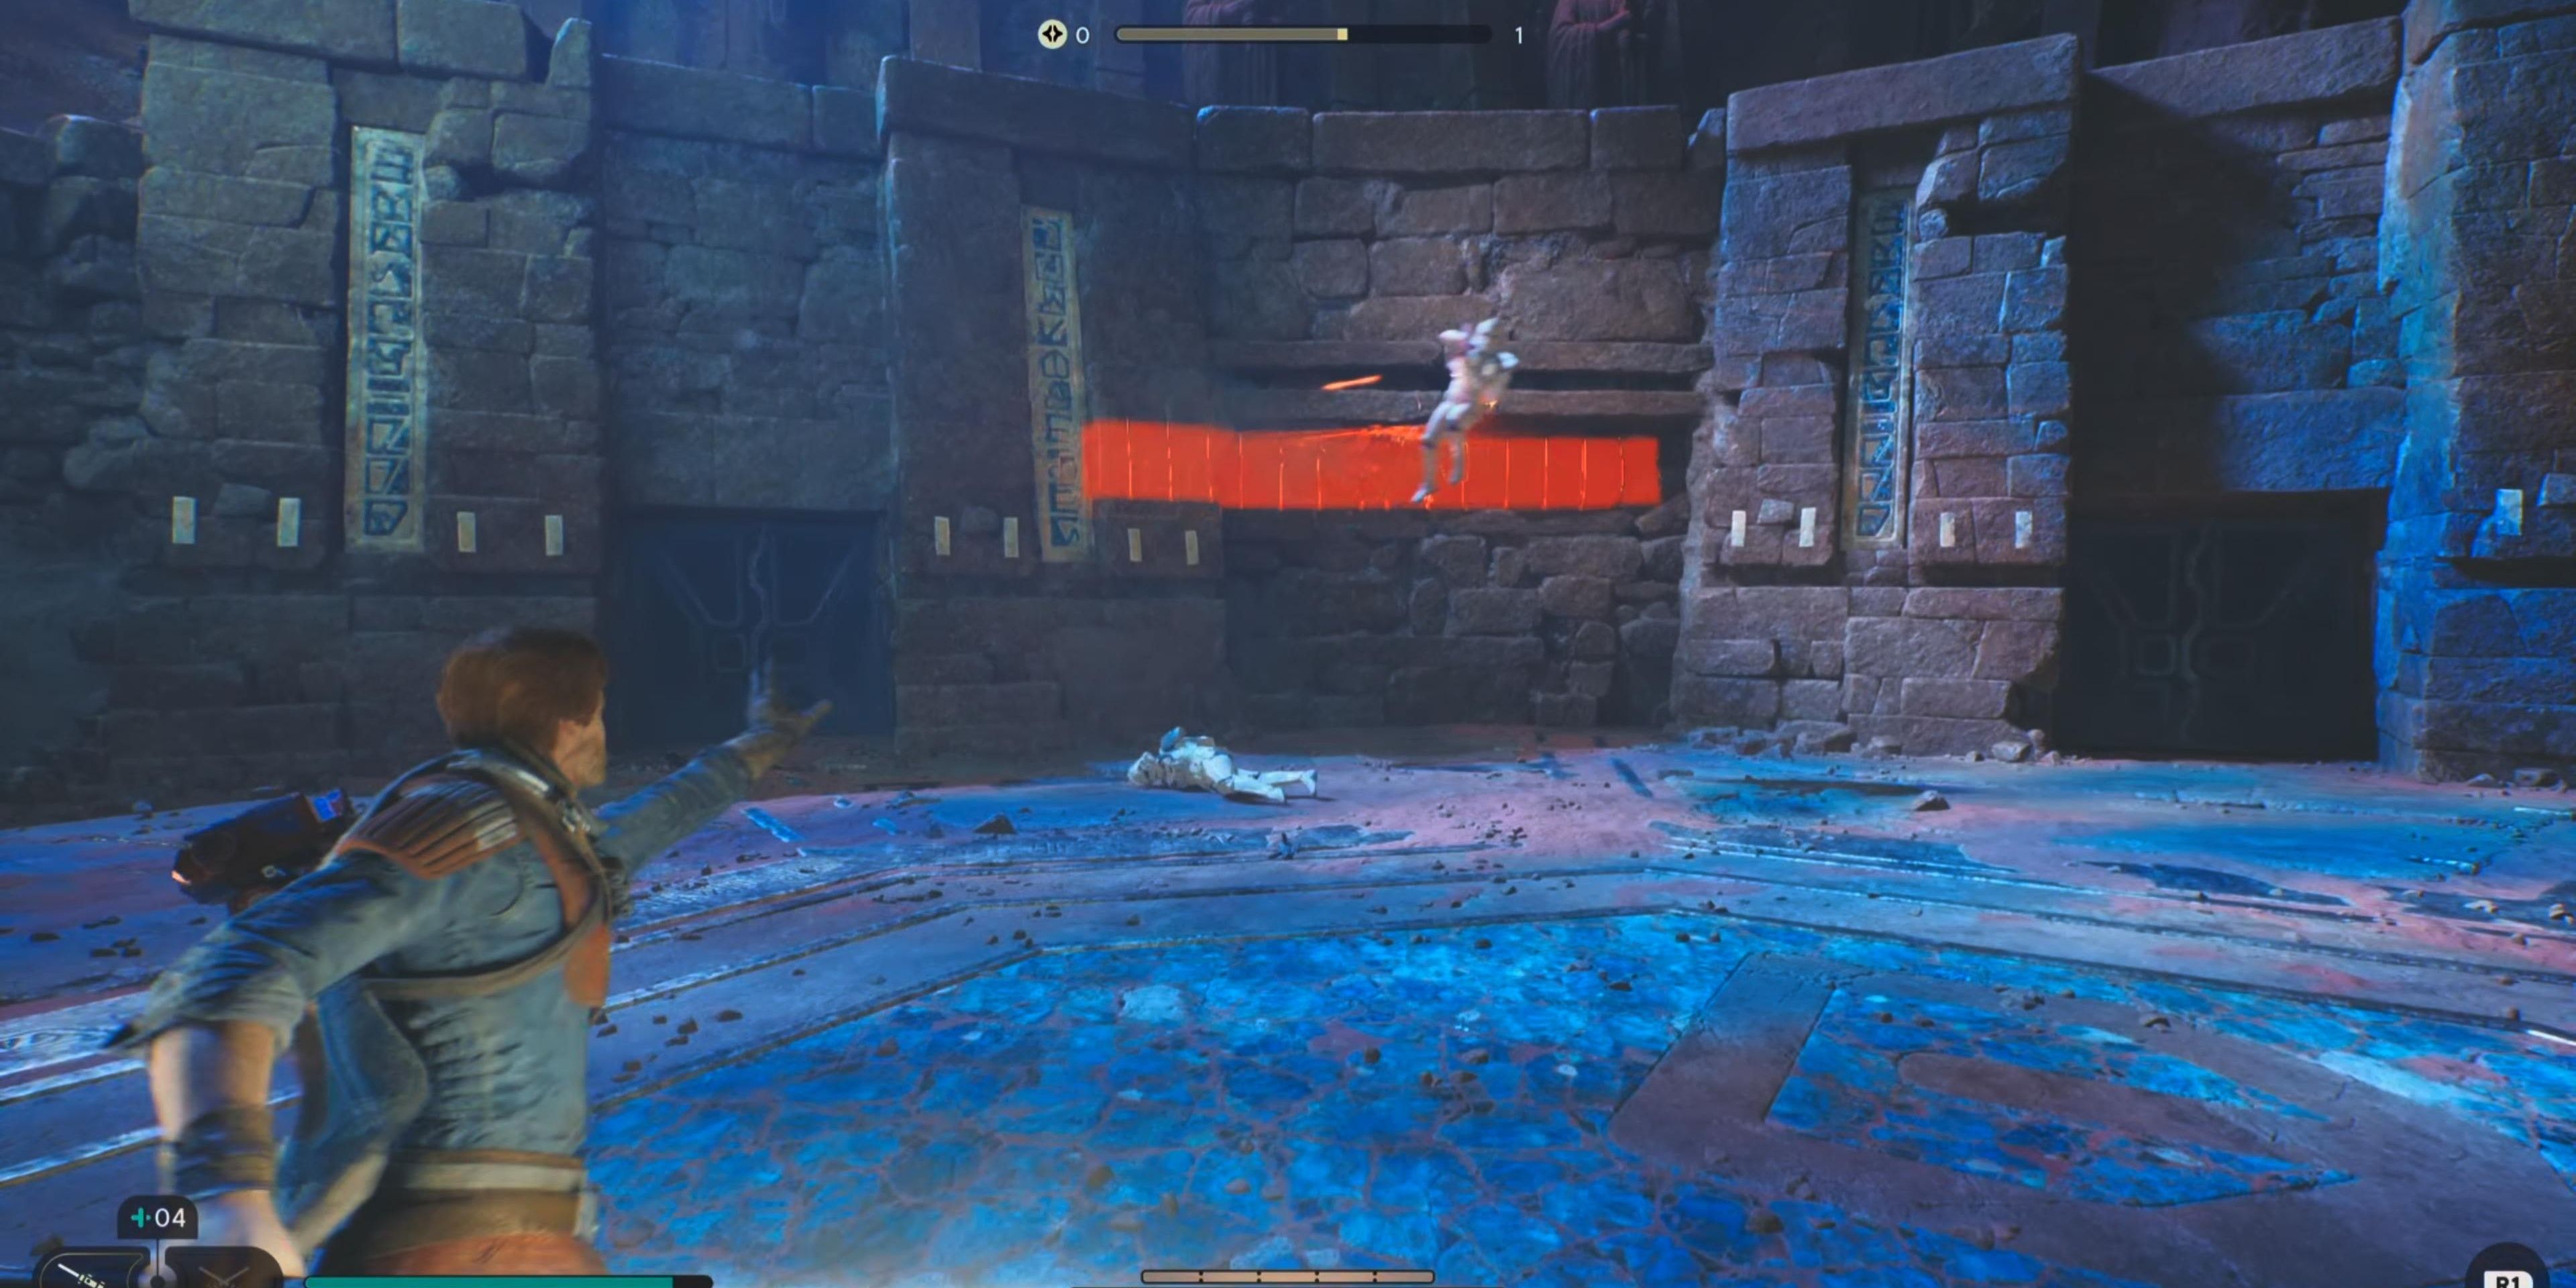
Kestis will fall down another slope and land in an area with a group of Stormtroopers. Some of the Stormtroopers will have jetpacks, and you won’t be able to Force Pull them, but you can stagger them.
Use the Force to throw back grenades that the Stormtroopers toss on the ground. After they toss them, just use Force Pull and then Push to detonate them on impact.
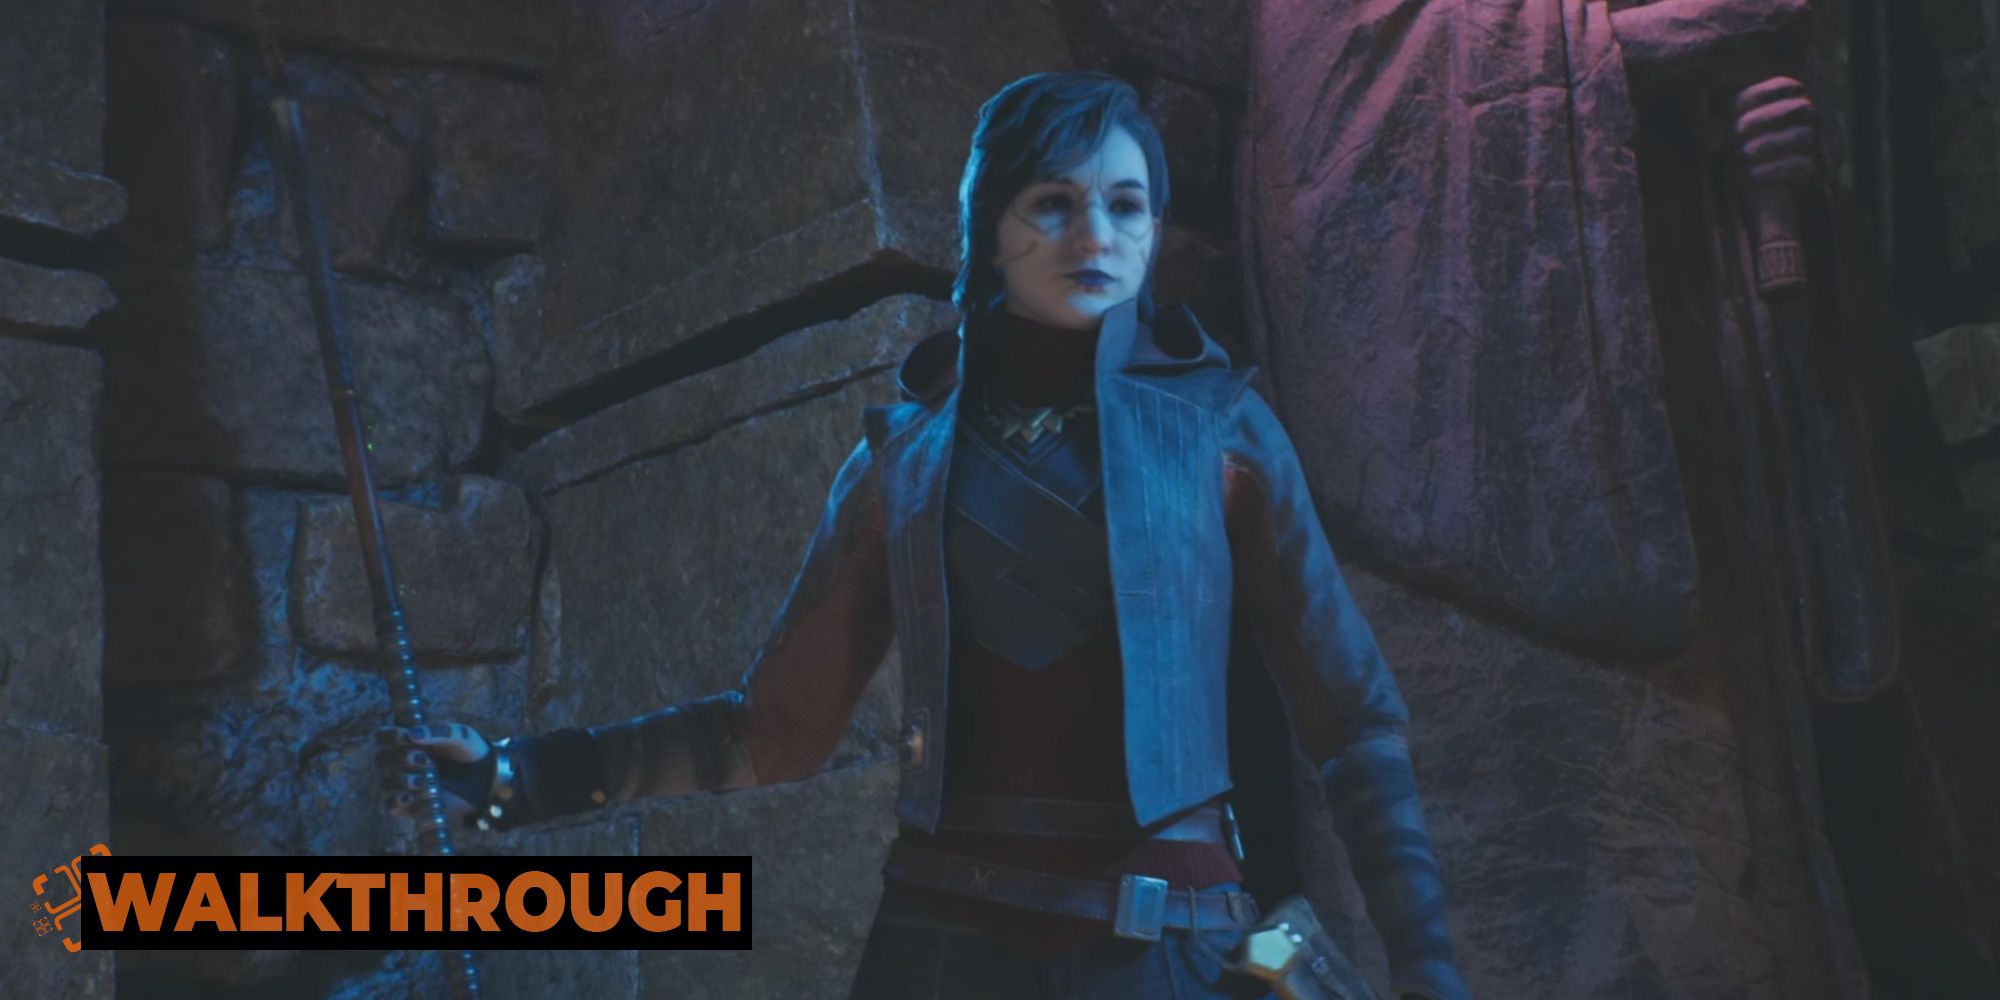
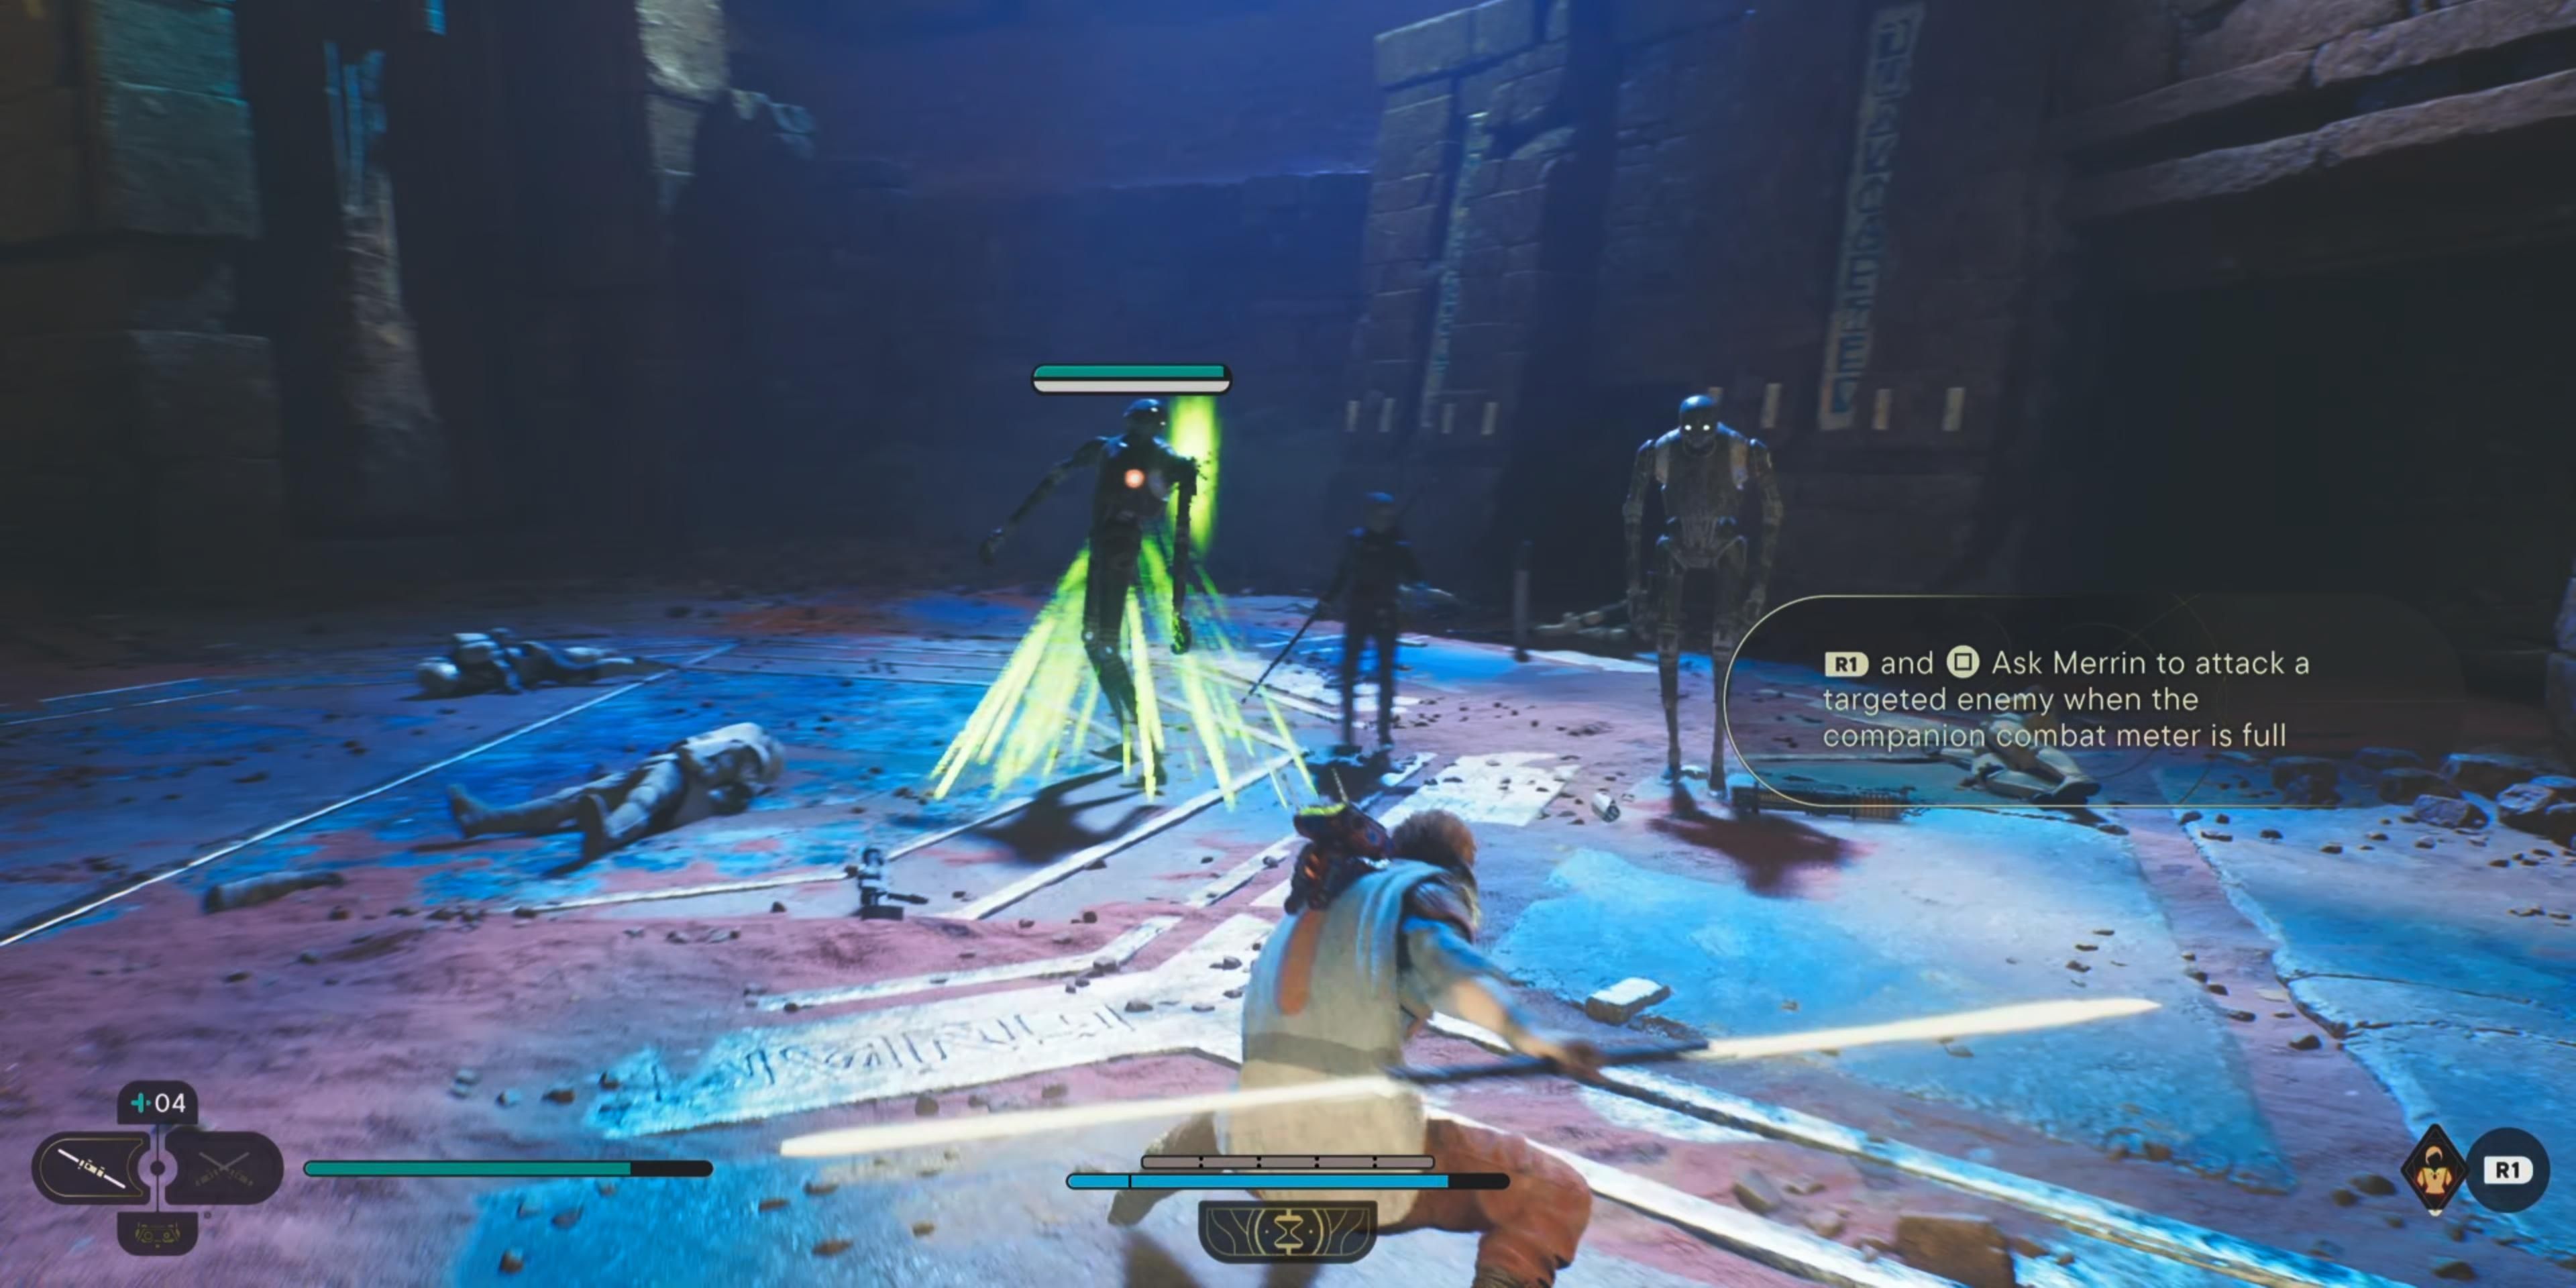
After defeating the Stormtroopers, Cere’s contact finally arrives in Merrin. Another group of Stormtroopers will arrive and cut the reunion short.
You can request that Merrin use her magick to immobilize enemies for Kestis to attack easily. Once the enemies are defeated, another cutscene will occur, and Merrin will begin leading you to Cere’s base.

