Quick Links
Star Wars Jedi: Survivor takes place five years after the events of Jedi: Fallen Order. The game continues to follow Cal Kestis and BD-1 in their neverending struggle to topple the Galactic Empire and restore the Jedi Order.
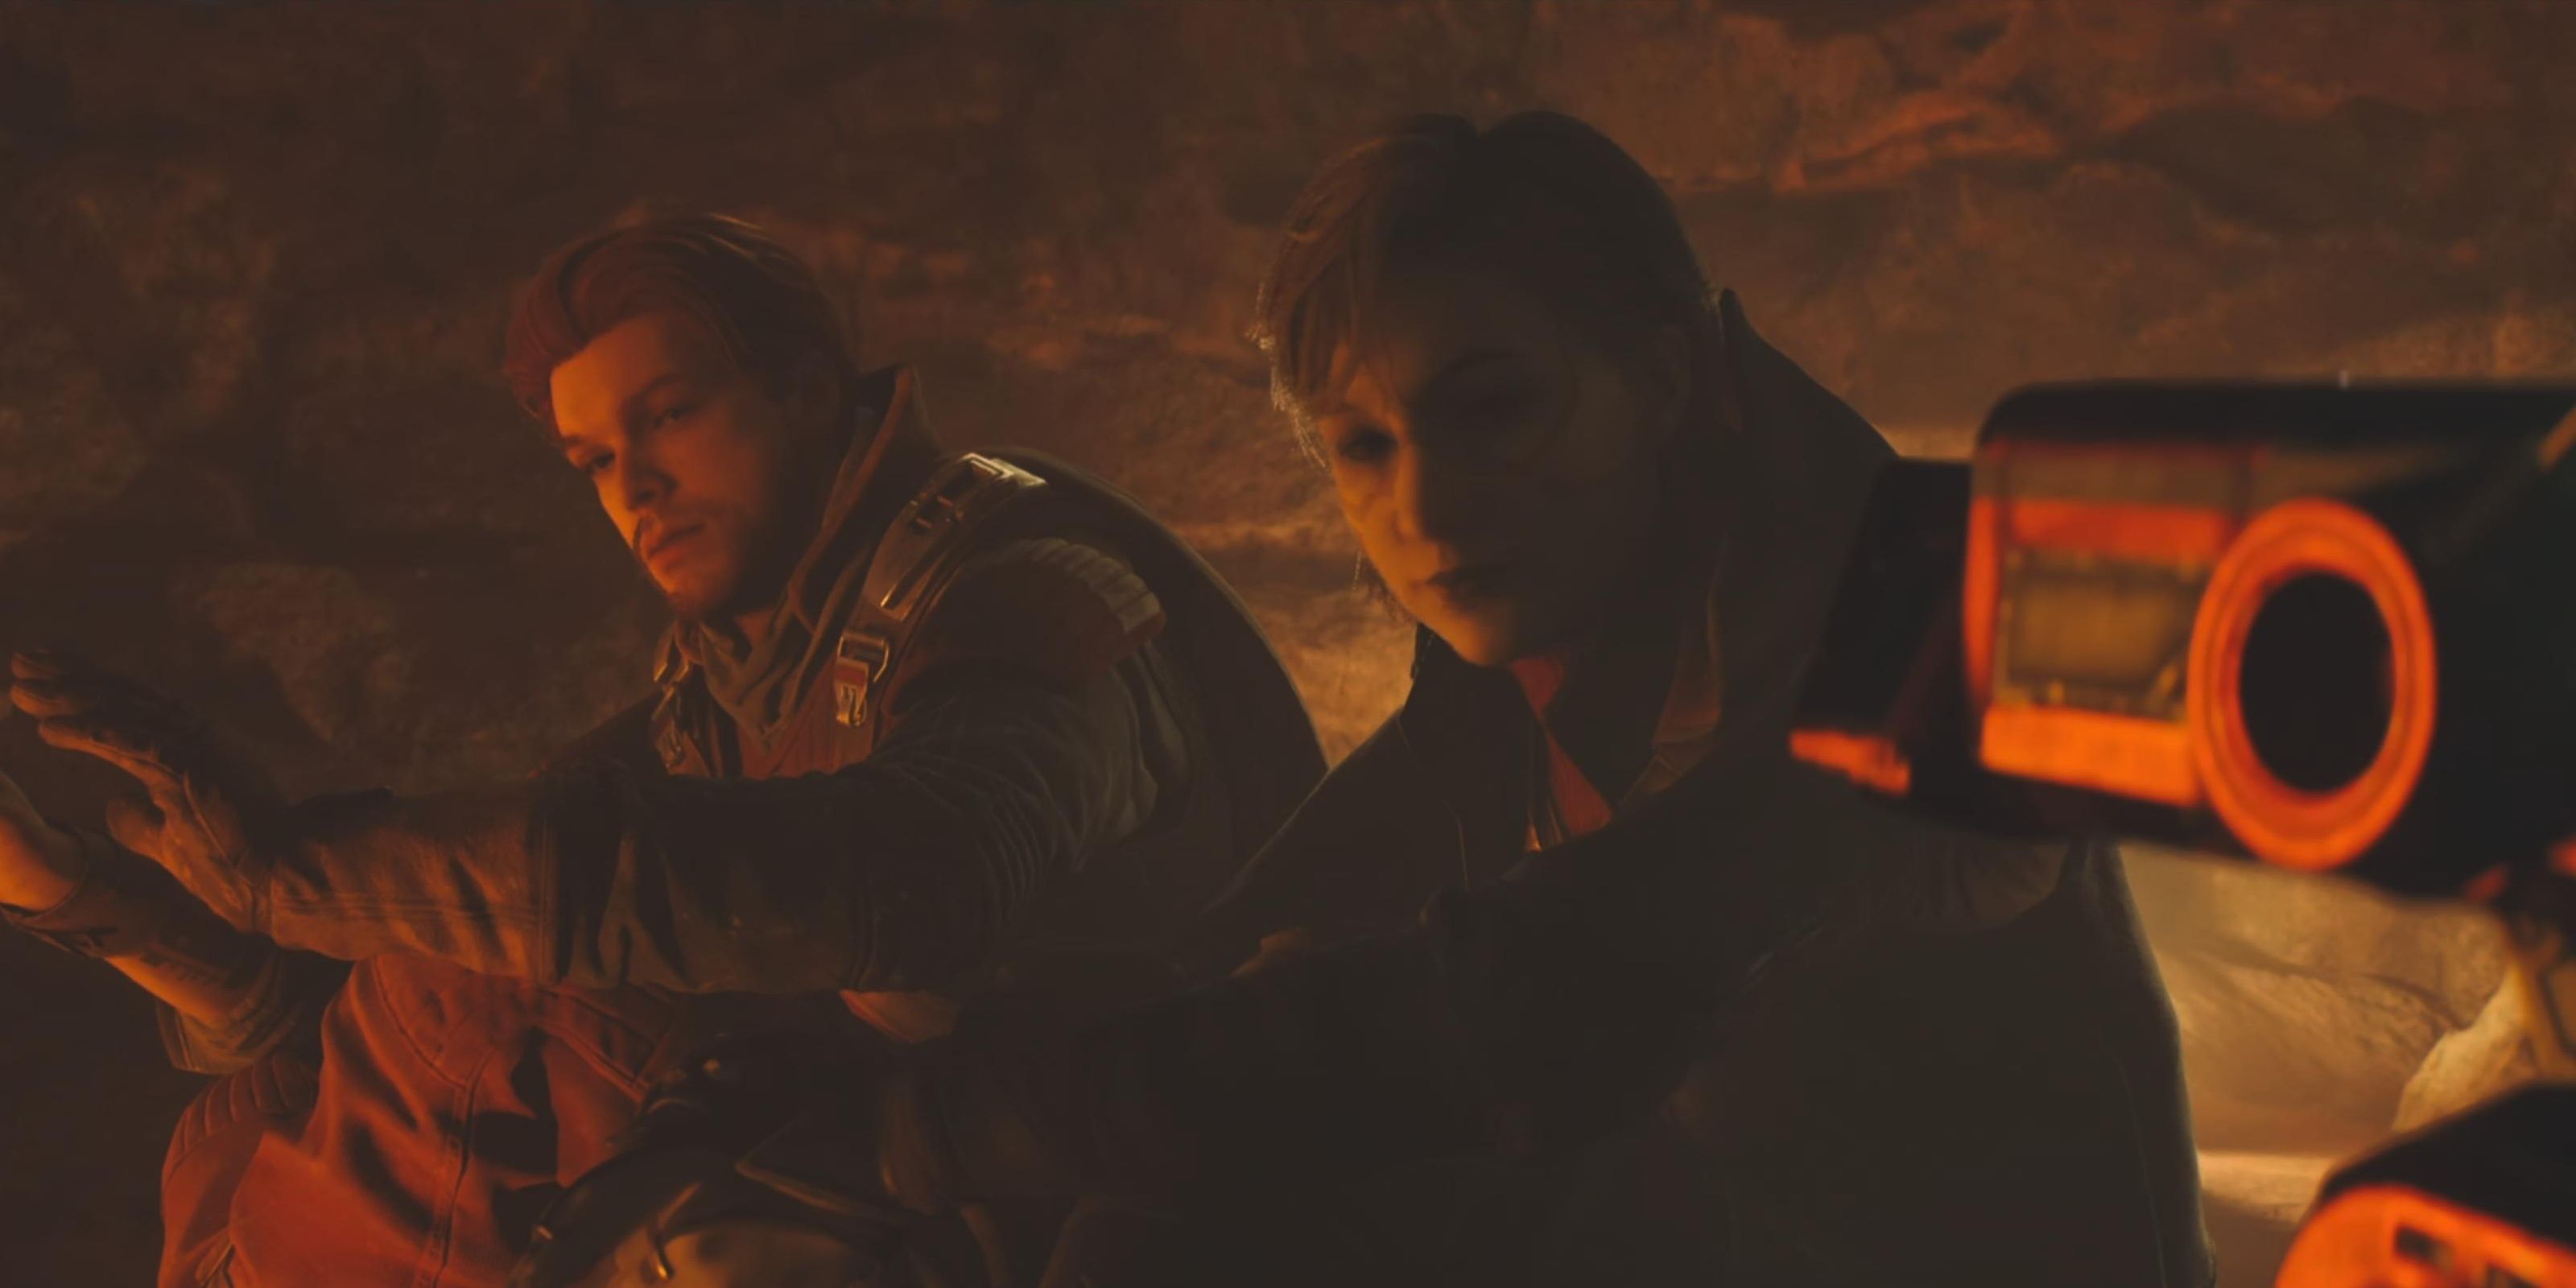
Kestis’s journey takes him to the desert planet of Jedha, where he hopes to reunite with his former Jedi companion Cere Junda. Kestis managed to find her contact to help reach her hidden base but they’ll need to hold off patrolling Empire forces.
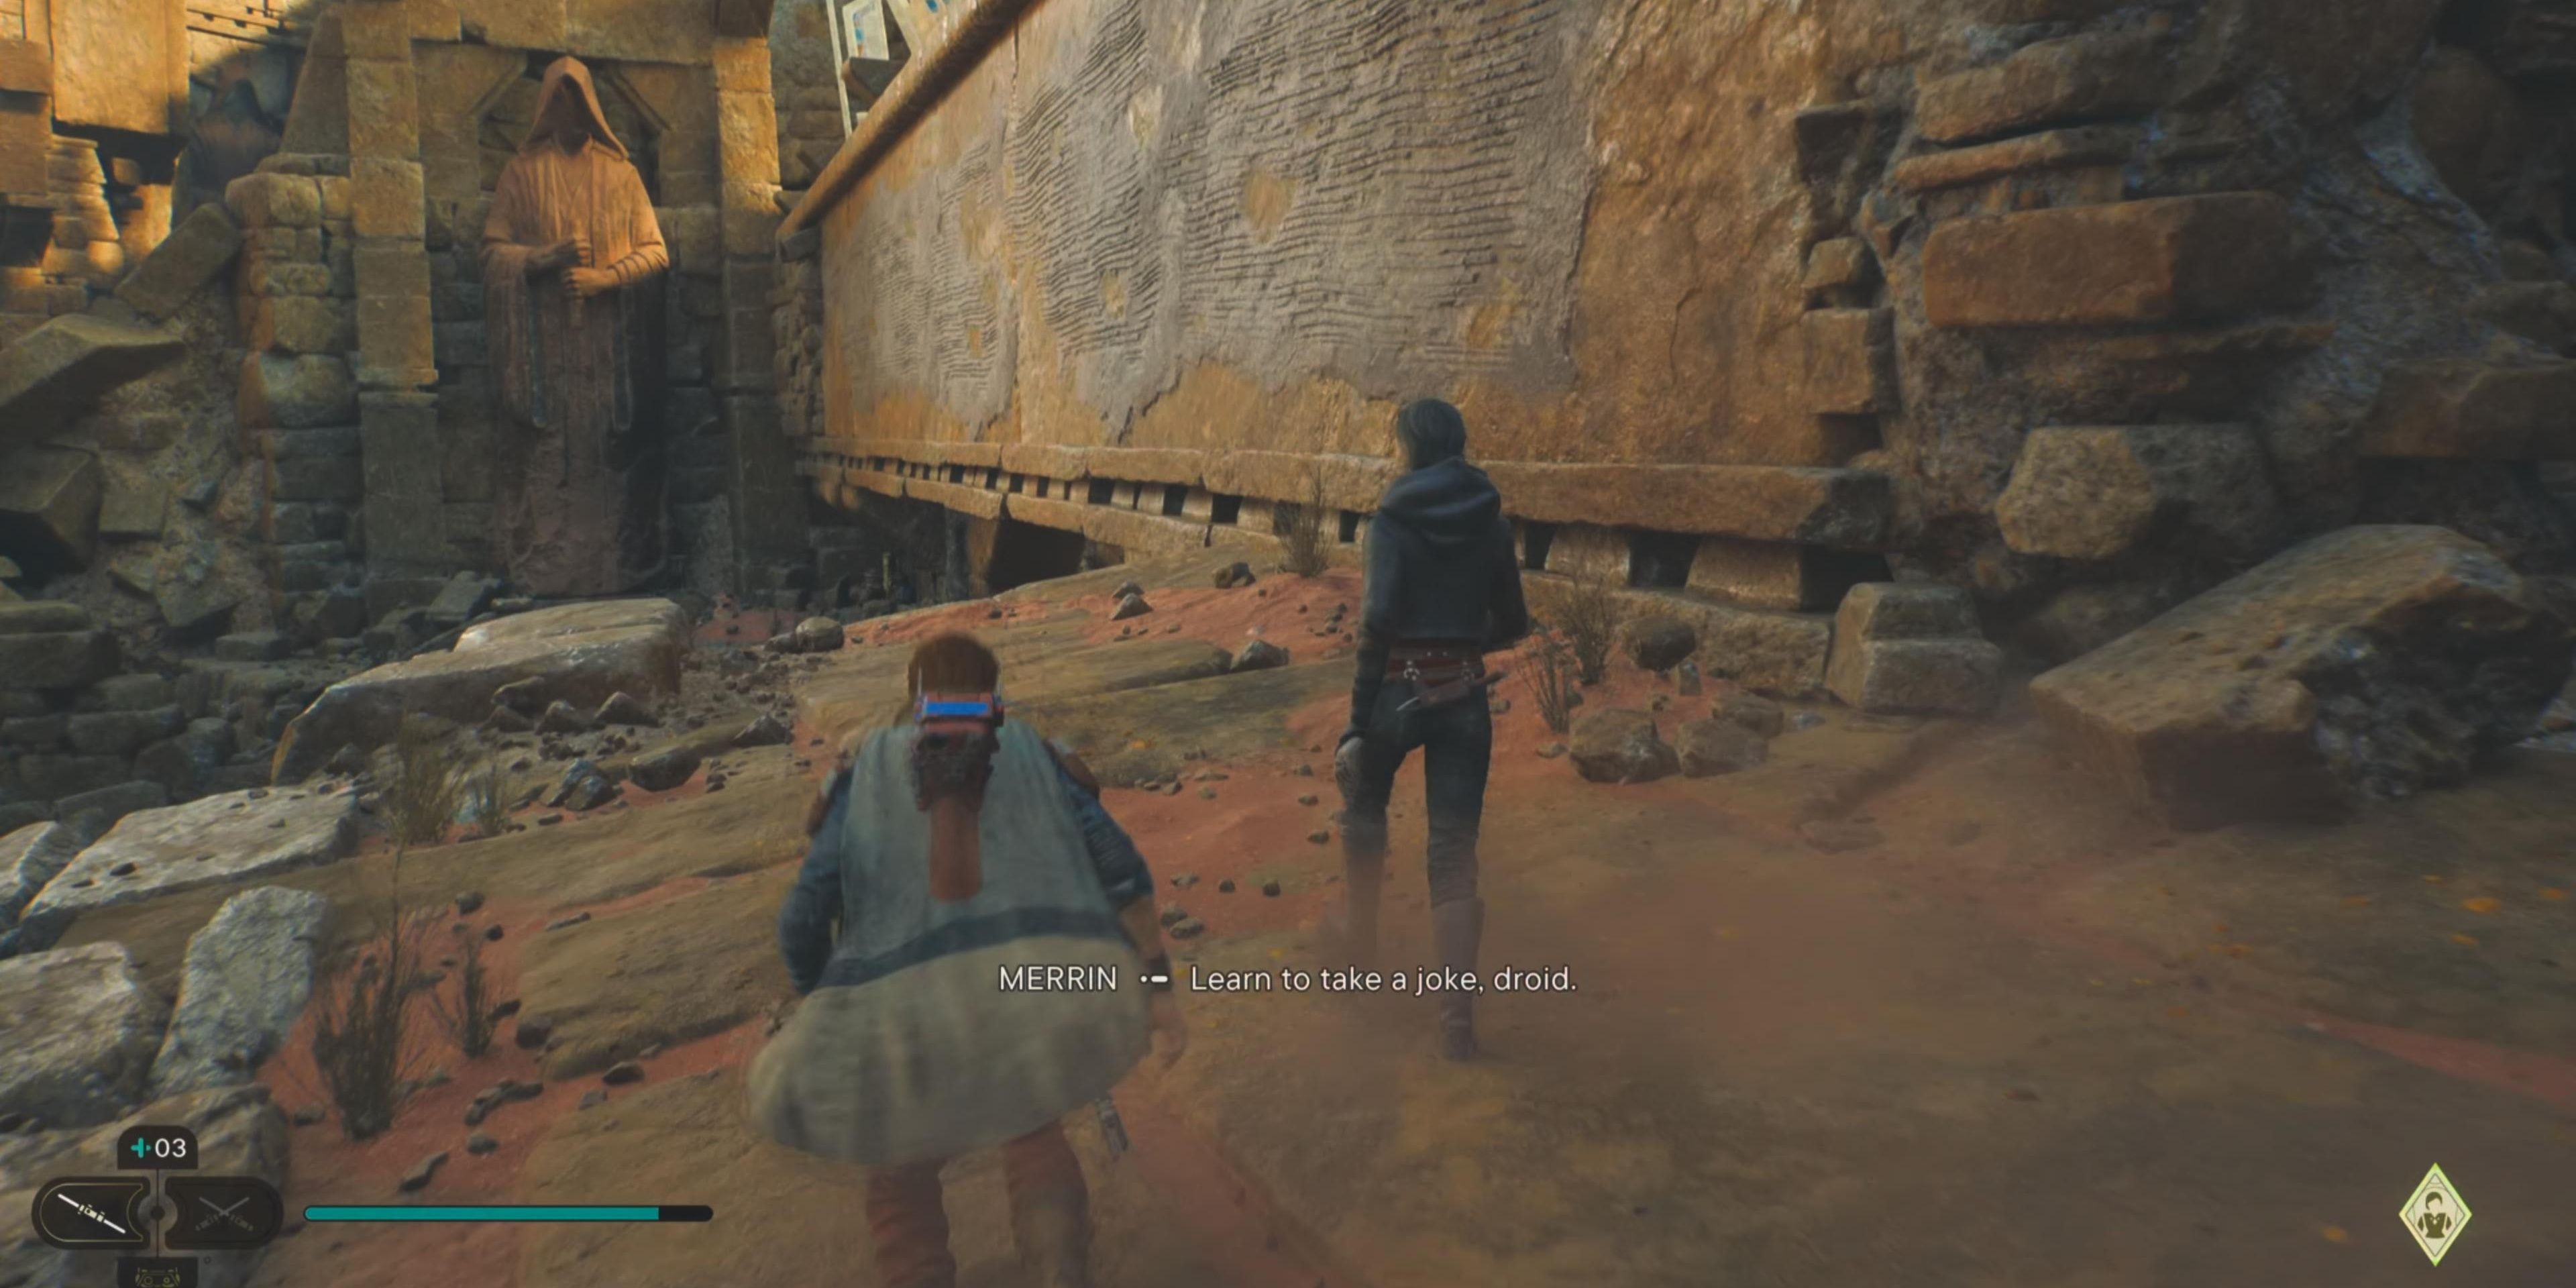
Lead The Way, Merrin
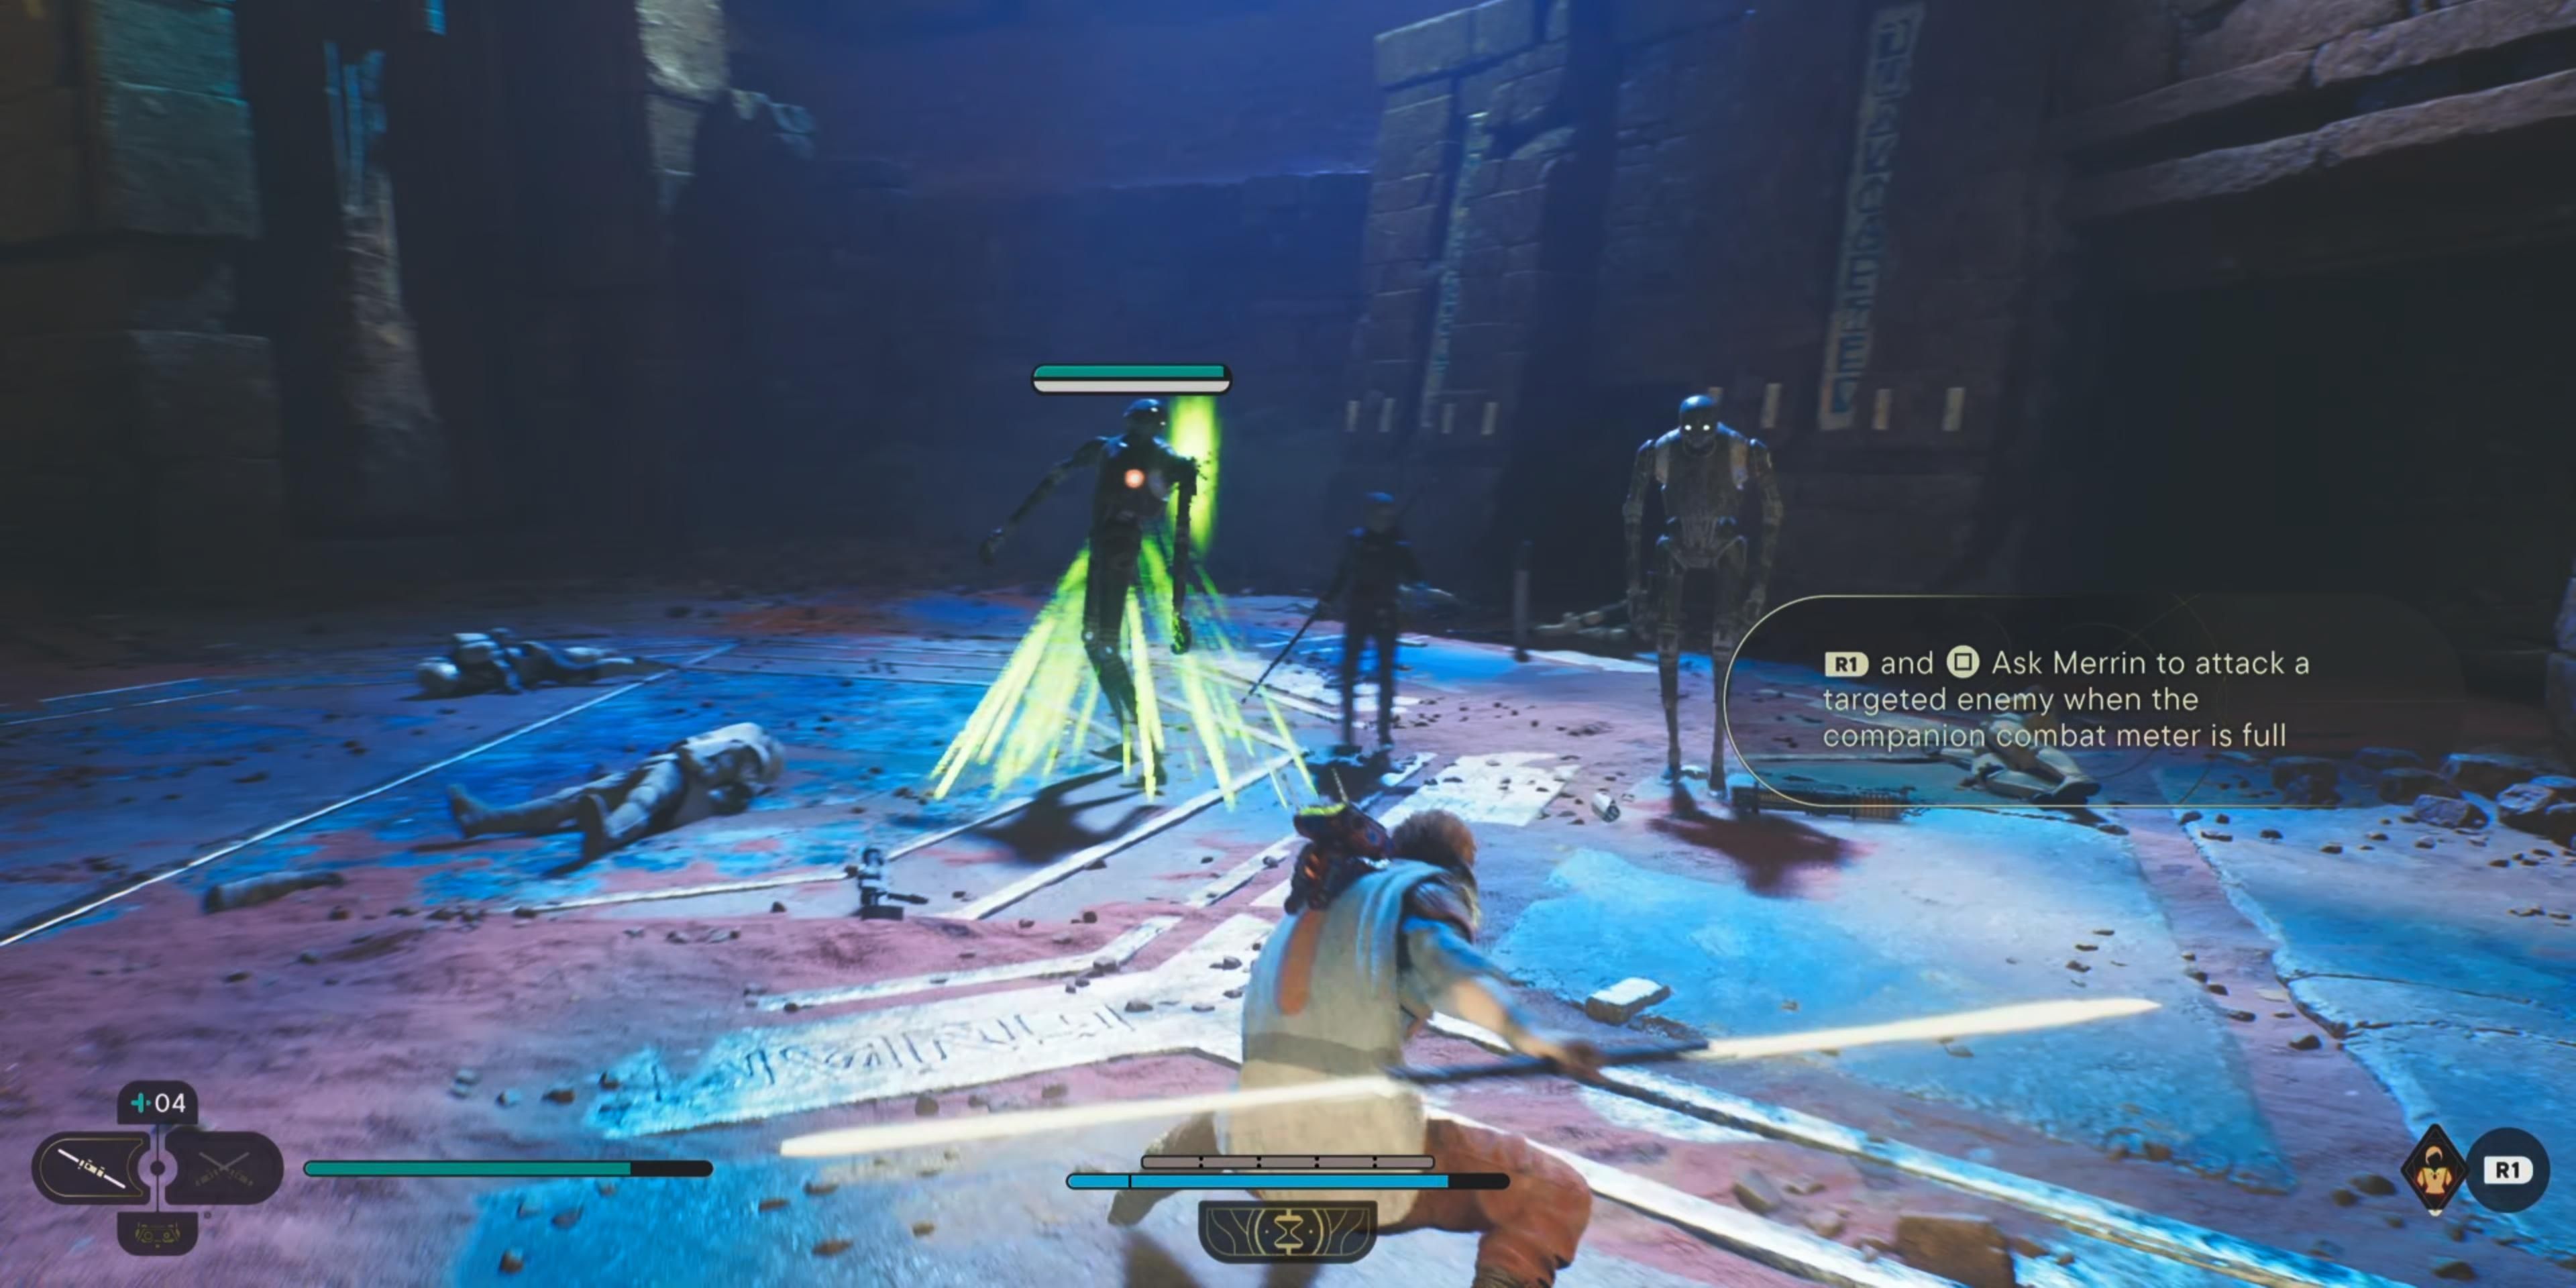
After Merrin arrives to save Kestis from a group of Stormtroopers, a few more waves of enemies will attack you. Utilize Merrin’s dark magic to immobilize enemies to make it easier for you to take them down.
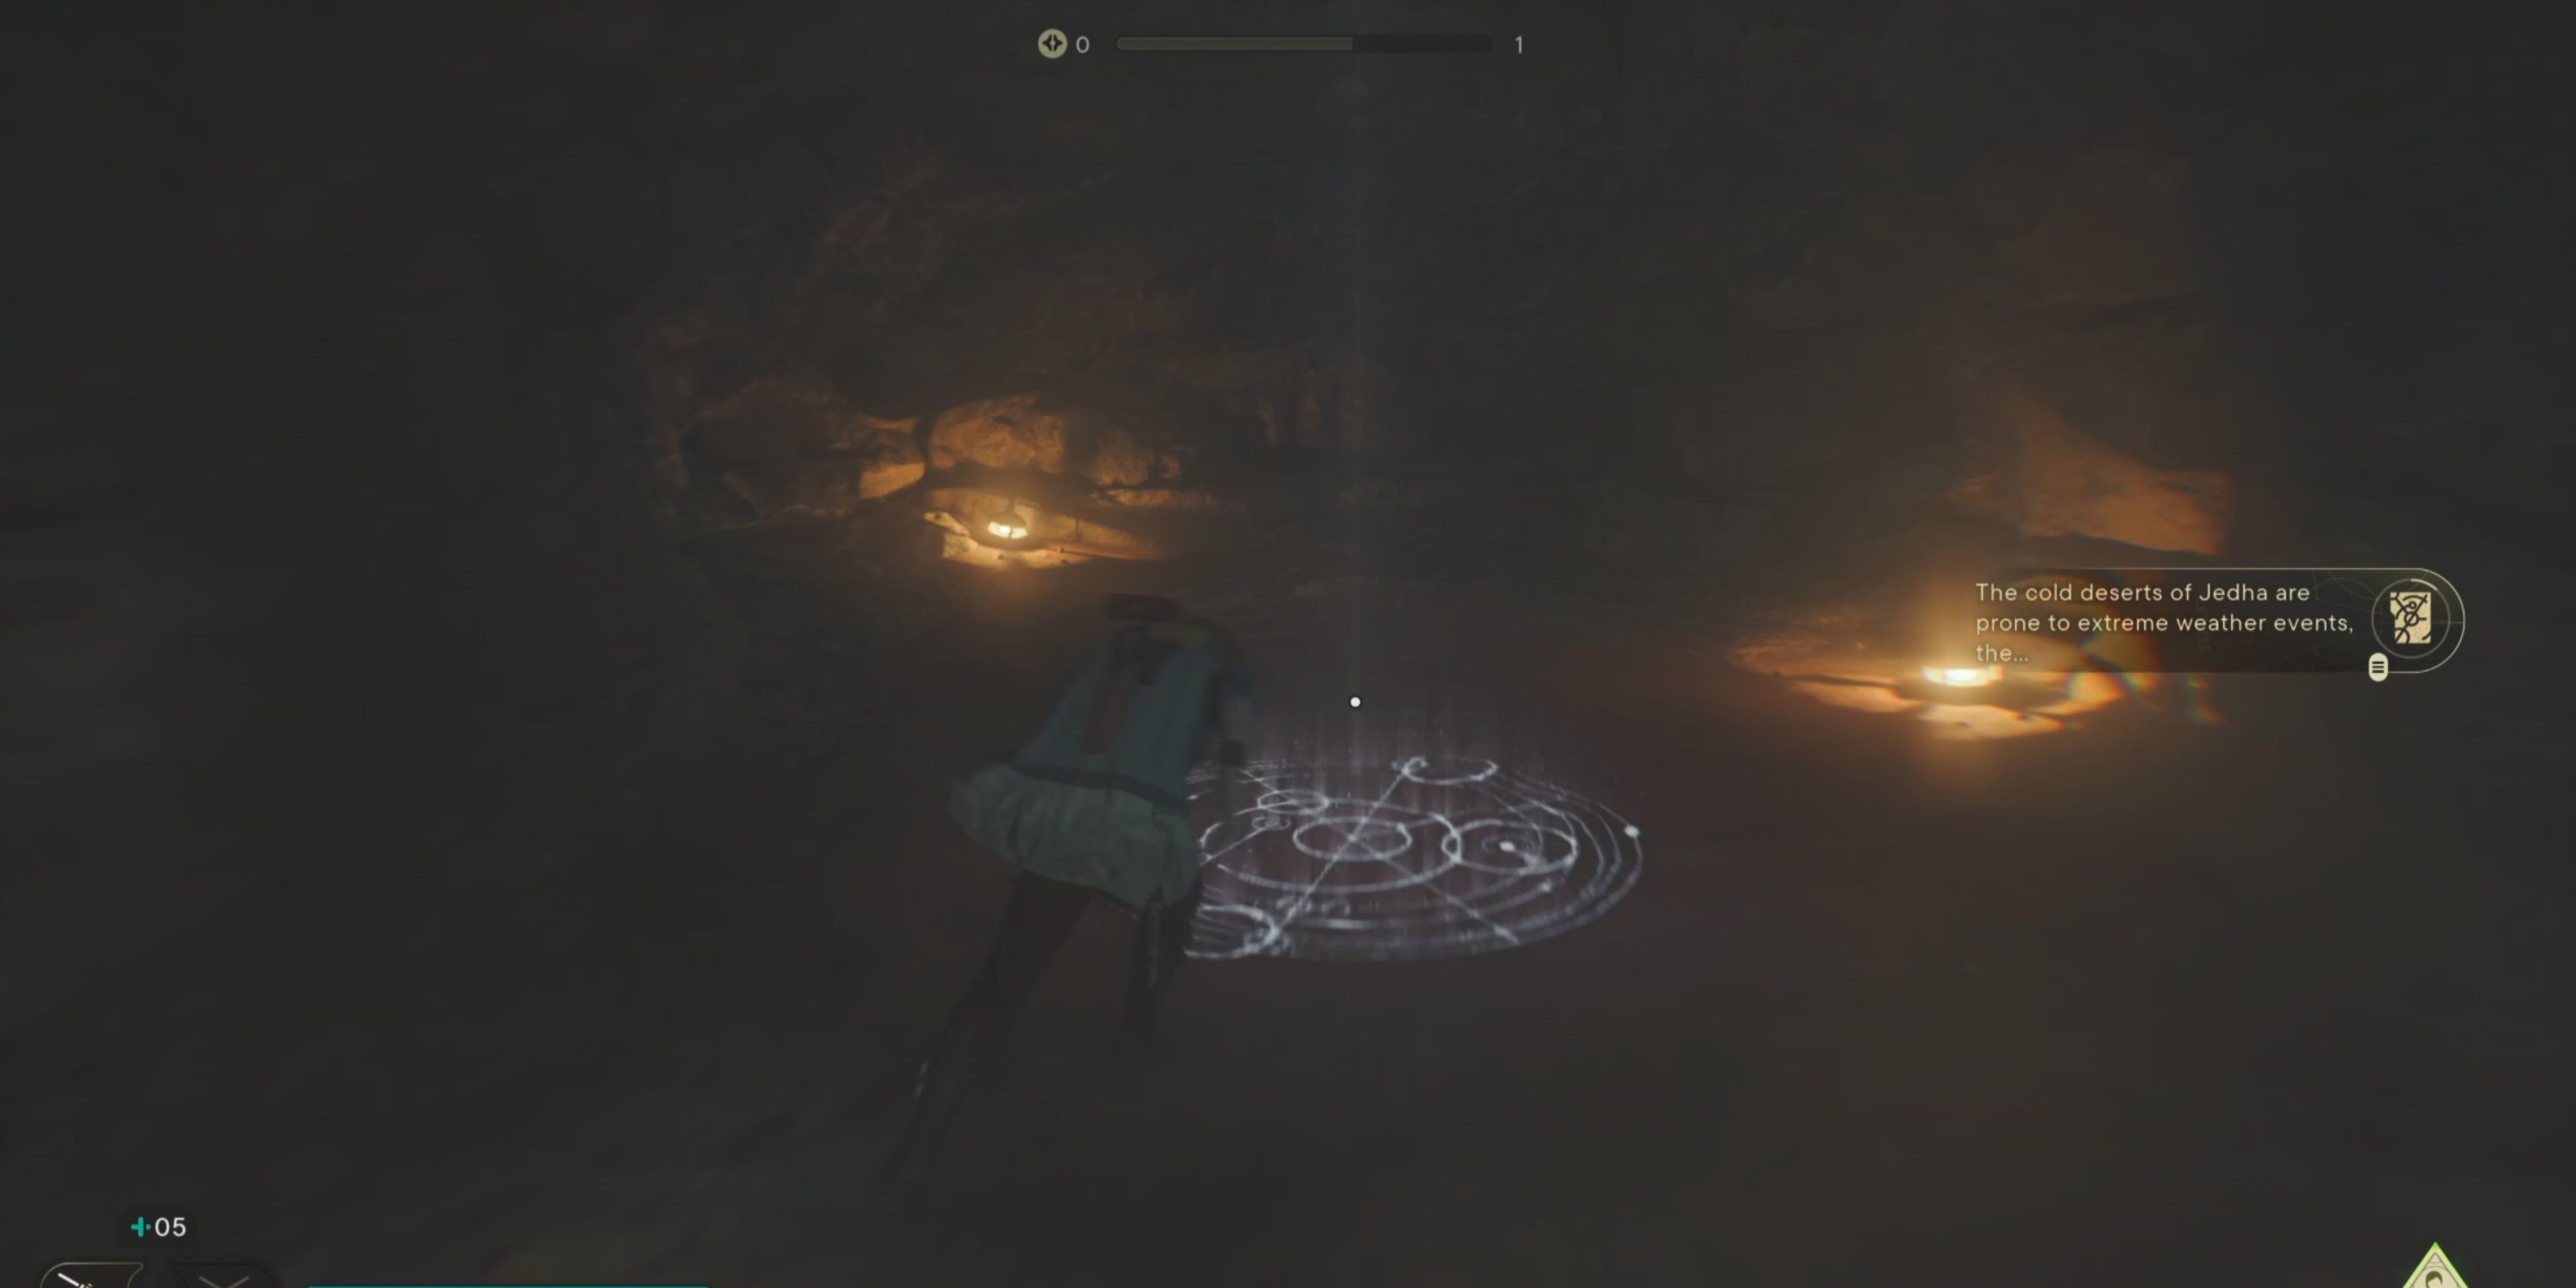
Once you’ve defeated the Empire forces, have Merrin create a holder for Kestis’ ascension cable so you can ascend the wall.
Merrin’s magic allows her to create ascension holders that were previously broken.
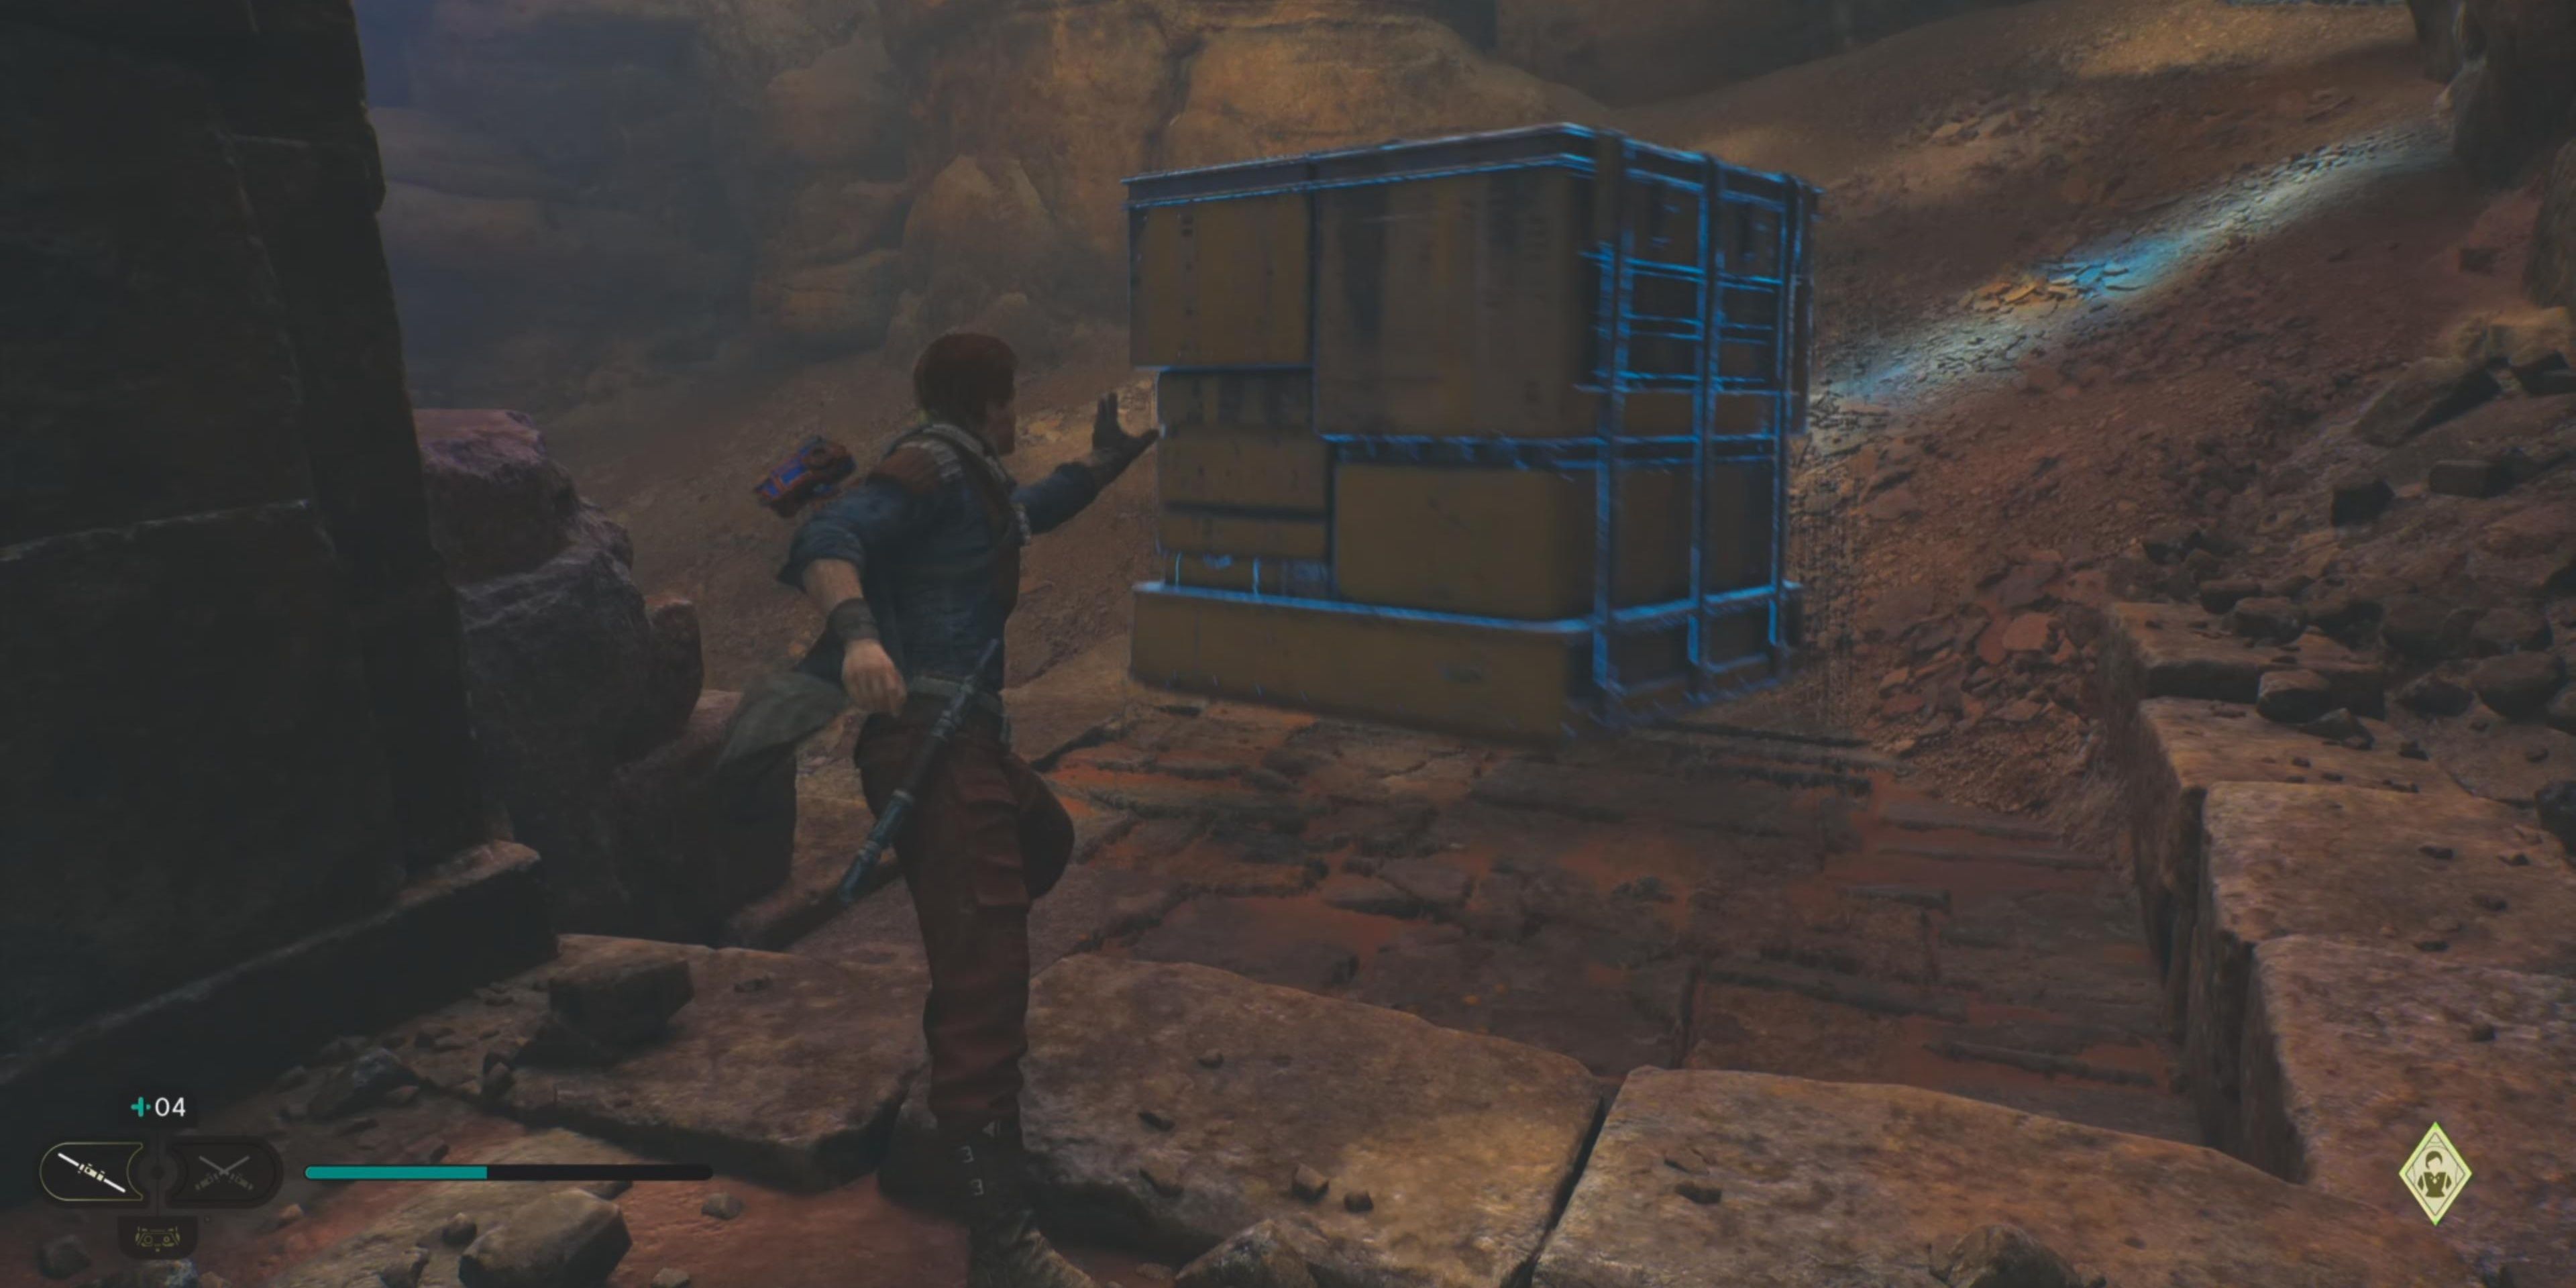
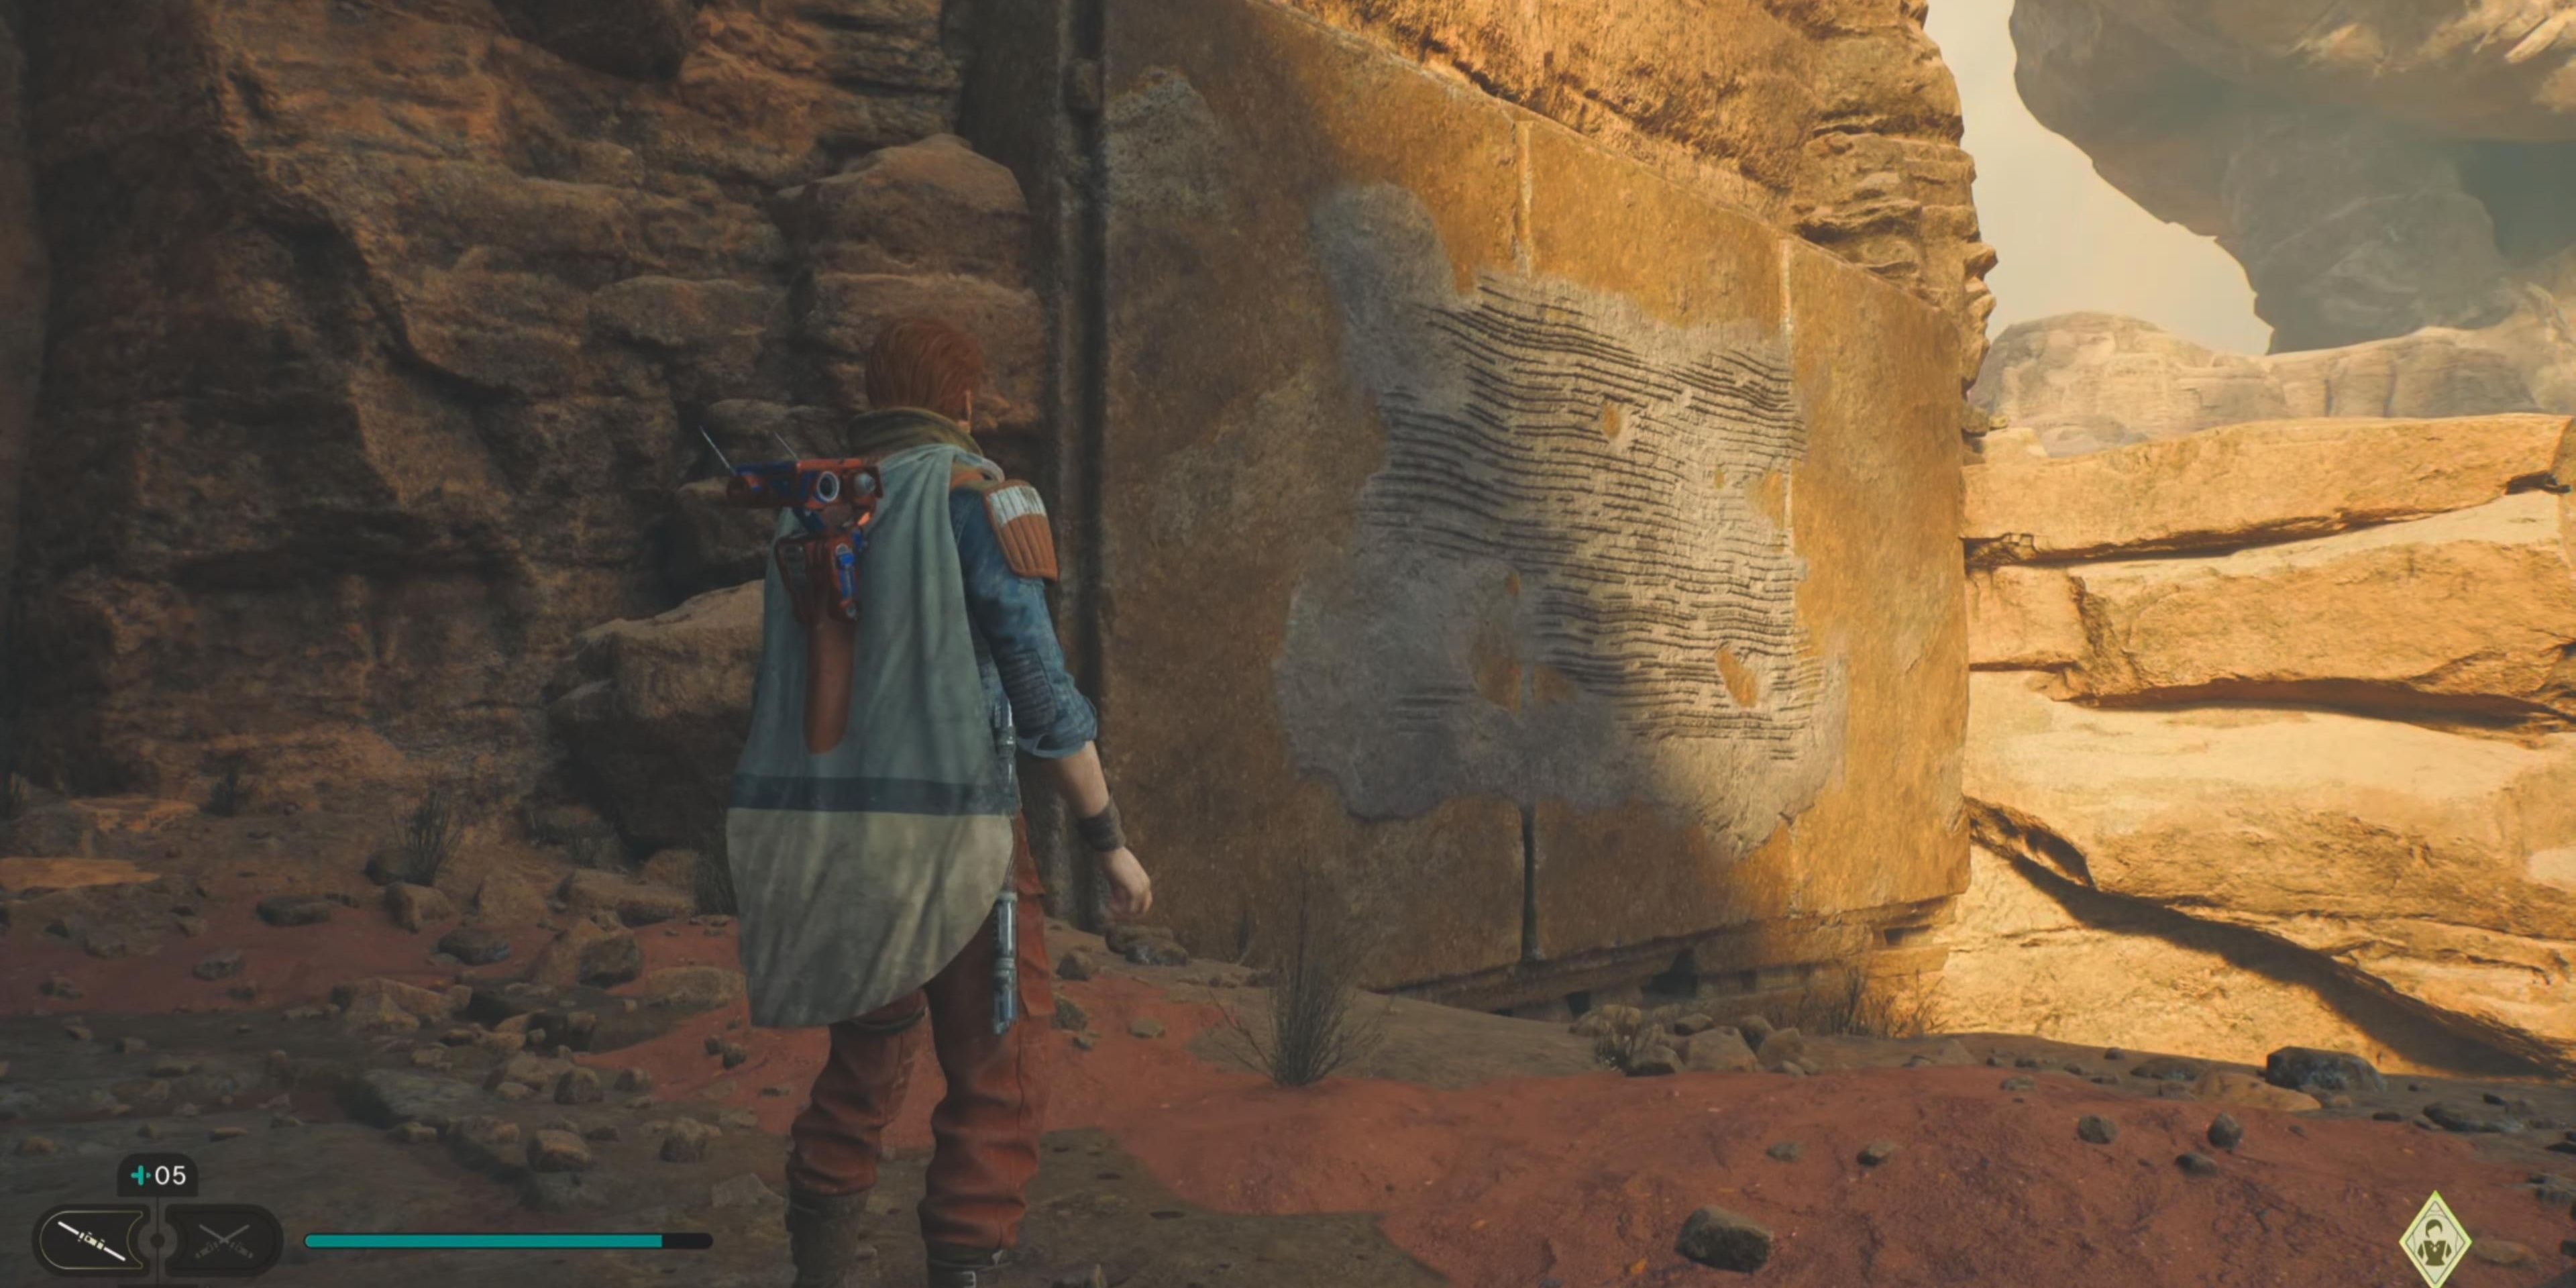
Head down the path and loop around to the next level. You’ll find a Jedha Scroll to your left, then use the Force to push the large block down the slope.
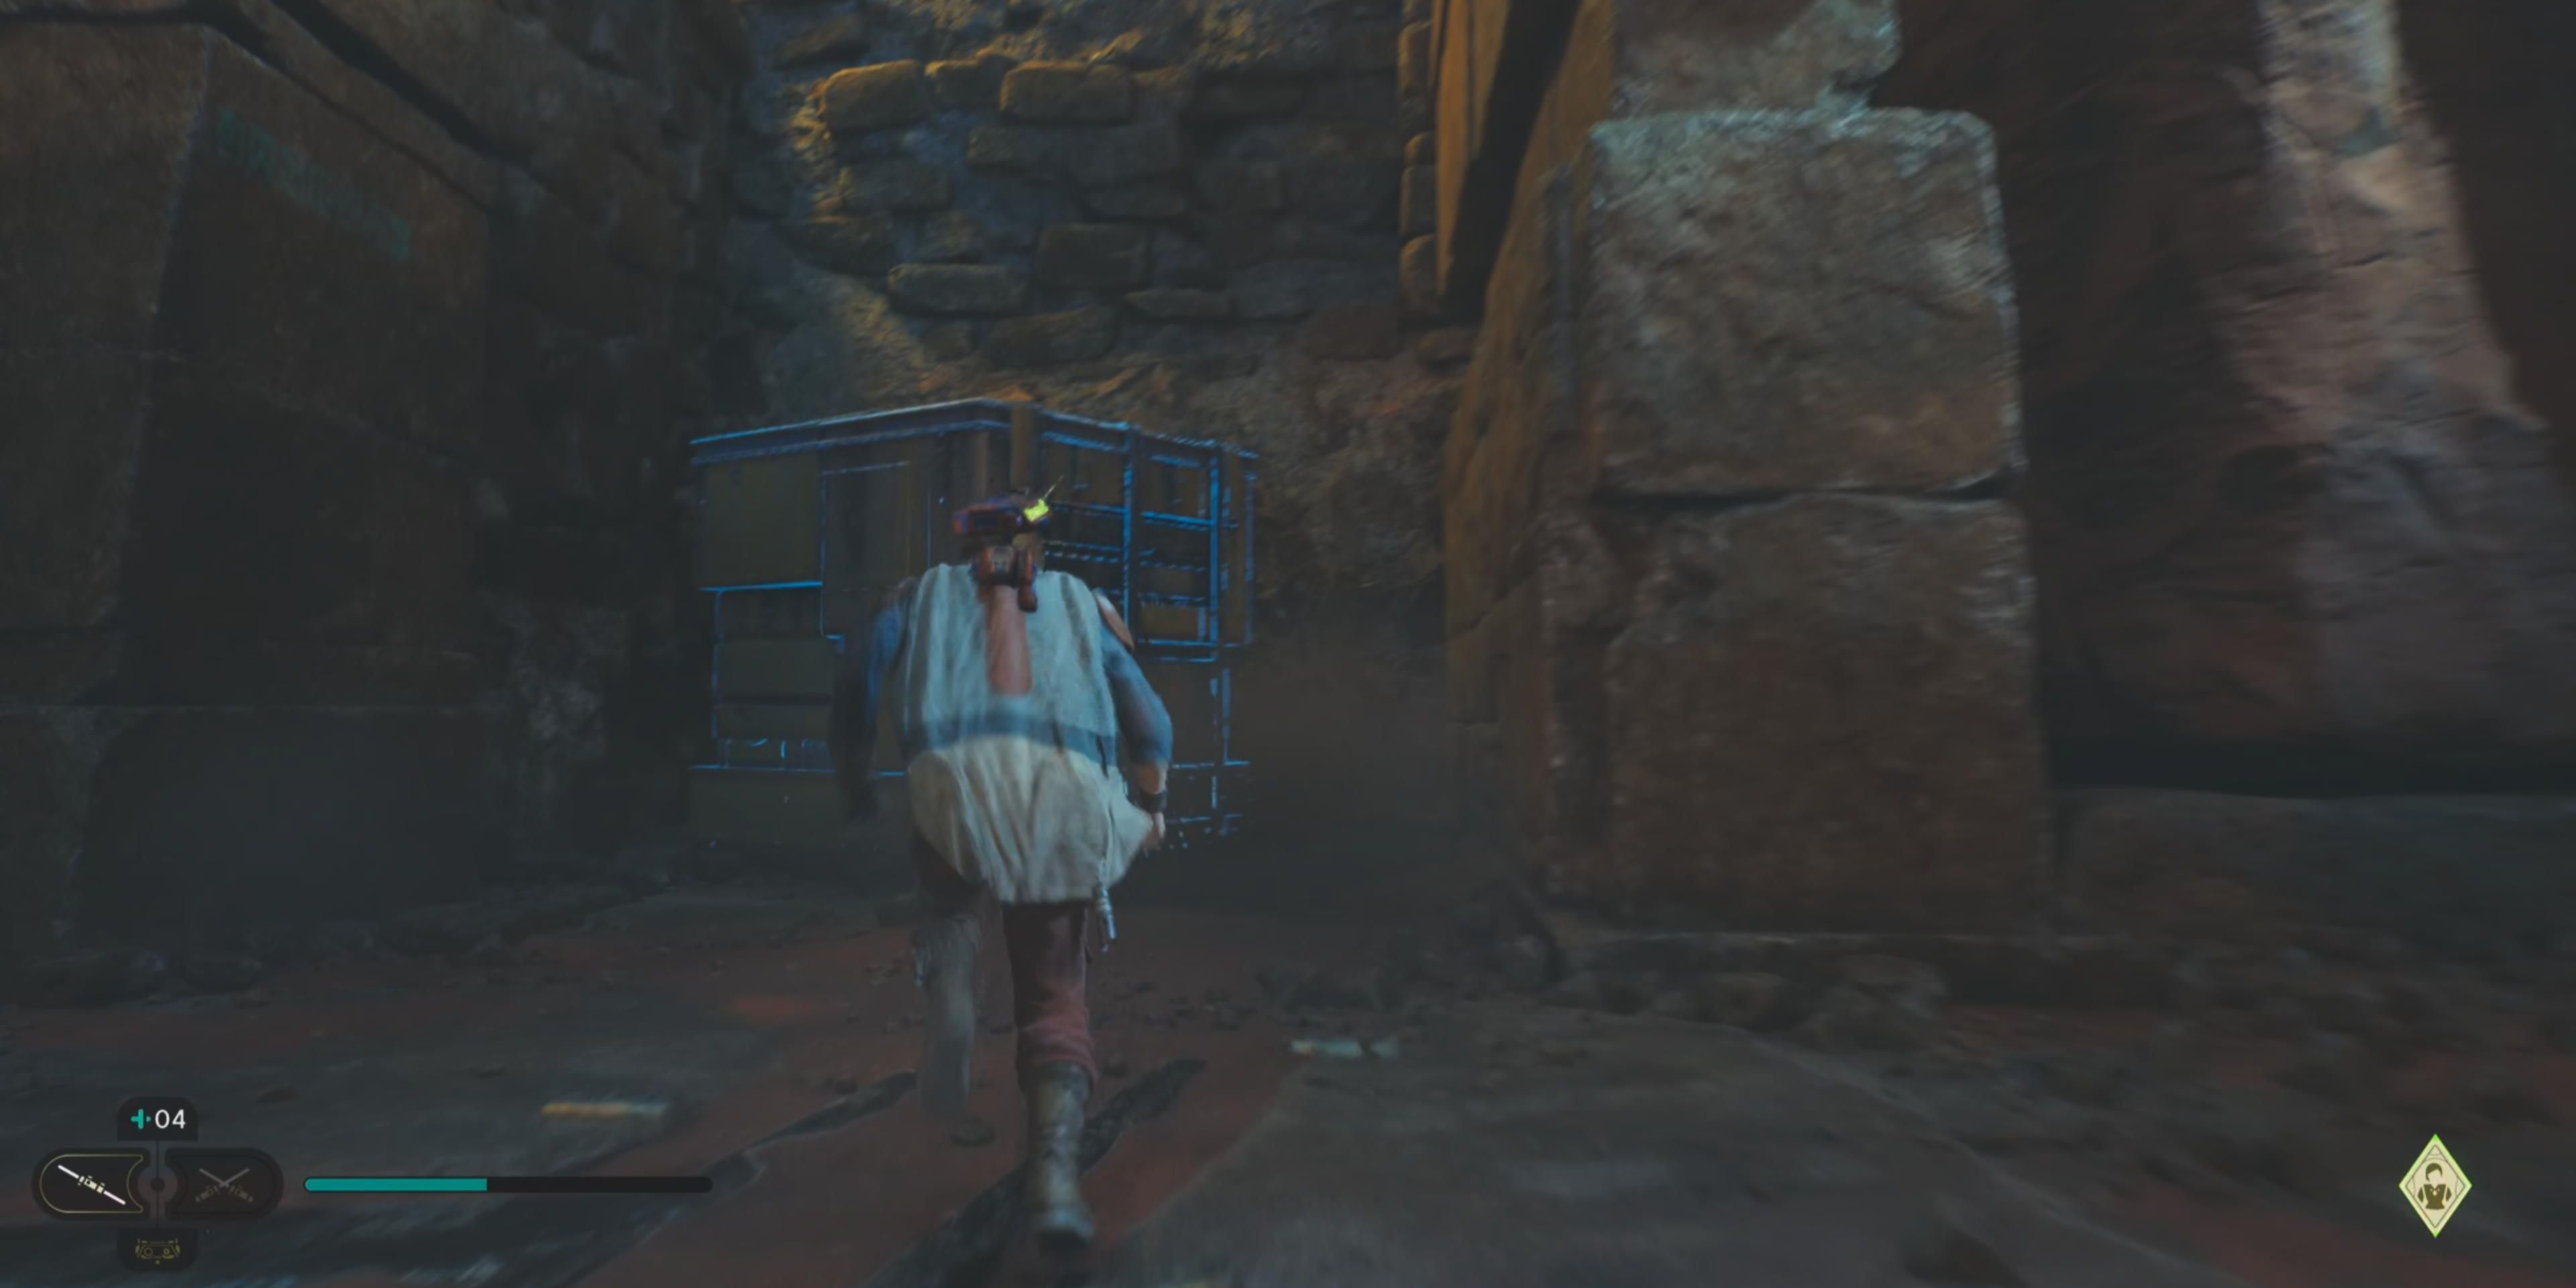
Continue pushing the block until it’s in between the stone walls, then climb up the block to reach the ledge above you.
Keep heading down the path as it narrows until a cutscene occurs.
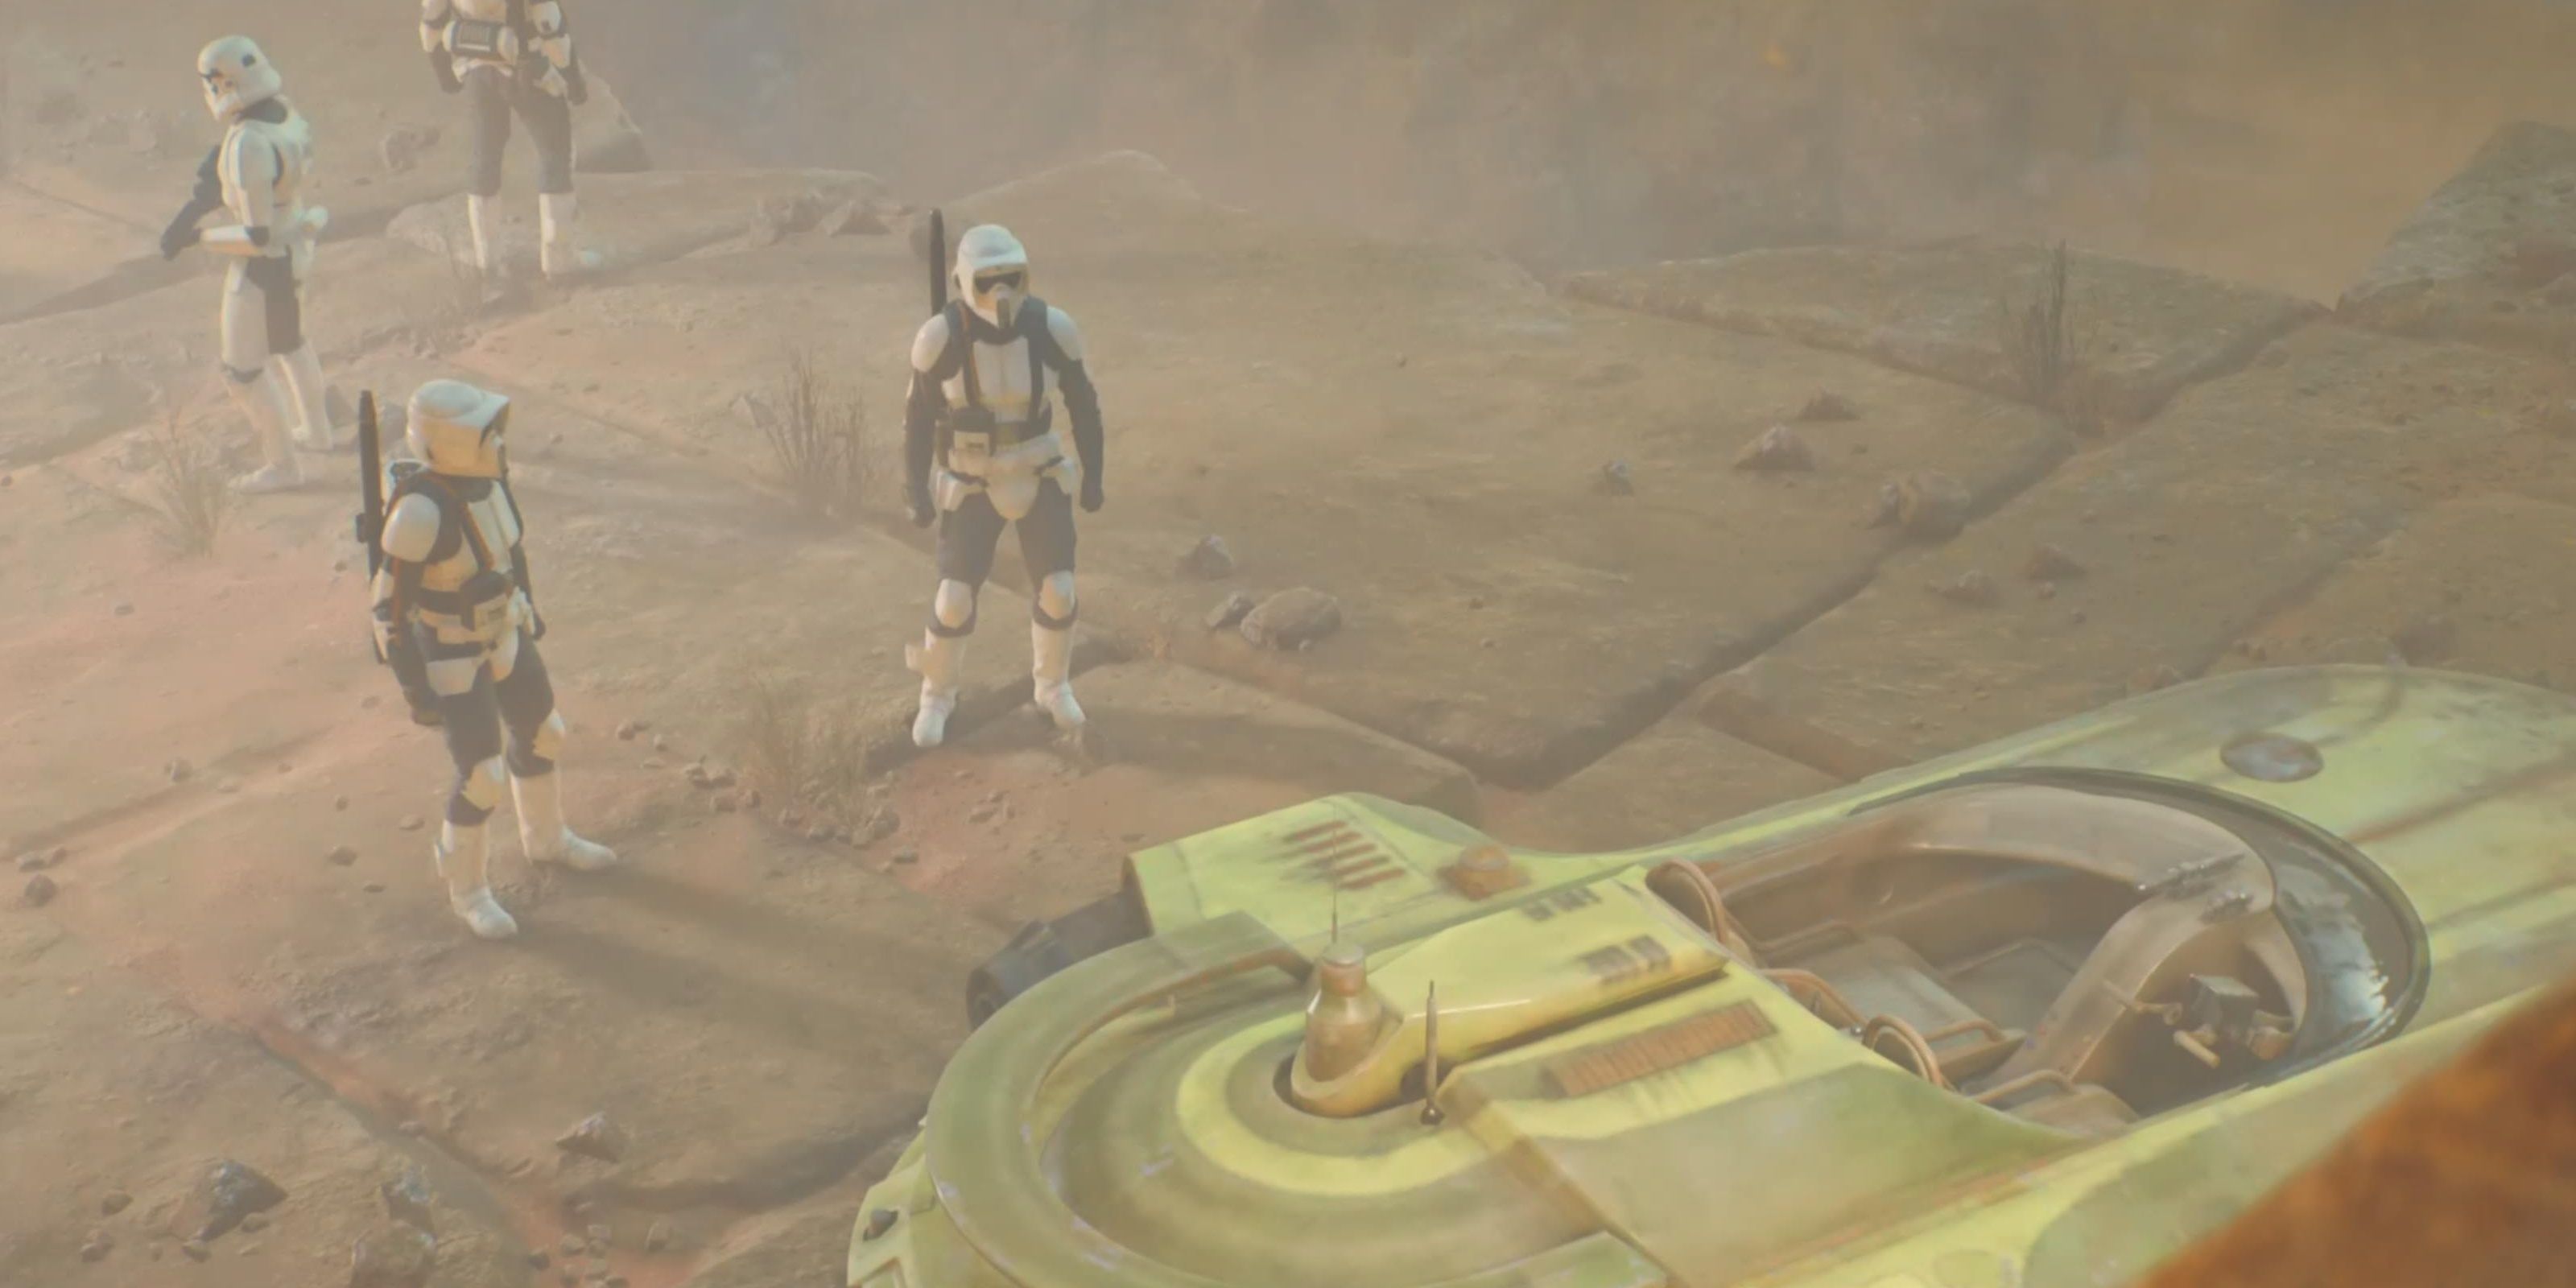
Drop down into the group of Stormtroopers and clear out the patrol.
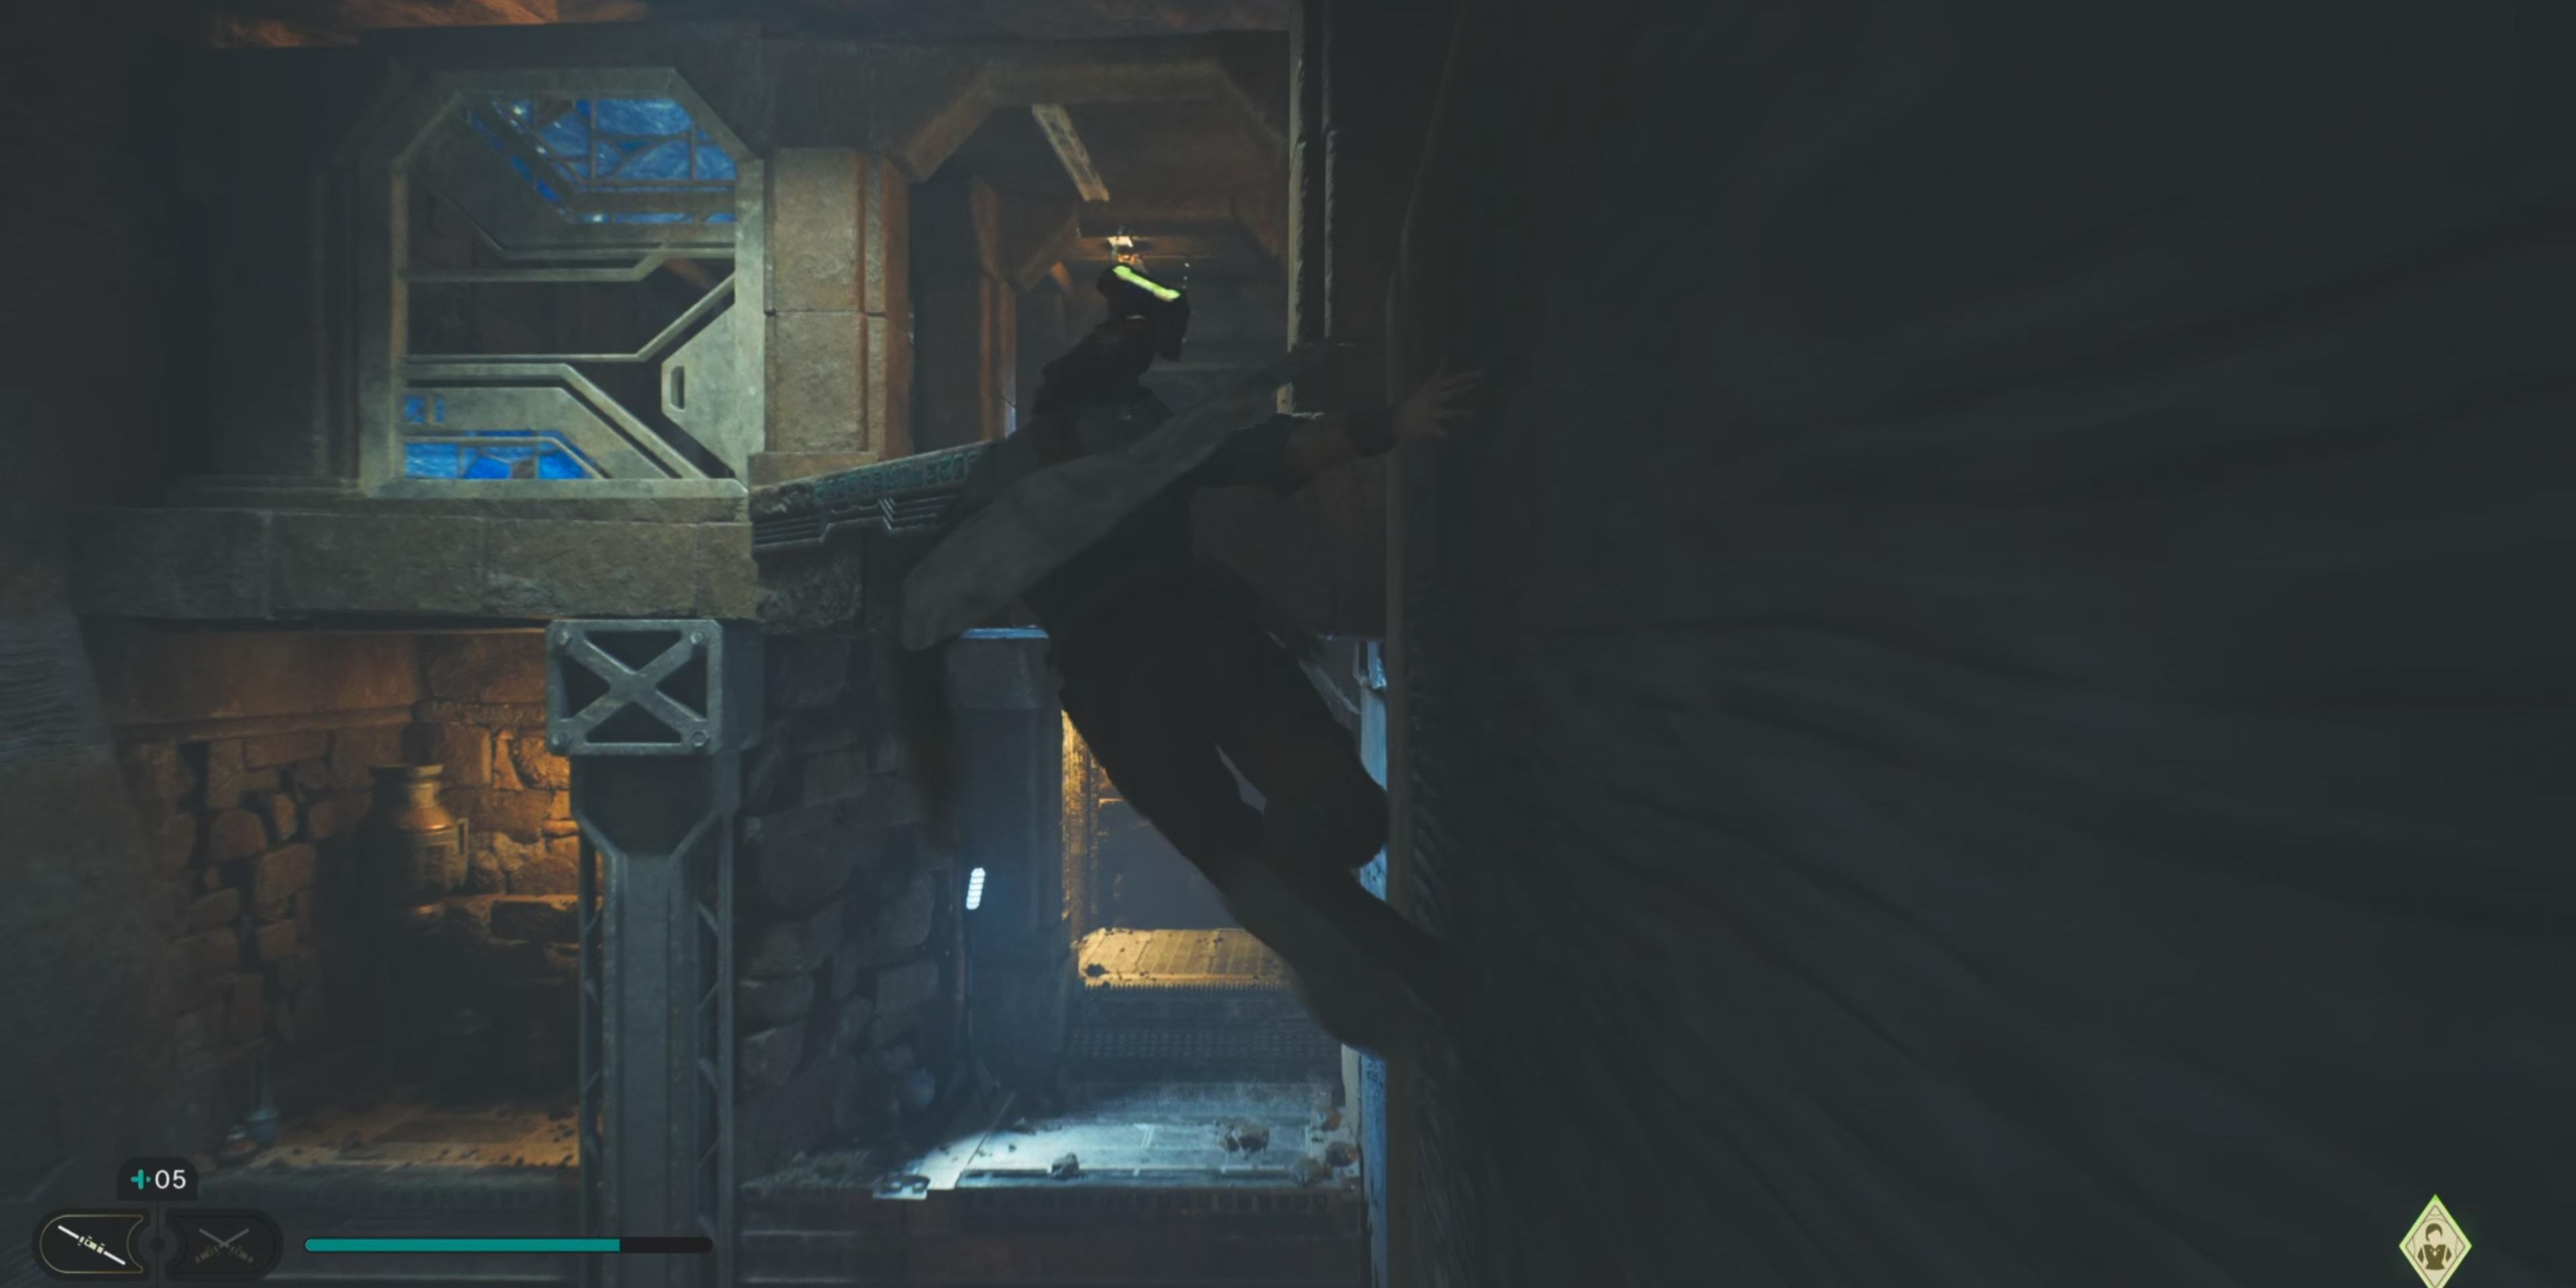
Interact with the speeder to trigger another cutscene, then have Merrin create a holder for Kestis’s ascension cable to wall run and reach the other side.
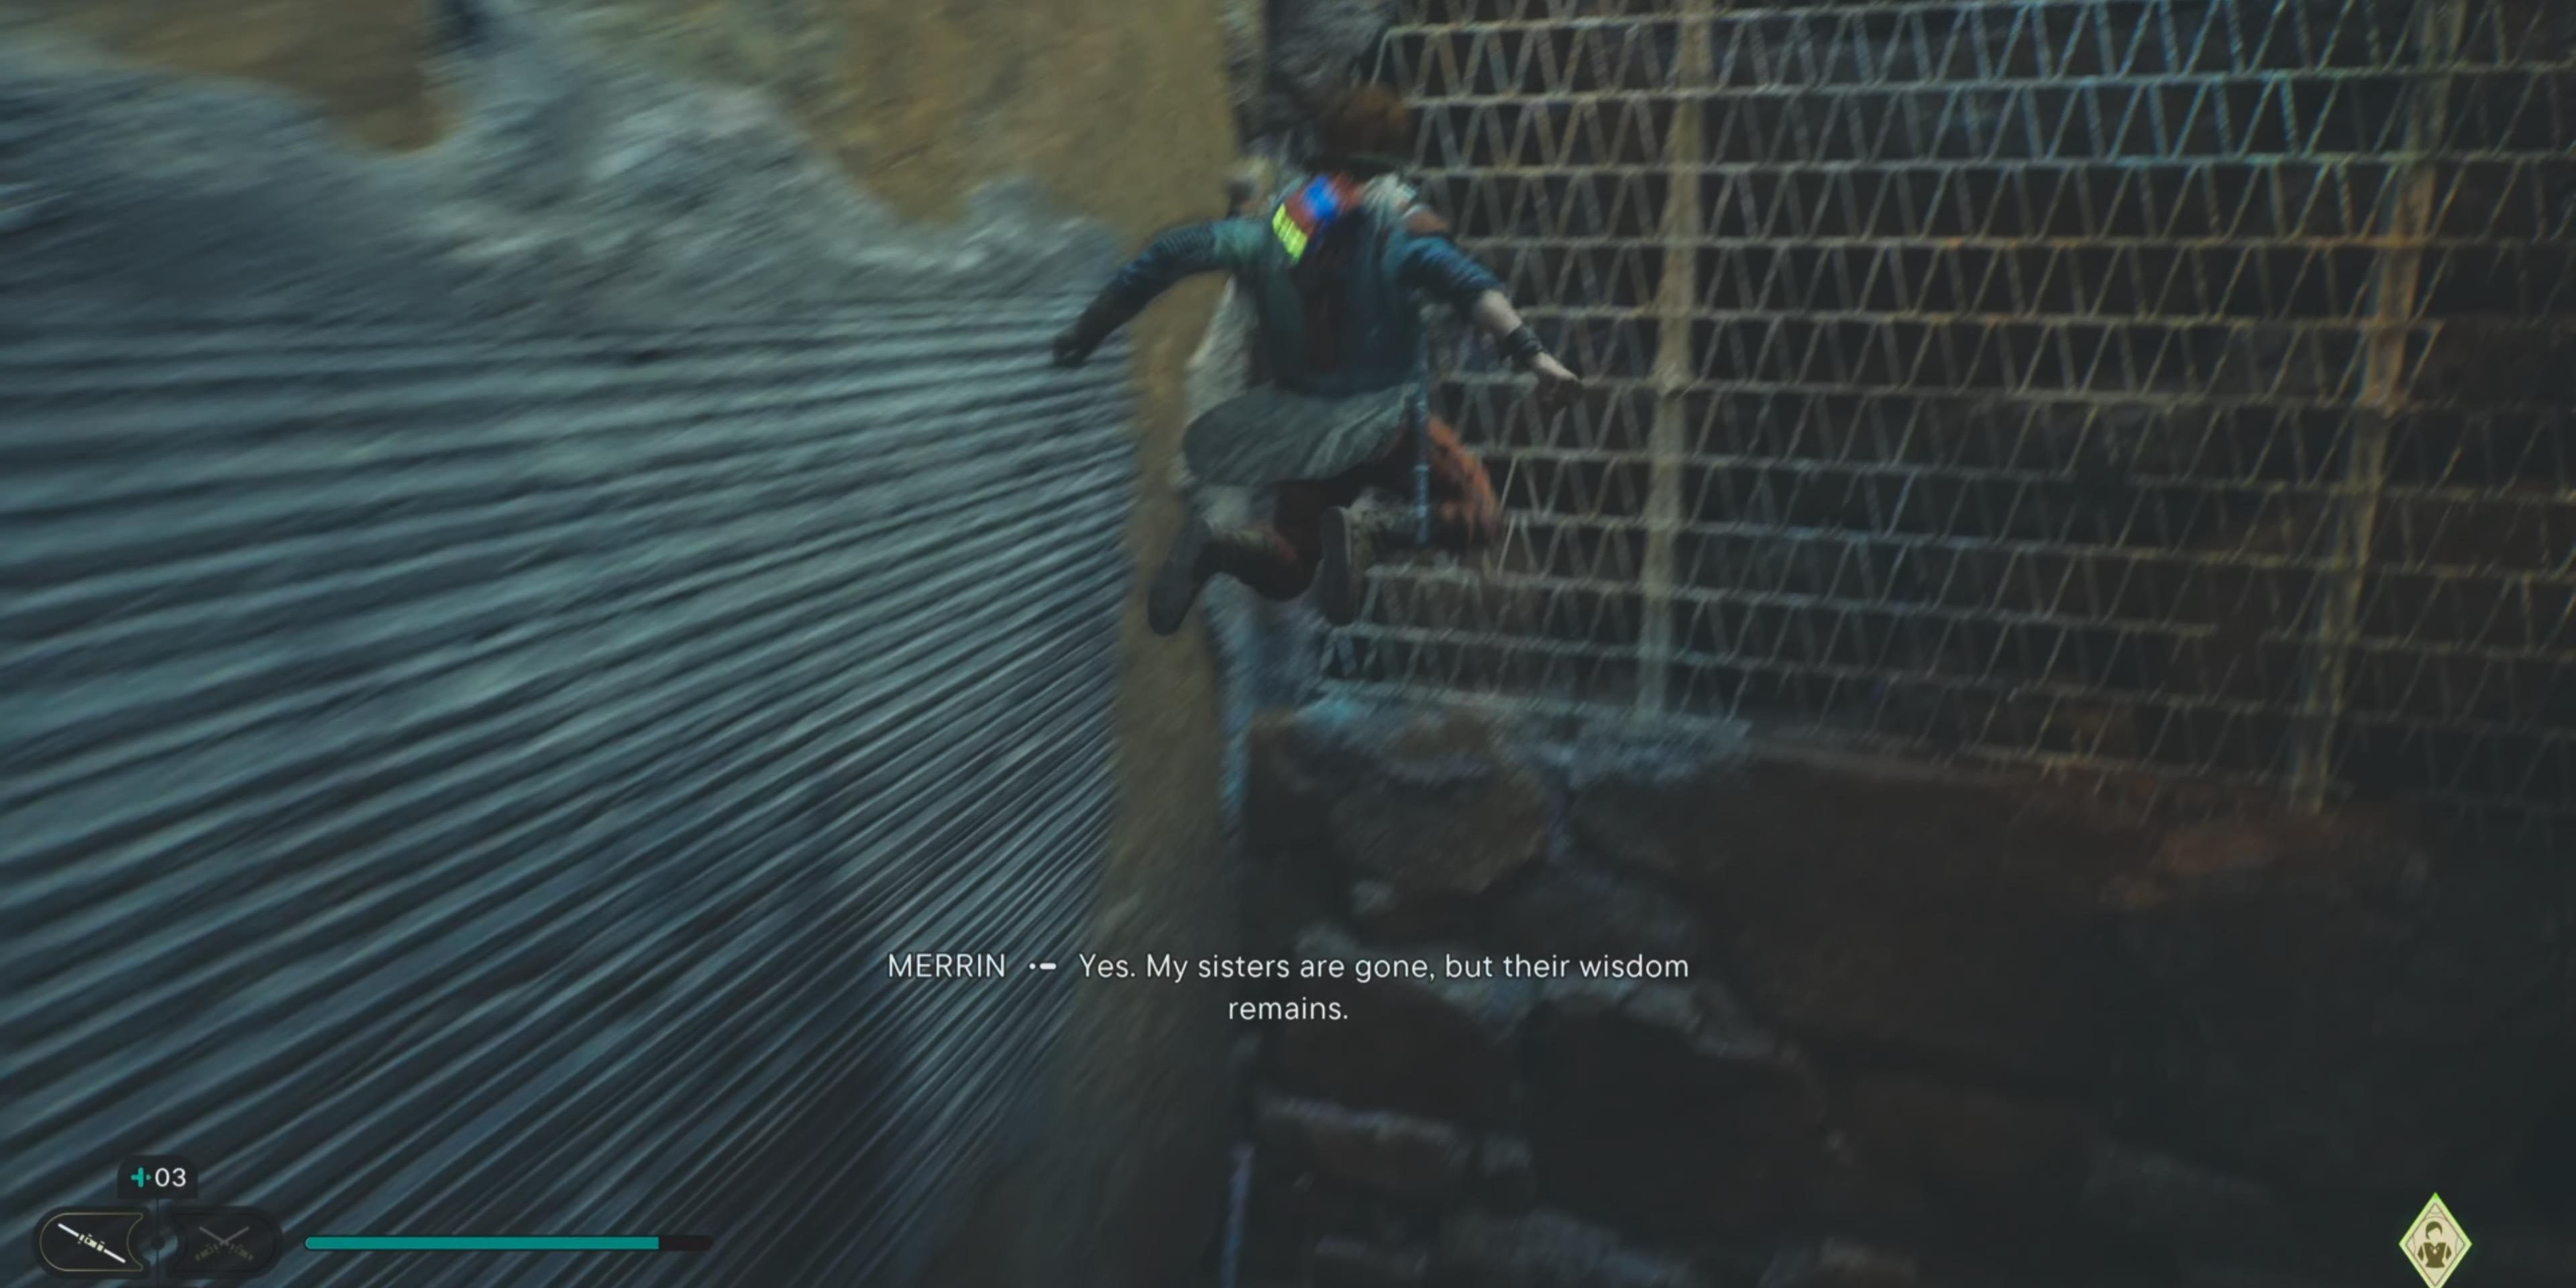
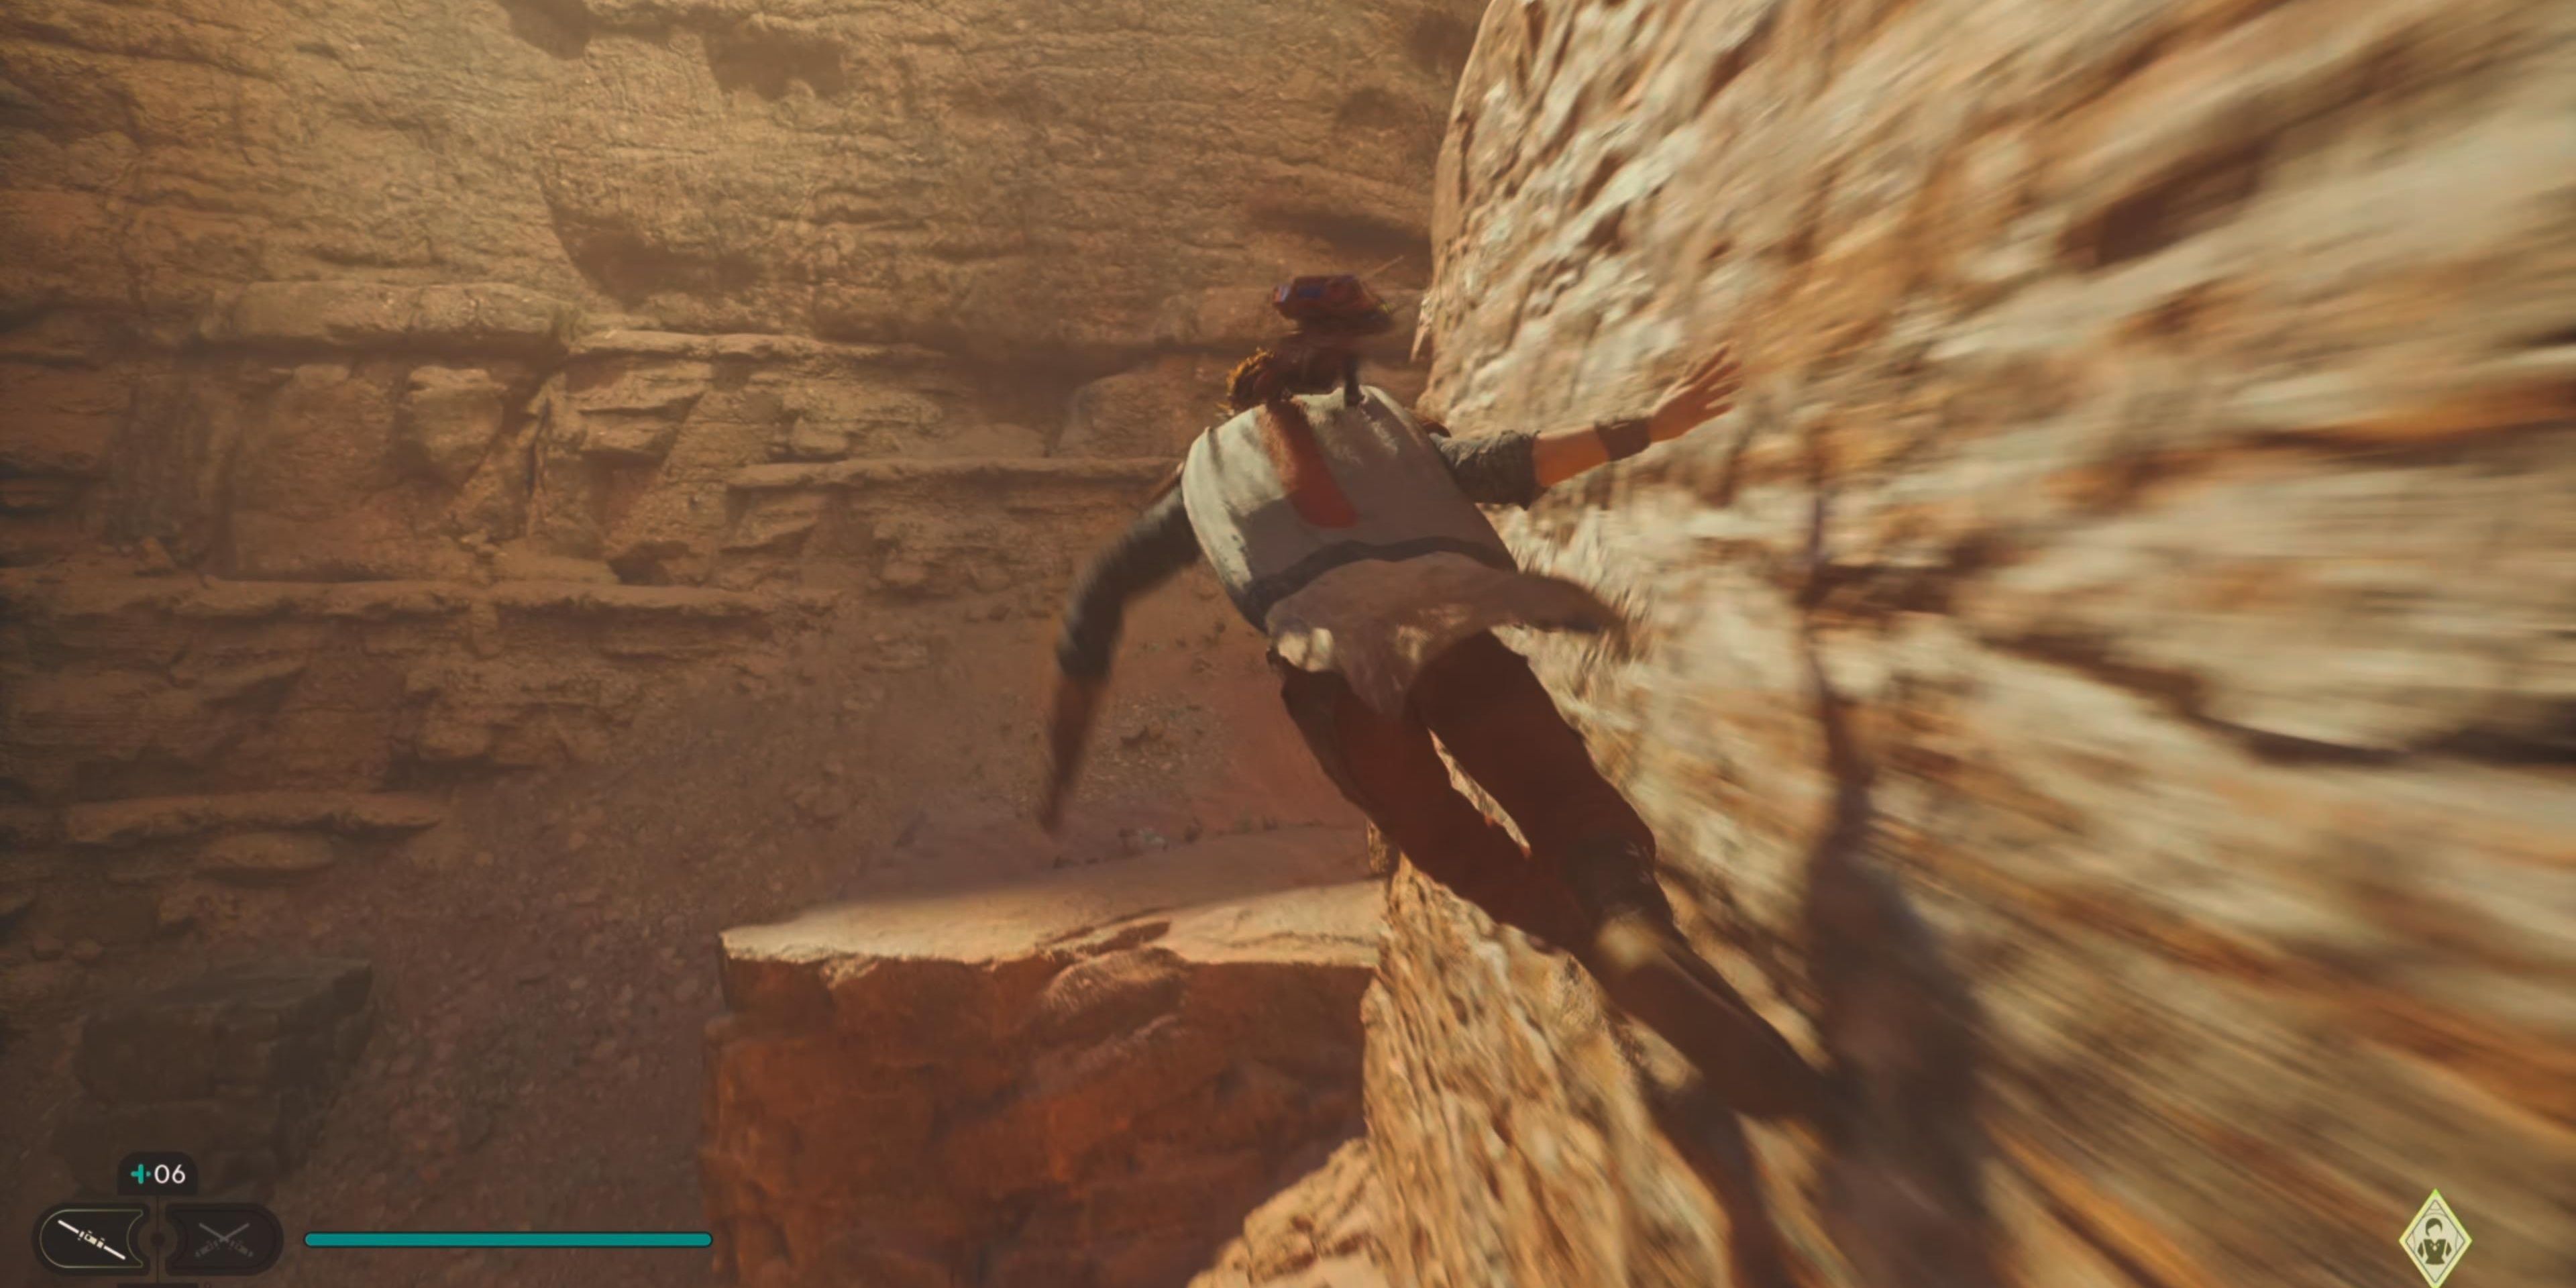
There will be a longer wall to run on, so you might need to jump in the middle to reset Kestis’s wall run.
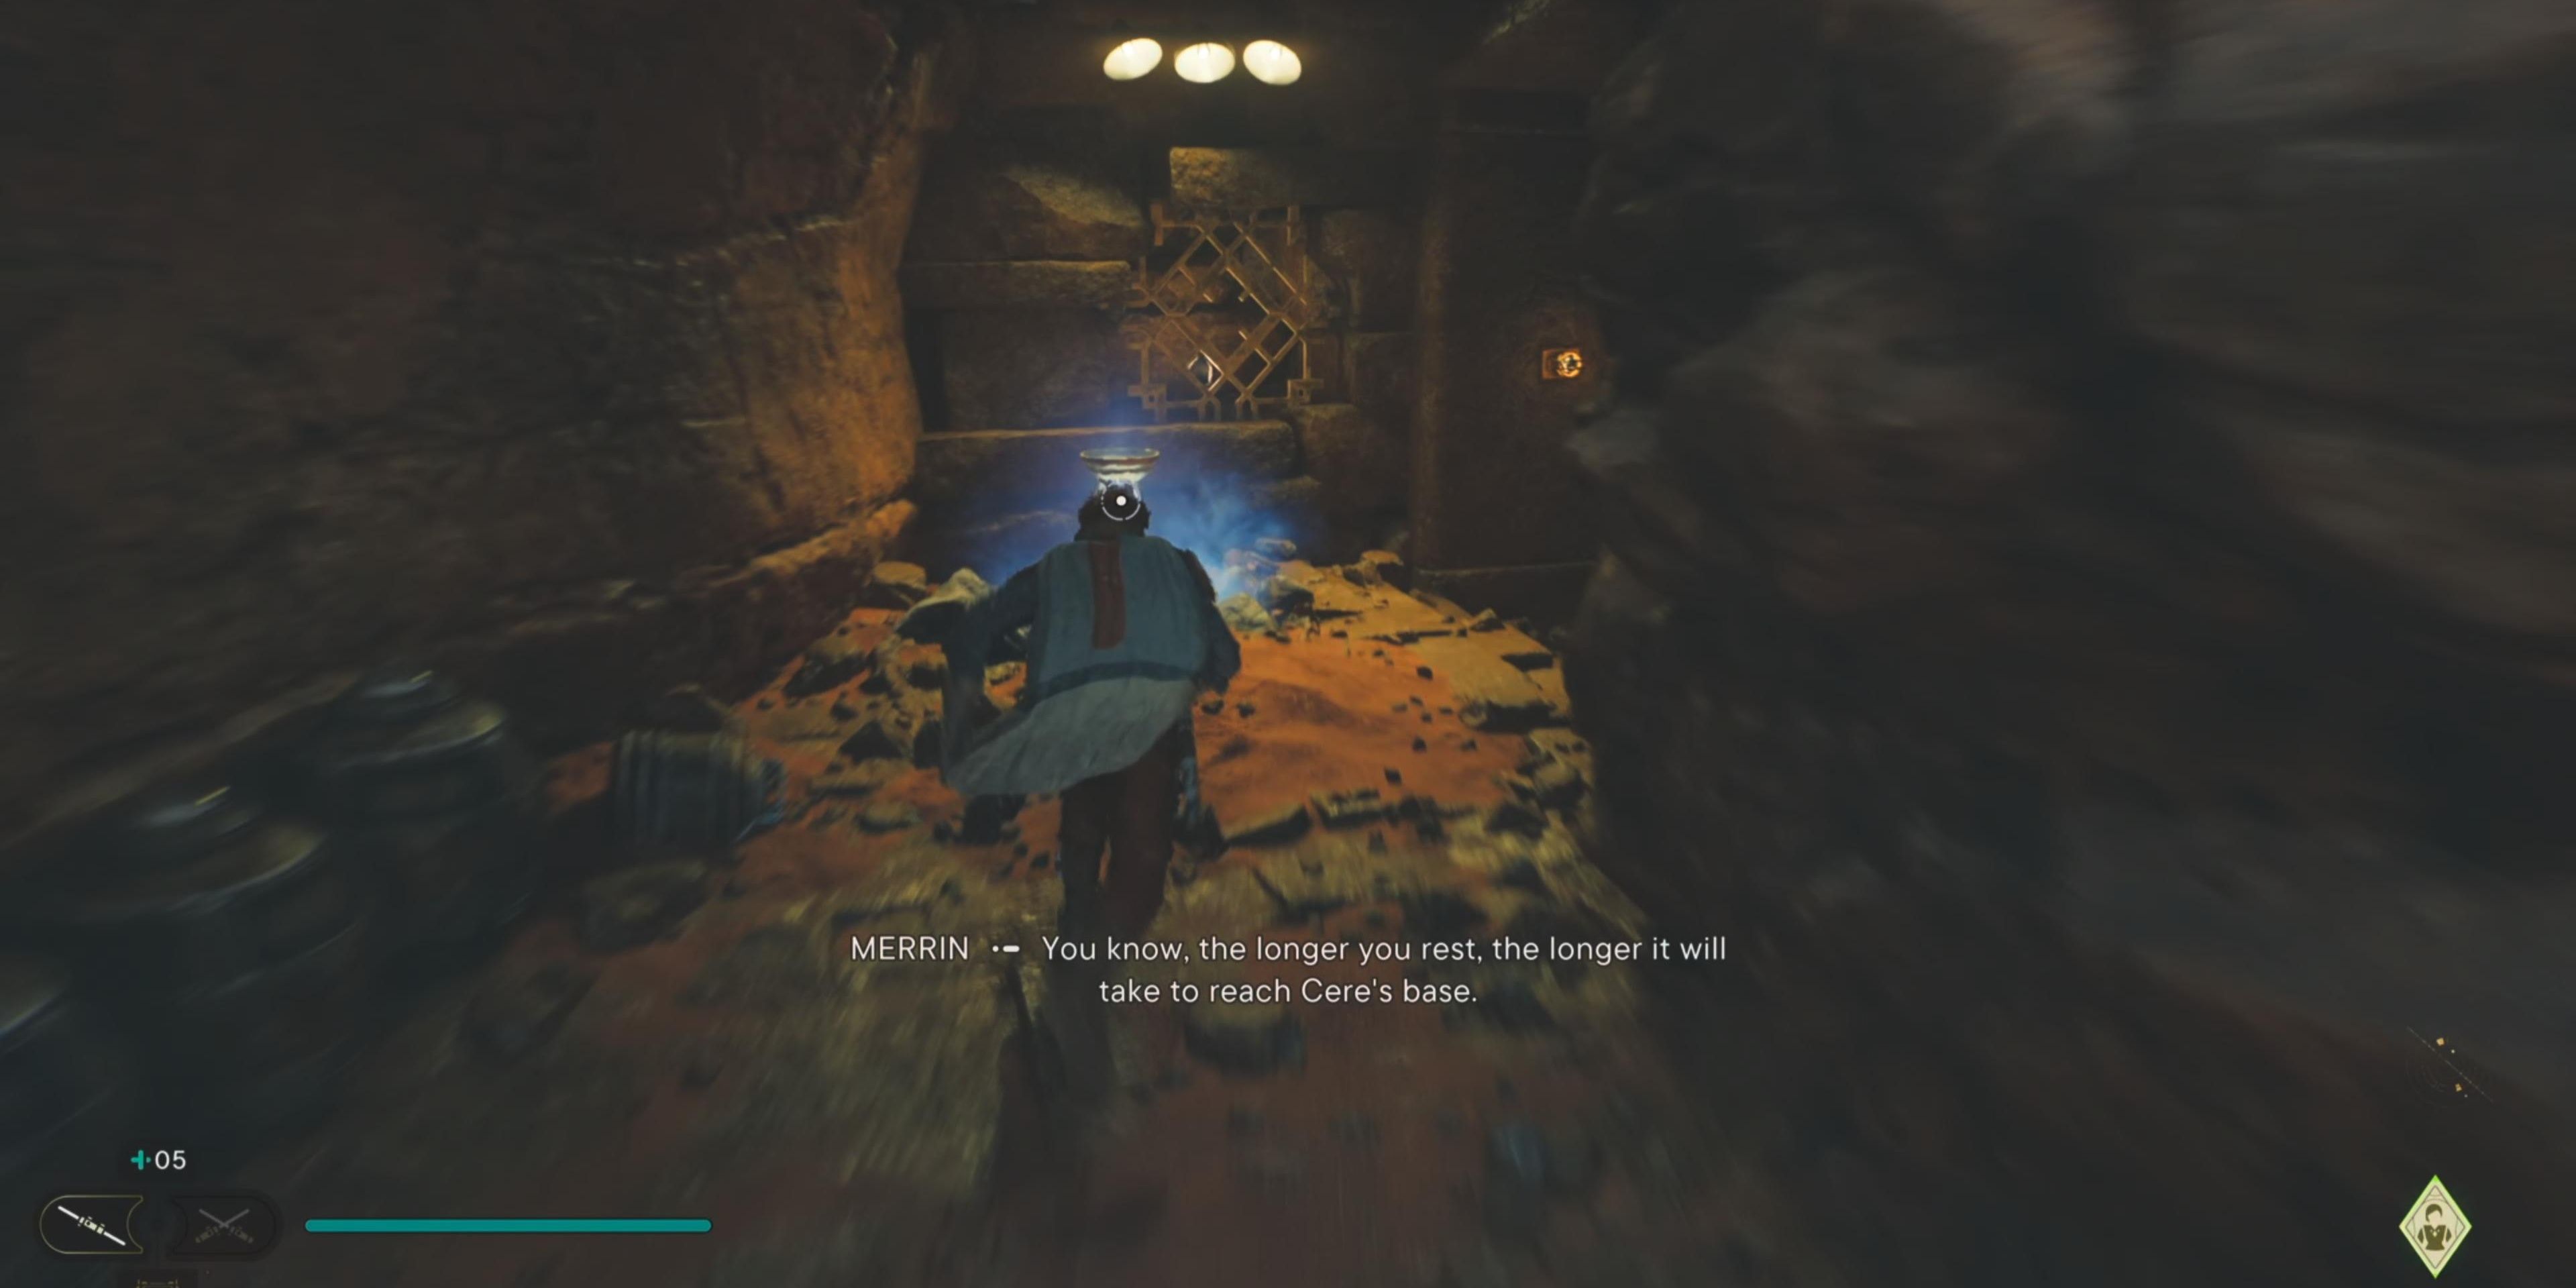
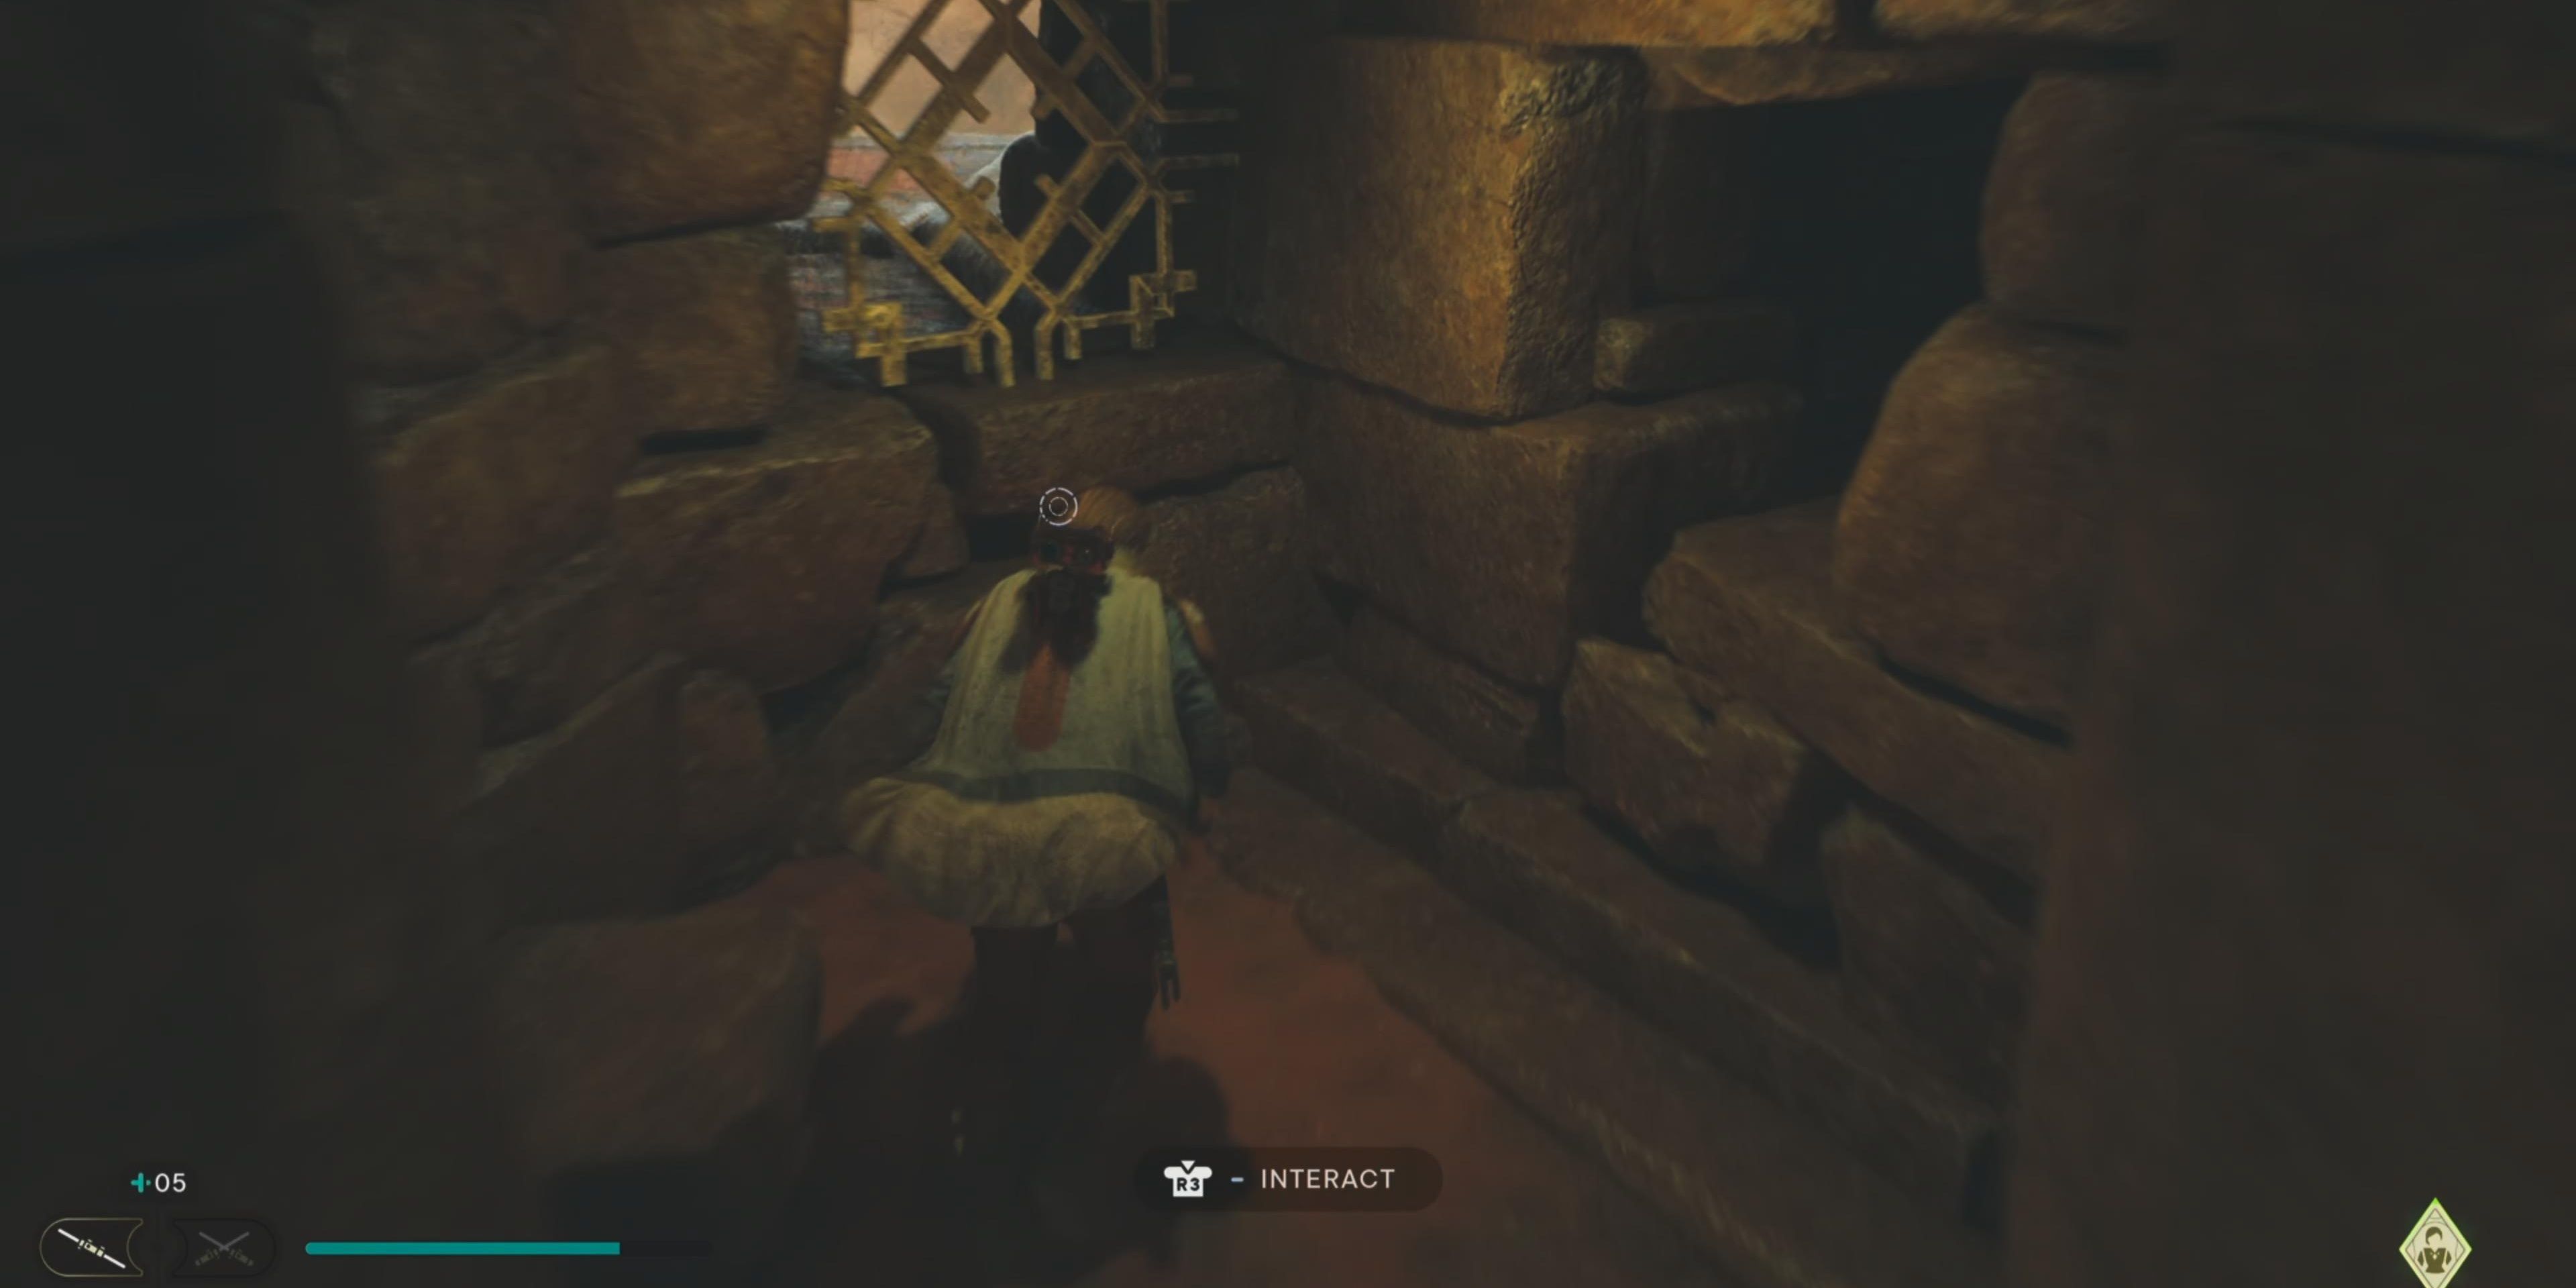
Squeeze through the opening and use the Force to push the opening but the rocks will block the path.
Merrin will use her magic to restore the opening so you can continue moving forward.
Wall run and jump on the metal grate to climb on the wall. Examine the Spamels from a distance, then use the Halls Of Ranvell Meditation Point nearby.
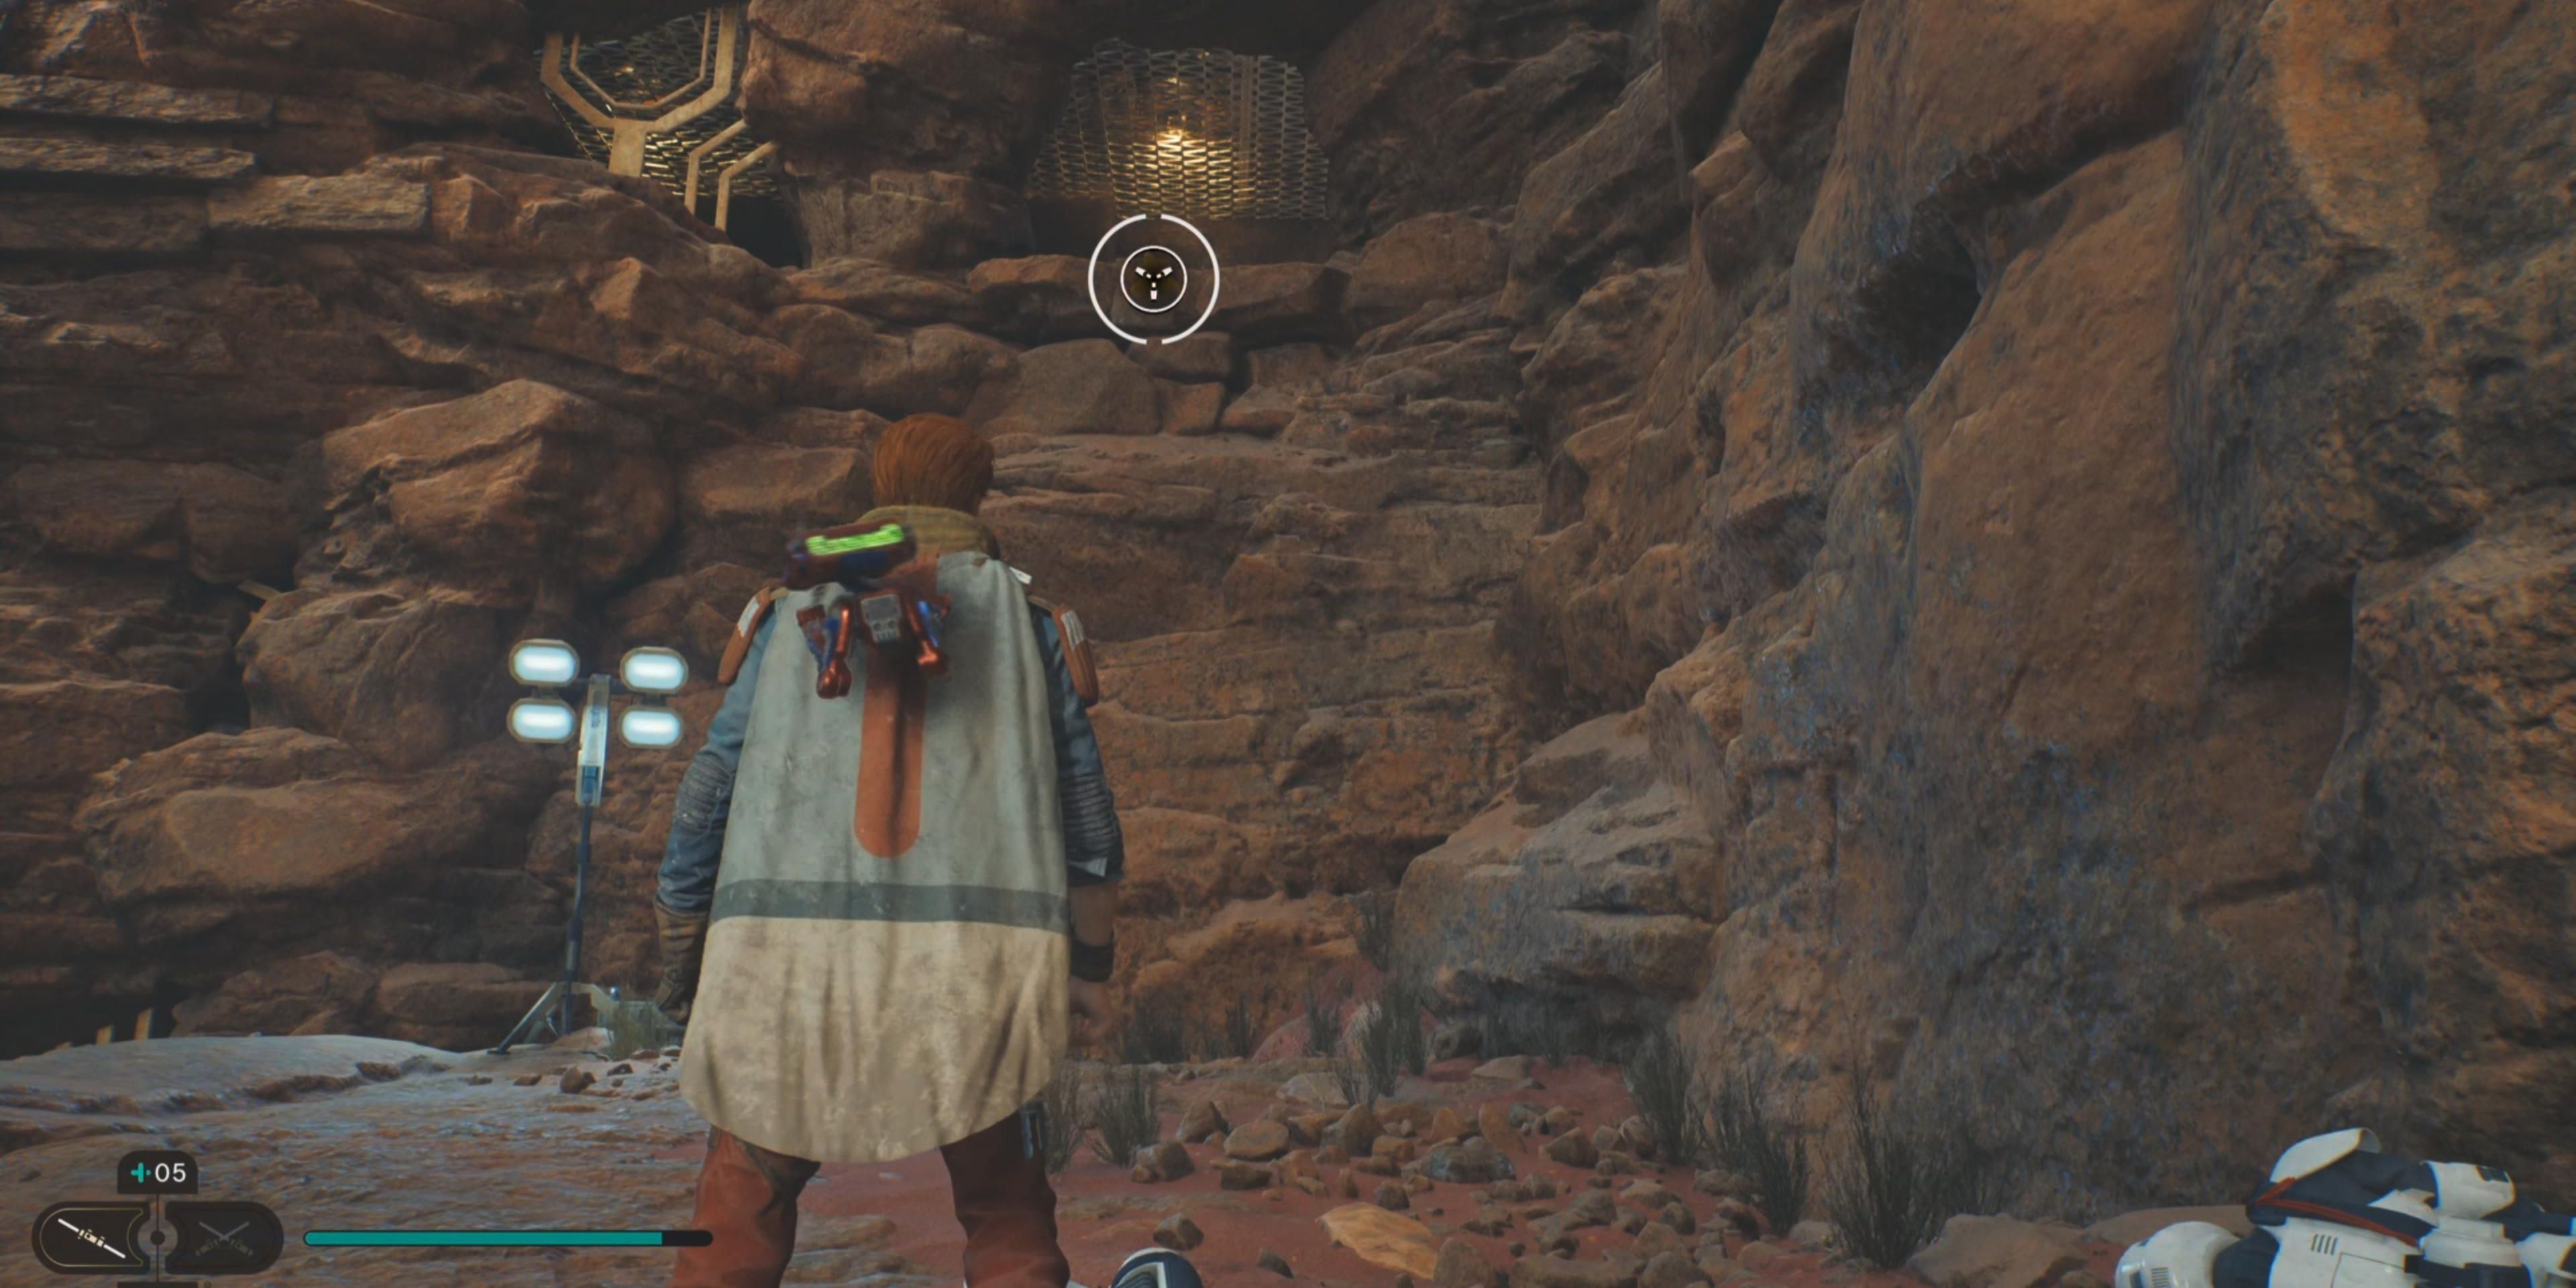
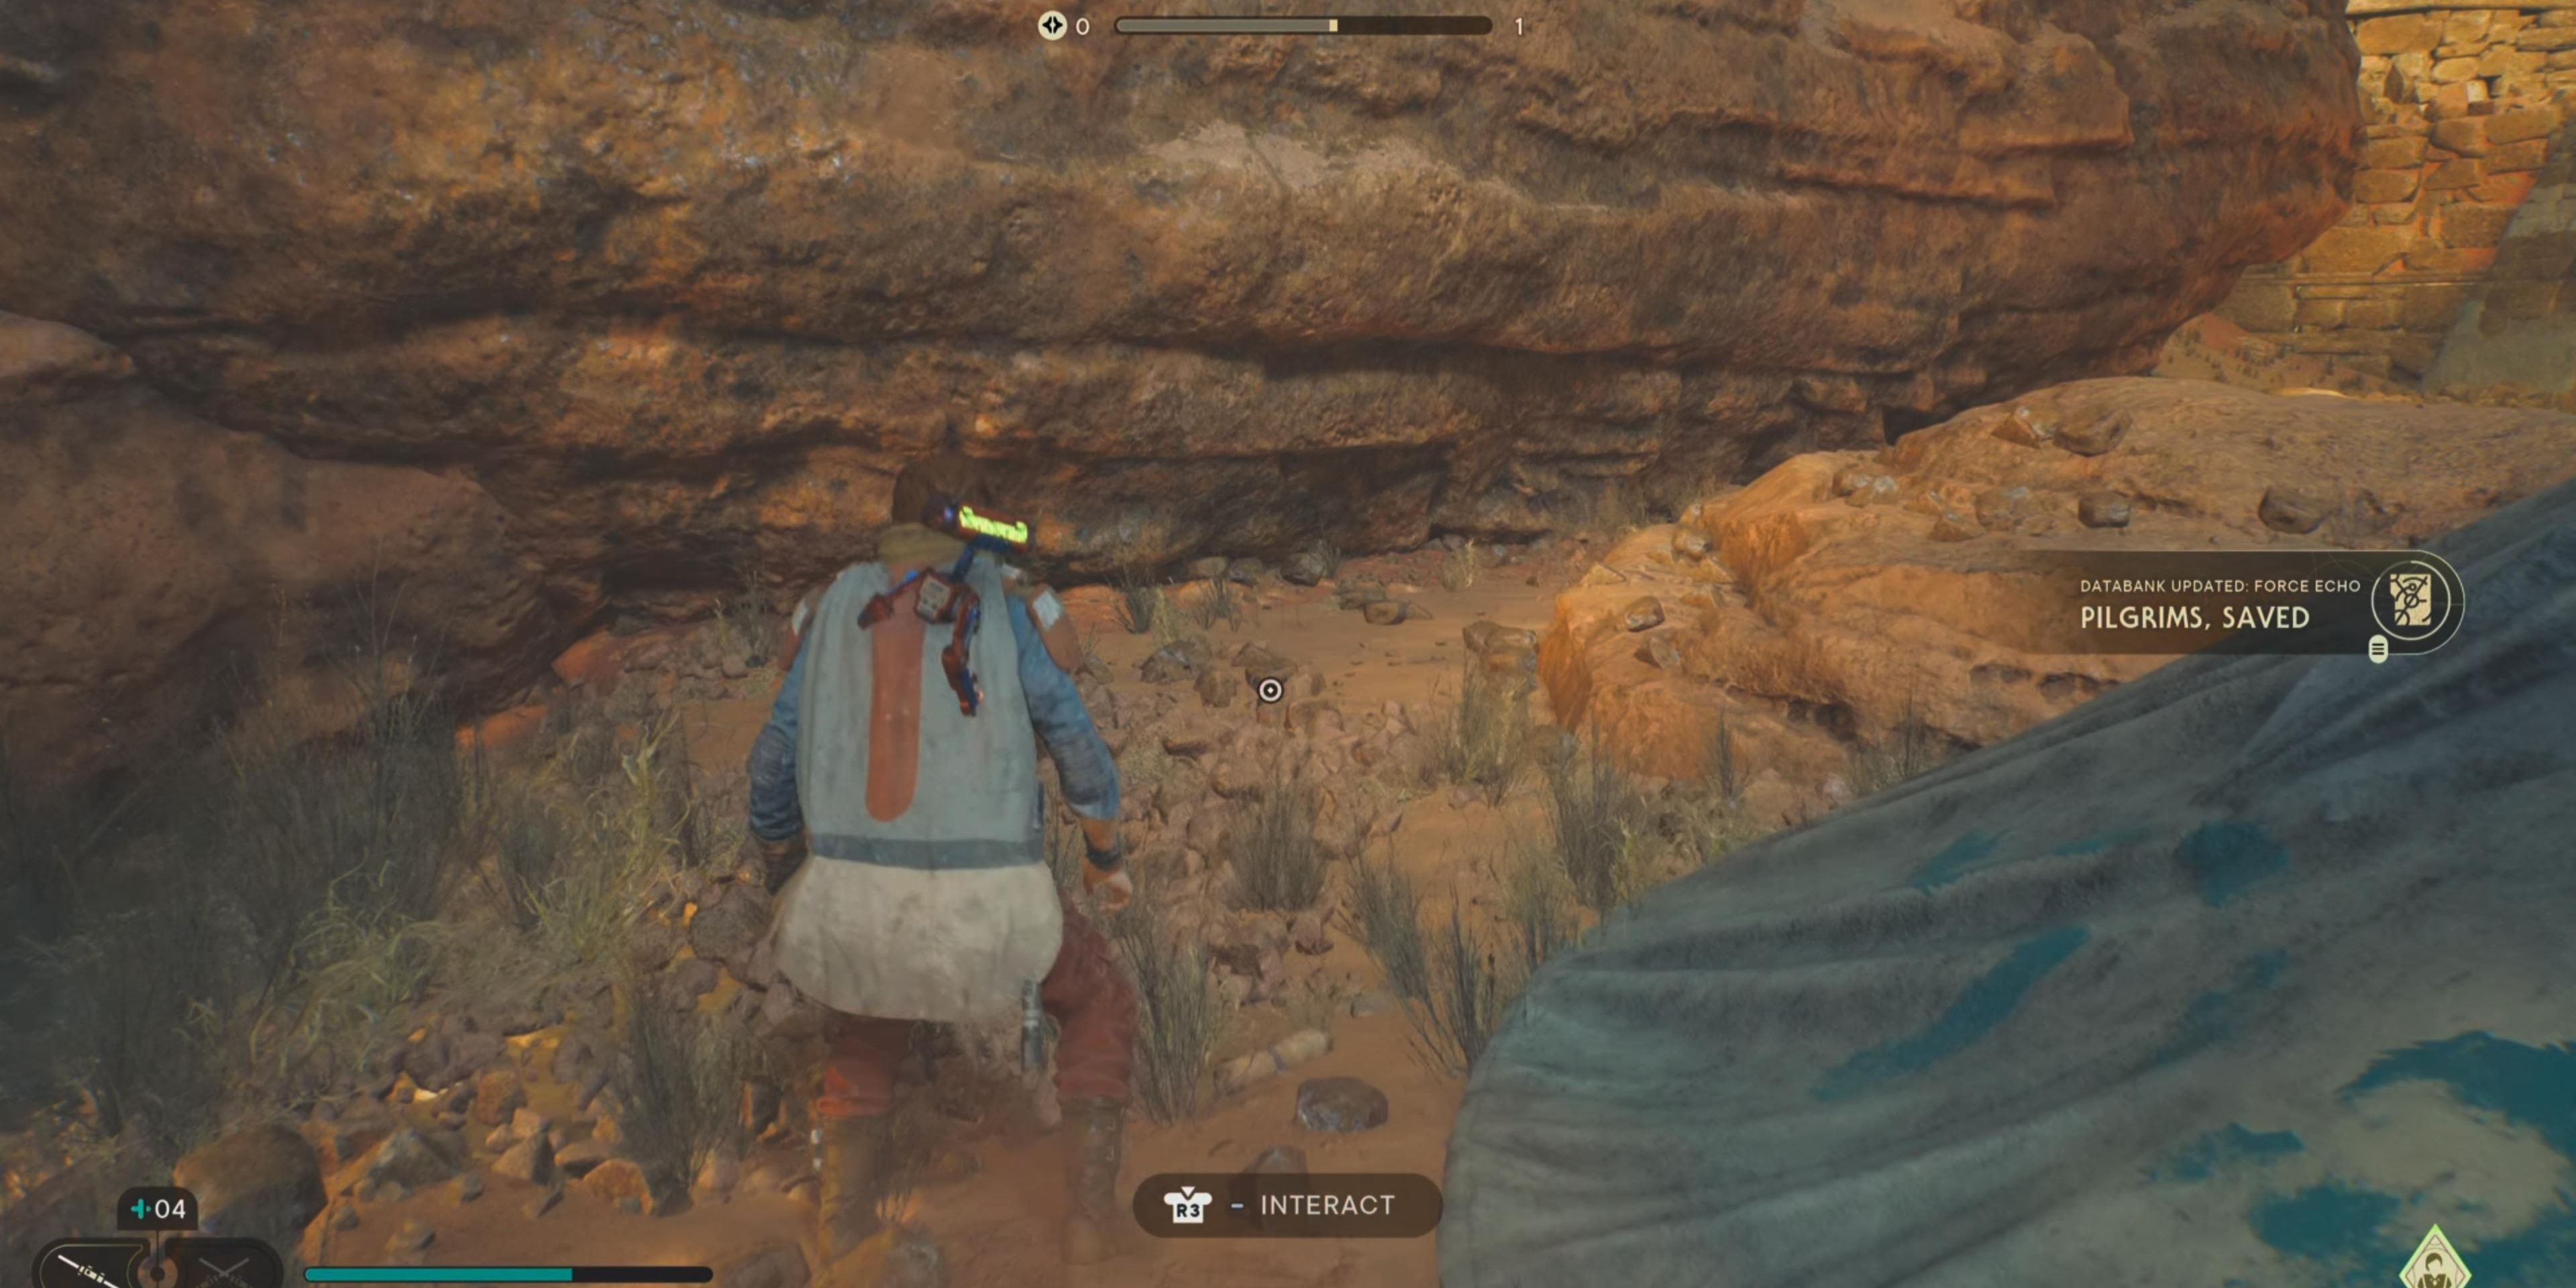
After using the Meditation Point, sense the Echo down the path to the right of Merrin. Keep heading down the path to find a Jedha Scroll at the bottom of the steps.
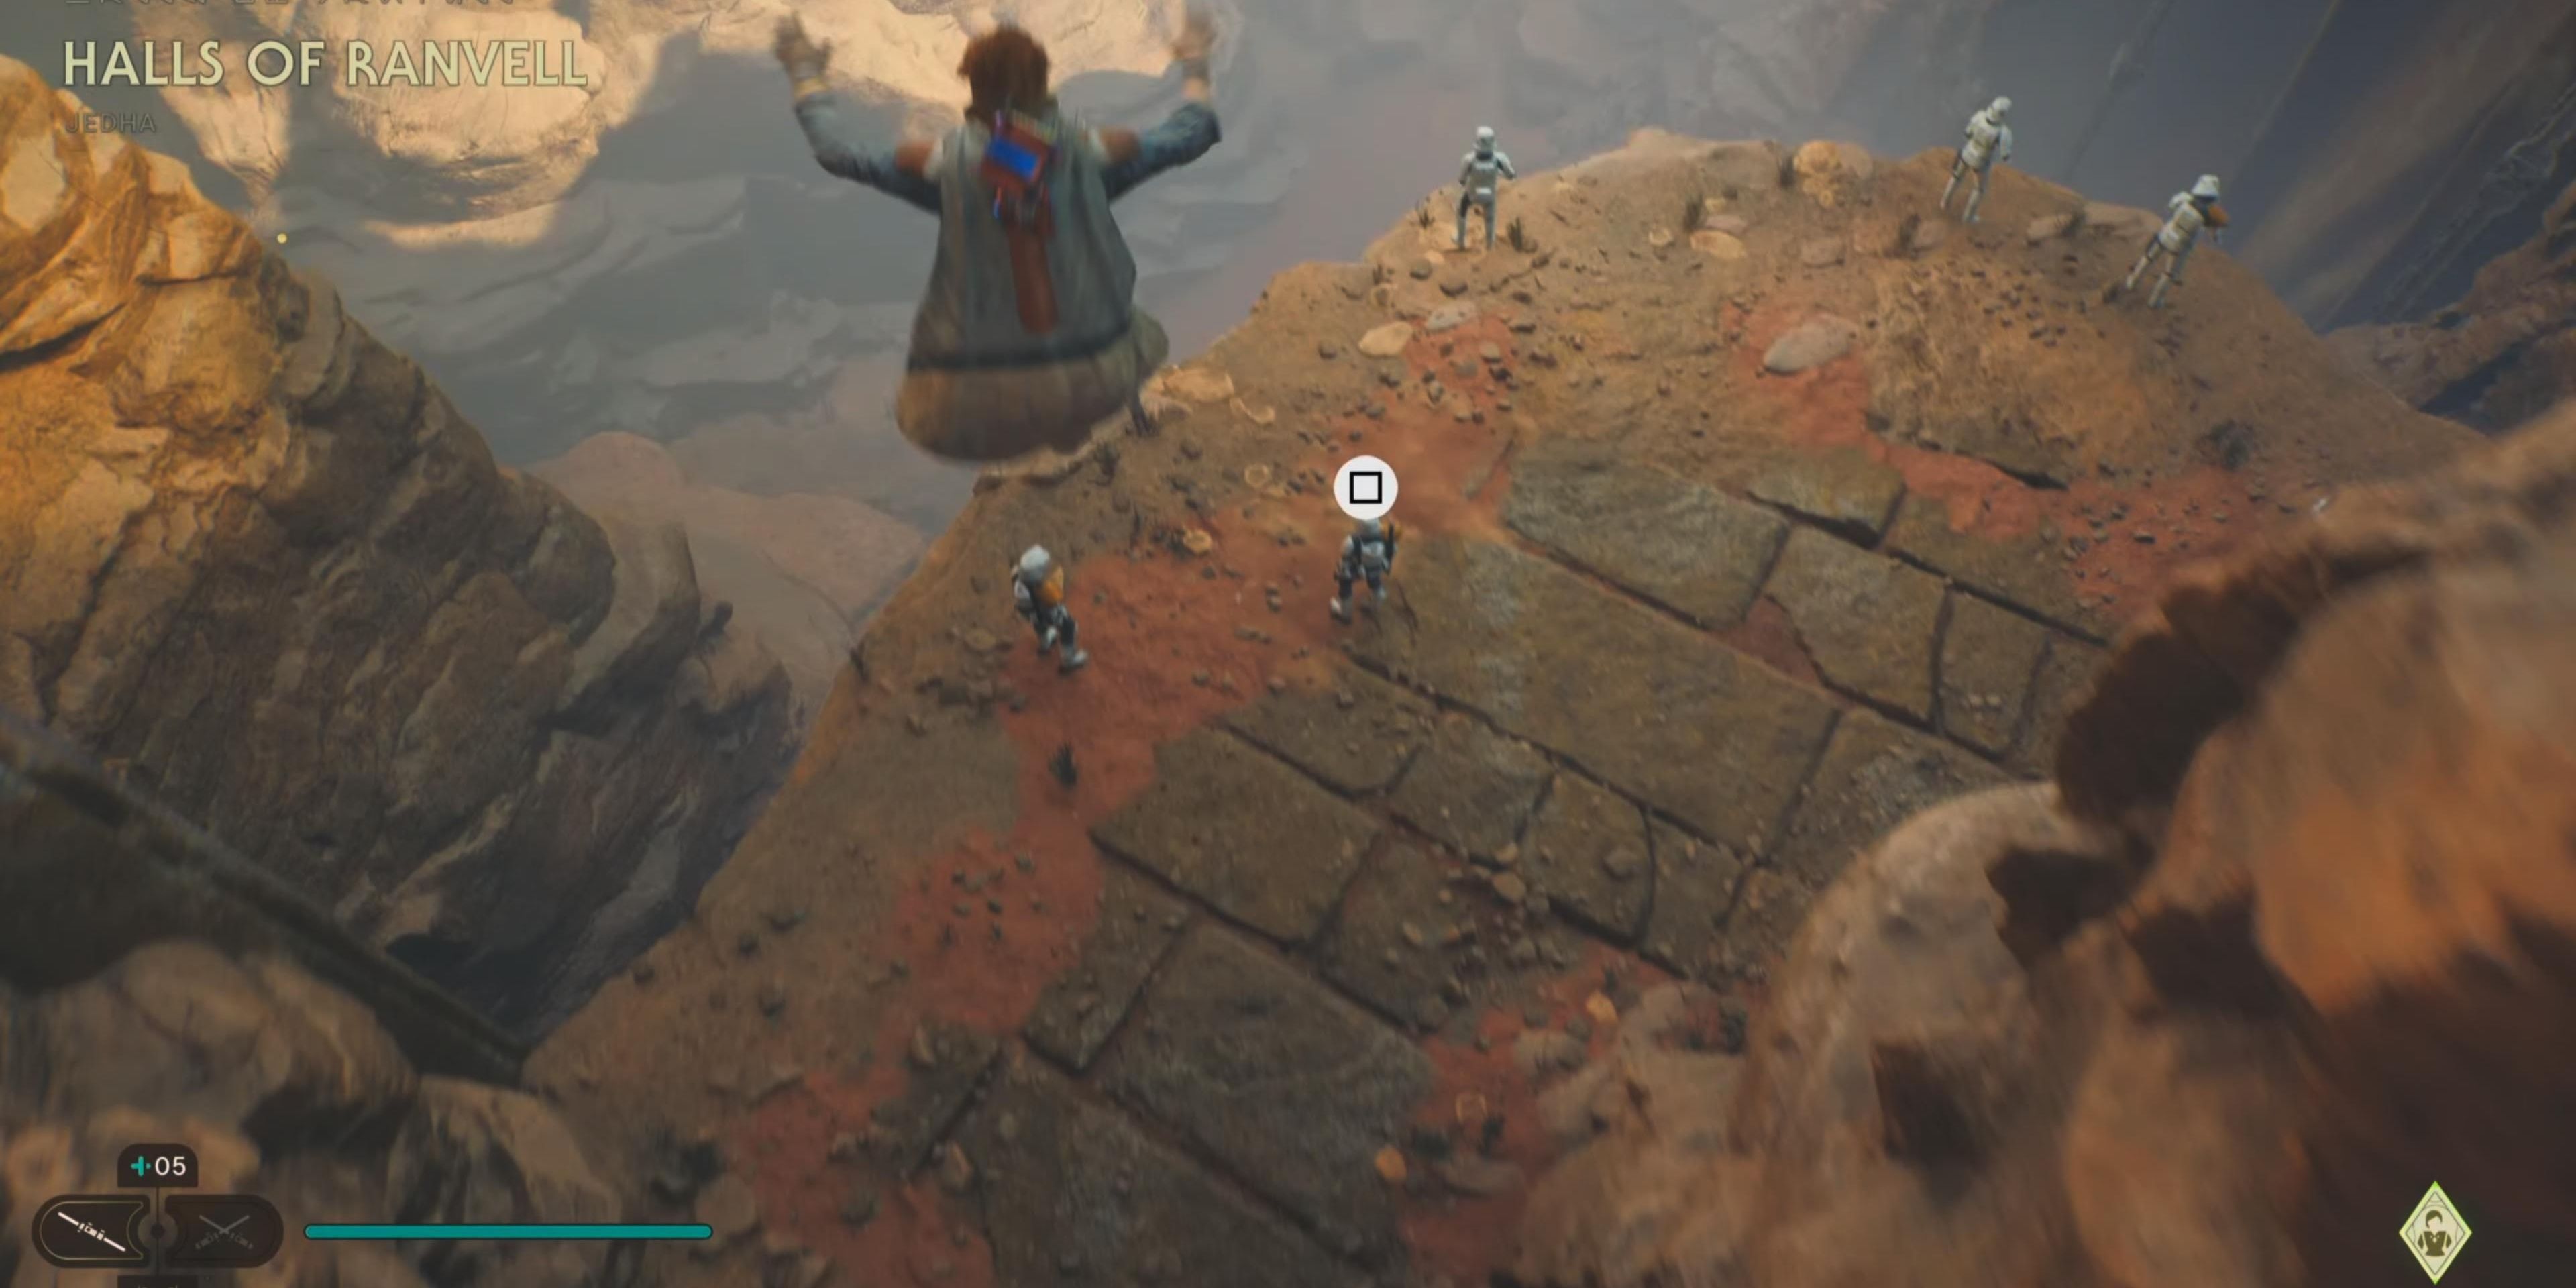
The door is locked on the other side, so head back up to the Meditation Point and run toward Merrin. Use a sky attack on the Stormtroopers below and eliminate the rest of the group.
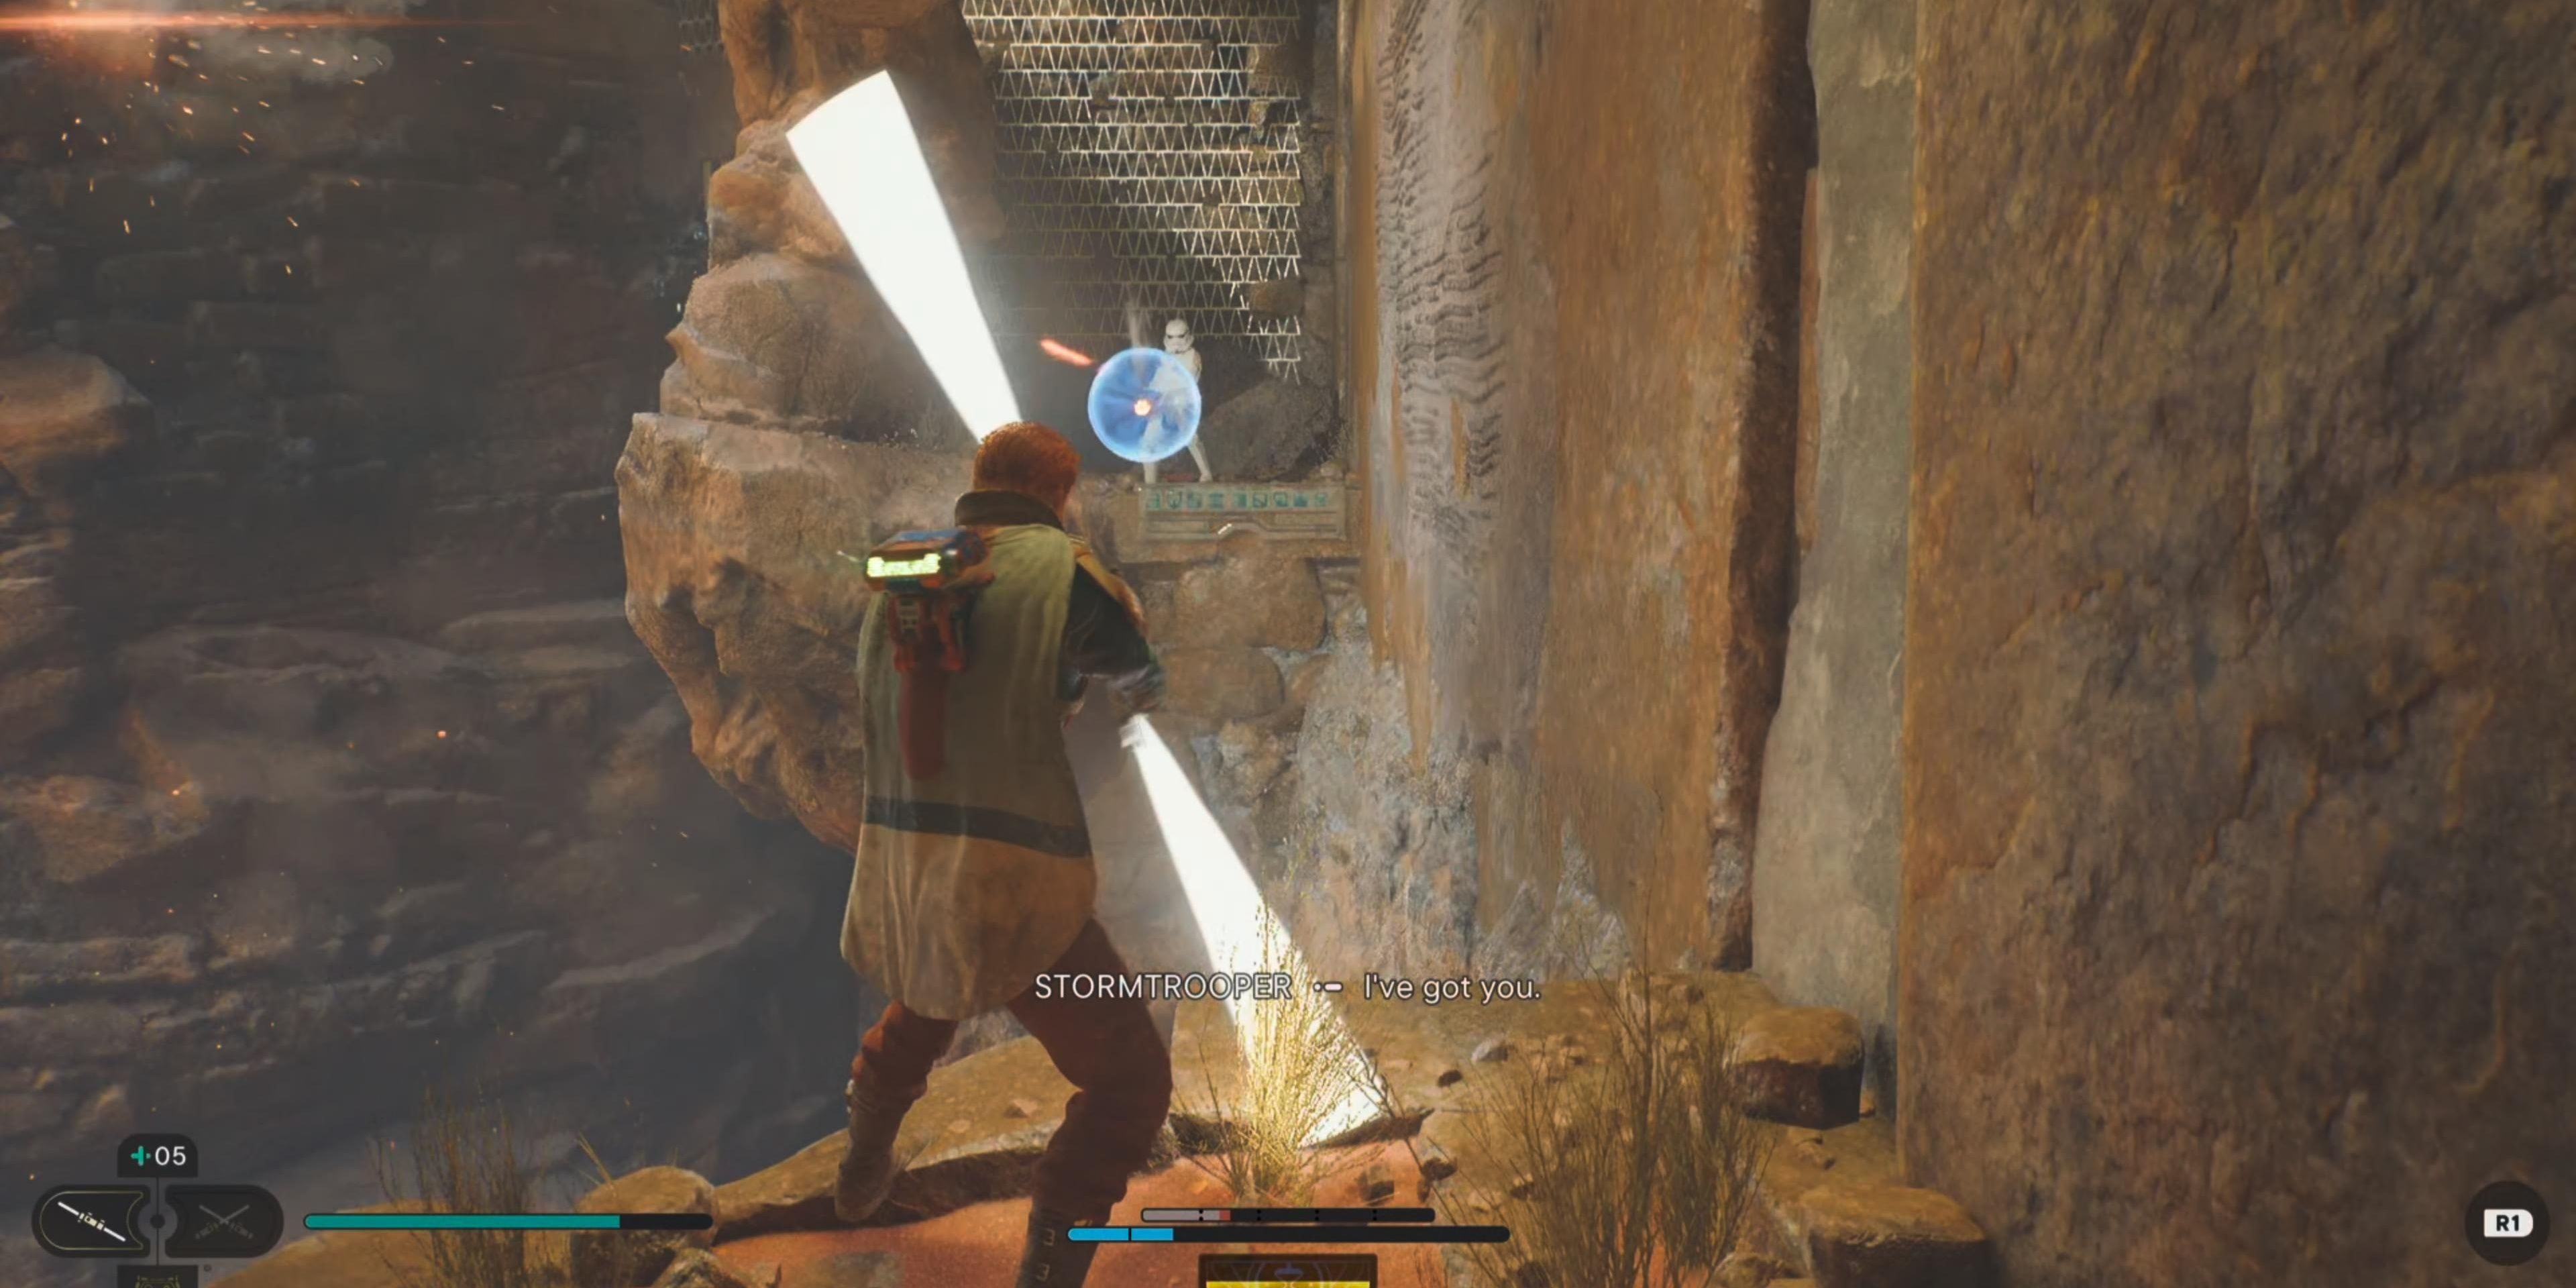
You can use the Force to pull the shield off a Stormtrooper and throw it back at them for damage.
Before asking Merrin to make a holder for your ascension cable, turn around and run on the wall to reach an area that Merrin will say isn’t in the direction of Cere’s base.
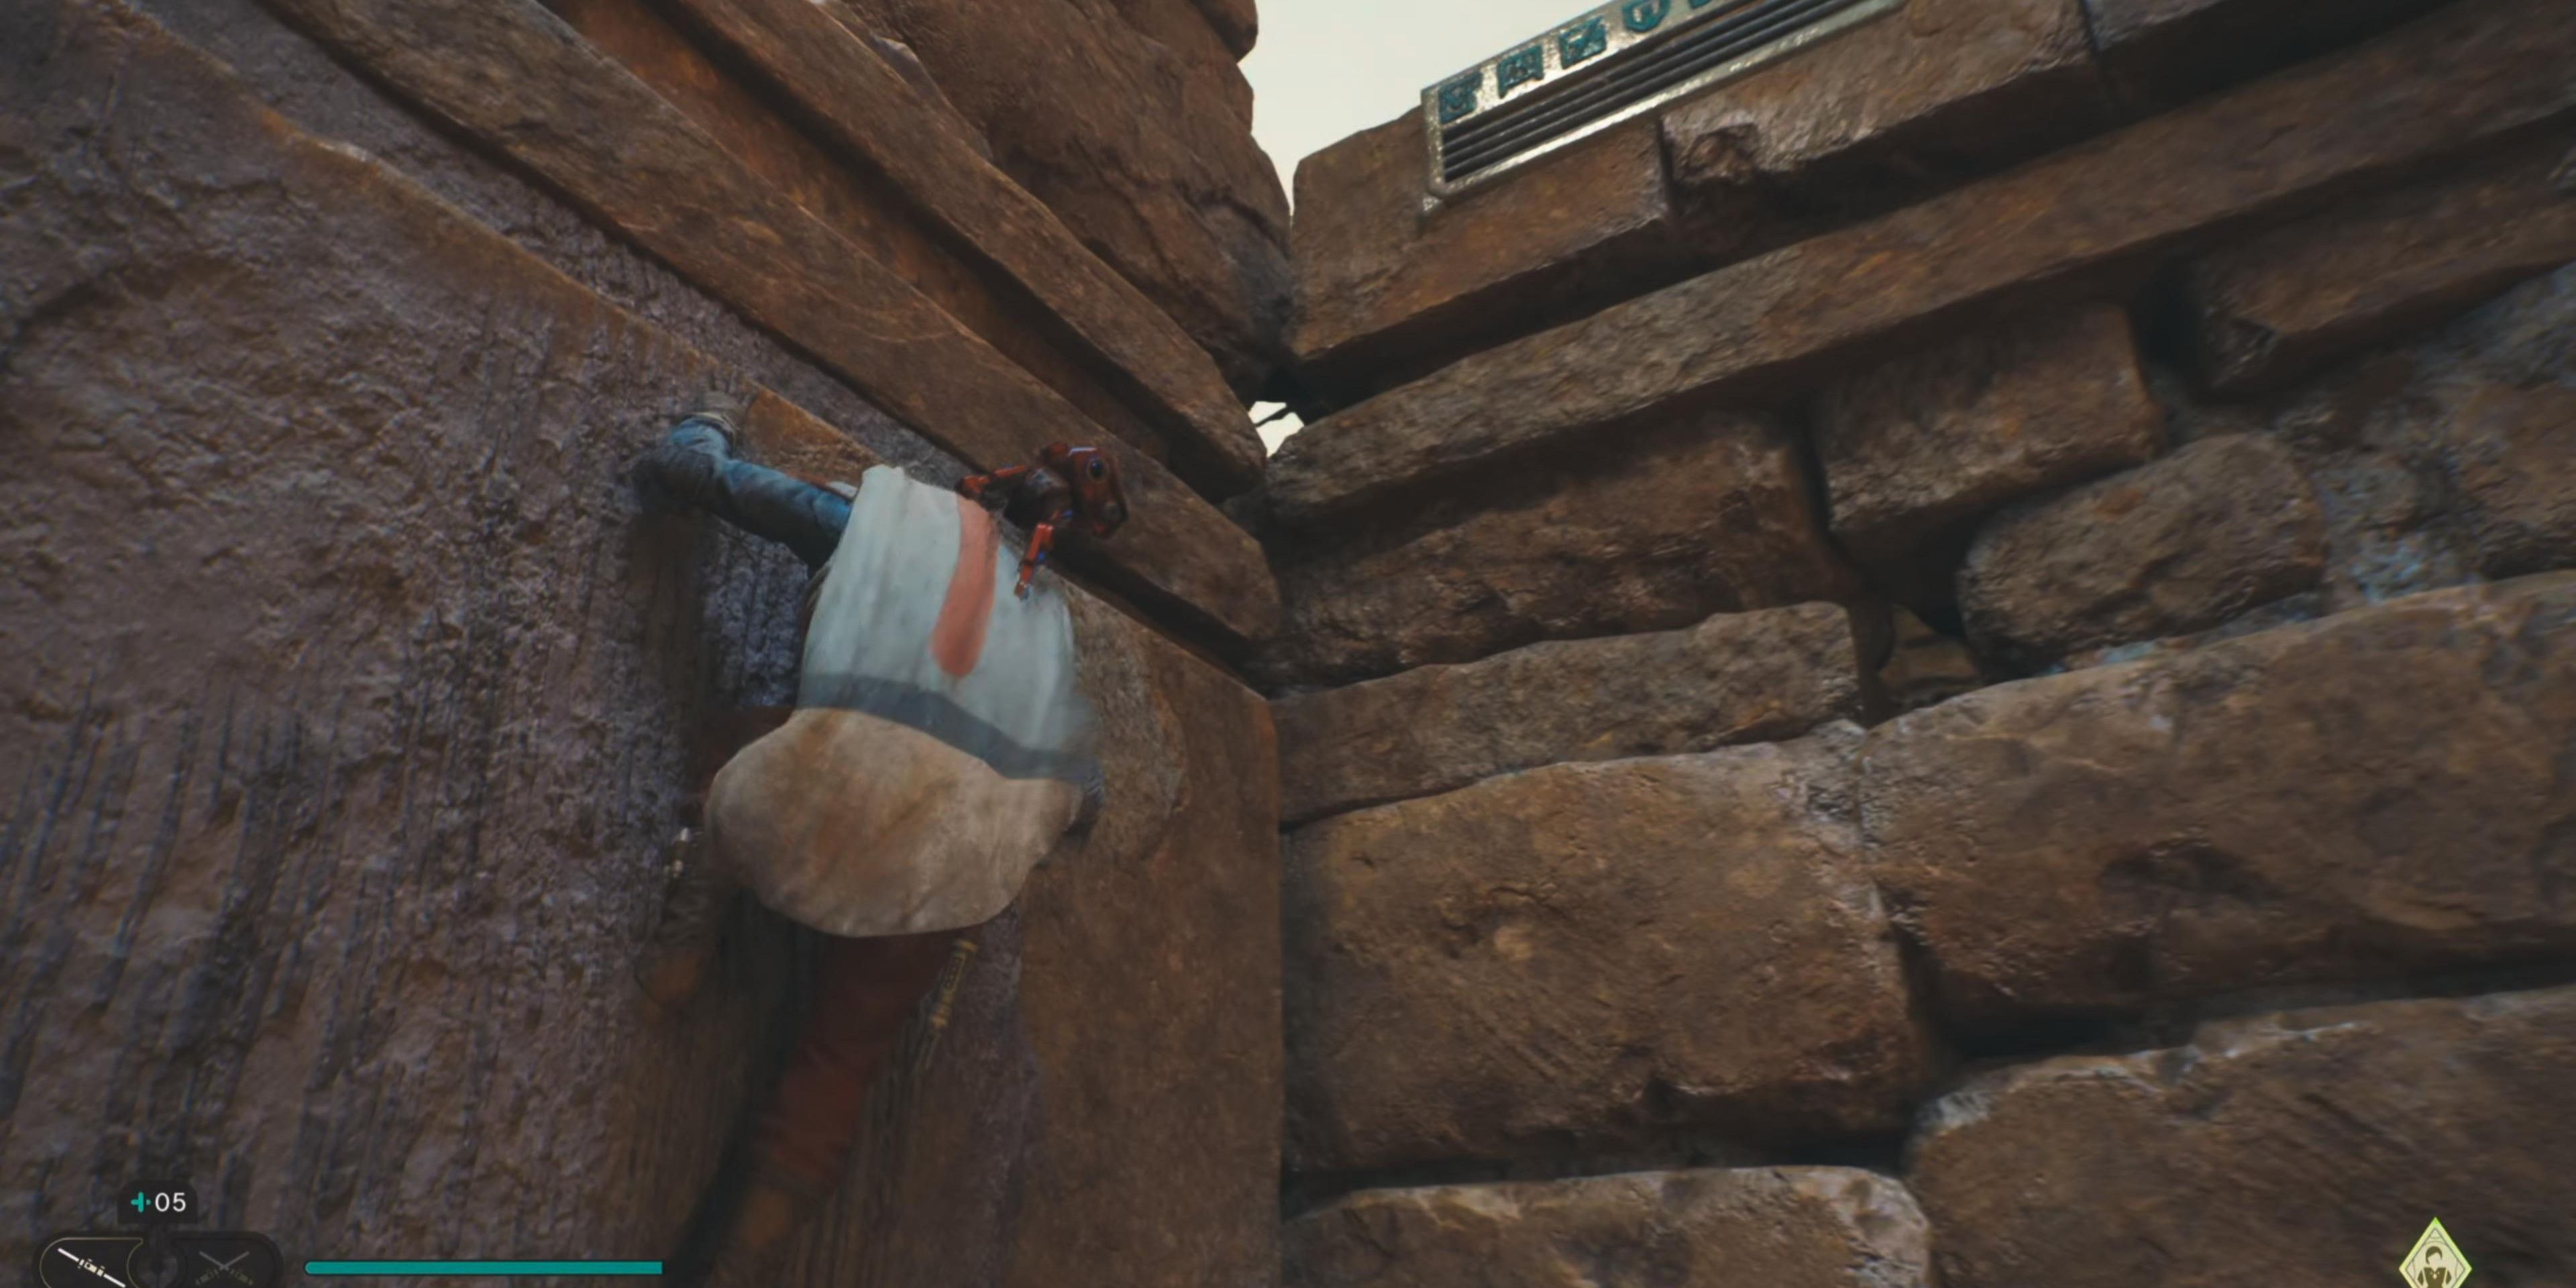
Jump on the patches of the wall so Kestis can stick to them until you reach the top platform. Interact with the Powerup to receive some experience points.
Be sure to use the Meditation Point to cash in the Skill Point you most likely earned from the Powerup.
Return to the area you defeated the Stormtroopers and now ask Merrin to create the ascension cable holder and climb up the ledge. There will be a Stormtrooper to the left waiting to shoot you, so be prepared to block right away.
Jump on the ceiling to climb across to the other side, then round the corner and take down the Flametrooper waiting on the steps. Defeat them and scan the databank to the left.
Drop down from the ledge and defeat the first Stormtrooper before deflecting several blaster shots from the other Stormtrooper from the other side of the platform.
Once they’re dead, run on the wall to the other side and climb up the metal wall grate. As you’re climbing, you’ll see Merrin take down a few Stormtroopers. Climb up the ledge and head down the path to find another ledge to climb.
Head out of the side opening and wall jump to an opening above you to find a Jedha Scroll.
Drop down to the lowest level of the structure and follow the path to find a holder for your ascension cable to latch yourself to a grate above.
Swing your way to the end of the path and drop down on the Stormtrooper. Head inside and walk along the path then wall run to reach the other side across the gap.
Turn around and wall run again to reach another platform.
Continue down the ramp and wall run again to reach the highest platform. Kill the Stormtroopers in the area, then scan the databank on the far lefthand wall.
Directly on the opposite wall of the databank will be a crate with Common Plastoid color palette for BD-1 Materials.
There is a workbench next to the crate that you can use.
Head down the side path and climb up the metal grate, then climb around the left side to find a patrol of Stormtroopers. Defeat the Stormtroopers and have BD-1 activate a shortcut.
Examine the storm in the distance, then run to the edge of the path, and wall run to the end of the cliff wall to use your lightsaber to descend.
Boss Battle - Skriton
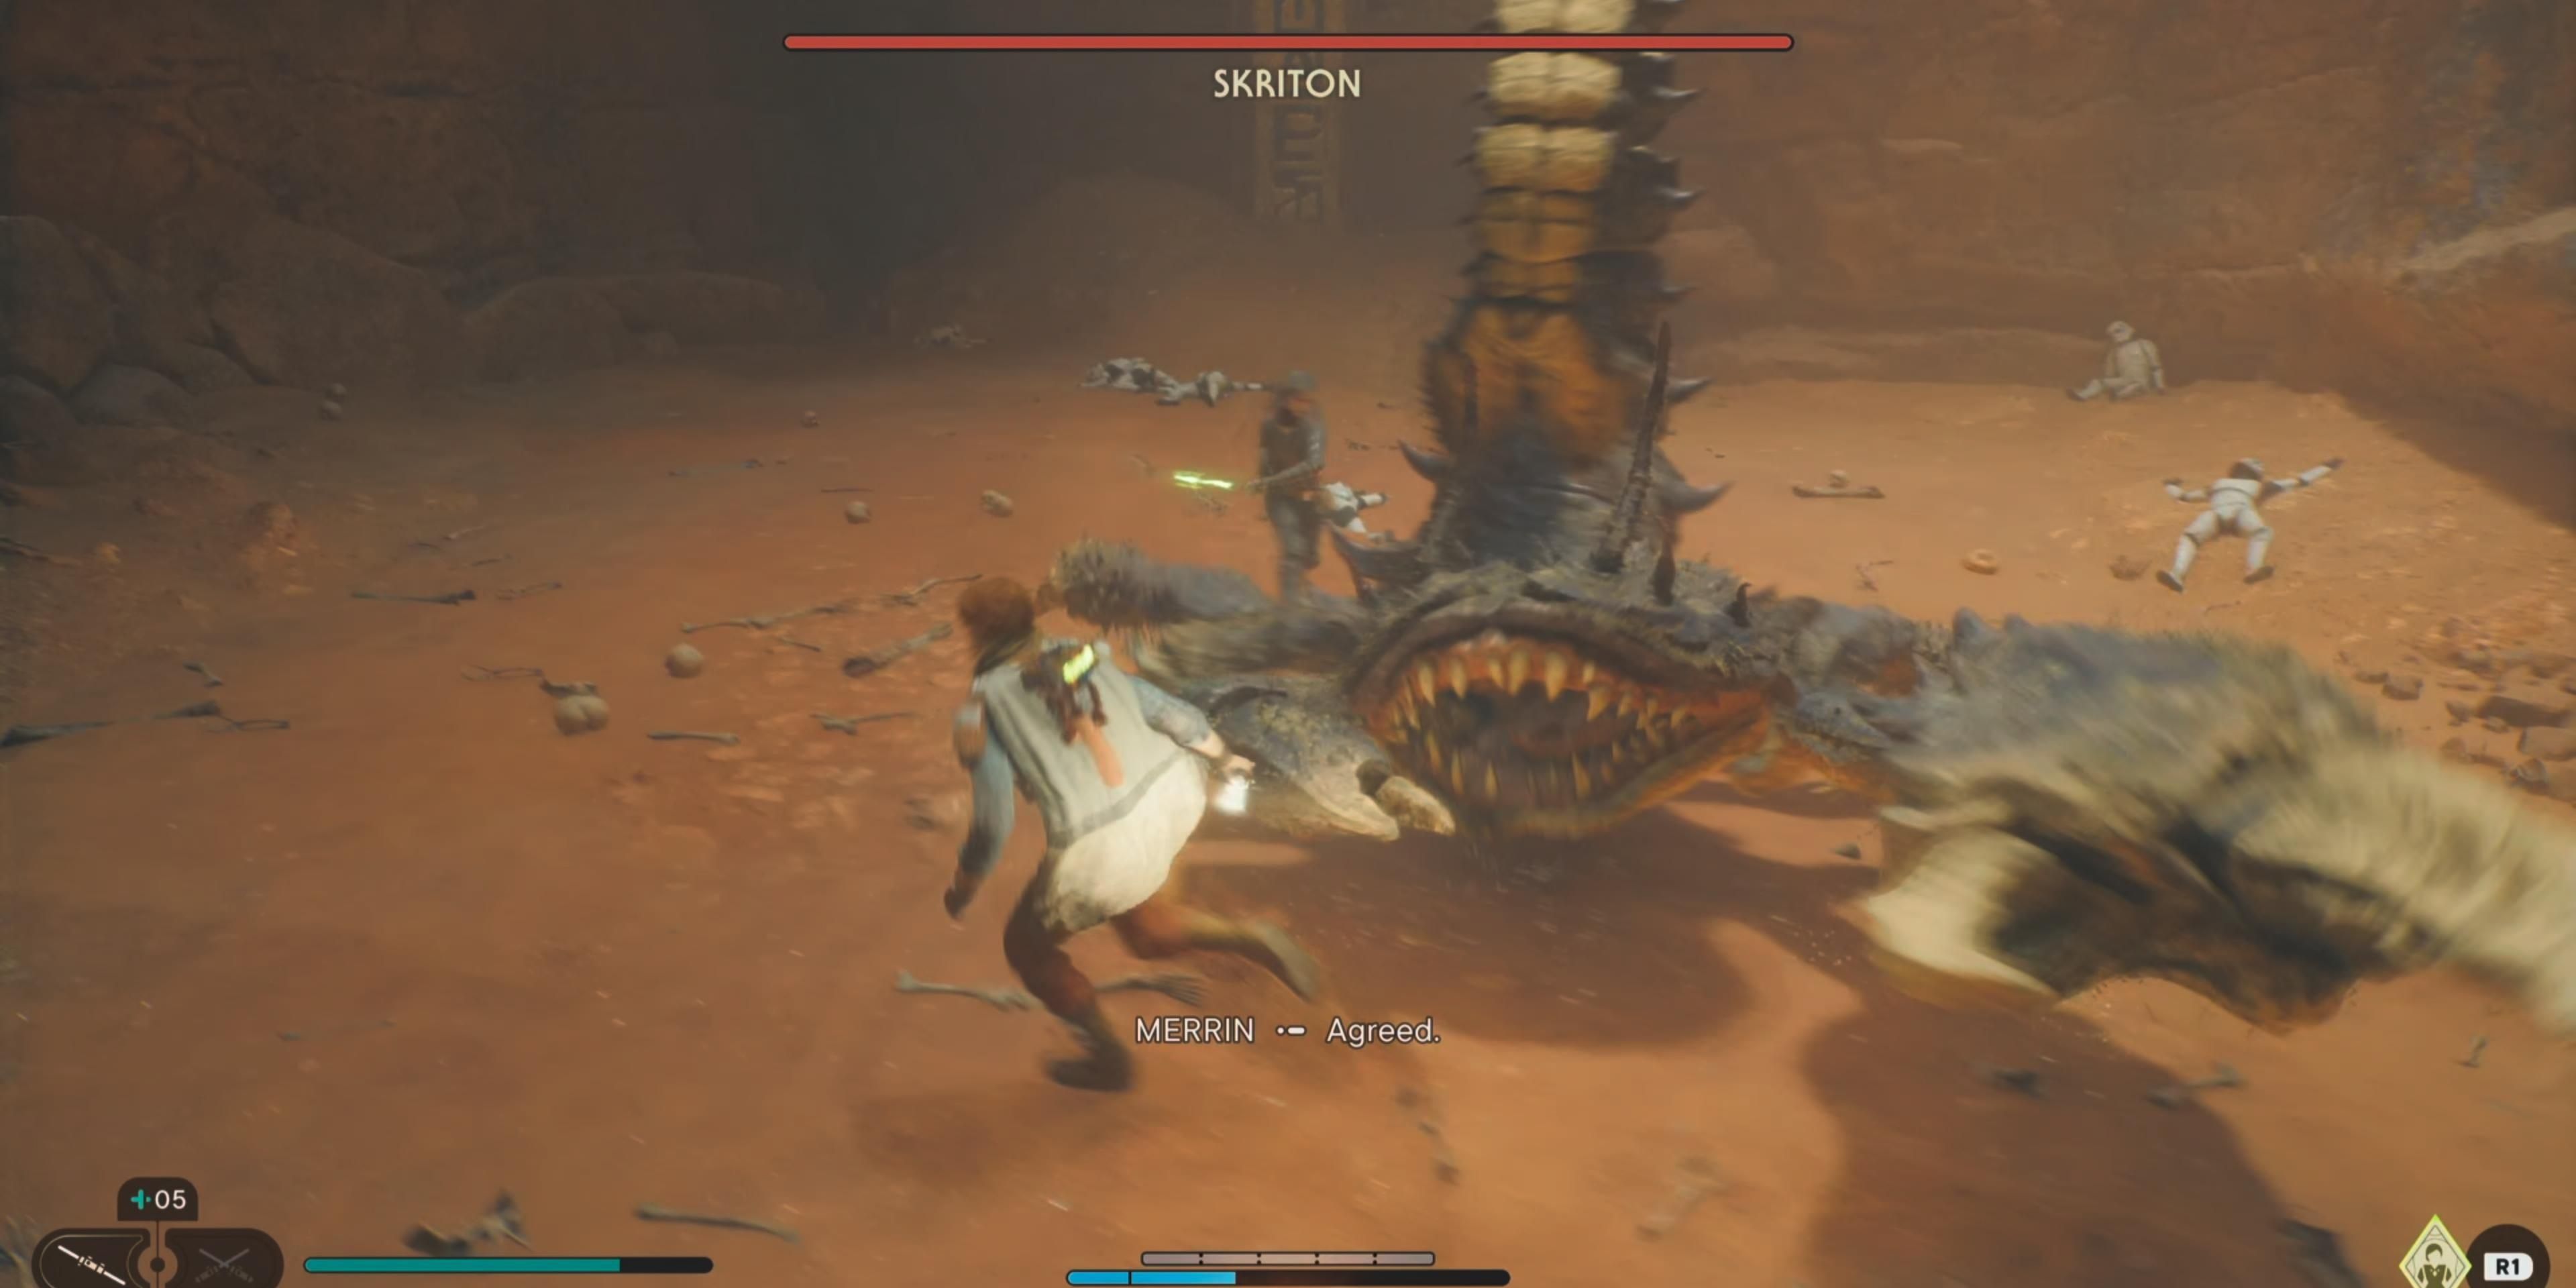
Kestis and Merrin will land in a Skriton lair, the beast that was stalking you underneath the sand earlier. This creature resembles a giant scorpion, so you’ll want to avoid its claws and tail.
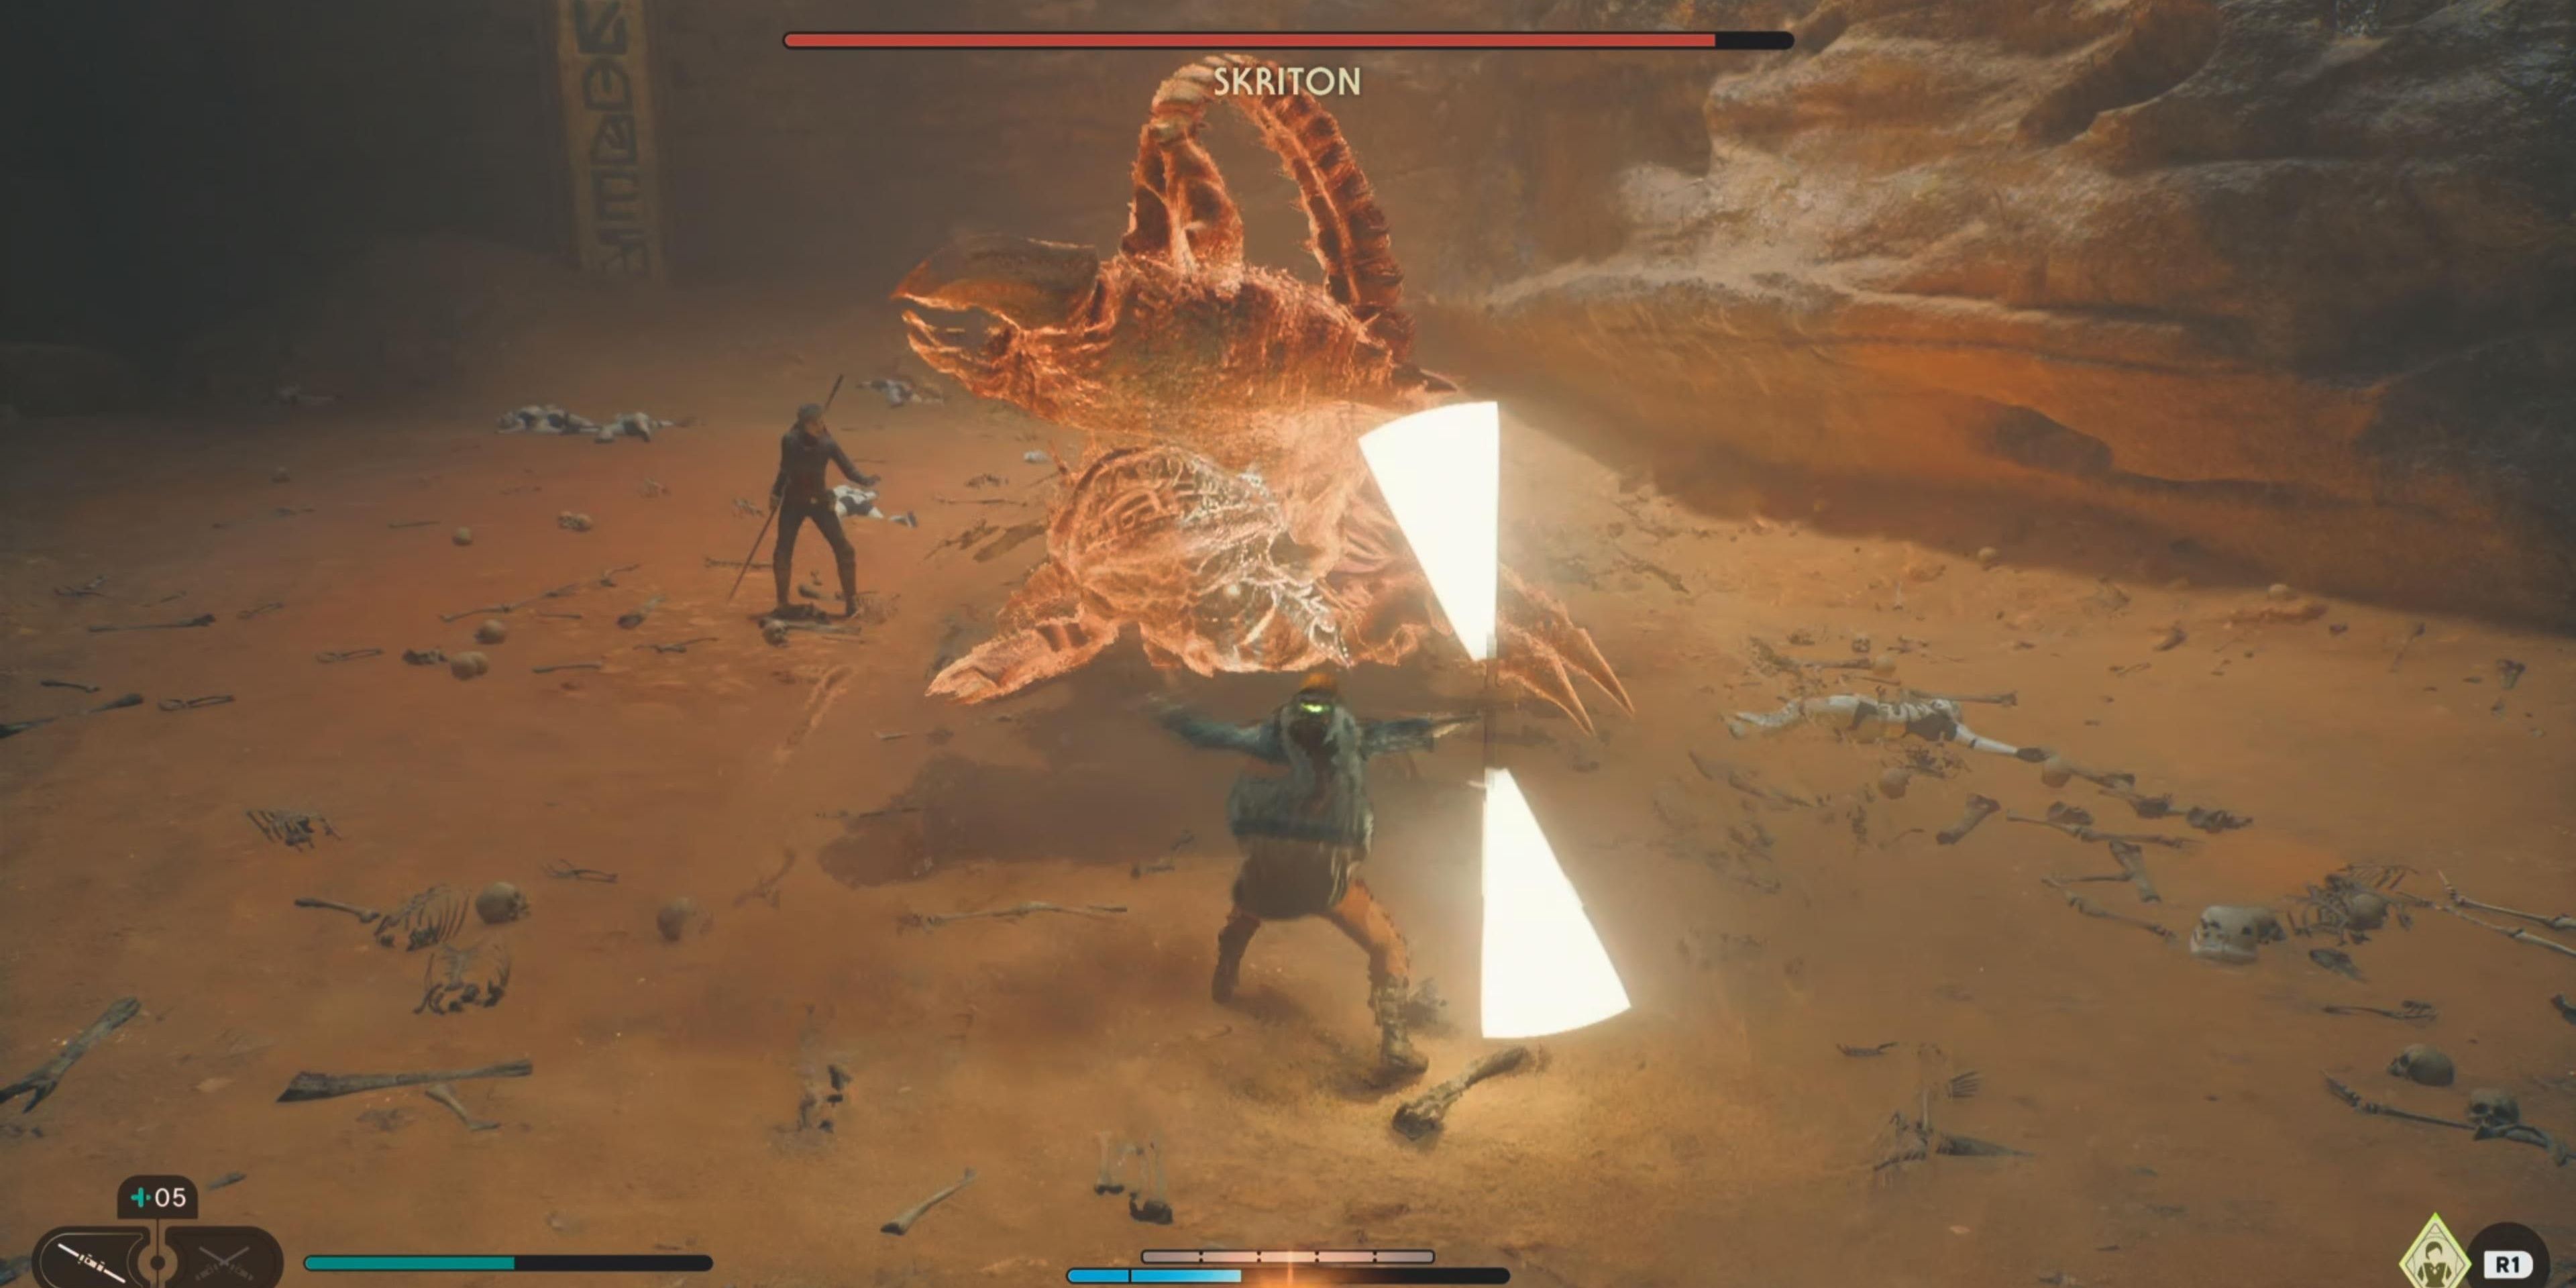
The Skriton will use its larger claw to protect its face and lash out quickly with its tail. It will also try slamming its claw into the ground as an unguardable attack.
Alternate between Merrin’s dark magic and Kestis’s time-slow ability and the Skriton will be disposed of rather quickly.
Riding Spamels Through The Storm
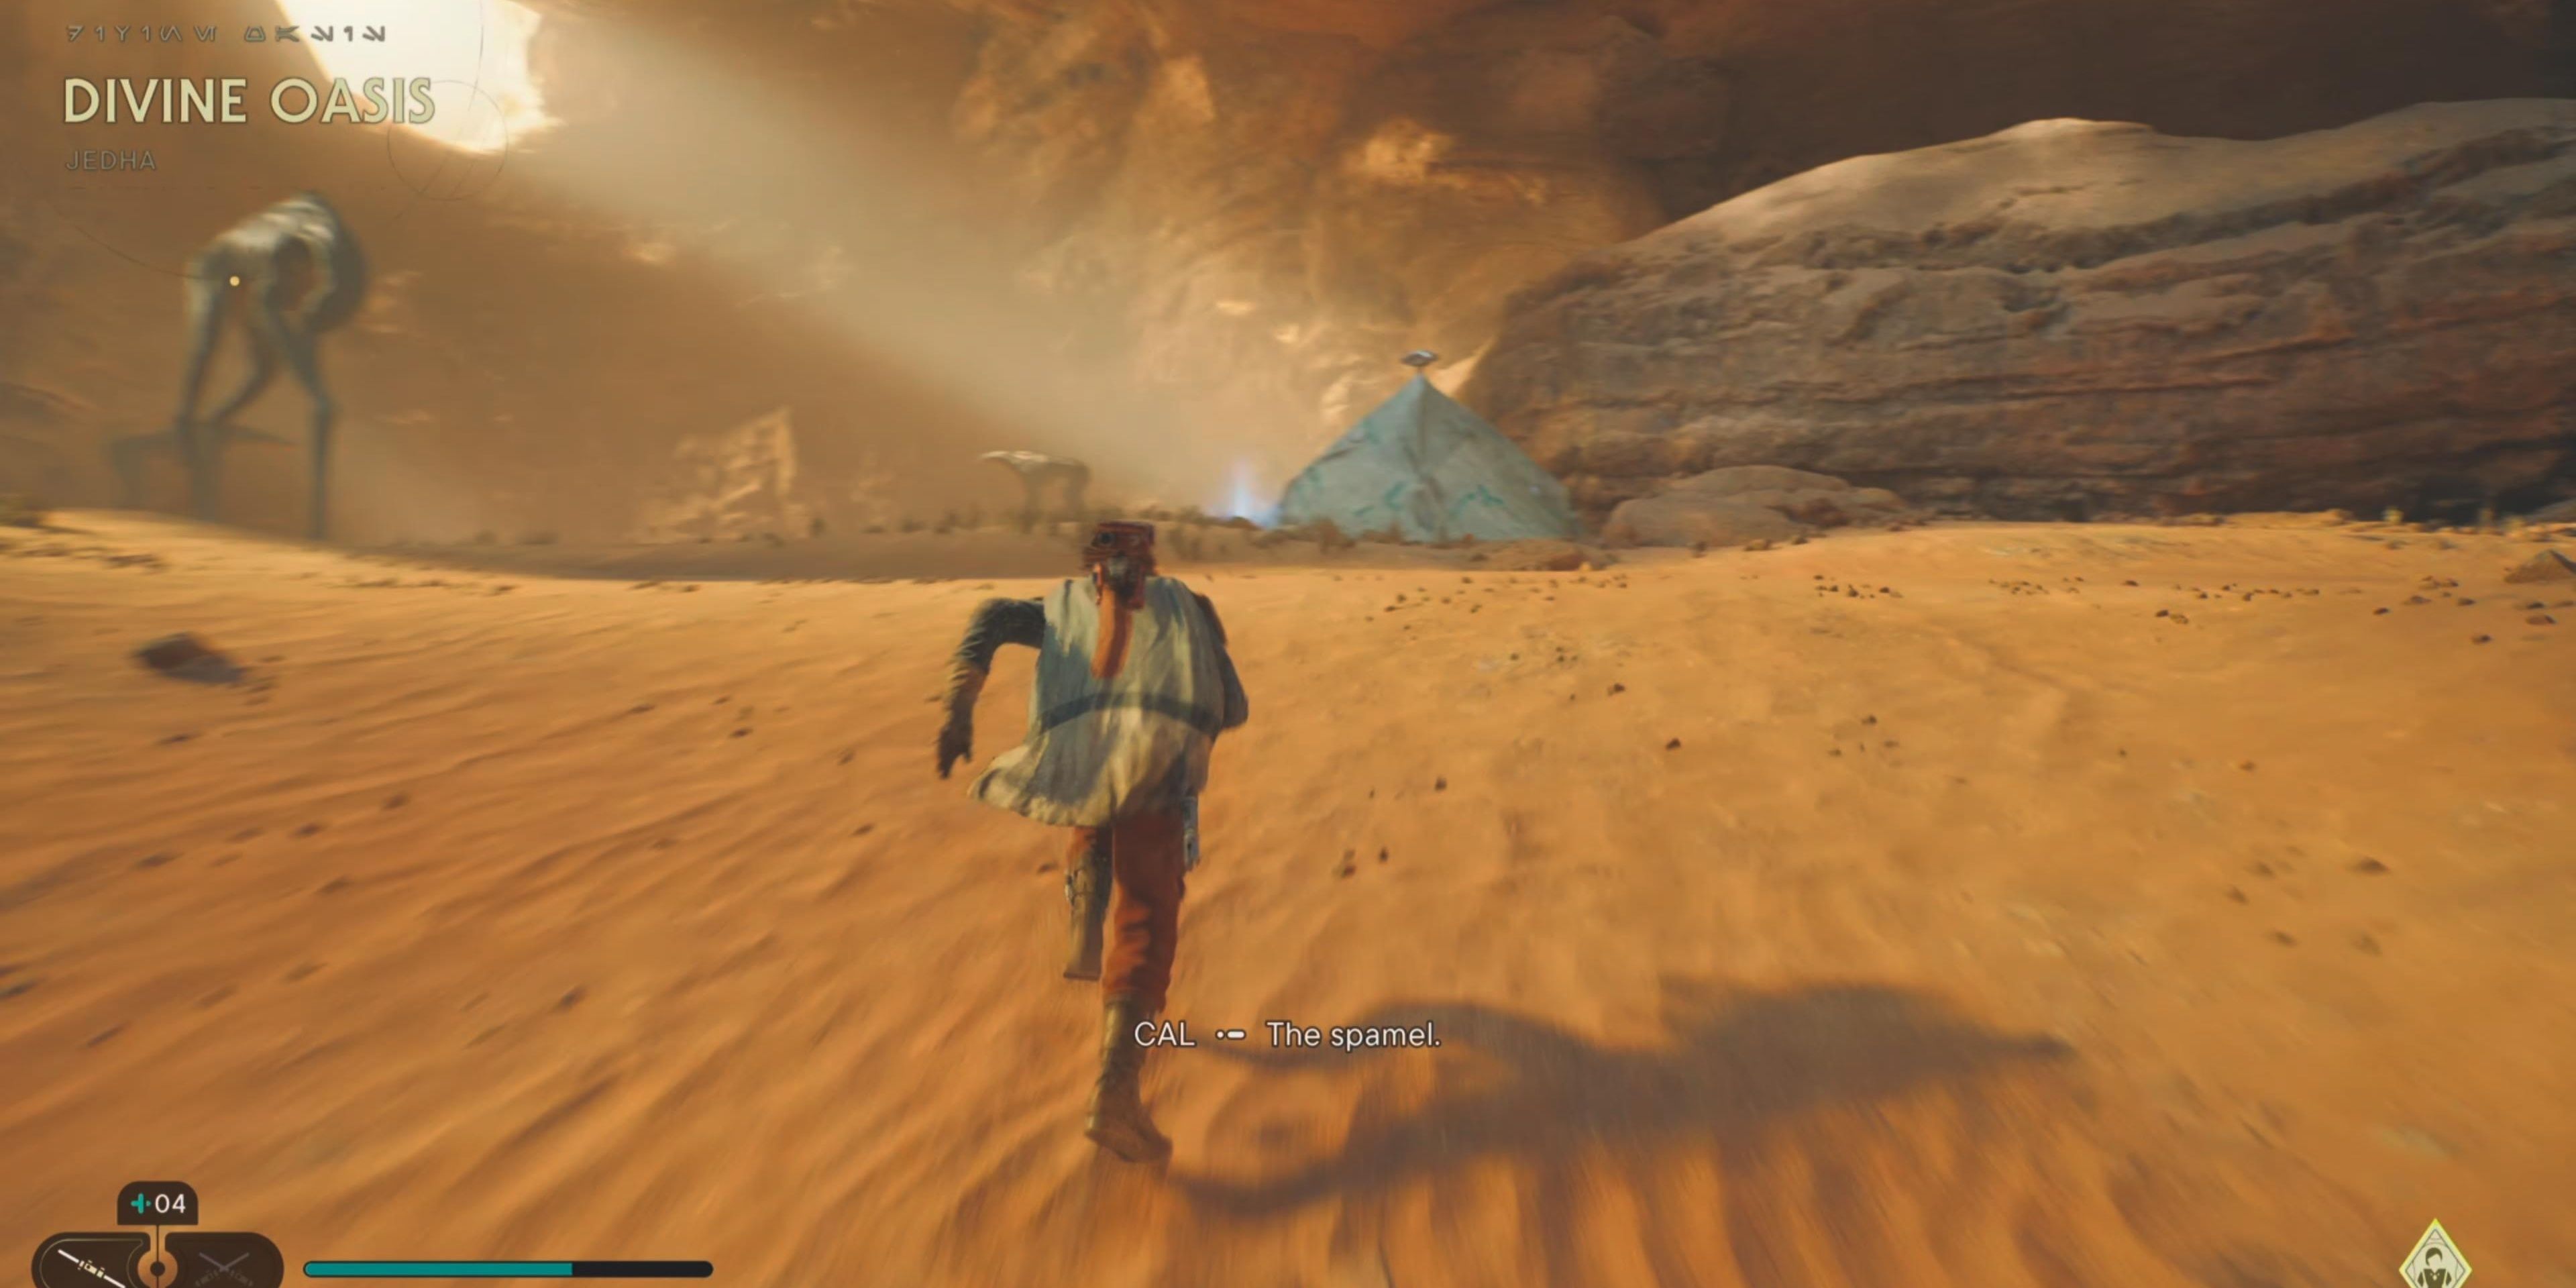
Scan the Skriton corpse, then have Merrin create a holder for your ascension cable. You’ll emerge in the Divine Oasis, the main open area of Jedha.
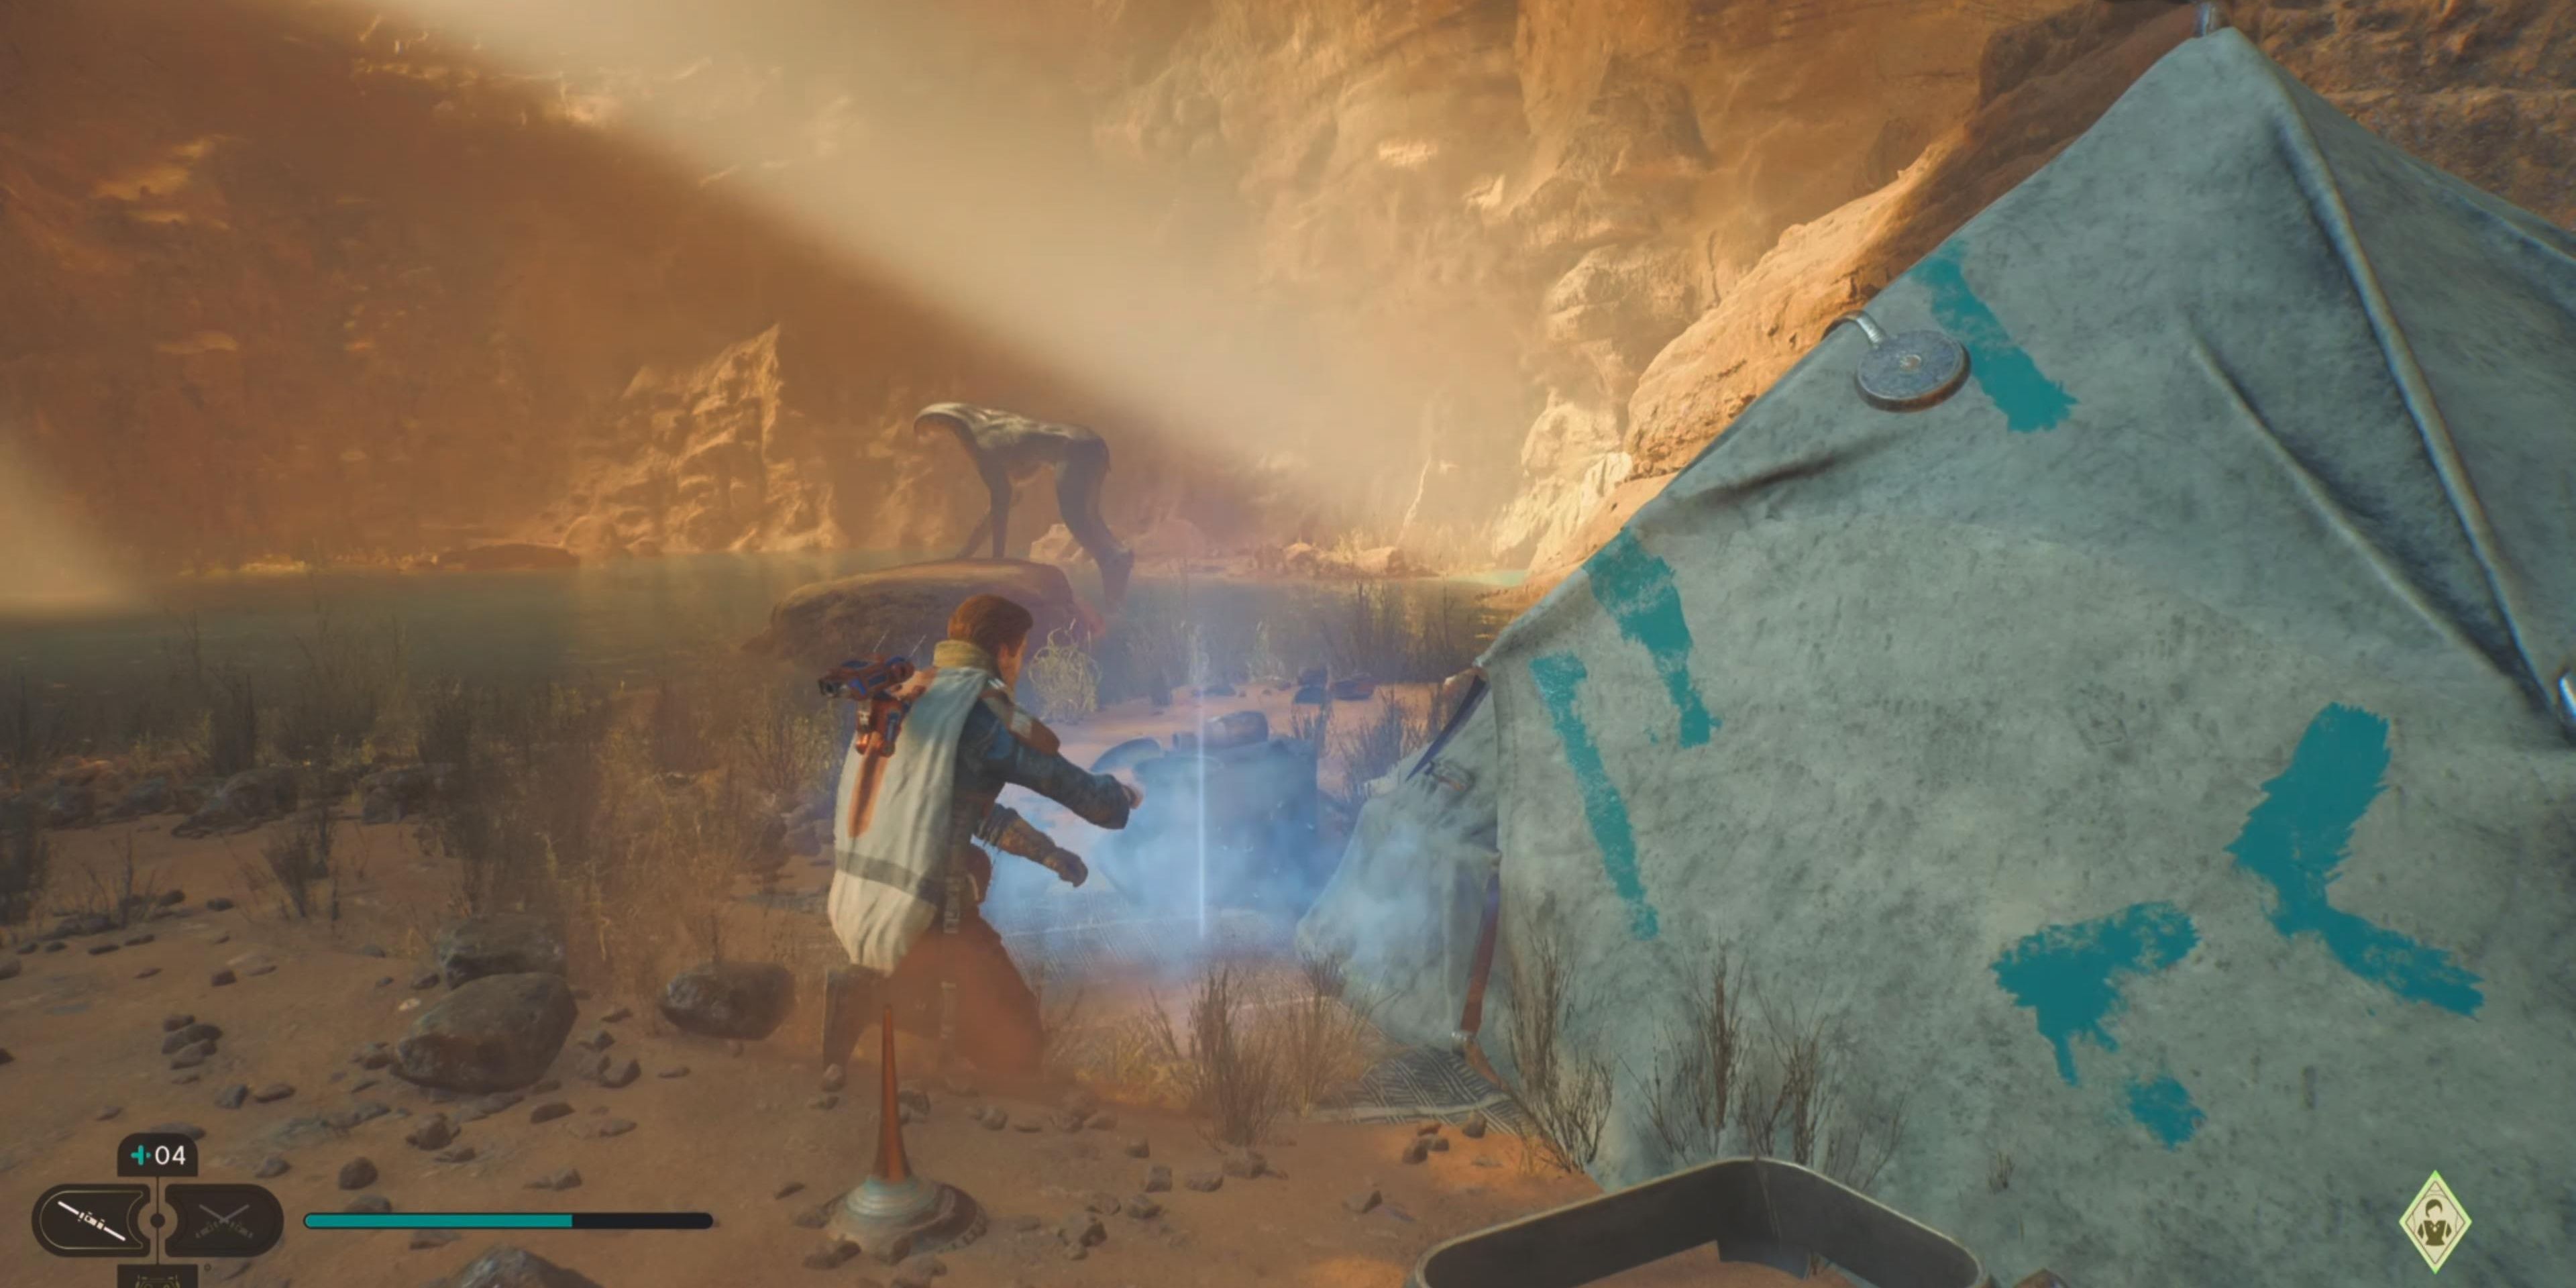
Sense the Echo near the camp and then circle around to find a Jedha Scroll.
Tame the Spamel, and you’ll be able to ride the creature.
Unlike the Nekkos on Koboh, Spamels can sprint. They can also walk up the slopes, so follow the path over the slope and you’ll be in the same area where you swung on the metal bar into the group of Hardshells.
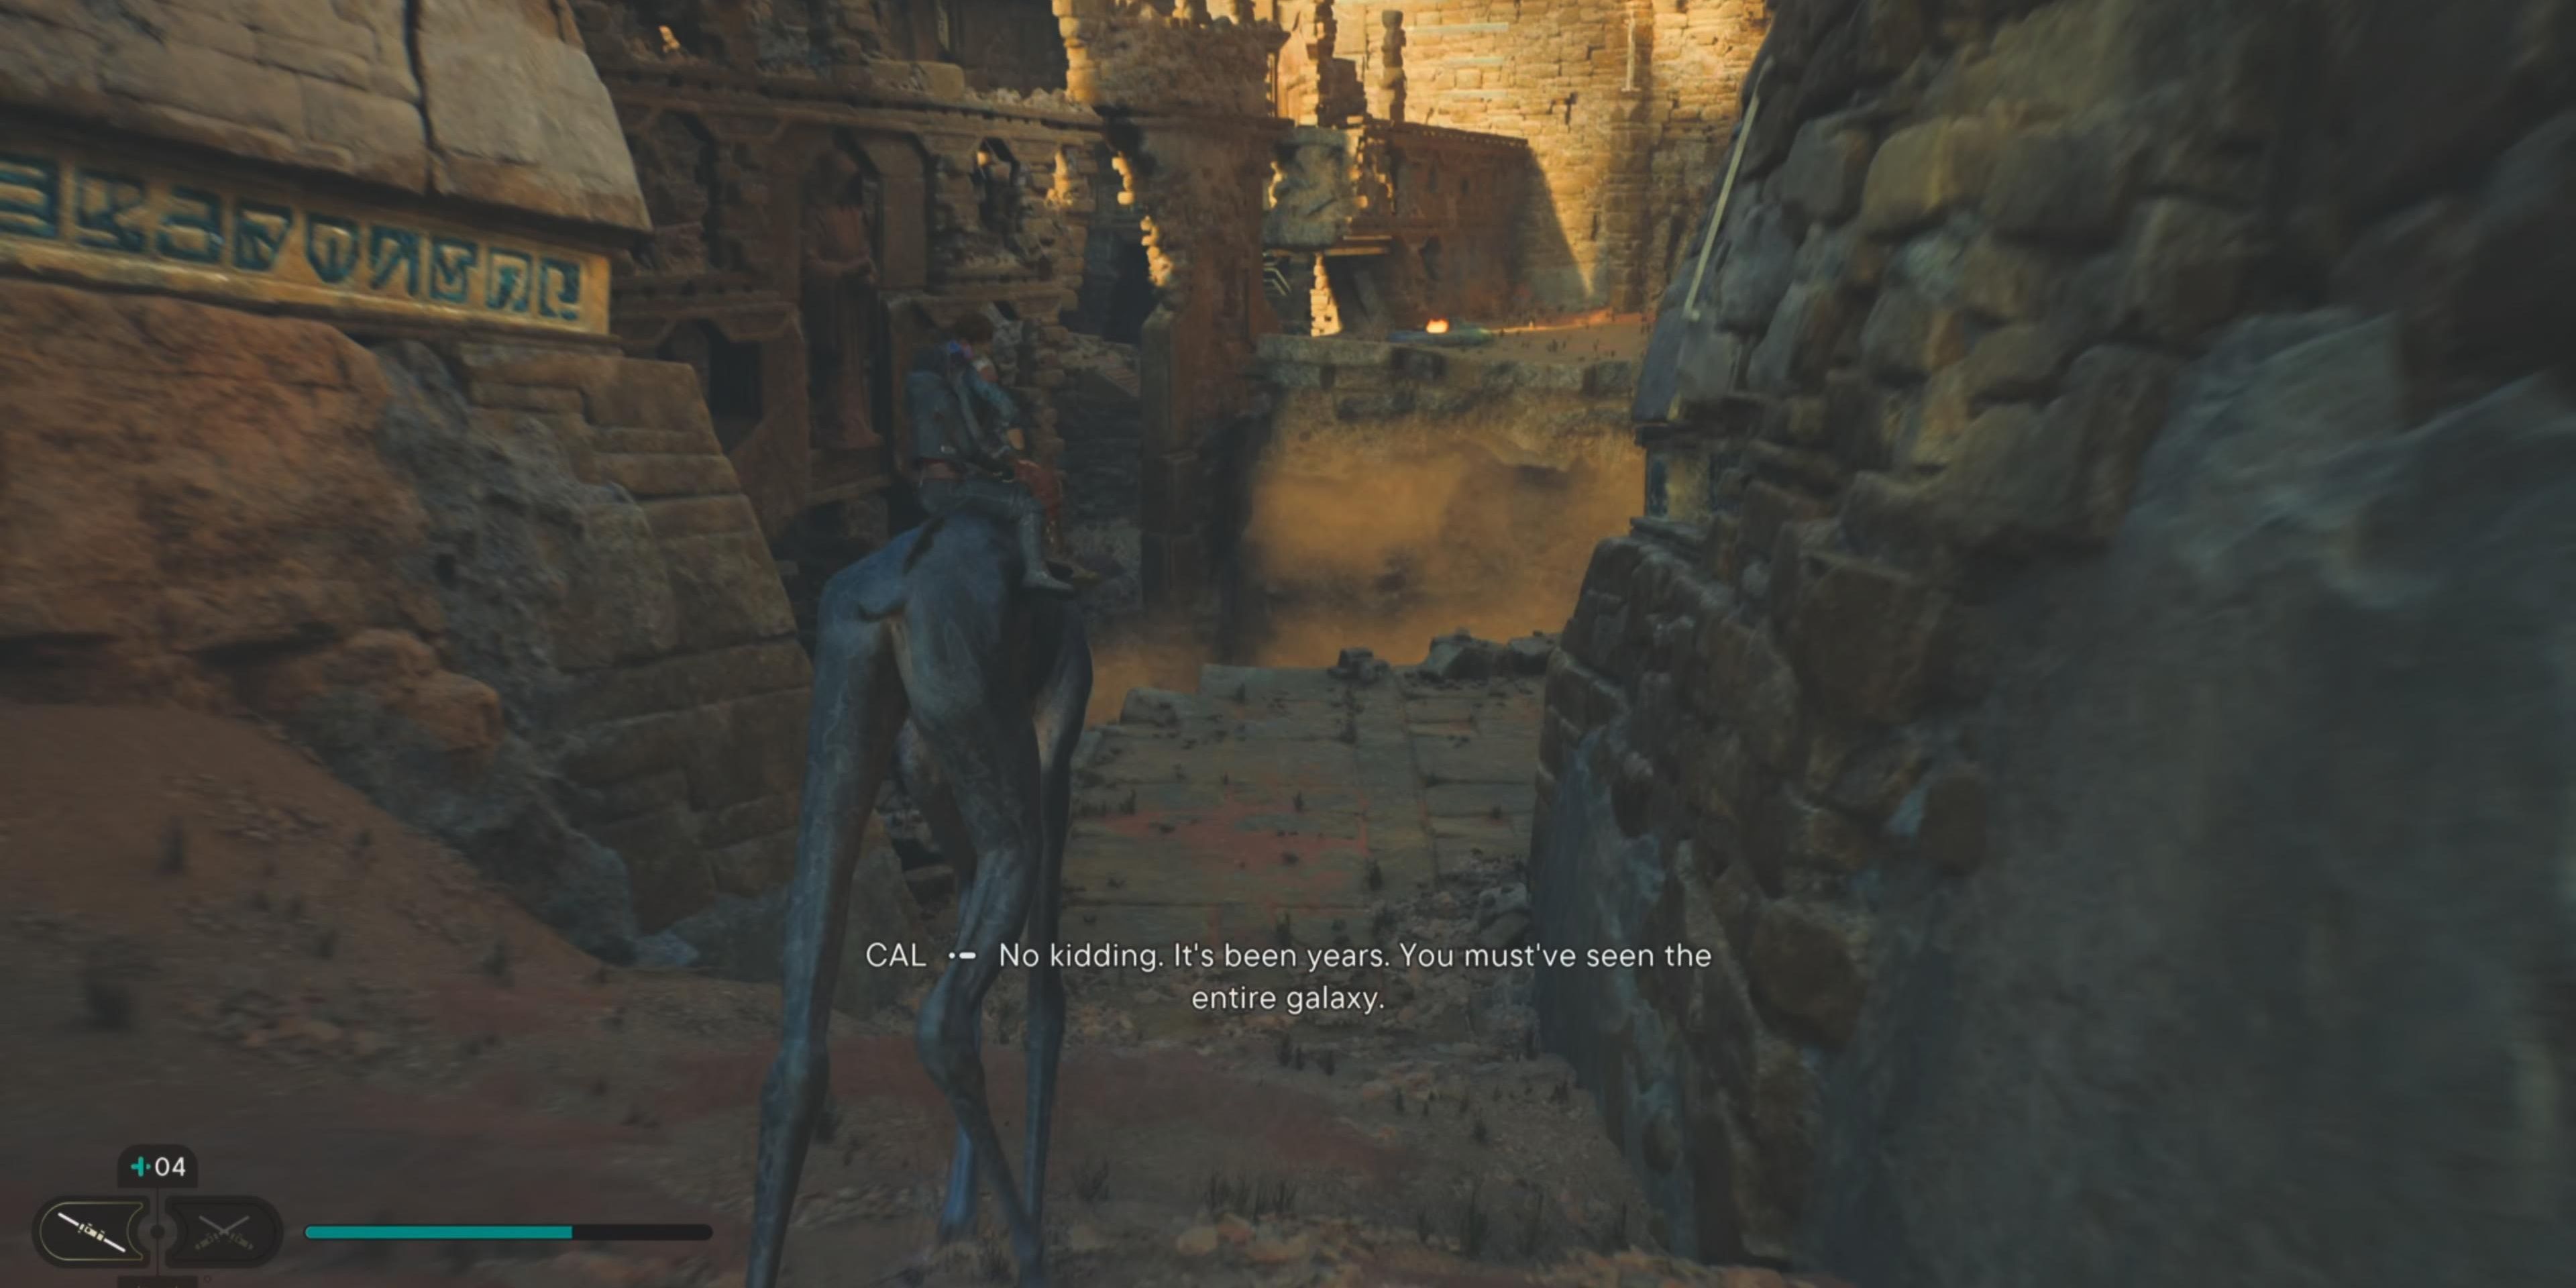
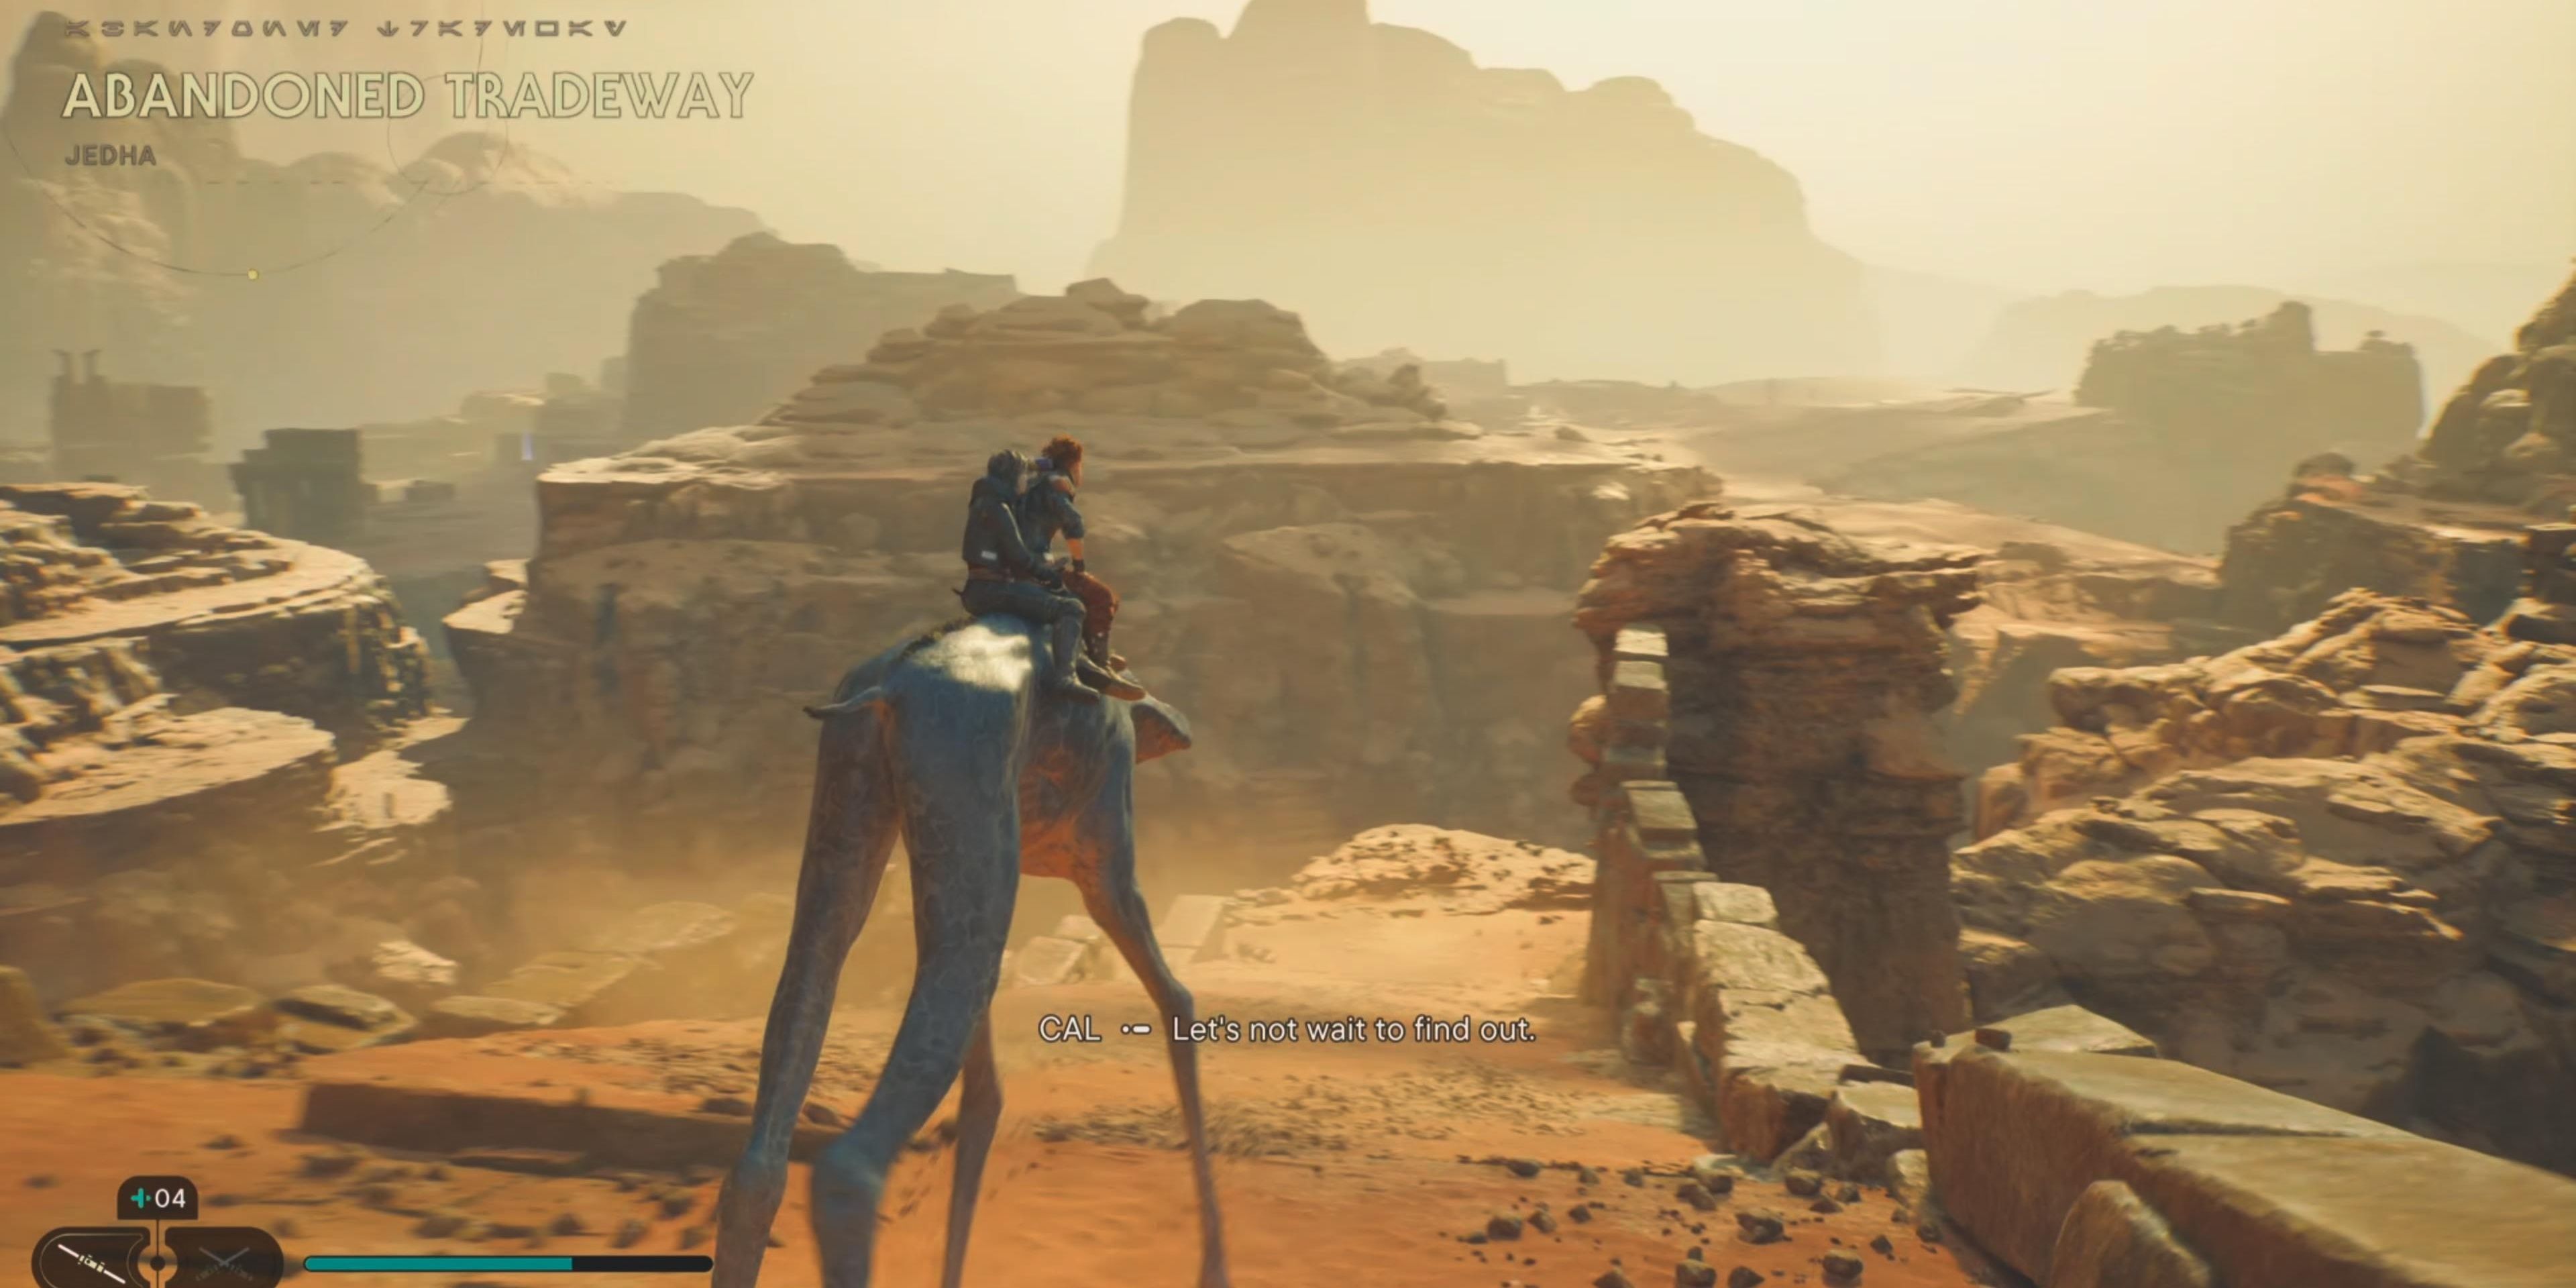
Lead the Spamel up the middle path that resembles an open hand and head across the pillar. Continue heading down the path until you enter the Abandoned Tradeway.
Keep following the path through an underpass and sprint through the desert after the Empire ships. The desert storm winds will become more intense and a cutscene will trigger as you run into another Skriton.
Kestis will be knocked off the Spamel, so walk carefully through the storm to find Merrin, and she’ll fix the broken bridge. When you try to walk across it, a pillar will fall and break it.
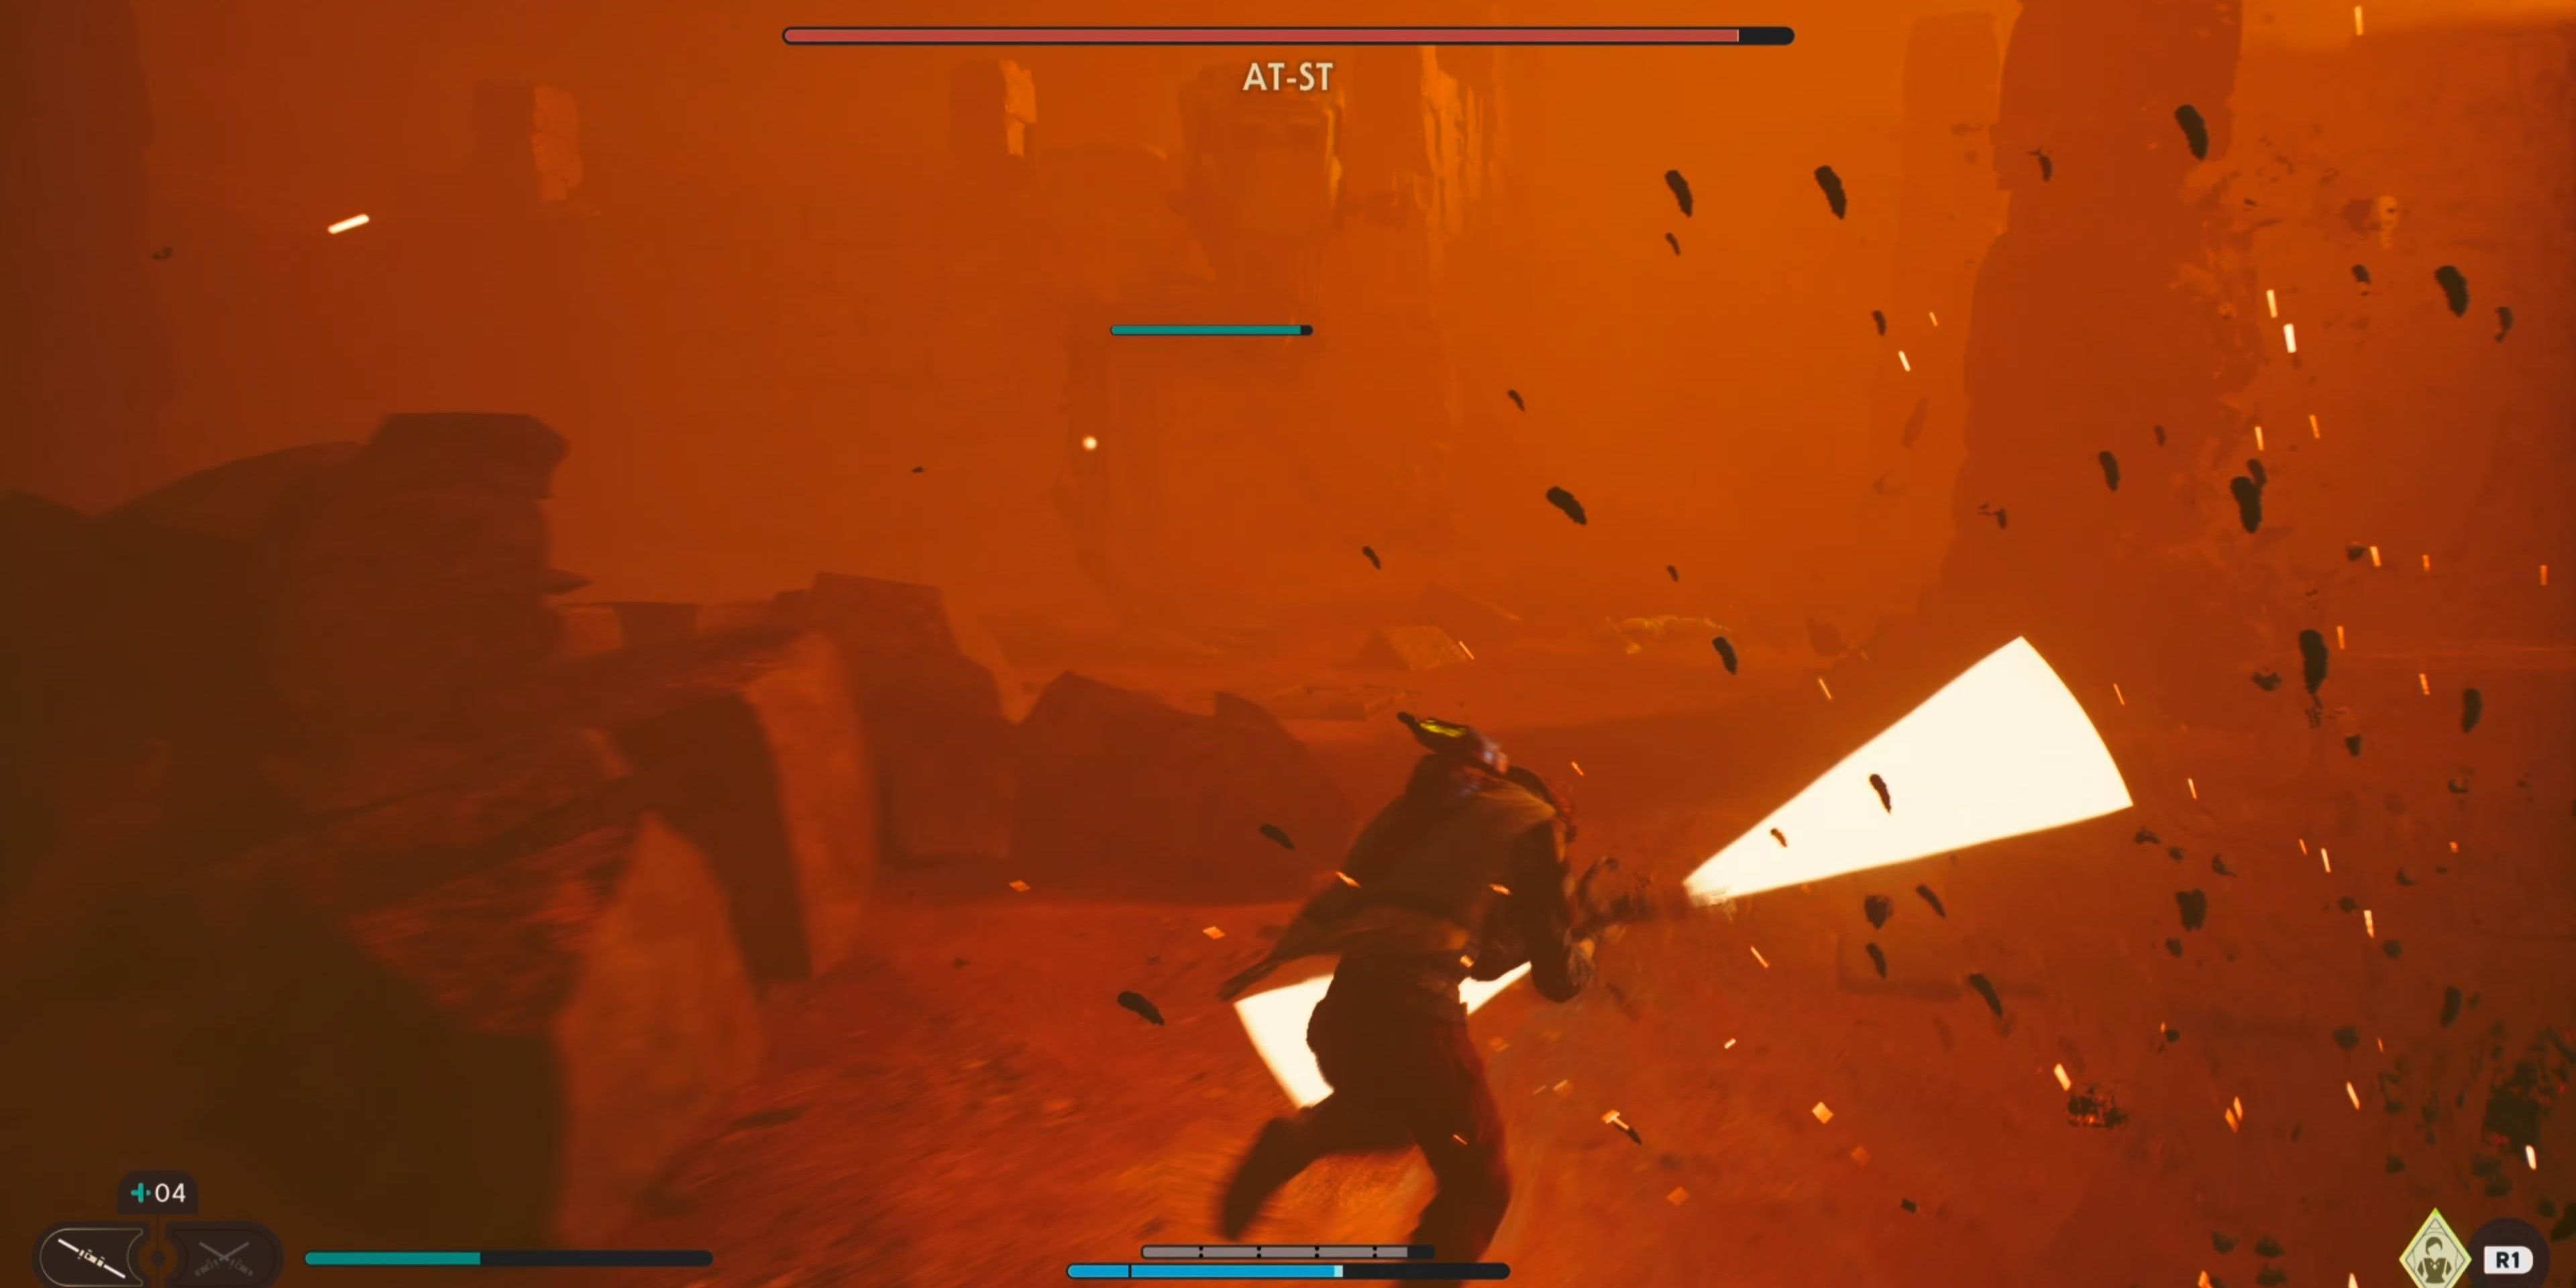
Continue following Merrin through the storm until you encounter a group of Stormtroopers. There will also be an AT-ST among the group as well, a giant machine that fires blasters and grenades.
Use Merrin to immobilize the AT-ST and continue to hack away. When its health is depleted, use your ascension cable to scale the AT-ST, and Kestis will yank the pilot from the cockpit.
After the cutscene, continue following Merrin to find shelter from the sandstorm. You’ll also find the Spamel safe in the cave. Another cutscene will occur.
Arriving At Cere’s Base
When Kestis and Merrin wake up, the storm has cleared. Head through the cave and use the Sheltered Hollow Meditation Point on the right.
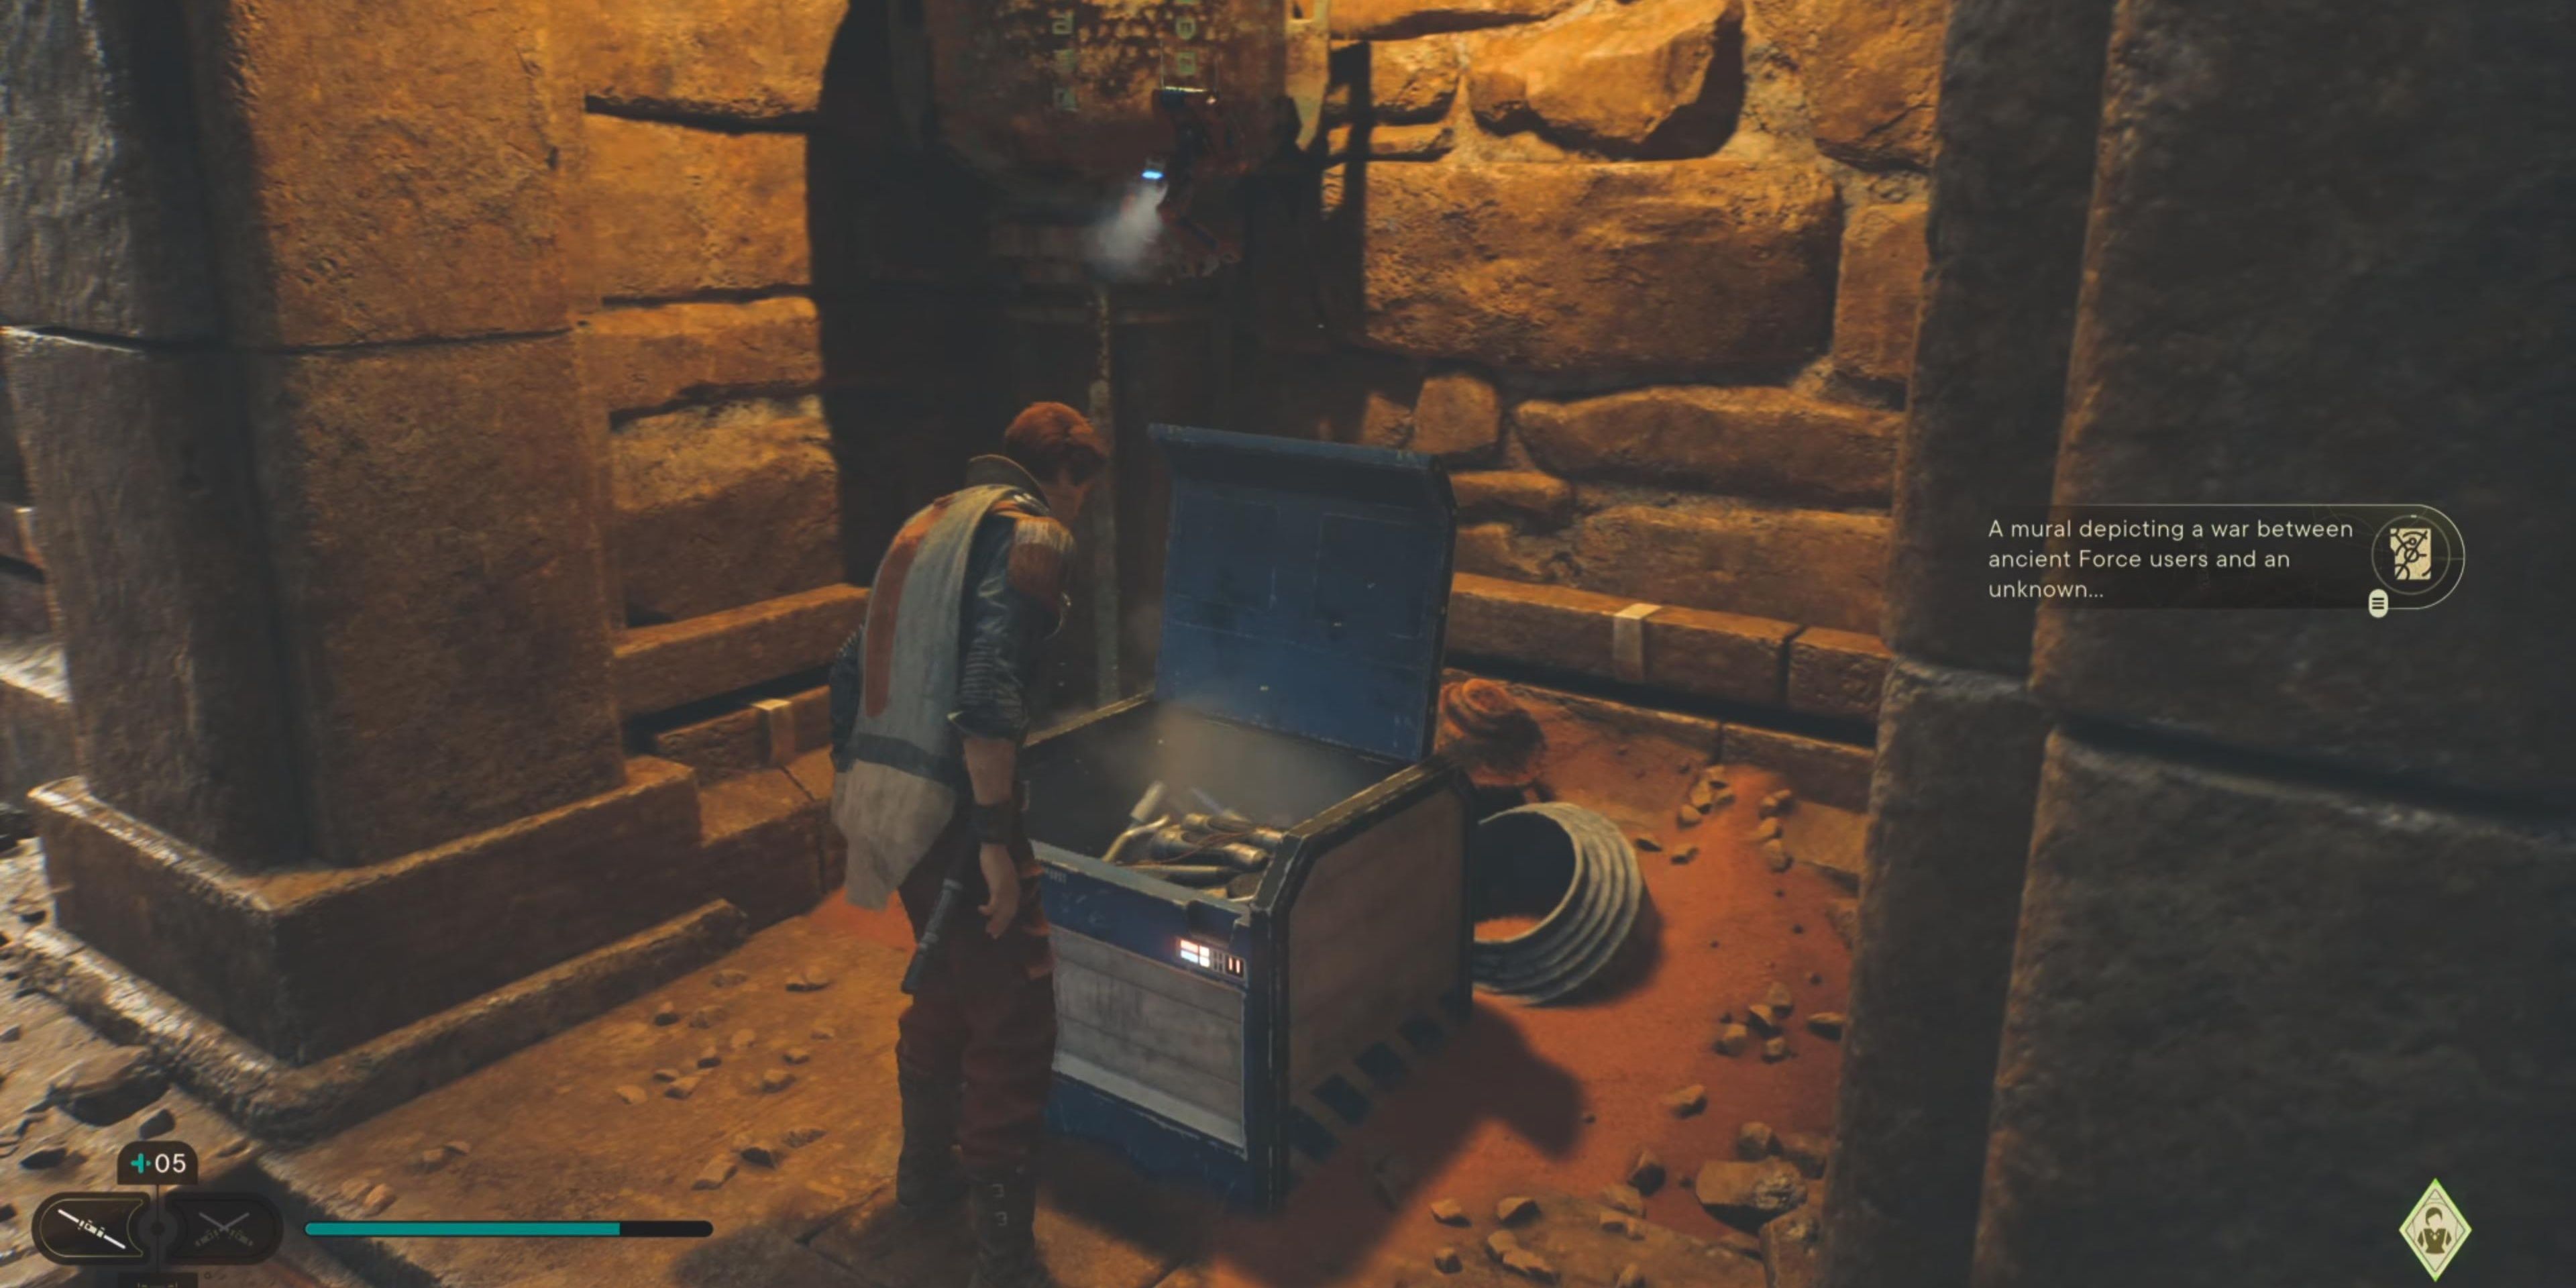
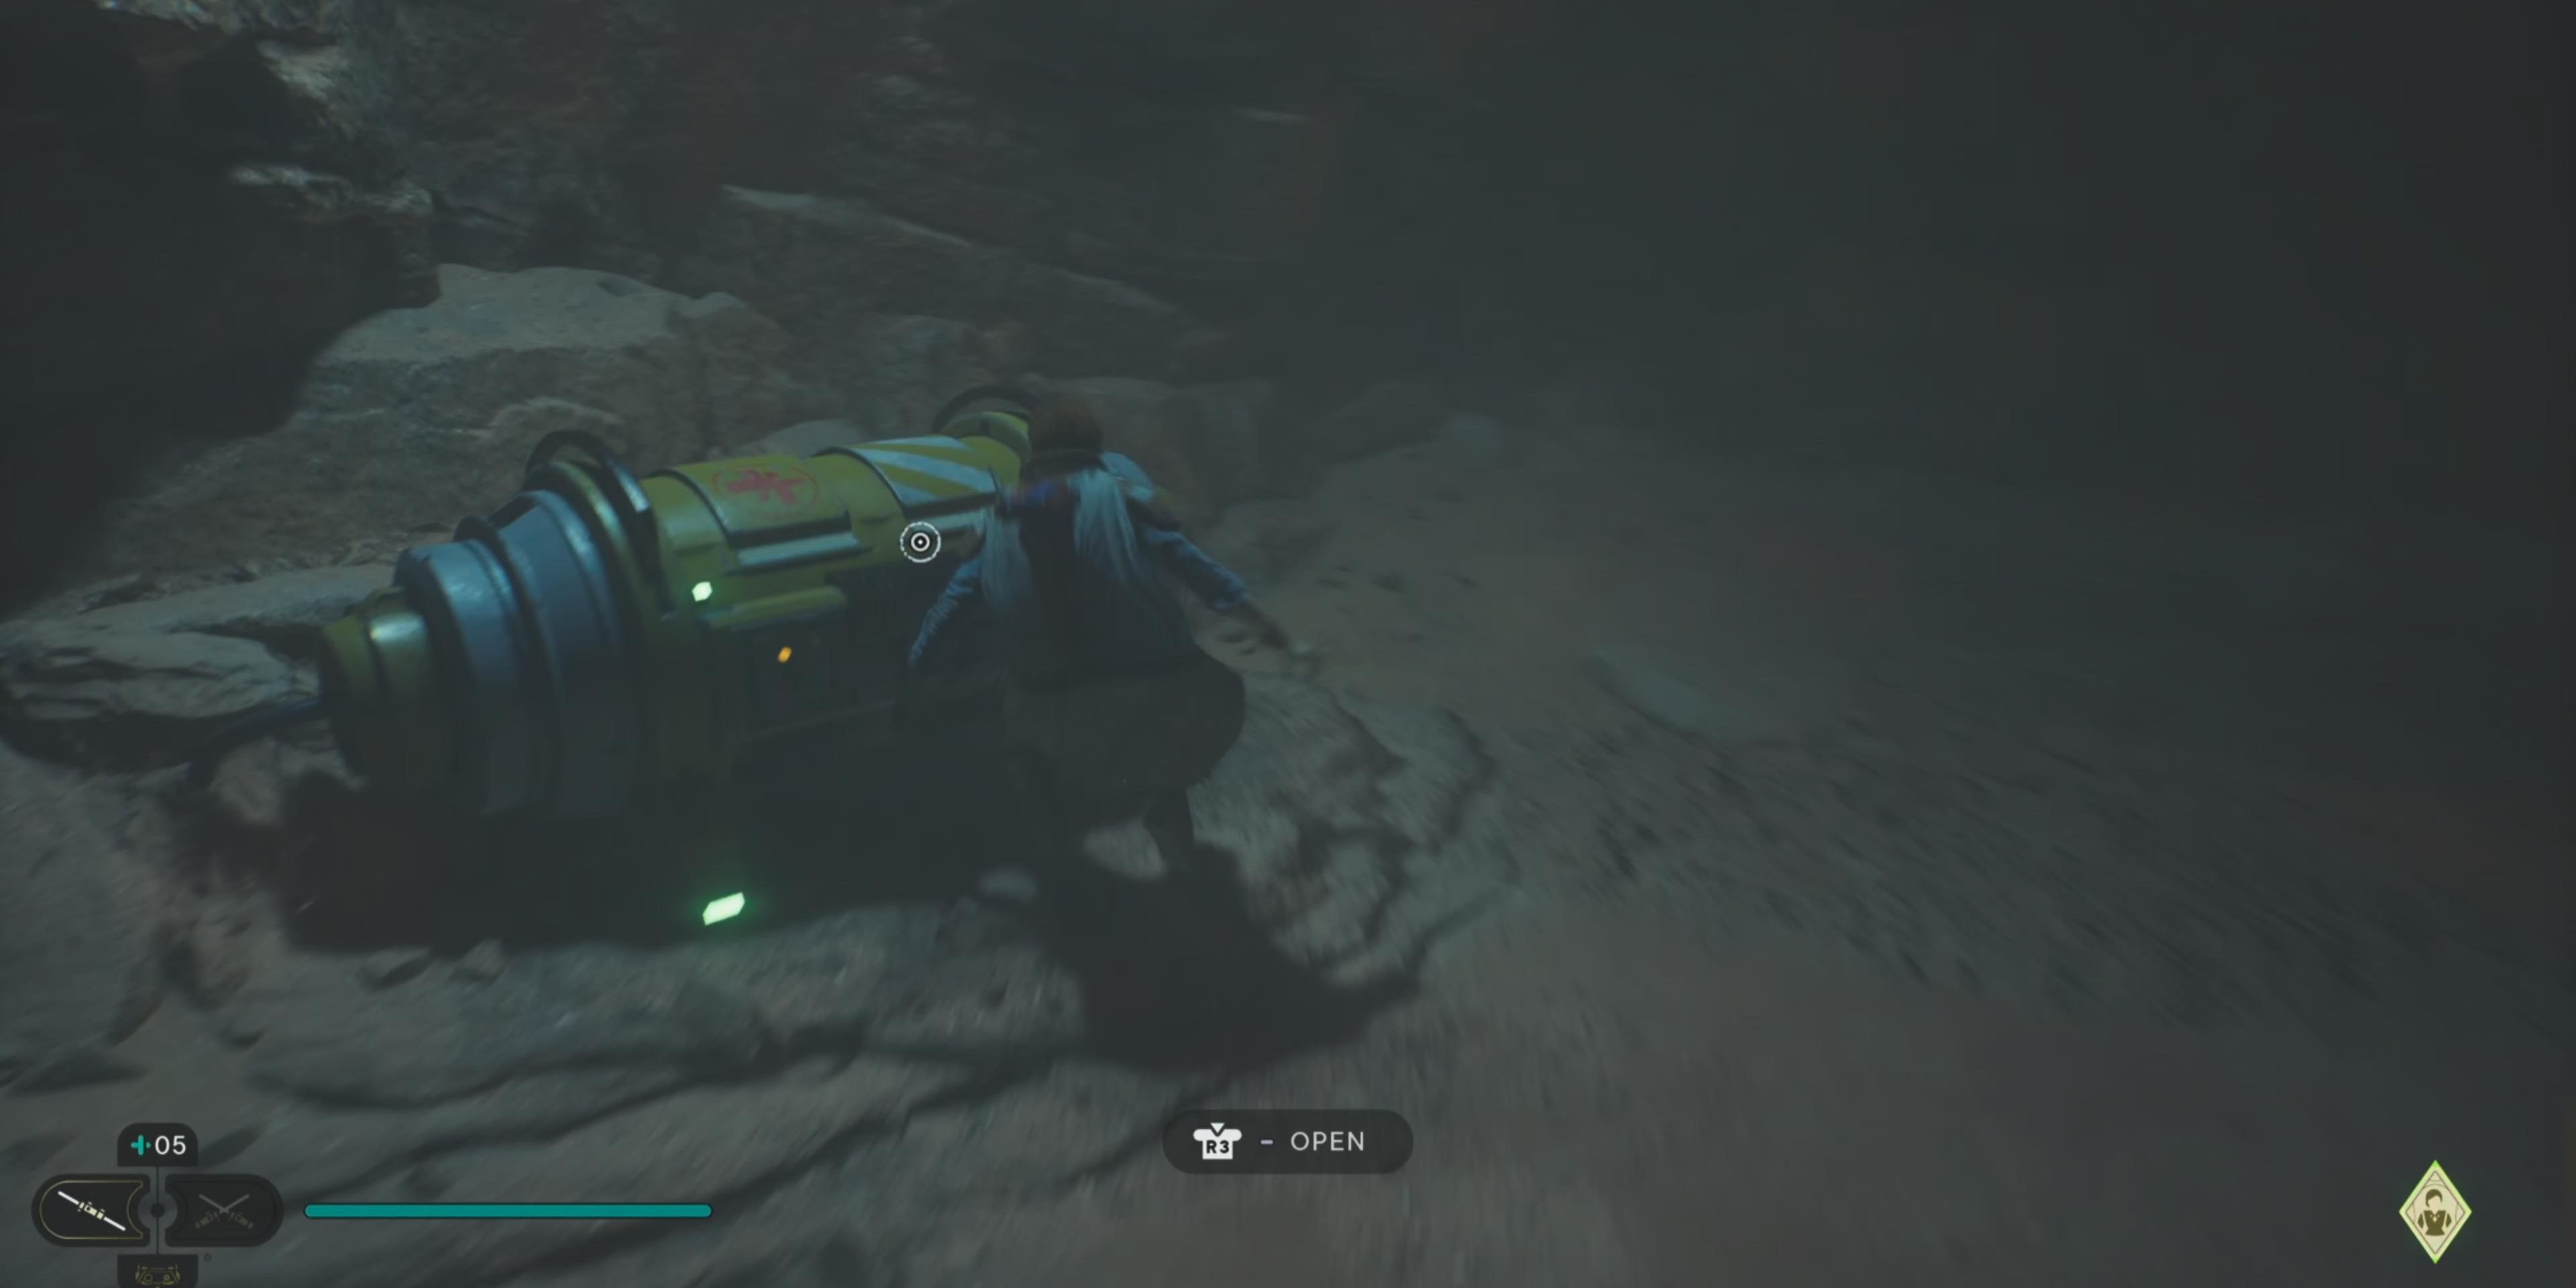
Continue down the path and open the crate on the left for another Health Stim.
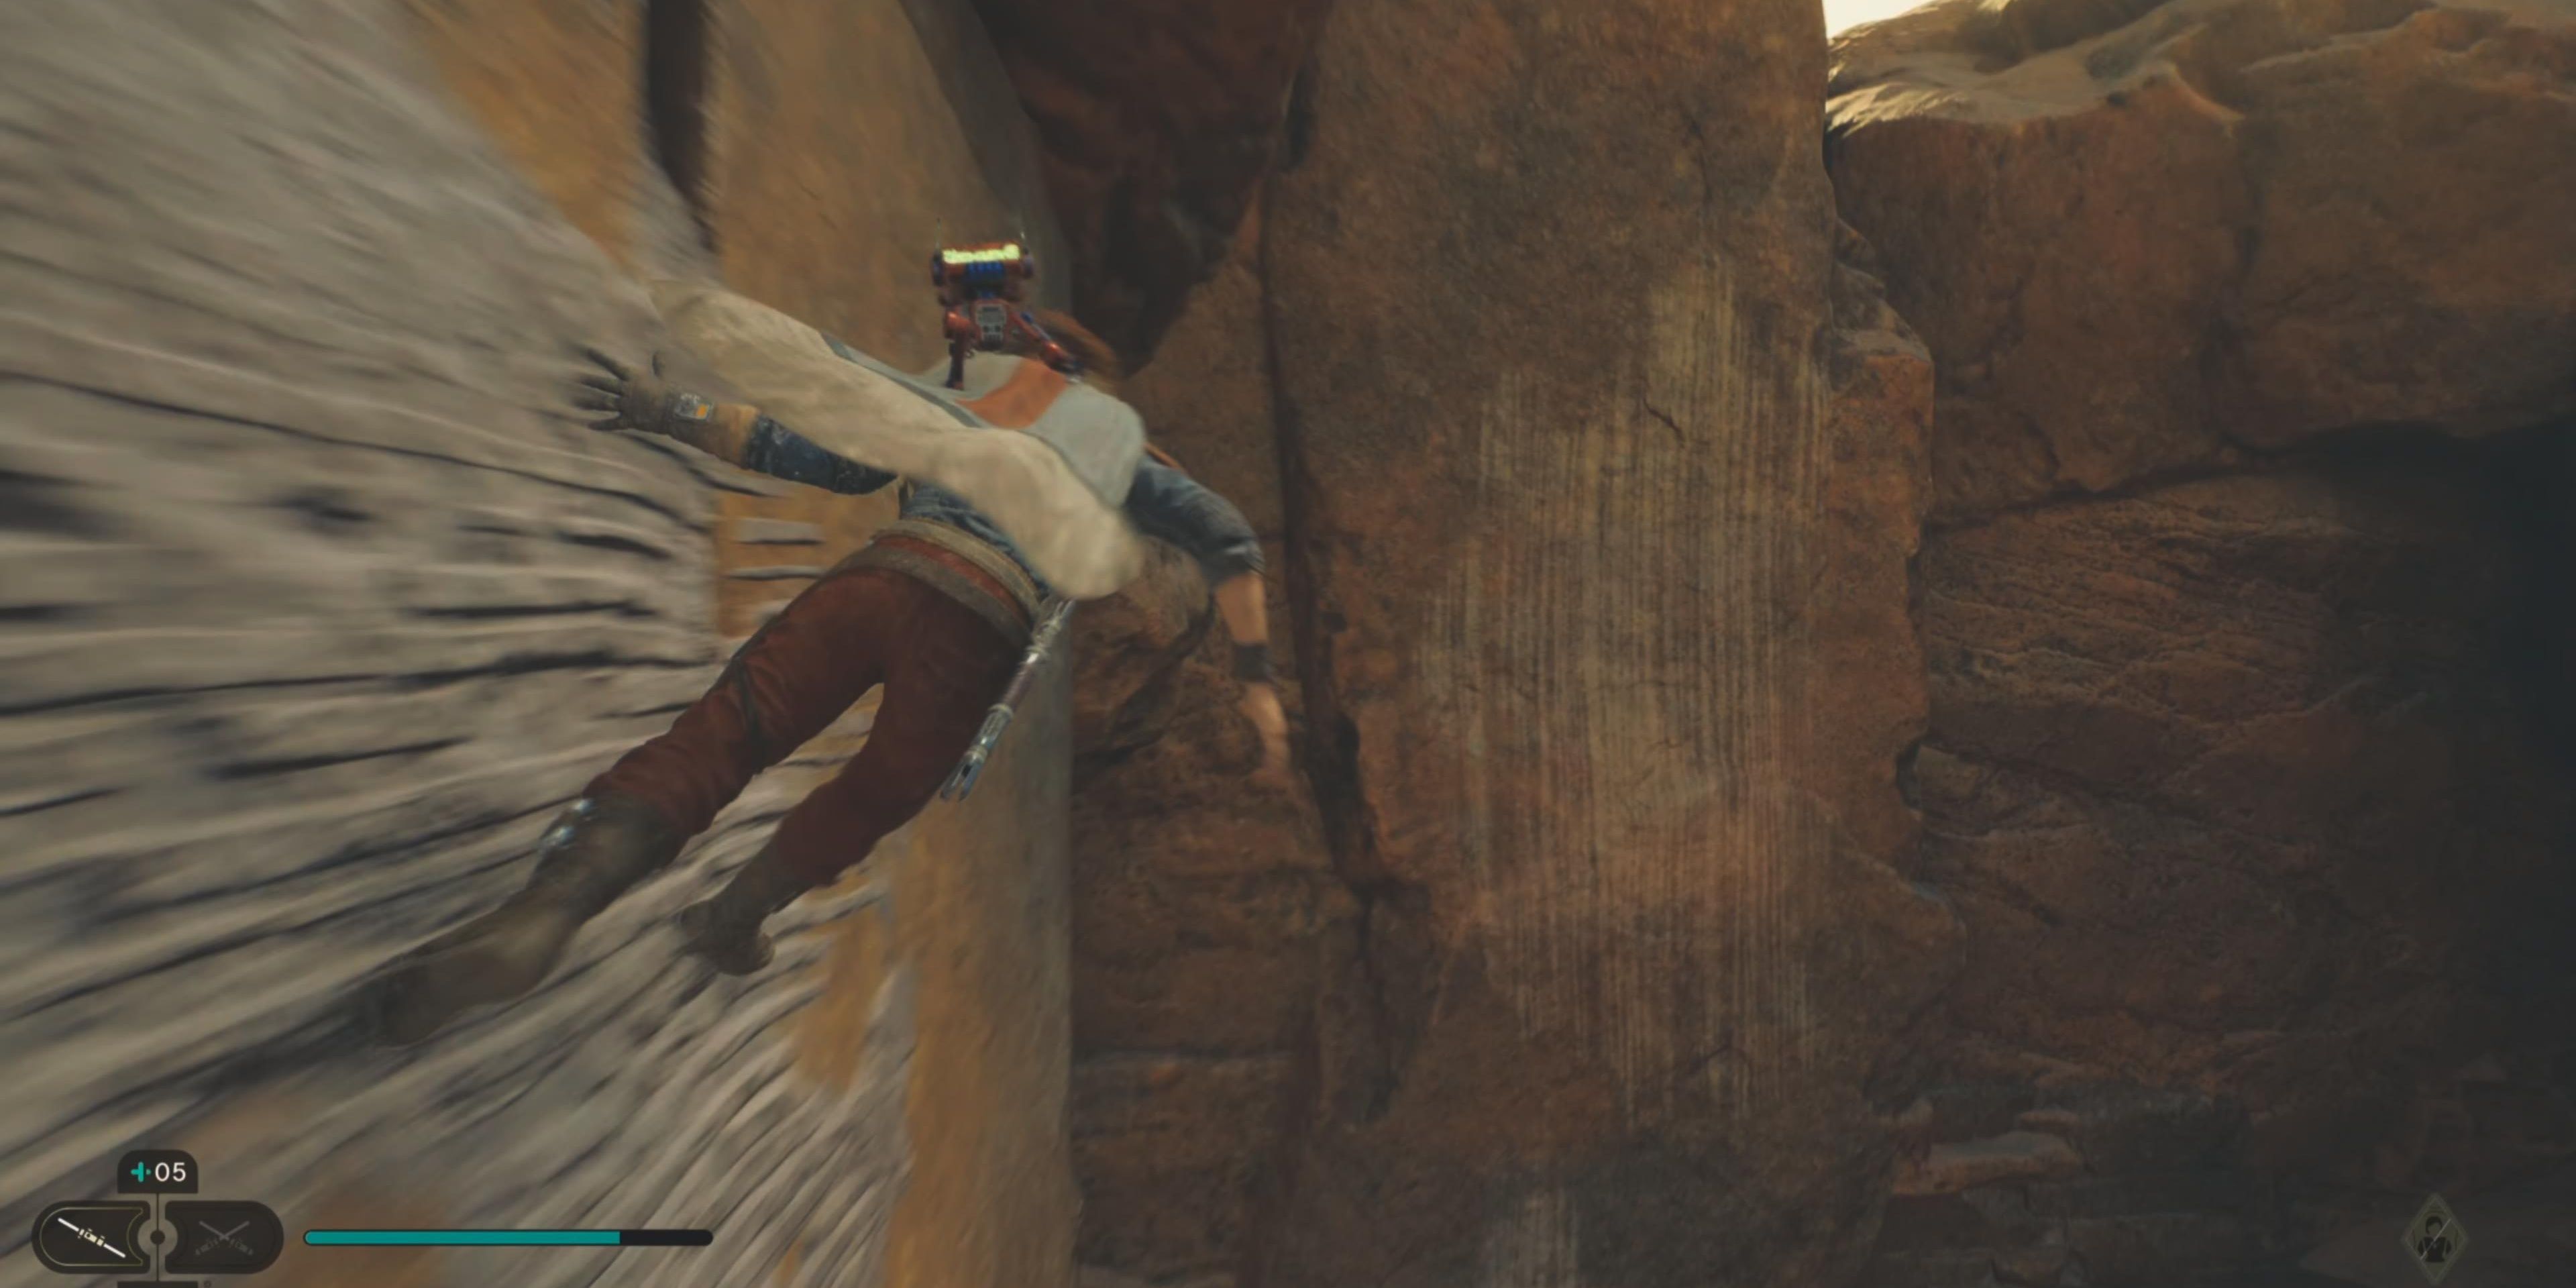
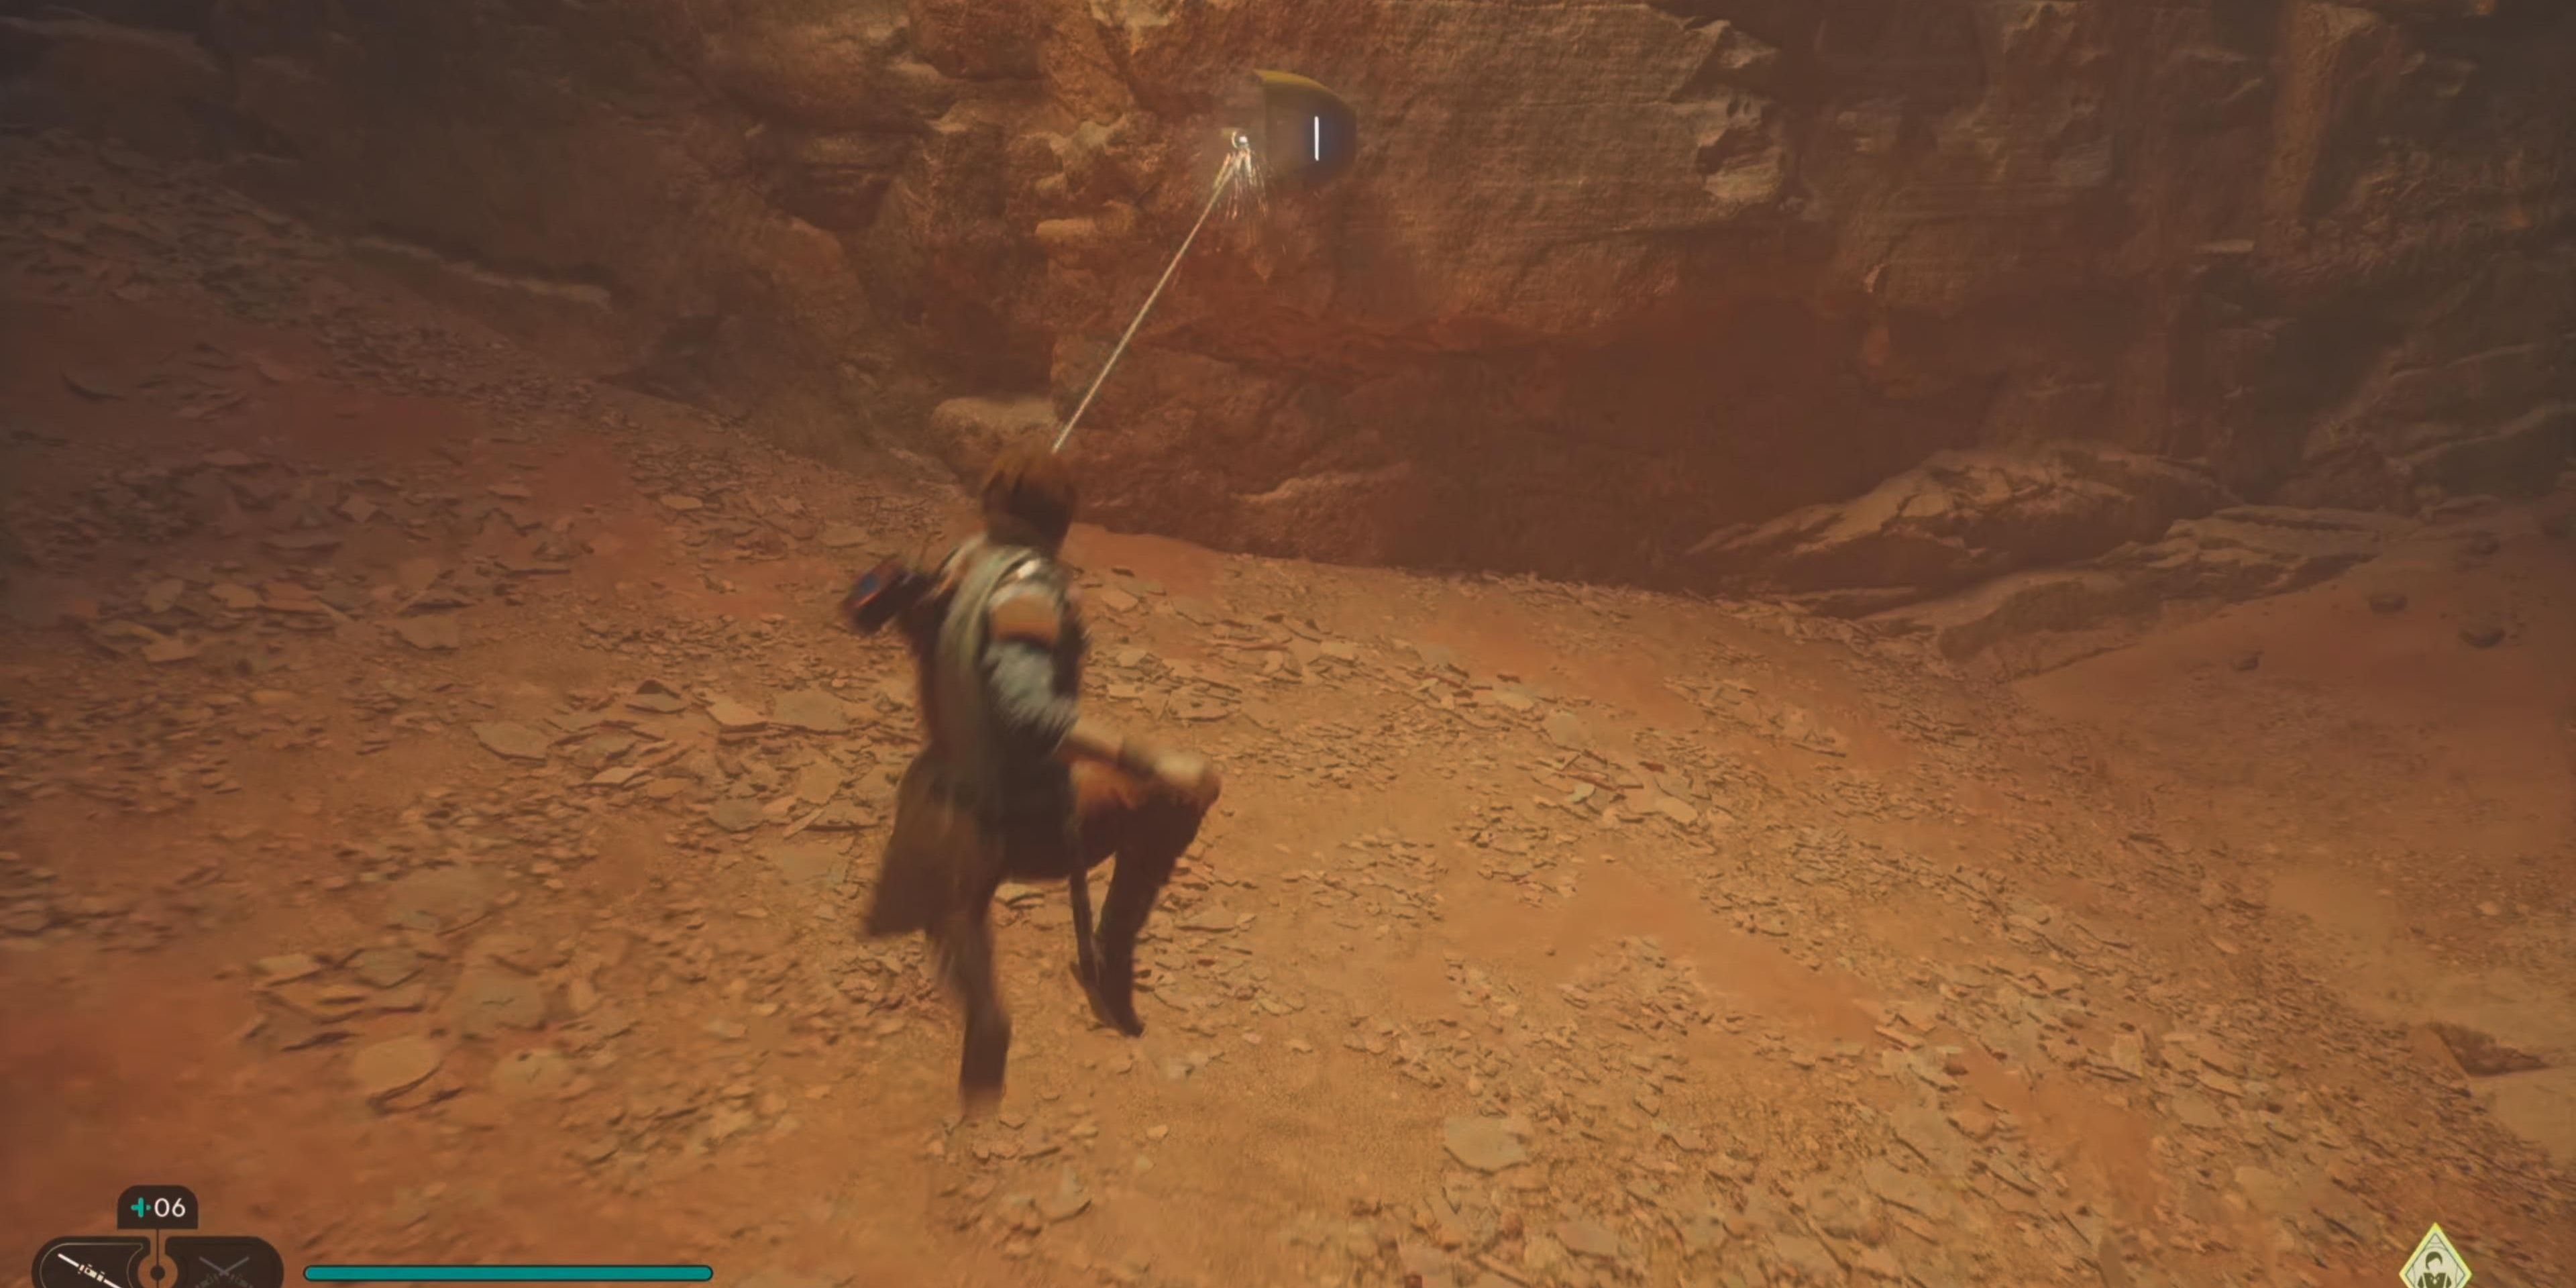
Use your ascension cable to begin wall running - you’ll need to jump in the middle to keep wall running to reach the next ascension cable holder before falling to the slope below.
Once you drop into the new area, jump across the gap and climb the ledges on the rock pillar. Run on the wall to the top platform where Merrin is waiting and keep heading toward the metal door on the side of the rock wall.
When you reach the door, a cutscene will trigger, and Jedi Master Eno Cordova opens the door for you. Follow Cordova and Merrin to the Base Antechamber and take the lift down.
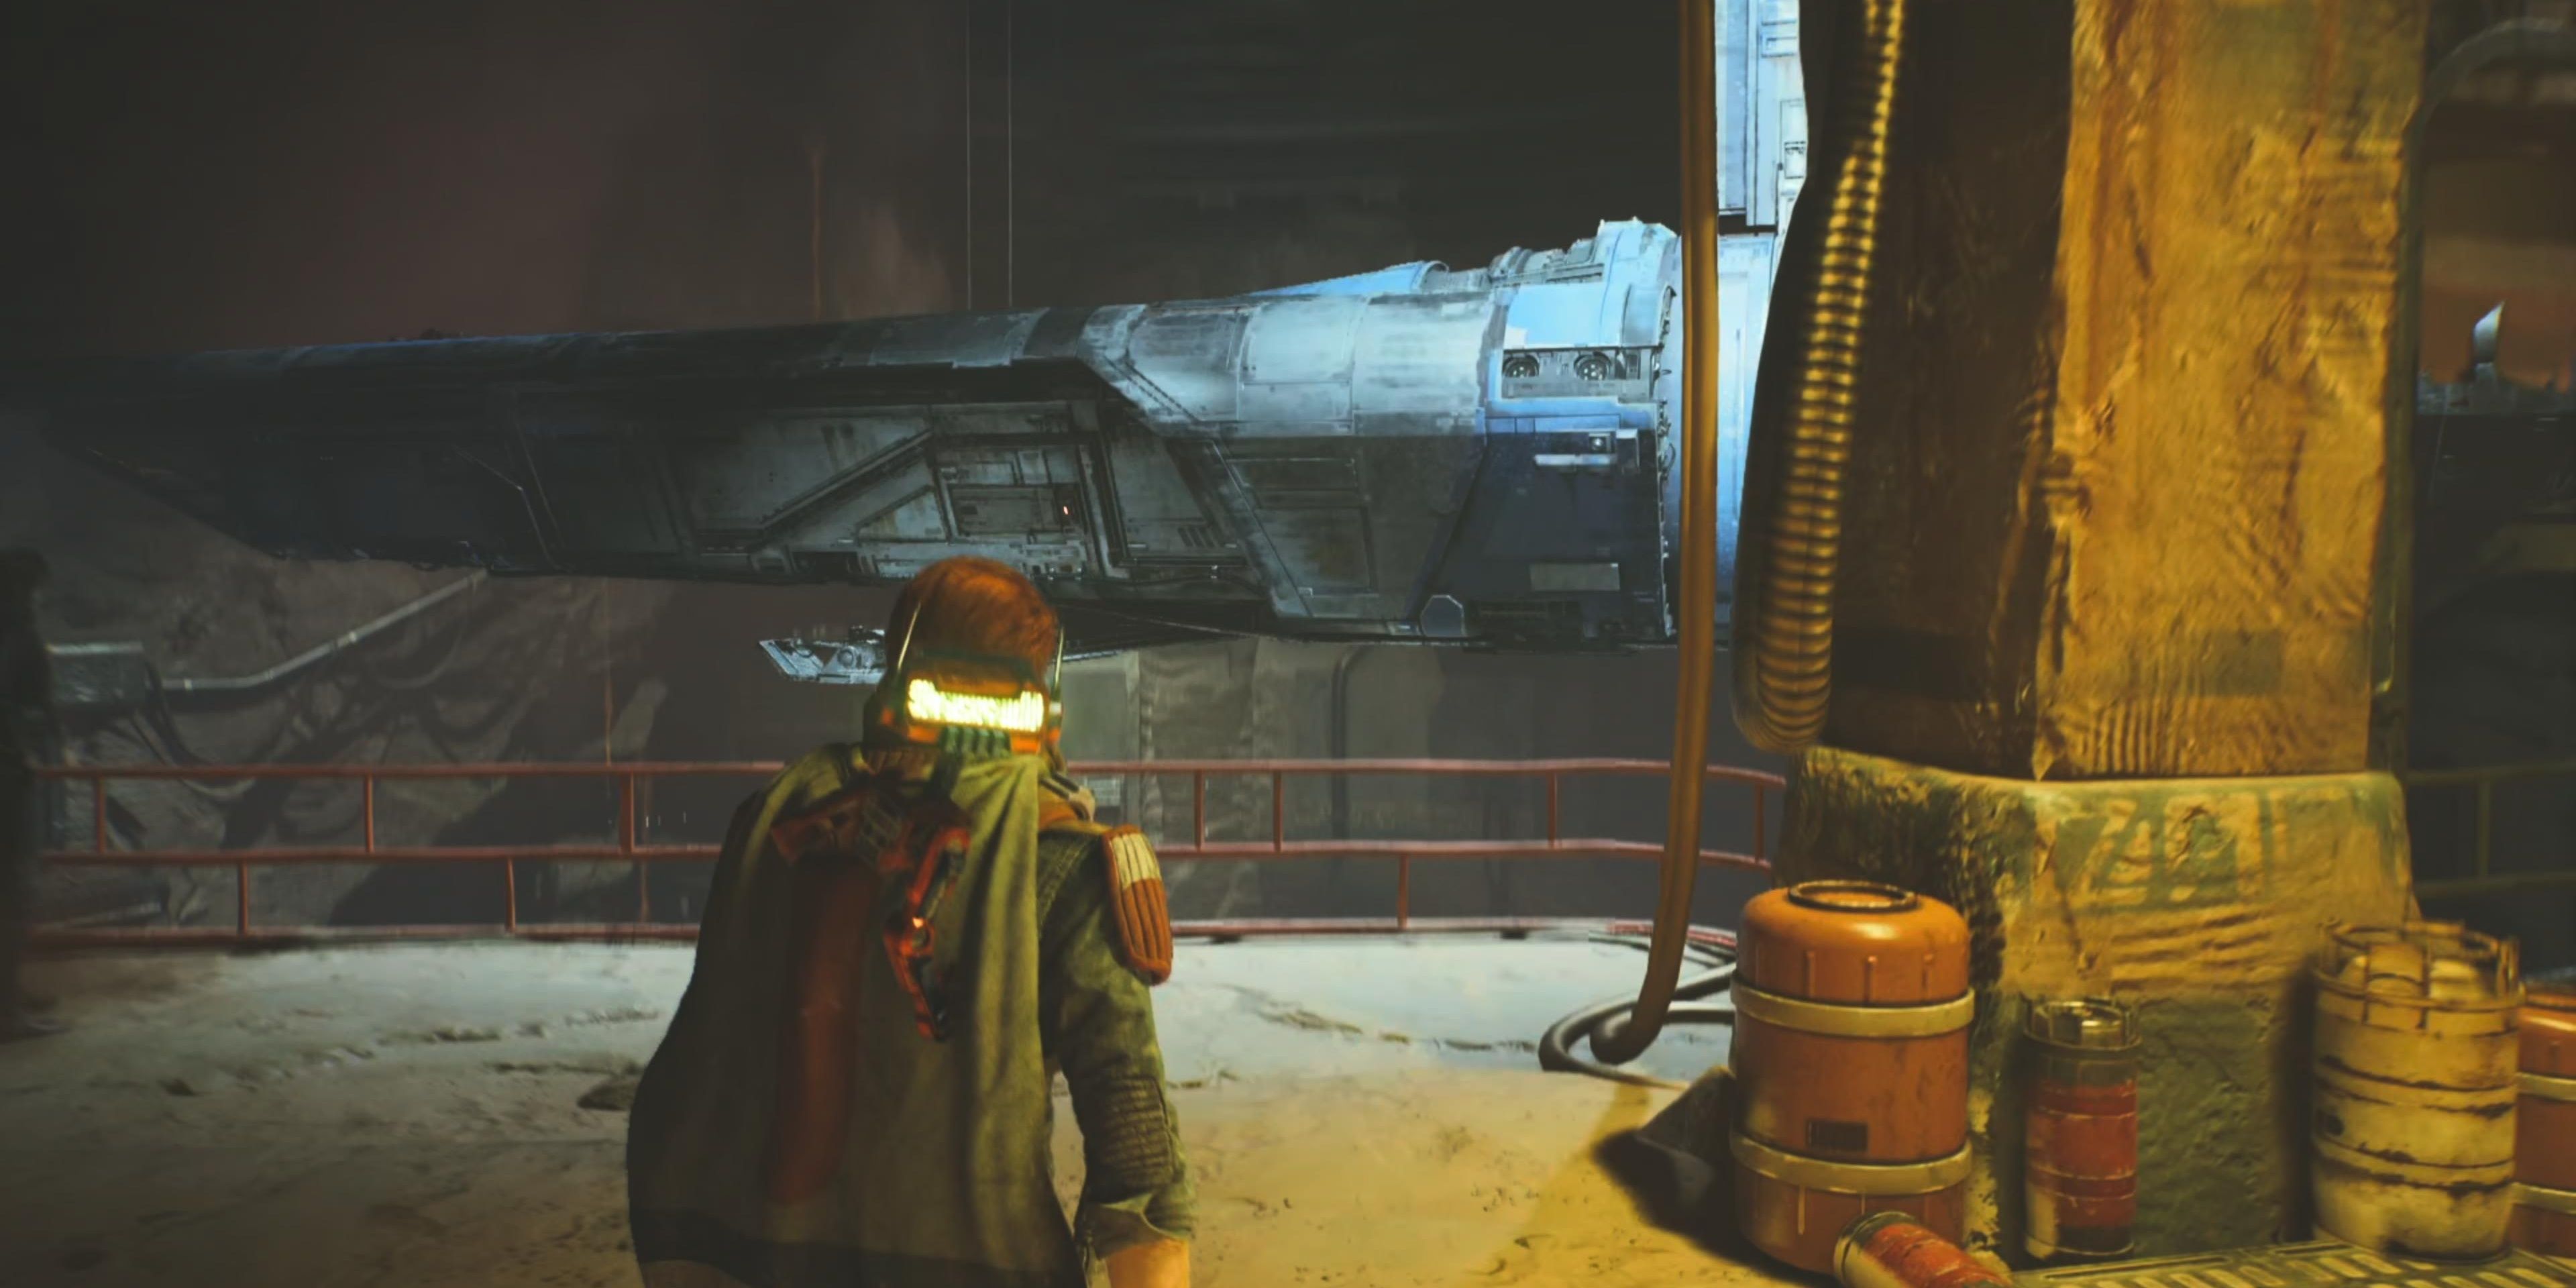
Eventually, you’ll see the Mantis descend into the hangar. Use the second lift to arrive on the ground level with the Mantis.
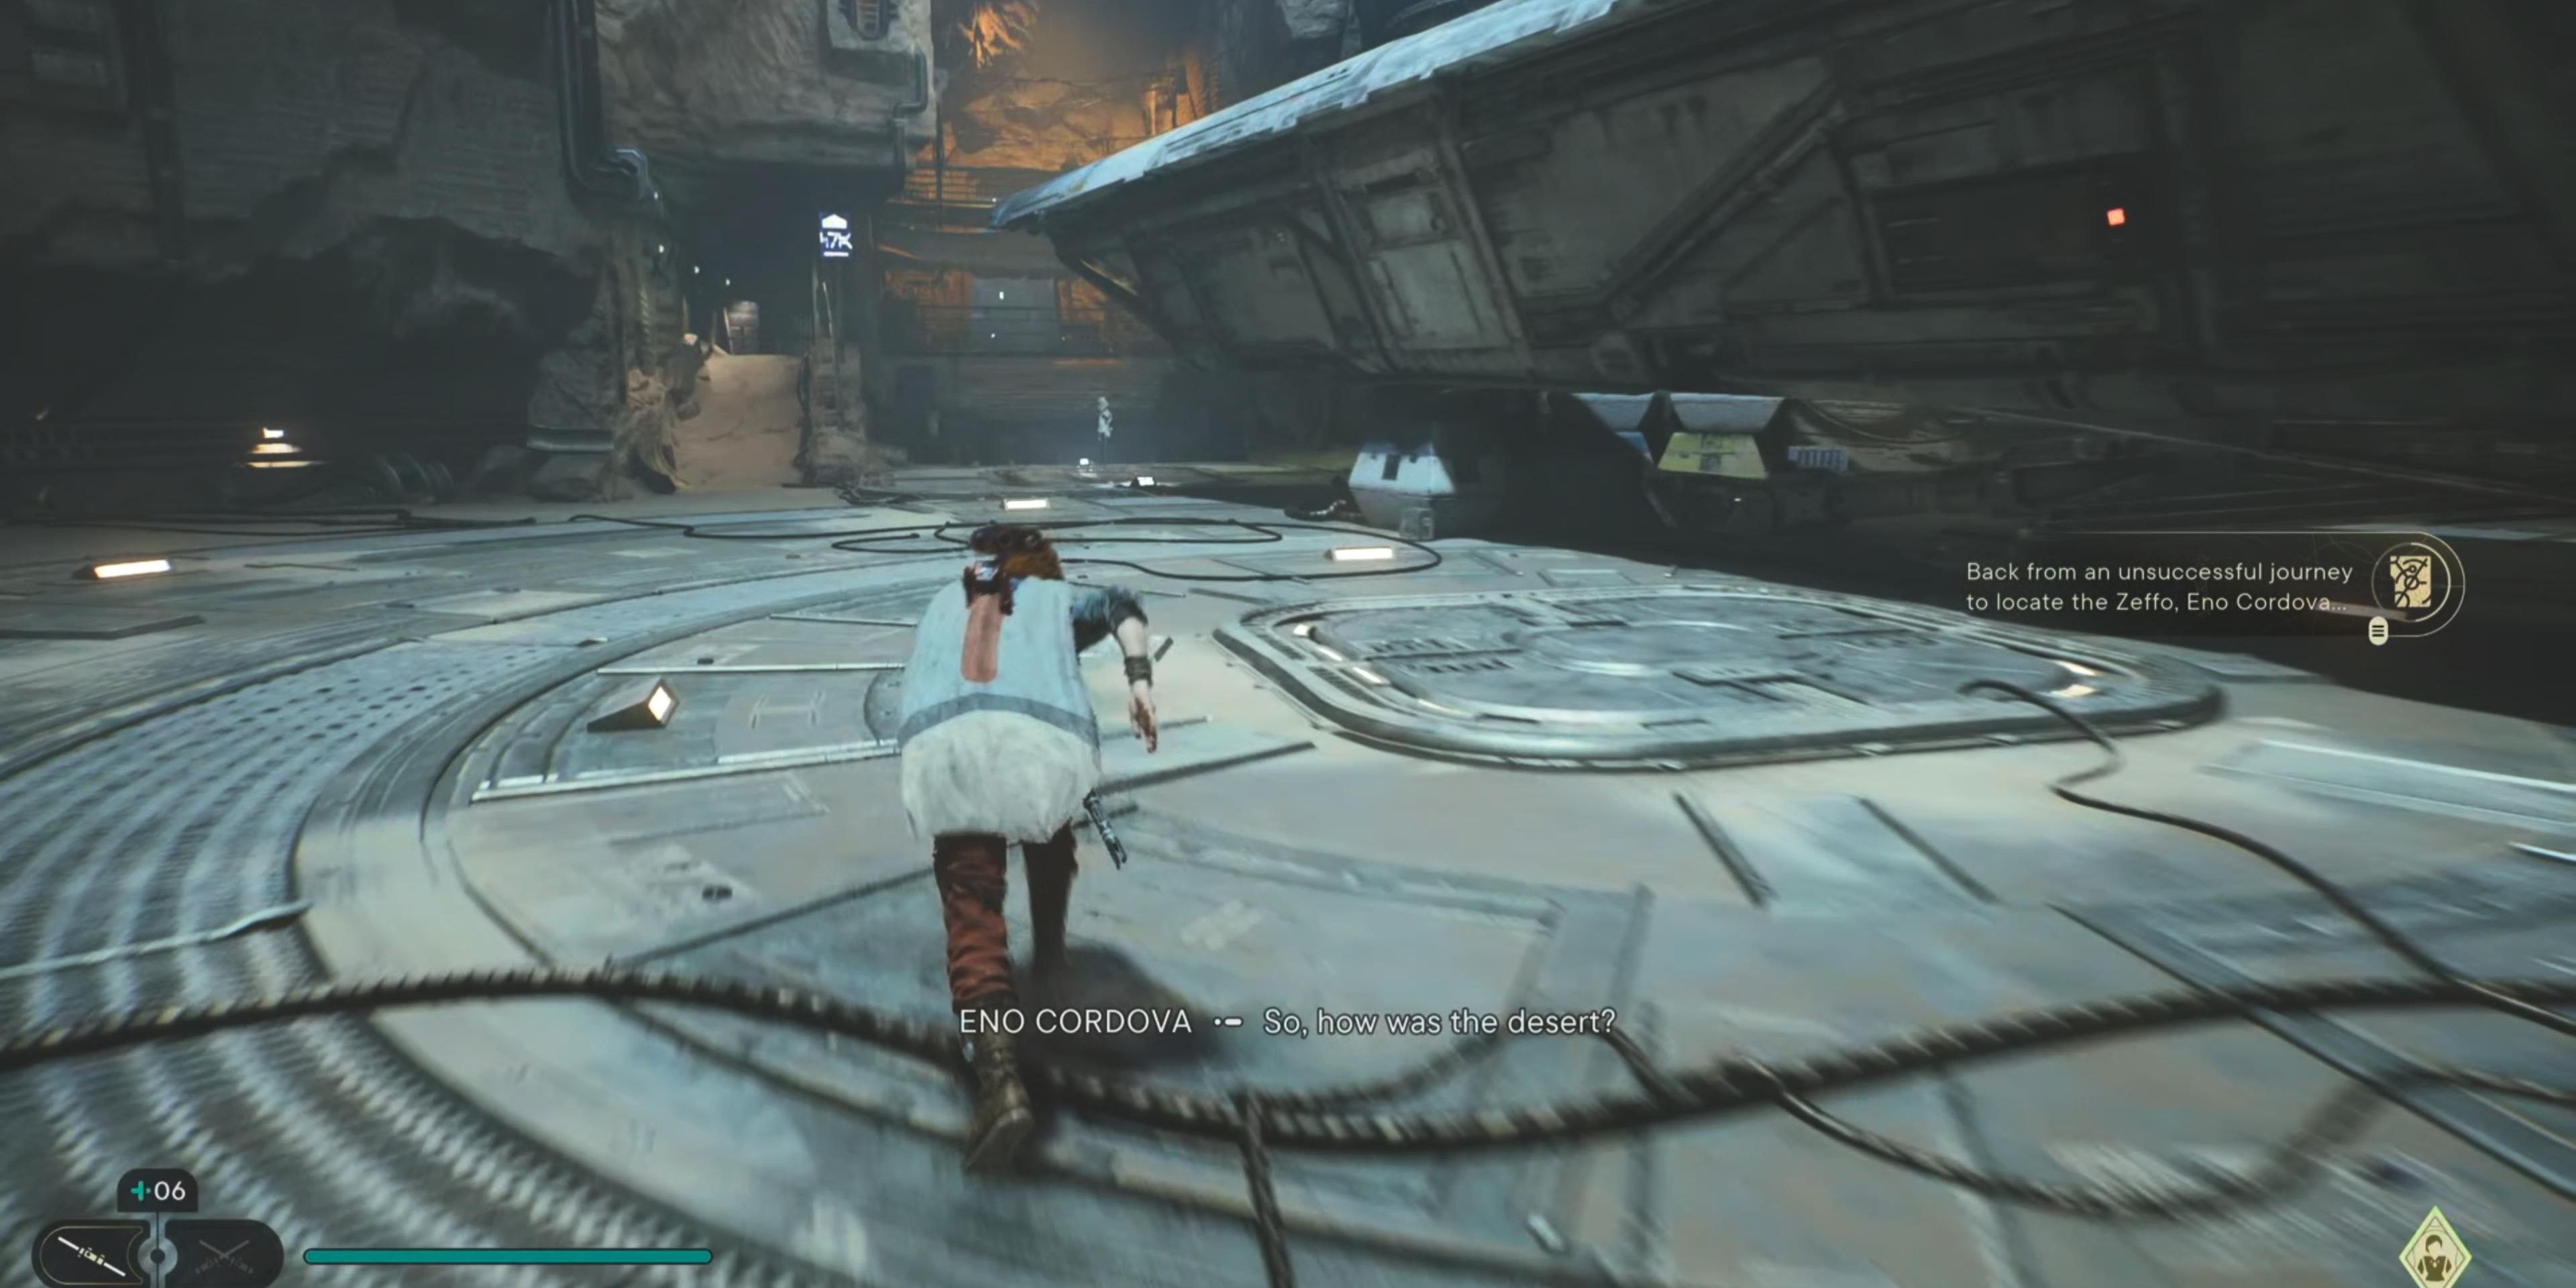
Head across the hangar, and you’ll pass a spike with Stormtrooper armor on it. There will be a lift behind the spike, but you won’t be able to use it.
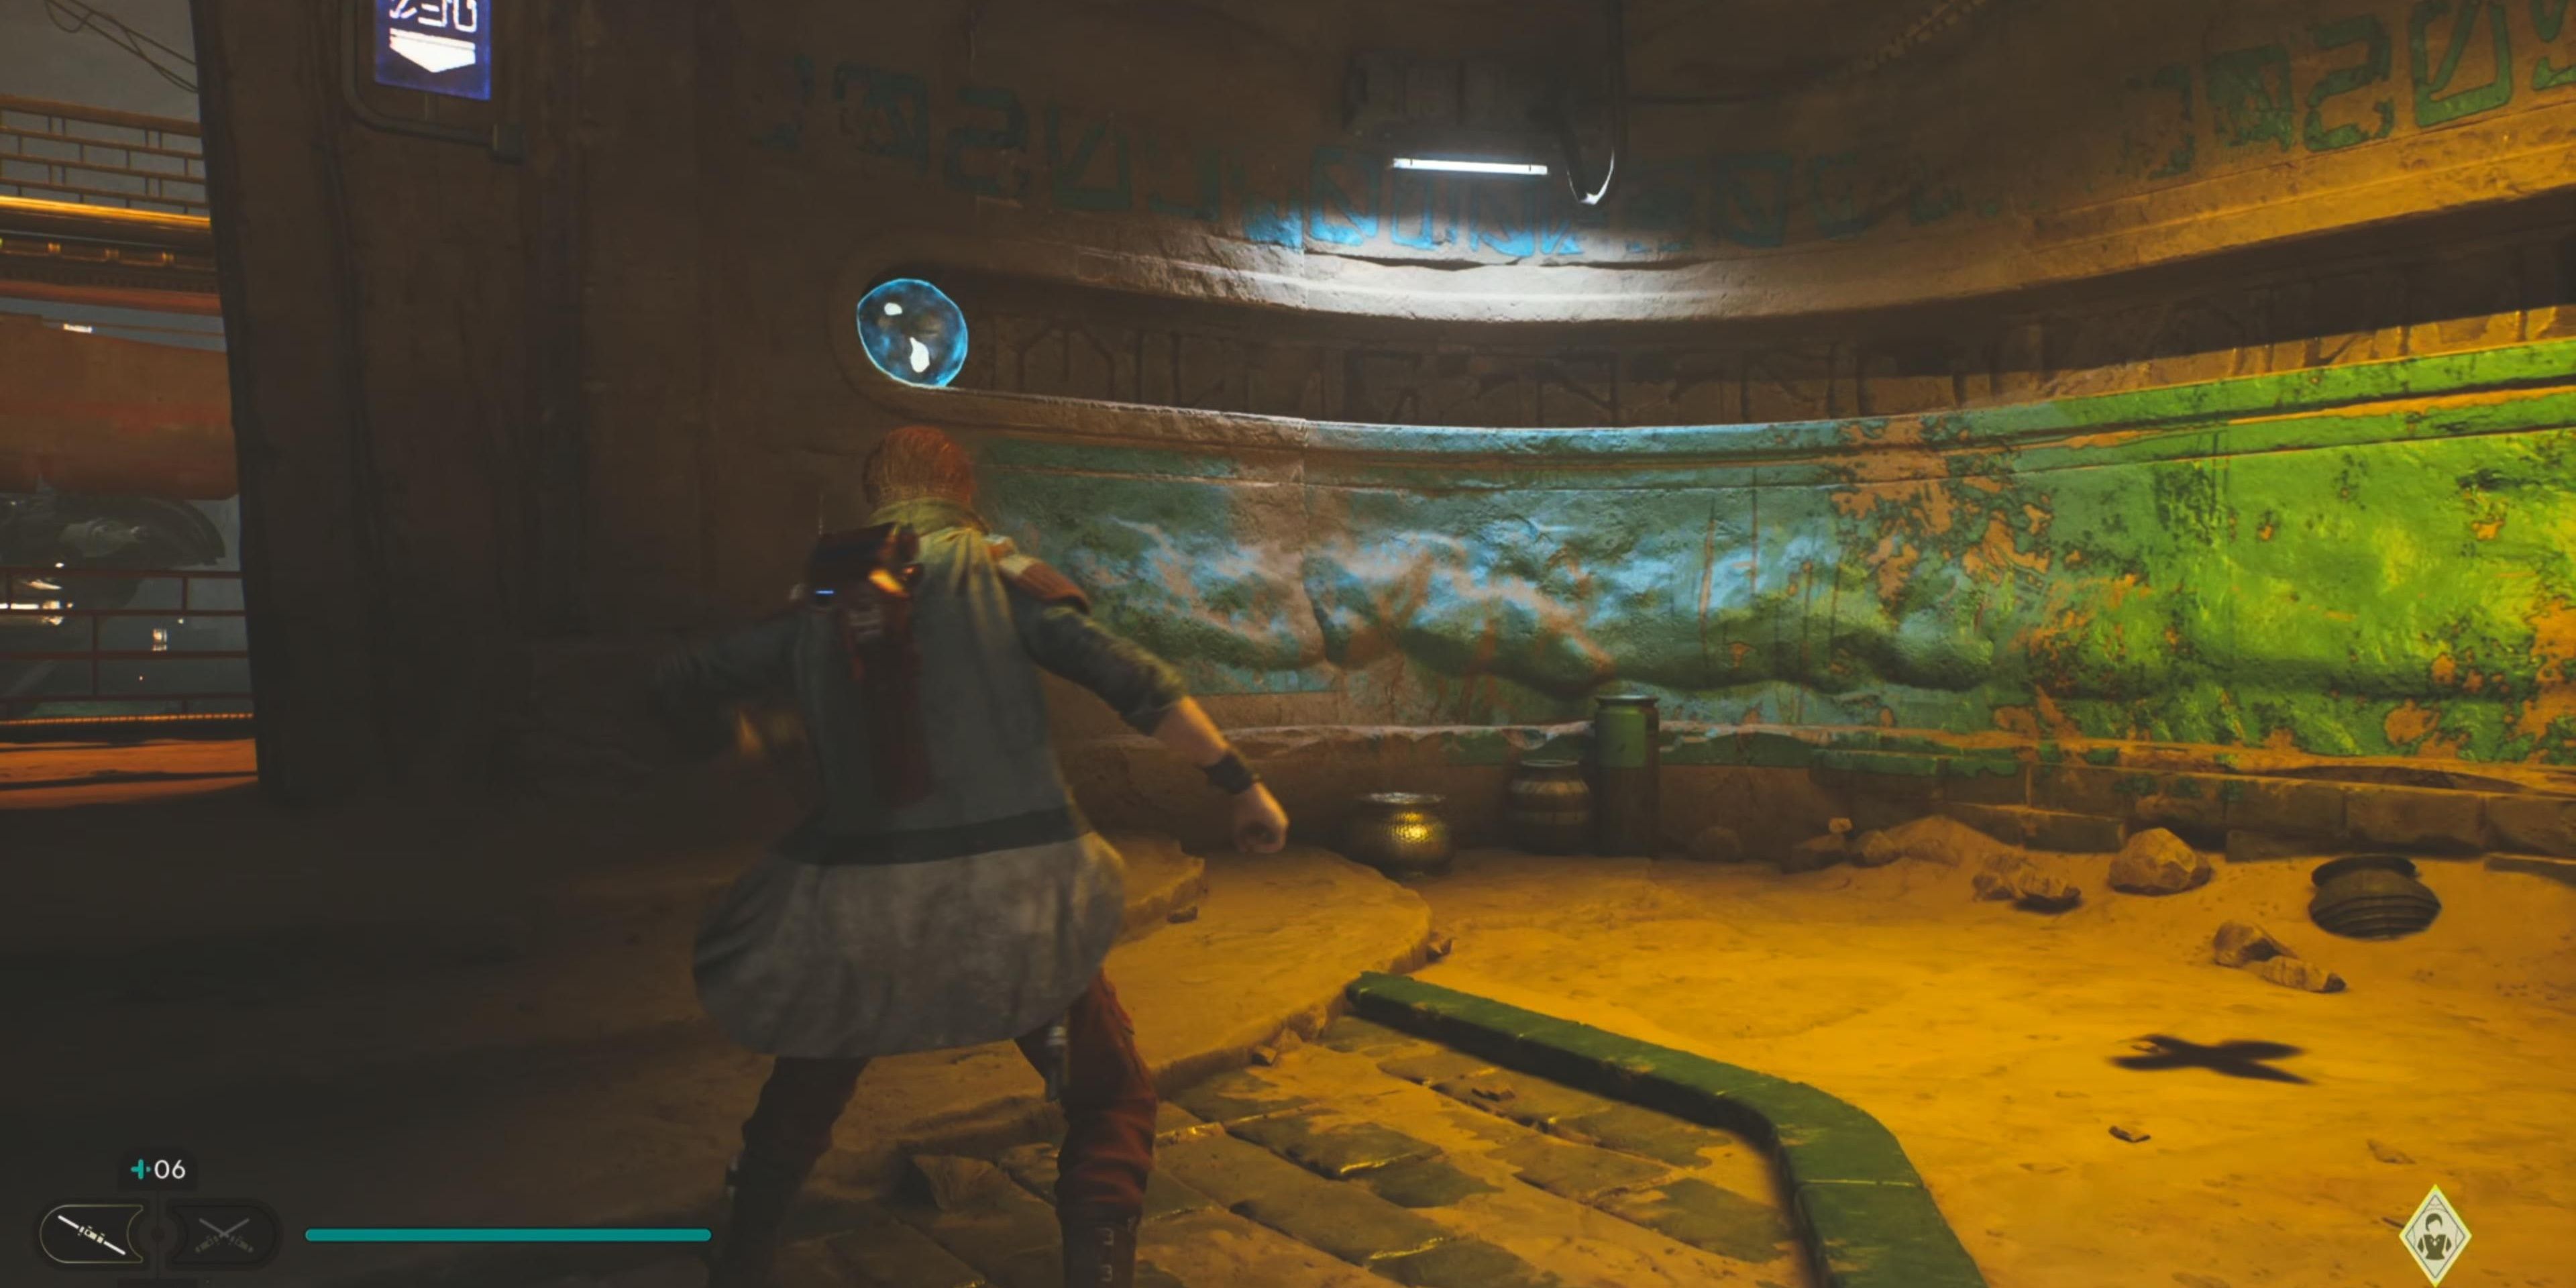
Continue into the next area and use the Force to push the orb across the room to open the door to the Archives. Here, you'll find Cere and complete the objective.

