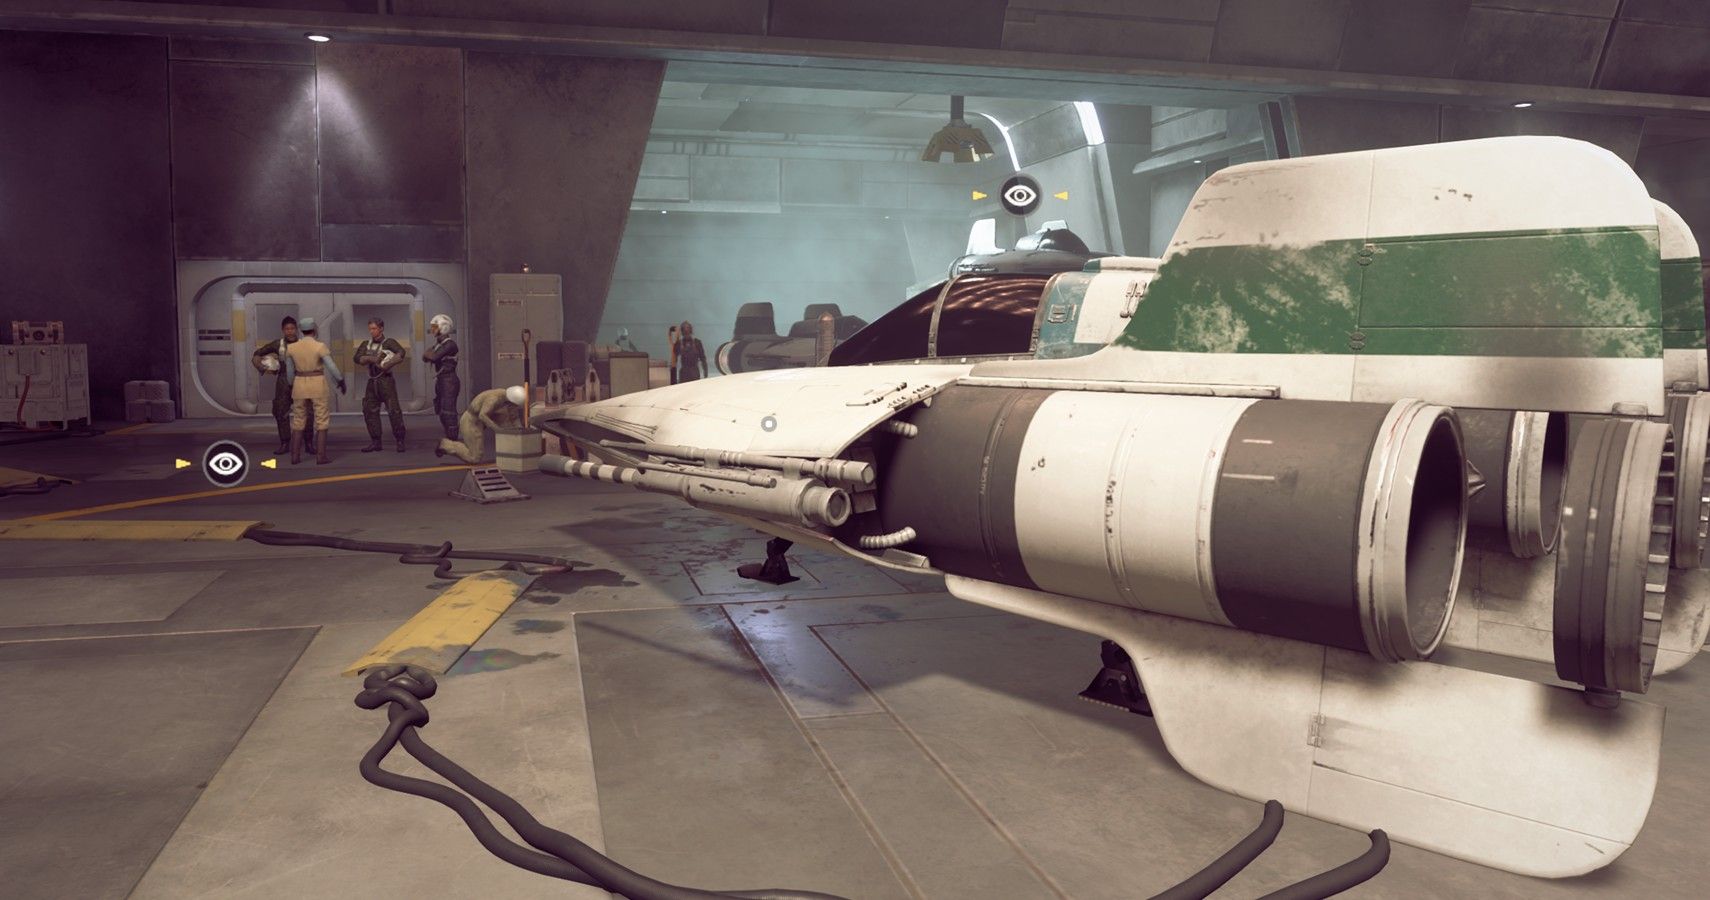
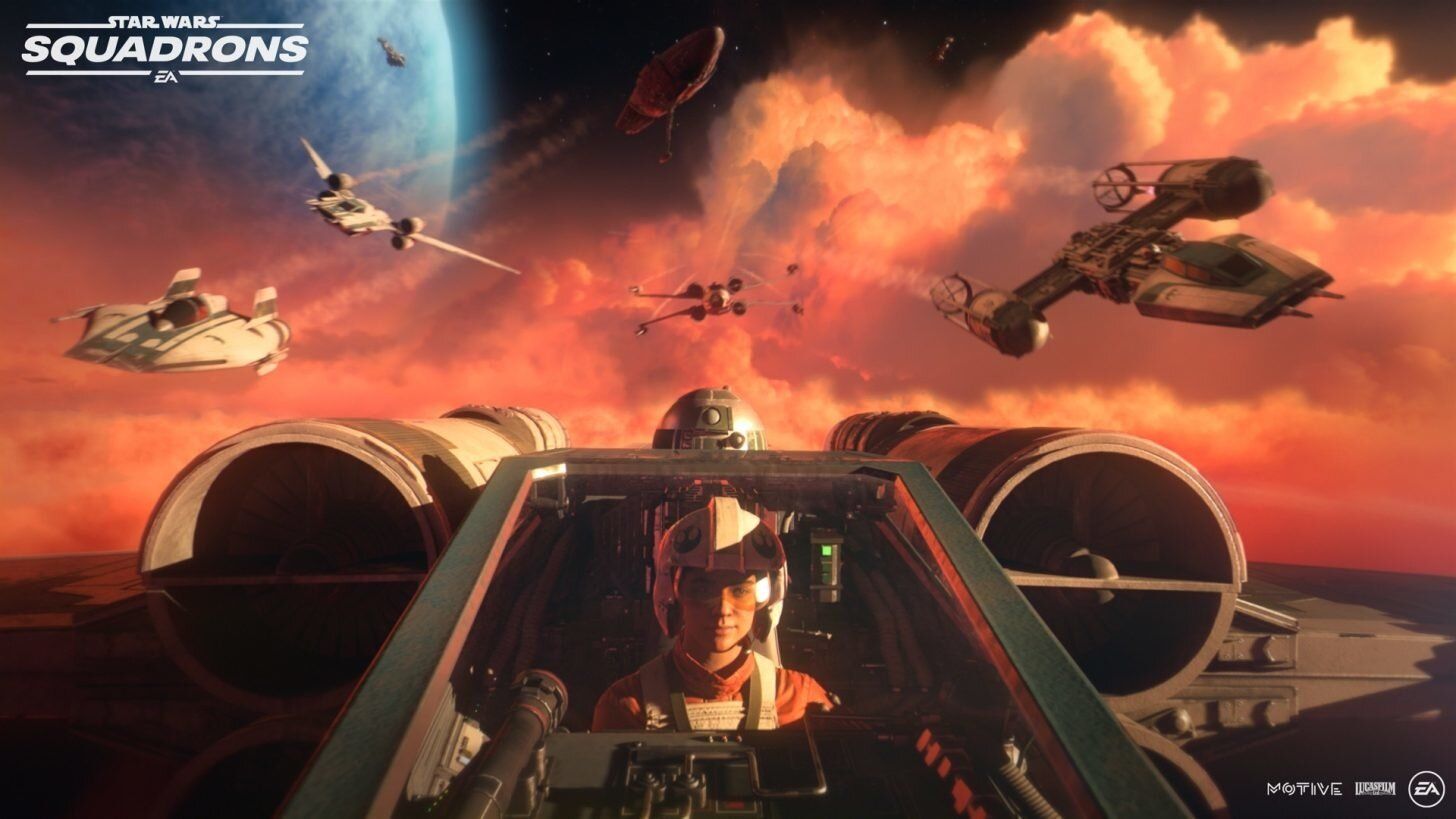
A-Wings are fast but fragile, which can make them hard to handle for newcomers. They have the weakest base hull of all the Republic ships in Star Wars: Squadrons, with just a measly 500 health.
However, what it lacks in health, the A-Wing more than makes up for in speed and maneuverability. You can use this to your advantage to quickly lose enemies on your tail, or, even better, to stay locked on to your target. Here are the best A-Wing loadouts for Dogfights and Fleet Battles in Star Wars: Squadrons.
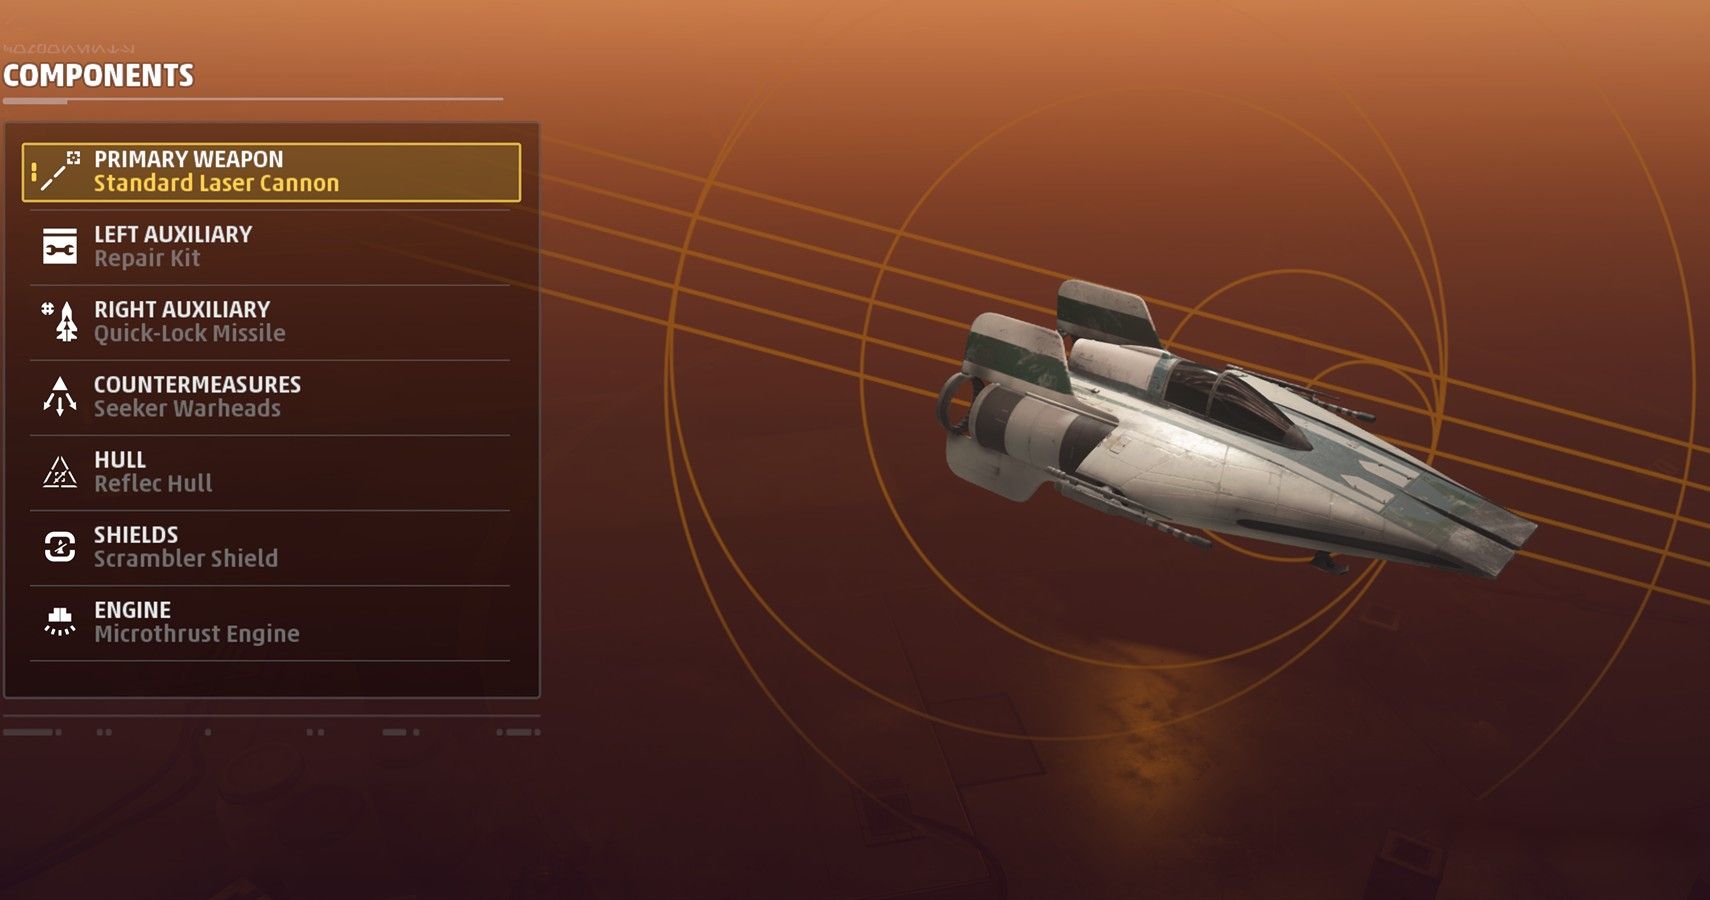
Best A-Wing Dogfight Loadout:
- Primary Weapon: Standard Laser Cannon
- Left Auxiliary: Repair Kit
- Right Auxiliary: Quick-Lock Missile
- Countermeasures: Seeker Warheads
- Hull: Reflec Hull
- Shields: Scrambler Shield
- Engine: Microthrust Engine
Strengths of This Build:
The repair kit is essential in most Star Wars: Squadrons loadouts — this is one of the things everyone should know before playing. It's especially important for the A-Wing, as the max health on the ship is very low. Its high speed and maneuverability should help you get away from most encounters by the skin of your teeth, but repairing afterward is important.
Quick-lock missiles are the perfect complement to the A-Wing's agility. The strong homing ensures that the missiles will hit your target, which puts these above the cluster missiles that are also available.
The reflec hull makes you hidden when more than 1500m away from the enemy, preventing them from targeting you at long range. Combine this with the scrambler shield, which extends the time it takes enemies to lock on to you by 200%, and your enemies will have a hard time tracking you.
Weaknesses of This Build:
The small amount of health in this A-Wing build is going to scare some away. The reflec hull brings it down to a tiny 350, which will make surviving a 1v1 dogfight difficult. However, thanks to the stealth capabilities introduced by various components on this build, you should find that you are targeted less often by enemies.
The scrambler shield might prevent enemies from hitting you for a while, but you need to stay agile. If they get you in their sights and break your shields, it will take a long time to recover. This shield increases the regeneration delay by 200%, leaving you susceptible to enemy fire.
How To Use This Loadout Effectively
With this loadout, the A-Wing's health drops even further. 350 is shockingly low, but health shouldn't be too important in this build. It all focuses on staying off the radar.
Stealth isn't easy when you're flying into a conflict zone, but that doesn't mean you can't hide. The reflec hull cuts down the max health by 30% but prevents enemies from targeting you if they are more than 1,500 meters away.
That might not sound substantial, but combine it with the A-Wing's excellent speed and you can boost away from danger in seconds. Use this to cut in and out of combat, focusing on whittling down enemy health for your teammates. Doing this means that the enemy suddenly has two targets to deal with, making them panic. This makes them more susceptible to your attacks, improving the odds of an easy kill.
If an enemy locks on, boost away and take advantage of your speed to drift. This should make it harder for them to follow your movements, one of the tips that only the best players use.
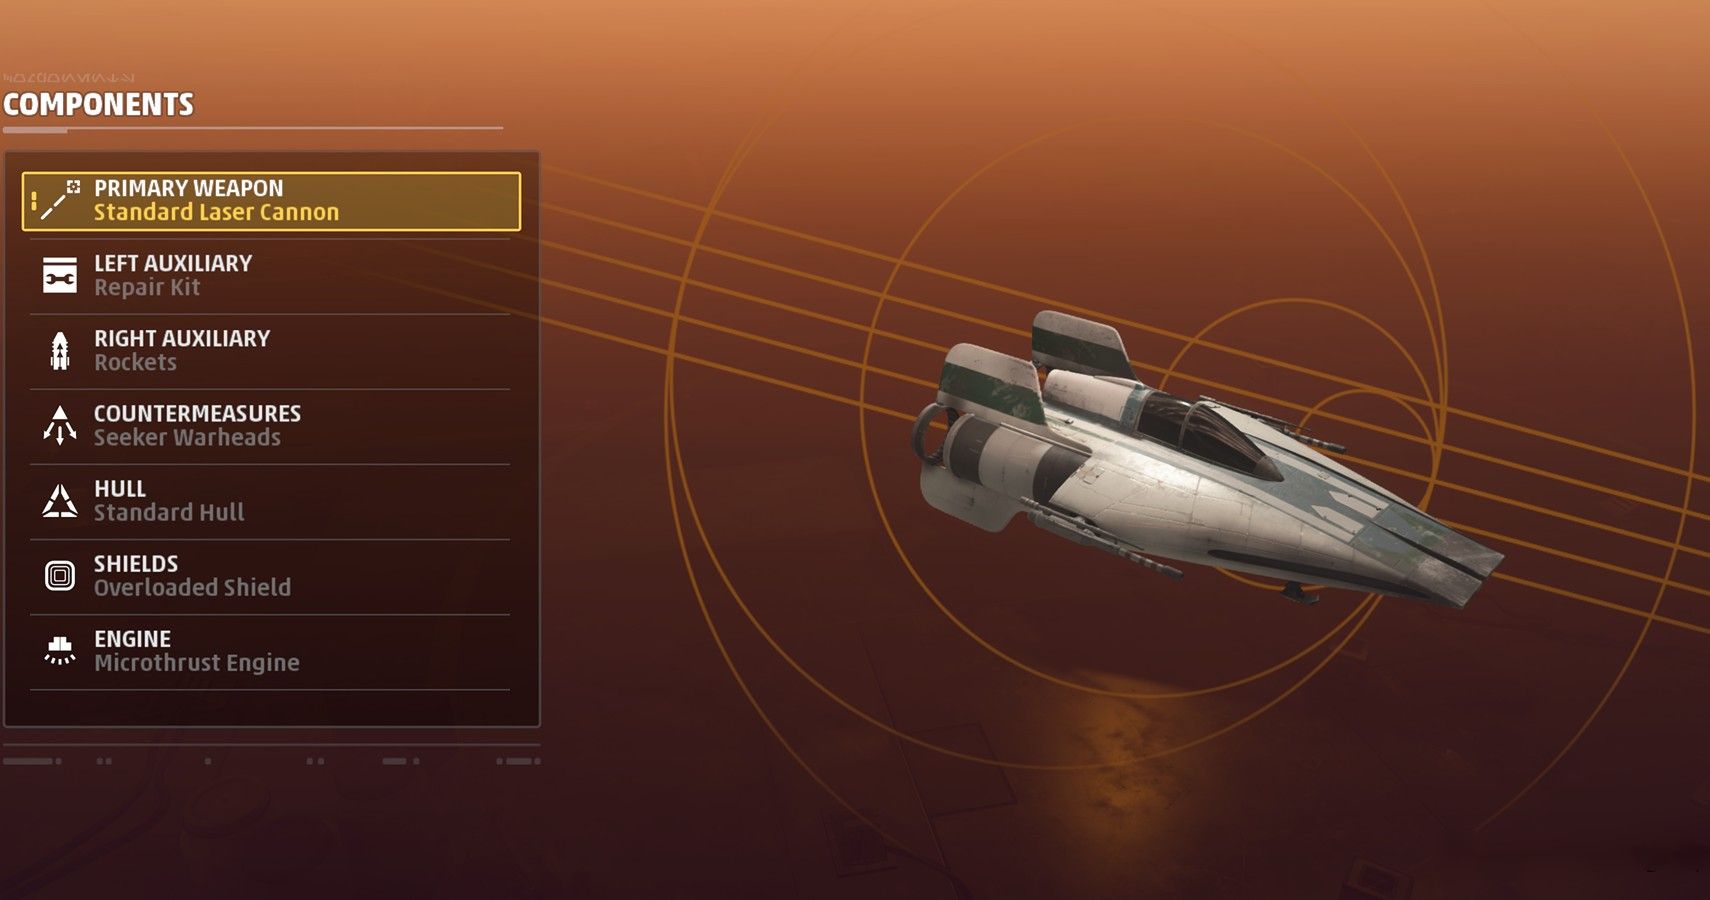
Best A-Wing Fleet Battle Loadout:
- Primary Weapon: Standard Laser Cannon
- Left Auxiliary: Repair Kit
- Right Auxiliary: Rockets
- Countermeasures: Seeker Warheads
- Hull: Standard Hull
- Shields: Overloaded Shield
- Engine: Microthrust Engine
Strengths of This Build:
The standard hull provides the biggest base health for the A-Wing, which will help you take more fire from the enemy capital ship. The overloaded shield also helps reduce the impact of their cannons, as it reduces damage from laser weapons by 15%.
The overloaded shield also reduces damage from missiles by 30%, which helps when being pursued by enemy fighters. As you take less damage from all sources, you can enter combat more confidently. Of course, health is still low, but this should help you survive longer.
The dumbfire barrage rockets are ideal for inflicting high damage against starfighters or capital ships without needing to wait for a lock on. These are ideal against capital ships and cruisers, as the target is too big to miss. This means you can unleash a barrage of rockets whilst strafing past an enemy.
Weaknesses of This Build:
Although they are excellent when firing at capital ships, the dumbfire rockets don't lock on to enemies. This means it can be harder to hit enemy fighters, so you will have to rely more on your lasers whilst dogfighting.
Reducing damage from all sources makes the overloaded shield worth using, but it comes with a big negative. If the enemy breaks through your shield fully, it will not regenerate. If you manage to survive without losing your shields, they will regenerate 75% slower than usual.
How To Use This Loadout Effectively
This A-Wing loadout has increased health to make you more resilient against the enemy capital ship, but it is still best used to attack fighters. Focusing on capital ships will subject you to laser barrages from their cannons, which will quickly rip away at your hull.
Use the rockets for quick strafing runs on cruisers and capital ships, but focus your lasers on their fighters. Intercept enemies as they chase down your squadmates to earn points for your team. This will keep the battle tipped in your favor, and give your team more time to inflict damage on the capital ship.
If you're struggling to afford enough requisition for all the parts on these builds, there are many ways to earn more requisition in Star Wars: Squadrons.

