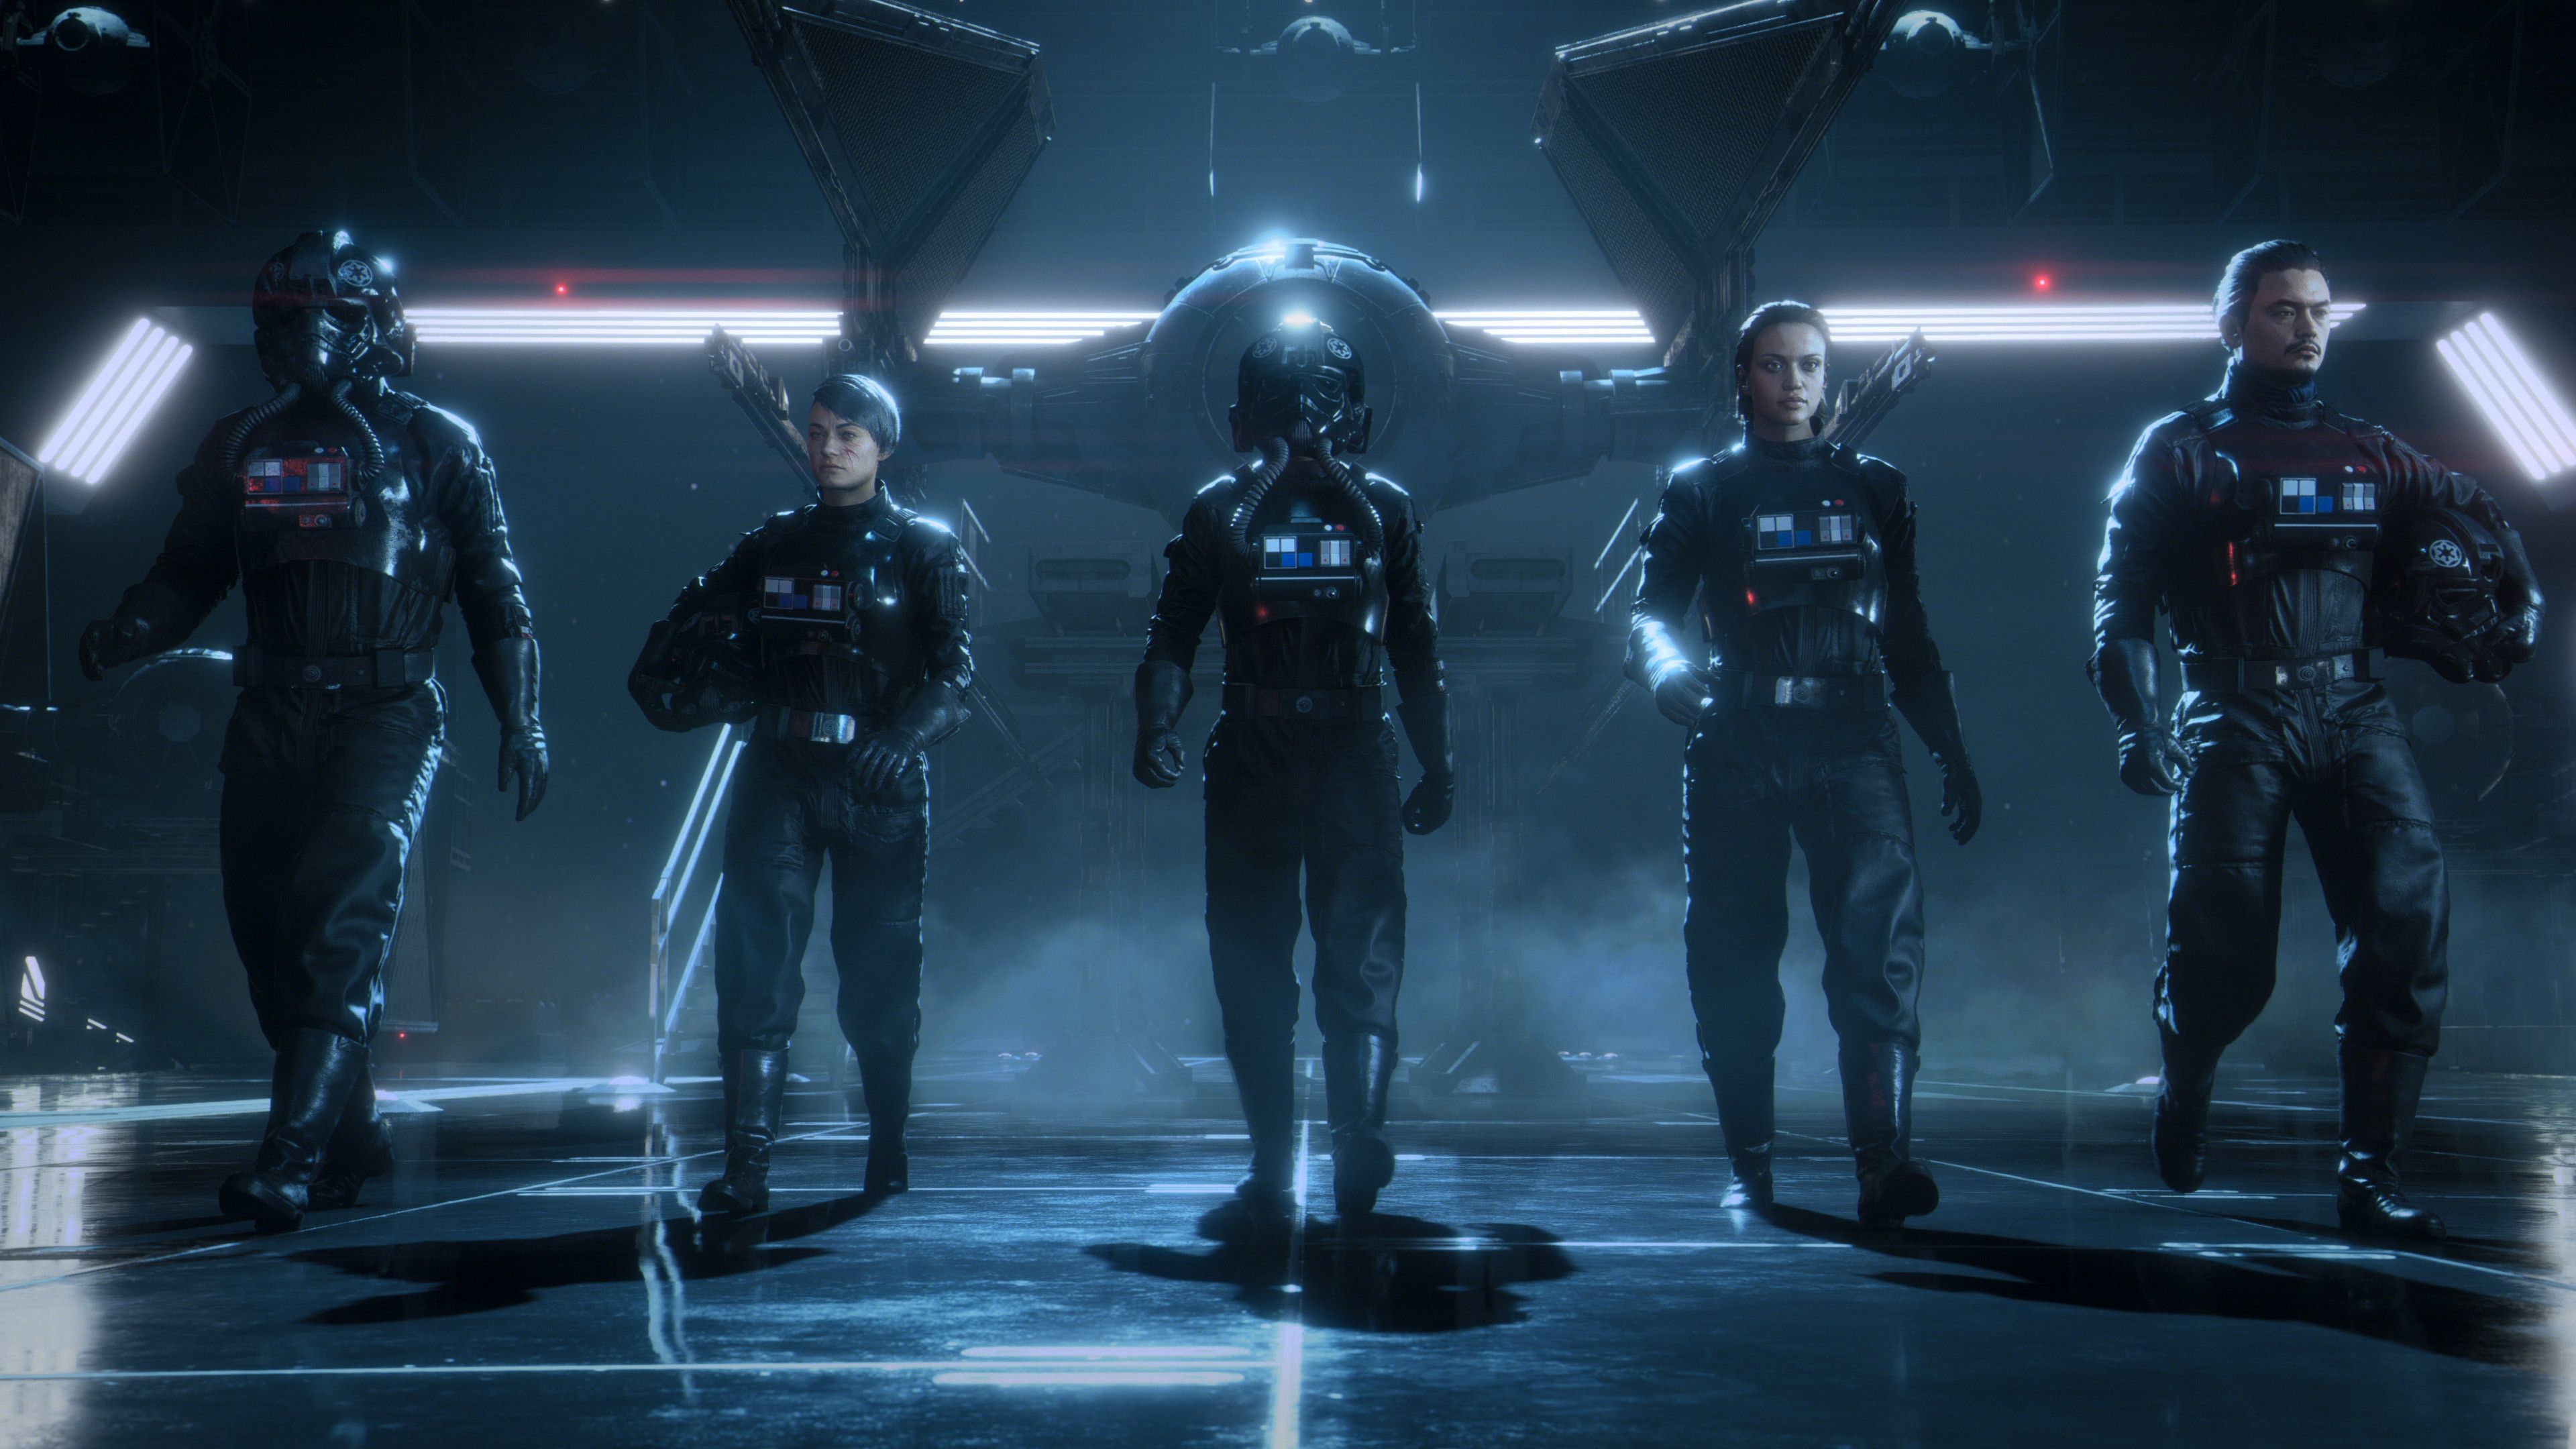
TIE Defenders are experimental machines built for the very best of the Empire, designed by the fan-favorite character Grand Admiral Thrawn. One of only two Imperial ships with shields, it functions very differently compared to fighters such as the TIE Fighter and Interceptor. The Defender has almost no health, making it extremely tricky for newcomers to handle.
The TIE Defender was added a few months after launch, alongside the Republic's B-Wing. This came despite the developers saying previously that Squadrons would not receive any new content after launch.
Since Star Wars: Squadrons has now joined Xbox Game Pass, it's time to look into how you can succeed using this special ship. Here are the best TIE Defender loadouts for Dogfight and Fleet Battles.
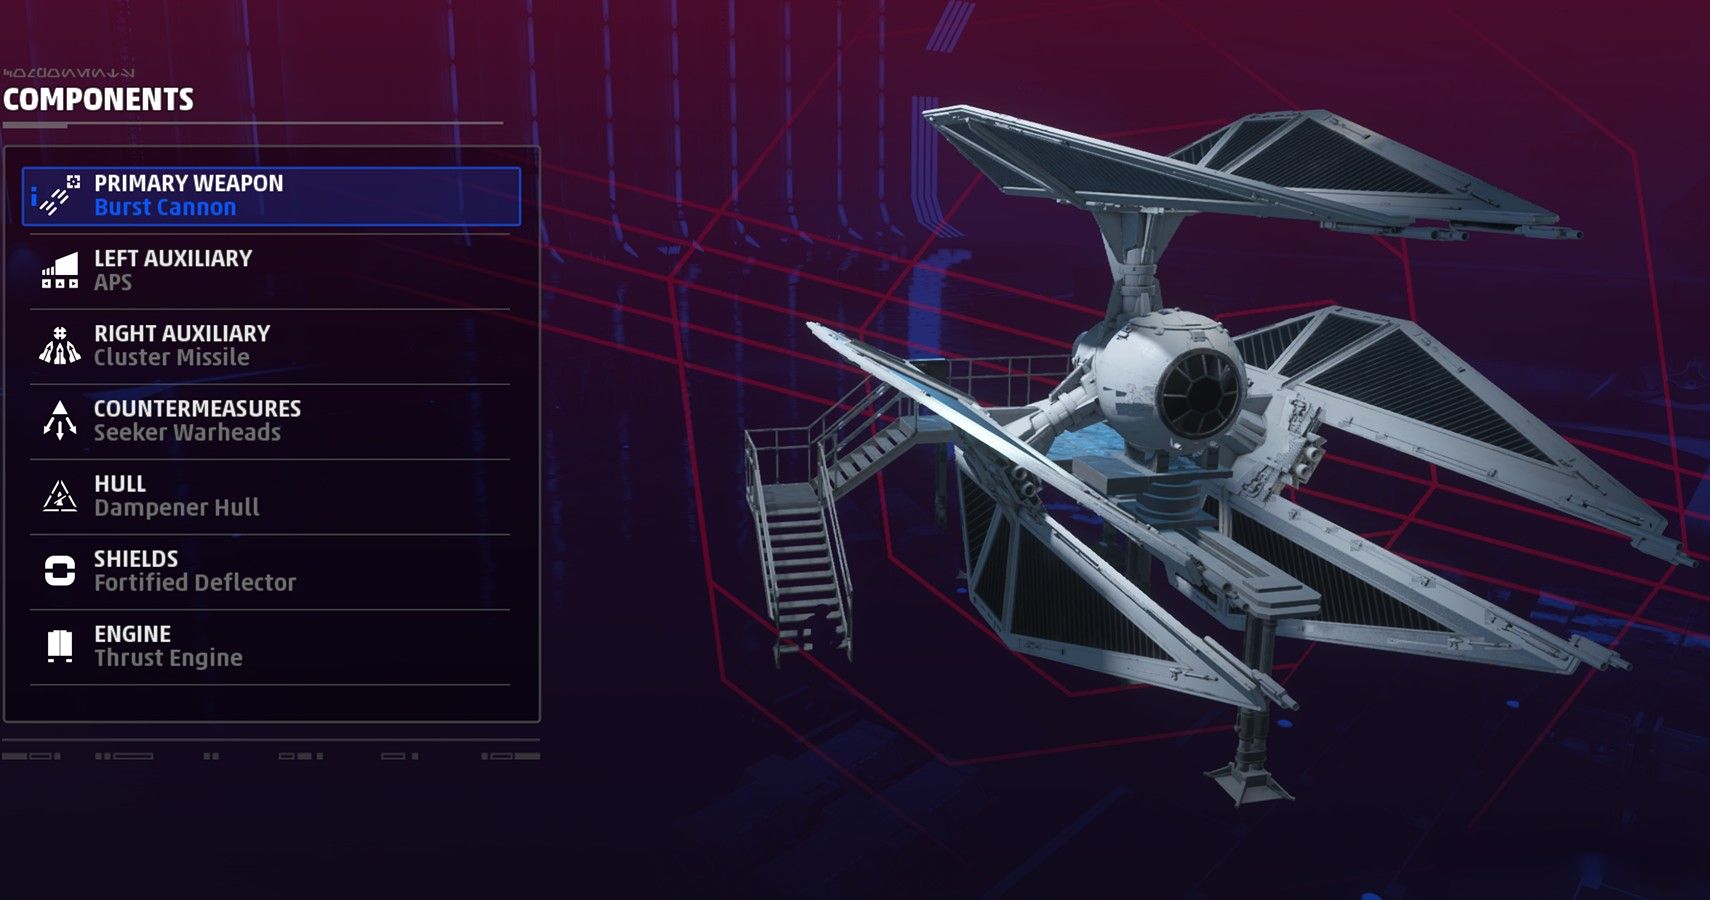
Best TIE Defender Dogfight Loadout:
- Primary Weapon: Burst Cannon
- Left Auxiliary: APS
- Right Auxiliary: Cluster Missile
- Countermeasures: Seeker Warheads
- Shields: Dampener Hull
- Hull: Fortified Deflector
- Engine: Thrust Engine
Strengths of This Build:
The burst cannon used in this loadout gives the TIE Defender a higher Damage Per Second than the standard lasers. They fire in quick bursts, so you can rip through Republic ships as long as your aim is good.
Cluster missiles pair with the burst cannons perfectly, as they will overwhelm the enemy. Although they might not all hit the target, firing multiple missiles means your opponent will have to focus on evading more than just one projectile. This will make them a much easier target for you, at which point your burst cannons can finish them off.
The Advanced Power System is an auxiliary unique to the TIE Defender. It allows you to overcharge whichever of your subsystems has max power. This is extremely versatile, so it will help you in a variety of situations.
Speed isn't the TIE Defender's strongest aspect, but the thrust engine helps change that dramatically. Although it still won't be able to rival an A-Wing, this engine provides a 30% boost. This means you can pursue enemies much easier, whilst also helping you escape those pesky missiles.
Weaknesses of This Build:
The TIE Defender's health is already shockingly low, but the dampener hull only heightens this issue. It decreases it by 10%, leaving the Defender with an abysmal 360 max hull health.
This loadout also lowers shield regeneration by 20%. Although this isn't a huge amount, it means you will need to be proficient at evading enemy fire.
How To Use This Loadout Effectively:
The TIE Defender is fairly quick and powerful, but its main strength is the shield. This allows the ship to play a tank role by distracting the enemy team and soaking up shots. Communication is key here, as your team needs to respond quickly and use your distraction to their advantage to achieve victory.
When attacking enemies, you should try to use your missiles and burst cannon to confuse and overwhelm them. The cluster missiles should make it difficult for them to evade all your fire, meaning they will probably turn to focus on you. Whilst they attempt to eliminate you, your allies can swiftly turn the tide and bring them down.
Best TIE Defender Fleet Battles Loadout:
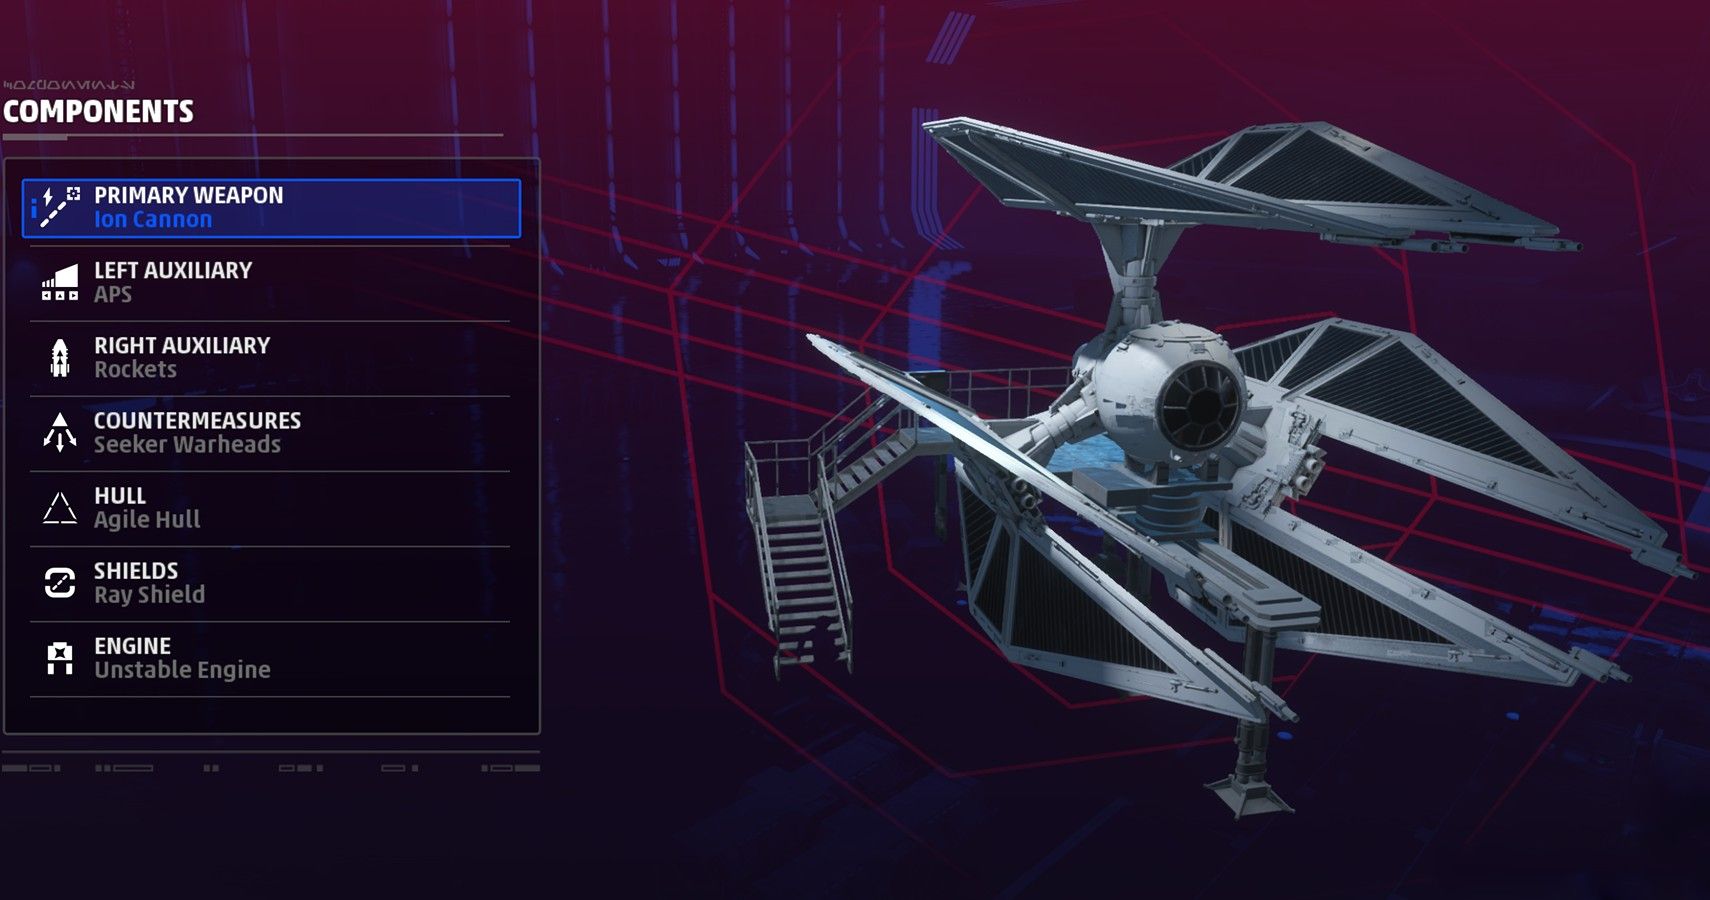
- Primary Weapon: Ion Cannon
- Left Auxiliary: APS
- Right Auxiliary: Rockets
- Countermeasures: Seeker Warheads
- Shields: Agile Hull
- Hull: Ray Shield
- Engine: Unstable Engine
Strengths of This Build:
Ion cannons are the best way to strip away at shields on the Republic's capital ships and flagship. Although they don't deal much hull damage, they are also effective at temporarily disabling starfighters.
Dumbfire rockets are important for when you perform strafing runs on enemy objectives. These recharge very quickly and don't need to lock on, so you can unleash a barrage of them very quickly.
The ray shield decreases the amount of damage you take from lasers, meaning you can take more hits whilst approaching the capital ships. They have very strong cannons, so the TIE Defender needs to soak up these hits.
Speed, acceleration, and maneuverability are key to this loadout, so the hull and engine focus on increasing these attributes. This is so you can quickly approach capital ships whilst evading enemy lasers and missiles.
Weaknesses of This Build:
This loadout makes the TIE Defender more susceptible to missile damage. You should be able to evade them since your maneuverability and speed are higher. However, if you are hit by a missile it could destroy you almost instantly.
The Defender's health is even lower with this loadout, sitting at just 240. This sacrifice is to allow for more speed and agility, but it will certainly be noticeable.
How To Use This Loadout Effectively:
The speed, acceleration, and maneuverability achieved by this loadout are key when playing Fleet Battles. Use this advantage to perform quick strafing runs on capital ships, using your ion cannons to break through their shields.
Then use your dumbfire rockets to barrage enemy objectives, focusing specifically on destroying subsystems. This will provide your ally bombers with plenty of time to break through the enemy hull and deal some significant damage.
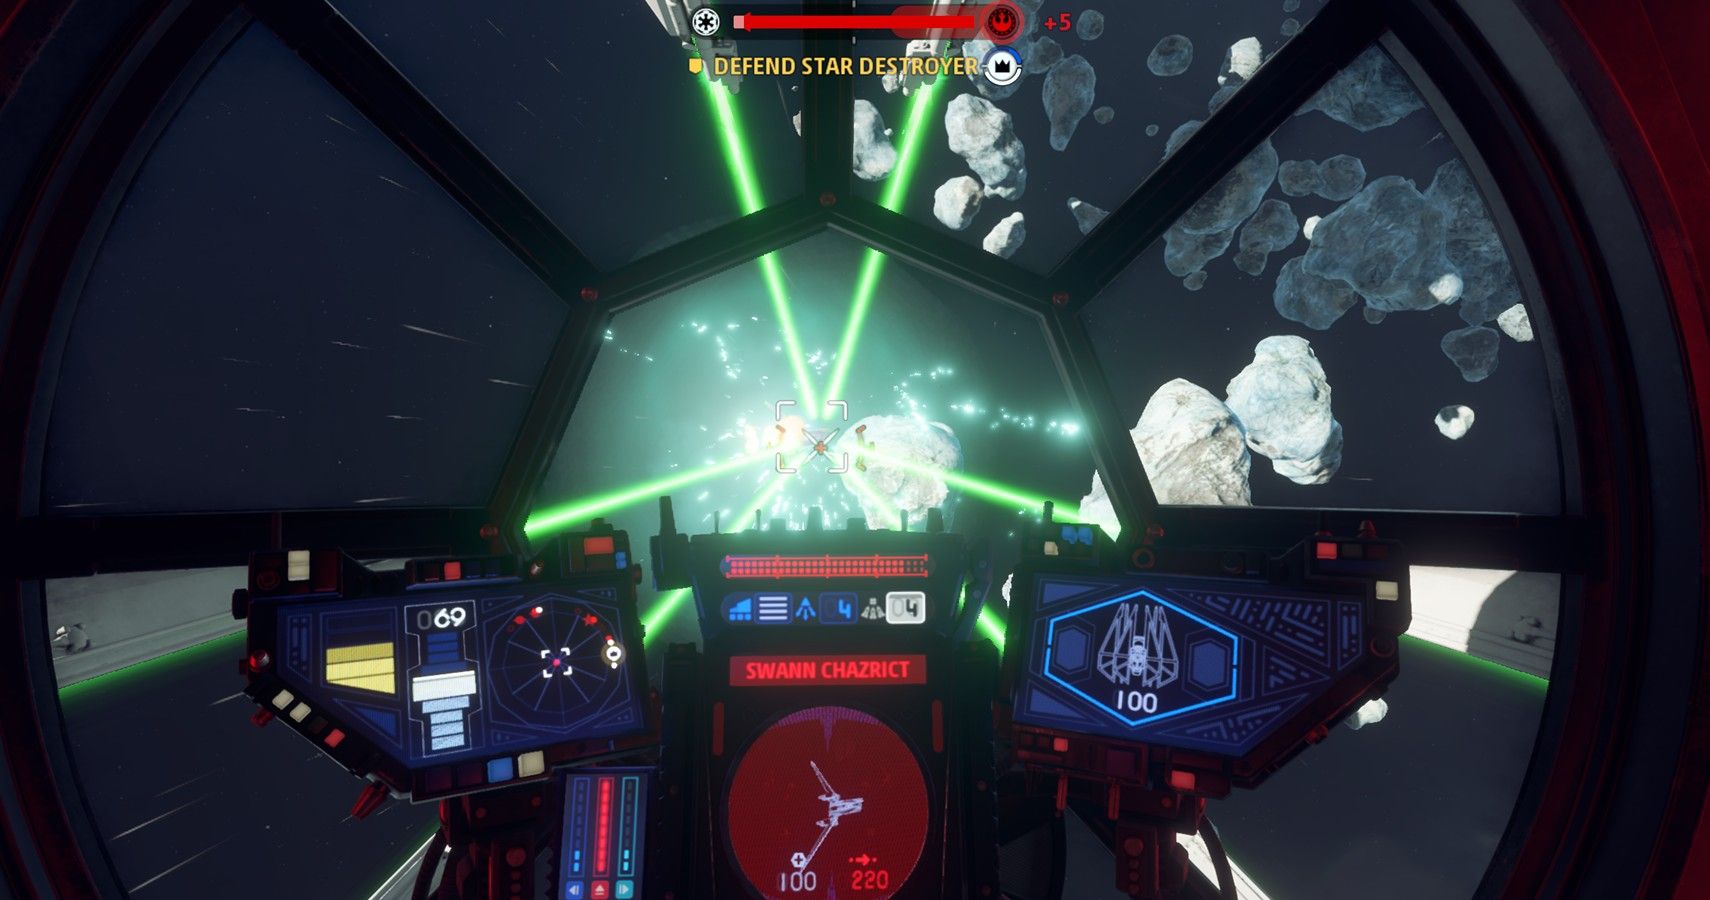
Enemy lasers will rip through your hull very quickly, so you need to be constantly focused on avoiding incoming fire. Always be ready to shift power to your shields and use APS to get a few extra seconds if you need to get out of a bad situation.
If you are struggling to afford all the parts needed for these builds, make sure you know how to get more requisition in Squadrons.

