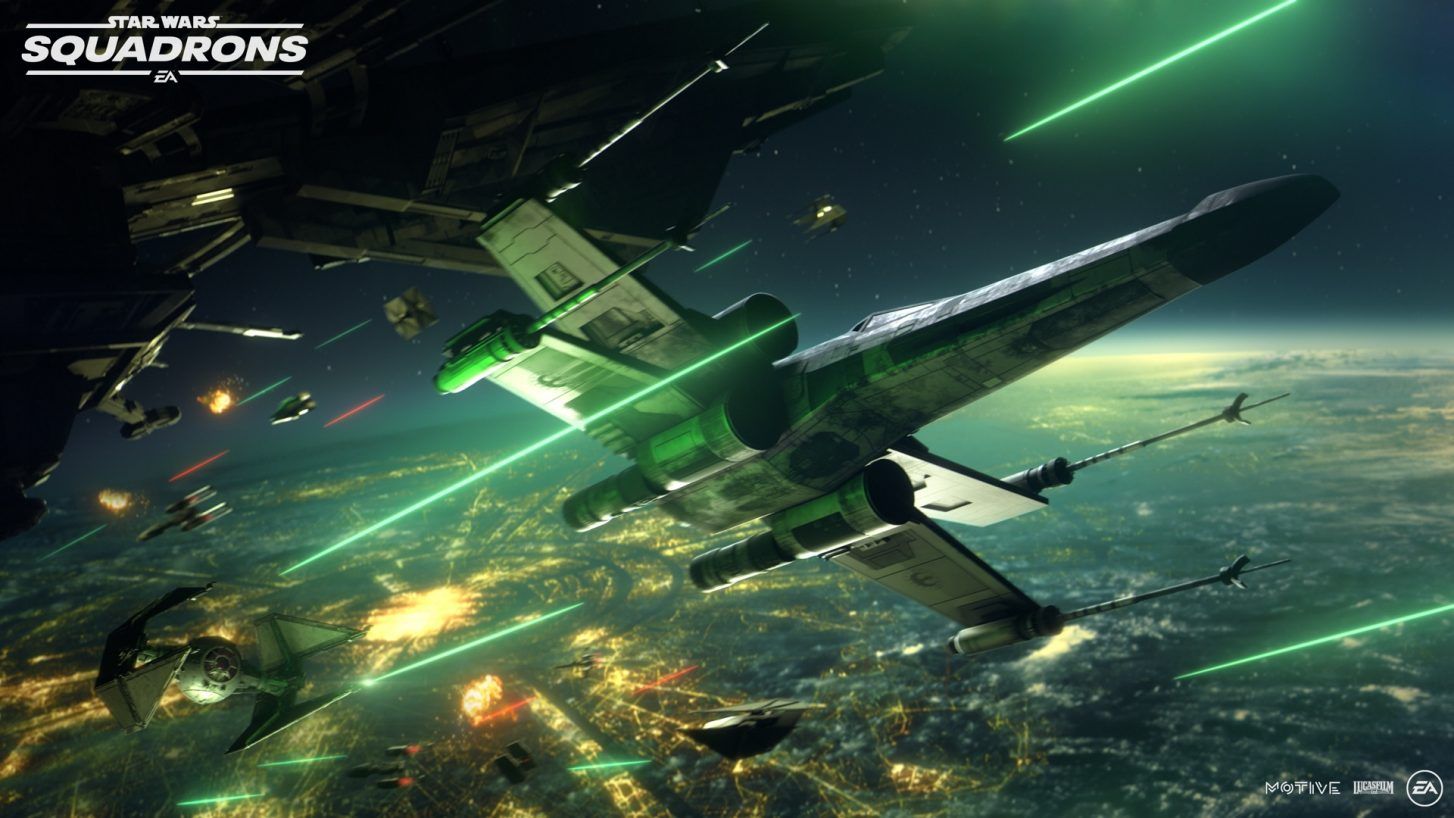
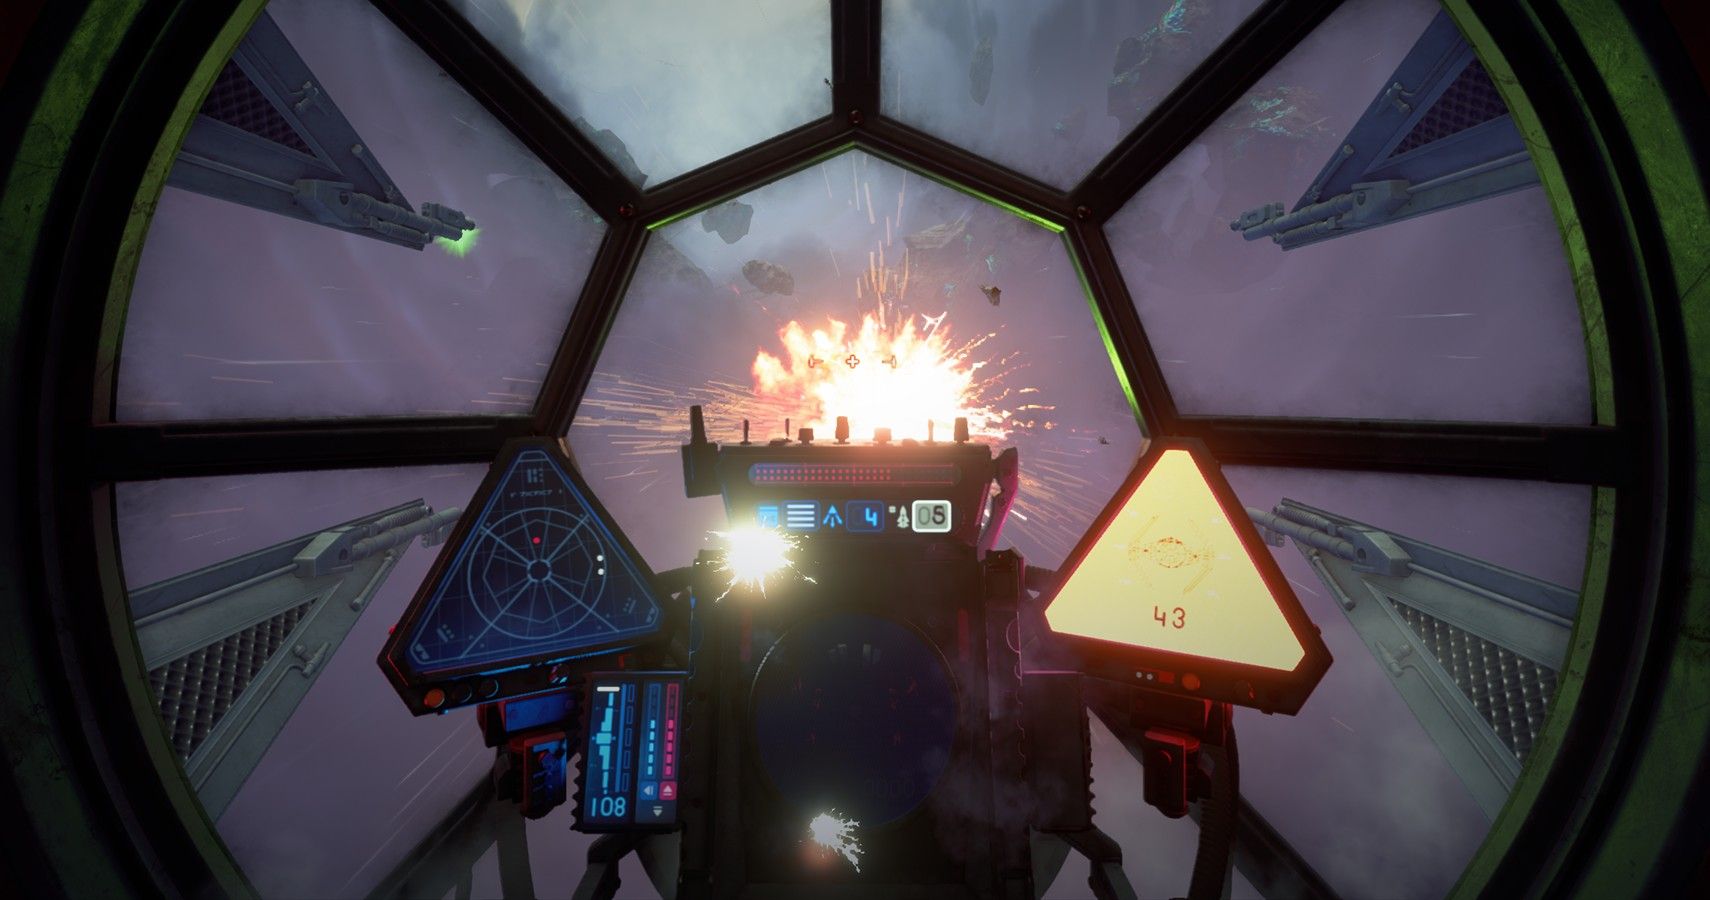
TIE Interceptors have been a significant ship in both the Imperial and First Order fleets, providing a much-needed increase to speed over the standard TIE Fighter. They are fast and brutal, acting as the Imperial counterpart to the Republic's A-Wing.
However, this can make them hard to handle for newcomers to the game. With more players jumping into Star Wars: Squadrons since it came to Xbox Game Pass, it's time to look at the best loadouts that will make you better with the TIE Interceptor. Here are the best loadouts for the TIE Interceptor in Dogfight and Fleet Battles.
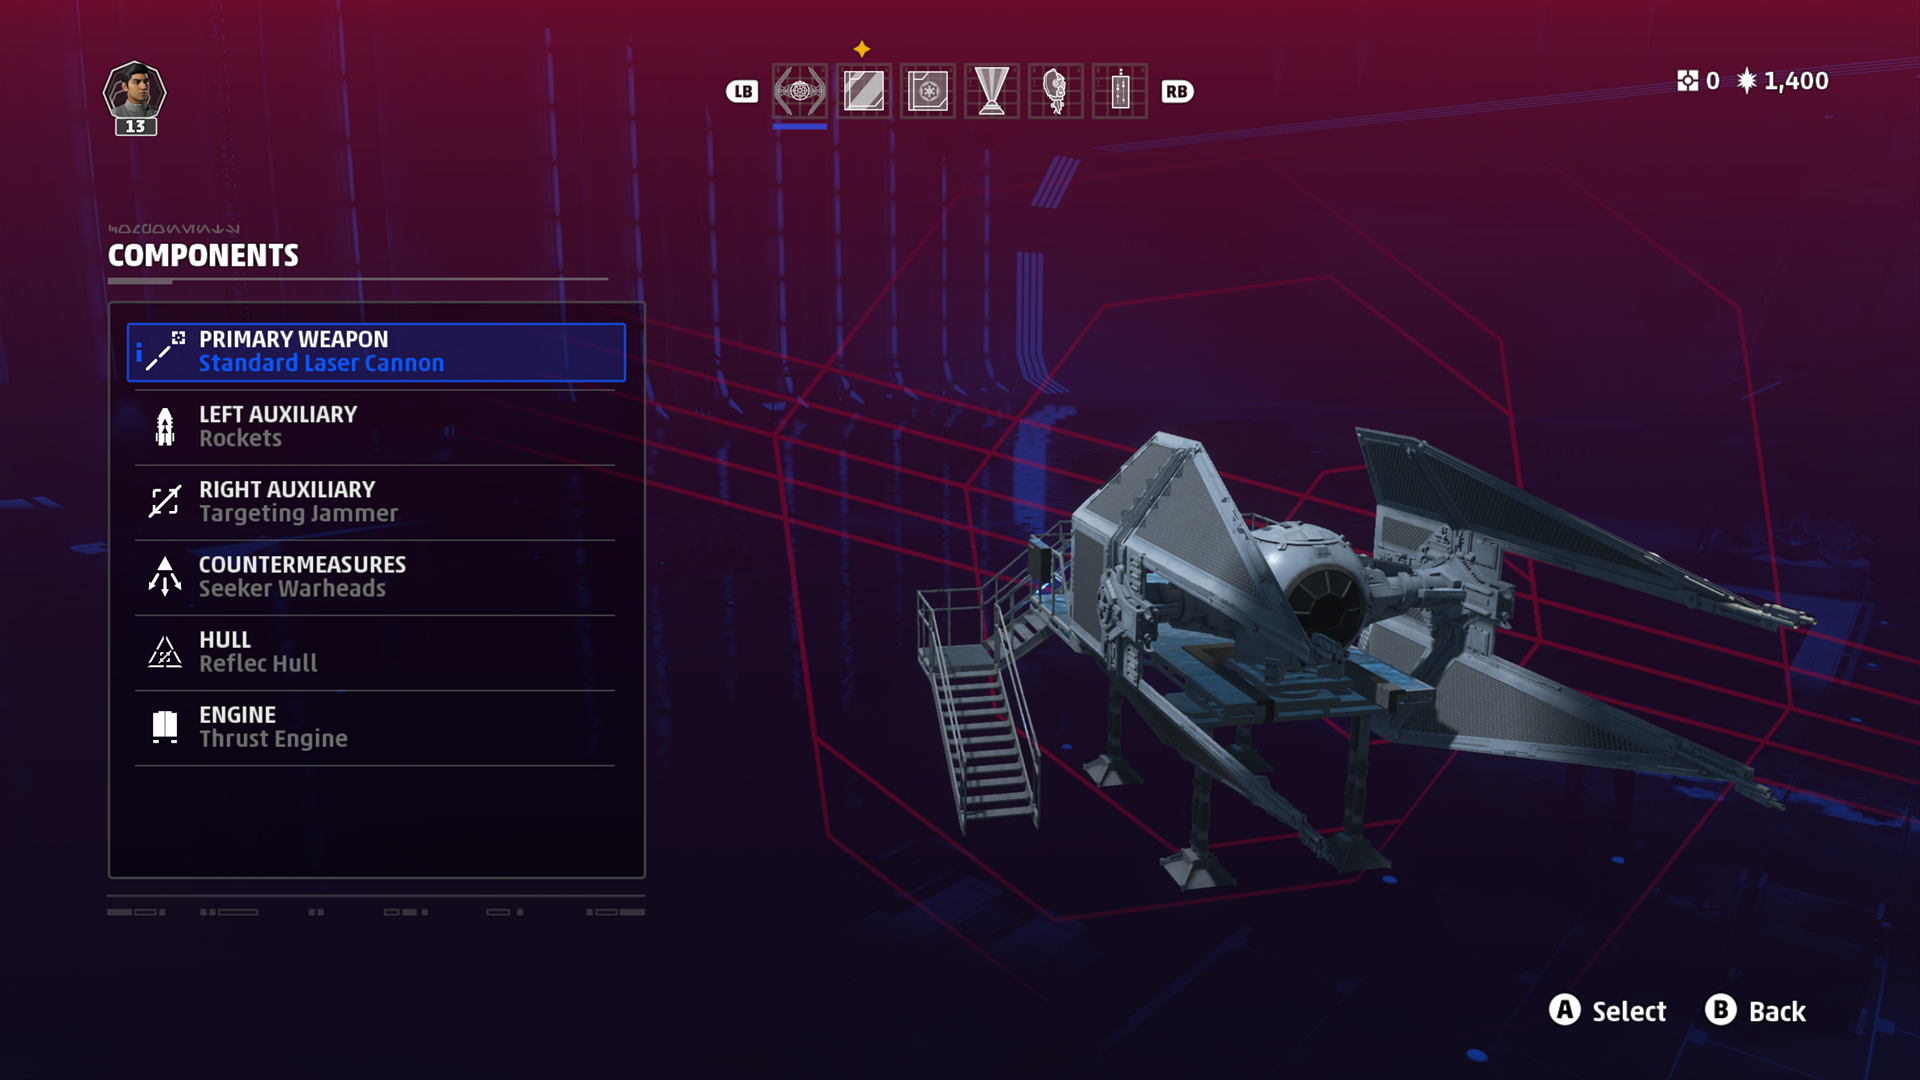
Best TIE Interceptor Dogfight Loadout:
- Primary Weapon: Standard Laser Cannon
- Left Auxiliary: Rockets
- Right Auxiliary: Targeting Jammer
- Countermeasures: Seeker Warheads
- Hull: Reflec Hull
- Engine: Thrust Engine
Strengths of This Build:
The reflec hull gives your Interceptor a stealth range of 1,500m. This means enemies can't lock on to you unless they are within that range. This might not sound significant, but it gives you chance to move around without being spotted. This is ideal when you spawn in, as enemies can't get you in their sights straight away.
Similarly, this is helpful when trying to flank around the edge of the map. You can get closer to the enemy spawn point without pesky missiles following right behind.
Speed is key for such risky maneuvers though, which is where the thrust engine comes in. It increases max speed by 30%, which makes a huge difference for the TIE Interceptor. The TIE Interceptor is already the quickest Imperial ship when comparing their base speeds, but this makes it leagues better than most other ships in any battle.
Combine this huge speed boost with the targeting jammer to confuse enemy pursuers. This jammer hides you from enemy radar, providing plenty of time to shake those on your tail. Then, use our pro tips for Star Wars: Squadrons to take them down.
Weaknesses of This Build:
Of course, the most glaring omission in this loadout is that there is no repair kit. It certainly makes every dogfight feel a bit dicier, but the benefit provided by the targeting jammer means that you should be able to shake enemies before sustaining too much damage.
However, the reflec hull does make this difficult, as it decreases max health by 30%. That's a significant cut for any ship, but it puts the Interceptor near 500 health. That's still higher than the Republic's A-Wing, but it means you will need to be cautious when flying in the center of the map.
How To Use This Loadout Effectively:
This build is quick and stealthy, allowing you to stay off the enemy radar whilst ripping through their ships. The extra speed from the thrust engine means you can approach enemies quickly. The standard laser cannons should be enough to cut them down, but the dumbfire rockets will be useful to pack an extra punch. They don't lock on, so use them accordingly.
The reflec hull's stealth capabilities will make it harder for the enemy to lock on to you from a distance. If they do get close enough, use the targeting jammer to break out of their line of sight. This should give you time to either find a resupply point or allow you to pursue another enemy.
Stick to the outskirts of the map by either flying on the outer edge or going higher up. Then, spot targets and swoop in to catch them off guard.
If you are struggling to unlock the components needed for these builds, look at more ways to get requisition in Squadrons.
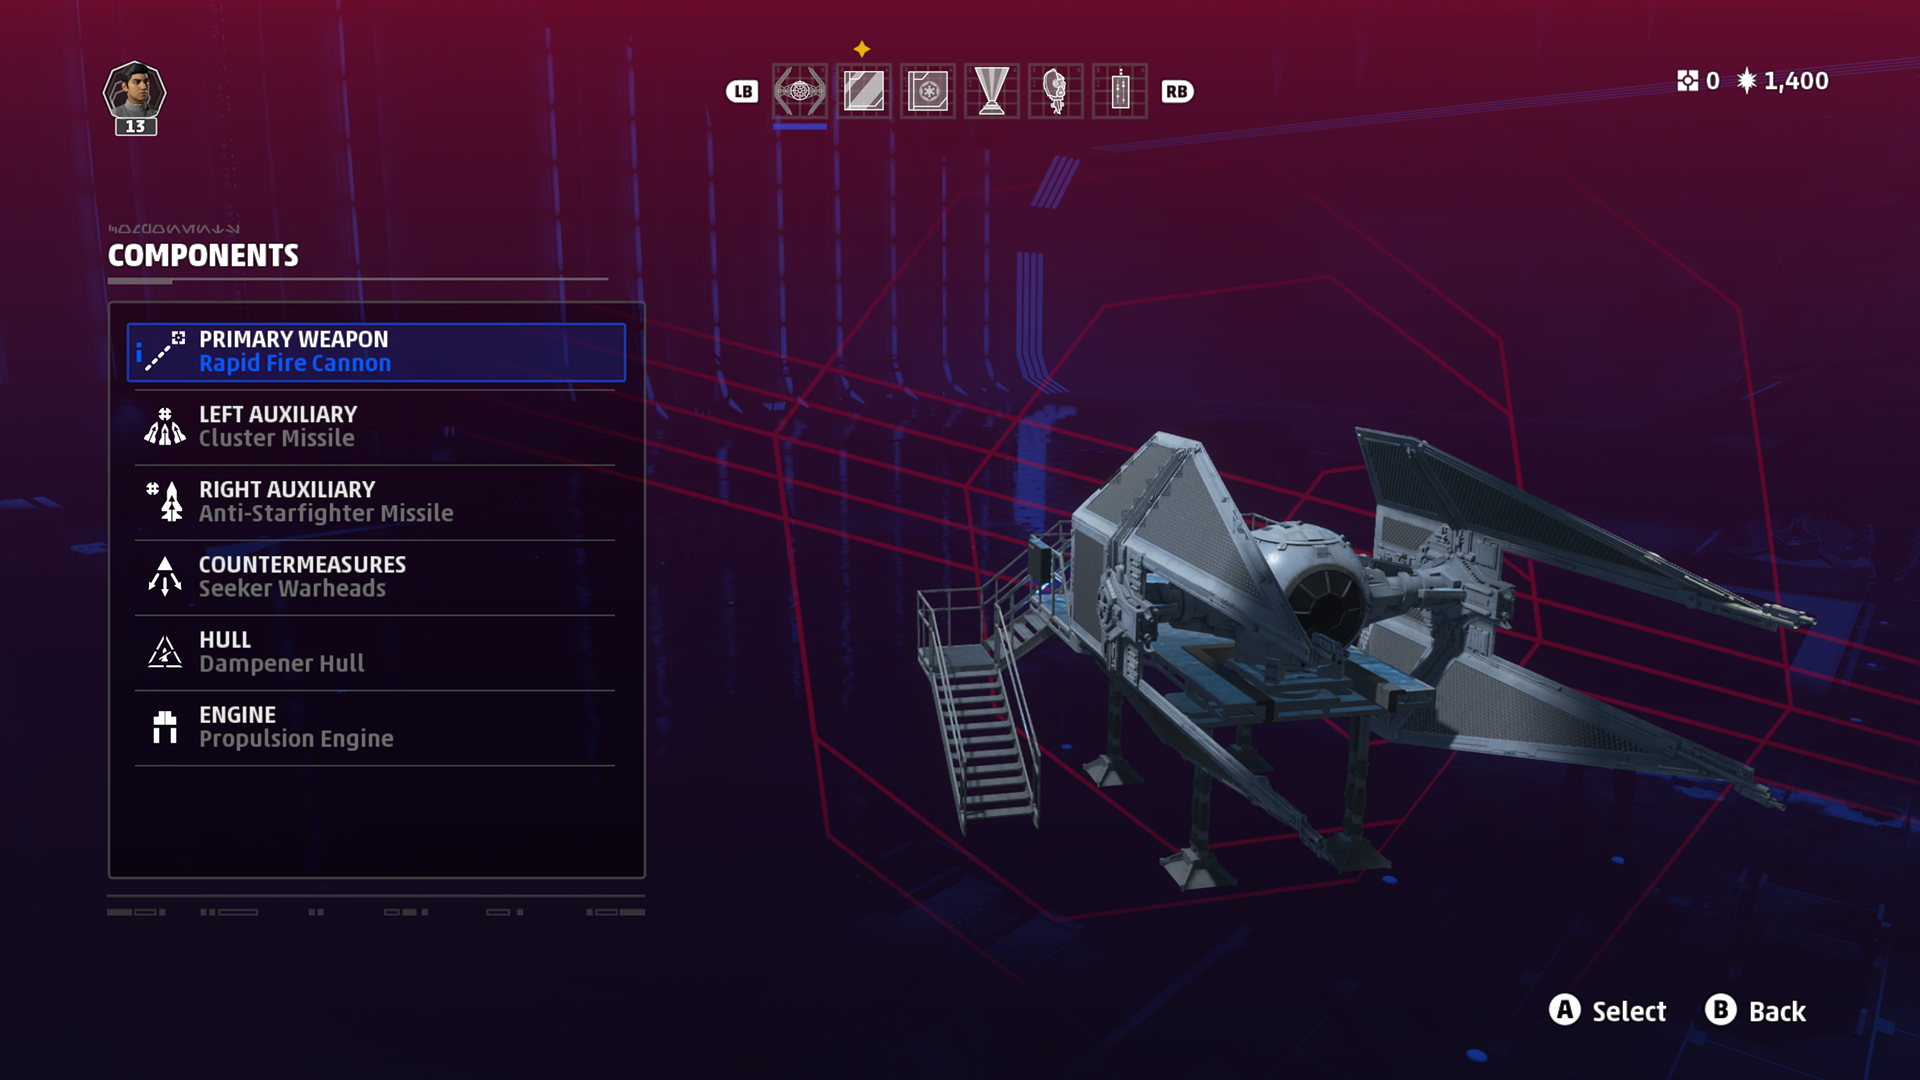
Best TIE Interceptor Fleet Battles Loadout:
- Primary Weapon: Rapid Fire Lasers
- Left Auxiliary: Cluster Missiles
- Right Auxiliary: Anti-Starfighter Missiles
- Countermeasures: Seeker Warheads
- Hull: Dampener Hull
- Engine: Propulsion Engine
Strengths of This Build:
This loadout turns the TIE Interceptor into a killing machine, giving you plenty of different ways to inflict damage on the enemy. Between the rapid-fire lasers and two different types of lock-on missiles, you'll never have to wait for weapons to recharge.
The rapid-fire lasers have a higher damage per second and recharge much quicker than the standard lasers. This makes them perfect for hit-and-run attacks.
Whilst flying around the map, the dampener hull will be working to protect you from missiles. It doubles the lock-on time for enemy missiles, giving you plenty of warning before they launch at you. This also extends the time it takes for the capital ship's tractor beam to lock on to you.
This build also gets a huge 100% boost to acceleration thanks to the propulsion engine, so you can quickly fly away from enemies on your tail. This is ideal in fleet battles, as it also allows you to fly between each side of the map quicker, so you are always near the objective.
Weaknesses of This Build:
TIE Interceptors are already among the weakest Imperial ships, and the dampener hull only makes this worse. It decreases your max health by 10%, a small yet noticeable difference.
You will also need to take full advantage of the warning you get whilst enemies lock on. The propulsion engine decreases maneuverability by 10%, so you won't be able to avoid enemy missiles as easily by performing evasive maneuvers.
How To Use This Loadout Effectively:
Primarily focus on chasing down fighters and bombers, as they aren't as quick as you. Quickly fly in to kill them, earn points for your team, and then fly away to the edges of the map again.
In the phase where you attack their capital ship, use your cluster missiles to deal extra damage if you can. Starfighters are your primary focus though, as killing them keeps the scales tipped in the Empire's favor.

