The U-Wing is a relatively new ship in Star Wars lore, first designed for Rogue One. It is the main ship used Jyn Erso and Cassian Andor in the film, and is known across the Rebel Alliance for its use at the pivotal Battle of Scarif at the end of the movie.
It is quite different from any of the other Rebel ships featured in Star Wars: Squadrons. The U-Wing's main role is to support your team, featuring a resupply droid that seeks allies to help them recover ammo and health.
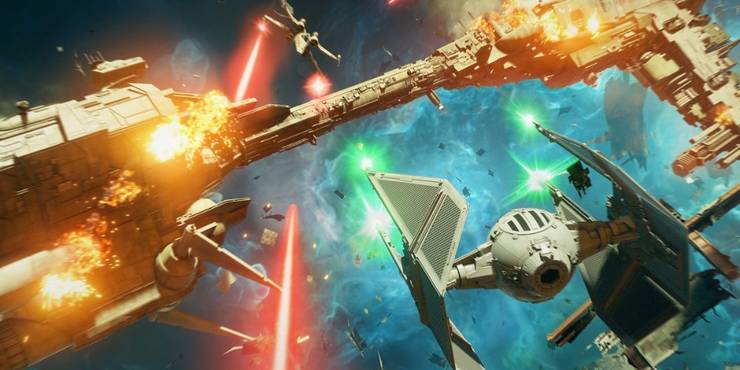
It functions very differently from the popular X-Wing and A-Wing, so newcomers might not recognize the ship or its capabilities on the battlefield. Now that Squadrons has joined Xbox Game Pass, it's time to look closer at the best ways to use the U-Wing. Here are the best U-Wing loadouts for Dogfight and Fleet Battles.
Best U-Wing Loadout in Dogfight:

- Primary Weapon: Auto-Aim Cannon
- Left Auxiliary: Supply Droid
- Right Auxiliary: Turret Mine
- Countermeasures: Particle Burst
- Hull: Deflector Hull
- Shields: Fortified Deflector
- Engine: Propulsion Engine
Strengths of This Build:

The supply droid can be used to give your teammates more ammo and health, which will ensure that they are equipped for any fights. This might not necessarily net you any kills, but it will help your allies survive longer.
The auto-aim cannon useful if you are trying to help an ally being pursued by an enemy. You can lock-on to your teammate whilst shooting the cannon at the hostile ship, dealing some damage.
Since your cannon isn't very powerful, the turret mine is important to assist you in killing enemies. You can deploy it very quickly, so use it often to maximize your damage. It can be destroyed by enemies or will be destroyed after a total of 24 seconds. However, it will cool down before then, so you can just deploy another turret mine as soon as the first one is destroyed.
Weaknesses of This Build:
This loadout sacrifices hull health in exchange for more shields. This can be beneficial as shields regenerate, but it does have drawbacks. If a hostile breaks through your shield, they will rip through your hull very quickly.
The auto-aim cannon does significantly less damage than the standard lasers, so you are less effective when fighting enemies by yourself.
How To Use This Loadout Effectively:

Your main priority should be to deal supplemental damage with the auto-aim cannon whilst resupplying your teammates. The U-Wing is a support ship, so it is a vital member of any squadron.
Don't engage enemies by yourself, as this will put too much attention on you. Instead, aim to fly between other dogfights. Deal some damage to the hostile whilst resupplying your ally, and then move on to help another.
Best U-Wing Loadout in Fleet Battles:

- Primary Weapon: Standard Laser Cannon
- Left Auxiliary: Supply Droid
- Right Auxiliary: Rocket Turret
- Countermeasures: Sensor Jammer
- Hull: Light Hull
- Shields: Fortified Deflector
- Engine: Propulsion Engine
Strengths of This Build:

The rocket turret is ideal for fleet battles, as it allows you to deal damage to capital ships without getting too close and dying yourself. You can deploy them regularly near the objectives to deal consistent damage to the enemy.
The light hull and propulsion engine work excellently together to provide an impressive boost to the U-Wing's acceleration. This will help you reach your max speed faster, allowing you to evade pursuers or incoming fire from capital ships.
The sensor jammer is important because you can use it when returning to your flagship to resupply. It will give you a few precious seconds where all missiles lose you as a target and no one can lock on to your ship.
Weaknesses of This Build:

Although it can prevent enemies from locking on to you, the sensor jammer has a very long cooldown. Clocking in at 26 seconds, it's very likely that you will be targeted again if you use it when in the middle of resupplying allies. This means it is best to evade the occasional missile and save your countermeasure for when you need to permanently escape damage.
The rocket turret is very effective against cruisers and capital ships, but it will not target starfighters at all. This means your only weapon for dogfights is your standard laser cannon. Although this can be effective, you will be no match for hostile ships armed with rockets or missiles.
How To Use This Loadout Effectively:

In fleet battles you should swap between the above loadouts depending on the situation. If your team is defending the flagship, use the dogfight loadout to increase the damage you can do to starfighters.
The fleet battles loadout above should be used when your team is on the offensive, as the rocket turret only focuses on enemy cruisers and other big targets. Deploy the rocket turret near the opposing capital ship and then back away, focusing on resupplying your teammates from a distance.
Communication with your team is key here, as they will need to fall back to get in range of your resupplies. If you choose to fly near the capital ship, you will come under heavy fire and likely both end up dead.
If you are struggling to afford all the components for these two builds, make sure you know how to get more Requisition in Star Wars: Squadrons.