Fleet Battle is the competitive ranked mode in Star Wars: Squadrons and, unlike Dog Fight, can be confusing even for skilled pilots. While the game encourages you to practice vs. AI until you learn the ropes, there's a lot of nuance and strategy you'll need to pick up over time. If you need a jump start on the competition, here are some advanced strategies that will help you get one up on those pesky bogies.
Switch Ships To Counter Play
Don't get set on a main - Star Wars: Squadrons requires versatile pilots. Different ships become more or less useful during each phase of the battle, and deciding you only fly one type of ship will put your team at a huge disadvantage.
When the round starts, head out with intention of eliminating as many enemies as possible. Winning advantage first gives your squad a huge head start so it's best to begin by piloting interceptors and X-Wing/TIE Fighters.
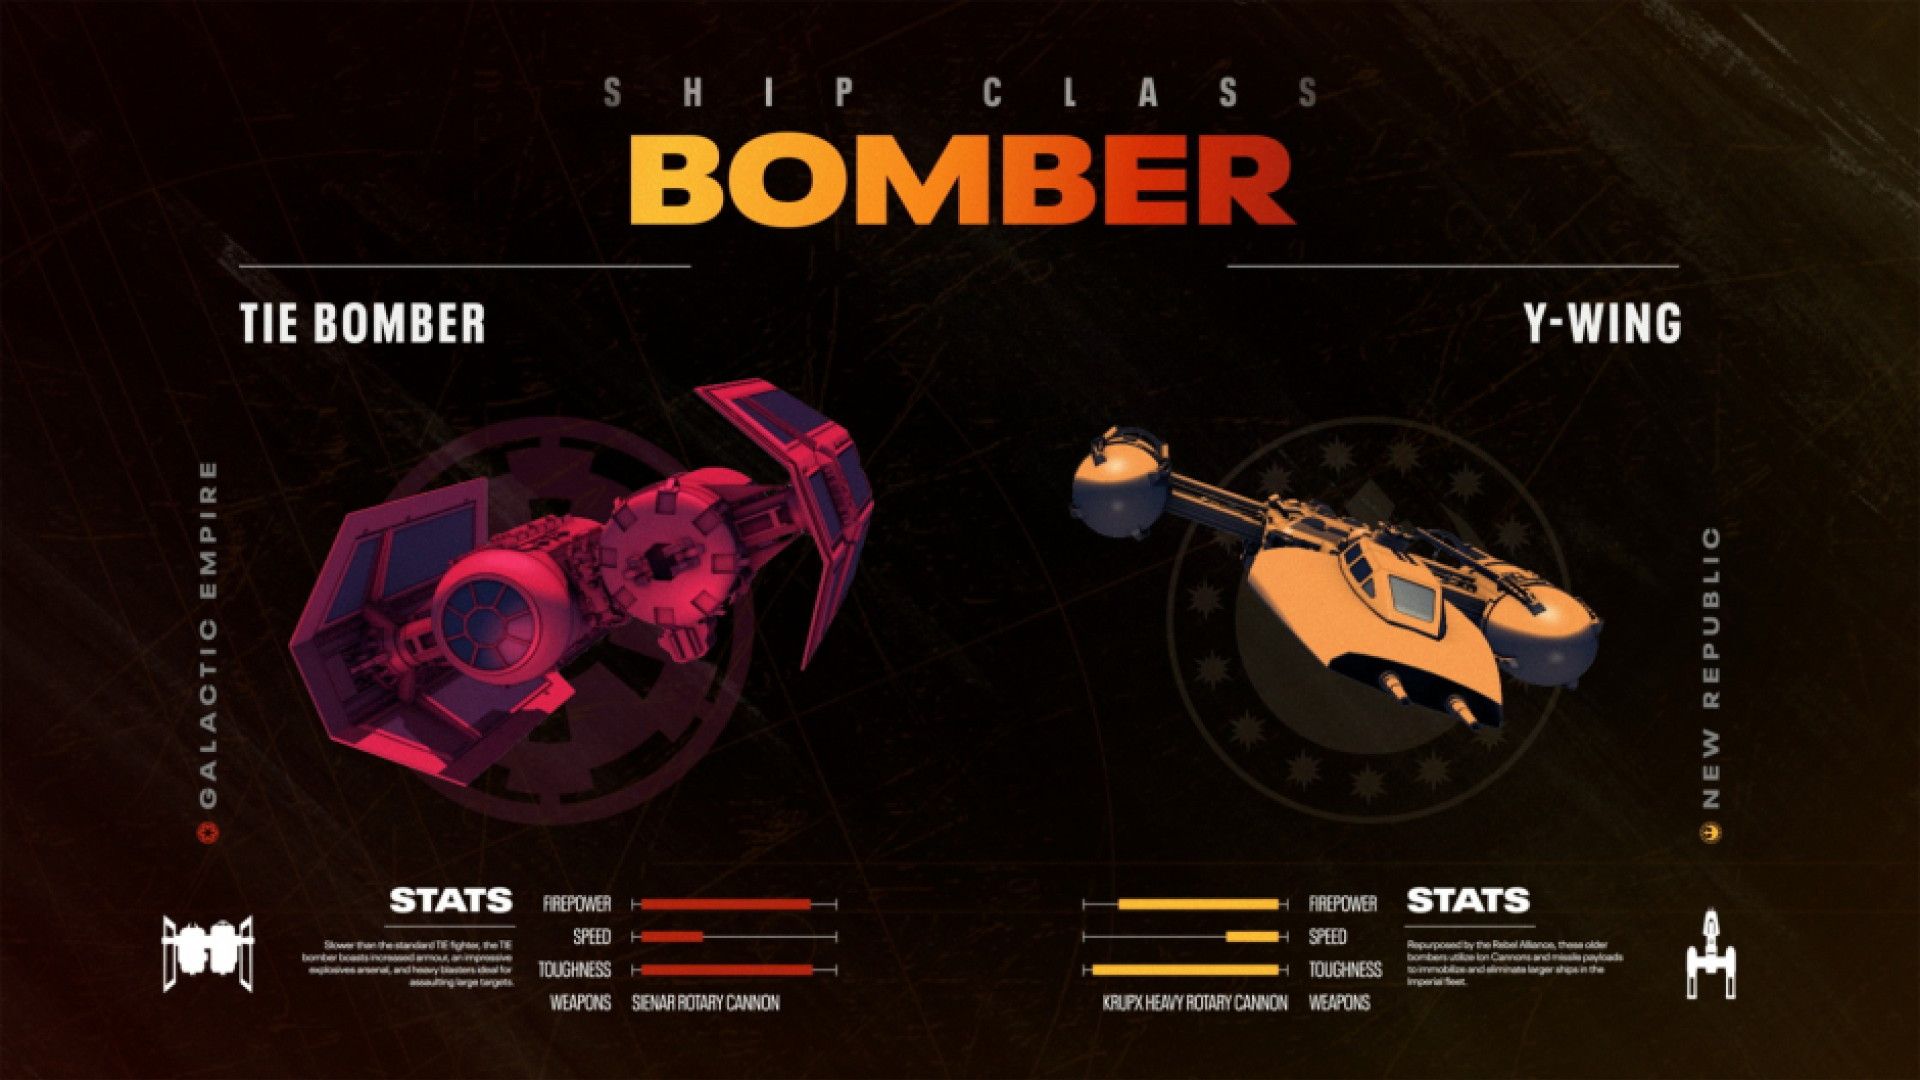
Once you have advantage, at least a couple of people should be switching to bombers. Ideally, you can do runs on the enemy's capital ships while other teammates in interceptors protect you from their fighters. Bombers can do outrageous hull damage to capital ships, but ion bombs can be really useful for cracking shields. Your Bomber equipped with ion should attack first to break shields before your teammate equipped with Proton bombs and torpedos. The same goes for hitting the main flagship.
You Don't Need A Support
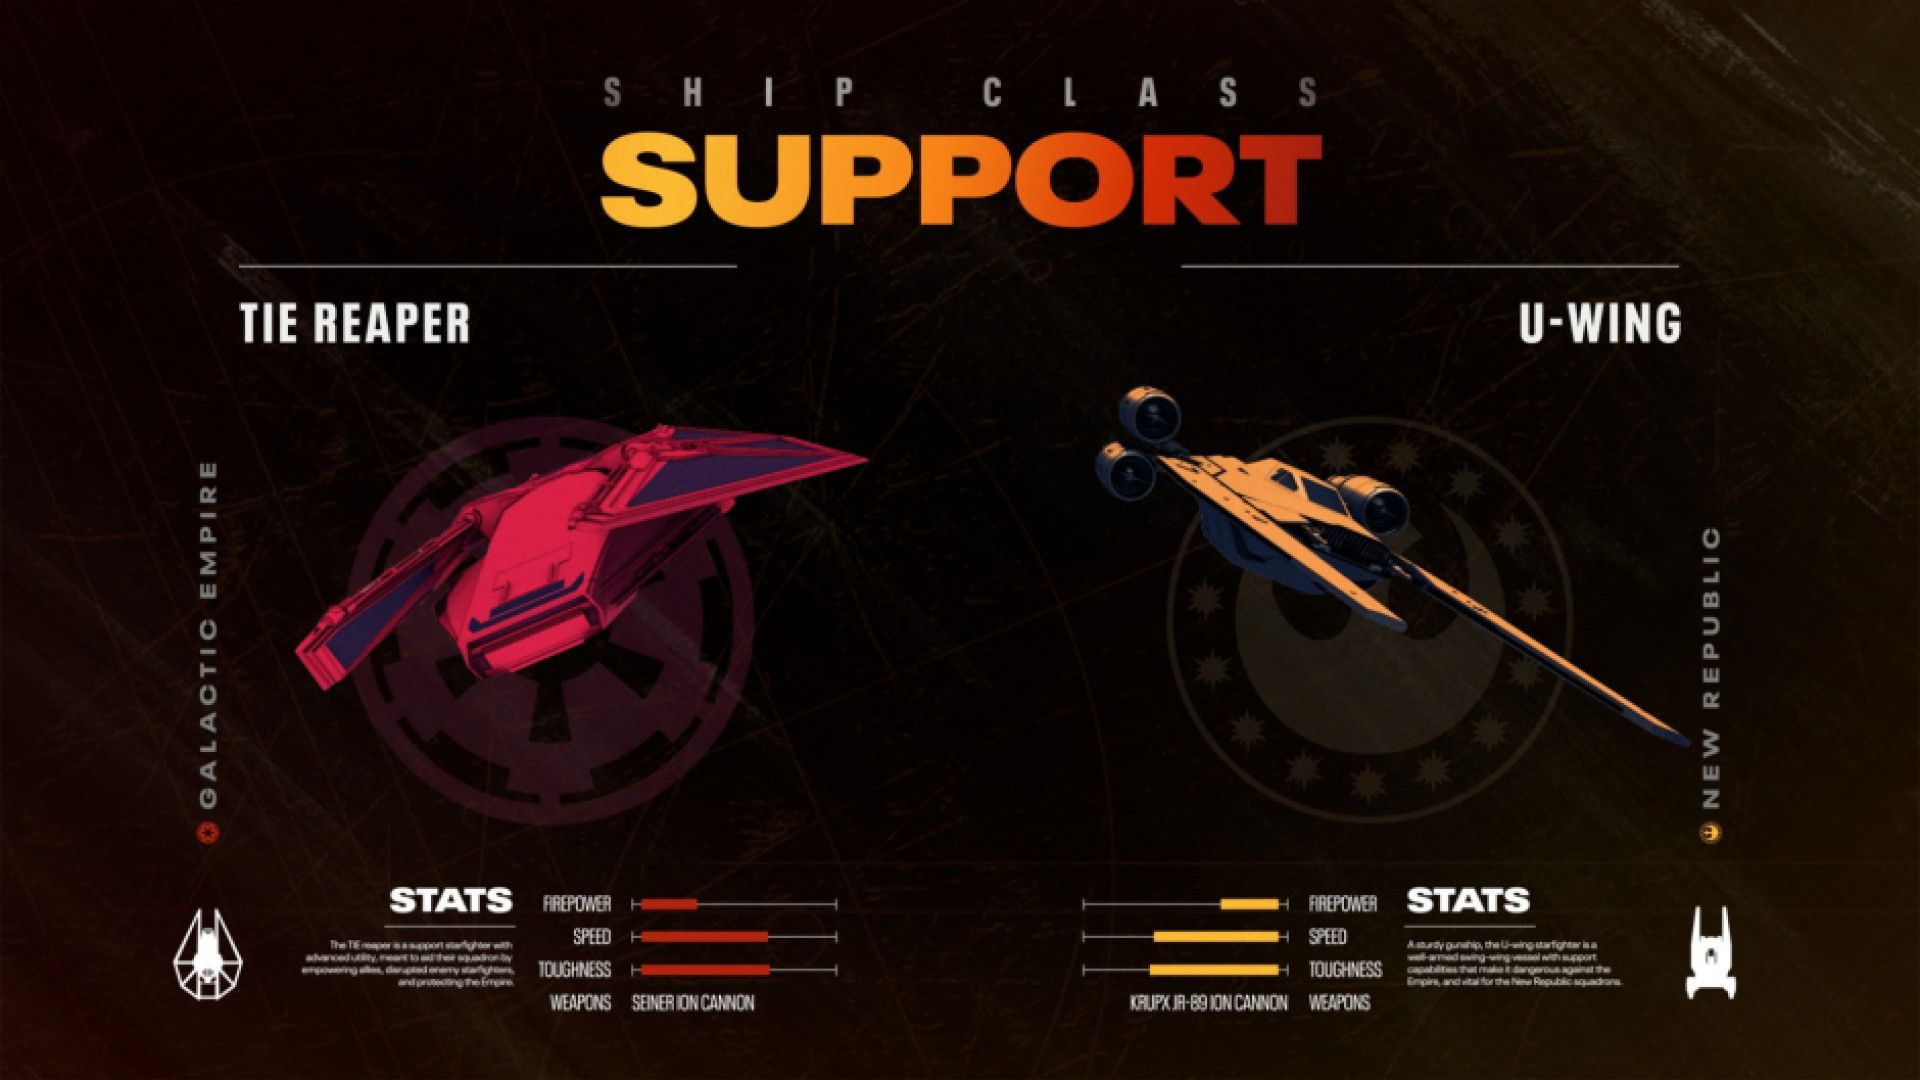
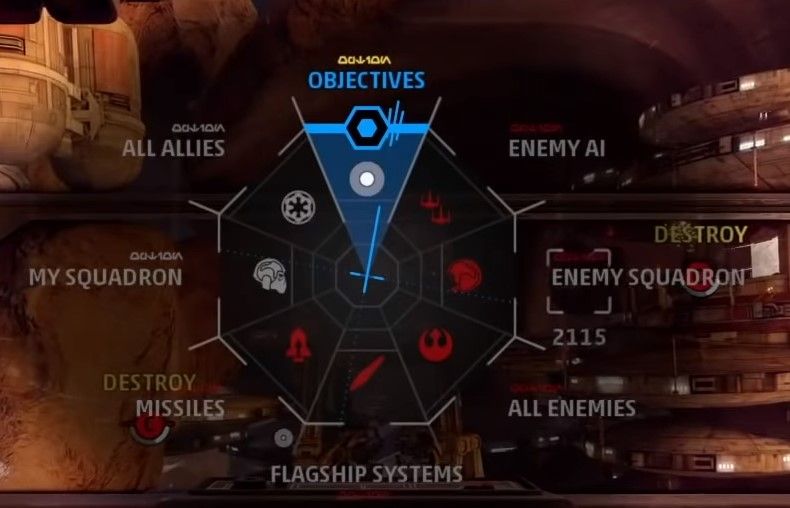
Support is the most complex ship to fly because you'll need to switch your targeting metrics between allies, enemy ships, and flagship systems in order to be the most effective. While other ships only have to focus on dealing damage, Supports also defend teammates, interrupt enemy systems, and disable shields. It's difficult to learn and can be very powerful on the battlefield, but honestly, it's just not worth it.
If you're going to practice anything, it should be flying faster and aiming well. Dealing damage fast is more important than mitigating damage and one of the best strategies for dealing with capital ships is to suicide in with a bomber and drop tons of bombs on it.
Supports are bigger, slower, less maneuverable, and deal less damage. Their support functions can be a big help in the right hands but it's a lot easier to just focus on maximizing damage.
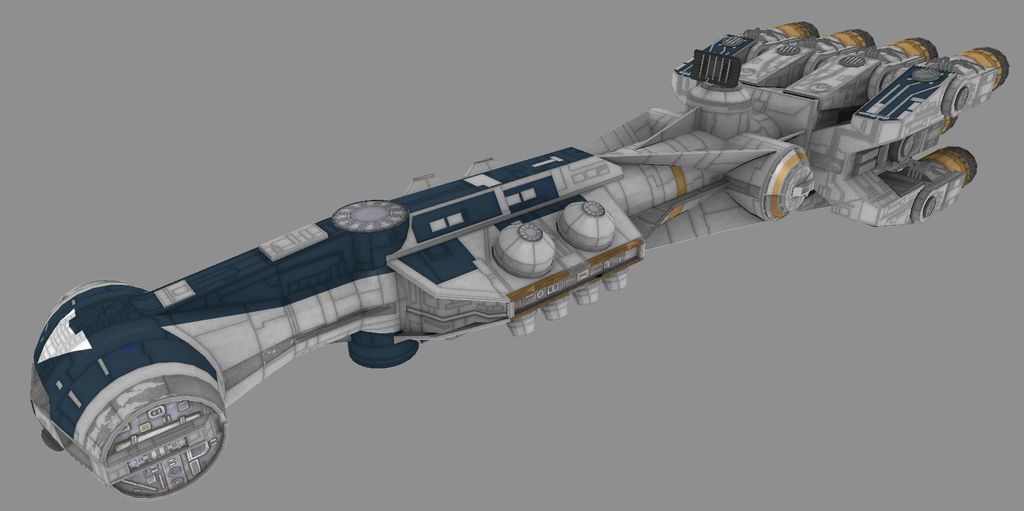
Protect Your Corvette/Reaper, Destroy Theirs
These attack ships win games and create the opportunities to deal big damage quickly so it's important to protect them. Conversely, it's just as important to neutralize enemy ships as soon as they enter the battlefield.
Corvettes and reapers spawn in on either left or right when you gain advantage and cruise towards the closest capital ship. Following them closely with an X-Wing/TIE Fighter to attack bombers at range is the best way to defend them while your interceptors chase down enemies and your bombers set up to land big hits on the capitol ship.
When attacking a corvette or reaper, the best position is directly behind them. Try to sneak in and let them pass before turning and unloading. If you're defending against one of these ships, nothing deals with them faster than a bomber full of proton bombs.
In the final phase, you can use your corvette or reaper to sneak up close to the enemy's warship. Your entire team should follow in its wake while it tanks damage. Clear out any enemies that attack it and then target the war ship's flagship systems.
Shield Generators Are Highest Priority, After Turrets
All of the flagship systems are important targets, but the shield generators are by far the most important. It takes a lot of damage to destroy a flagship and the shield generators will continually refill its shields anytime you aren't attacking it, so take these out first. Your interceptors should focus the turrets around the shield generators to make it easier for bombers to hit them.
The Imperial Warship has two big balls on the top towards the back - these are the shield generators. If you come in straight at them, the ship's turrets will absolutely destroy you. You can fly out wide and come straight down on them or sneak in behind your corvette to deal some damage. If you fly inside the shield you can avoid them completely and deal direct damage. Again, bombers are best.
On the New Republic side, the shield generators are the two panels underneath, right in the center of either side. These are a lot easier to get to because they are exposed on the sides, but they're harder to see because they blend in with the surface of the ship. If you switch your targetting to Flagship Systems you'll be able to target them directly. Try to hit these at range or strafe the side of the ship with a bomber.
Next, you'll want to take out the targeting system before hitting the power system or just outright finishing the flagship. You don't necessarily need to take down any systems to win, but if you don't at least take down the shield generators you'll be fighting a real uphill battle.
Looking for more? Here's how to set up a flight stick for Star Wars: Squadrons. Also, a PSA: stay away from comp for now - Star Wars: Squadrons Competitive Mode is currently a disaster.


