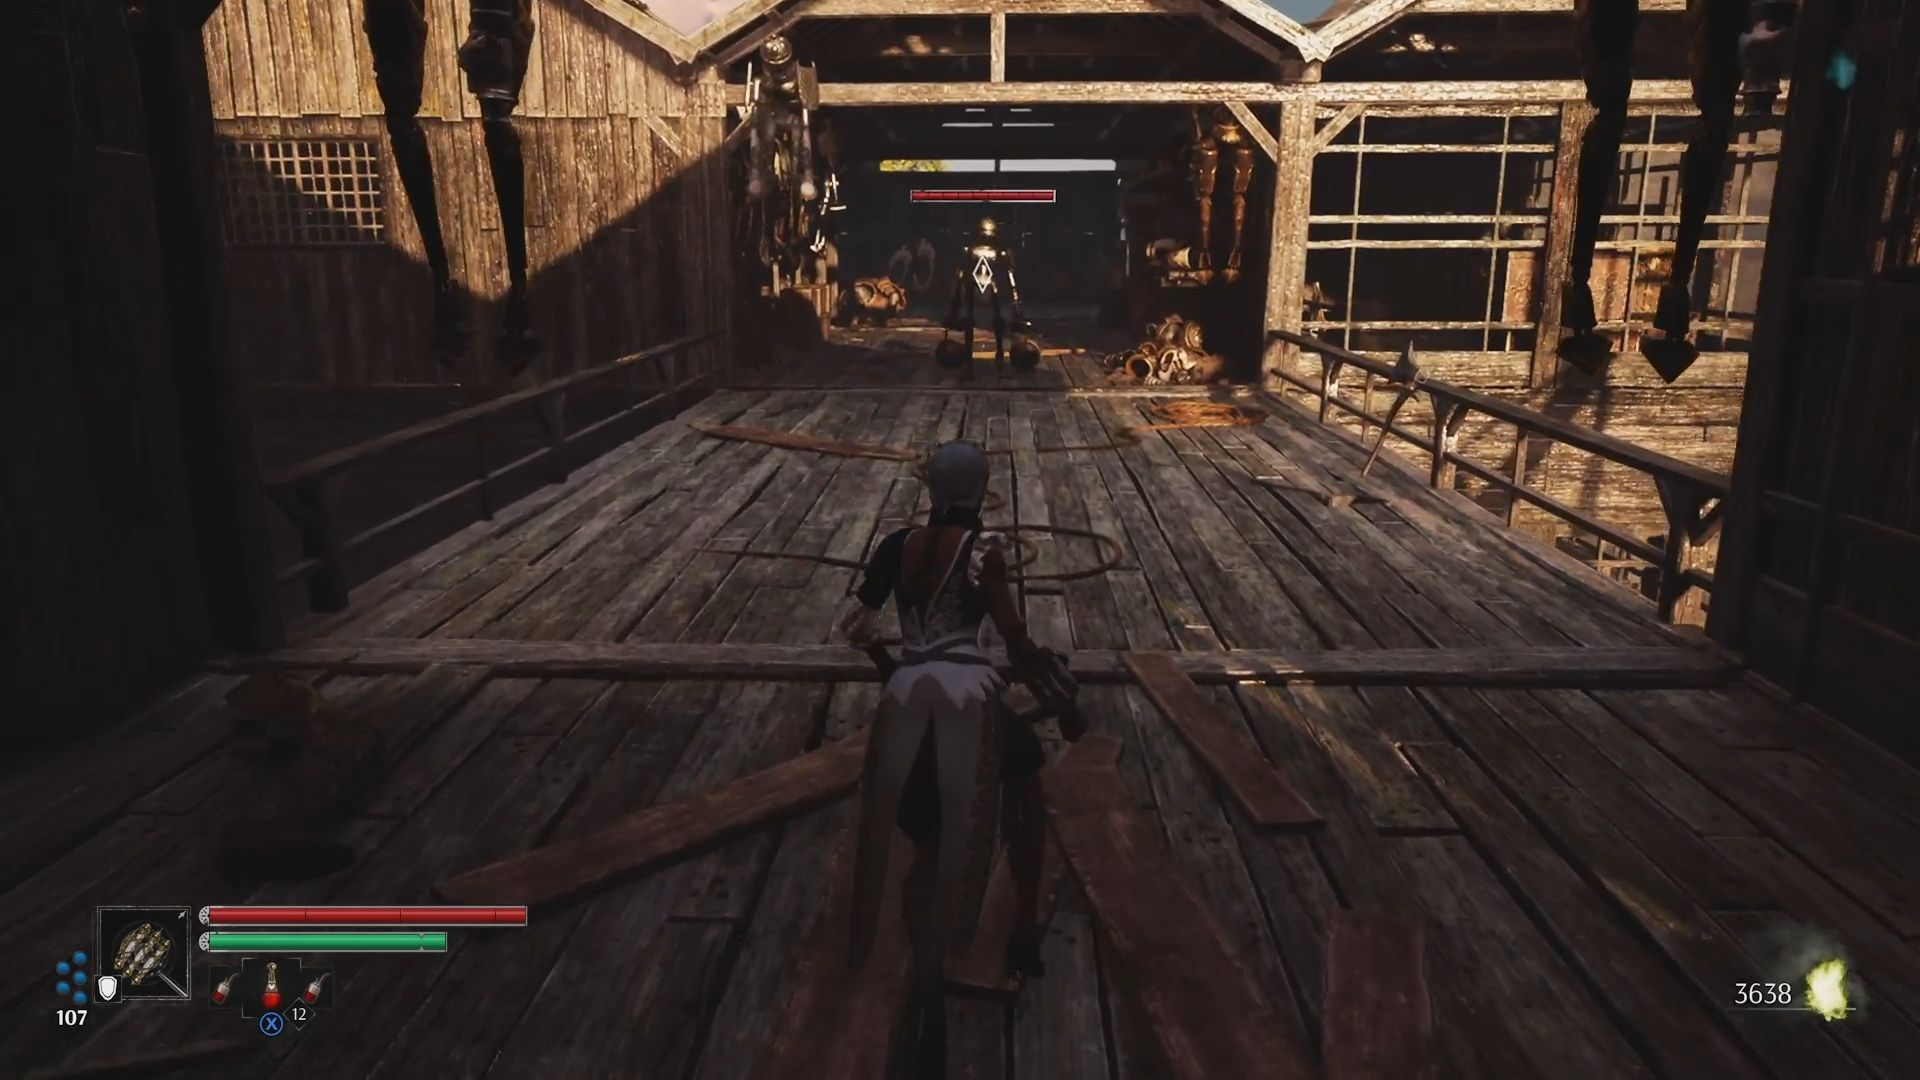
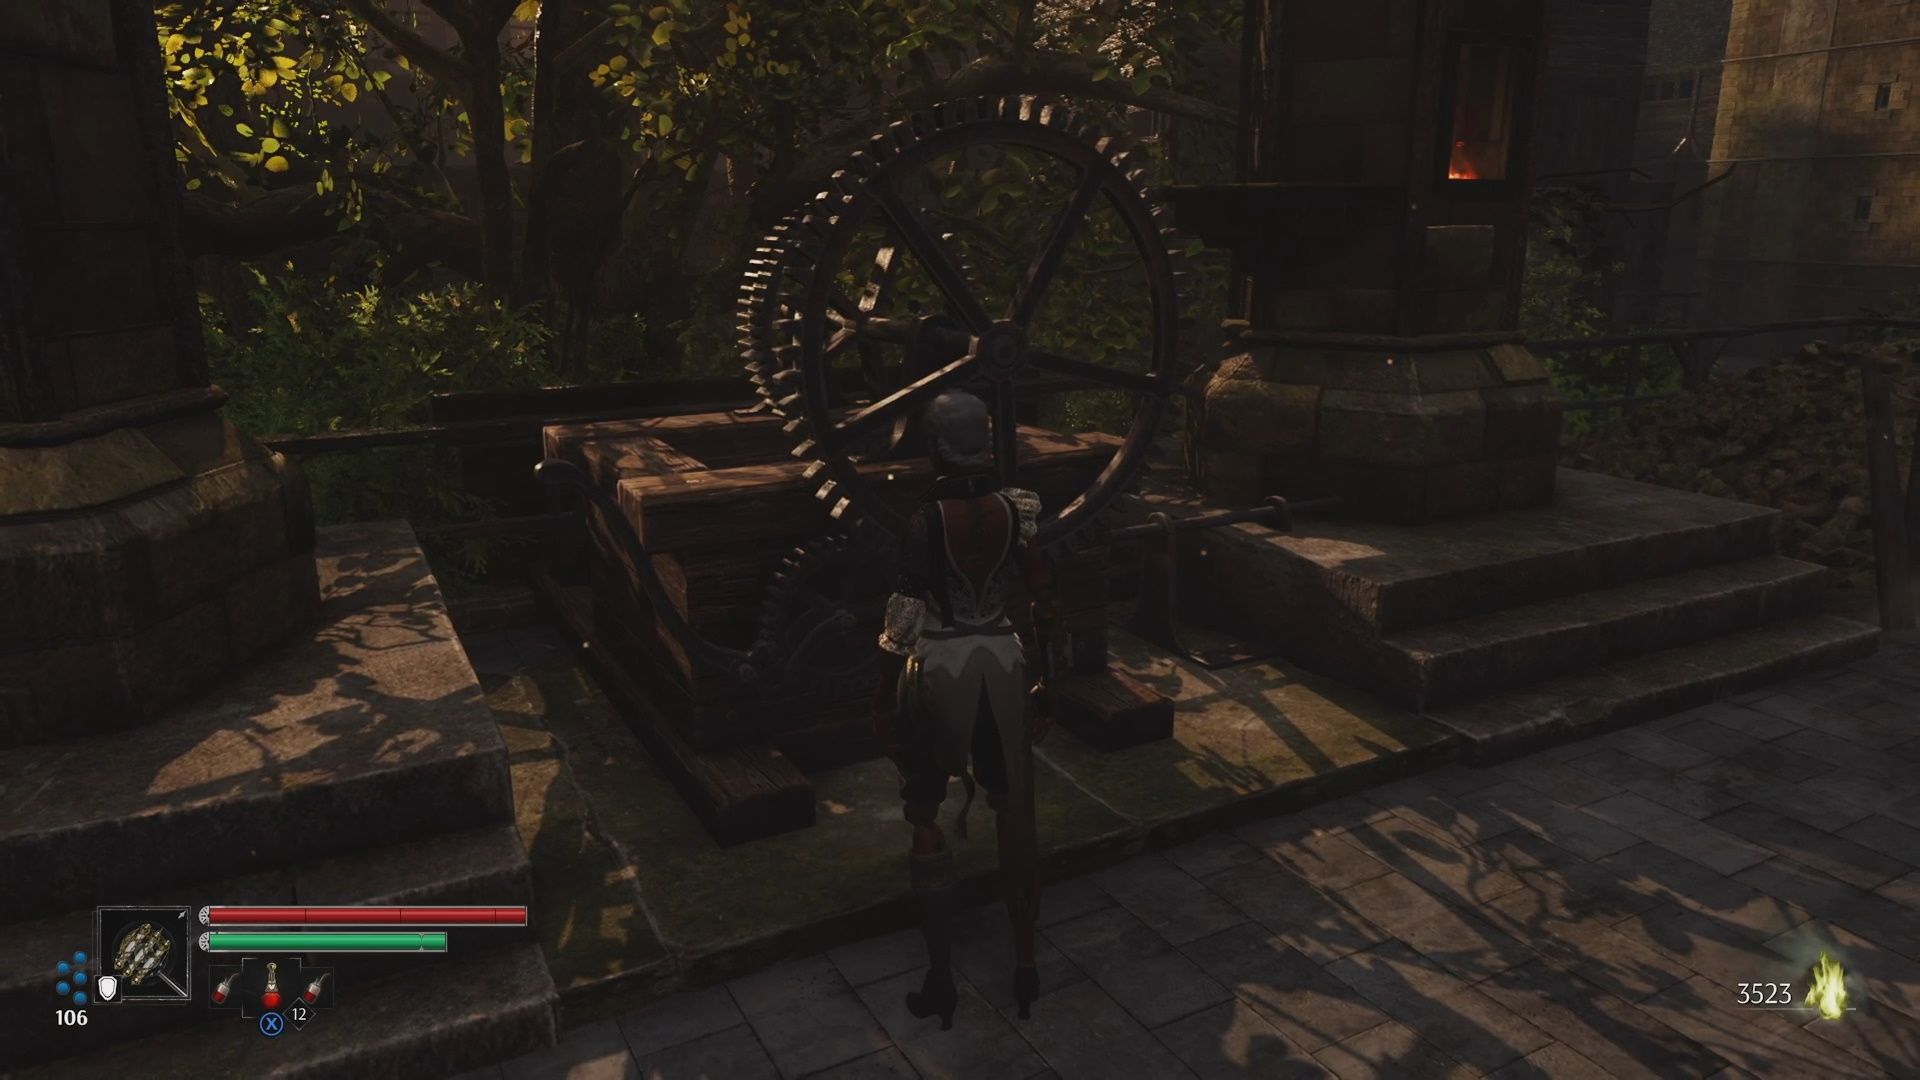
After just having worked your way through Steelrising's Gros Caillou, The Factories definitely feels like a much smaller area. However, while it doesn't wrap around itself in the same way that the Gros Caillou does, The Factories utilizes verticality to a greater degree than we had seen previously. So, instead of wrapping around itself, this stage is stacked on top of itself.
The Factories is an area that is home to a number of dimly lit, closed-in environments. Which, naturally, means you have plenty of ambushes to look forward to. Oh, and unlike the Gros Caillou, this stage does feature another one of those lovable Unstable Automat bosses.
The Factories
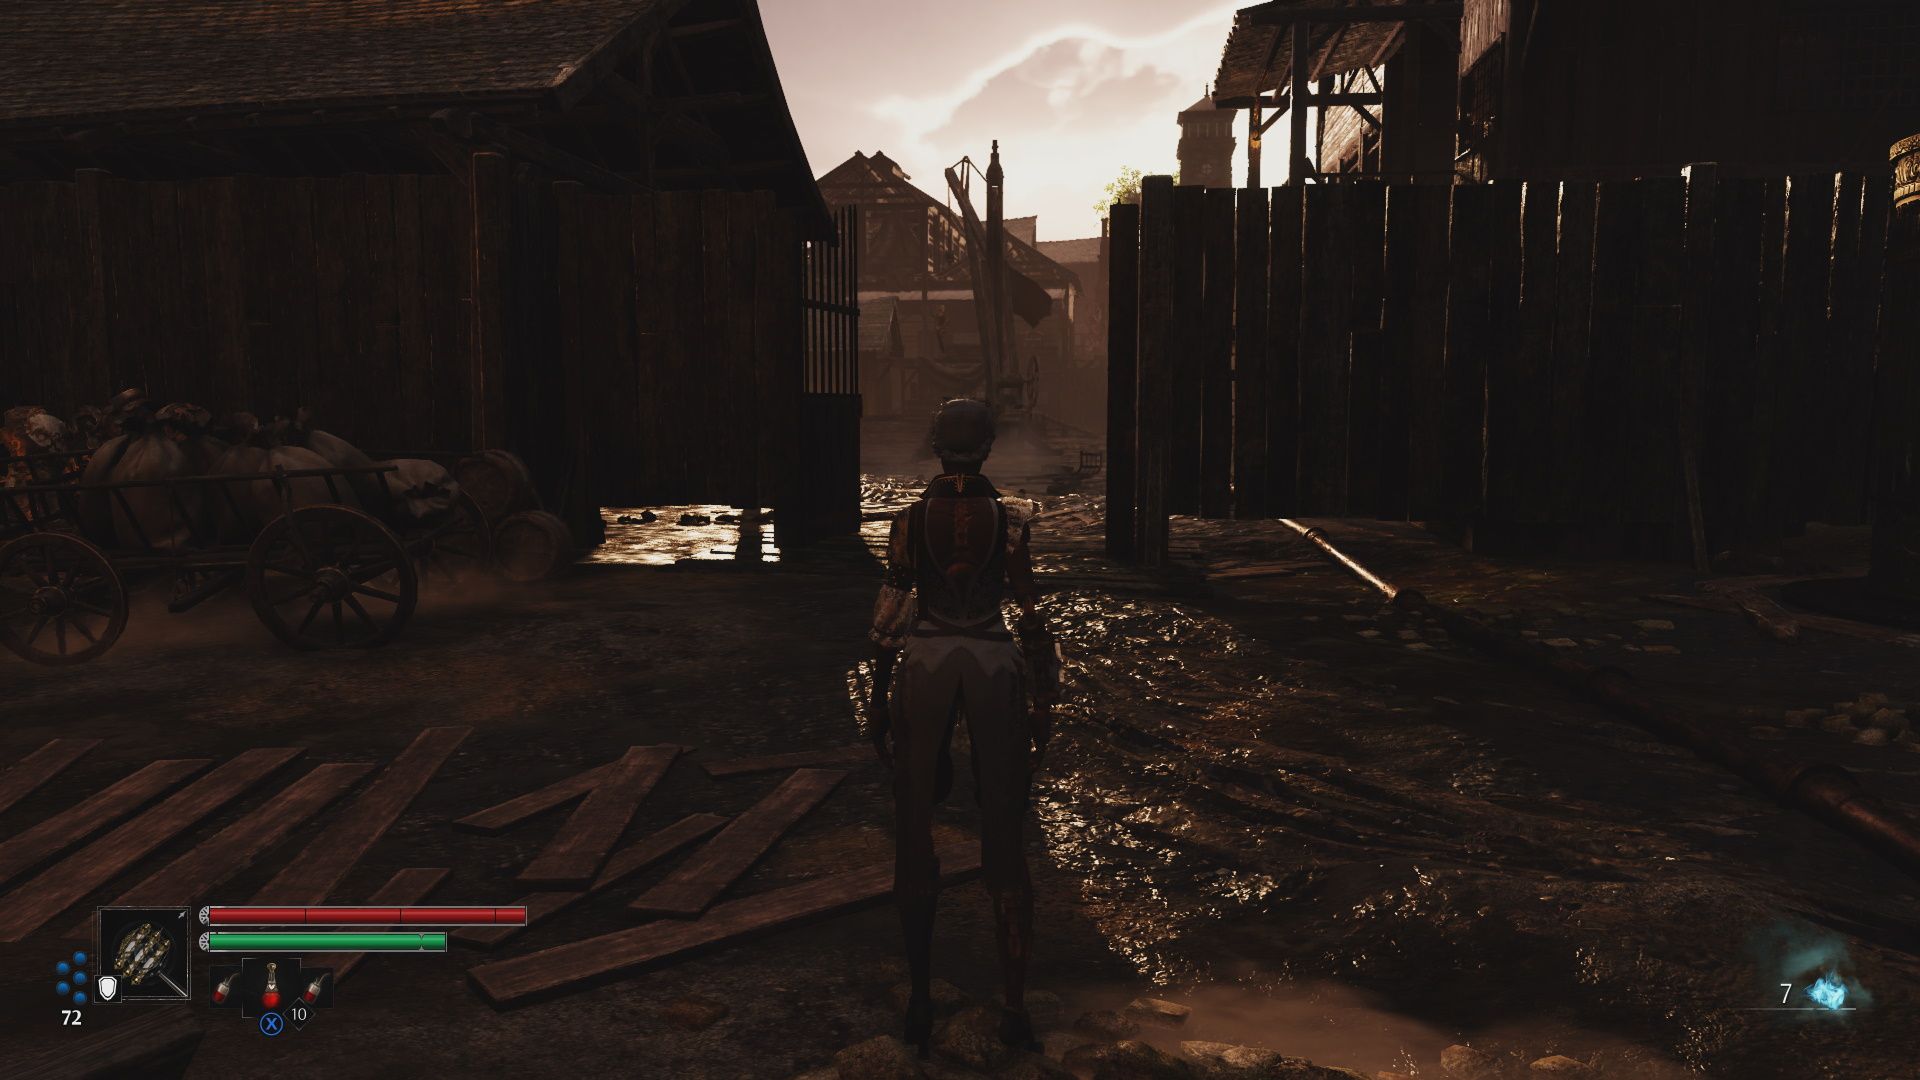
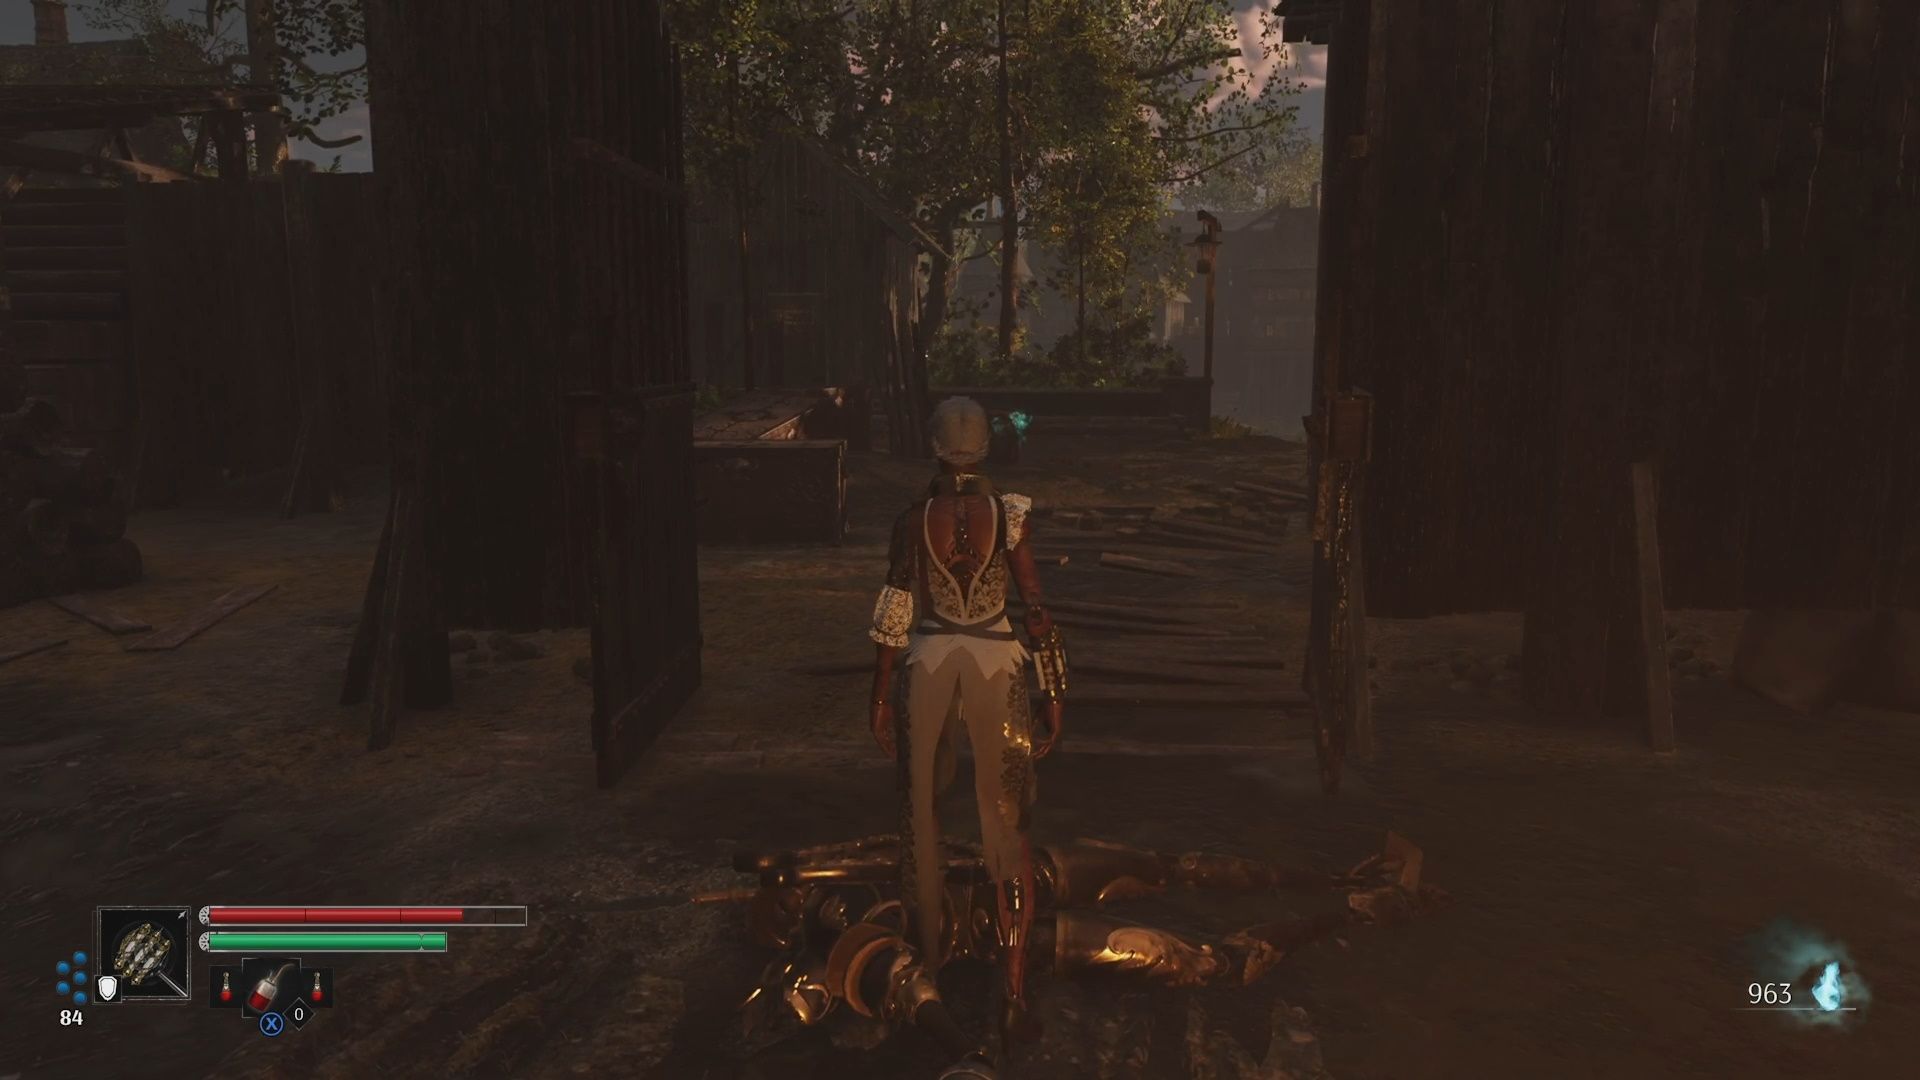
Starting at Eugene De Vaucanson's Workshop, you are going to follow the giant cable from the elevator. It will lead you directly to the gate that will bring you into The Factories. Upon throwing open said gate, you will be greeted by a courtyard with a few basic Automats patrolling it. But watch out; there is one of those Lancer Automats in the distance, and they will fire on you once they see you. Stealth kill the Automat patrolling closest to you, and then hustle over to the Lancer. Kill it and then finish off the rest of the Automats stumbling around.
Now, the first entrance on your right (if your back is facing the gate you entered through) is the building you will want to explore. Follow it around until you reach a set of stairs, climb them, but be warned, there are Automats wedged in the corners up here, and they are more than happy to attack your back if you expose it to them.
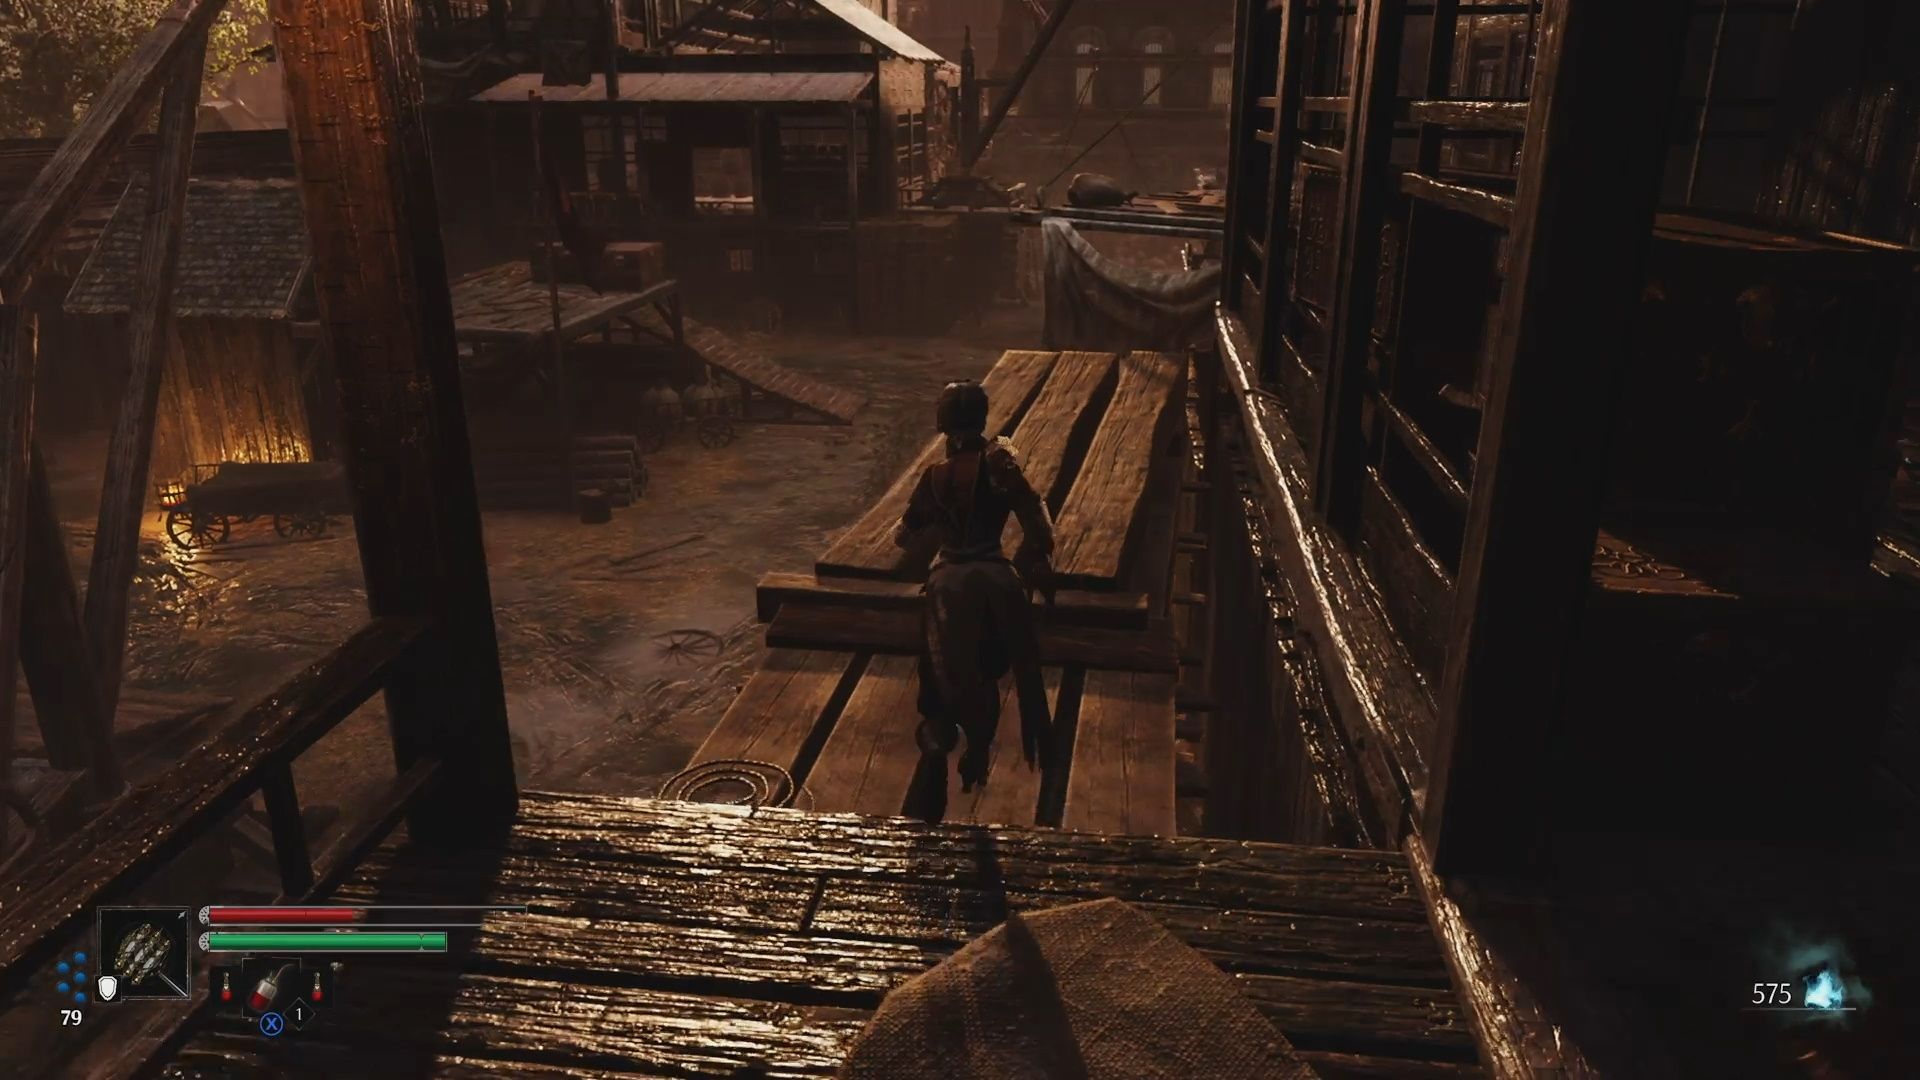
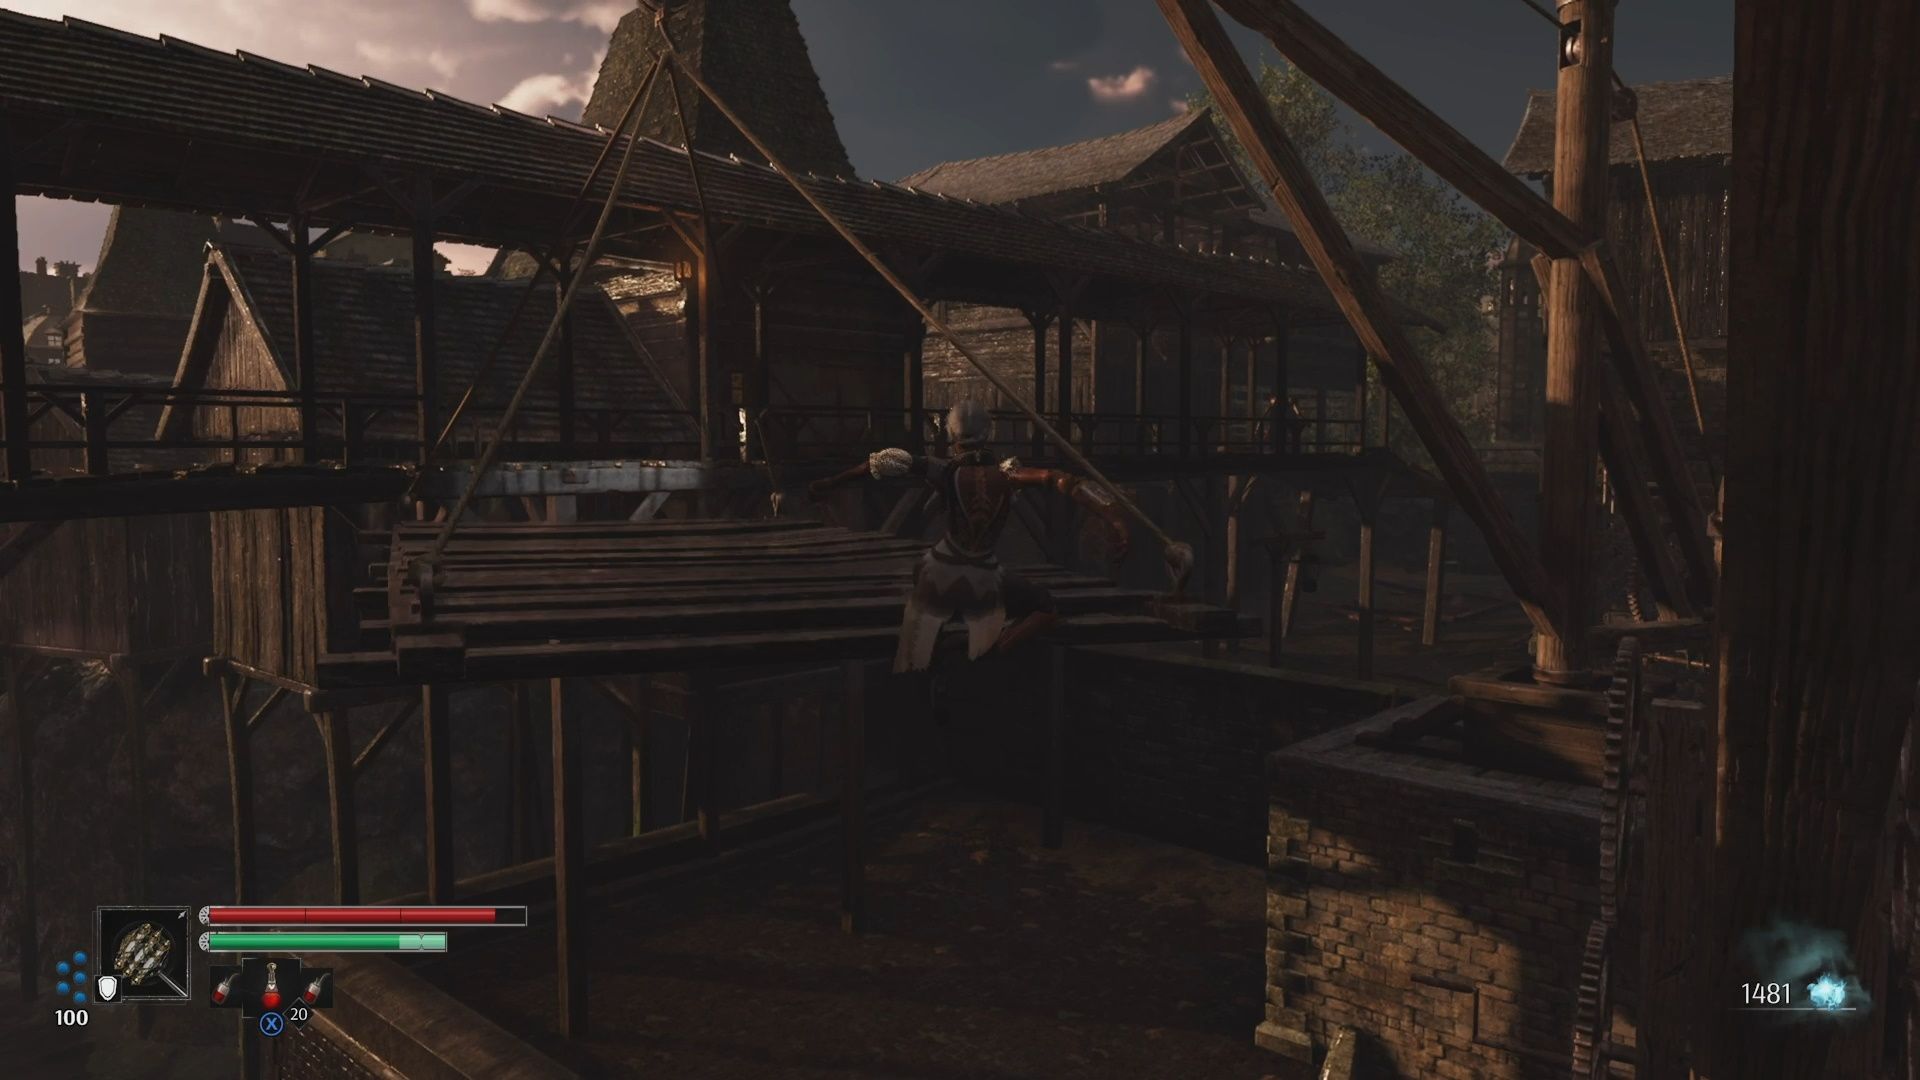
After you clear the Automats out, climb the stairs. Open the chest up here, and get the module key and Grade 1 Lasting Affliction module. Go back down the stairs and exit the building by way of the balcony. From here, hop across the various piles of timber and hanging platforms until you reach the other side of the arena.
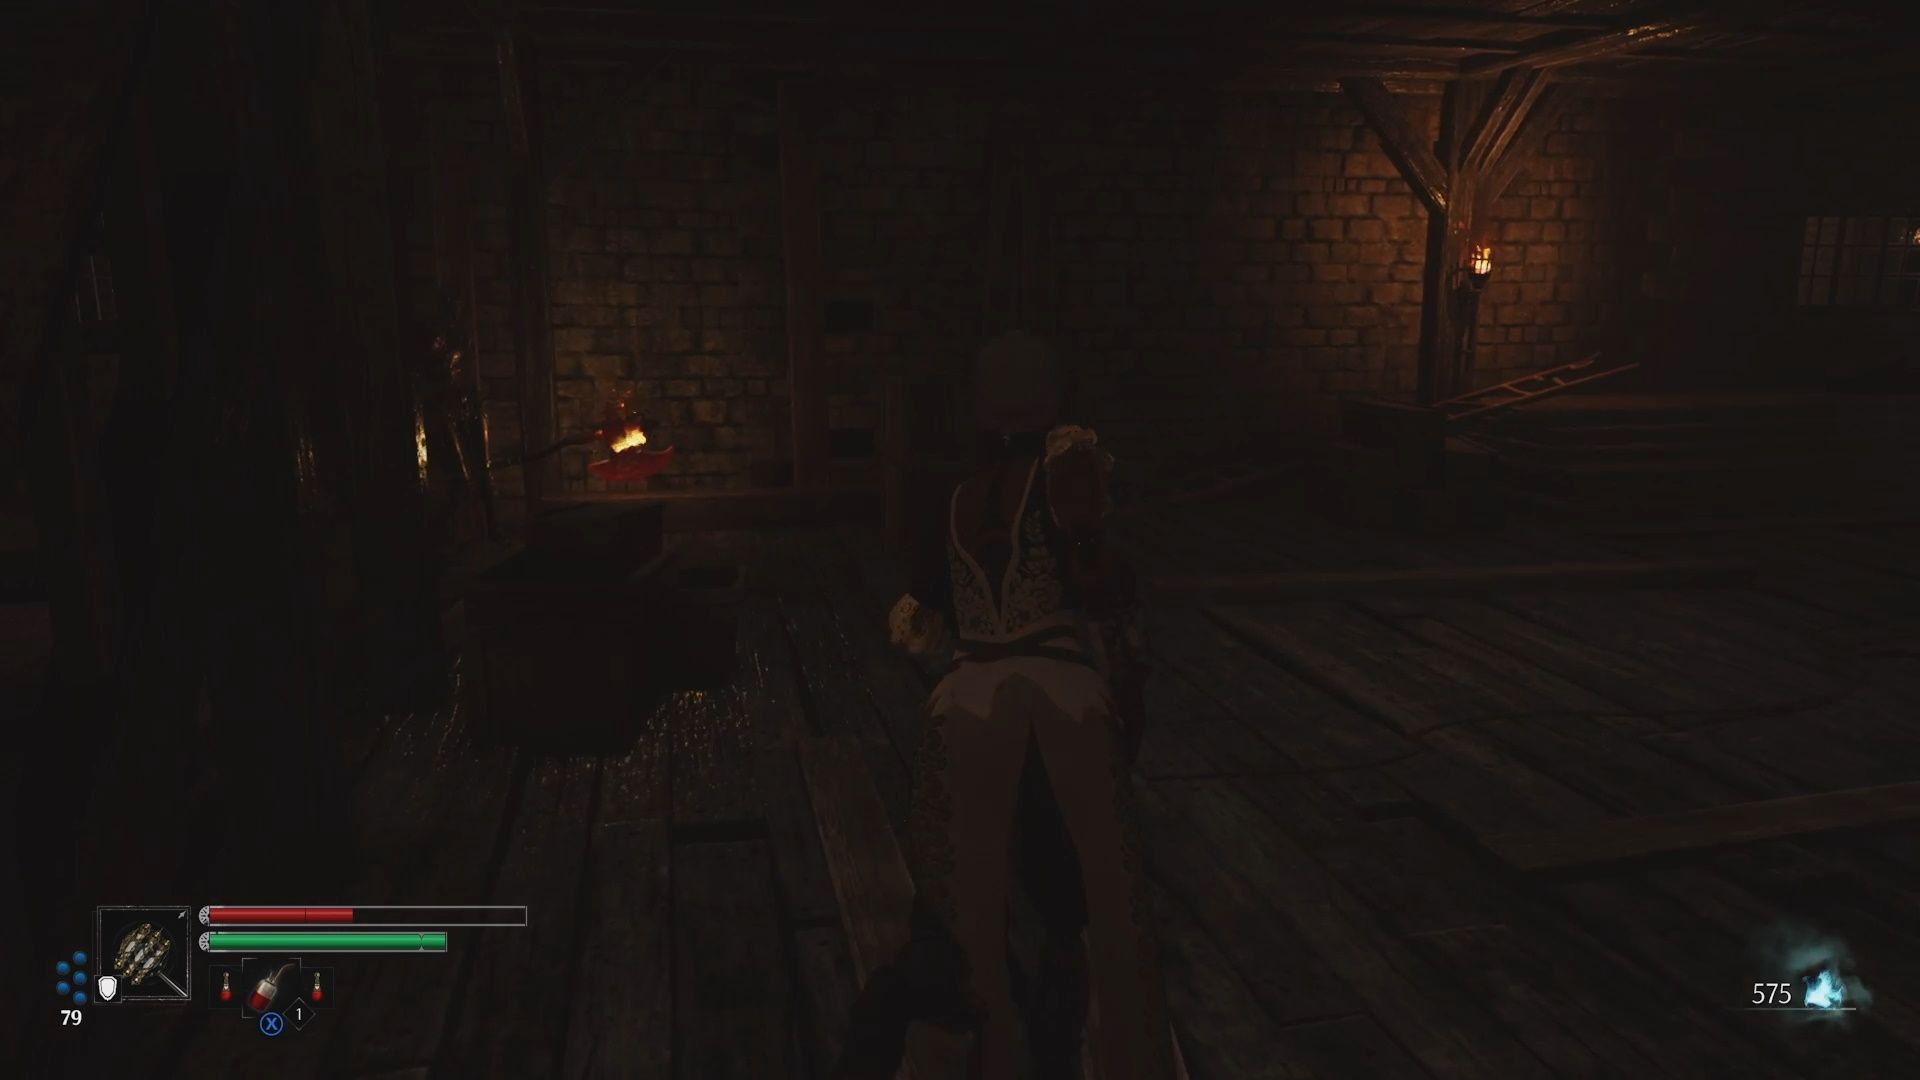
Enter into the room and climb down the stairs. There are two automats waiting to ambush you in the room at the bottom of the stairs (there will be one particularly well-hidden one in the corner to your left). Take them out, then open the chest to get two pieces of the Diane armor set. In the next room, unlock the gate to open up the shortcut.
Climb the stairs, and you will enter into a room filled with barrels. Watch out, there are two snake-bodied Automats concealed behind them. Tread carefully. Take them out, and you will be able to drop down into the Factory Port.
The Factory Port
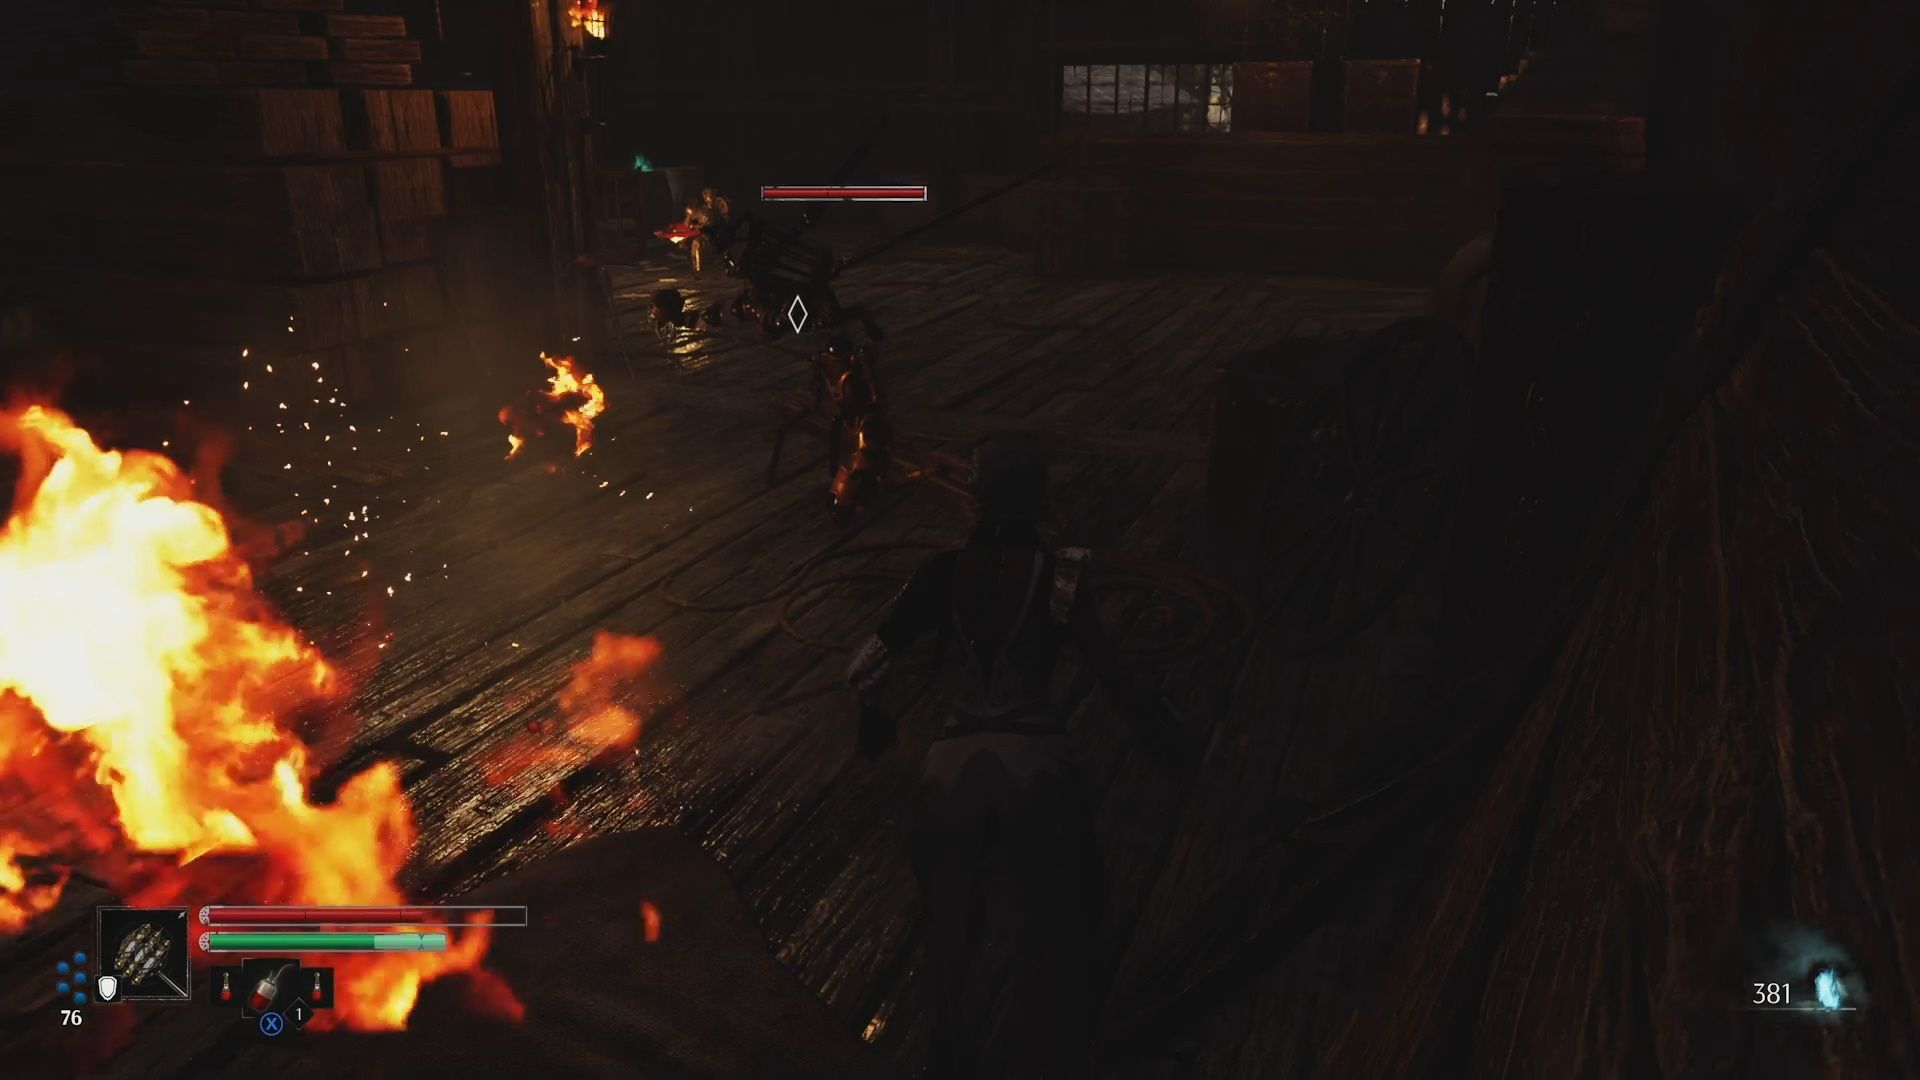
Take a left, unlock the gate back to The Factories area, and grab the Lavoise Sublimator from the chest. Head towards the water and fight the Flaming Axe-wielding Automat and the Snake-Bodied Automat. If you travel along the water, there is a Lancer-type Automat wedged behind some logs to your right. Now, climb the stairs and deal with the Lancer and the Axe-wielding Automat. After you deal with them, open up the shortcut to the beginning of the Factory Port.
From here, locate the platform dangling from the crane, and jump up to it. Now, jump across the floating platforms on your way to the bridge. Once you reach the bridge take a left. There is a tower here. Climb down the stairs to get the Wheel Of Vengeance weapon. You can also go to the top of this structure to grab some oil vials. Return to the bridge and go the other way. We are back in The Factories again, but only for a brief moment; the second you climb the stairs, you will enter The Forge, which is where you will face off against this stage's boss: The Unstable Forger.
The Unstable Forger Boss Fight
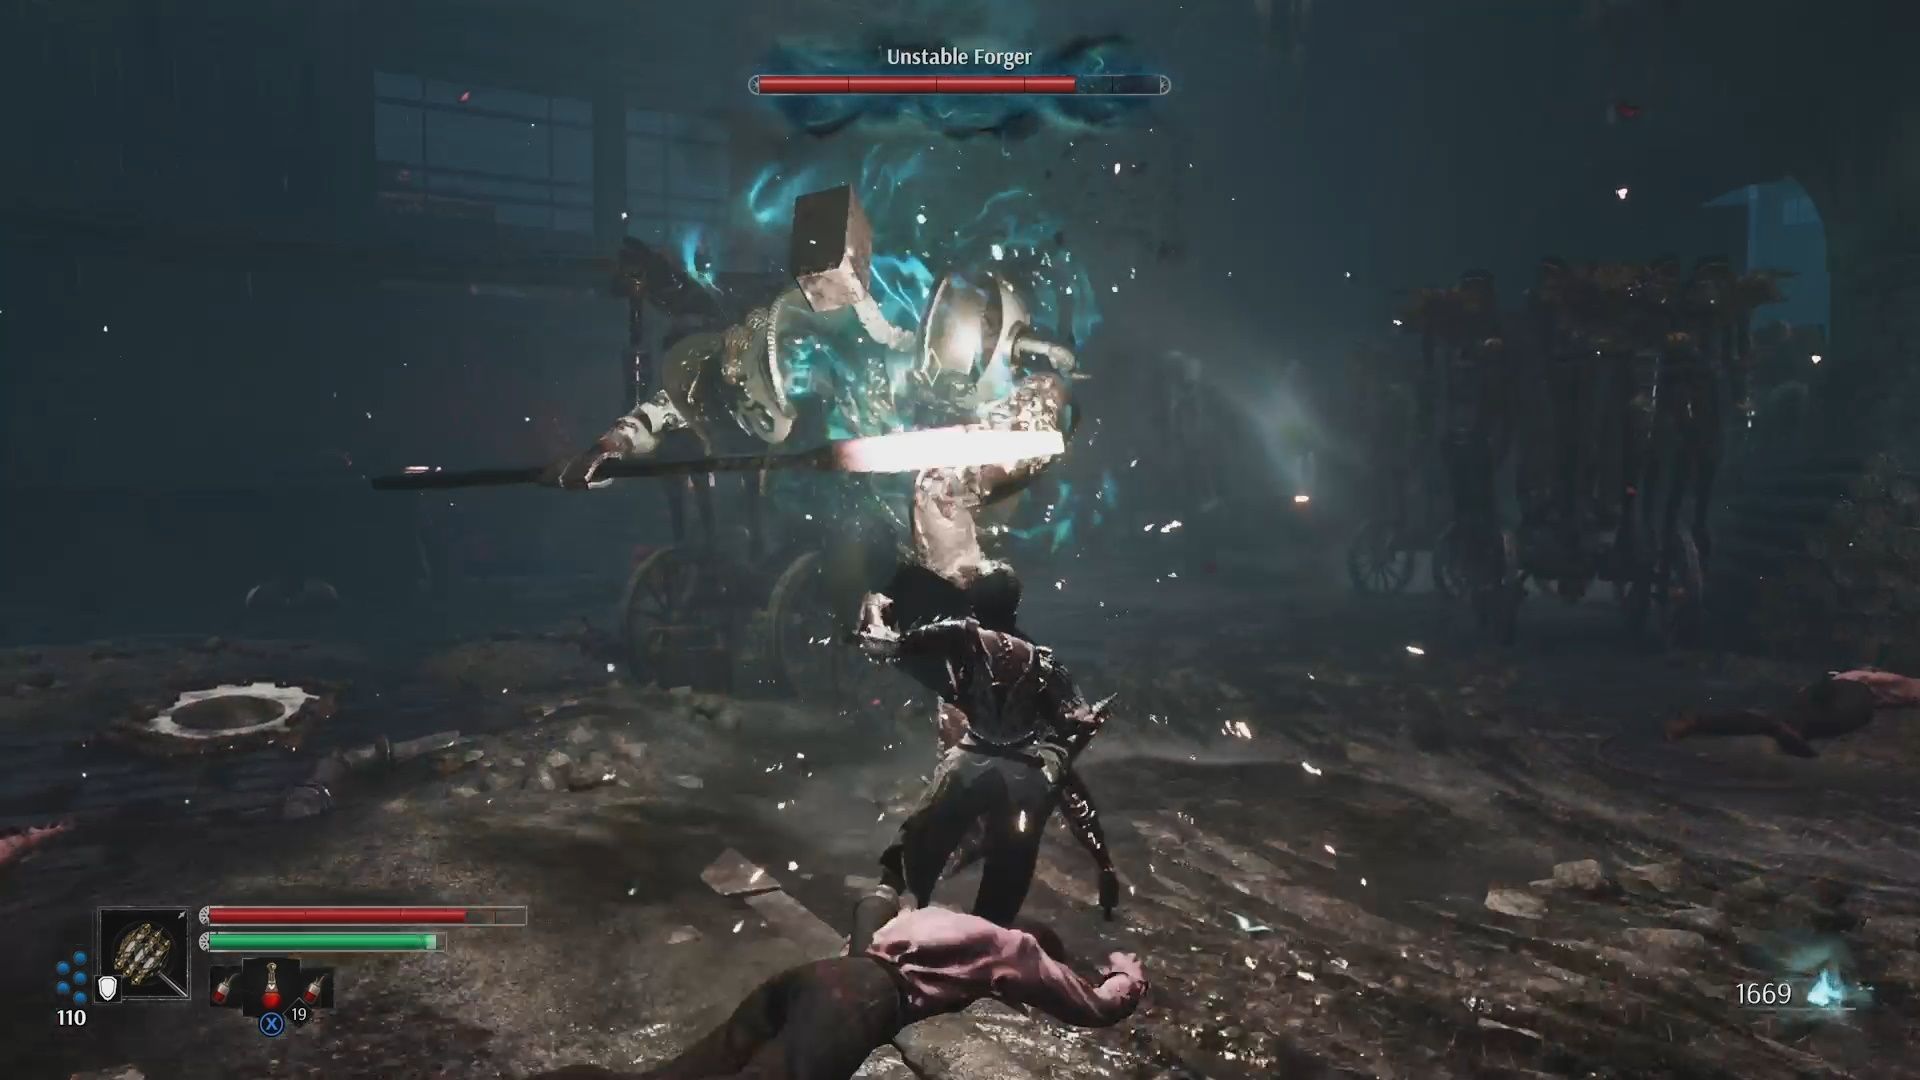
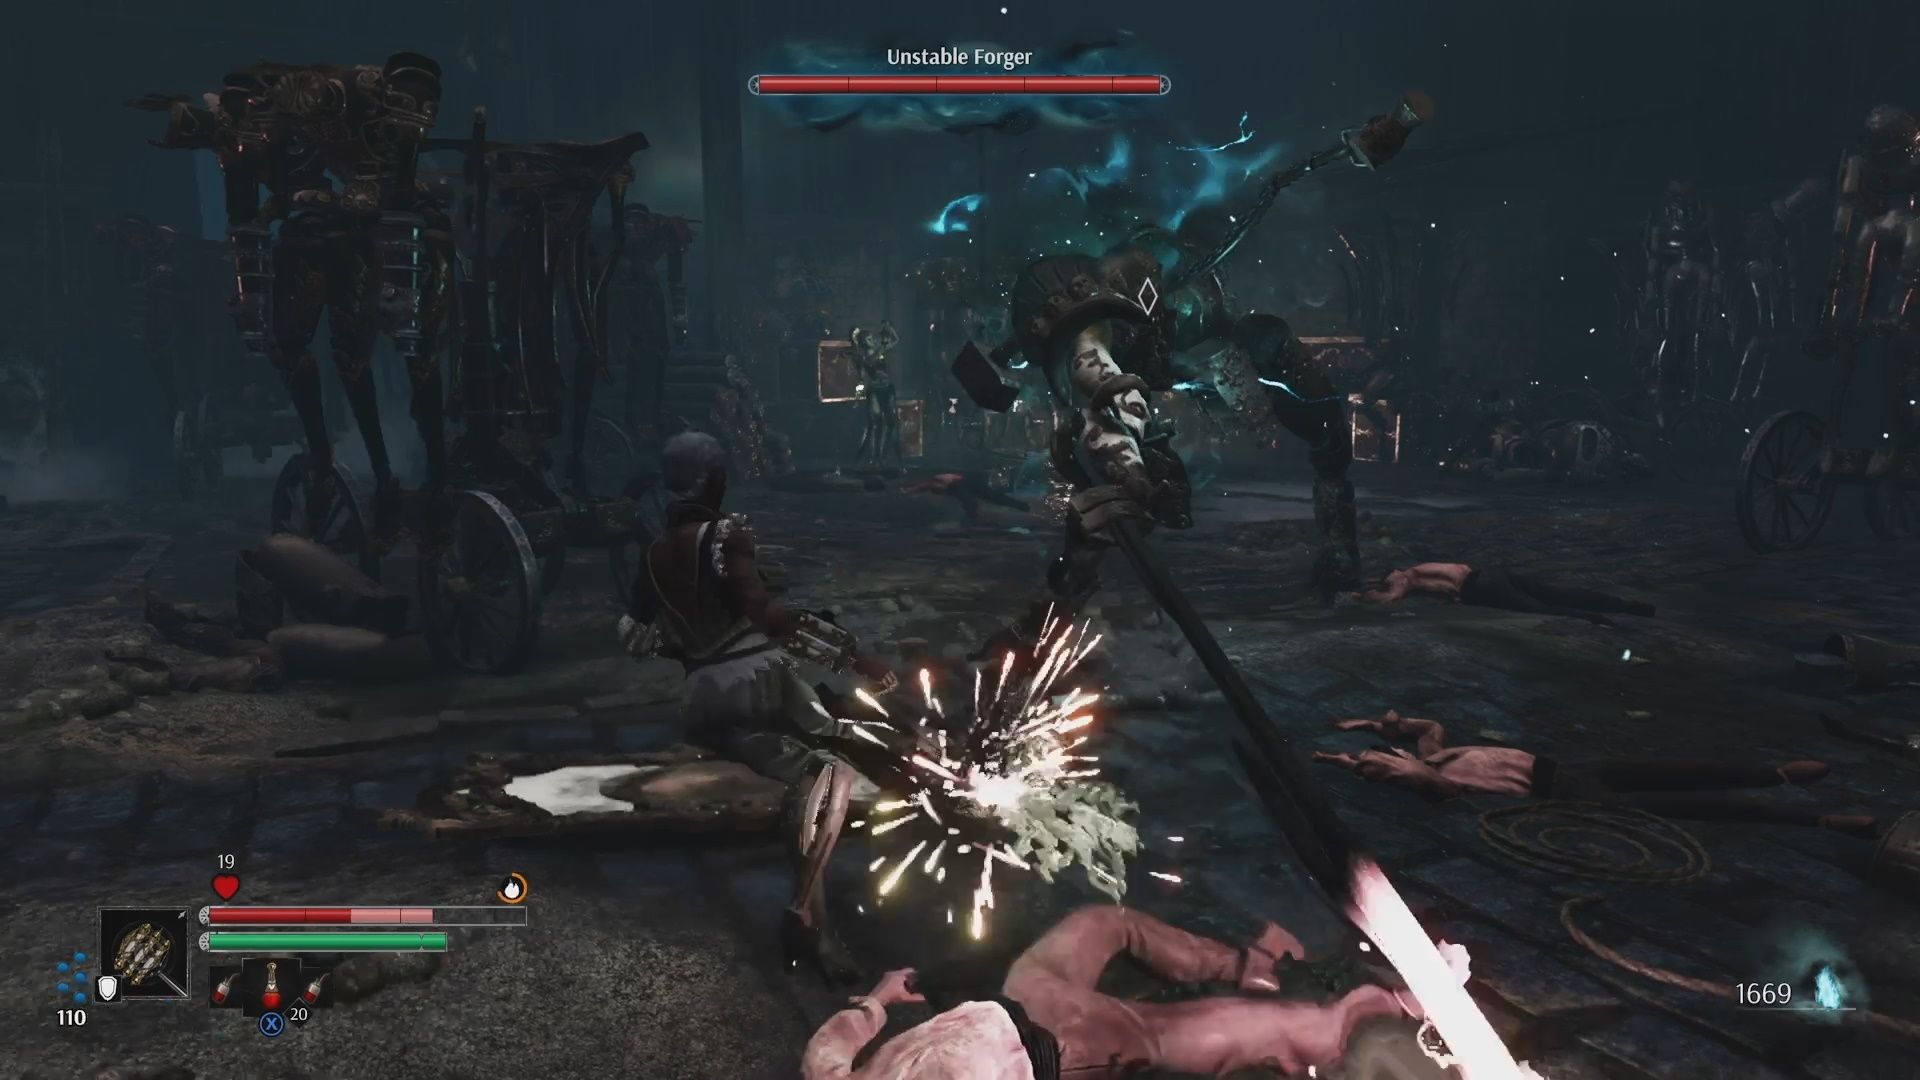
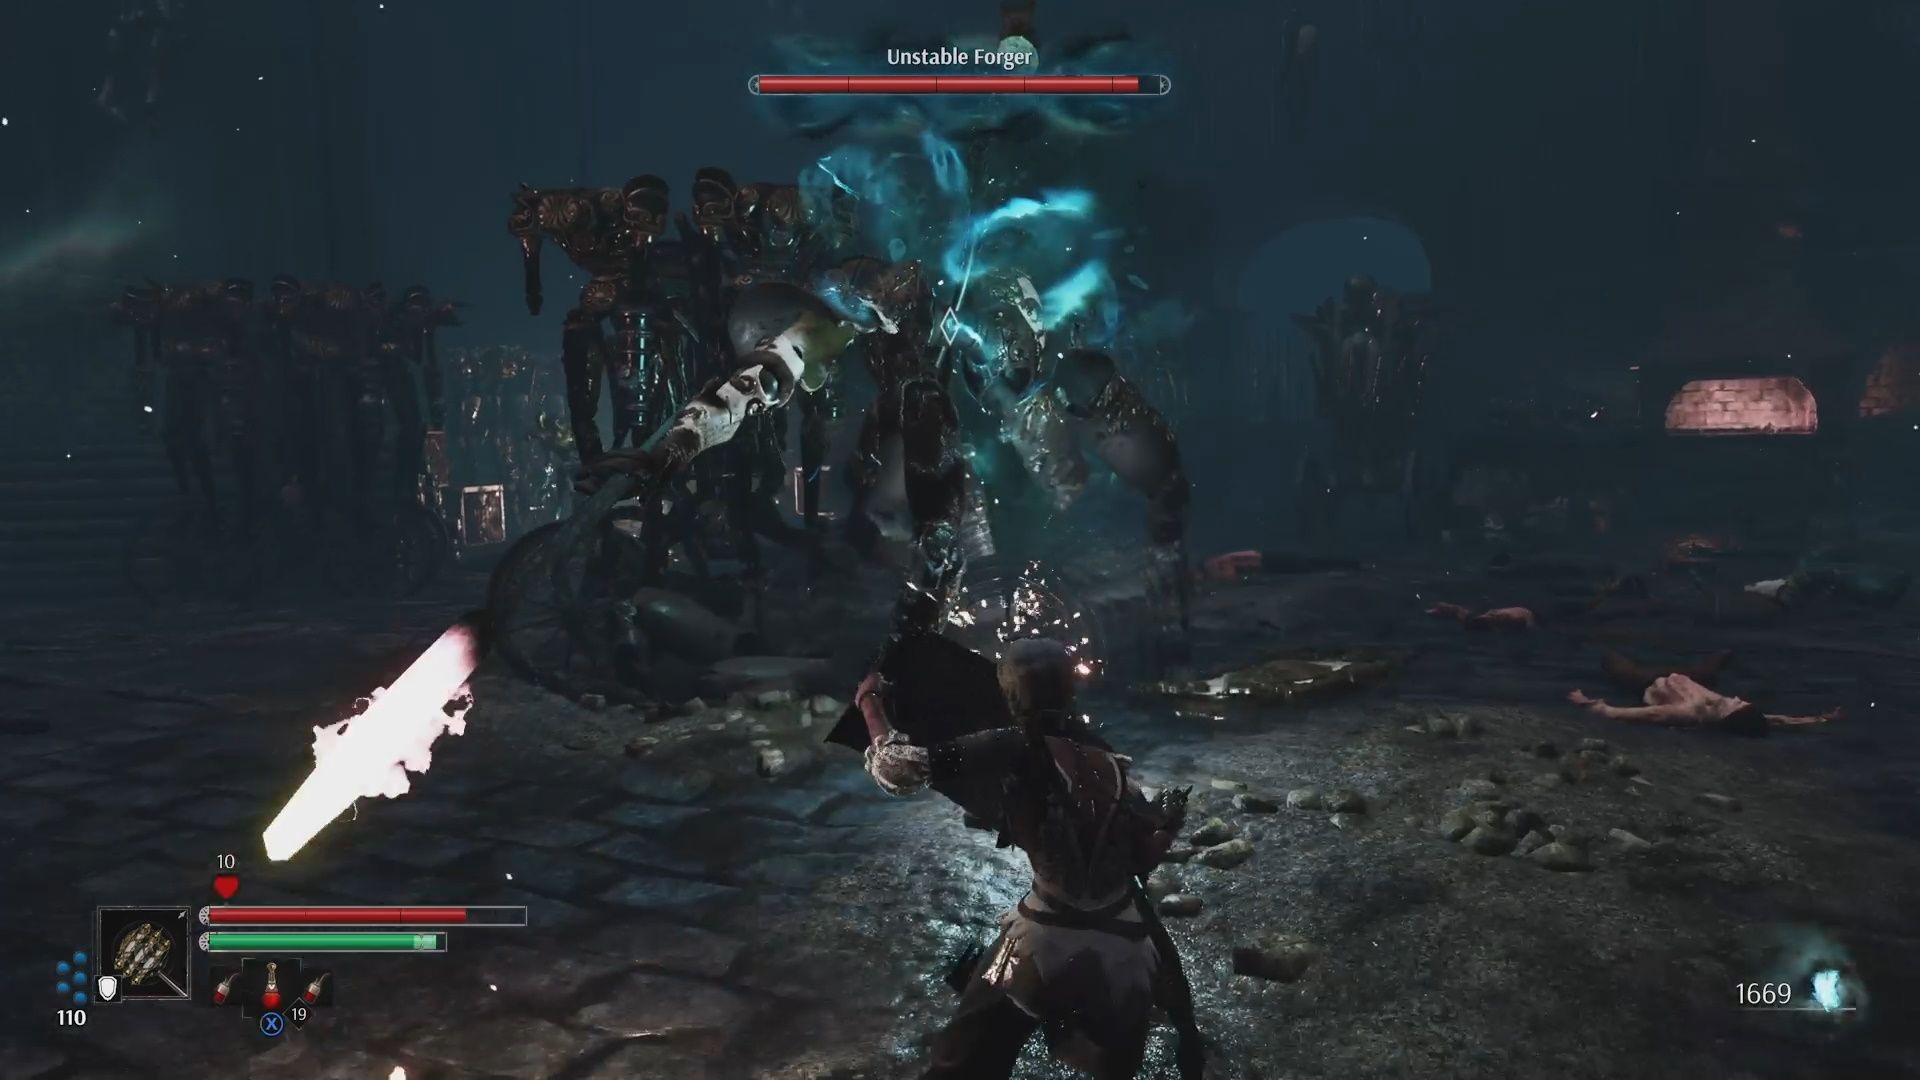
The Unstable Forger is an aggressive, powerful, rangy boss. He has the ability to hit you from a surprising distance. While each swing of the spear is telegraphed, as he winds up every time, they still come out pretty quickly. Generally, the Unstable Forger points the tip of its spear at you as they charge a stabbing attack, while the spear point is aimed to the side as they prepare a swiping attack.
When you see the Unstable Forger twirl his spear, you know he is about to start hammering it, which causes shockwaves that hit all around him. If you see him stomp his feet twice, then you know they are about to do a powerful spear slam that will also cause a shockwave.
The Unstable Forger also has an attack that sees their head turn into a rapidly swinging hammer. When they perform this move they will chase you down. Just circle them to the best of your ability. Or if you have a shield, blocking them with it will stop this attack dead in its tracks. On that note, nearly all their moves are blockable with the shield ability (though you are better off not blocking that powerful swing attack). So, if your weapon has that shield sub-ability associated with it, then that will come in handy here.
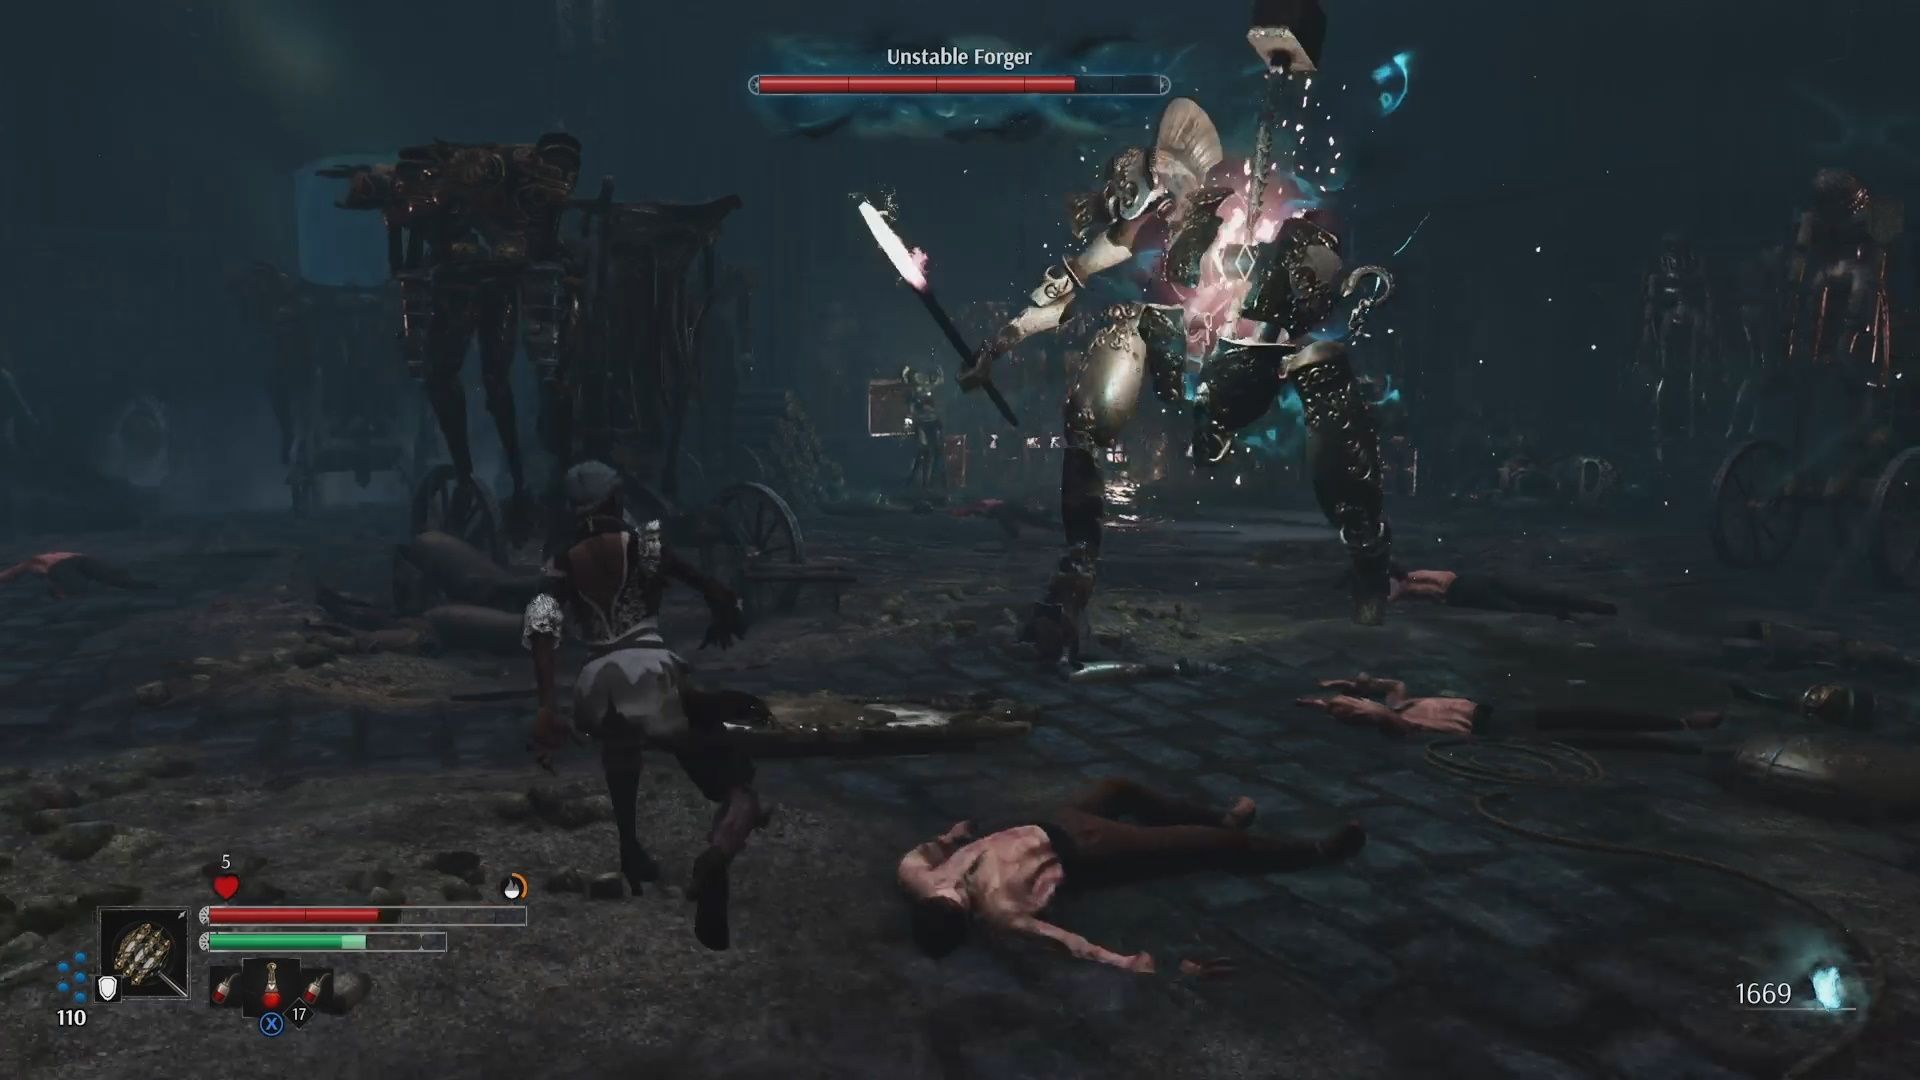
It is important to note that most of their attacks are imbued with fire. So, if you do get hit—and you are set on fire—start dashing around the arena to put out the flames.
Getting behind the Unstable Forger will give you plenty of opportunities to deal damage. However, you should still be careful, as those wide swinging attacks will still sometimes clip you, even if you are facing the Forger's back. Similarly, you will need to keep an eye out for their forging ability. Ultimately, your goal is to dodge through their spear stabs and swipes (or block them if you have a shield), get behind the boss, and attack their back. Disengage whenever they use their forging attack, and look to dodge their big swiping attacks at all times.
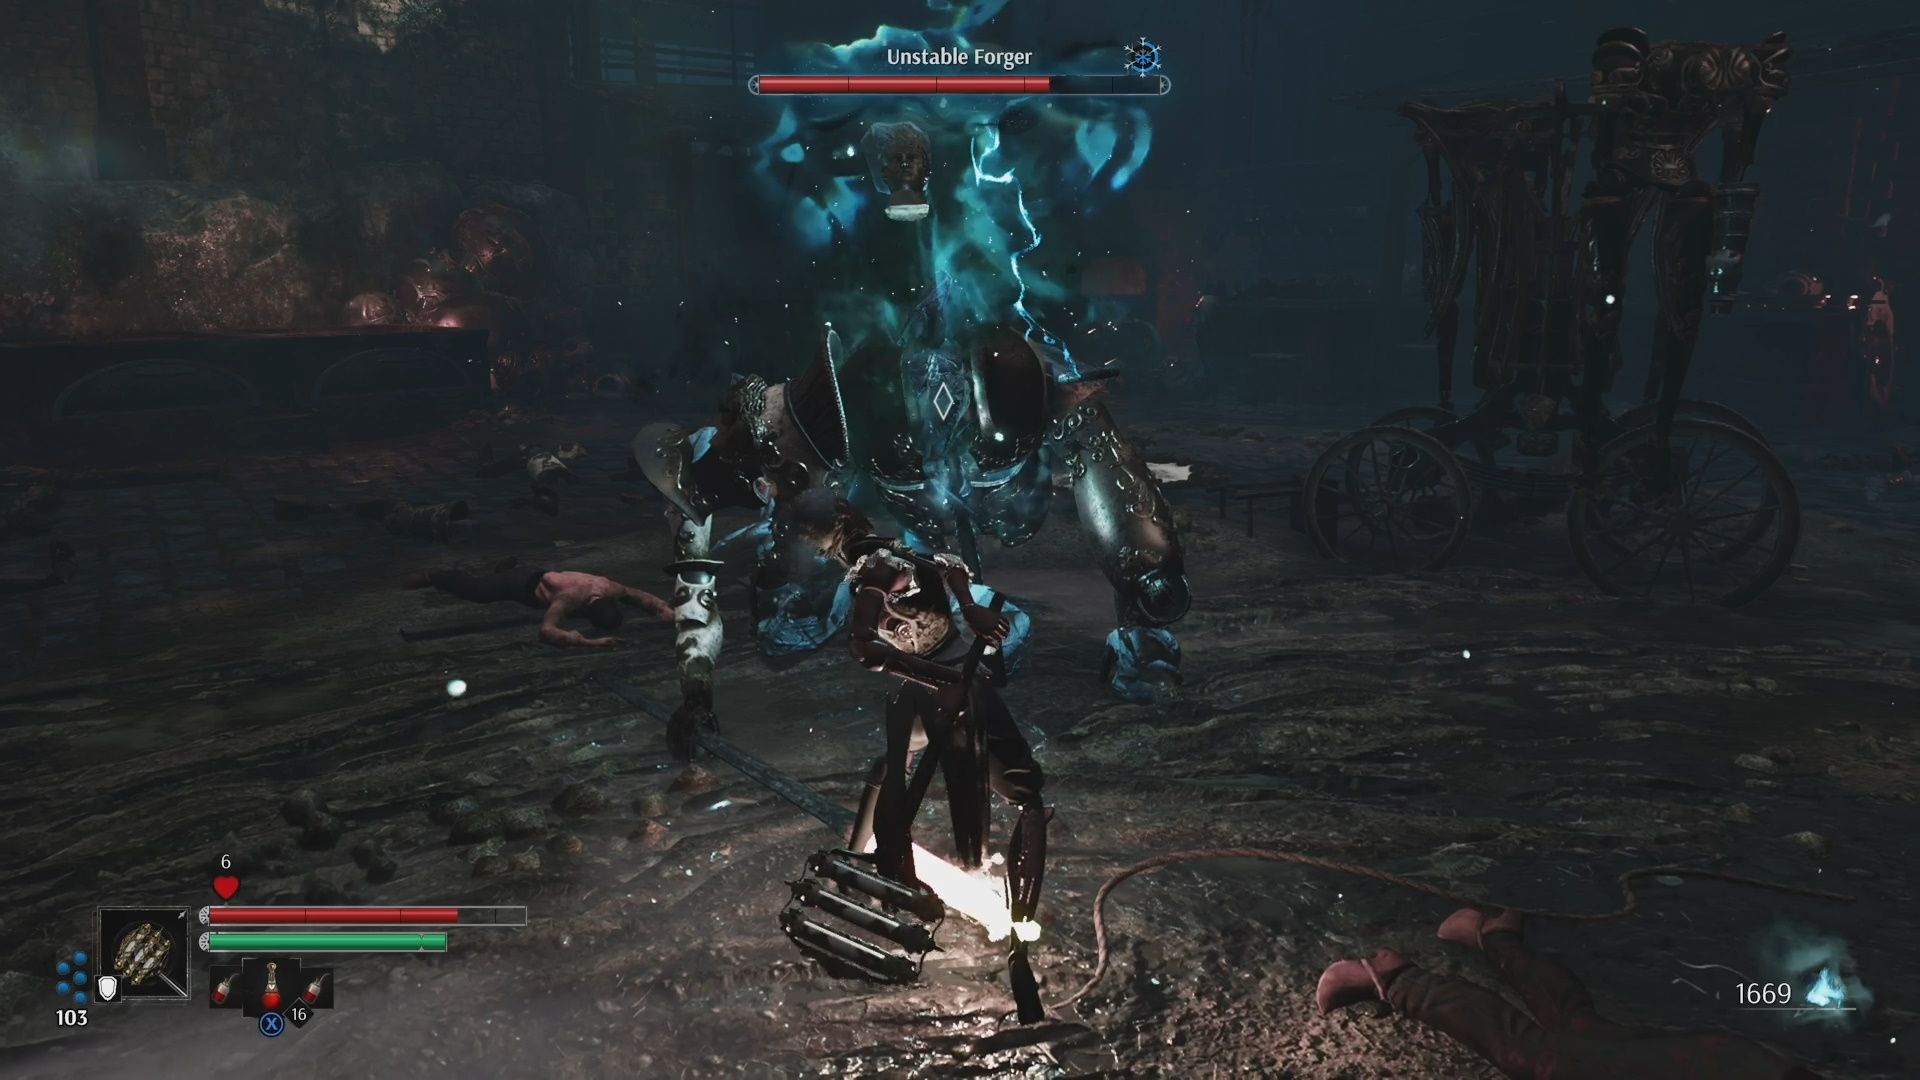
Or, if you want, you could just shoot them with your Shielded Musket to freeze them from a distance, and then hit them with fully charged attacks from your primary weapon. Yes, that cheesy method works quite well here.
Once you beat The Unstable Forger, you will receive a Module Key and the Grade 1 Fight Or Flight module.
(Return To) The Factories
Now, go up the stairs and grab the weapon upgrading material. In this building, you will encounter a Lancer. They will be firing at you from a distance, but be careful, there is another Lancer around the corner who will fire at you once you get in attacking range of the first one. Once you take the two of them out, you will go down some stairs and enter out into the street. Open the gate to The Forger's boss arena, and head down the path. You will now be entering The Factories again.
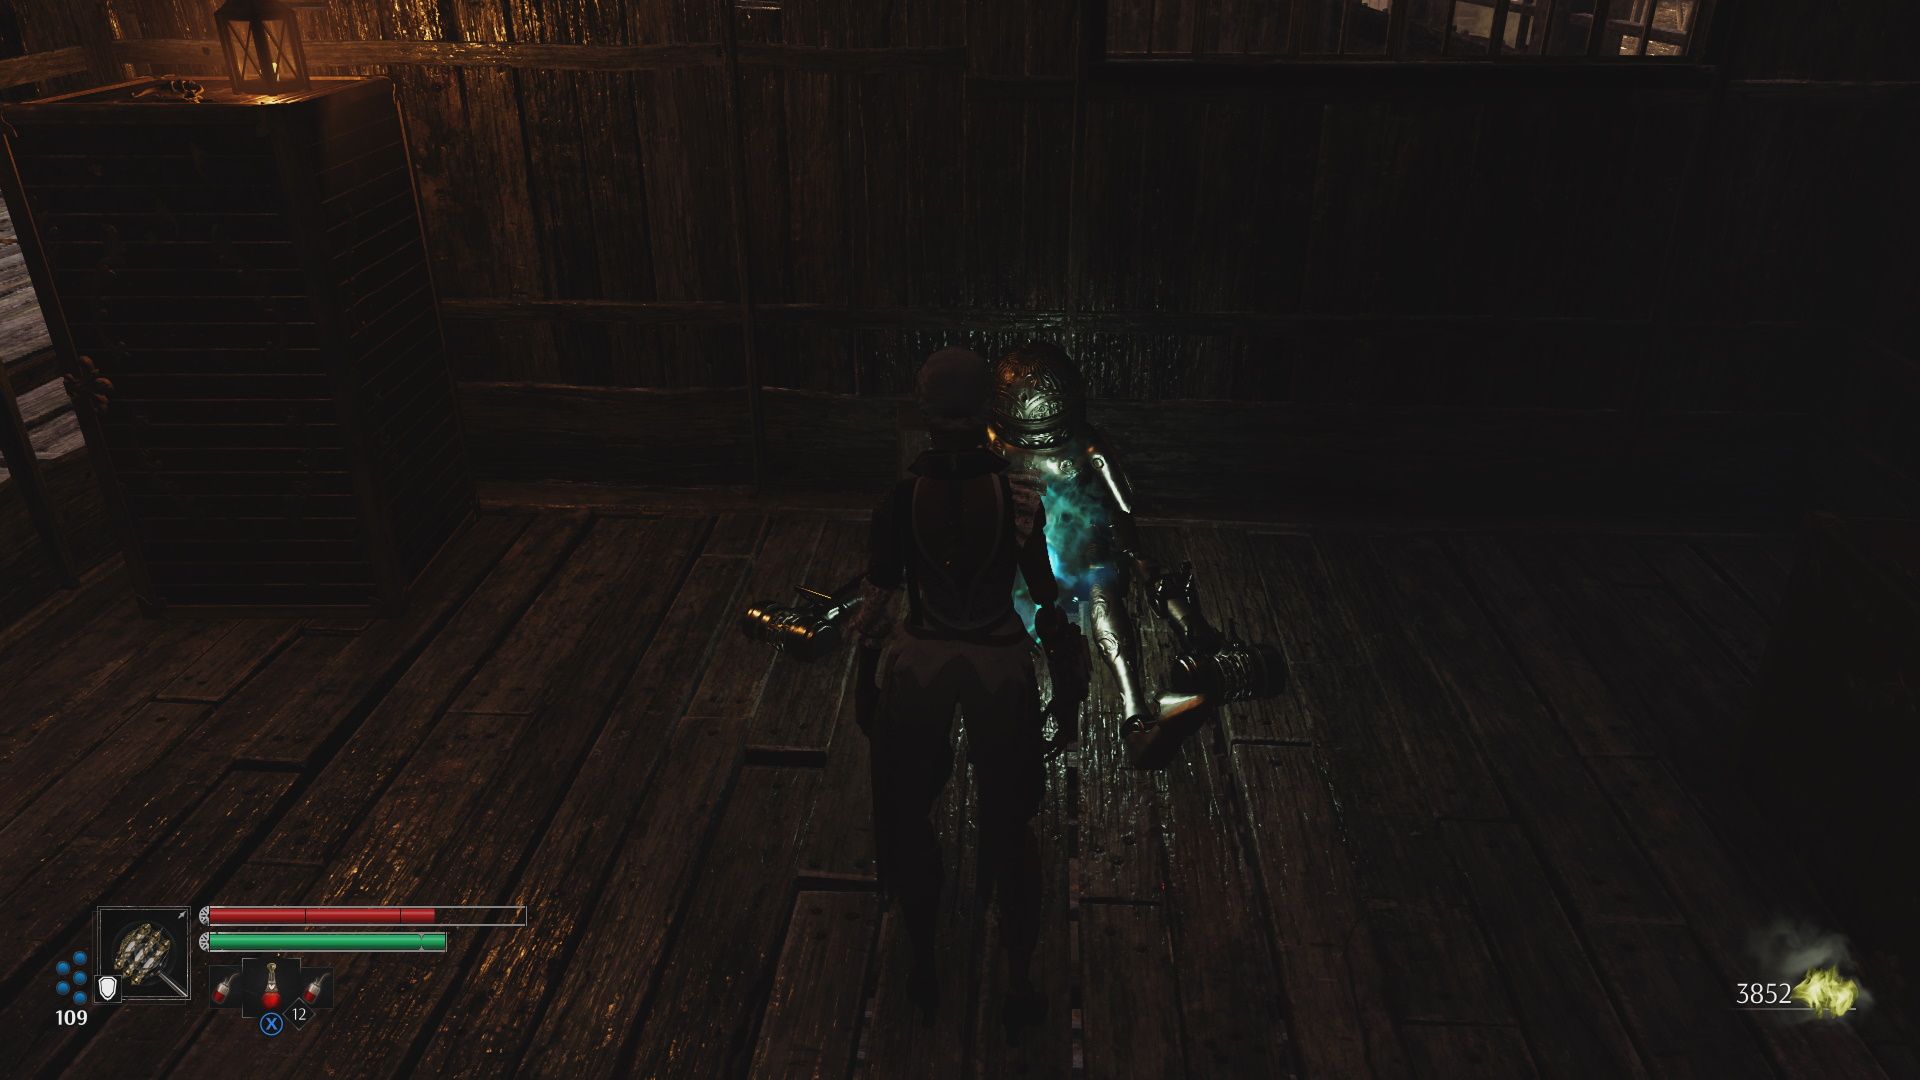
Kill the standard Automat, and repair the steam engine. You will hop across a short gap and enter another building. Take out the Lancer Automat, and climb the stairs. Now, fight the Ball-And-Chain Automat. Once you kill it, take a left and grab the Immobilization Module from the downed Automat leaning against the wall.
Now, jump out of the hole in the wall, and you are back at Eugene De Vaucanson's Workshop. The elevator will now be operational. Take it up to the top, and you will be rewarded with a story sequence. You are now finished with the Les Invalides section of the game. Well, for now, at least.

