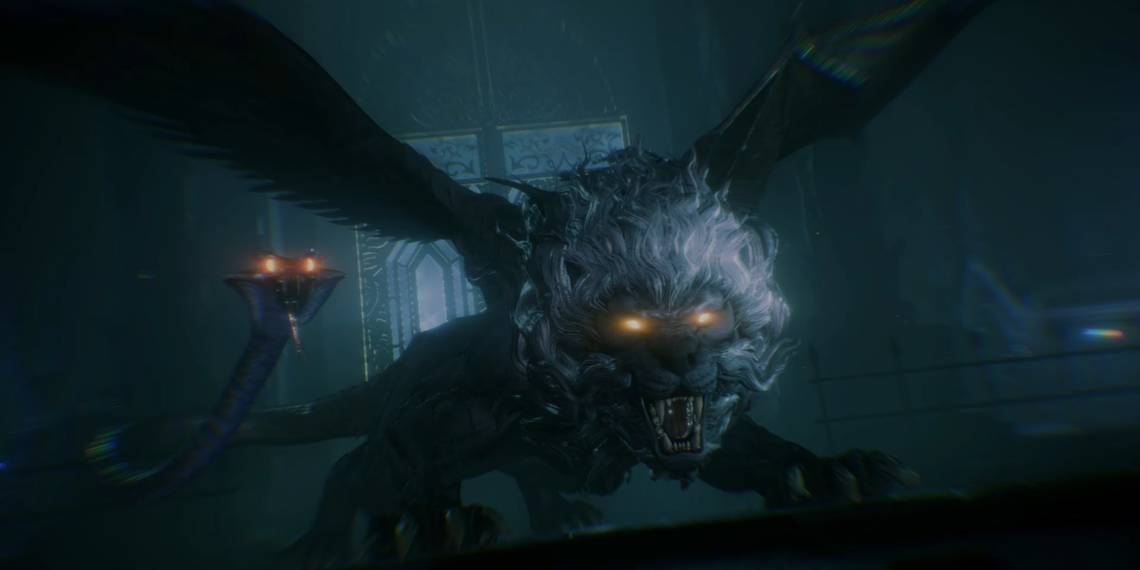
The Chimera is a mythological creature that you'll find in countless games, especially RPGs. Final Fantasy is no exception, and Stranger of Paradise Final Fantasy Origins turns the beast into a fully-fledged boss, with two phases and everything.
This boss fight can get a bit hectic if you don't know the best way to beat it, and it can be tricky to figure out. Luckily, we have you covered on that front. Stick with us, and we'll guide you on your way to victory.
Where Is Chimera Located?

Chimera is the boss you'll face at the end of the A Familiar Place story mission, which takes place in the Crystal Tower.
After traversing up the tower, reminiscent of Final Fantasy 3, you'll be faced with a large door - behind these doors is the abomination known as Chimera. Luckily, there's a Cube station nearby, so heal up and get ready for the fight.
Pre-Battle Preparations

While Chimera is a solitary opponent, it can feel like fighting a whole horde. It has multiple heads that can all attack - something that may be your undoing in the second half of the battle, where four of them will target you at once. The key to the battle is to keep calm and learn the Chimera's attack patterns.
Recommended Jobs
The best Jobs for this fight will be those that pack a significant wallop. It might not be a bad idea just to choose Jobs that match your most potent weapons!
If you want to give this a bit more forethought, consider using a Job that can use Fist weapons. It's quite easy to get long attack chains going on the Chimera once you've figured out a safe place to attack from, and Fists are great for relentlessly attacking and then staggering the boss. For this reason, Monk is our recommended Job of choice.
Having a ranged option is also pretty useful for the first phase of the fight, as the Chimera likes to fly up into the air and attack from above. Dragoon has the risky Jump ability, which could cut the Chimera down to size, but you might be better off picking Black Mage for its Thunder spells, which can strike both from above and from any part of the arena.
Recommended Party Members
At this point in the game, you don't really have many options for party customization. Of the three, it's recommended to at least include Ash thanks to his Fist weapons - especially if you can pair them with your own. Just equip your allies with the best equipment they can use - they're more useful as cannon fodder in this fight, anyway.
Chimera Boss Battle Phase One

In the first phase of this battle, Chimera has two primary forms of attack: on the ground and in the air.
On the ground, Chimera likes to use a mix of melee and ranged attacks.
- Thunderous Deluge is a large AoE attack centered around Chimera. Dodge away from the beast to avoid it.
- Body Slam sees Chimea leap into the air and crash down on top of you. This is a good attack to block as it's open for a counterattack once it lands.
- Thunder Roar sends lightning along the ground in multiple directions. This one is easy to avoid, especially if you're a decent way away from it.
- Dark Breath and Snake Breath are often used together, with Snake Breath coming from its snake-like tail. Just be wary that both ends will attack. The Snake Breath can be used to attack one of Chimera's sides, too, so keep an eye on the tail.
- Chimera can also use nasty physical attacks from the front, mainly claw swipes and bites.
In the air, Chimera tends to go for more ranged attacks.
- Dark Cannon is a basic ranged darkness attack that you can absorb with Soul Shield. Throwing it back at Chimera will deal a decent amount of Break Gauge damage, so save it for a big assault. It can also use this attack when on the ground.
- Earthbreaker is an unblockable attack that Chimera will use when it wants to come back to the ground. Dodge away from the boss twice to get out of the attack's range.
- Chimera's main physical attack in the air is a diving swoop. It deals a lot of damage and may be used multiple times in succession, so get your guard up rather than trying to dodge out of the way.
The Chimera can also use Silencing Stare and Thundara. The former comes from the snake tail and can totally prevent you from using your skills - it doesn't only prevent magic in this game.
To combat the Chimera, it's a good idea to learn its attacks and play hit-and-run with it. Close in whenever you can and smack it with hard-hitting, strong attacks before moving back to avoid its strong counters.
Attacking the Chimera's back and sides is a good idea, as many of the Chimera's most dangerous attacks come from the front. Use the directional buttons to get your allies to taunt the boss, and you'll have an easier time hitting it where it hurts. If you do enough damage to the Chimera, you might break one of its body parts - this will cause it to waste some time using Regeneration to get it back.
Once you have it down to half health, you can use a Soul Burst and progress to the fight's second half.
Chimera Boss Battle Phase Two

Without wings, the Chimera is angry. It now has a dragon head and a goat head to go with its lion head and snake tail, and you'll have to deal with all four if you want to come out on top. The good news is that the snake tail will now spend most of its time facing forwards with the rest of the heads, so the Chimera's back is even more of a target. Even better, it lost its annoying Body Slam move.
-
In this phase, the Chimera's attacks gain a lot more range and a lot more power.
- Thunder Roar, for example, will now send even more bolts of lightning across the floor, so you'll probably be better off trying to block it with a Soul Shield rather than blocking it.
- Thundara is now a great deal more threatening, so beware of its large area of effect when it gets cast.
- Deadly Chorus is a brutal new move that utilizes all four of its heads to puke various dangerous breaths across the area. When it uses this attack, try to stay around the Chimera's back legs - this is the safest spot to stand and take advantage of the prolonged attack animation to deal damage.
- Sorcerous Torrent is like Deadly Chorus but will send lots of projectiles in various directions. You'll probably have to watch carefully with this attack, and react as fast as possible to dodge out of the way or absorb the attack with a Soul Shield. This attack does not provide a safe spot to attack.
- Chimera will still use Dark Cannon and will now also use Flame Breath from its dragon head. It's a good idea to absorb both whenever possible to be able to launch a volley of magic back at the abomination, dealing a decent chunk of Gauge damage.
While this phase is a lot more chaotic than the last, it's probably a great deal easier - primarily because of the lack of Body Slam. It's viable to keep the pressure on the Chimera, staying close to its back legs and dealing as much damage as possible, only moving away when you need to avoid a large AoE attack. Keep to its back legs, and you should avoid most attacks anyway.
Once you've reduced either its health or Break Gauge to zero, use a Soul Break and savor the victory.