Quick Links
For a game with roots dating all the way back to 1995, Tactics Ogre: Reborn goes hard on its branching narrative paths. Following on from the first chapter's (add link) climax, where players were forced to either massacre innocents in the name of the lawful straight-and-narrow or risk becoming a hunted pariah, Chapter Two: Chaos Route takes the gloves off.
The result is an appropriately melodramatic tale about a brother and sister on the run from society at-large. It's only fitting, then, that the second chapter ramps up the challenge. Help Denam and Catiua evade the consequences of their boldness with this guide.
Story Battle: Port Asyton
|
Enemies |
Leader: Arycelle (Archer) |
|
|---|---|---|
|
2x Knight, 2x Archer, 1x Warrior, 1x Rune Fencer, 1x Cleric |
||
|
Deployment |
8 Units |
|
|
Guests |
Catiua |
|
|
Victory Condition |
Defeat Arycelle |
|
|
Difficulty |
★★☆☆☆ (2/5) |
|
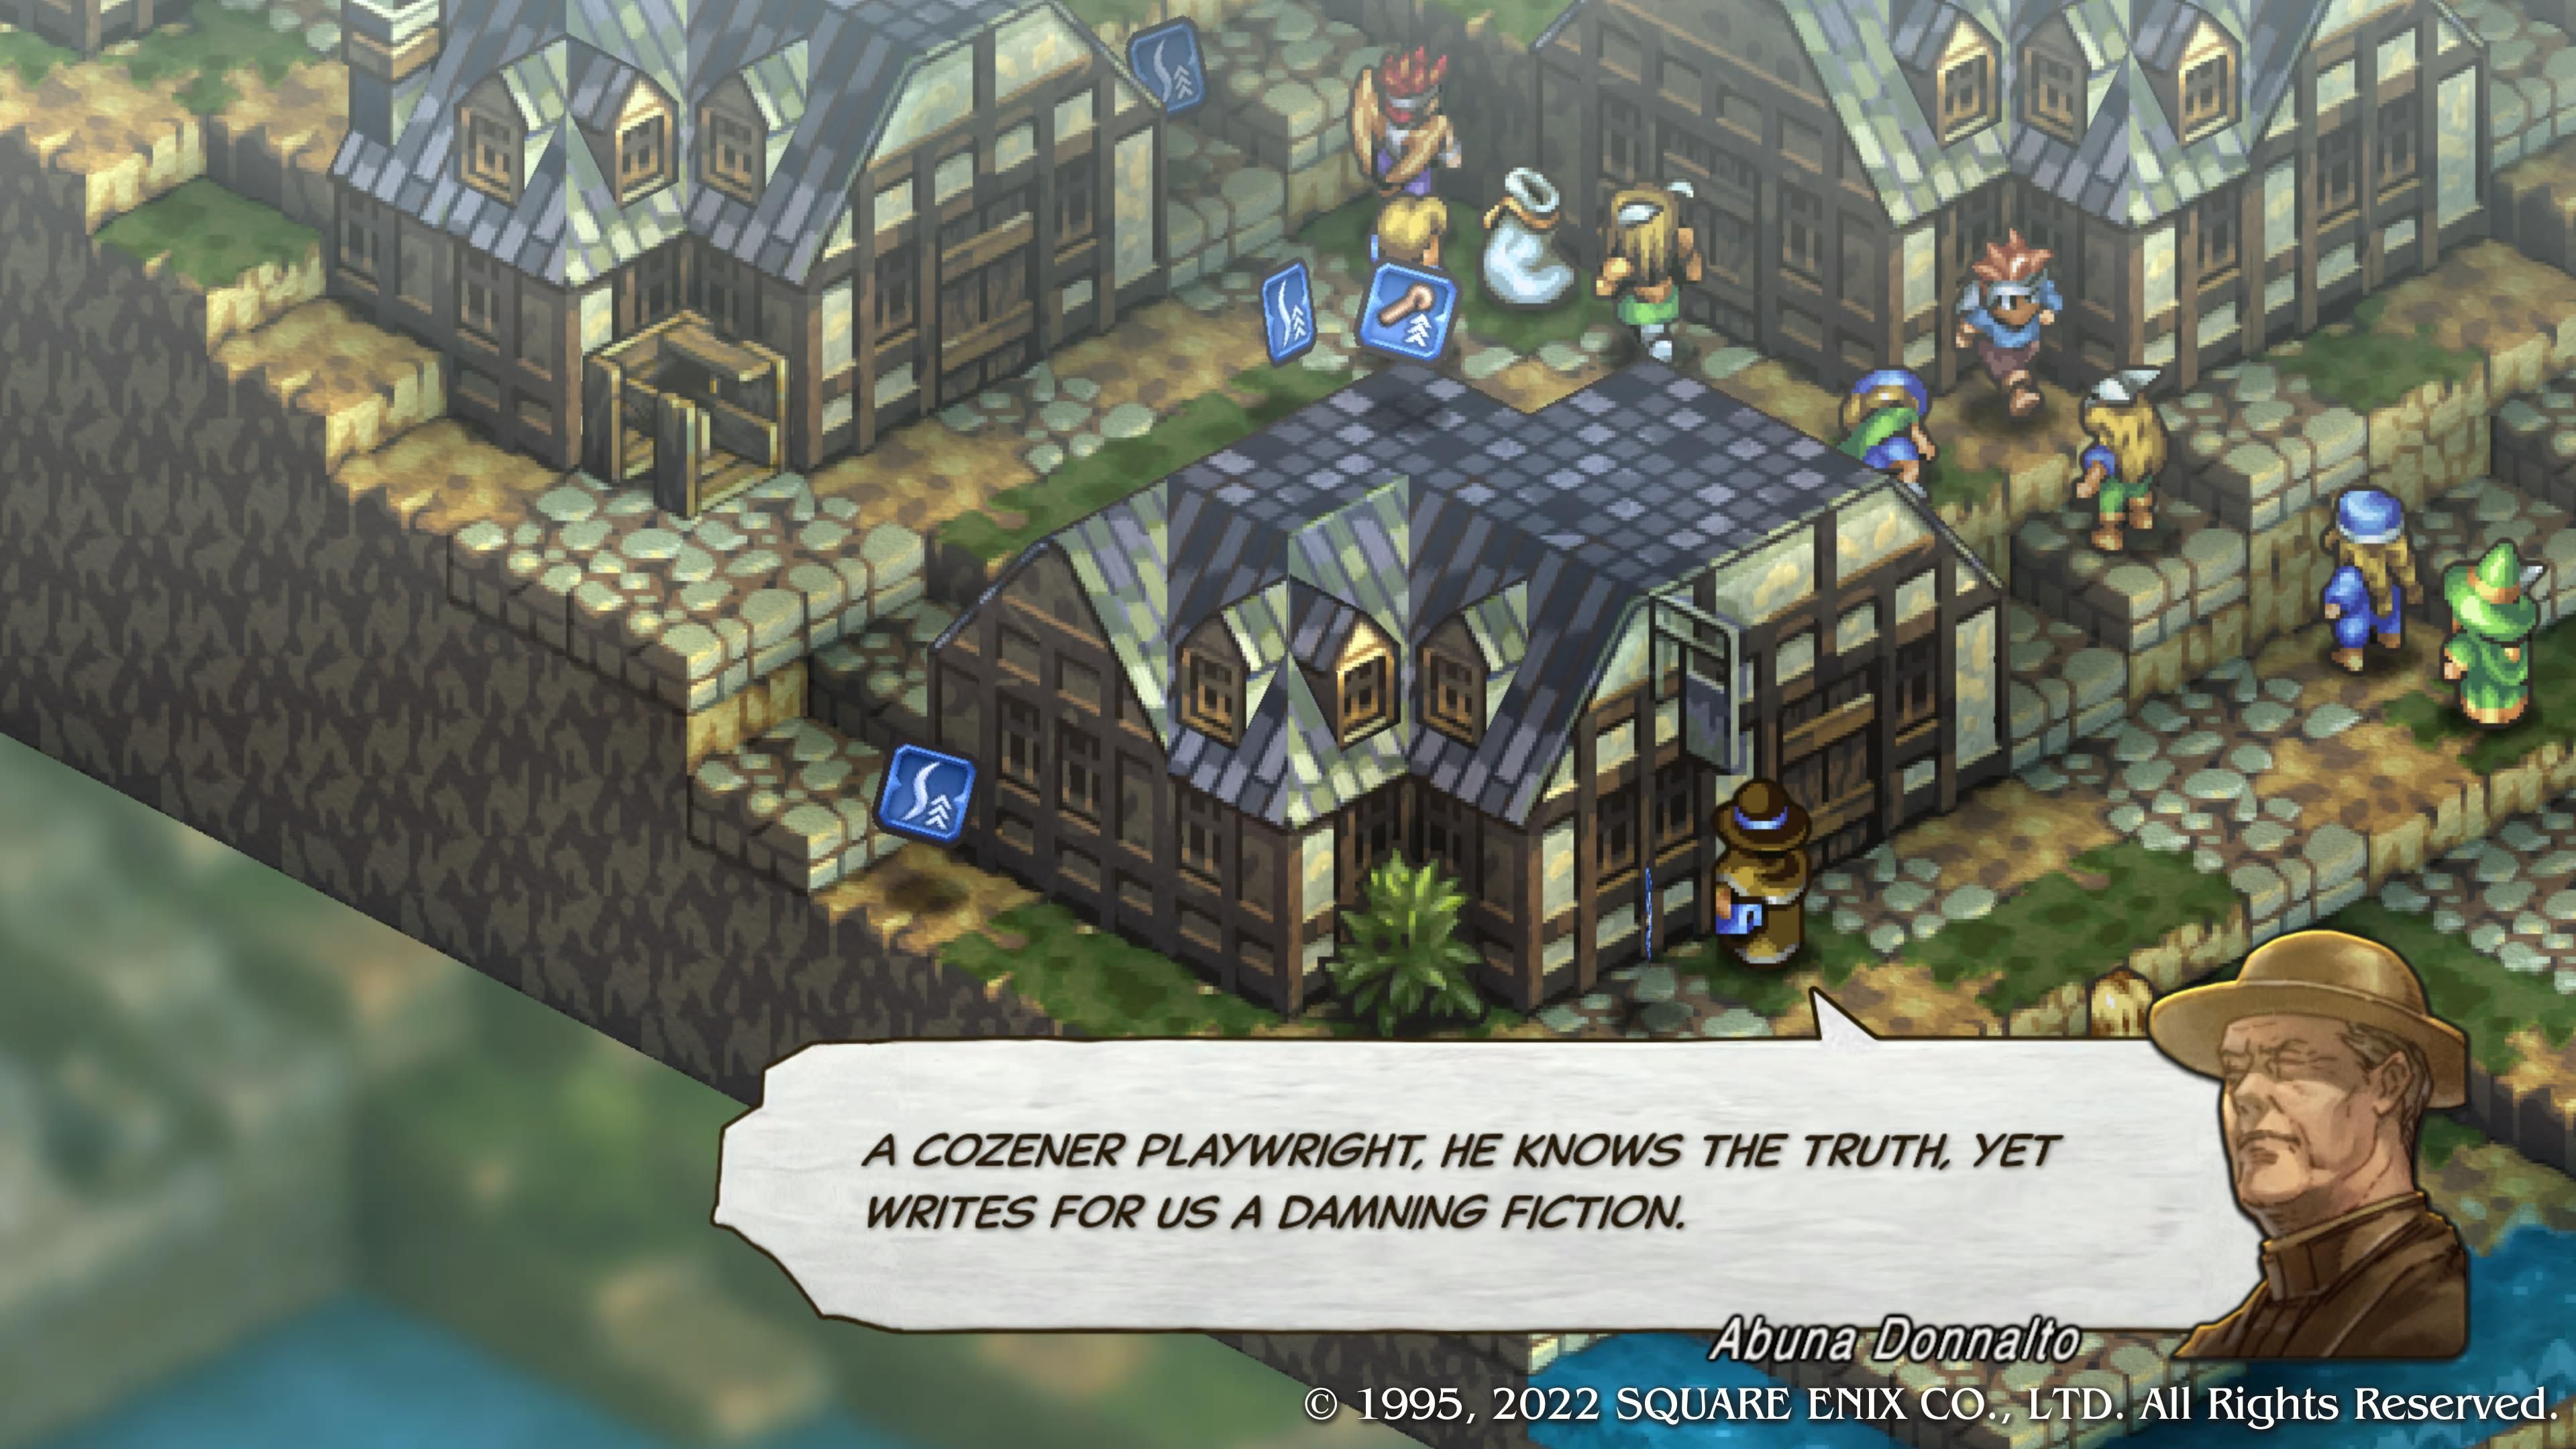
As will be the case with several battles this chapter, the degree of difficulty you'll bump up against at Port Asyton will climb if you intend to take down every enemy unit. In general, we advise against this approach; with Tactics Ogre: Reborn's Union Level mechanic, you're going to brush up against leveling limitations frequently enough that there's less cause to milk your foes for more experience points.
- With that out of the way, begin by creating a wall of sorts between the two southern buildings with your melee units.
- Nine times out of ten, the majority of Arycelle's troops will funnel themselves in here, giving you golden opportunities for Pincer Attacks. Bring a spear-wielder for an even better time, as their counterattacks will strike two units every time.
- The Knights will likely fall prey to your funneling ploy, but if they don't, take a Cleric around the far side of the houses as an escort for the couple of attackers you're sending to handle Arycelle directly. They will encounter some resistance while en route, just not a ton.
- As a bonus for your makeshift bulwark between the buildings, you will likely keep Catiua confined behind your melee units, saving her AI from any silly mishaps (and assuring you have a healer).
Before moving on from Port Asyton, make sure you have at least one character (preferably two) capable of casting Lightning Bow and/or Thunderflare.
Story Battle: Rhea Boum
|
Enemies |
Leader: Xapan (Berserker) |
|
|---|---|---|
|
2x Octopus, 2x Archer, 2x Warrior, 1x Terror Knight, 1x Beast Tamer |
||
|
Deployment |
8 Units |
|
|
Guests |
Catiua |
|
|
Victory Condition |
Defeat Xapan |
|
|
Difficulty |
★★★☆☆ (3/5) |
|
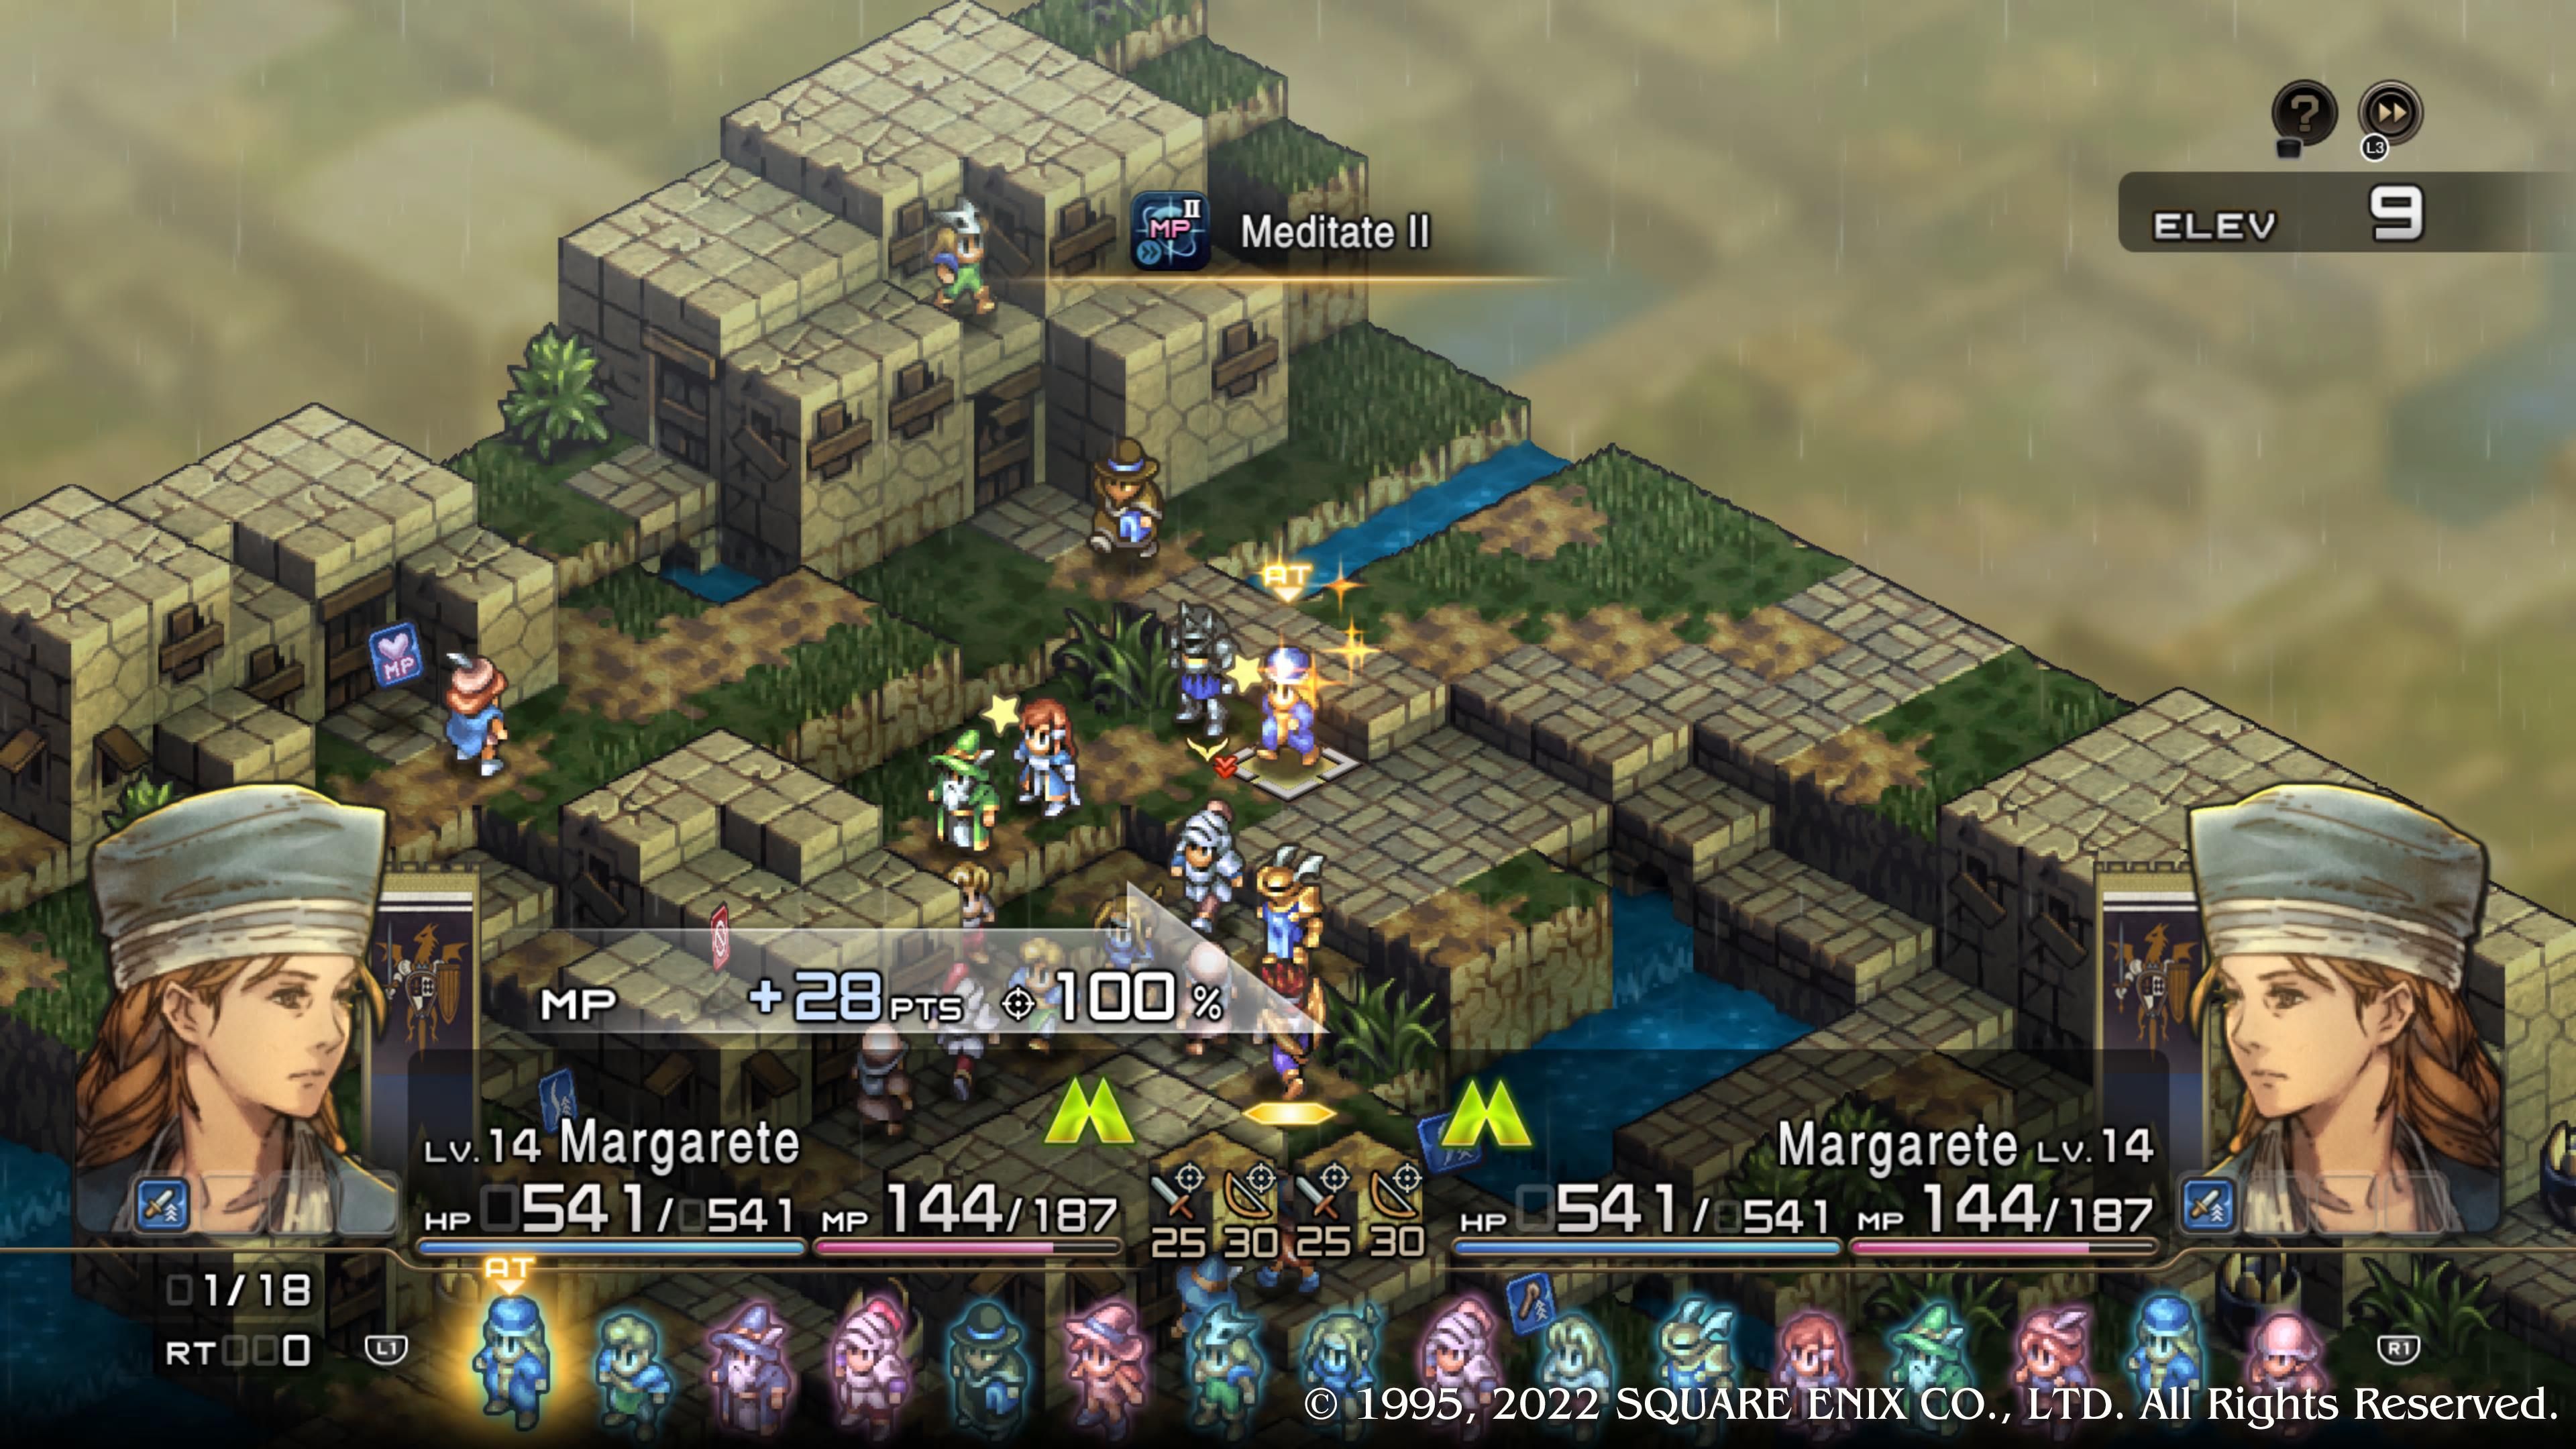
If you've followed our advice and have Lightning-elemental magic (or you didn't need our advice because you already did), this won't be so bad.
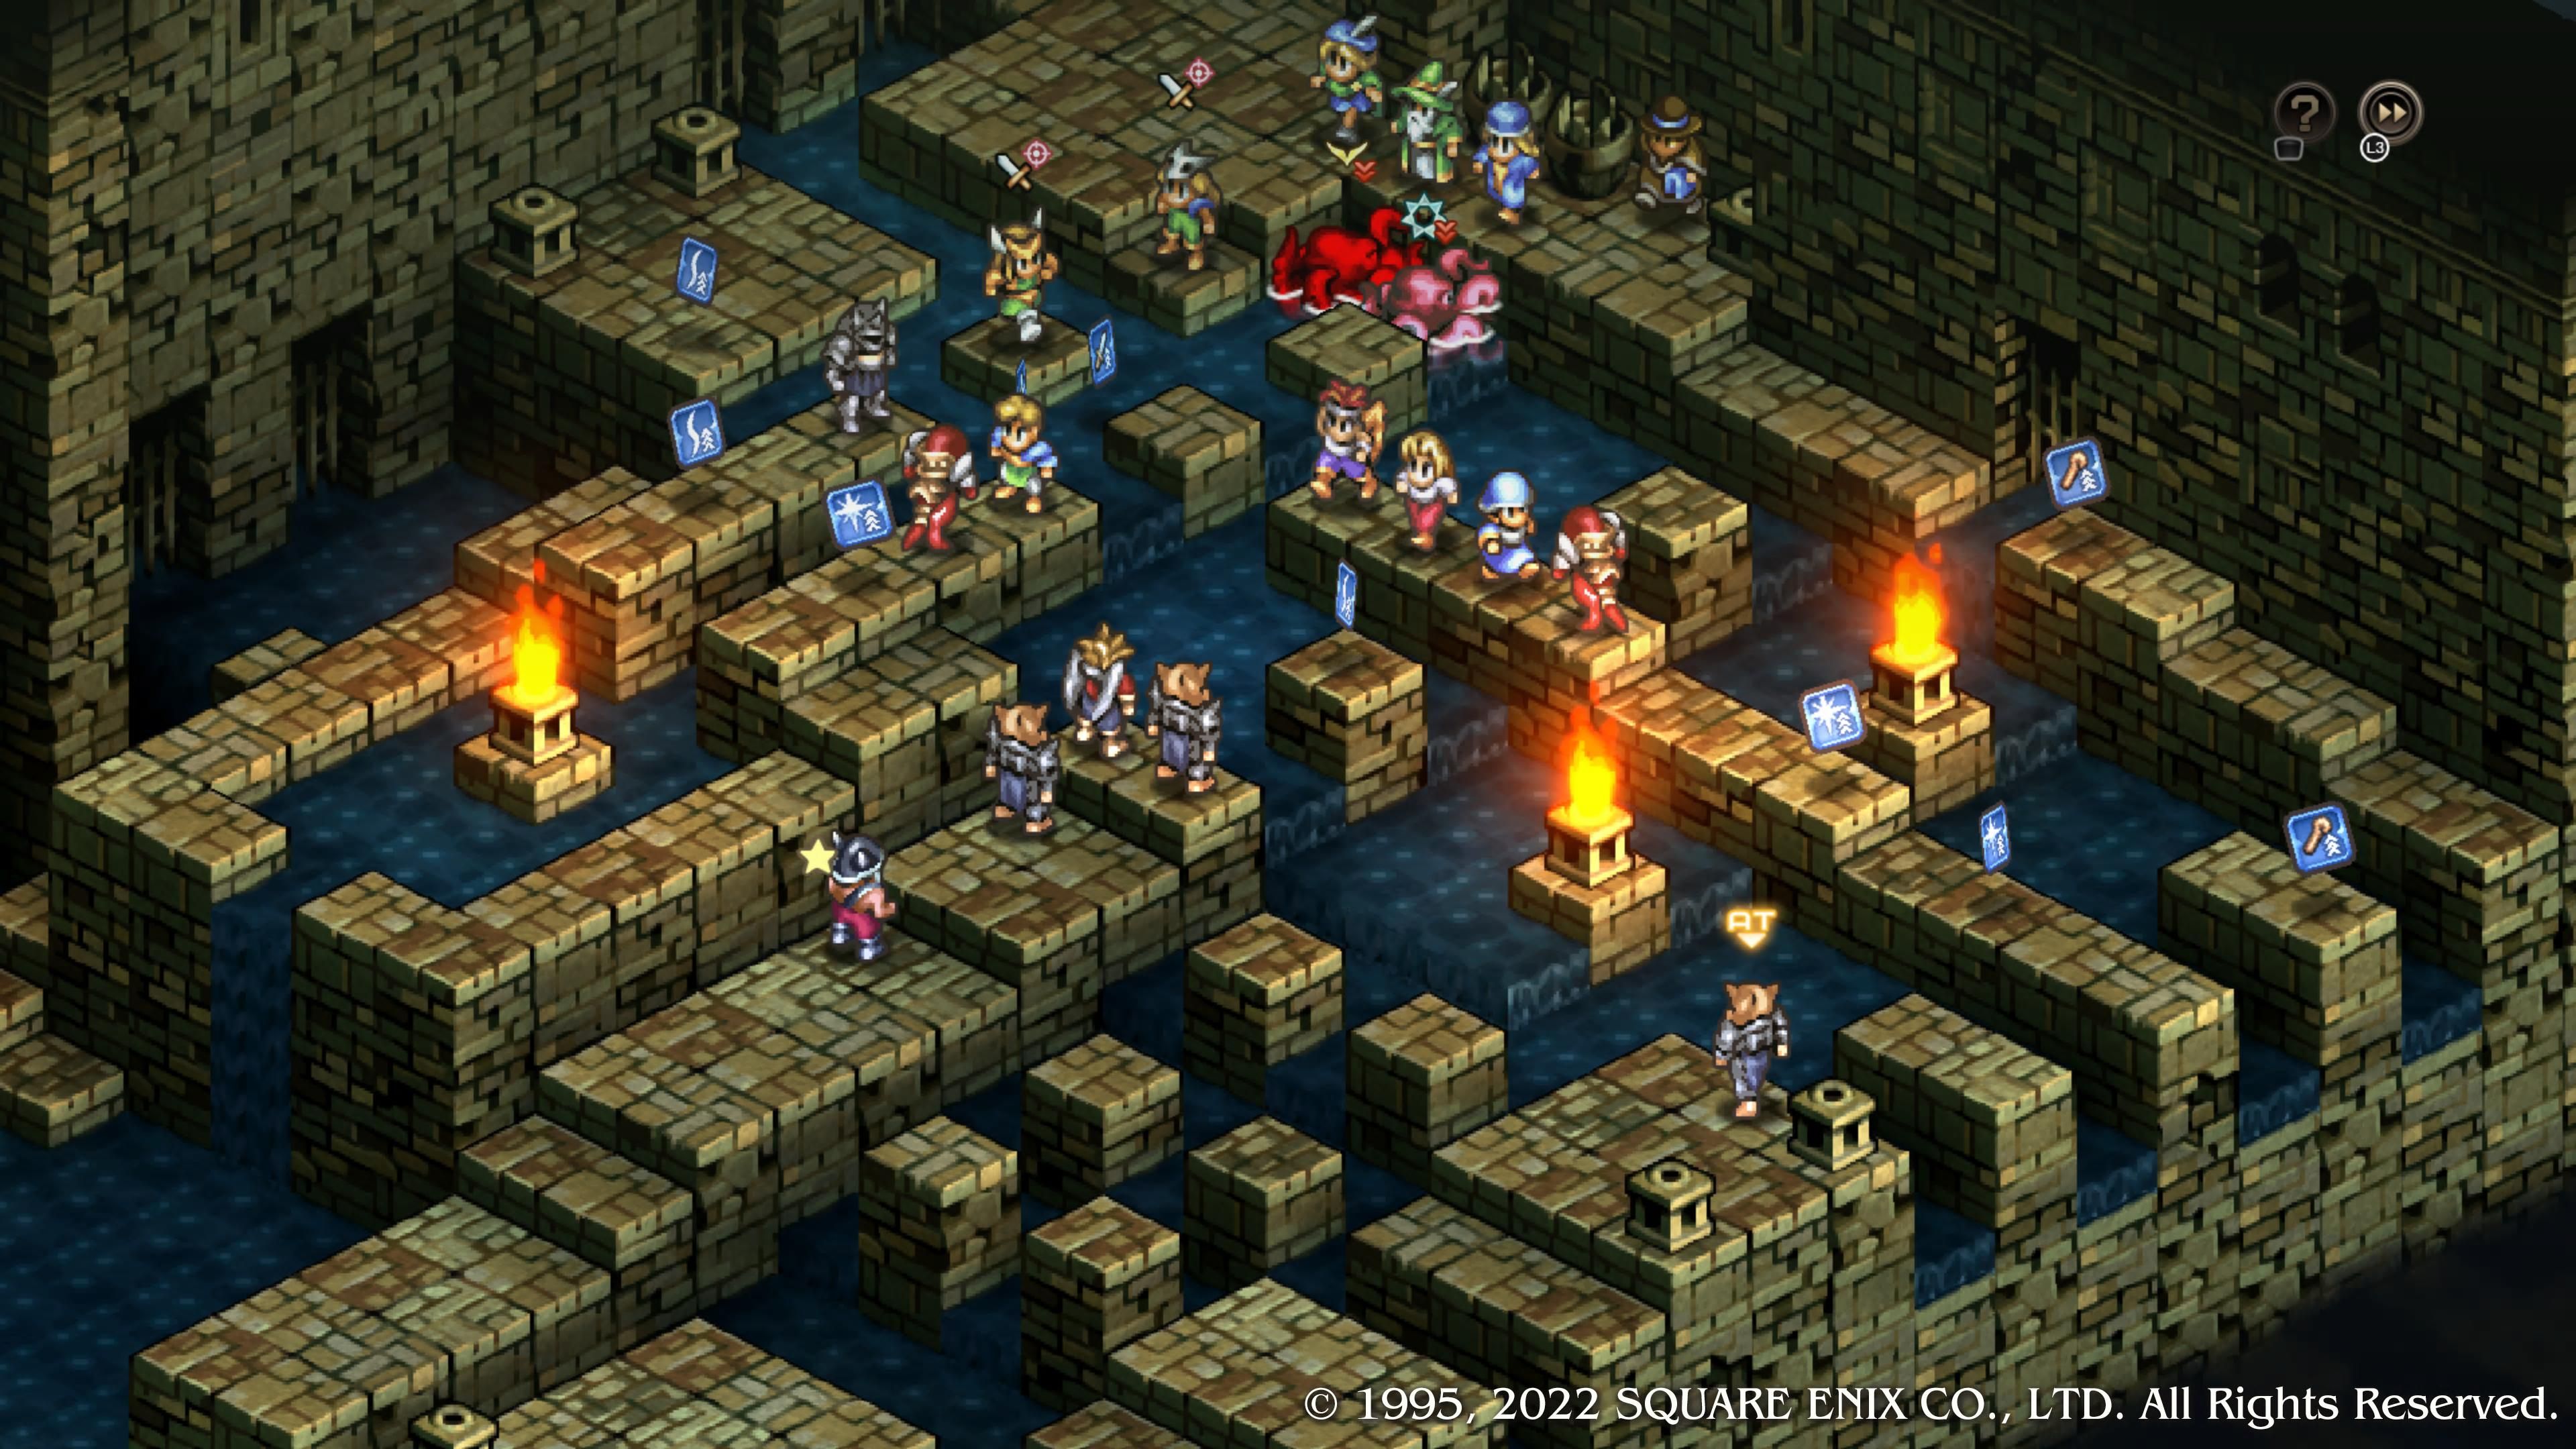
- Xapan's Octopi are the big threat of this stage. In water, these foes can be tough, and it just so happens that, Rhea Boum being an aquedect, there is a great deal of water.
- Sort them out with Lightning magic lobbed from afar whilst holding the line with your melee units.
- As soon as they're seafood, send in a hit squad in whichever direction offers the least resistance from Xanpp's remaining units, taking him out and ending the match.
Story Battle: Xeod Moors
|
Enemies |
Leader: Vance (Rune Knight) |
|
|---|---|---|
|
2x Archer, 2x Clay Golem, 1x Berserker, 1x Knight, 1x Warrior, 1x Rogue, 2x Familiar |
||
|
Deployment |
8 Units |
|
|
Guests |
Catiua, Arycelle |
|
|
Victory Condition |
Defeat Vance |
|
|
Difficulty |
★★★☆☆ (3/5) |
|
We're going to operate under the assumption here that you want to save Arycelle, who has been ambushed by Vance and his gang at the beginning of the fight. If you don't care to do so, things become much more straightforward. On the other hand, you miss out on gaining a unique unit, as well as any dialogue she might chime in with going forward.
- That said, Arycelle will probably retreat toward you, saving you from a complete headache. We trialed this stage thrice, and two-and-a-half times, her AI was sensible enough to withdraw (albeit while using up some much-needed time firing back at the enemy, but that's fine).
- The "half a time" wherein we had issues, Arycelle began by retreating toward Denam and the rest of the party, before deciding to stand her ground while she close to the map's midway point. If this happens, work overtime to heal her. Thankfully, those Clay Golems seem to barrel toward us instead of her.
- Not that that's the best position for us to be in. The Clay Golems are highly resistant to physical attacks, though that shouldn't stop you from using Knights and such to hold them off while you sling spells at them.
- Only once the Clay Golems and Archers have been handled do we advise going after Vance. The plucky lad hangs back at the edge of the fight until later on, so you'll need to approach Vance only when you're prepared to do so. As a Rune Knight, he's not especially tough to whittle down.
Have you played previous versions of Tactics Ogre? If so, you may be wondering where the Rogue Marks are. Previously, Rogues were a playable class, and you could begin working on them from around this point forward. Playable Rogues have been removed from Reborn, though for what it's worth, they weren't exactly the most in-demand class to begin with.
Story Battle: Lake Bordu
|
Enemies |
Leader: Genzo (Ninja) |
|
|---|---|---|
|
2x Octopus, 2x Berserker, 2x Beast Tamer, 1x Archer, 1x Rune Fencer, 1x Cloud Dragon |
||
|
Deployment |
6 Units |
|
|
Guests |
Catiua, Arycelle |
|
|
Victory Condition |
Defeat Genzo |
|
|
Difficulty |
★★☆☆☆ (2/5) |
|
Welcome to the School of Ninjutsu, Valeria-style.
- The best thing about this battle is that Genzo is, in essence, the anti-Vance. Whereas Vance waited for you, Genzo tends to bring the fight directly to you.
- Don't underestimate the power of Genzo's Ninja spells. As a rule of thumb, we never advise relying entirely upon Catiua for a Cleric, but that really starts to matter around now, especially when Genzo can make contact with her so rapidly.
- Arycelle, on the other hand, should be mostly fine here.
- The fastest way to win the fight is to deal with the Octopi again a la Rhea Boum, then beat Genzo at his own game, focusing on the enemy leader, who will likely be up in your face by now.
Story Battle: Tynemouth
|
Enemies |
Leader: Vyce (Assassin) |
|
|---|---|---|
|
3x Warrior, 2x Archer, 1x Cyclops, 1x Knight, 1x Cleric, 1x Terror Knight, 1x Flame Dragon |
||
|
Deployment |
8 Units |
|
|
Guests |
Catiua, Arycelle |
|
|
Victory Condition |
Defeat Vyce |
|
|
Difficulty |
★★★★☆ (4/5) |
|
Remember two battles ago, when we said the difficulty will range per your regard for Arycelle's life? Same here, except it's going to be harder either way. Not only is Vyce's army better than Vance's, but Arycelle seems more... we'll call it 'gung ho' about diving into the action.
- Never let Arycelle head into the fray alone. This probably goes without saying, but it needs to be stated for emphasis. She will die, and you will have lost a unique unit just moments before she finally joins the party as a controllable character.
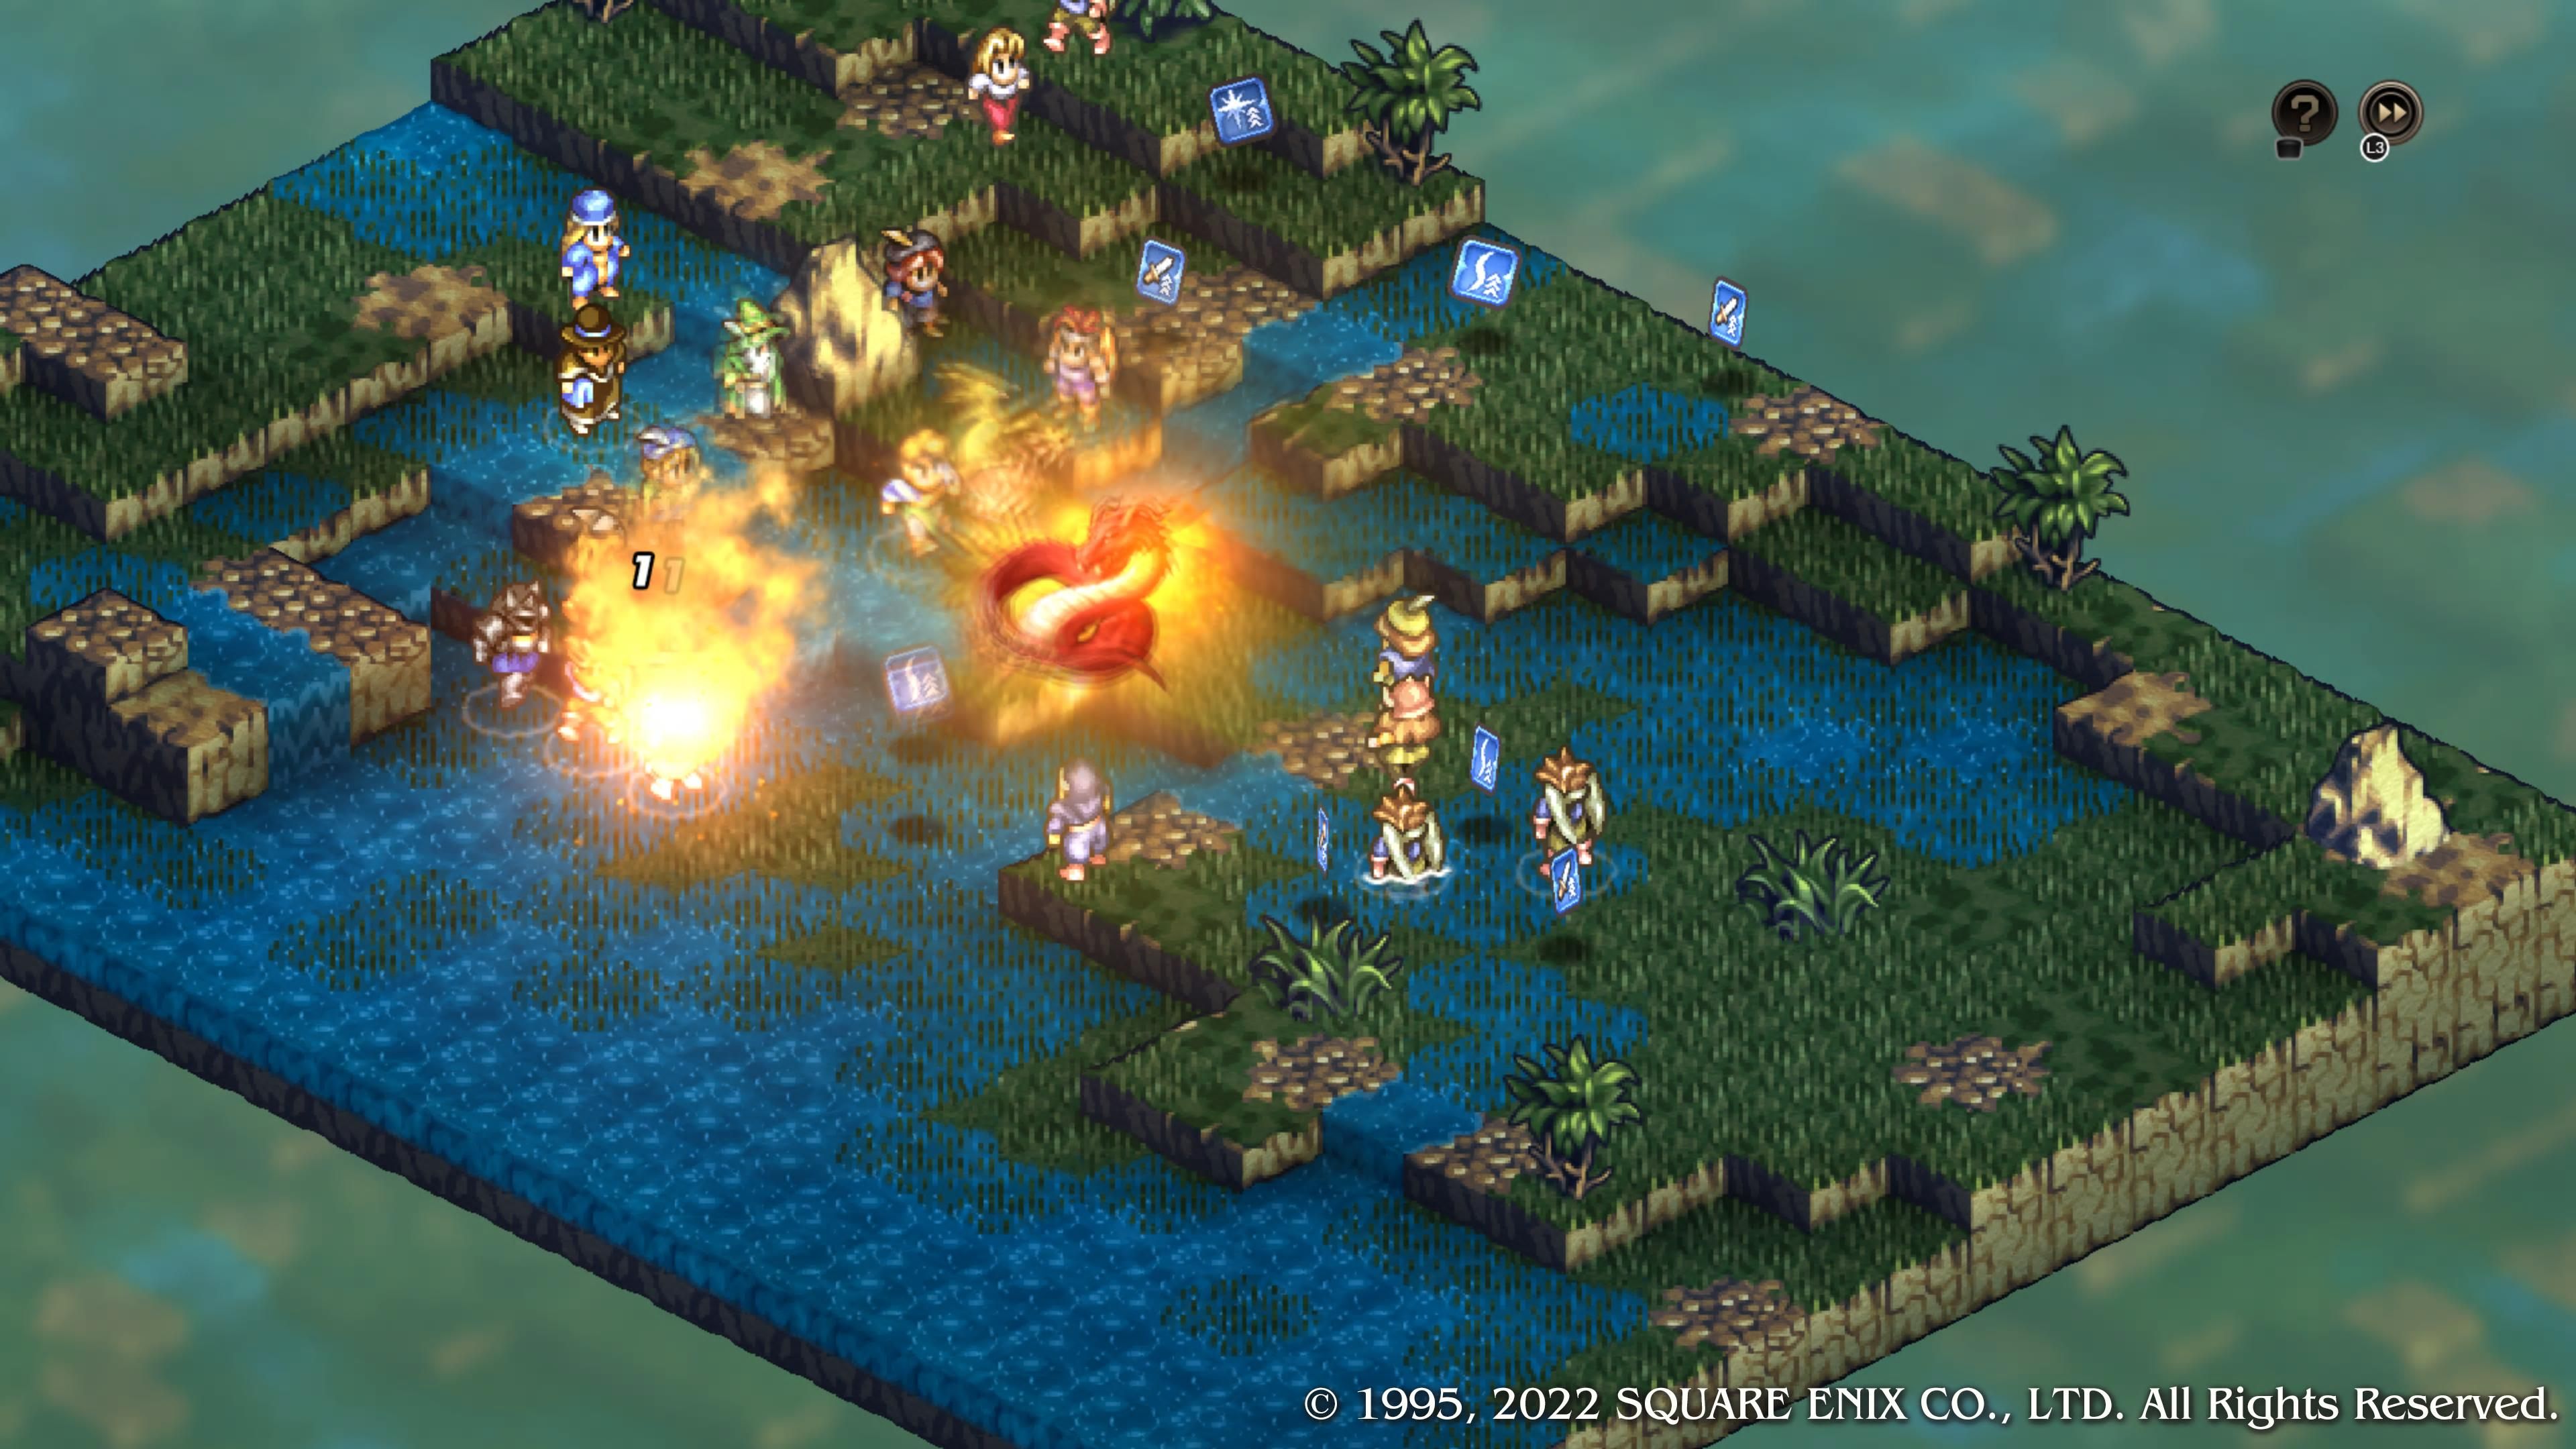
- The Flame Dragon is not to be taken lightly. Flame Breath can hit for fairly high damage to up to four of your characters at once. On the flip side, we've found that Vyce's Flame Dragon is often oddly OK with roasting its own allies in a bid to get rid of you, so that's something.
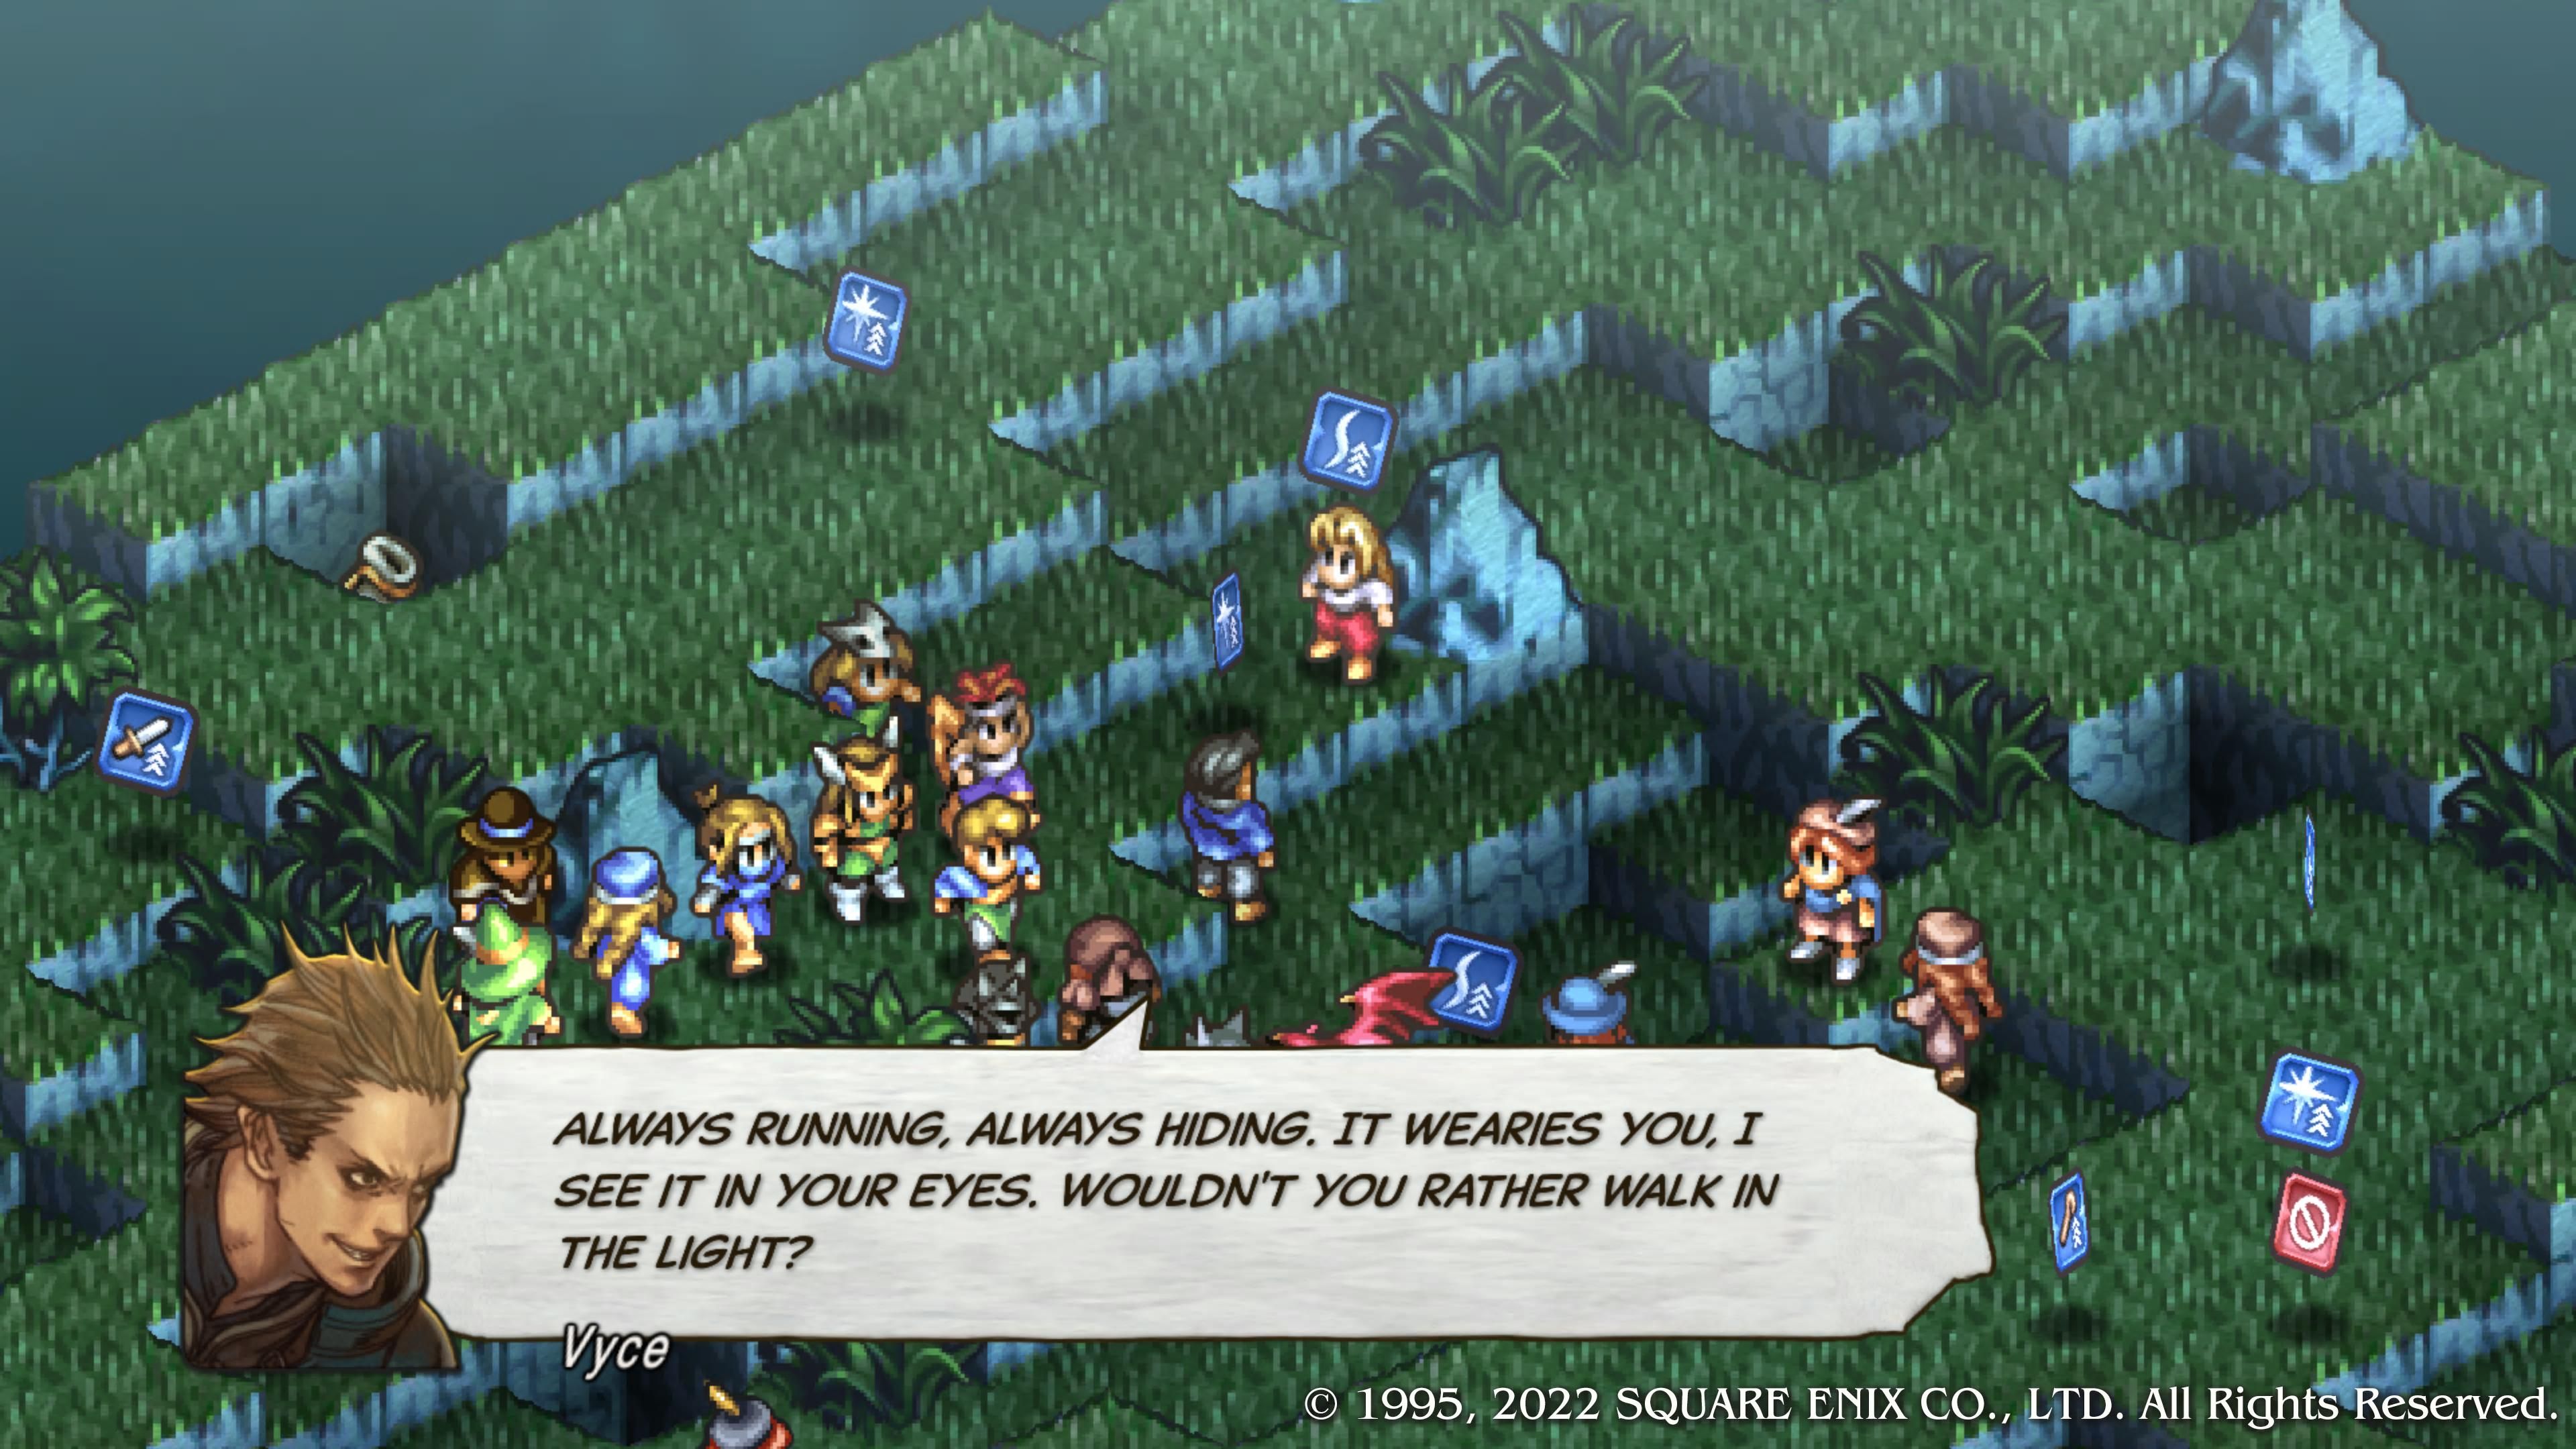
- The goal, of course, is to reach Vyce, but be careful. Vyce's Assassin class gives him serious offensive power. He can easily slice through weaker units in one turn, and even your sturdiest Knights will feel the pain. Only strike Vyce when you have at least two units ready to do so in one round.
Optional: The Phorampa Wildwood
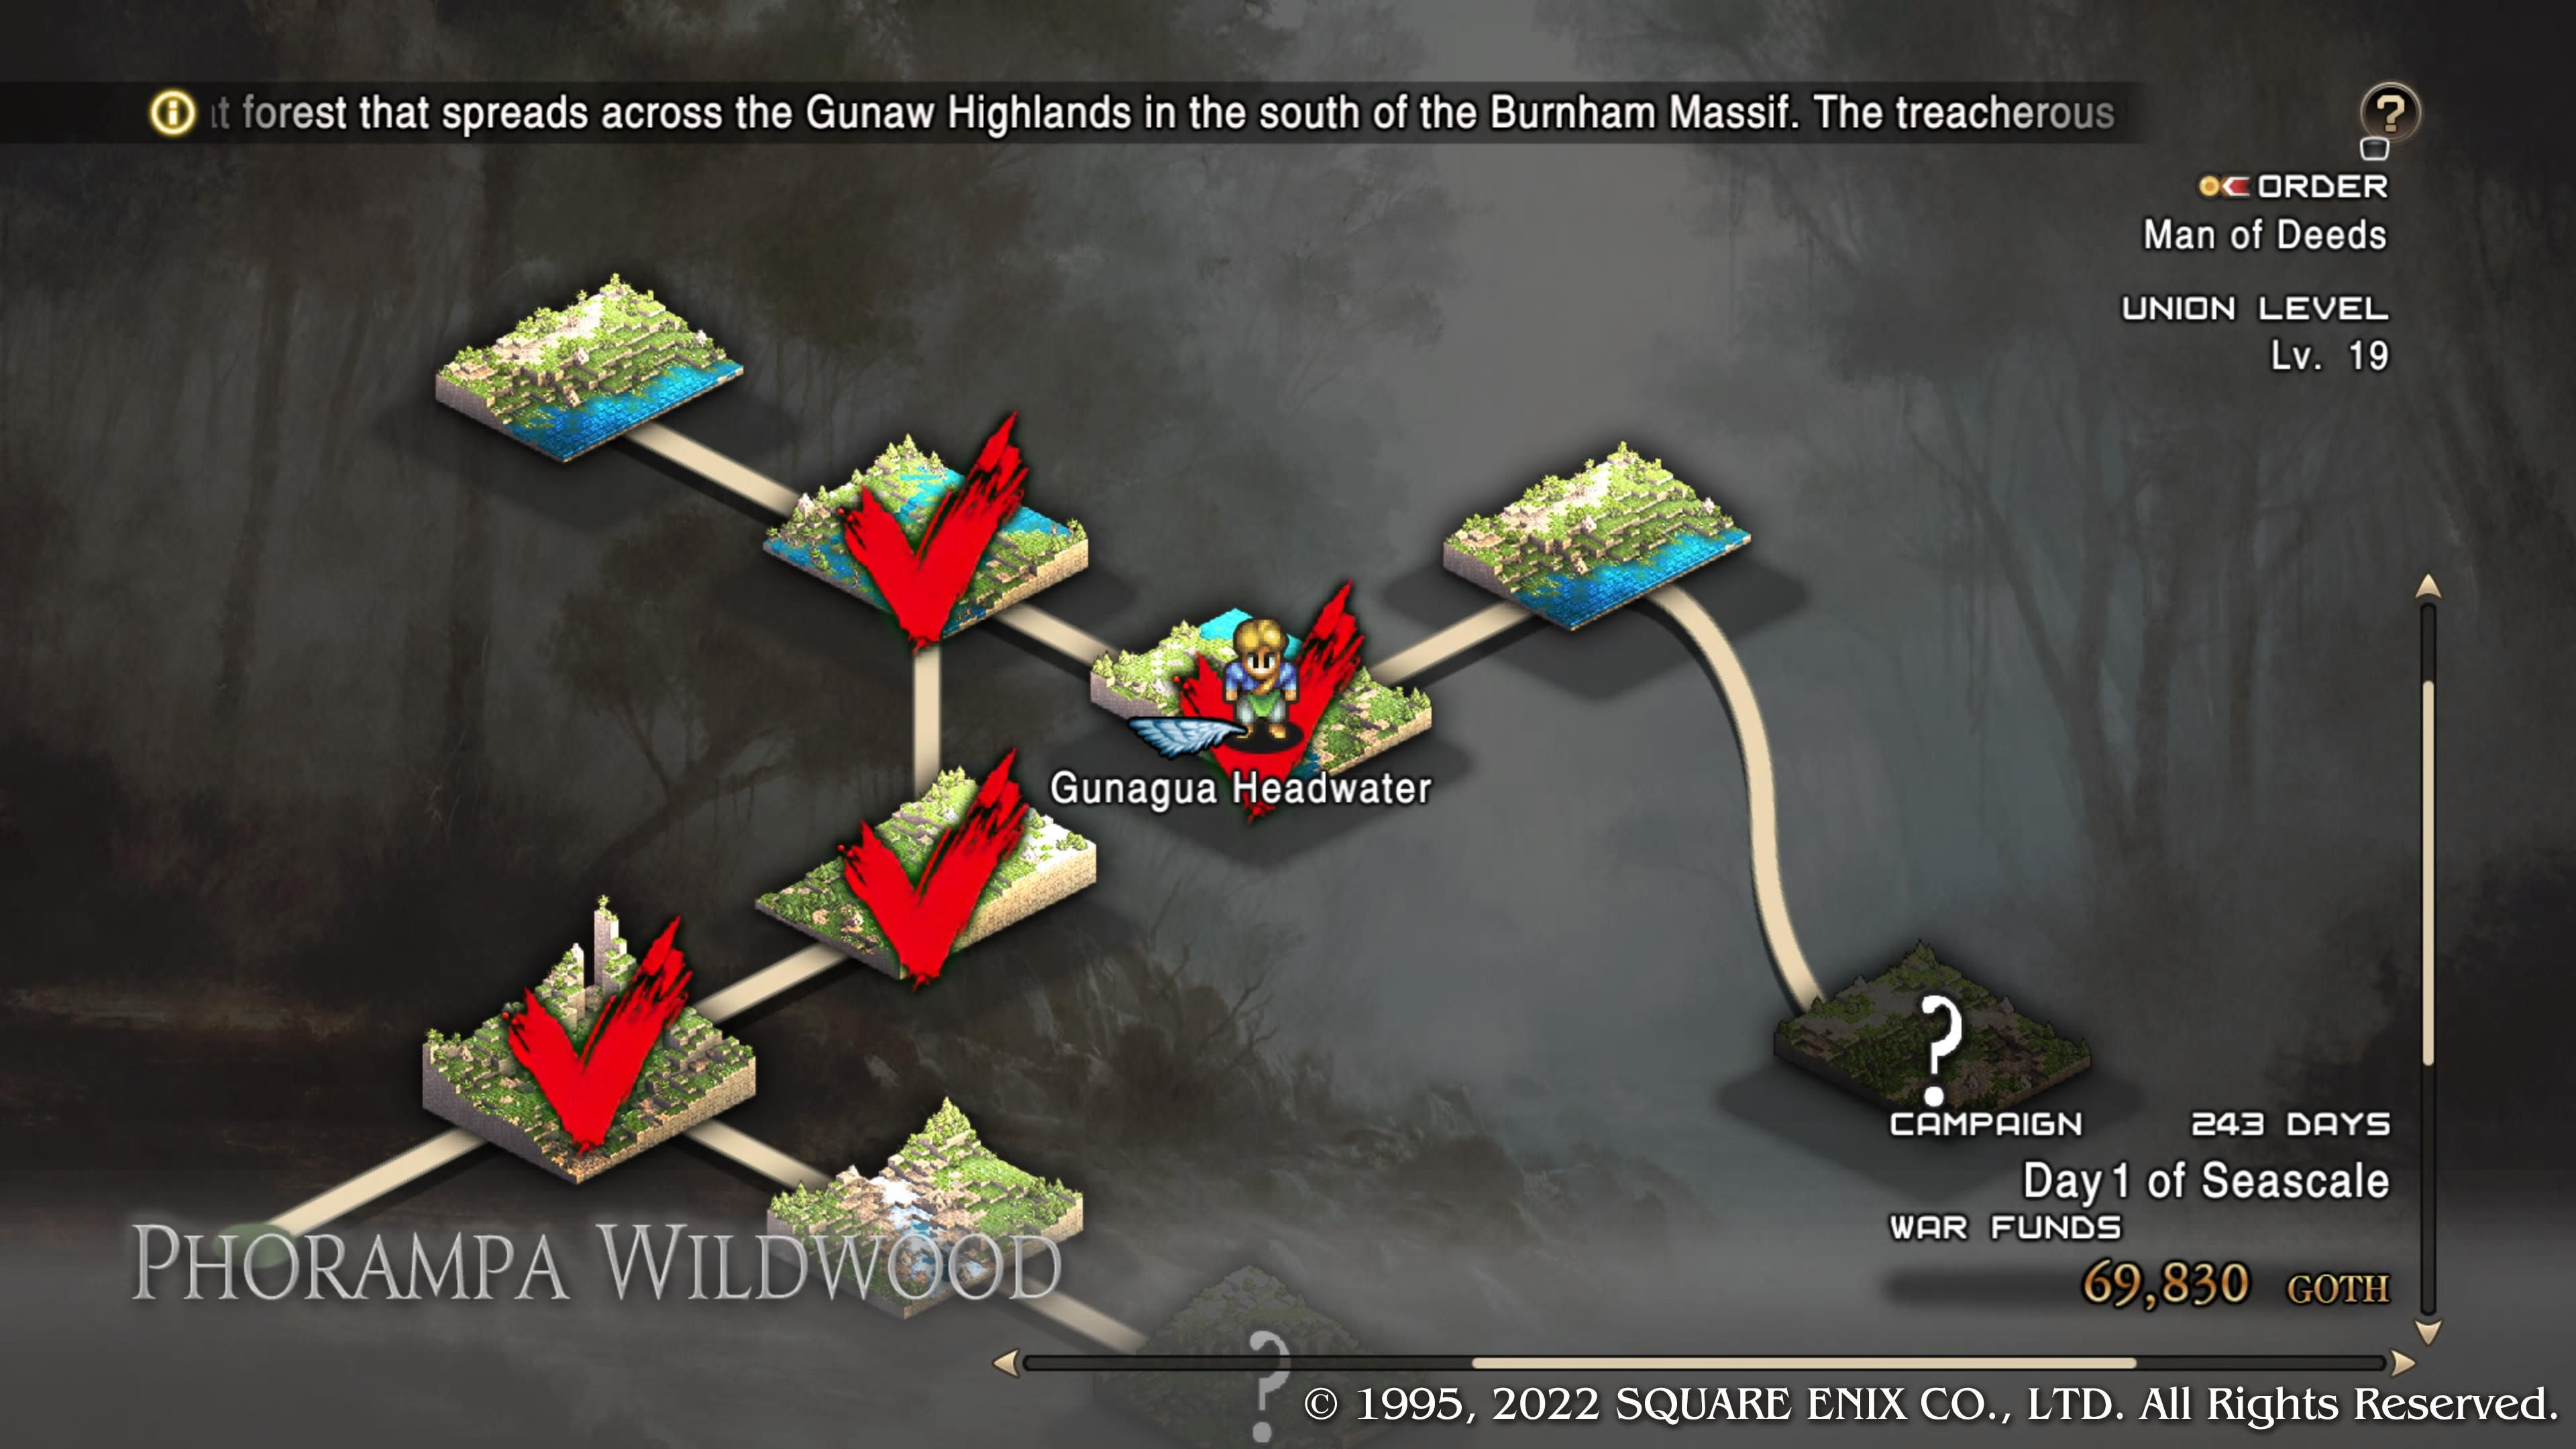
From this point forward, the Phorampa Wildwood will become a destination on your map — that is, once you've accessed the Warren Report and checked a new Talk subject that mentions it's open to hunters.
We'll have a full guide on the Wildwood up shortly, at which time, we'll be sure to link it here. For now, here's what you need to know:
- The Phorampa Wildwood is a multi-stage dungeon not unlike the game's various castle keeps. It's longer, though.
- Every chapter, the Wildwood gains new stages.
- You'll have to start from the beginning every time you exit, however — meaning in order to access the third and fourth chapters' stages, you will have to redo some of Chapter Two's. They're pretty easy by then.
- It's worth taking a peek at Phorampa right now. If you can make it a few stages in, you'll encounter a stage with mostly Dragon-type enemies. Bring a Beast Master along and try to recruit one. Or more, if you're feeling adventurous.
- Dragons rule.
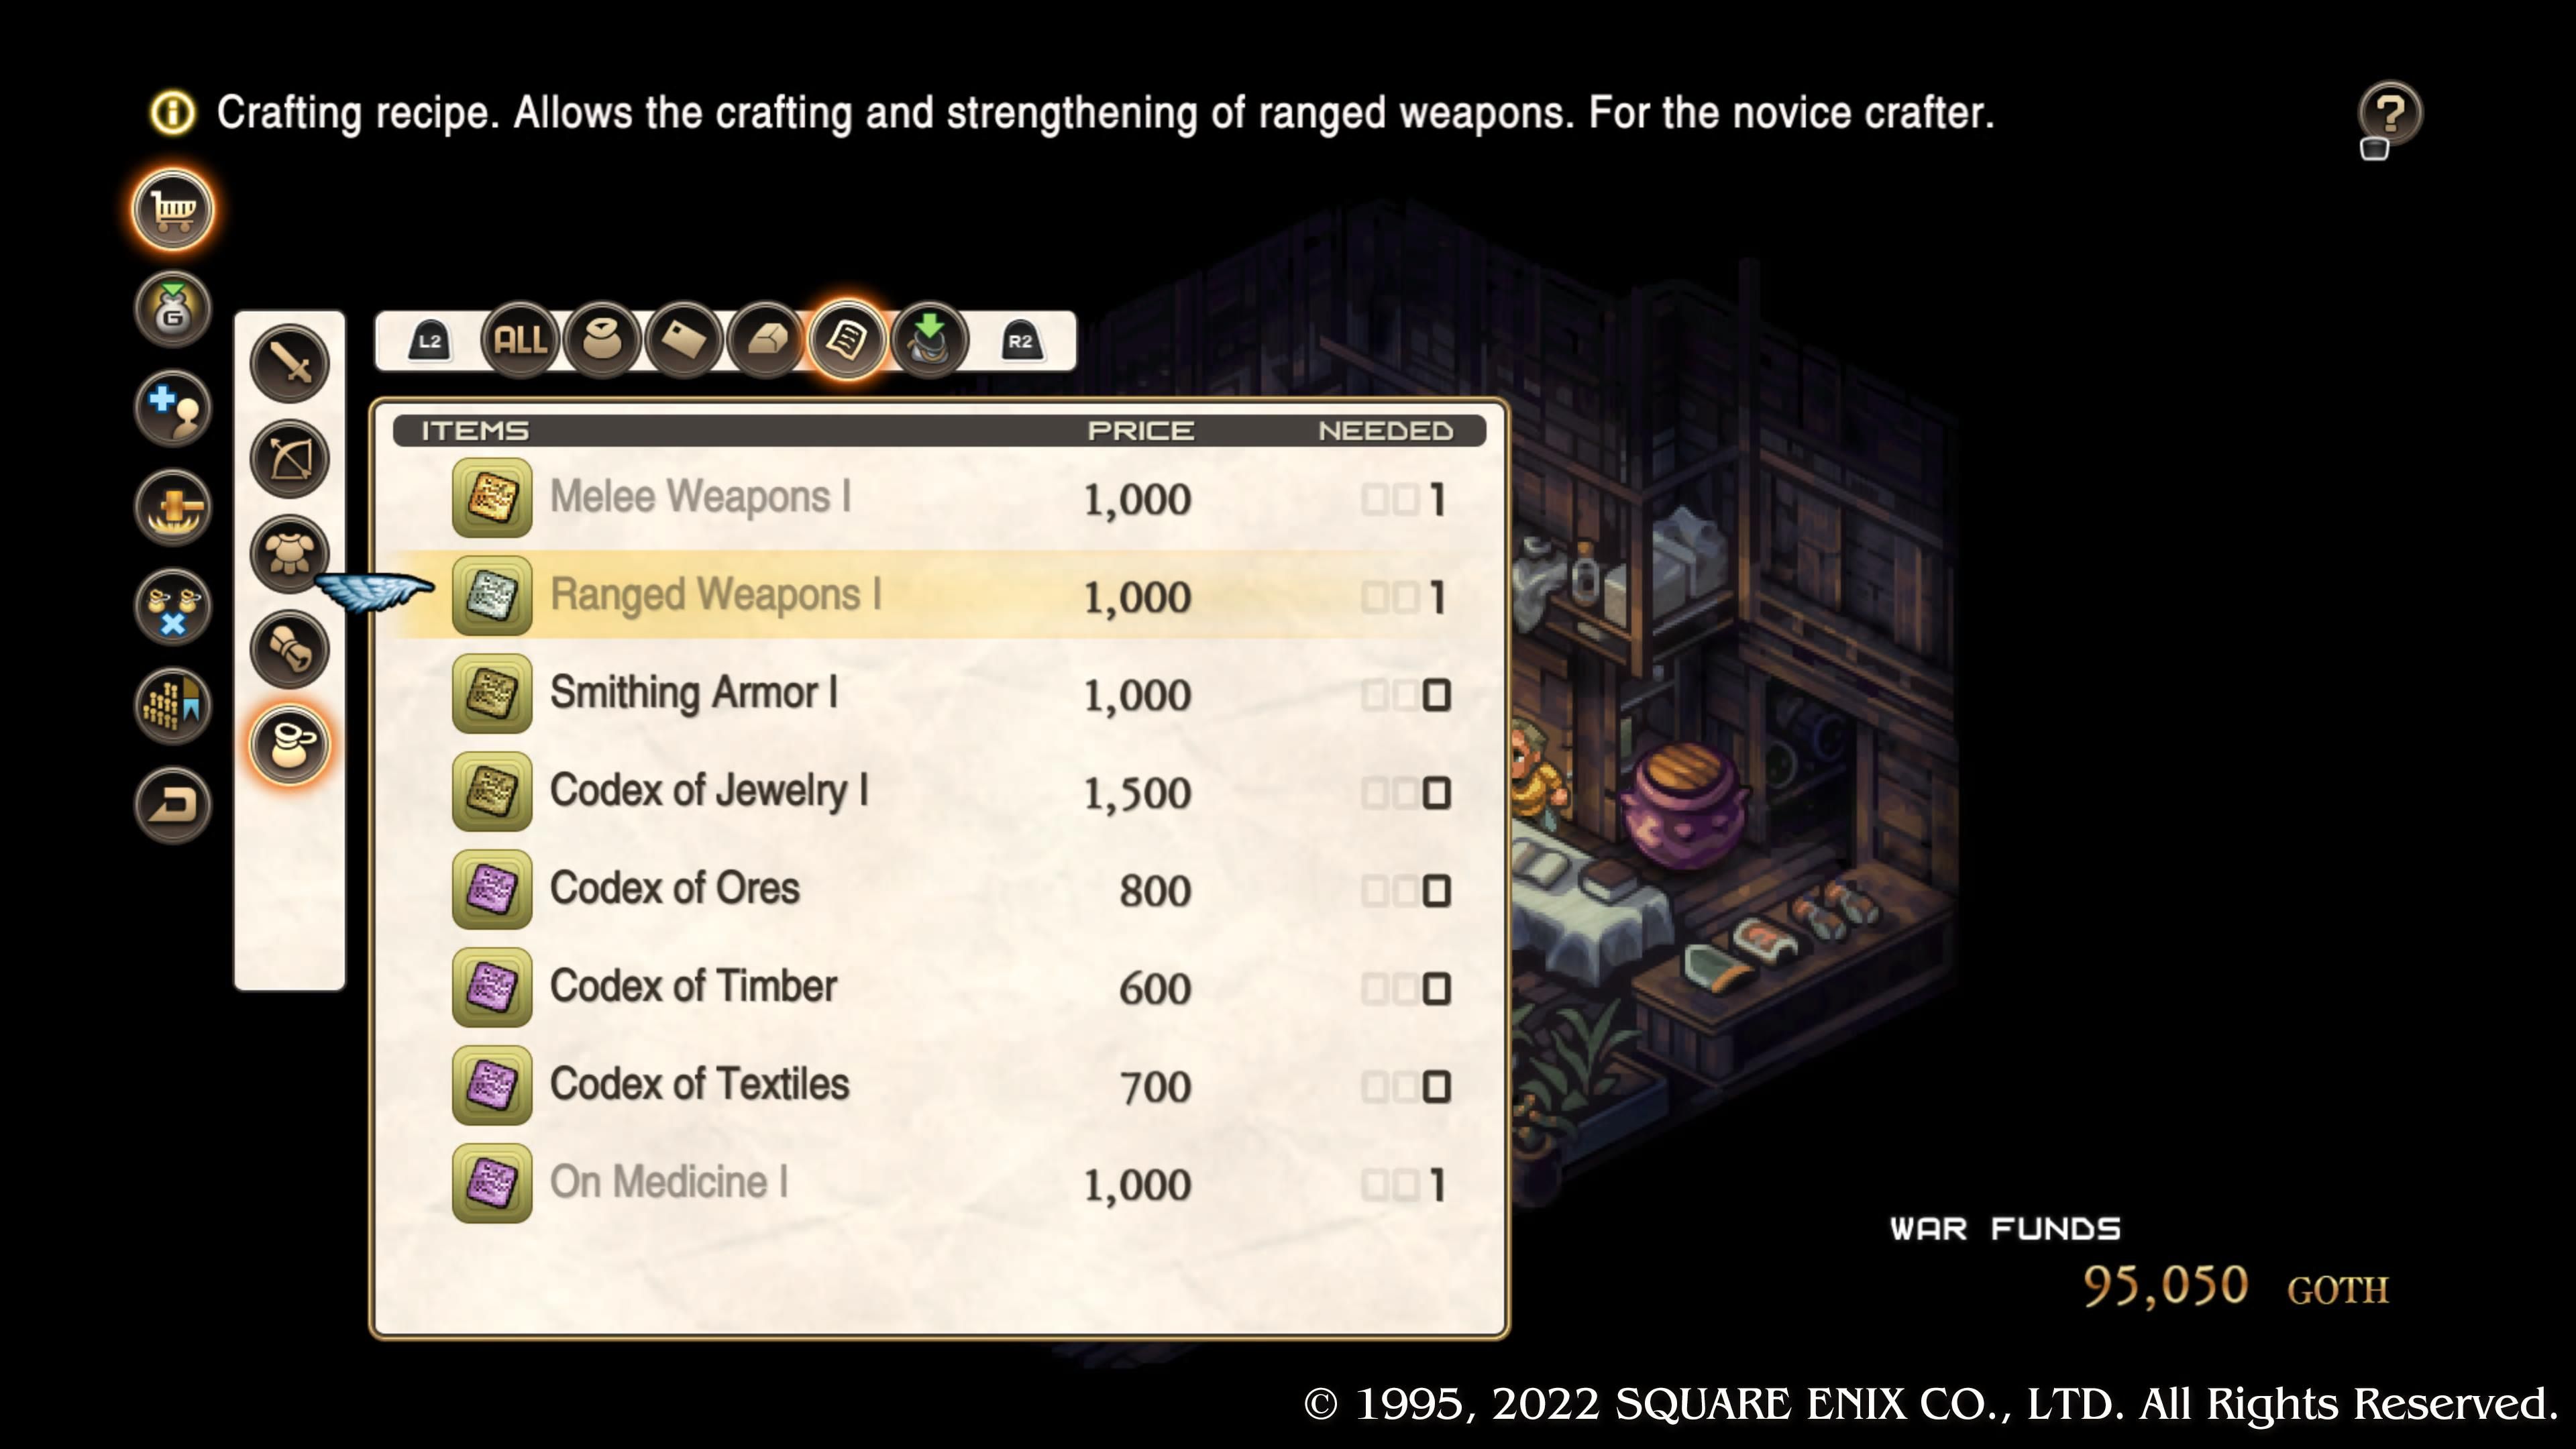
The crafting system really opens up here. You'll get your usual notification that the shops have new stock, which is a great feature and all, but it's easy to miss these Codices if you aren't looking for them. Snag them all, and see what you can craft.
When you're crafting weapons and armor, take note that you won't have access to things that are already equipped. What we mean by this is you'll be wasting tons of Goth purchasing brand-new copies of gear you intend to replace with higher-quality fare, anyway. It's a bit tedious to unequip everyone so that their gear is available to craft with, but it's well worth the few seconds to do so. (Remember, you can access your unit list in the shop!)
Of course, if you're purchasing a shiny new sword or suit of armor for the first time, just avoid equipping it until after you've crafted an upgrade for it (if an upgrade's on the menu).
Tactics Ogre: Reborn is generally tough enough that we recommend keeping up-to-date with your crafting whenever you can. Unlike the PSP version of the game, you can't actually fail crafting attempts, which is frankly one of Reborn's biggest perks. No reason not to give it a shot.
Story Battle: Krysaro
|
Enemies |
Leader: Farrel (Knight) |
|
|---|---|---|
|
2x Knight, 2x Berserker, 2x Archer, 2x Warrior, 1x Wizard |
||
|
Deployment |
8 Units |
|
|
Guests |
Catiua |
|
|
Victory Condition |
Defeat Farrel |
|
|
Difficulty |
★★☆☆☆ (2/5) |
|
Krysaro's not so bad, especially compared with Tynemouth. You'll begin to the north, and there is plenty of space to maneuver as your foes approach. The biggest thing to avoid is separating everyone too much.
- With just the one Wizard in his employ, Farrel's army has limited multi-targeting capability, so feel free to cluster your team more than usual. Keep your sturdiest units ahead of your weaker ones, forming a protective barrier.
- You'll still have to deal with the long range of those two Archers, so bring Arycelle and any other Archers of your own, plus spellcasters to back them up (and take advantage of the enemy's likely cluster).
- We originally played this stage very late at night; while we won, we did keep a screenshot of precisely how not to approach Krysaro, for good measure. The most embarrassing thing up there? We somehow got our Beast Master stuck atop that building. Yep!
Story Battle: Qadriga Fortress
|
Enemies |
Leader: Darza (Berserker) |
|
|---|---|---|
|
2x Cockatrice, 2x Warrior, 2x Wizard, 1x Berserker, 3x Warrior, 1x Rune Fencer, 1x Archer |
||
|
Deployment |
9 Units |
|
|
Guests |
Catiua, Folcurt |
|
|
Victory Condition |
Defeat Darza |
|
|
Difficulty |
★★★★☆ (4/5) |
|
This fight's pretty rough if you want to save Bayin, which you absolutely should, because he'll eventually join up if you do so. And he's a fantastic Wizard. There are times, friends, when we're not entirely convinced the base Tactics Ogre mechanics take full account of Reborn's tweaks. This is one of those times.
- The way the enemy is positioned, Bayin is likely in trouble from the start. The myriad of melee attackers will be within range shortly. Send Canopus and any other fliers you're lucky enough to have trained to block their way. Canopus has enough bulk to him to hold out until Catiua or your own Cleric(s) get to him, if barely.
- The real long-term issue is going to be Darza. He'll hold back for a few turns, but as soon as he's lost a couple of units, he tends to head down the east path leading to Bayin. A single hit from his Finishing Move will put Bayin at critical, and if Bayin has already taken damage, it can be enough to kill him. This won't cause the mission to end, but it will lose you a unit.
- If you're trying to wipe out every enemy, go ahead and crank our difficulty meter up to the full five. We advise against it, for sure. Better to back Canopus with extra attackers ASAP, healing from below (there's a good spot over by that big closed wooden door on the bottom of the map) until they reach Darza.
Go ahead and agree to this, even if Catiua does have a solid point here. More content is more content, and it will all pay off in the end. (Suffice to say, if you failed to save Bayin, things will play out a bit differently in this scene.)
Story Battle: Ndamsa Fortress
|
Enemies |
Leader: Veldrei (Valkyrie) |
|
|---|---|---|
|
2x Gryphon, 3x Archer, 1x Terror Knight, 1x Wizard, 1x Rune Fencer, 1x Rogue, 1x Beast Tamer |
||
|
Deployment |
9 Units |
|
|
Guests |
Catiua, Folcurt, Bayin |
|
|
Victory Condition |
Defeat Veldrei |
|
|
Difficulty |
★★☆☆☆ (3/5) |
|
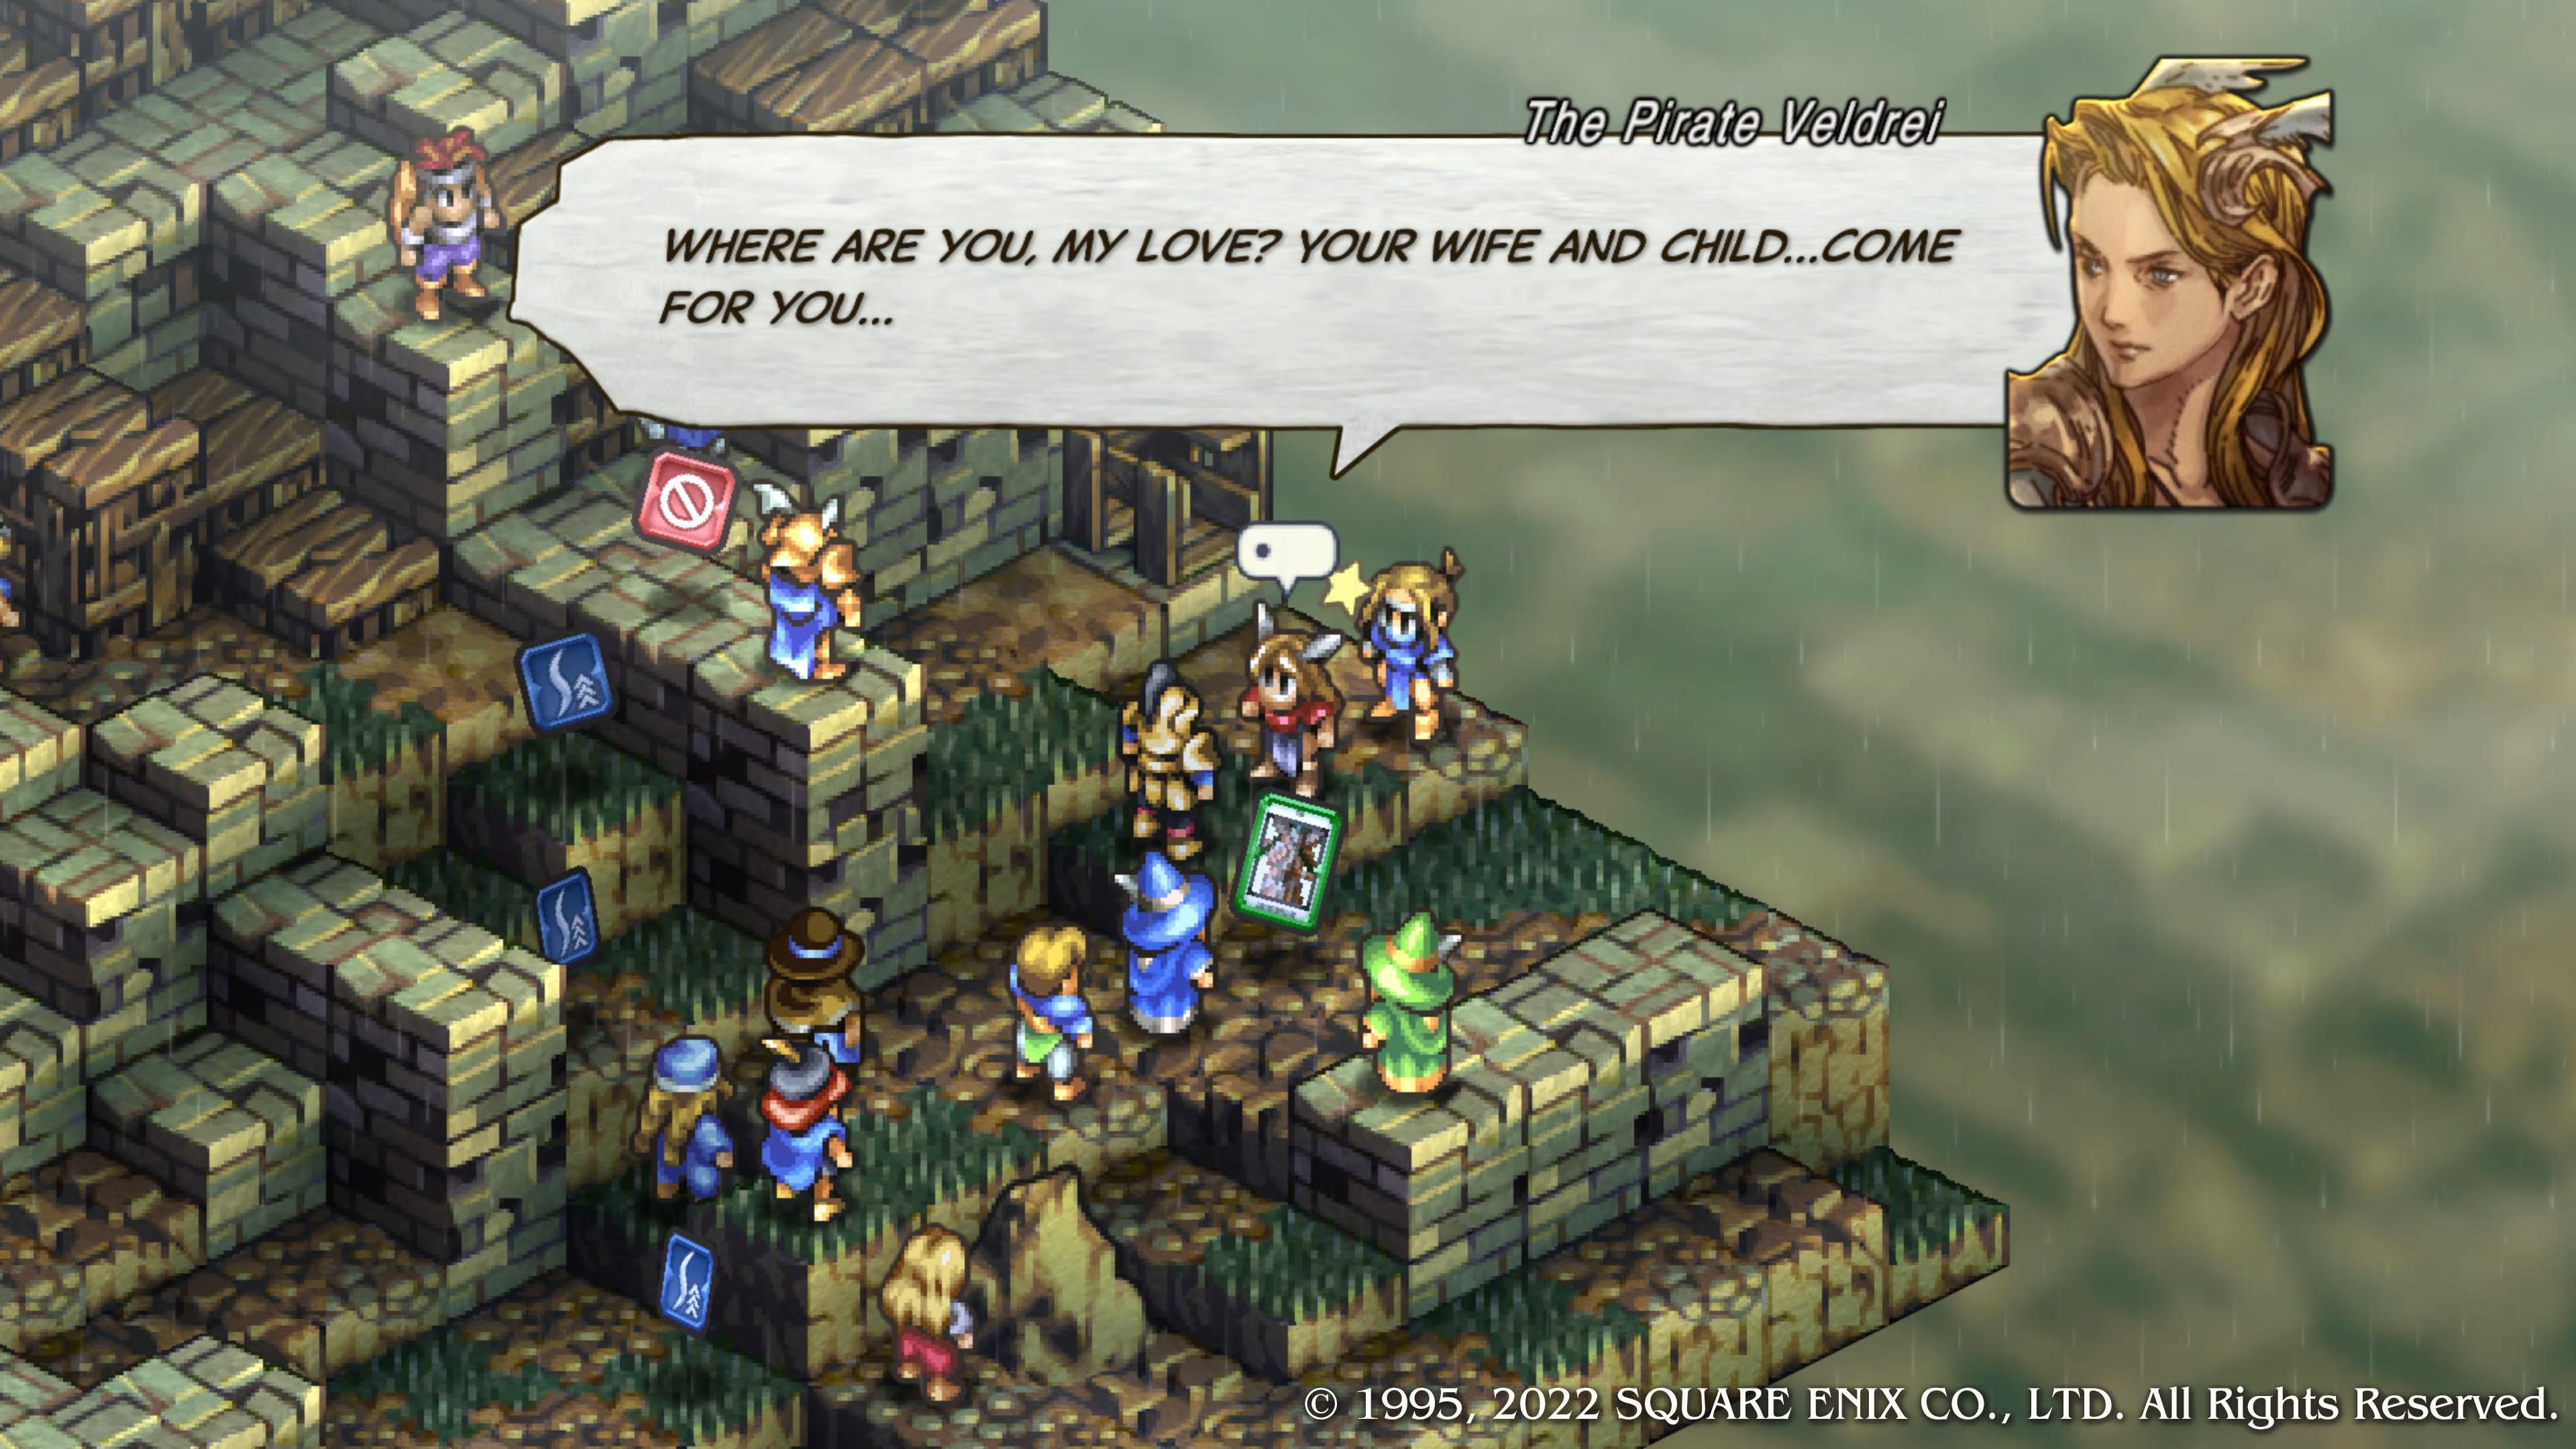
Bit of a breather after another hard one, this. We didn't find it difficult to keep Folcurt and Bayin alive, especially Bayin; he seems to know to stick to the lower end of the fortress. As an aside, Tactics Ogre deals with the notion of truly unfortunate enemy deaths fairly regularly, but between Veldrei and the upcoming Dagon character, this part of the game is Game of Thrones levels of harsh...
- Go ahead and charge Veldrei from the outset, unless you're worried that even your offensive units are too squishy.
- The Gryphons have too much health to be worth attempting to pin down unless things are really going your way mid-battle. Use Archers to help keep them at bay, and a Knight (hopefully with good Phalanx passive triggers) to defend against them.
- This seems like a fine time to mention that Knights should always shoot for Ability Cards if they're available. We'd say prioritize these over Attack Cards, even. The more Phalanx (and eventually, Guardian Force) passives that trigger, the better.
Story Battle: Golyat
|
Enemies |
Leader: Dagon (Wizard) |
|
|---|---|---|
|
3x Clay Golem, 2x Ninja, 2x Archer, 2x Wizard, 1x Cleric, 1x Terror Knight |
||
|
Deployment |
9 Units |
|
|
Guests |
Folcurt, Bayin, Cistina |
|
|
Victory Condition |
Defeat Dagon |
|
|
Difficulty |
★★★☆☆ (3/5) |
|
Dagon's crew has a lot of offensive capability, but it comes at the cost of a pittance in healing prowess. That lone Cleric isn't going to be able to keep a strong force at bay for very long. Nevertheless, you'll want to be careful. A trio of Clay Golems is no joke, and a trio of Wizards and duo of Archers to boot? You're looking at some serious firepower, often multi-targeted.
- As is the case with most town-based battles, Canopus and any other fliers you may have trained are all must-haves. They can rule the rooftops and rain arrows and spells down upon everyone.
- What's more, a strong enough Canopus can potentially circle around the bulk of Dagon's forces and annihilate him outright reasonably early on. You'll want Canopus' Axe Skill Level to be at its current max to pull this off. His ice-based Finishing Move can probably take care of Dagon in two hits, though you'll need to endure a volley in-between. Bring Mending items.
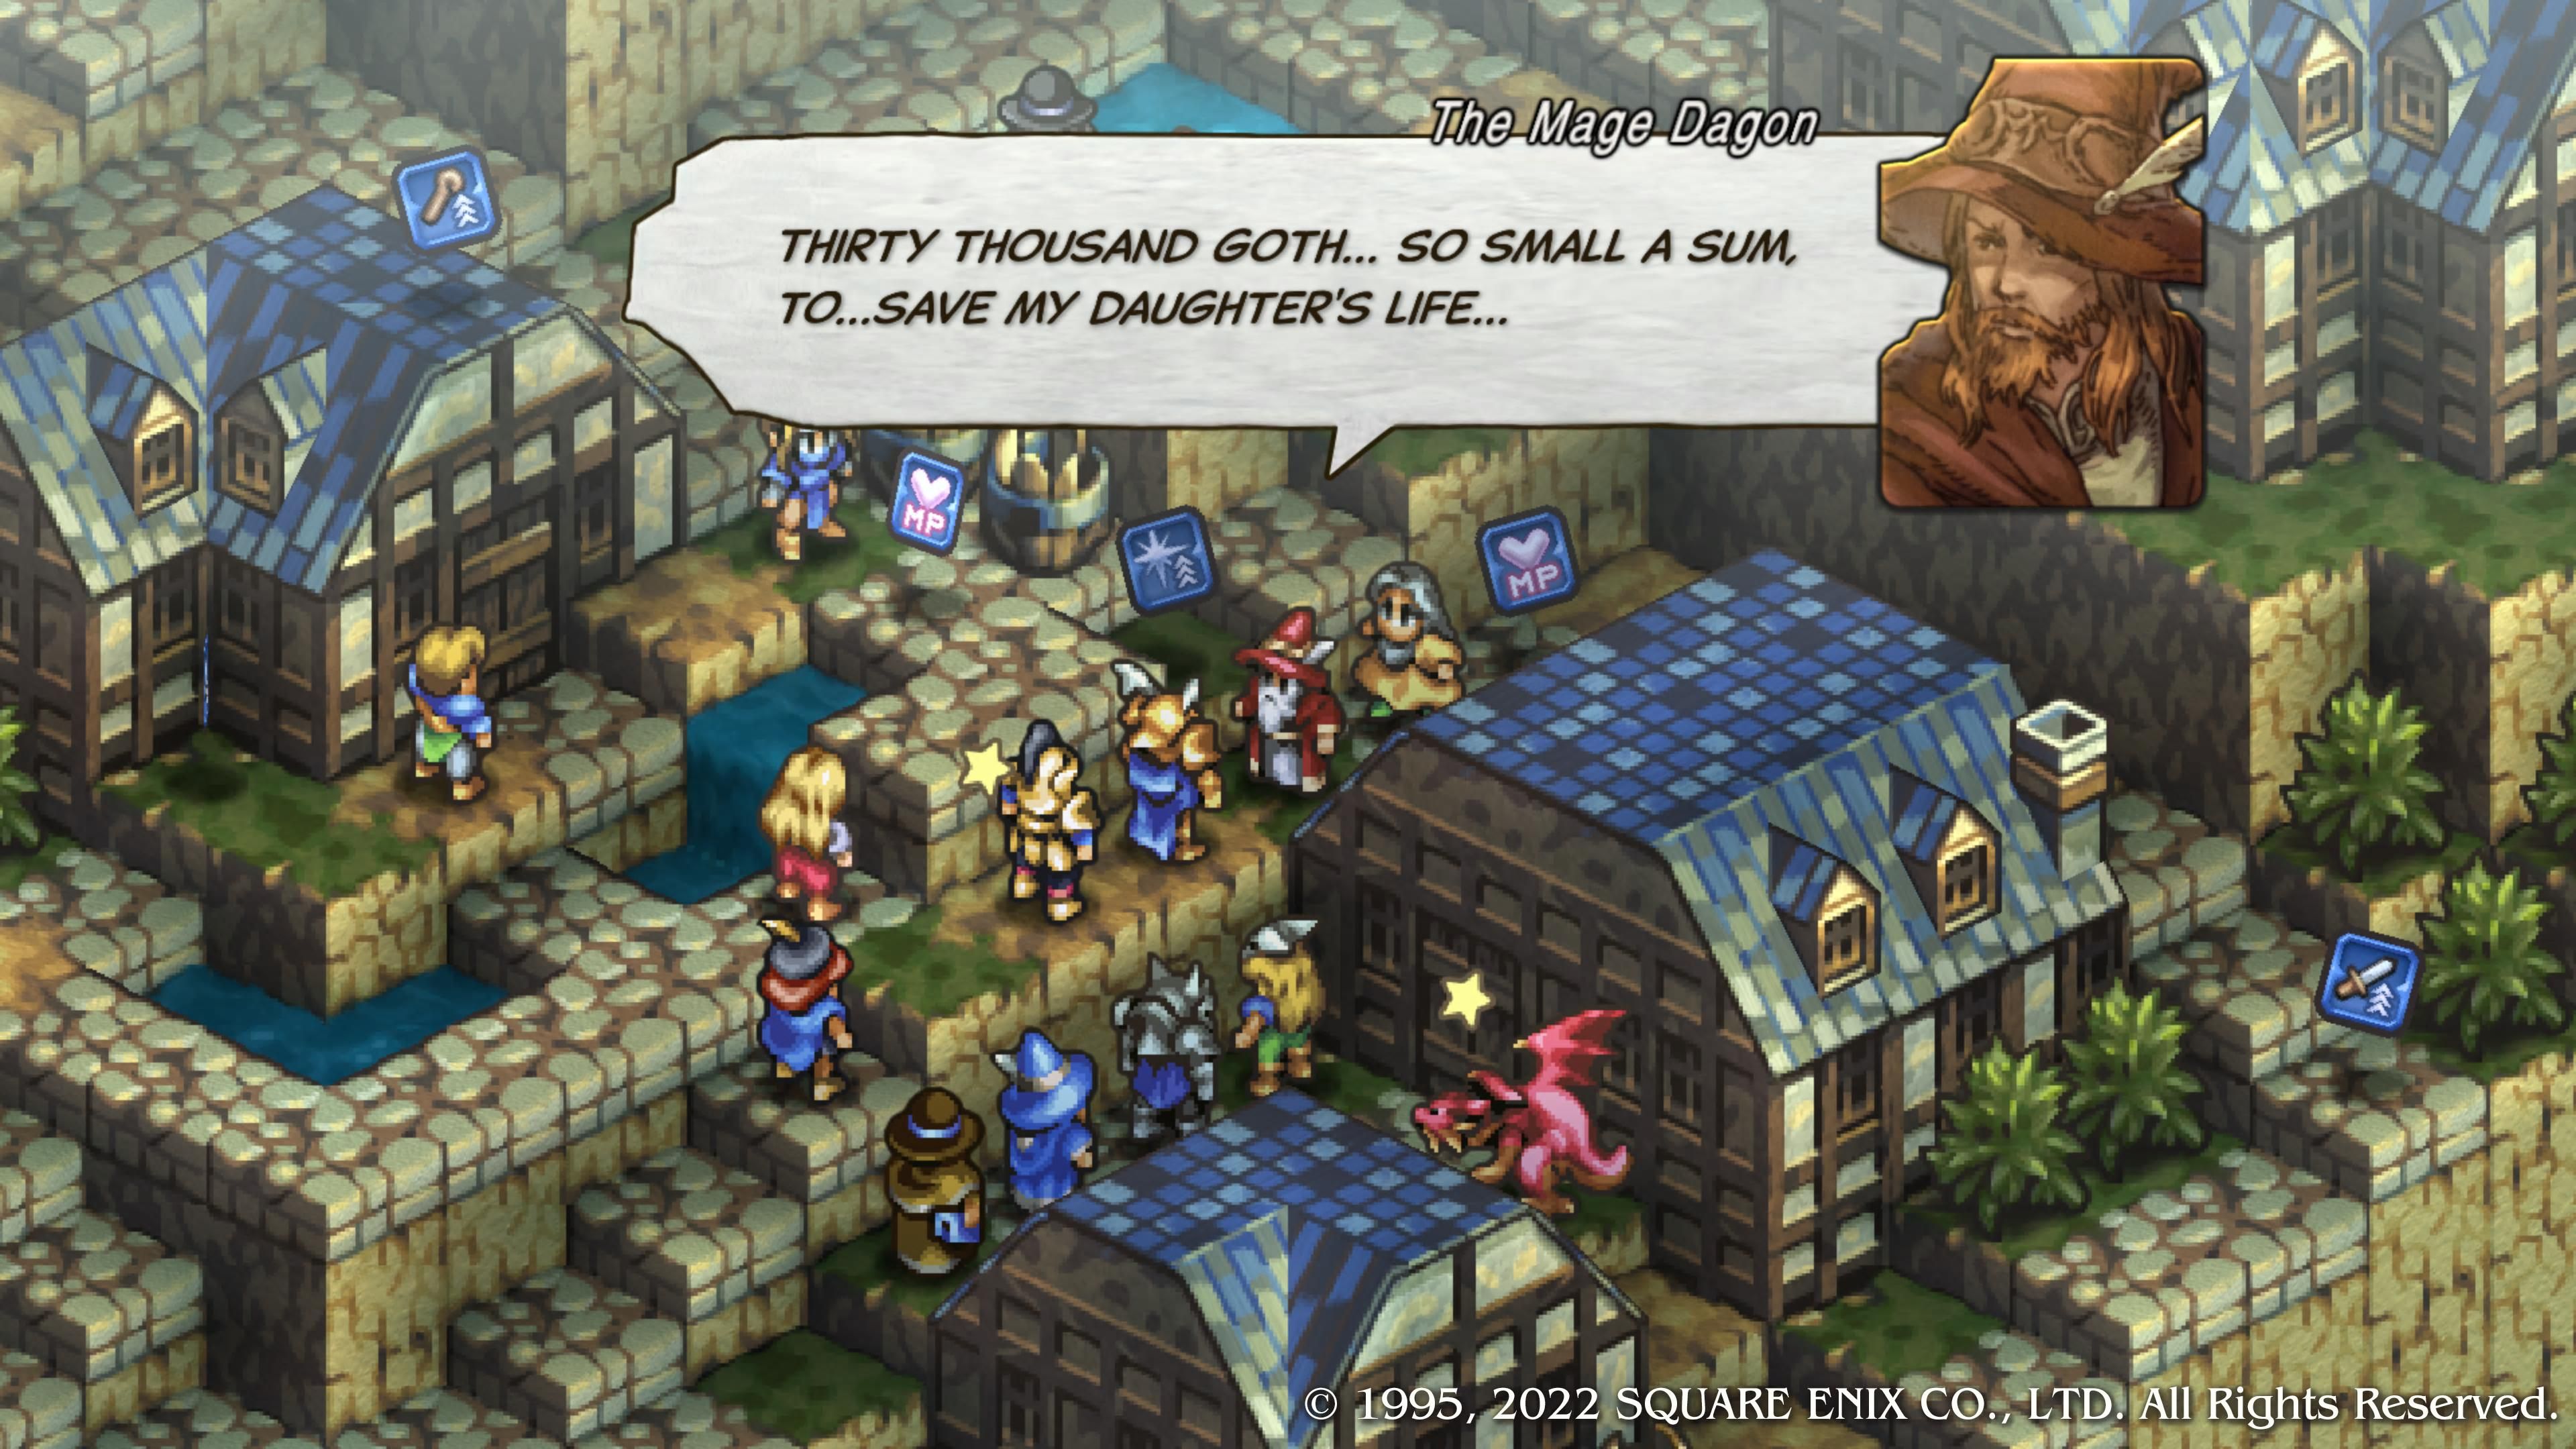
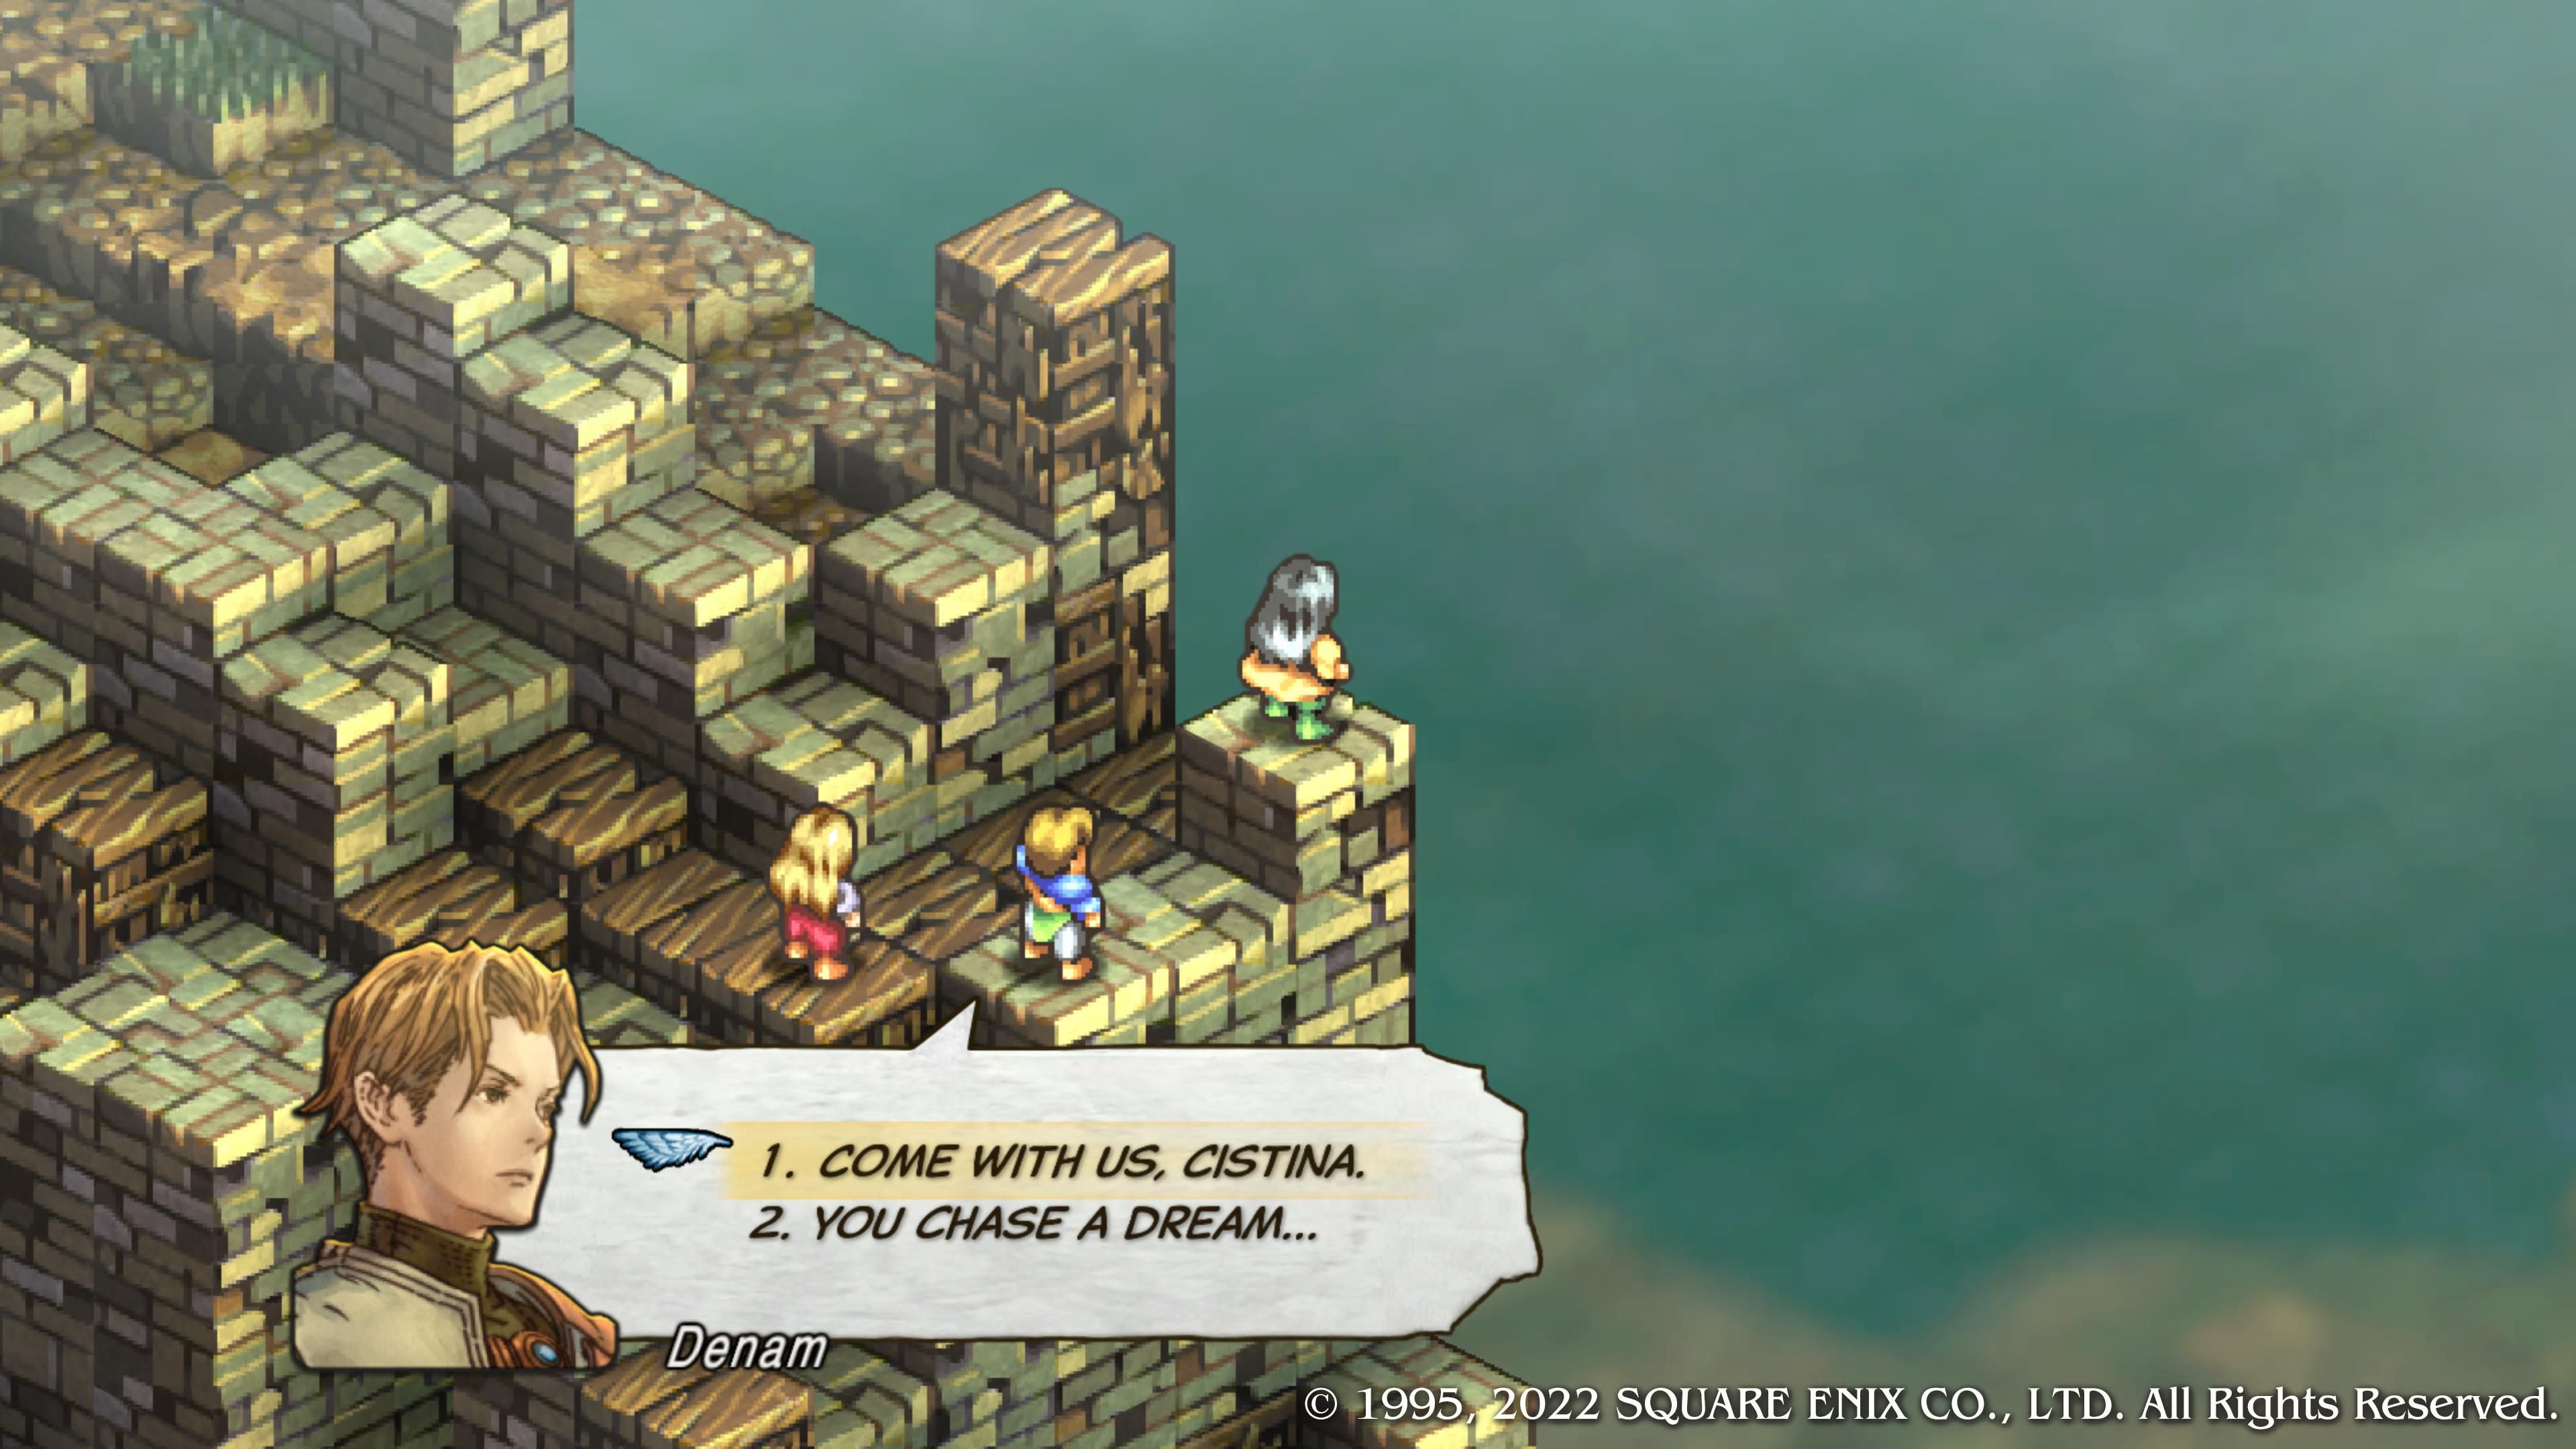
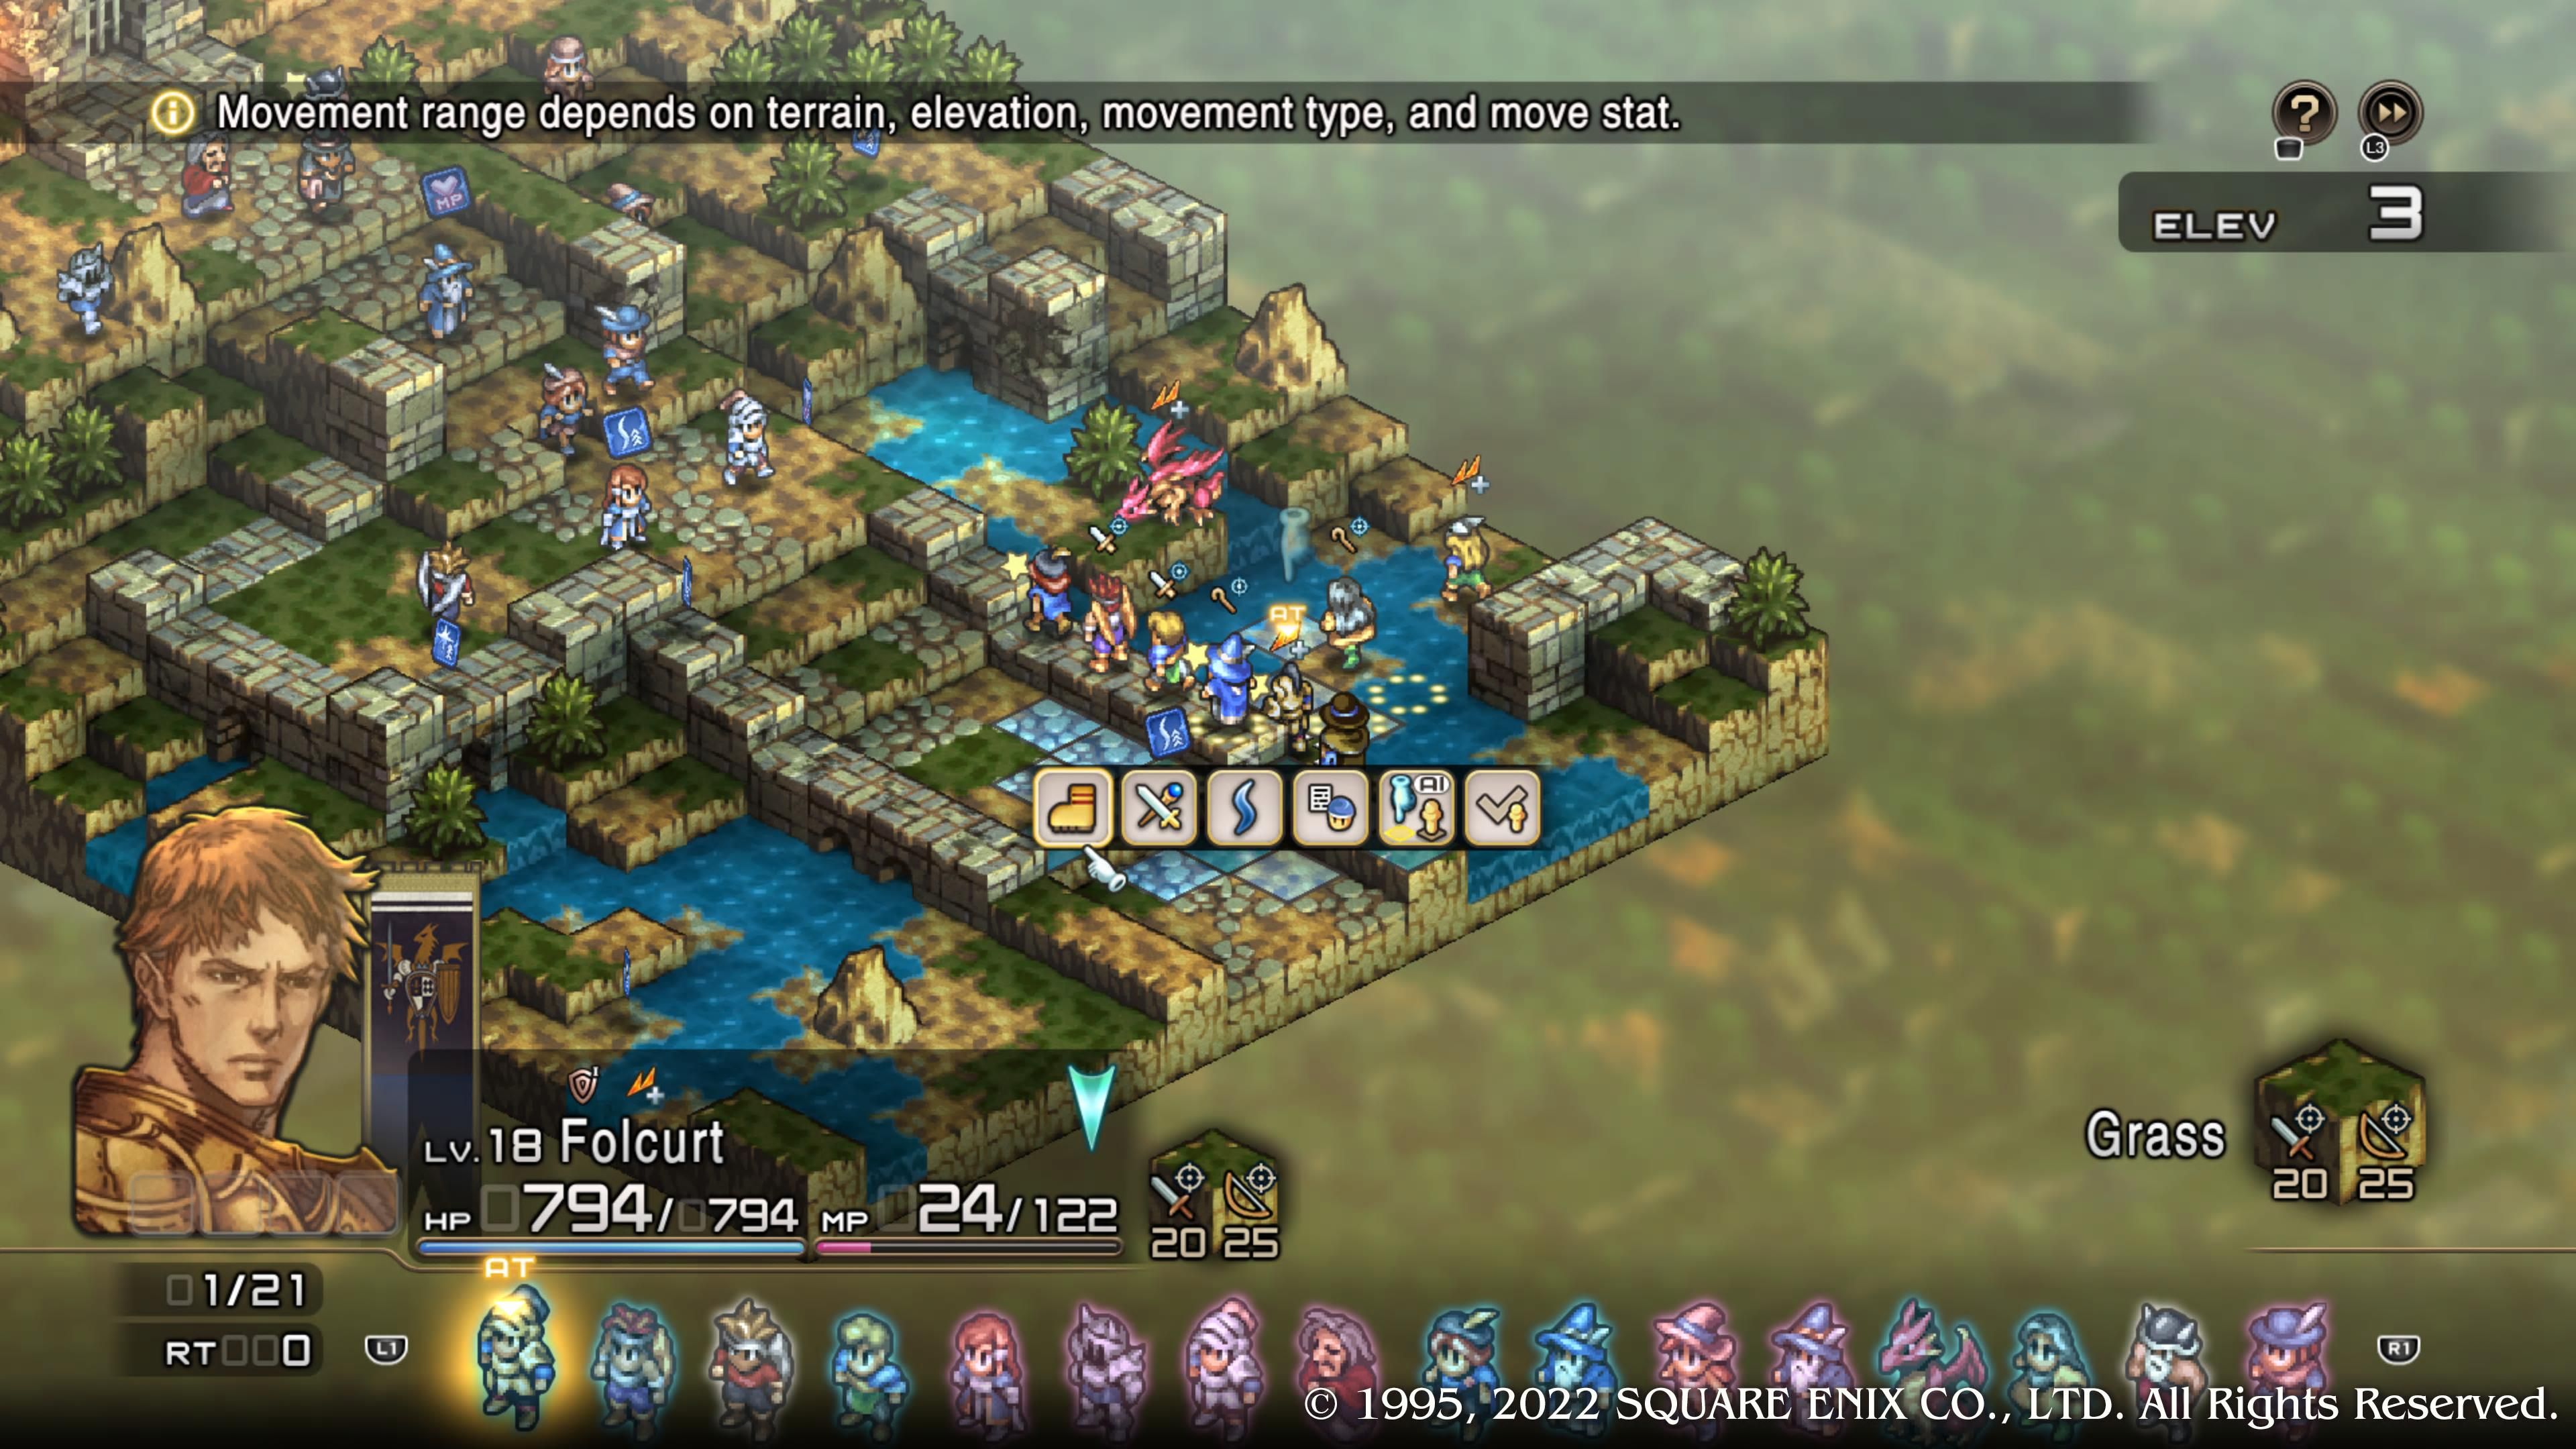
Swing by Boed Fortress now for some nifty cutscenes featuring Cistina and her more radicalized sister. Asking Cistina to come along not only secures her as a unit, but also Folcurt and Bayin. Don't, er... don't say no to this.
Enjoy the rather brutal cutscenes. Make sure Denam is packed full with healing items, and if at all possible, have him set as a tank-like class.
Story Battle: The Arkhaiopolis of Rhime
|
Enemies |
Leader: Xapan (Berserker) |
|
|---|---|---|
|
2x Beast Tamer, 2x Rogue, 2x Hoplite, 1x Arc Dragon, 1x Dark Dragon, 2x Stone Golem, 1x Wizard |
||
|
Deployment |
9 Units |
|
|
Guests |
Catiua |
|
|
Victory Condition |
Defeat Xapan |
|
|
Difficulty |
★★★★☆ (4/5) |
|
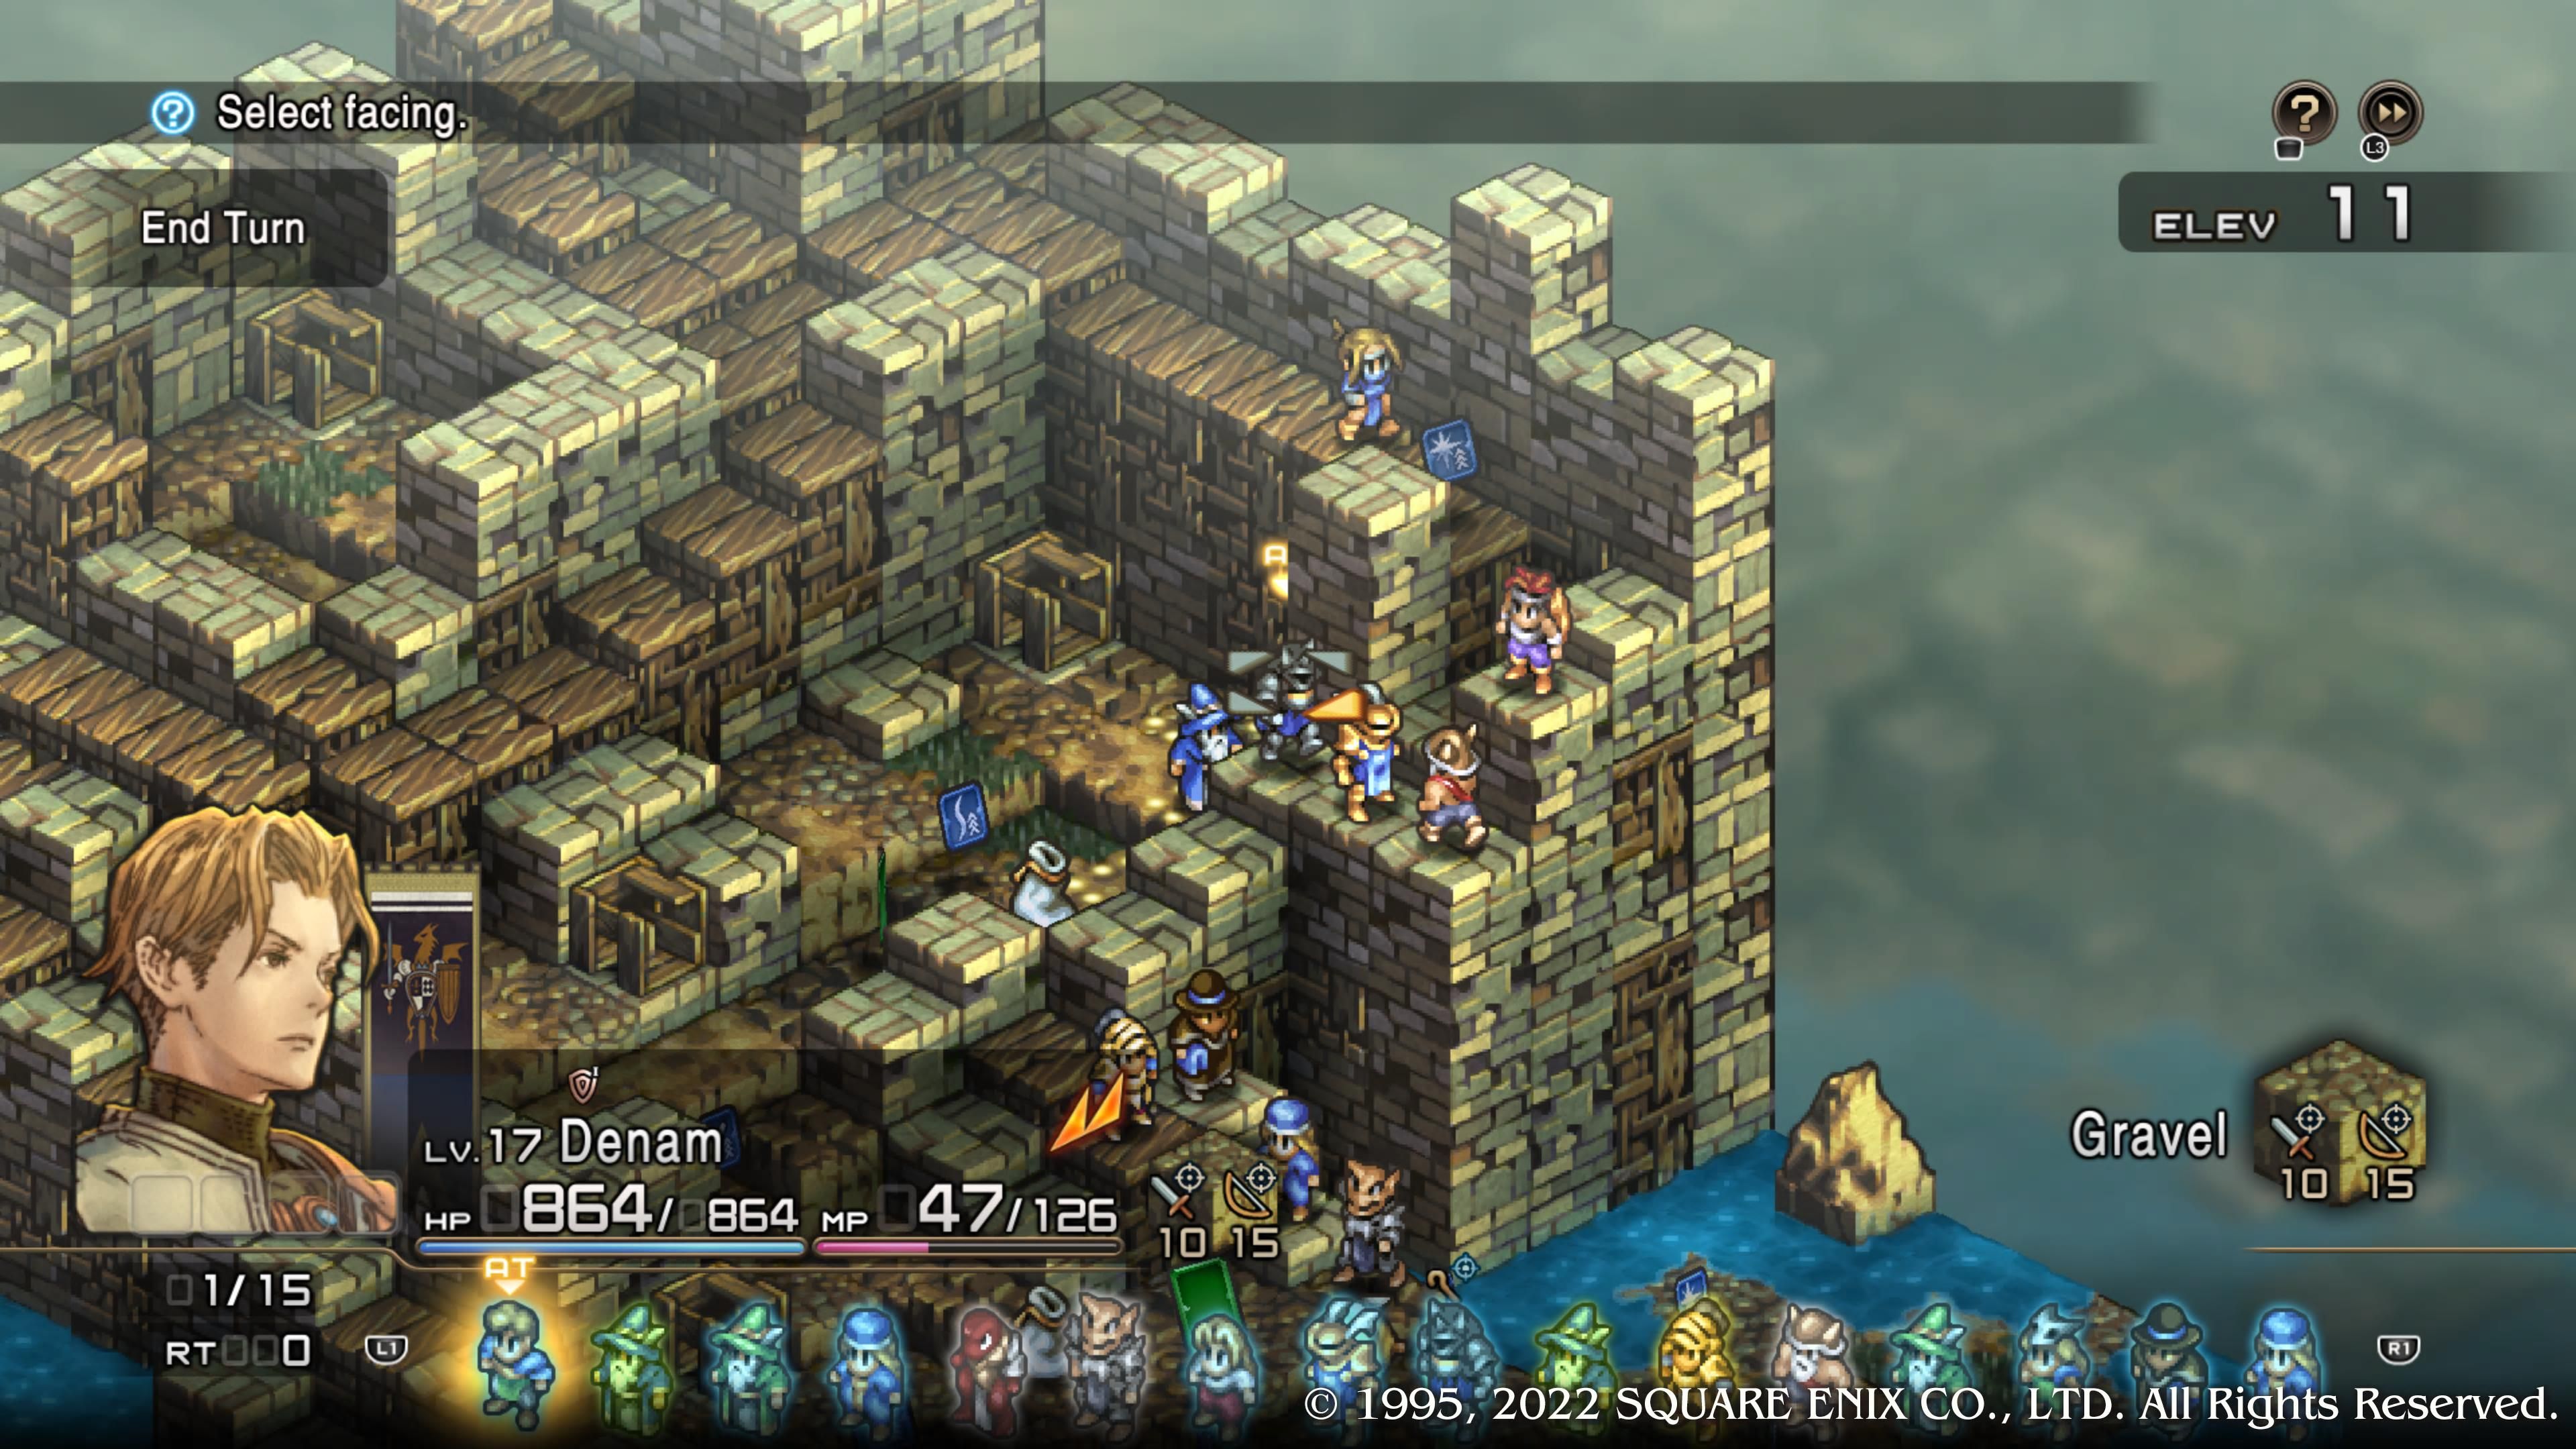
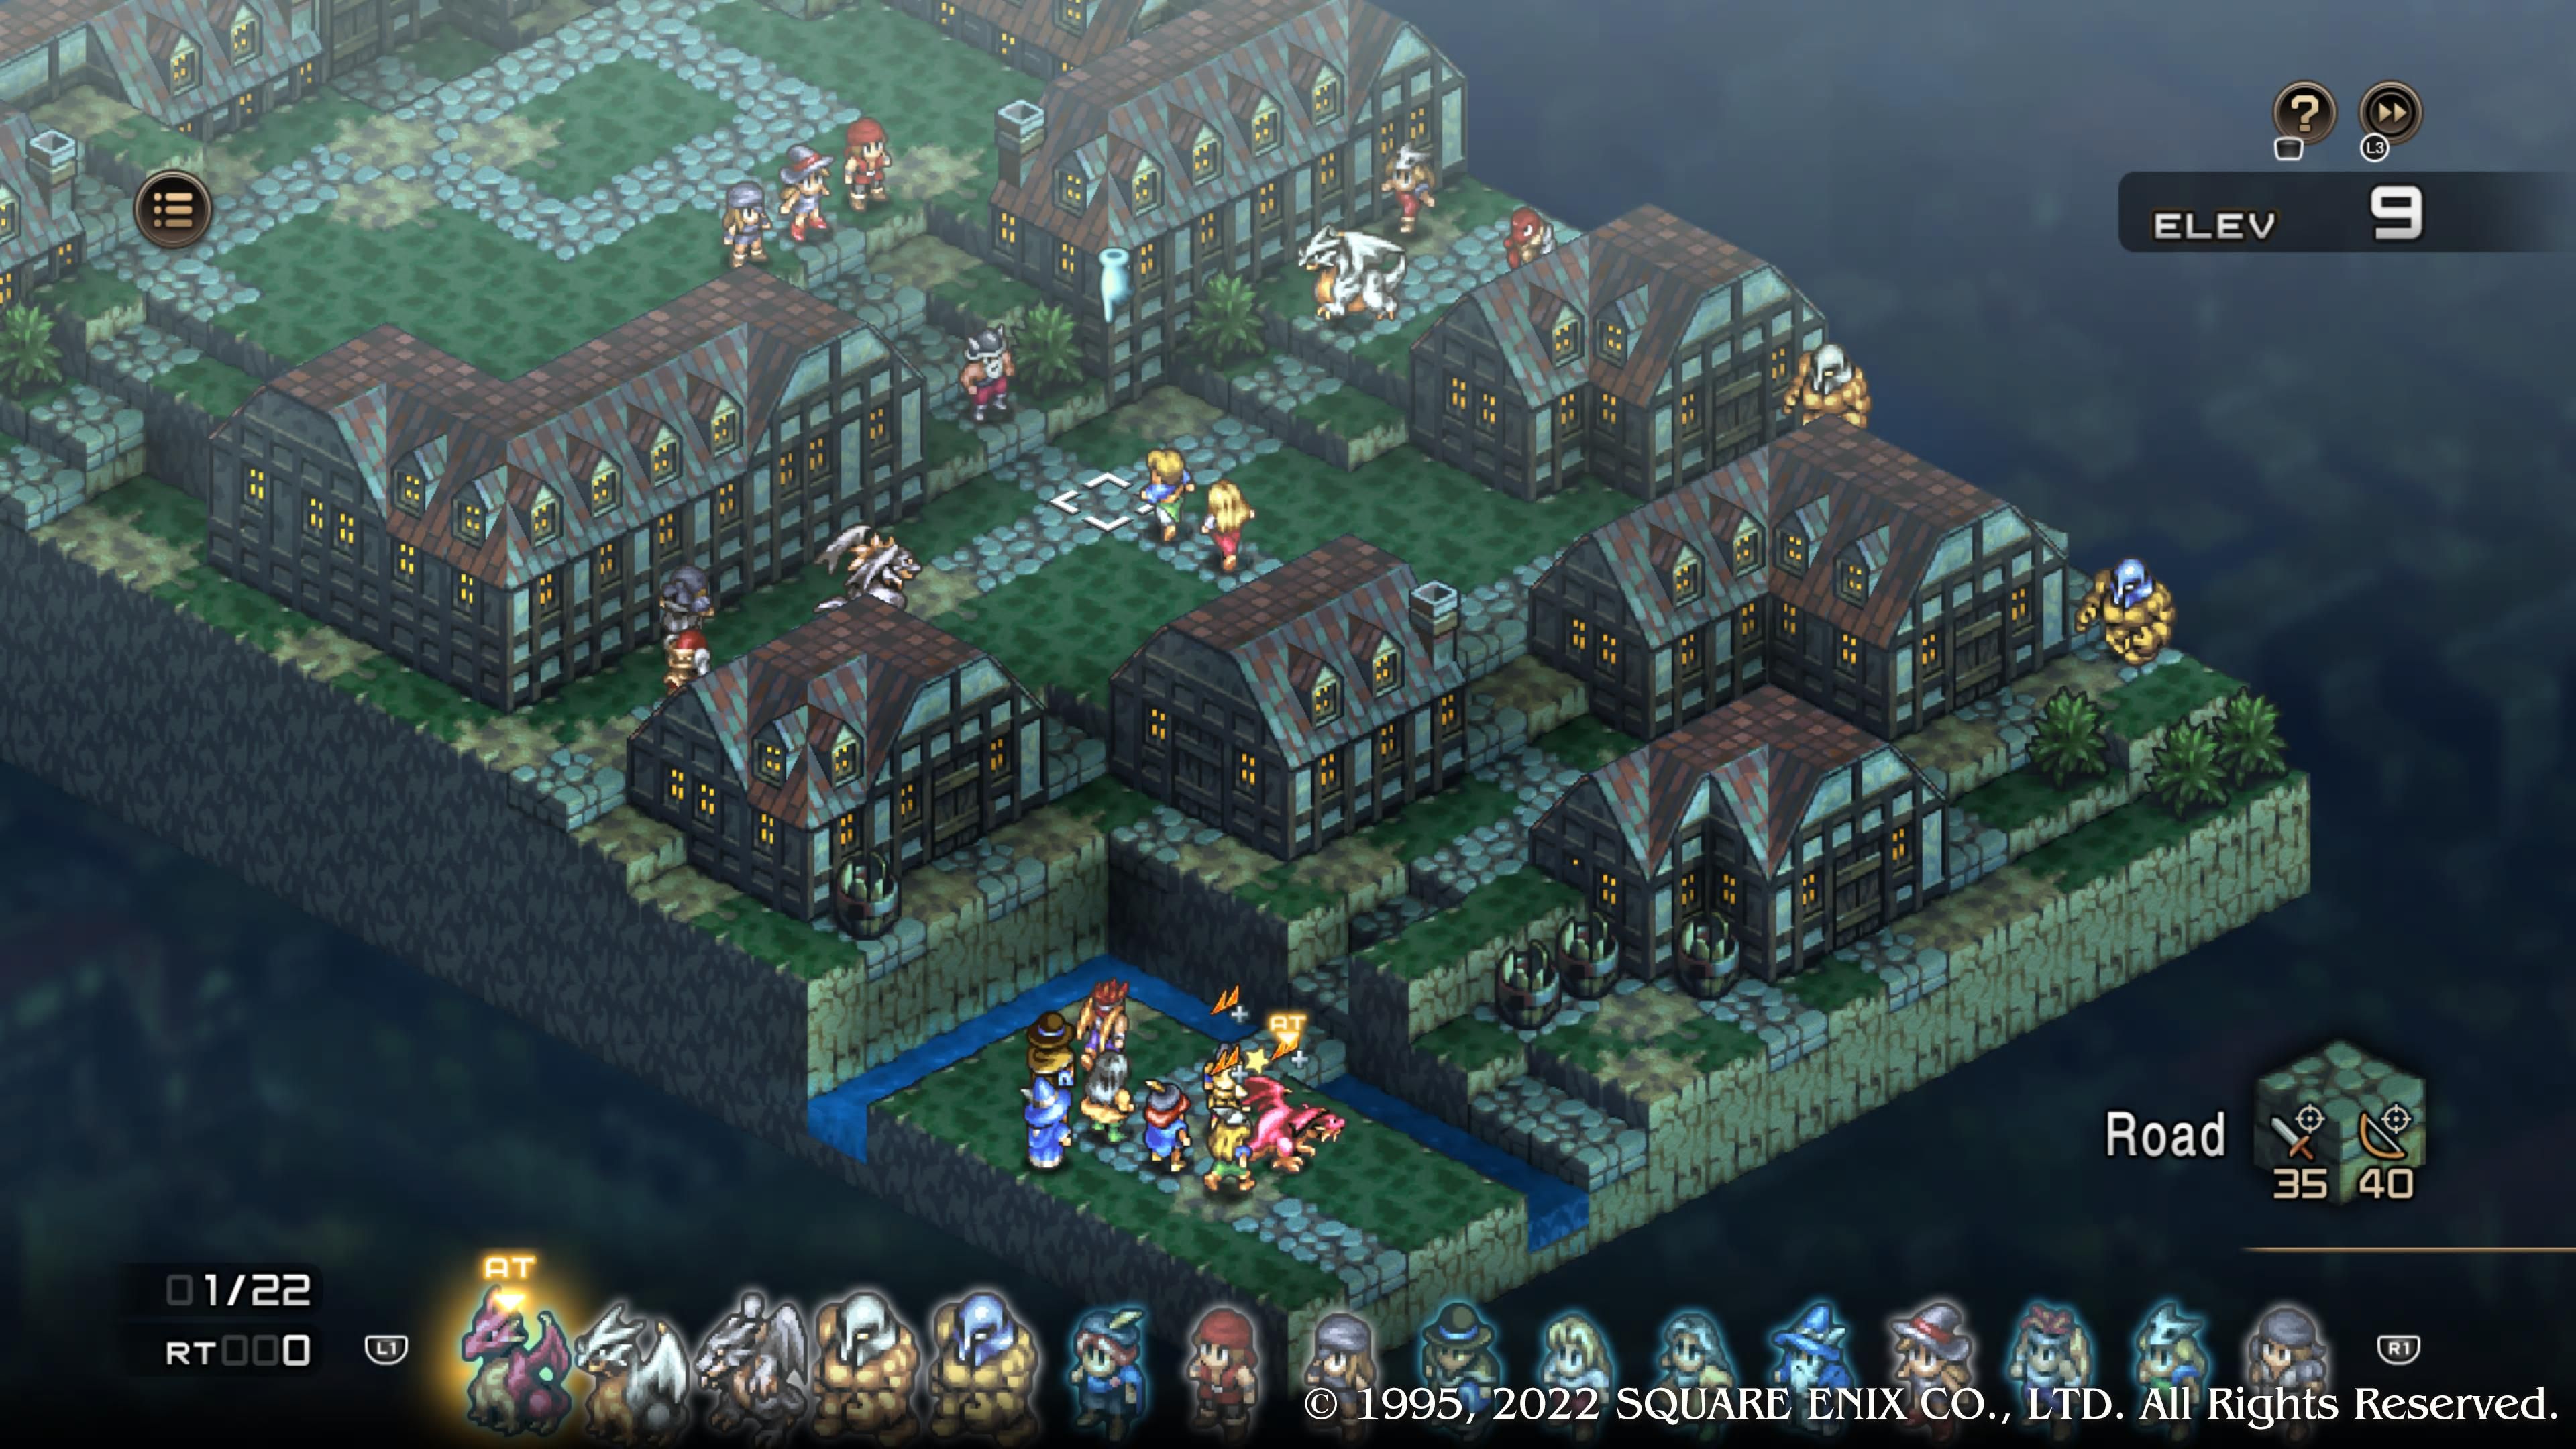
Don't let the utter lack of healing units on Xapan's team fool you into thinking this is Dagon 2.0. The Rogues and Beast Tamers have a seemingly endless supply of Mend Leaf +1s and +2s at their disposal. Denam (and Catiua) are surrounded at the beginning of the battle (as seen above), and you'll be dealing with this for a while. It's not the most pleasant experience.
- Though you will want him to help out per usual, don't expect Canopus alone to be able to hold his ground near Denam and Catiua. The enemy has enough strength to leave even our favorite winged hero in dire straits.
- The solution to this dilemma is the most obvious route, meaning the slowest route — bringing the rest of the team to the forefront as quickly as possible. This is especially problematic since it takes several turns to reach the center pathway between houses, and there are only two tiles here to get your team through. Further complicating the matter is the Golem coming at you from the start. (As an aside, we think this guy wasn't present in previous versions.)
- So, what can you do? Bring at least one Dragon, if you've been to Phorampa, and use it to hold off the Golem until it's been neutralized. At which point, quickly bring the Dragon into the main fray at the center. If you have two Dragons, all's the better.
- We suggest Dragons because getting your beefier melee units stuck against that Golem can spell disaster. You need them to reach Denam, and they'll already be stalled by a handful of foes who will undoubtedly travel to that narrow pathway.
- It may prove impossible to keep Catiua around. Don't worry (much). As per usual, she'll warp out rather than dying here. In the meantime, at least she'll heal Denam. Unless, of course, she gets it in her head to keep spamming Judgment.
The last two fights of Chapter 2 (Chaos) are back-to-back, so stock up on healing items and make sure your gear is the best it can be. And keep Denam as a melee class; heck, train him up so he has one, if necessary.
Story Battle: Almorica Castle
Stronghold Battle: The Gates of Almorica
|
Enemies |
Leader: Xapan (Berserker) and Ramidos (Sorceress) |
|
|---|---|---|
|
2x Knight, 2x Archer, 2x Wizard, 1x Warrior, 1x Terror Knight, 1x Rune Fencer, 2x Cleric |
||
|
Deployment |
9 Units |
|
|
Guests |
None |
|
|
Victory Condition |
Defeat Ramidos (the game claims you need to defeat Xapan as well; you don't) |
|
|
Difficulty |
★★★☆☆ (3/5) |
|
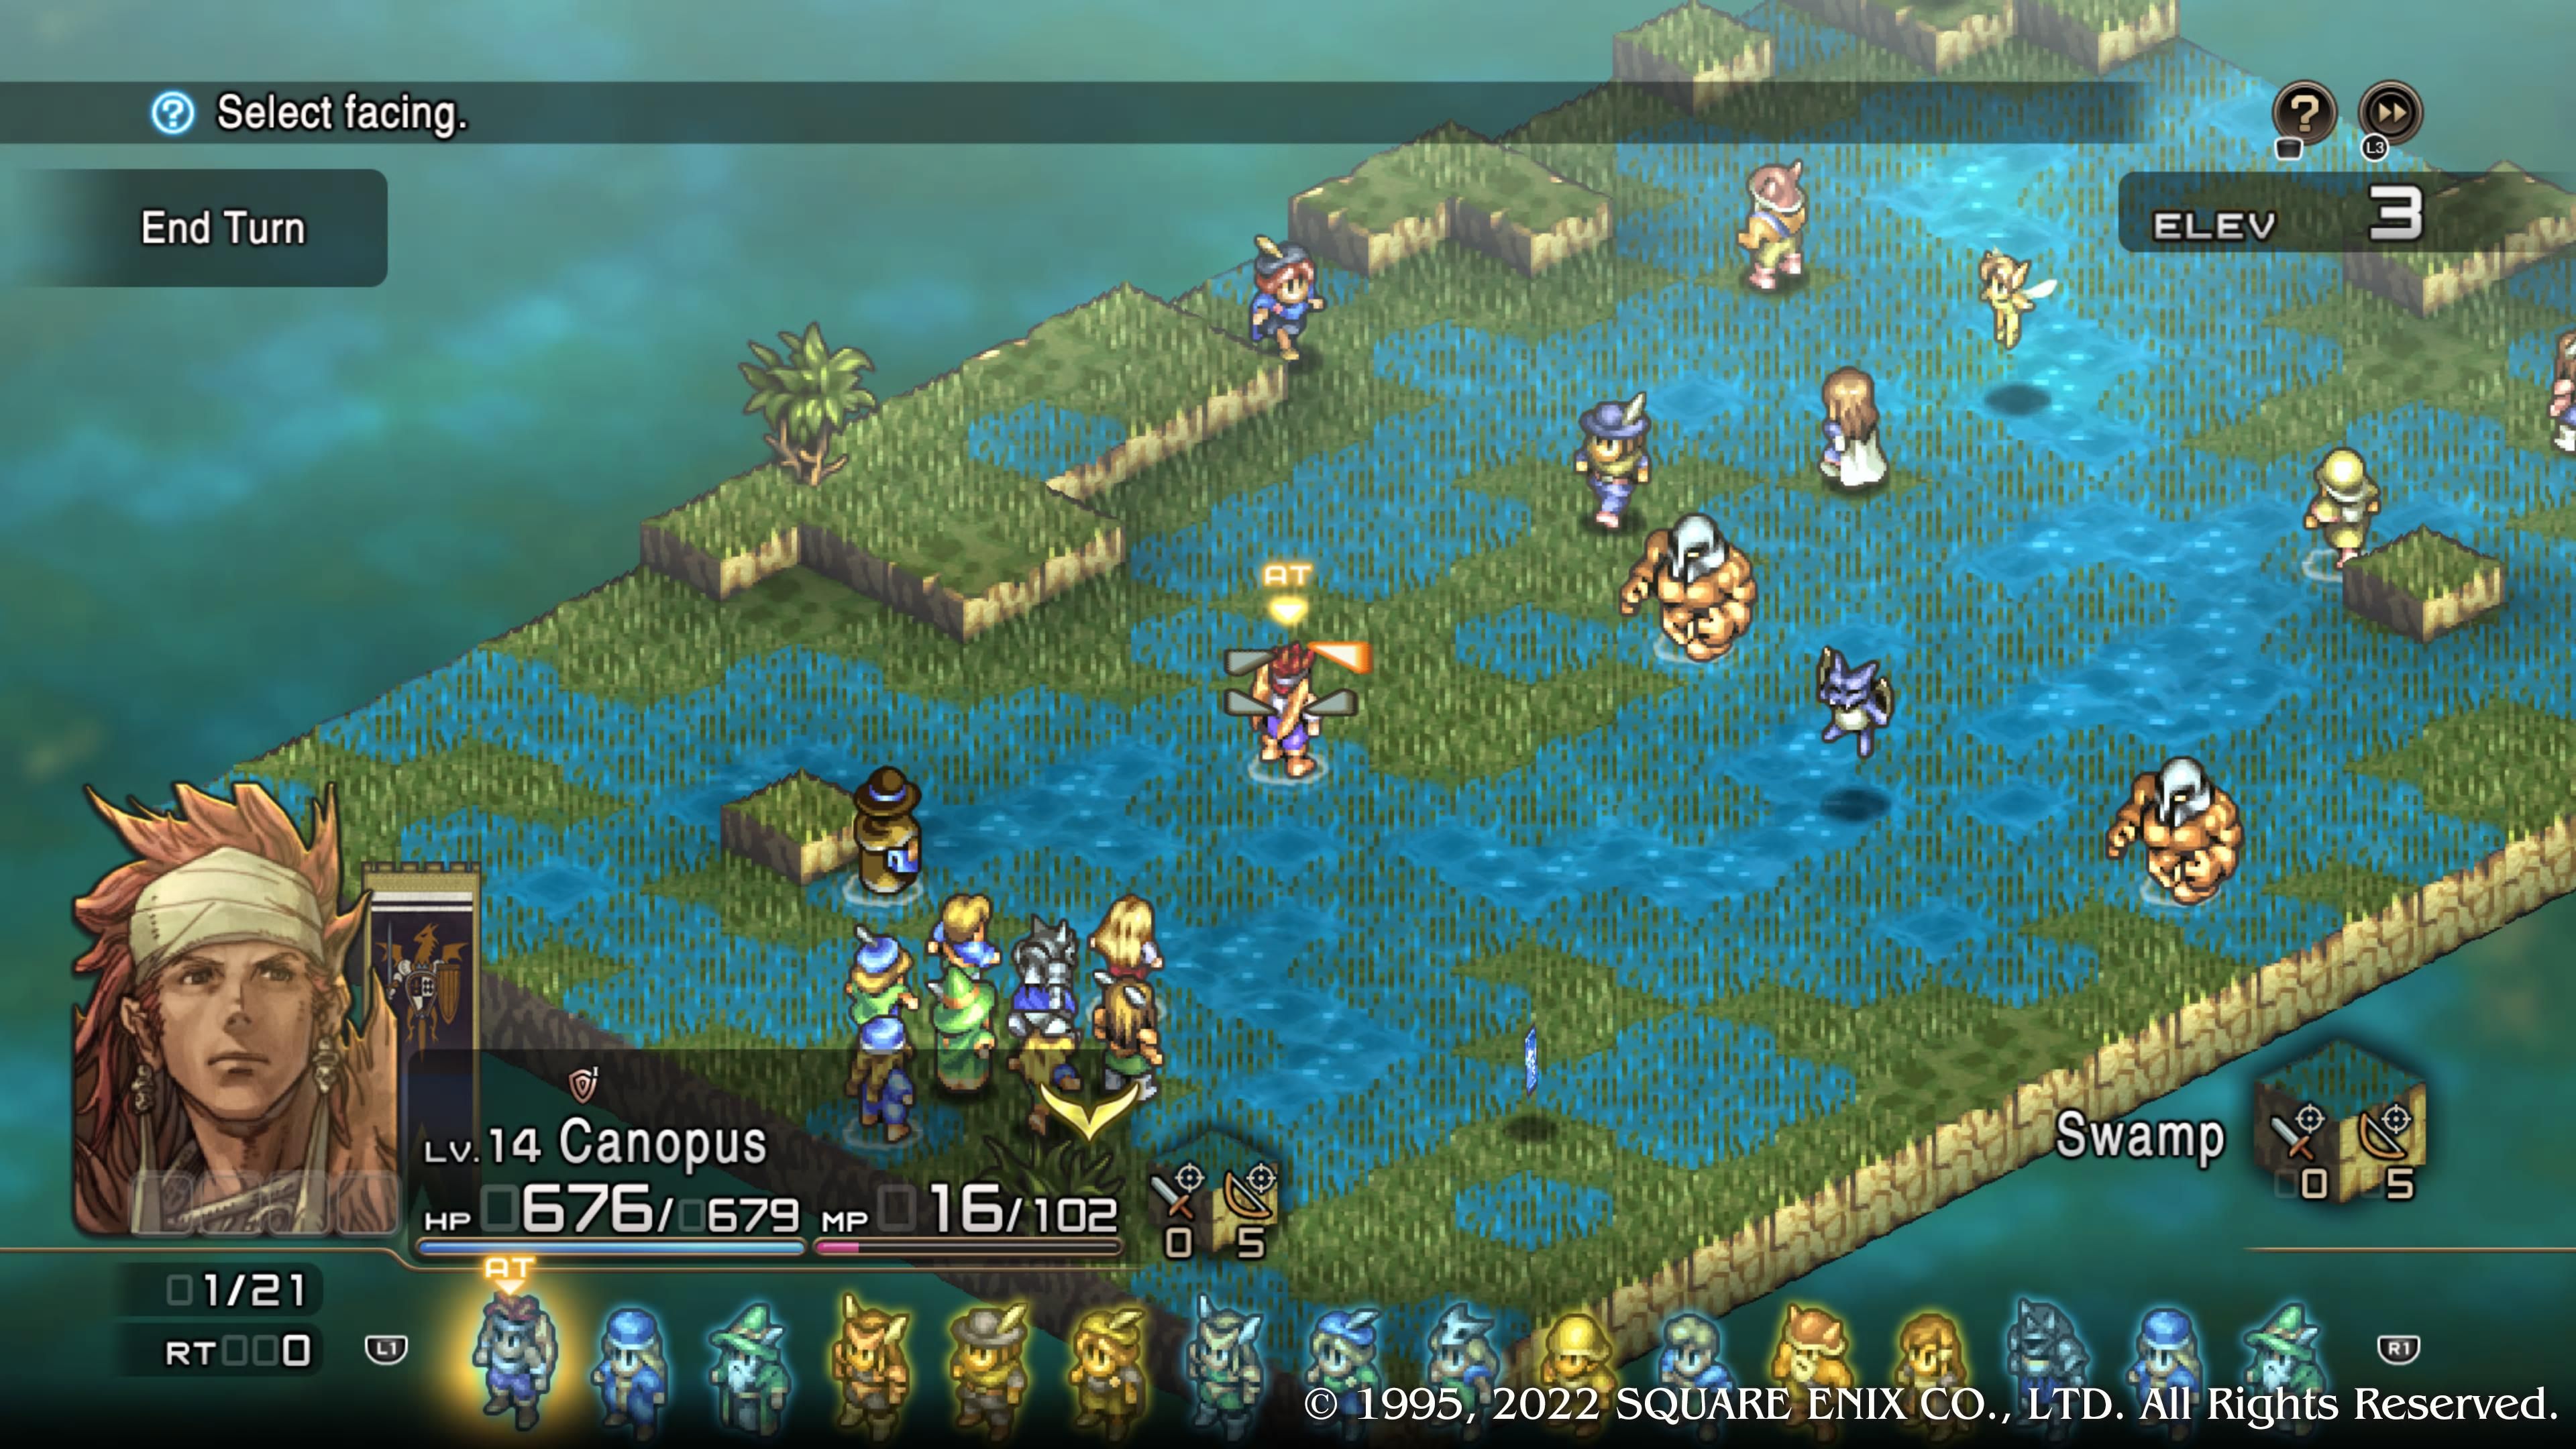
This battle just scrapes by as a three-star engagement rather than four, if only because, as noted above, you don't actually have to take down Xapan. Once you know that, you'll also know to head up the watery path to the east.
- Try to avoid the enemy front lines by getting to the water as quickly as possible. They'll still pile up on the side, and some will be able to reach you, but it won't be half as bad.
- The water will slow you down. The Wizards and Archers will be able to pick you off uncomfortably quickly, but spam healing items while you're vulnerable, and they should only manage to incapacitate one, two units at worst.
- In our testing, Ramidos and Xapan always came to the far end of the water tiles to assault us, which is a good thing. It means Ramidos won't be protected at the center area, as she begins the map with.
- Send your fastest units (hello as usual, Canopus) to take her down. If pressed, bait Xapan with a squishier unit, so his Finishing Move doesn't foil your initiative.
Stronghold Battle: Almorica Passageway
|
Enemies |
Leader: Vyce (Assassin) |
|
|---|---|---|
|
None |
||
|
Deployment |
Just Denam |
|
|
Guests |
None |
|
|
Victory Condition |
Defeat Vyce |
|
|
Difficulty |
★☆☆☆☆ (1/5) |
|
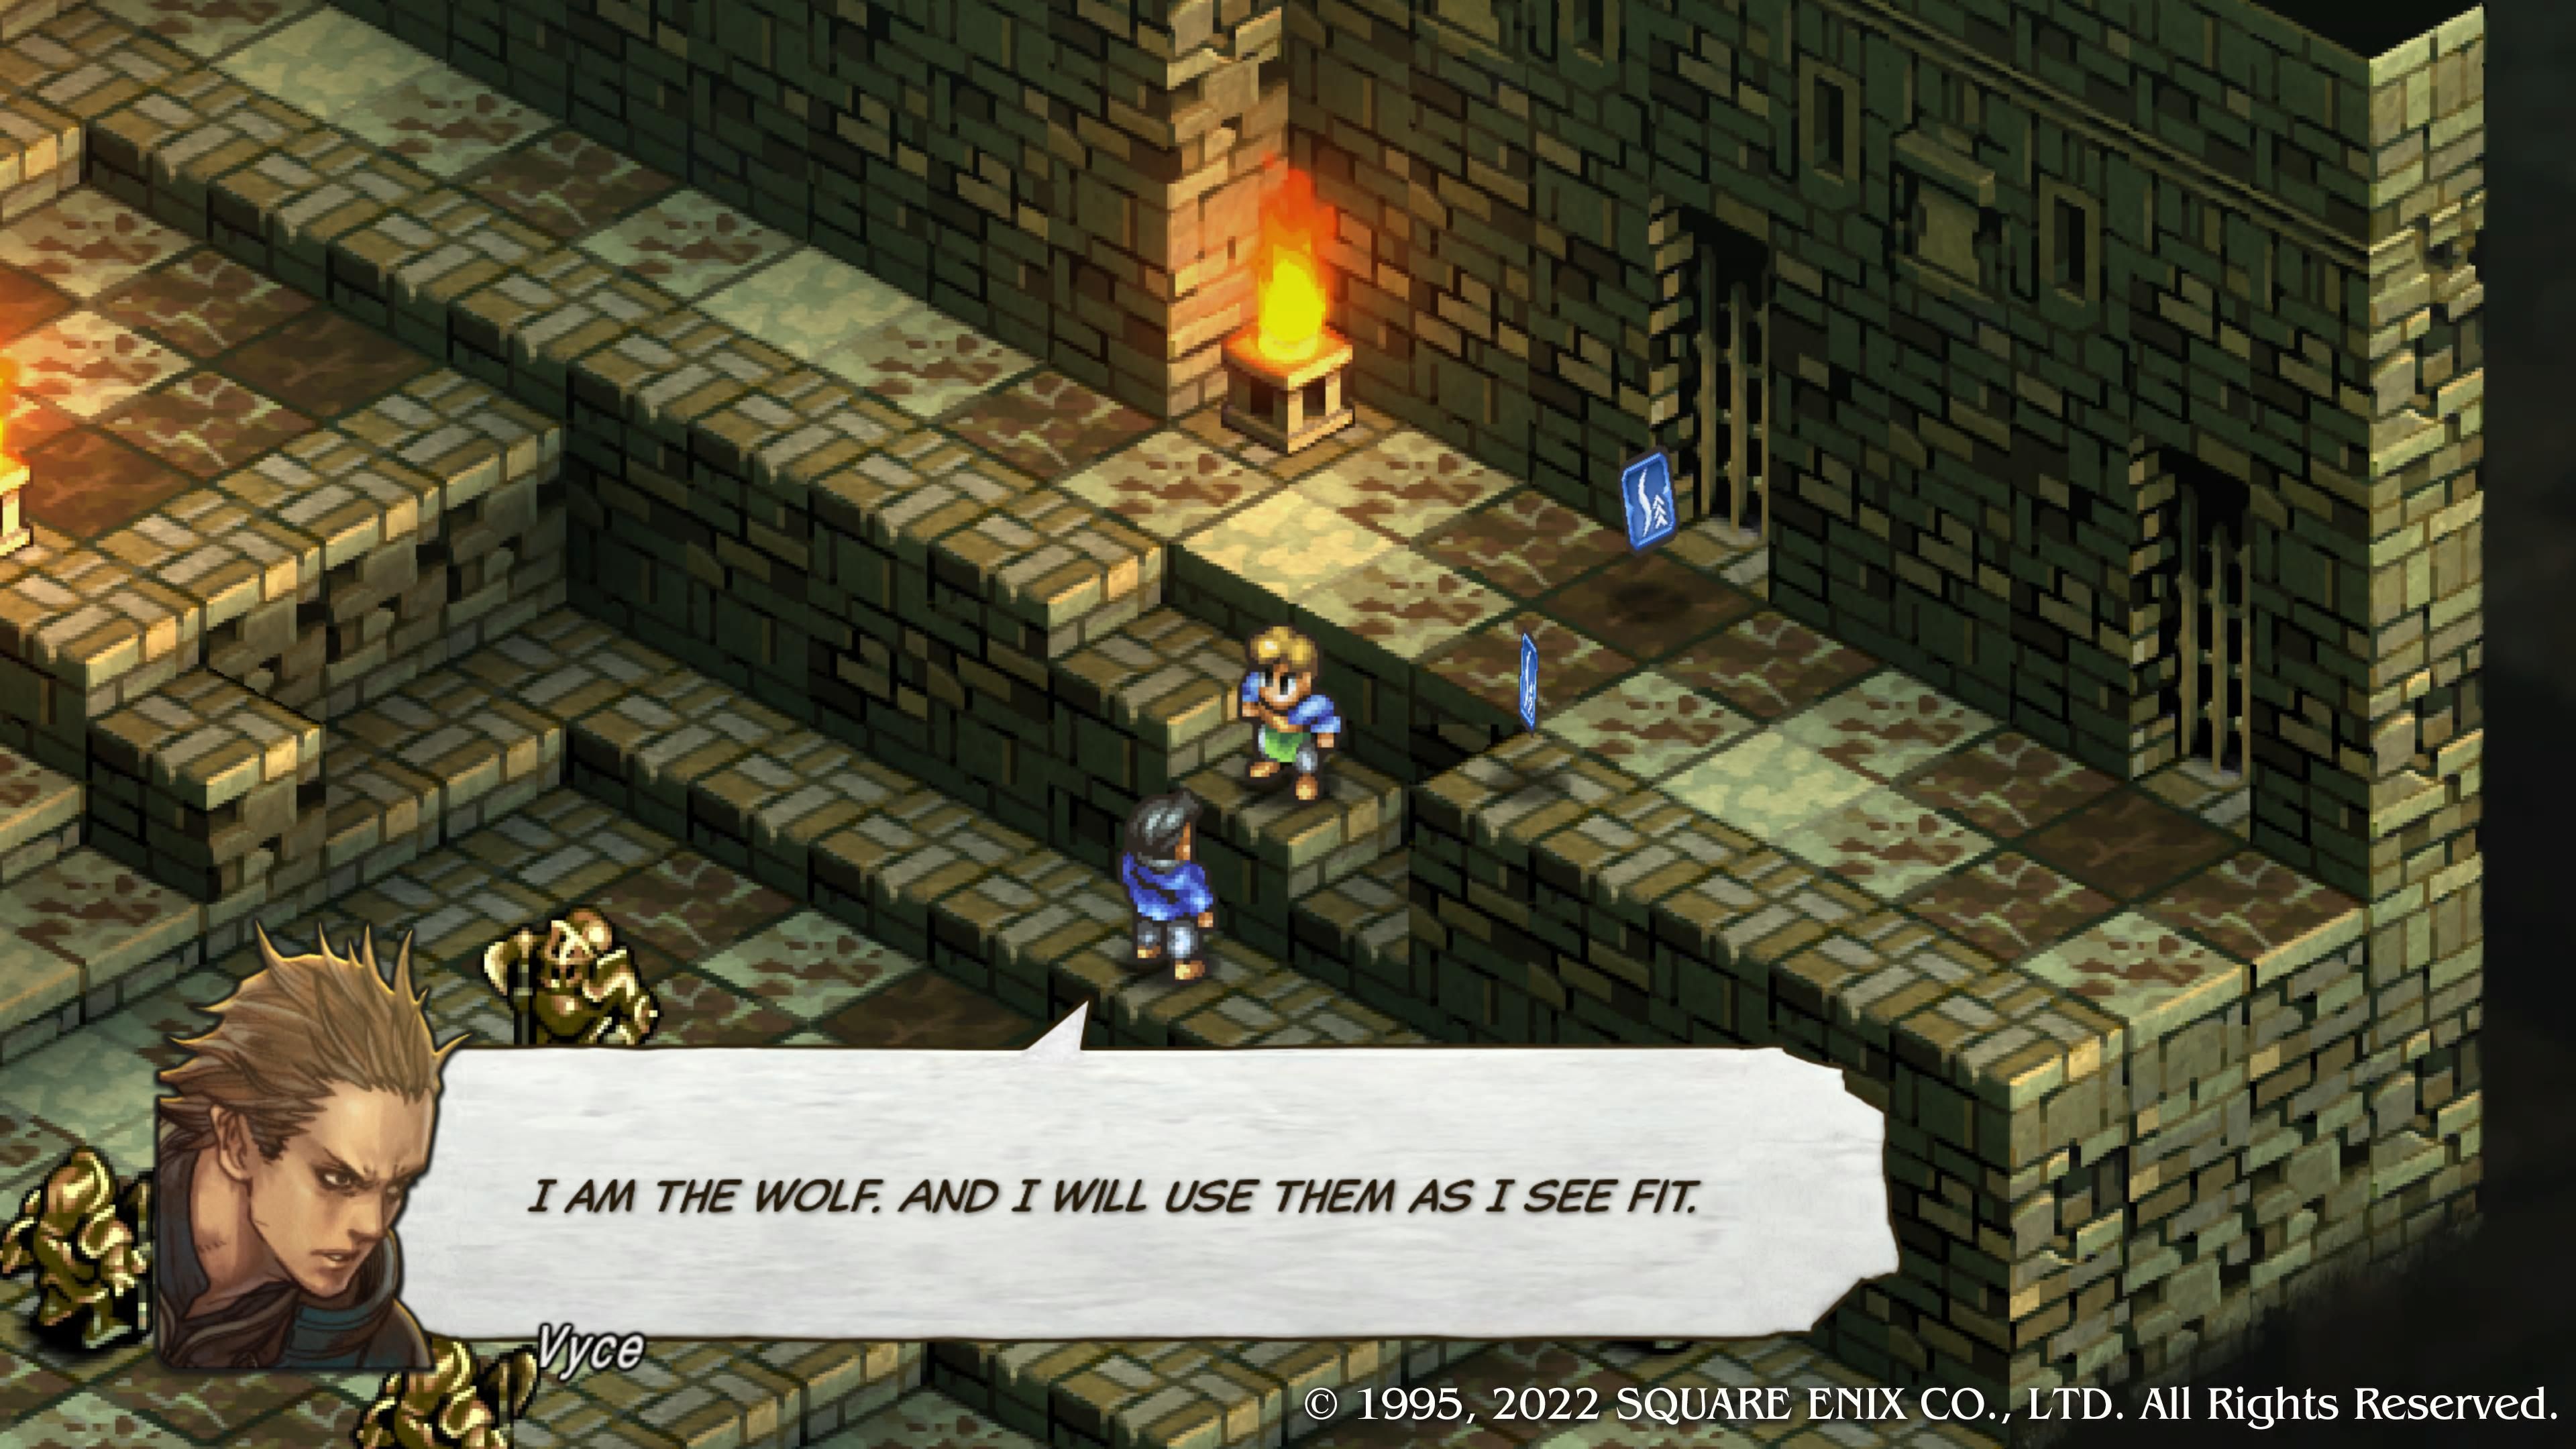
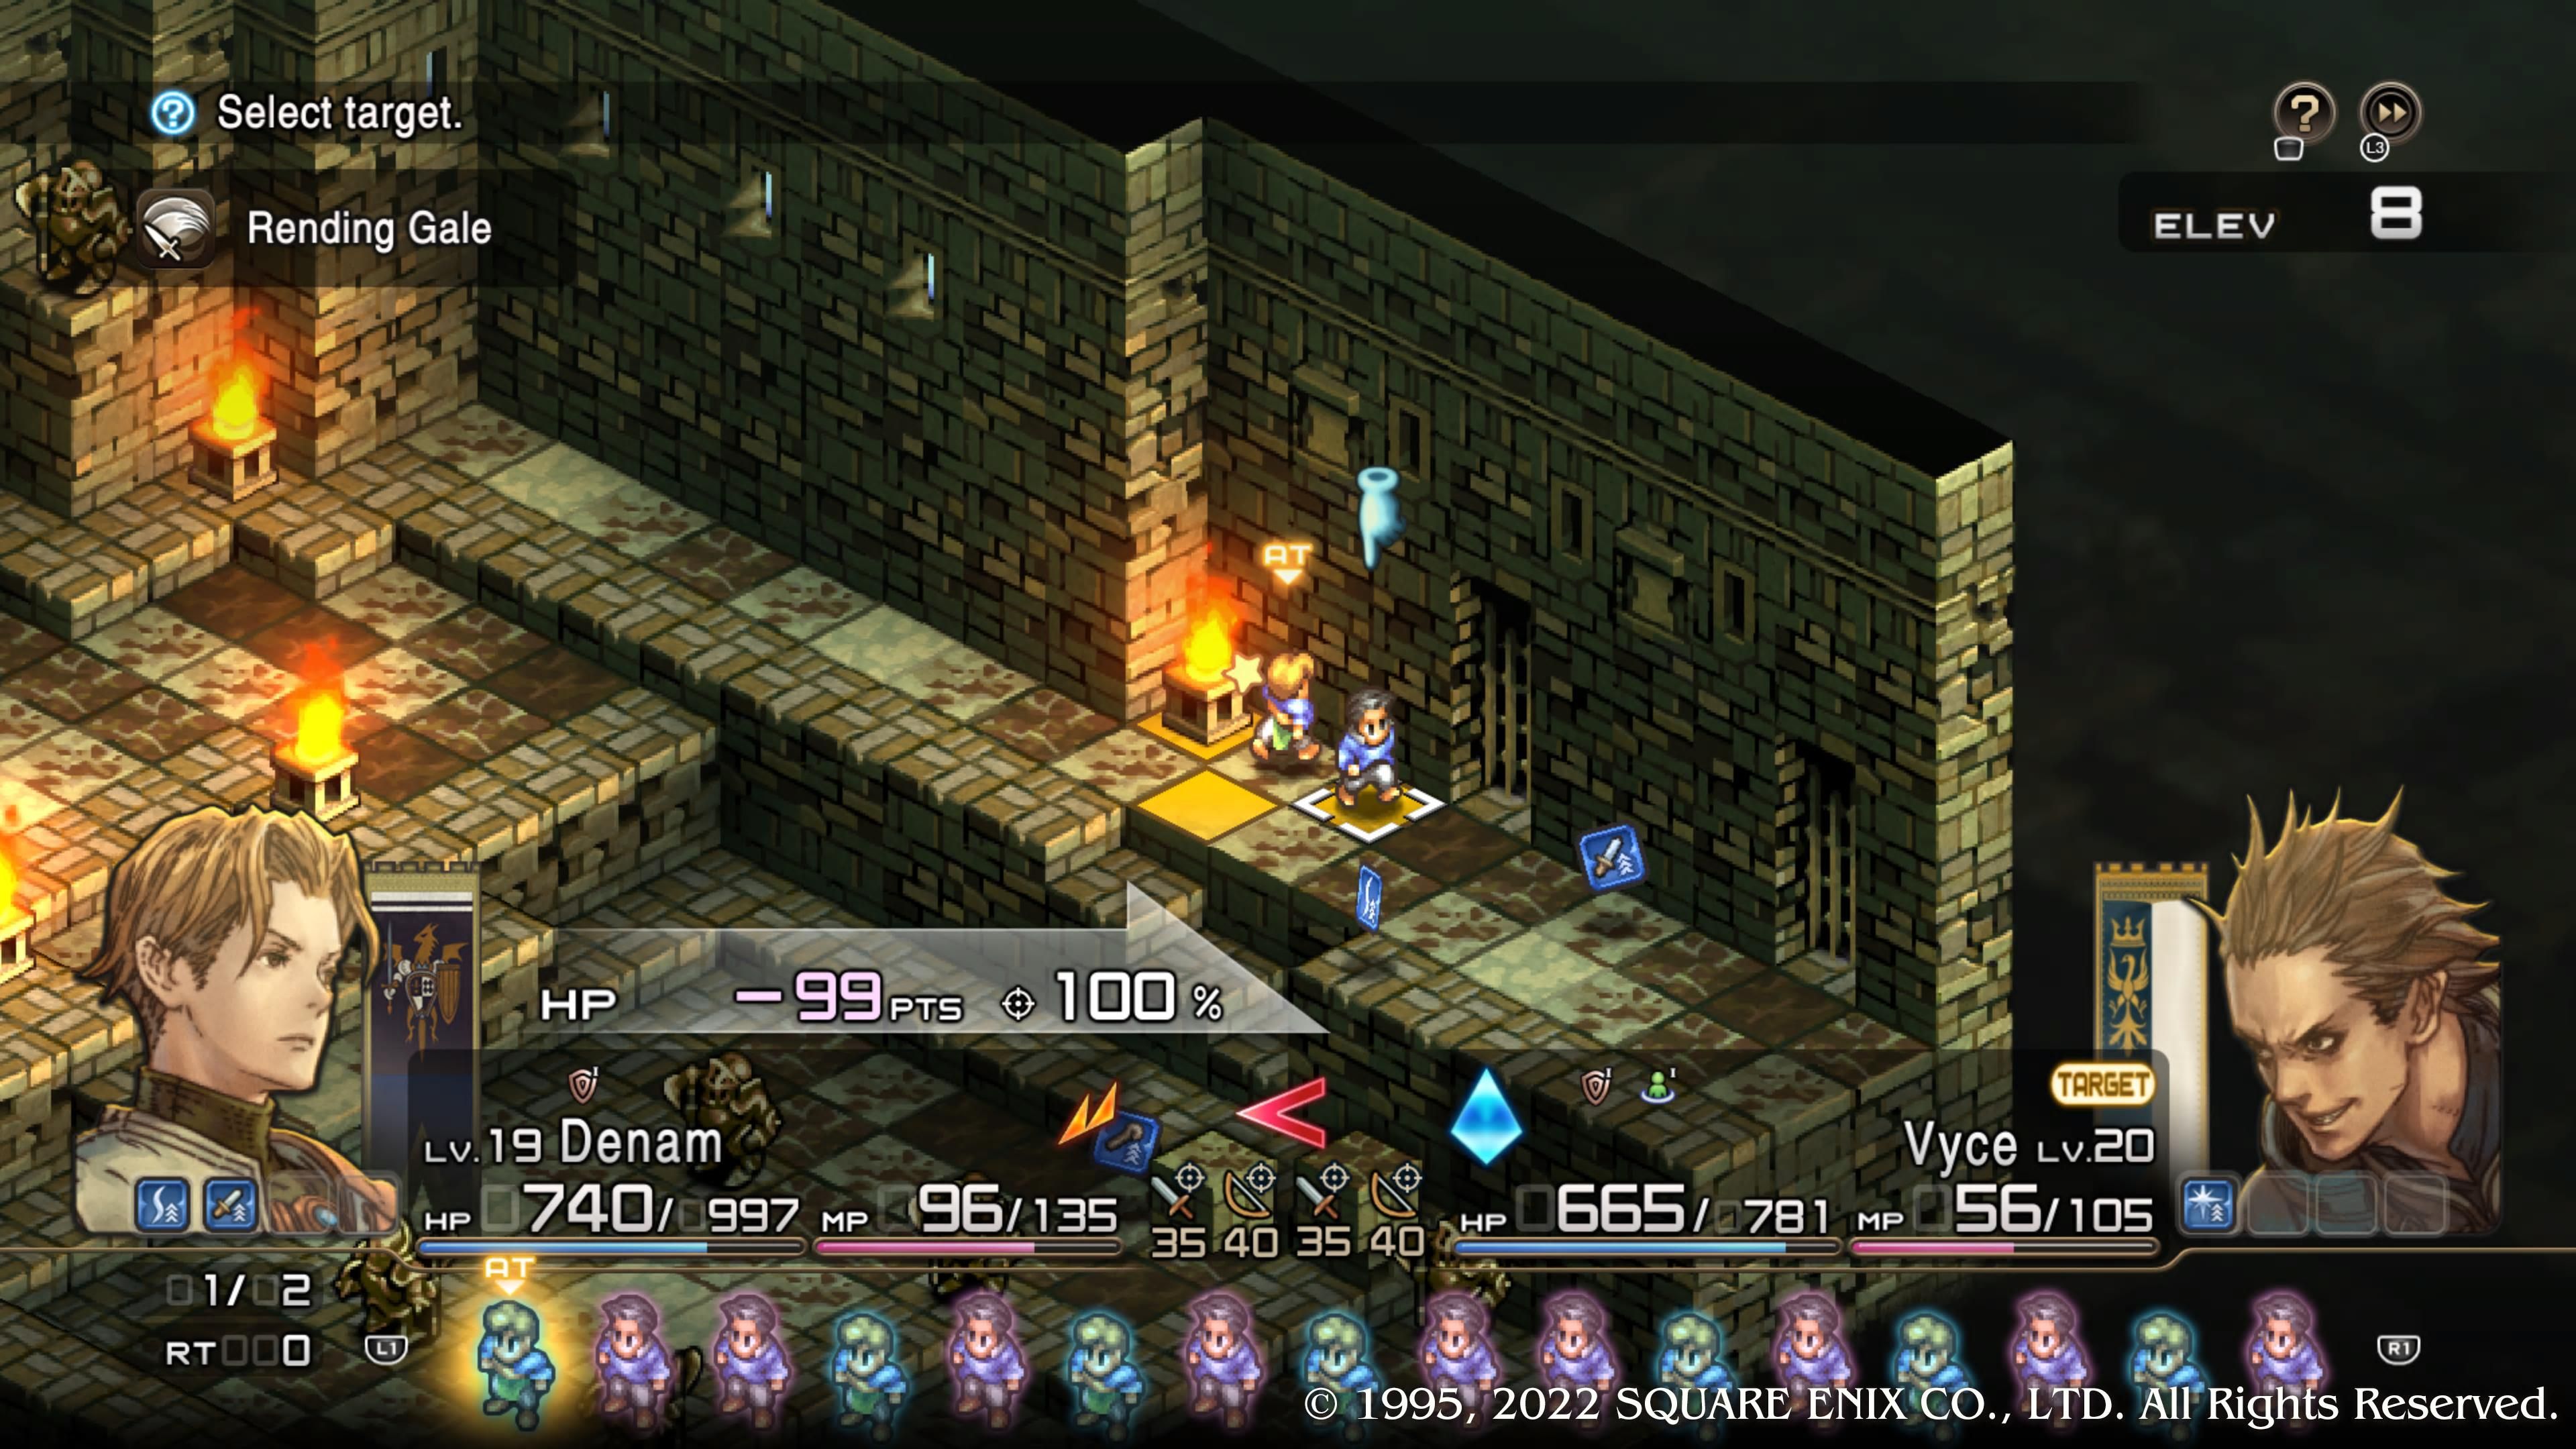
Denam waltzes into Almorica Passageway alone, strictly for narrative purposes. We simply have to accept this. Vyce, like most enemies, is more threatening with Tactics Ogre: Reborn's mechanics, so even if you've aced this before, be cautious. Under no circumstances should you have Denam as anything but a Knight or Terror Knight here. He needs to withstand some serious pain.
- So, this is less of a duel and more of a waltz. You're going to want to attack with Finishing Moves whenever possible, running away otherwise unless you get the rare two-turn opportunity.
- In the meantime, pluck as many Ability Cards as possible, so that Phalanx triggers as often as can be. Even with Phalanx, Vyce's Finishing Move can hurt, but he'll often be forced to attack normally while his MP is filling back up. Whenever it's low, and so long as you have Phalanx active, that's when you strike.
- Vyce won't heal, but he will seize opportunities to pick up Attack Cards. Even with two Attack Cards, his Finishing Move shouldn't kill a Knight/Terror Knight Denam at current max Union Level in one hit if Phalanx is up, though you'll surely need to spend a turn healing.
- This fight is mostly about hit-and-run tactics. Vyce is all about the chase; Denam needs to be the prey. When Vyce is down to around 20 percent of his health, the fight ends.
Route Split: Should You Agree With Leonar?
Chapter 2 (Chaos) is coming to a close, which means players are presented with another choice. At this point, you cannot reach the Lawful route, as that chance passed you by permanently when you declined to partake in the massacre at Balmamusa.
What that leaves us with is:
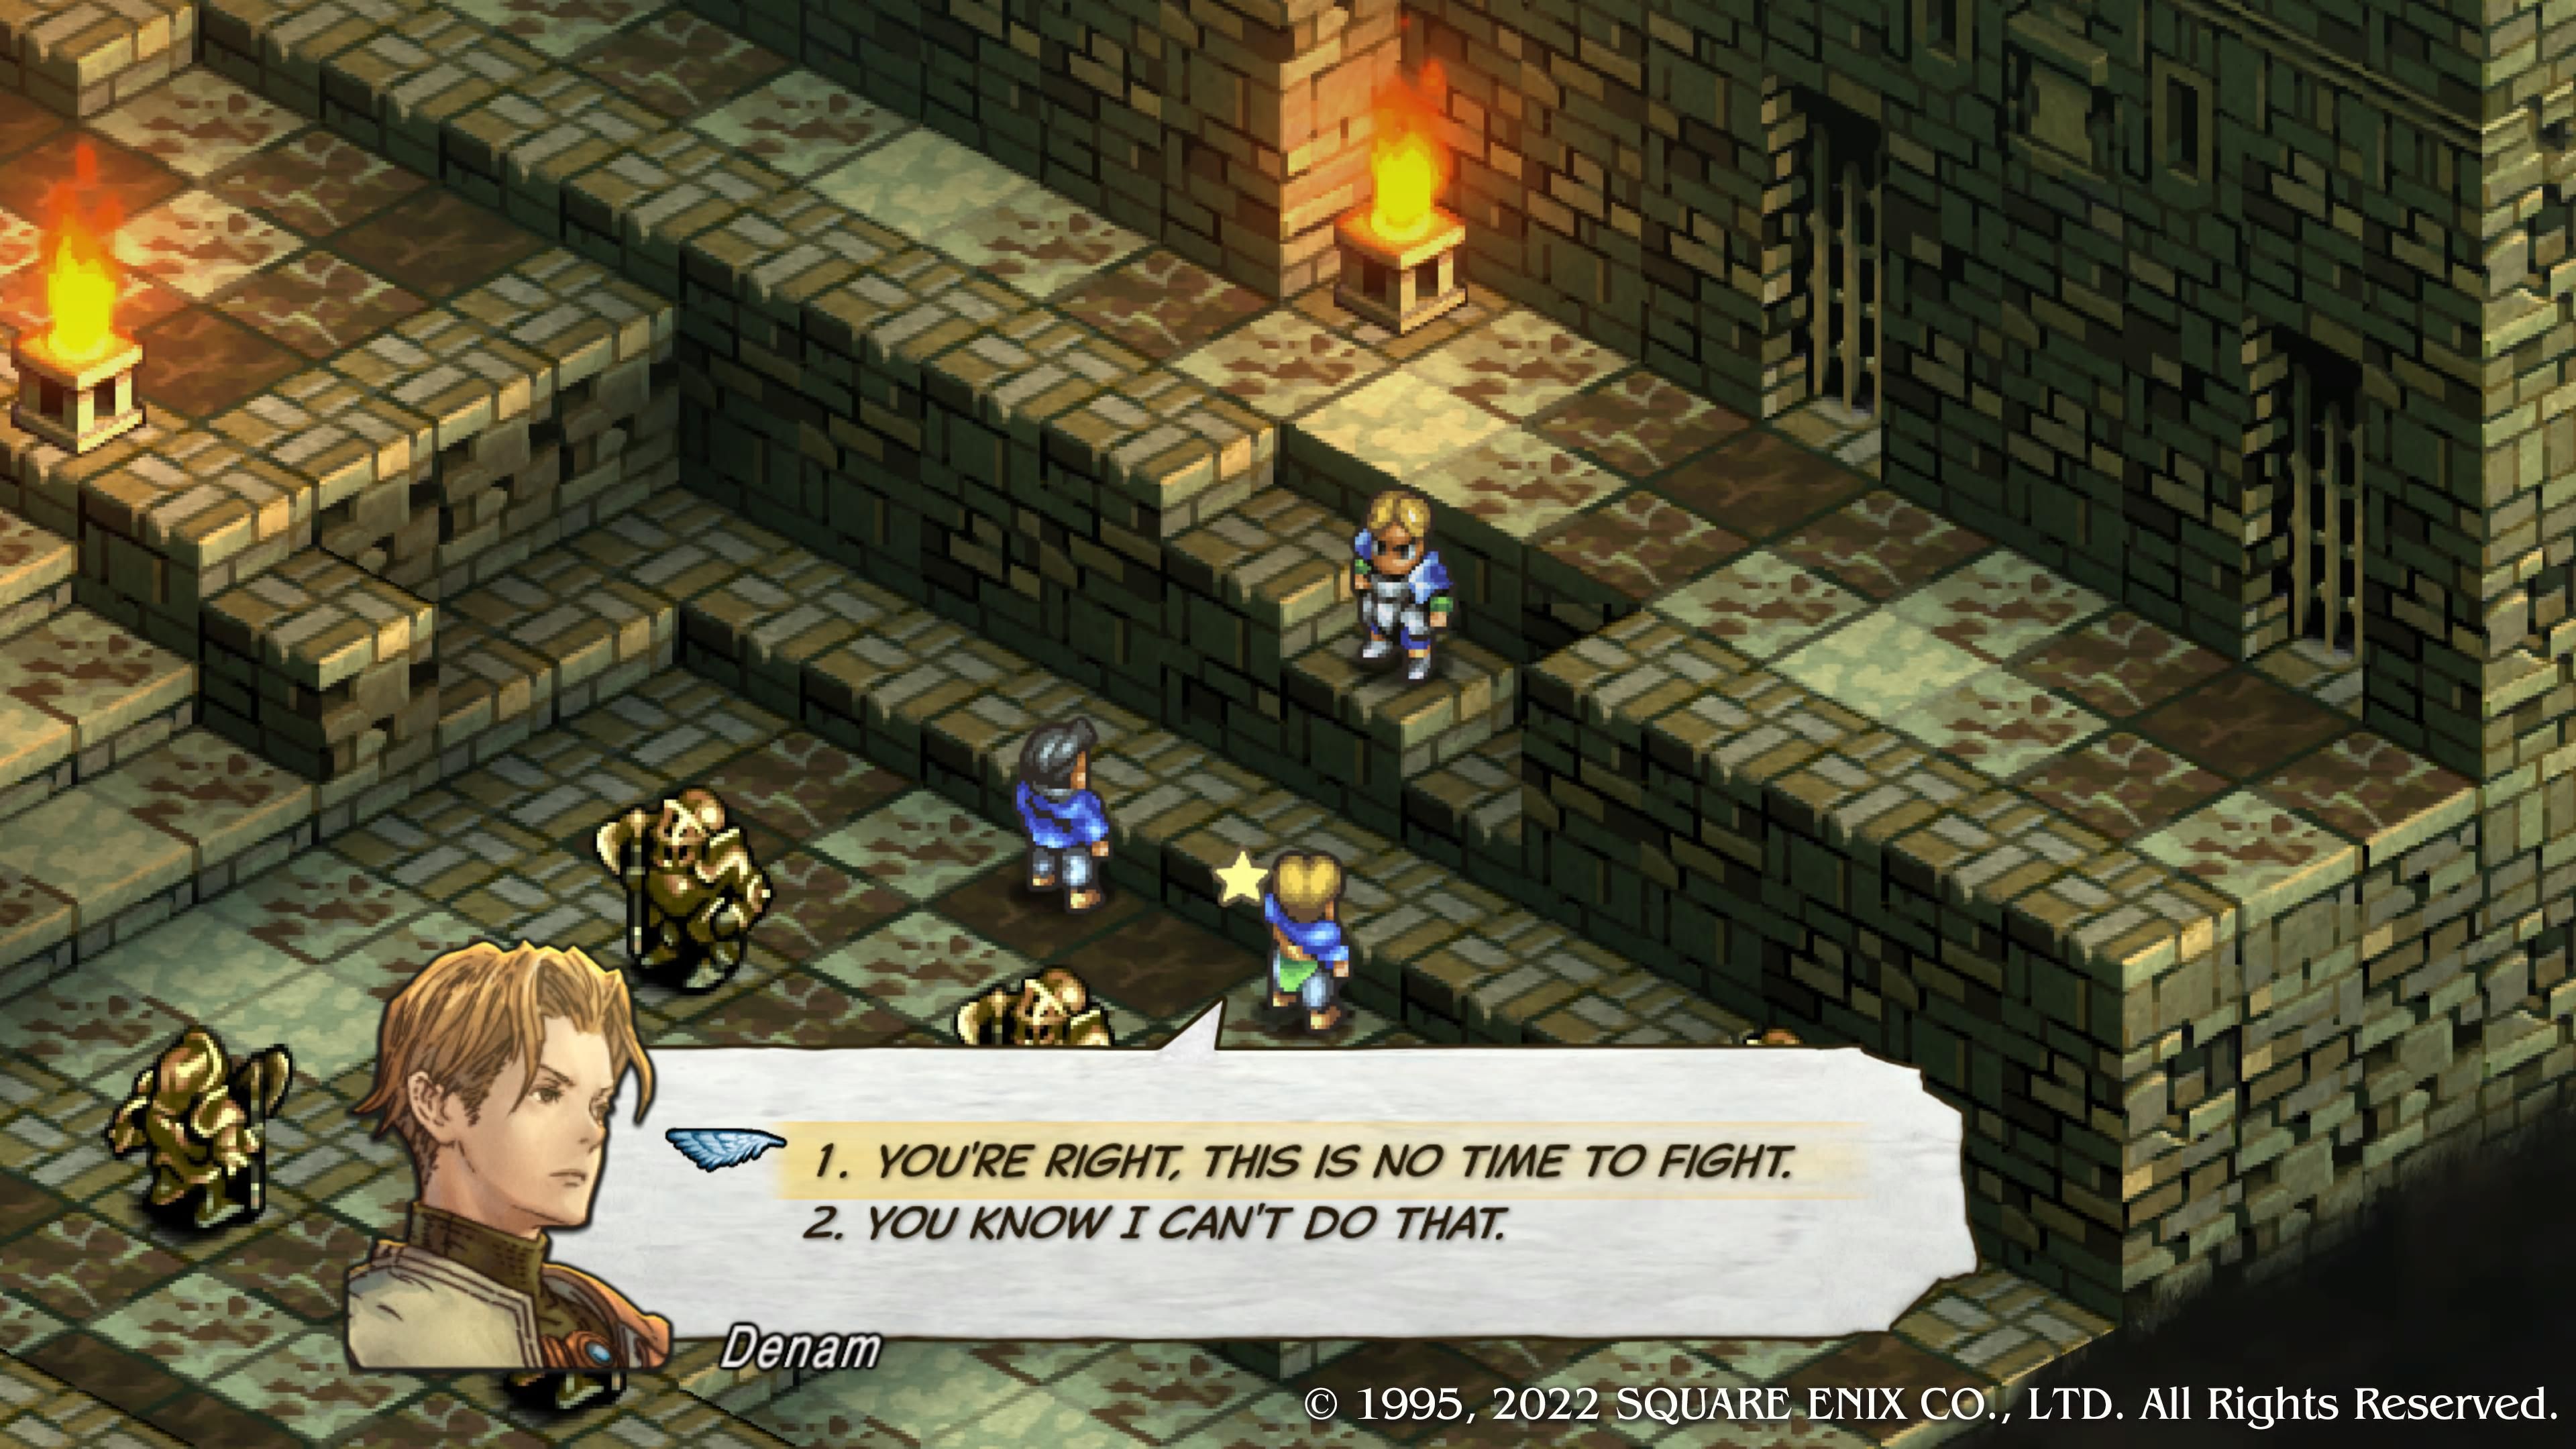
- Agreeing with Leonar that this is no time to fight will set you on the path toward Chapter 3 (Neutral).
- Refusing to do so maintains the present course, so to speak, setting you instead on the path to Chapter 3 (Chaos).
As was the case with Chapter 1's big decision, there's no right or wrong choice. The story diverges wildly again, and several characters are only obtainable in one route or the other. Regardless — and again, the same was true for Chapter 1 — you will be able to go back in time after beating the game to explore other routes without needing to completely restart Tactics Ogre: Reborn.
In other words? Go with your gut. Think about how you feel, or more accurately, how you think Denam would feel. Is it time to quit this rebellious streak for what Leonar believes to be the greater good? Or must our hero continue to journey into darkness? Either way, we've got you covered with guides to come.

