Quick Links
With Denam now the leader of the resistance, there are big challenges on the horizon. Chapter 3 of Tactics Ogre: Reborn's Lawful route features lots of stronghold battles, fierce bosses, and some nifty recruits to experiment with.
When you begin this chapter, the shops will have just been updated. Take a look at the new stock and grab some upgrades if you feel so inclined - the second tier of crafting recipes is now available, but you can hold off buying them for now; the weapons you need to craft any of them aren't available just yet.
Sail around to Madura Drift to fight the first battle of the chapter.
Story Battle: Madura Drift
|
Enemies |
Leader: Hektor (Knight) |
|
|---|---|---|
|
2x Warrior, 2x Archer, 2x Wizard, 1x Knight, 1x Cleric |
||
|
Unit Deployment |
10 Units |
|
|
Victory Condition |
Defeat Hektor |
|
|
Bonus Objectives |
Win with an Archer in the battle party |
EXP +800 |
|
Obtain a buff card |
Lightning Charm x1 |
|
|
Difficulty |
★★☆☆☆ (2/5) |
|
This battle is a pretty chill (hah, get it?) introduction to the chapter, though you shouldn't let your guard down.
- Realistically, the only threat you face in this battle is Hektor himself. He's a bulky Knight with the ability to heal himself and a Cleric in the back ranks. With enough focused damage, he should fall quite quickly.
- The generic enemies aren't much to write home about. The Archers do have Tremendous Shot, though, so beware of them sniping your mages.
This battle shouldn't cause too much strife. Onto the next one!
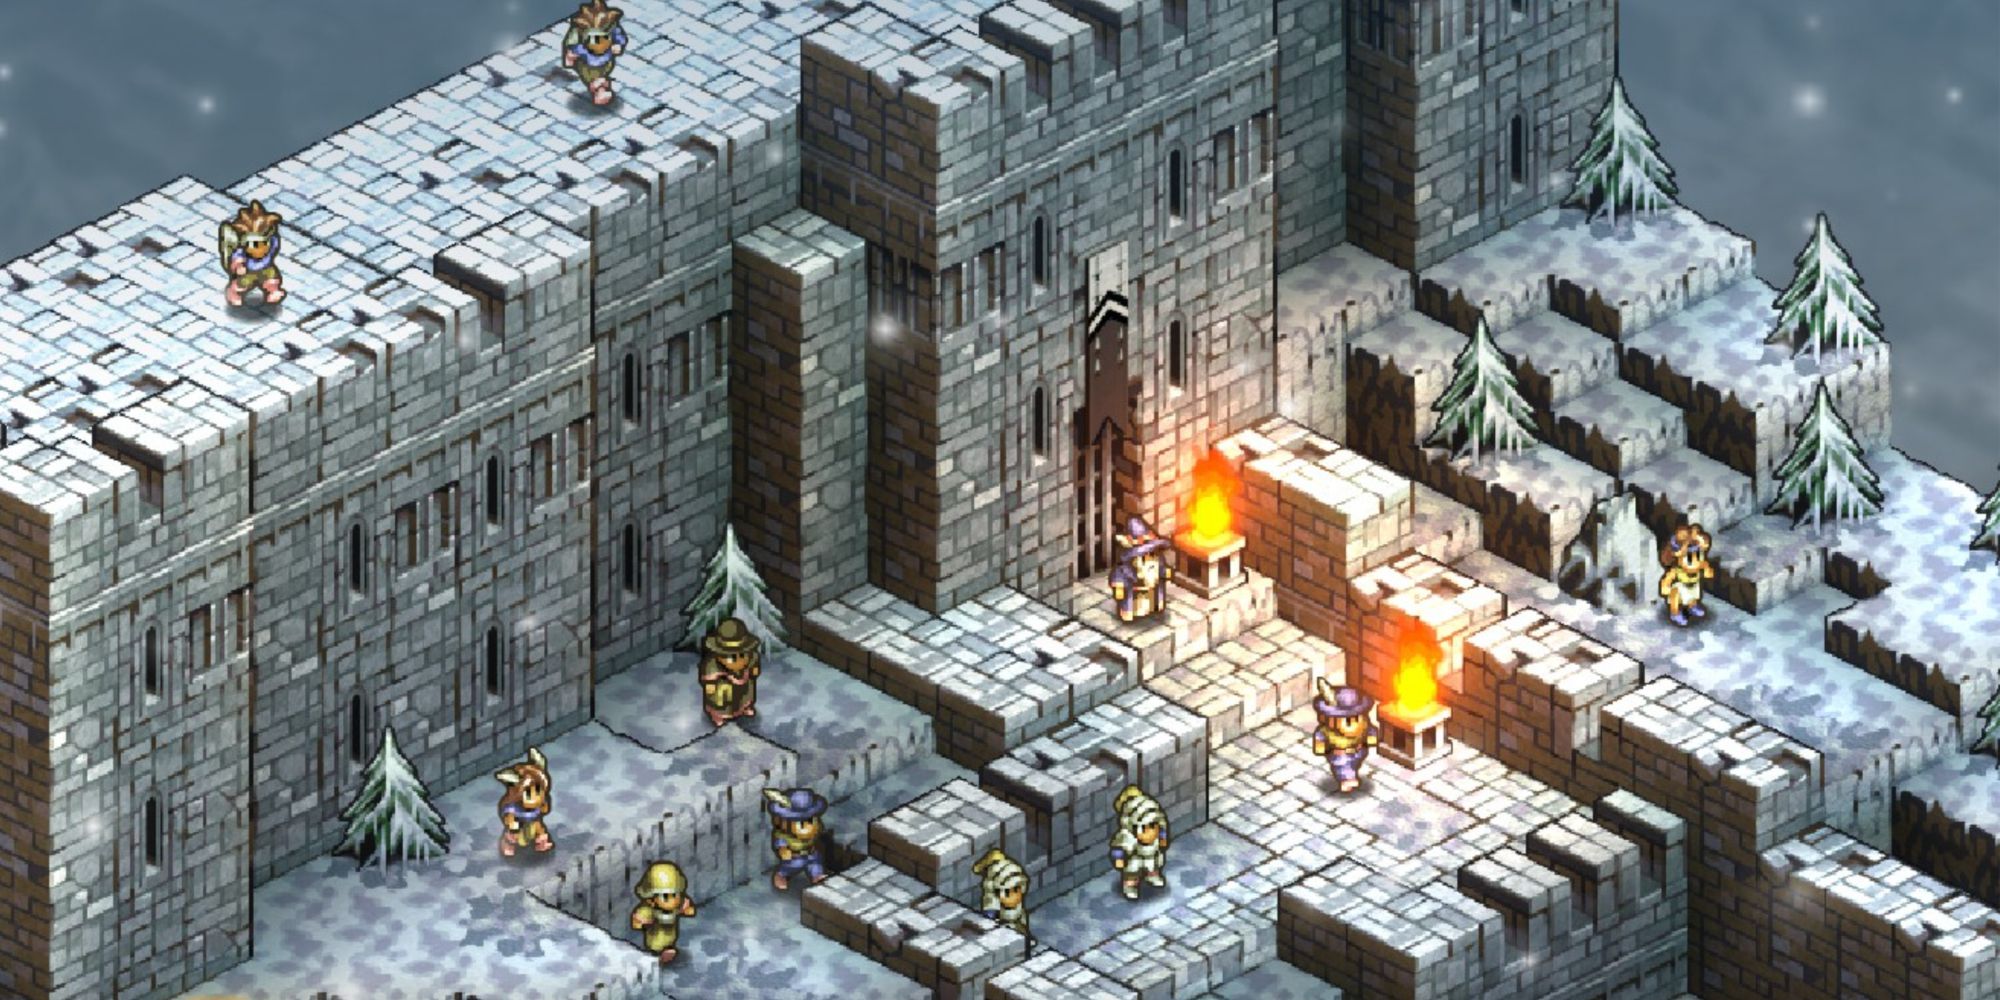
Story Battle: Brigantys Castle
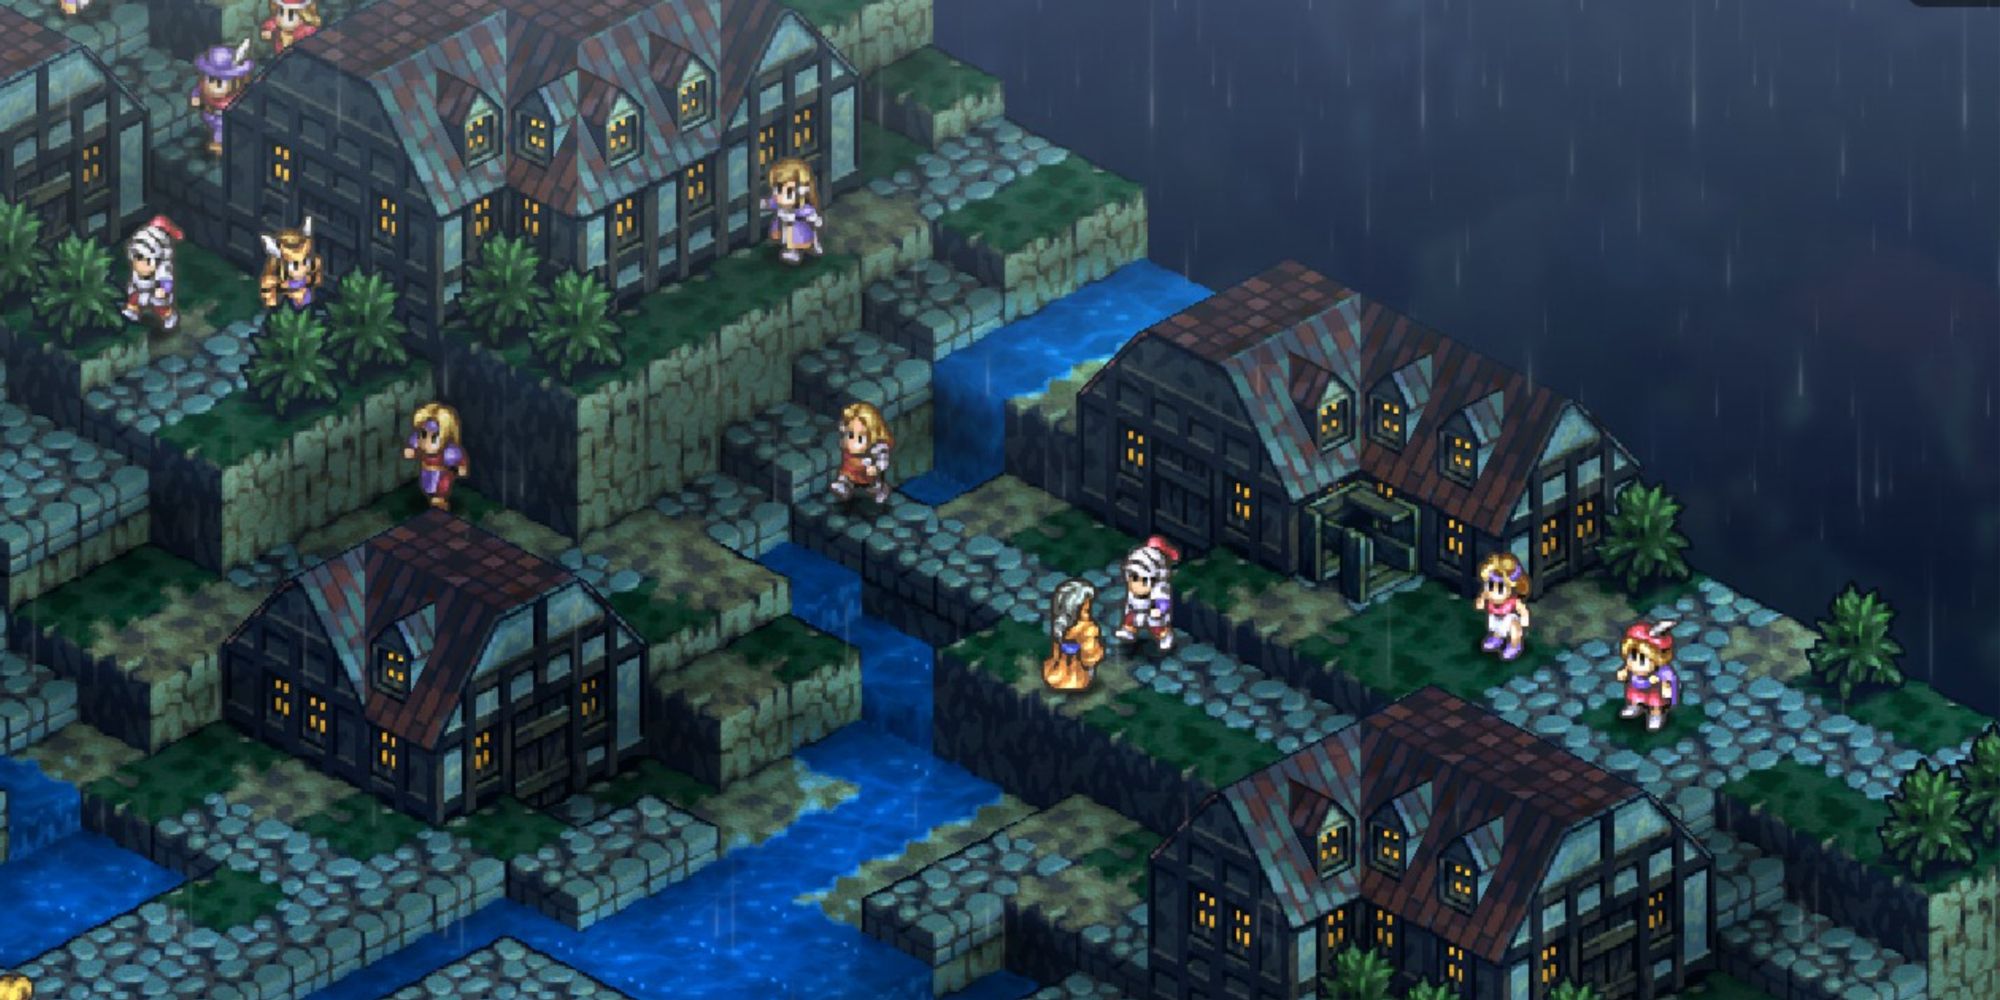
This is the first stronghold battle of the chapter and it lets you choose the way you tackle the castle - you can either strike the West Curtain Wall or the South Curtain Wall. With the West Curtain Wall you'll be dealing with an annoyingly large river, but with the South Curtain Wall you start with a significant height disadvantage - pick your poison.
Stronghold Battle: Brigantys West Curtain Wall
|
Enemies |
Leader: Bingham (Archer) |
|
|---|---|---|
|
3x Archer, 2x Cyclops, 2x Hoplite, 2x Wizard, 1x Juggernaut, 1x Cleric |
||
|
Unit Deployment |
10 Units |
|
|
Victory Condition |
Defeat Bingham |
|
|
Bonus Objectives |
Win with an Archer in the battle party |
EXP +800 |
|
Perform an attack that strikes multiple times |
Experience Charm III x5 |
|
|
Difficulty |
★★☆☆☆ (2/5) |
|
This is a battle roughly divided into two stages.
- In the first stage, you're likely dealing with the Cyclops and the Orcs on the river, in precarious situations, with Archers and Wizards pelting you from afar.
- In the second stage, you'll have crossed the river and easily mop up the weaker ranged units. The enemy will rely on its forward ranks to soften you up.
- A good strategy for this fight is to counter the tankier Orcs and Cyclops with your own tanks, needling them with your own back ranks of ranged characters. Once they're dealt with, hopping over the river and dealing with Bingham and co. is pretty easy.
This battle is more annoying than difficult.
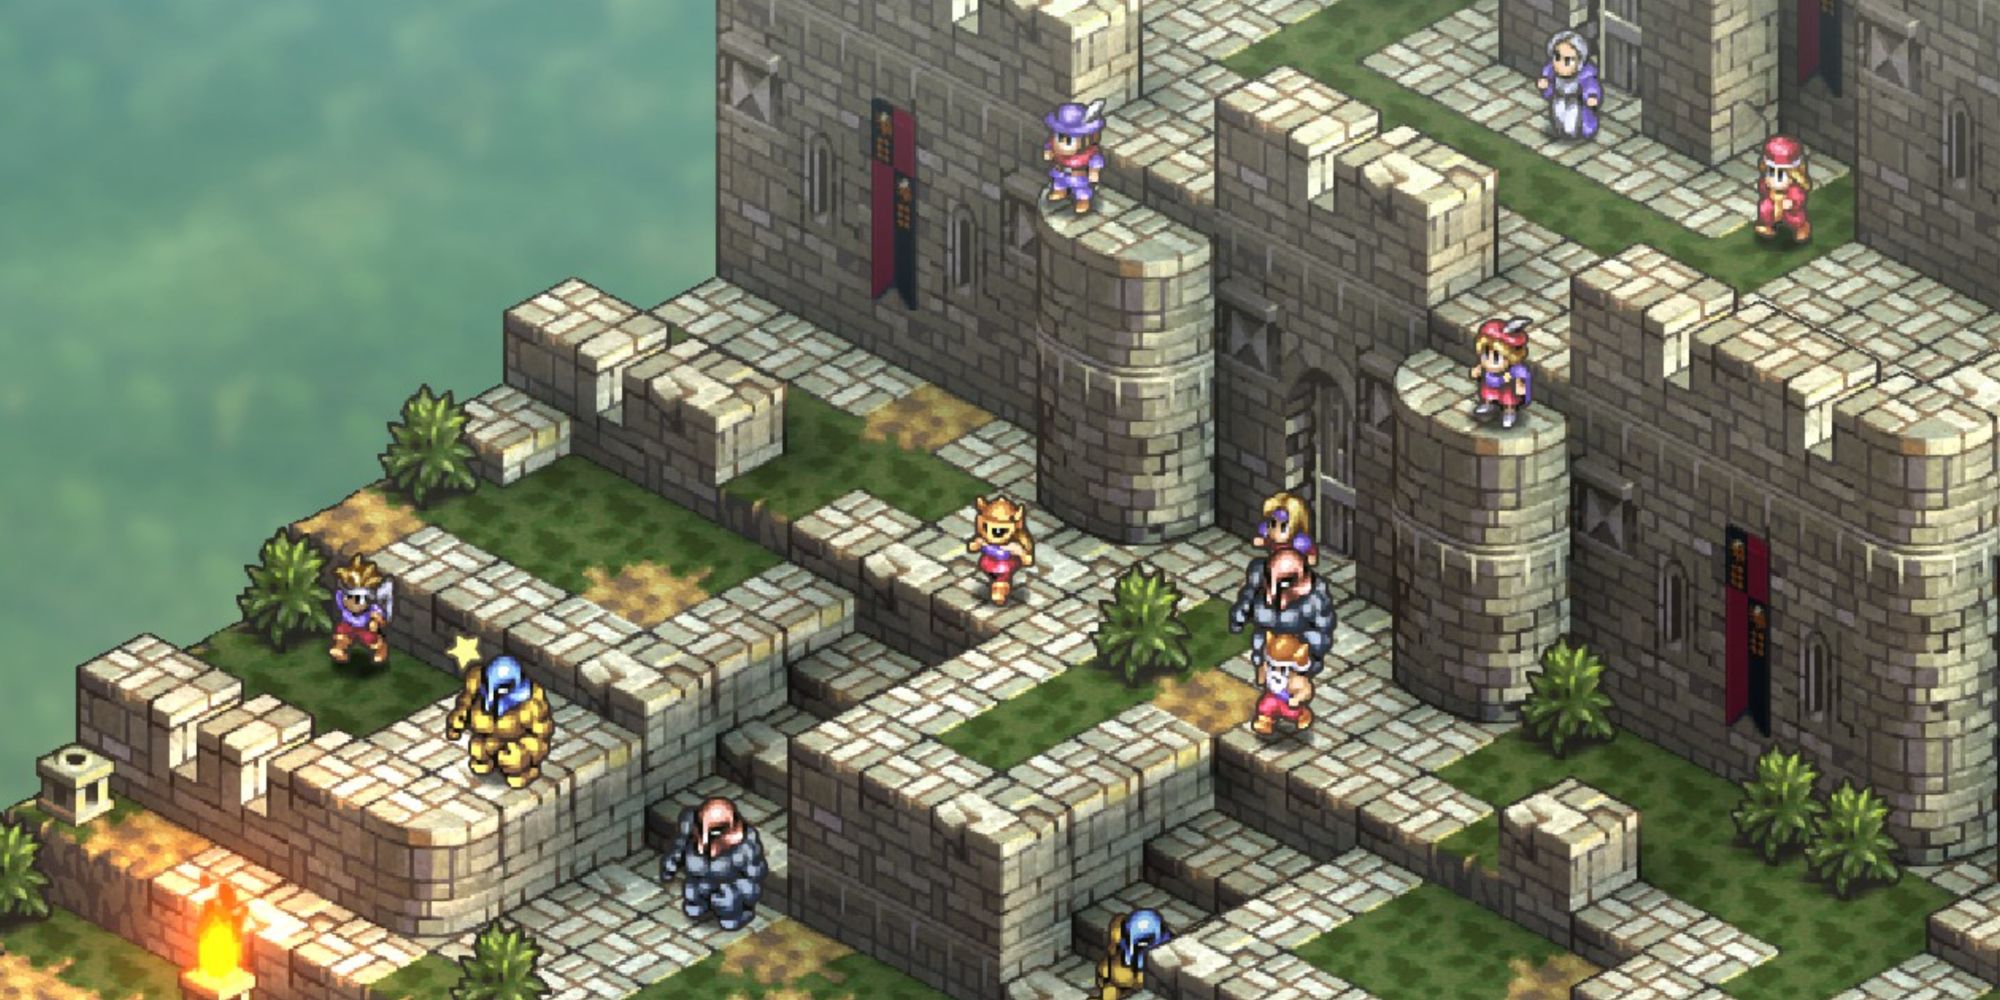
Stronghold Battle: Brigantys South Curtain Wall
|
Enemies |
Leader: Kakrinoros (Wizard) |
|
|---|---|---|
|
4x Archer, 2x Rune Fencer, 2x Warrior, 2x Knight, 1x Cleric |
||
|
Unit Deployment |
10 Units |
|
|
Victory Condition |
Defeat Kakrinoros |
|
|
Bonus Objectives |
Win with an Archer in the battle party |
EXP +800 |
|
Win with a Ninja or Kunoichi in your battle party |
Experience Charm III x5 |
|
|
Difficulty |
★★★☆☆ (3/5) |
|
The biggest threats here should be quite clear: the Archers.
- As you might expect, Winged units are great here - they can get to the annoying backline easily, bypassing the two Knights who will make life hell for your other units. This is probably only viable with multiple Winged, though - sending Canopus alone is a fine way to get him killed quickly.
- Having a team full of bulky units is a good idea here. You'll spend the majority of this battle getting pelted with arrows, so mages will have a particularly rough time.
- Luckily, the leader is a Wizard - he will fall quickly to some dedicated attackers, even with his Cleric supporting him. Once he's in the firing line, have no mercy.
This is the harder of the two battles, but still nothing compared to what lies within Brigantys.
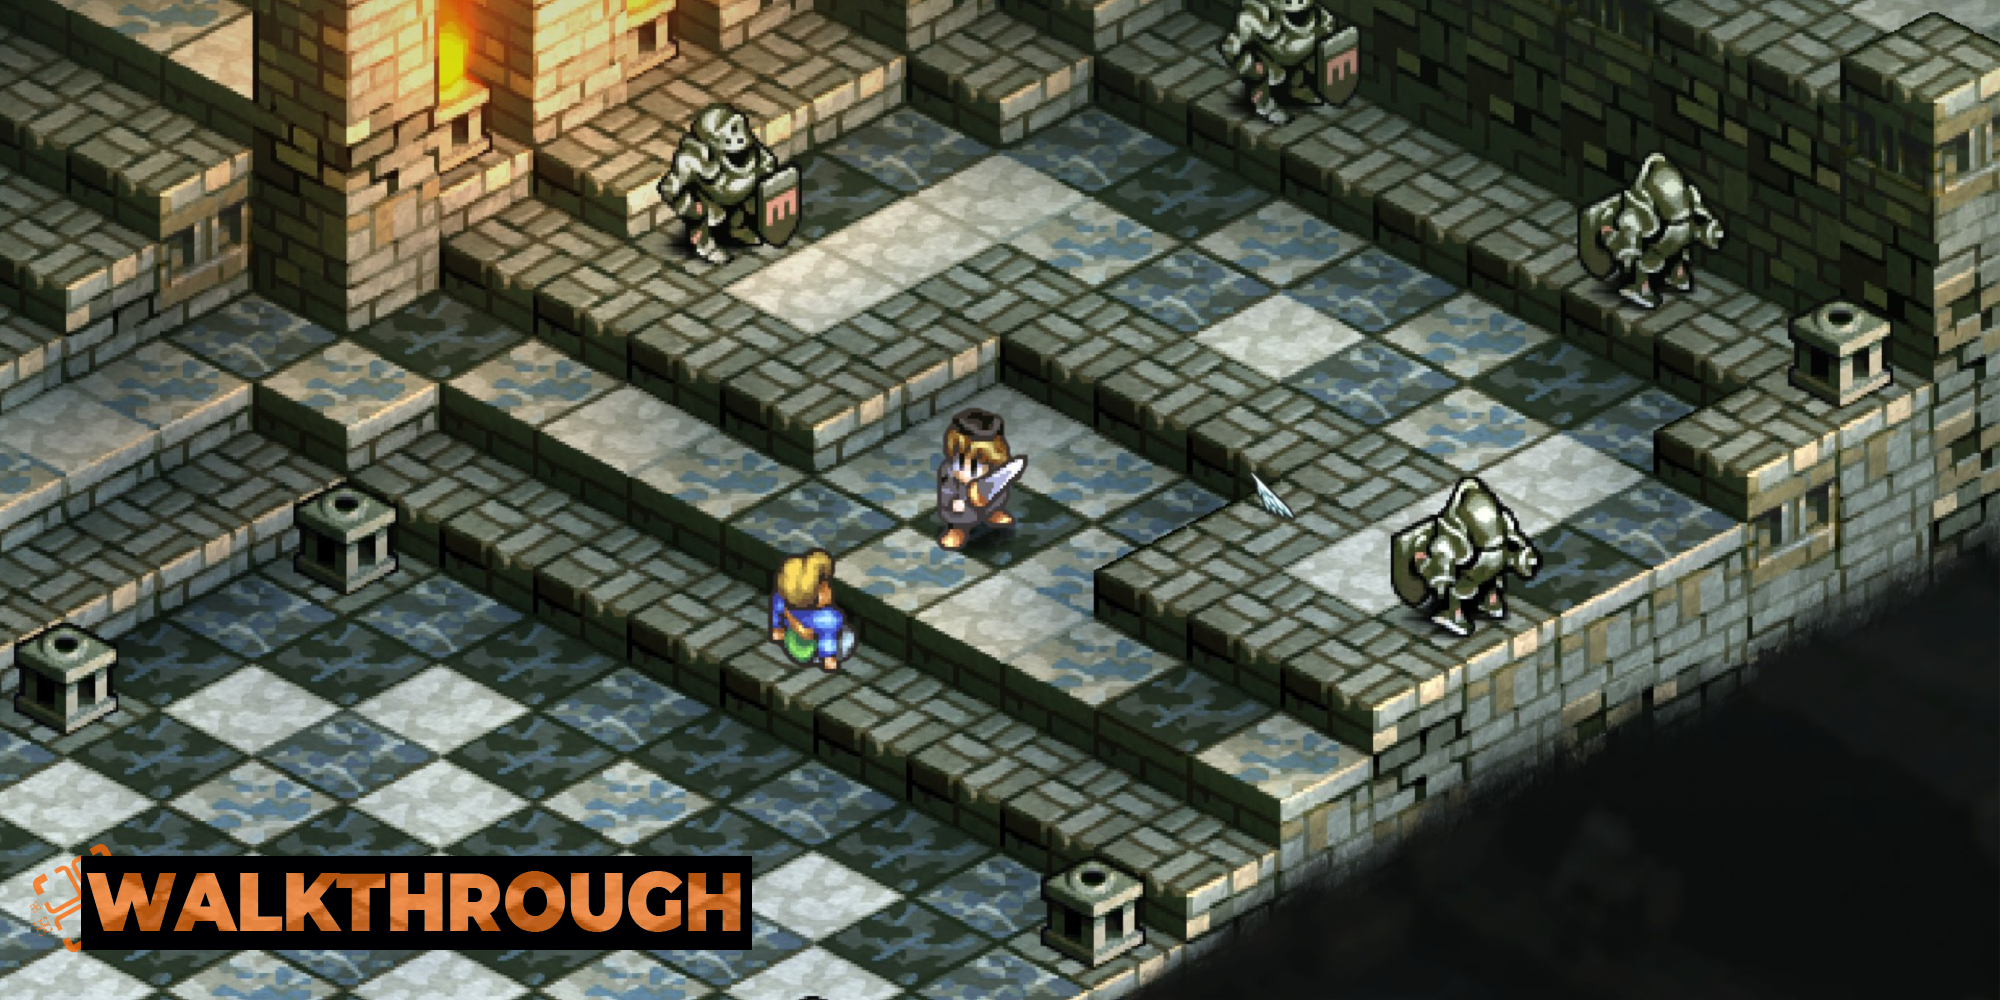
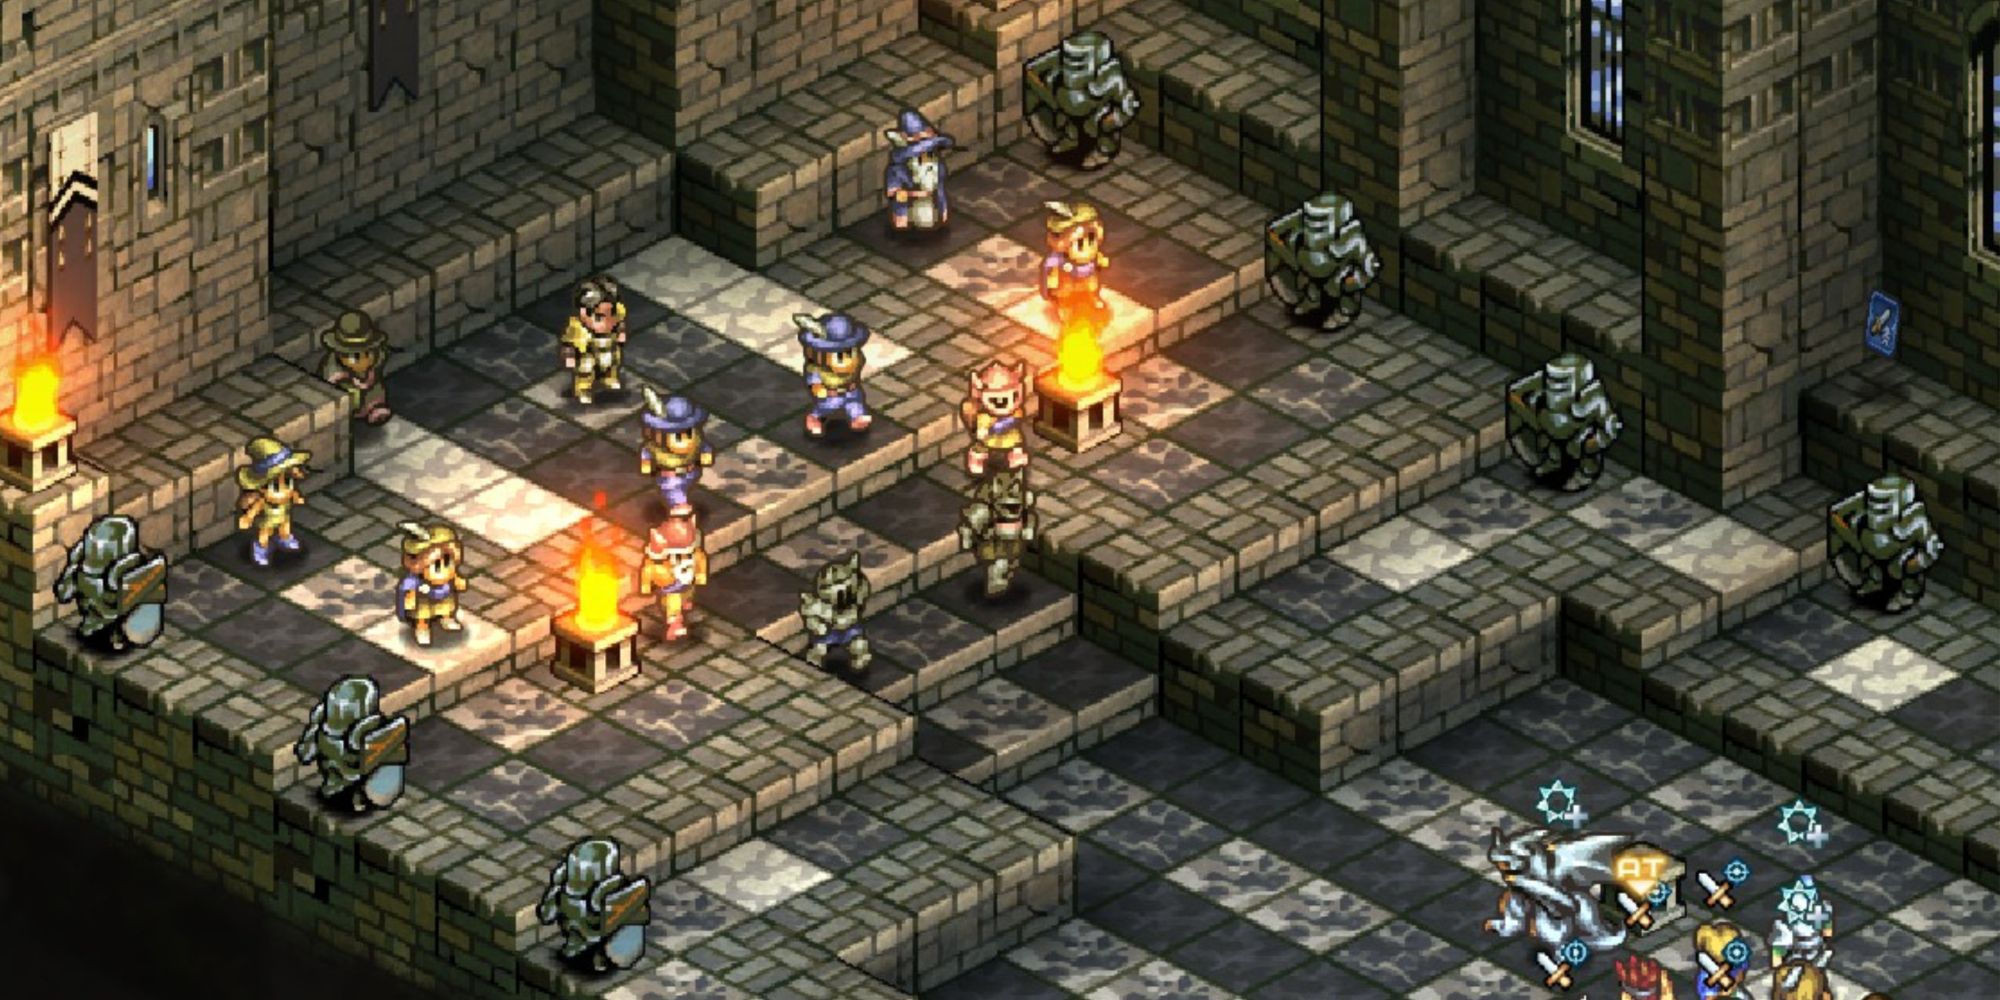
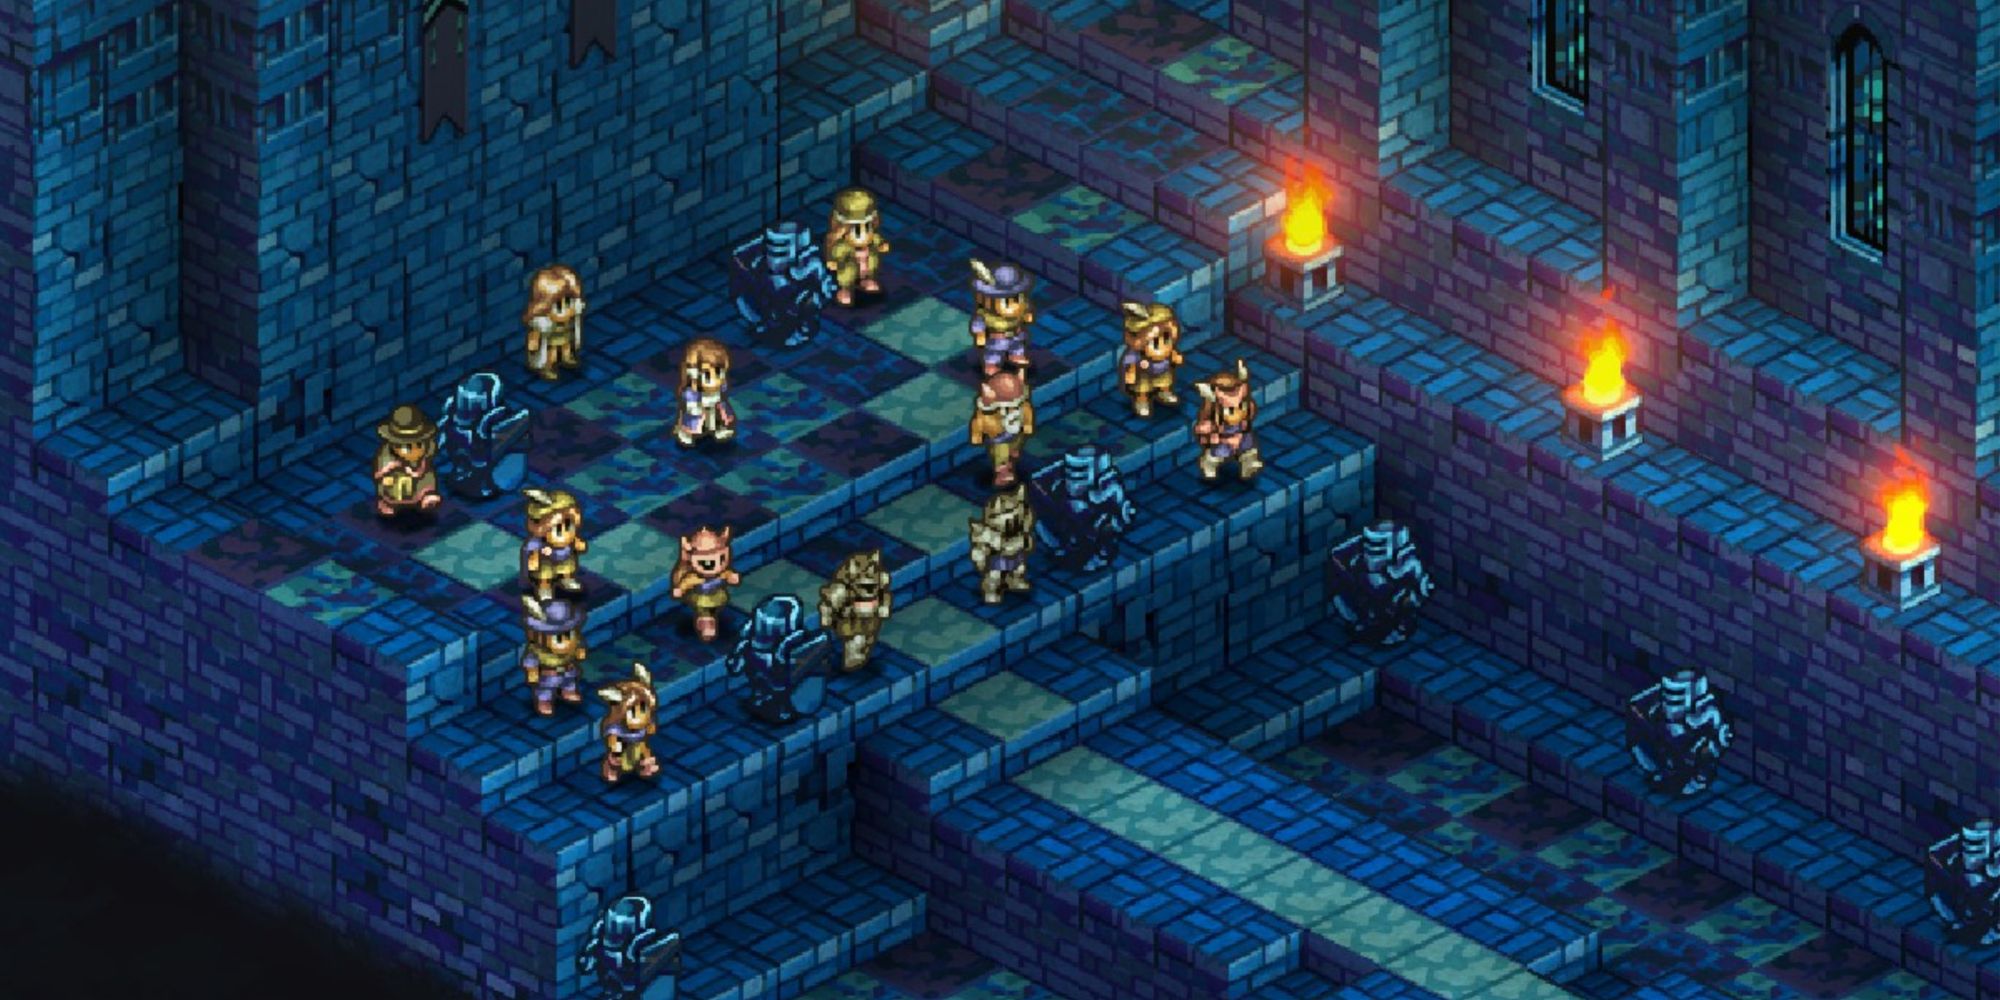
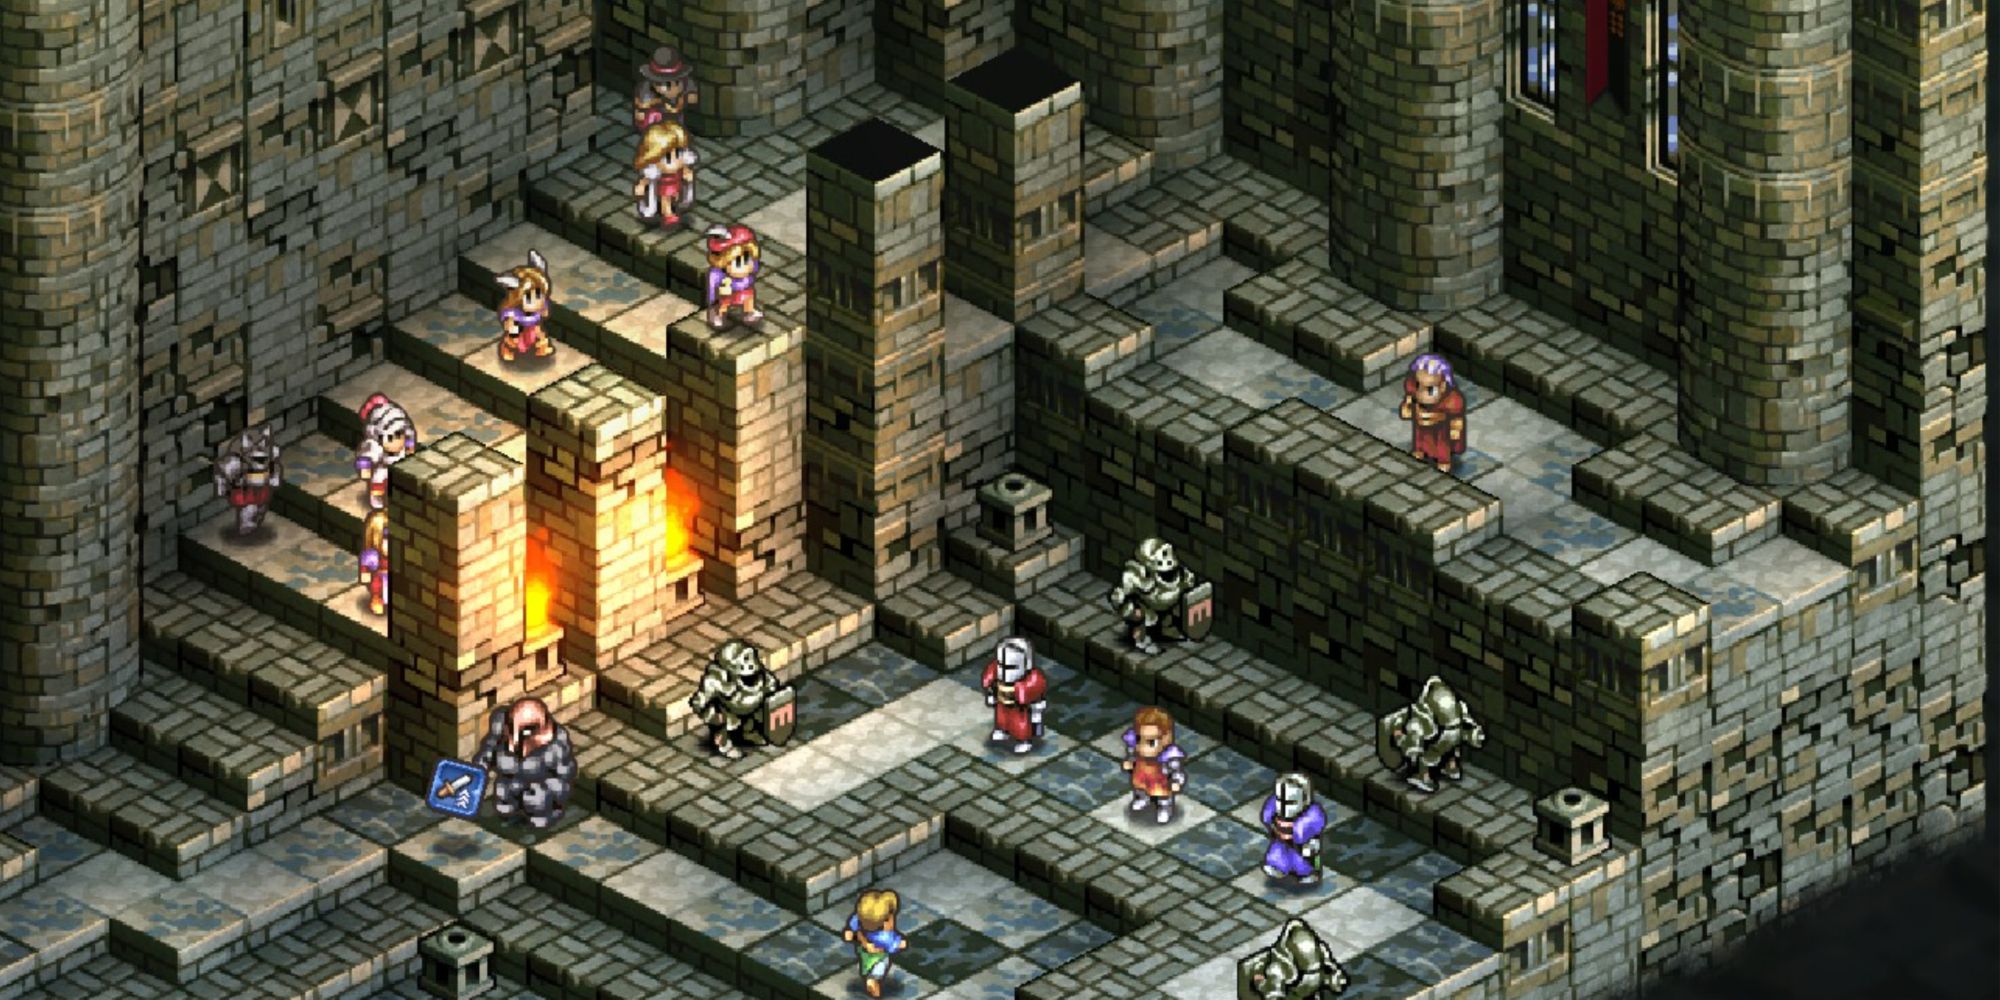
Stronghold Battle: Brigantys Great Hall
|
Enemies |
Leader: Hektor (Knight) |
|
|---|---|---|
|
2x Terror Knight, 2x Berserker, 4x Archer, 2x Wizard, 1x Cleric |
||
|
Unit Deployment |
10 Units |
|
|
Victory Condition |
Defeat Hektor |
|
|
Bonus Objectives |
Win with a Knight in the battle party |
EXP +800 |
|
Perform an attack with 100% accuracy |
Agility Charm x3 |
|
|
Obtain a buff card |
Thunderflare II x1 |
|
|
Difficulty |
★★★★★ (5/5) |
|
This fight can be very frustrating if you don't have a good strategy.
- The enemy force here is really great at blockading you with its Rampart Aura Terror Knights and then surrounding you with Berserkers - who now start equipping the Berserk skill. Add to that Archers and Wizards who'll weaken your units considerably and you have a recipe for a nasty war of attrition.
-
The key here is to counter their Rampart Auras with auras of your own. Thanks to their inflated HP pools, Dragons work perfectly for this, and they're also very useful for softening the enemy forces up with their breath and ranged attacks.
- Thanks to their huge HP pools, percentage-based healing items are fantastic for them. You can keep Dragons easily topped up at all times.
- In terms of priority, take out the Terror Knights first, then the Berserkers, and then go for Hektor - take out the Archers and Wizards if it's convenient to do so, but they aren't the main threats you face here.
- You're up against a lot of damage here. Doubling up on Clerics is also a good idea.
Once you emerge victorious, you'll be treated to a cutscene in which Denam gets to make a choice - choose the second option, and you'll recruit Jeunan, a very useful Dragoon.
If you've been following this walkthrough and aim to recruit Ravness, you will need to recruit Jeunan. In addition, before entering the next battle, you must read the new Talk topic Lord of Coritanae Missing in the Warren Report. This is crucial.
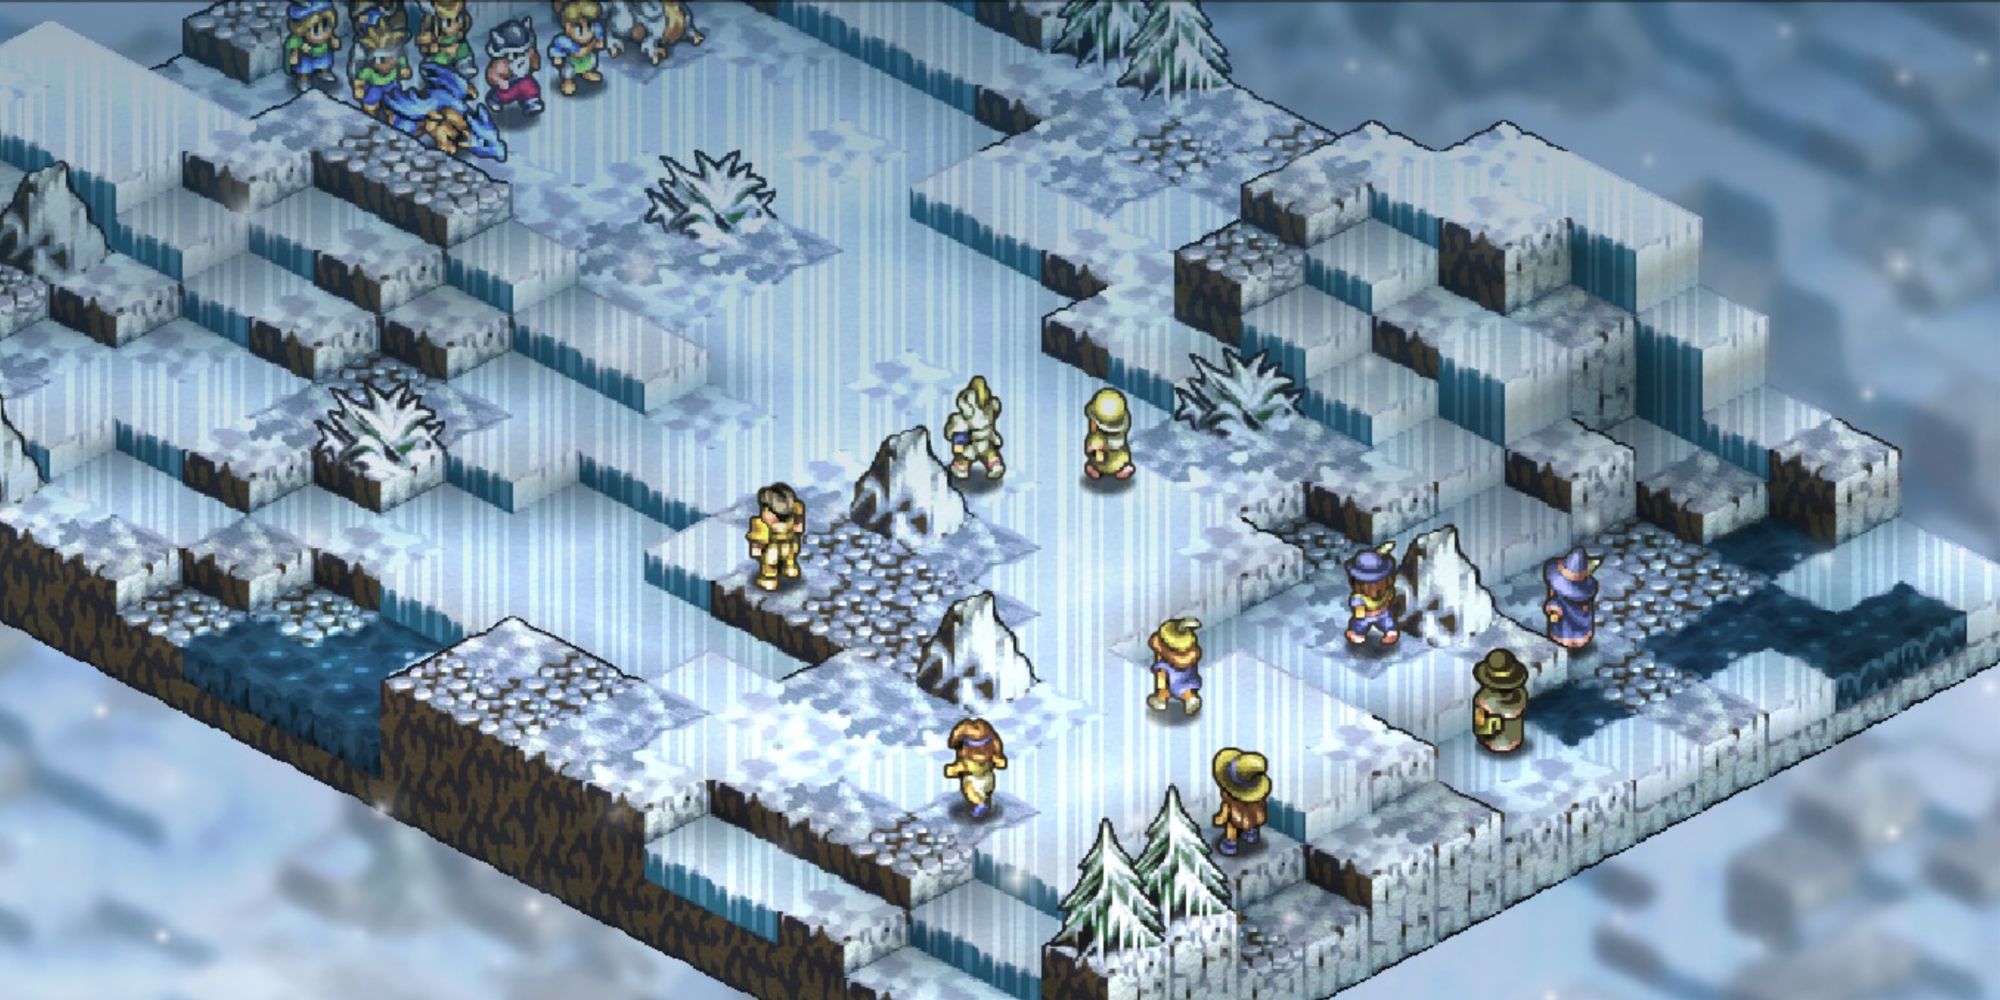
Story Battle: Bahanna Highlands
|
Enemies |
Leader: Roberval (Ninja) |
|
|---|---|---|
|
2x Warrior, 2x Berserker, 2x Archer, 2x Wizard, 1x Cleric |
||
|
Unit Deployment |
10 Units |
|
|
Victory Condition |
Defeat Roberval |
|
|
Bonus Objectives |
Win with a Dragoon in the battle party |
EXP +800 |
|
Win with an Archer in your battle party |
Ice Charm x1 |
|
|
Difficulty |
★★☆☆☆ (2/5) |
|
If you wish to recruit Ravness and you have completed all the prerequisites (sparing her in Balmamusa and saving her in Reisan, and reading the Talk topic that opened up just before this battle), deploy Jeunan here.
This battle is a breather after the gauntlet you just went through.
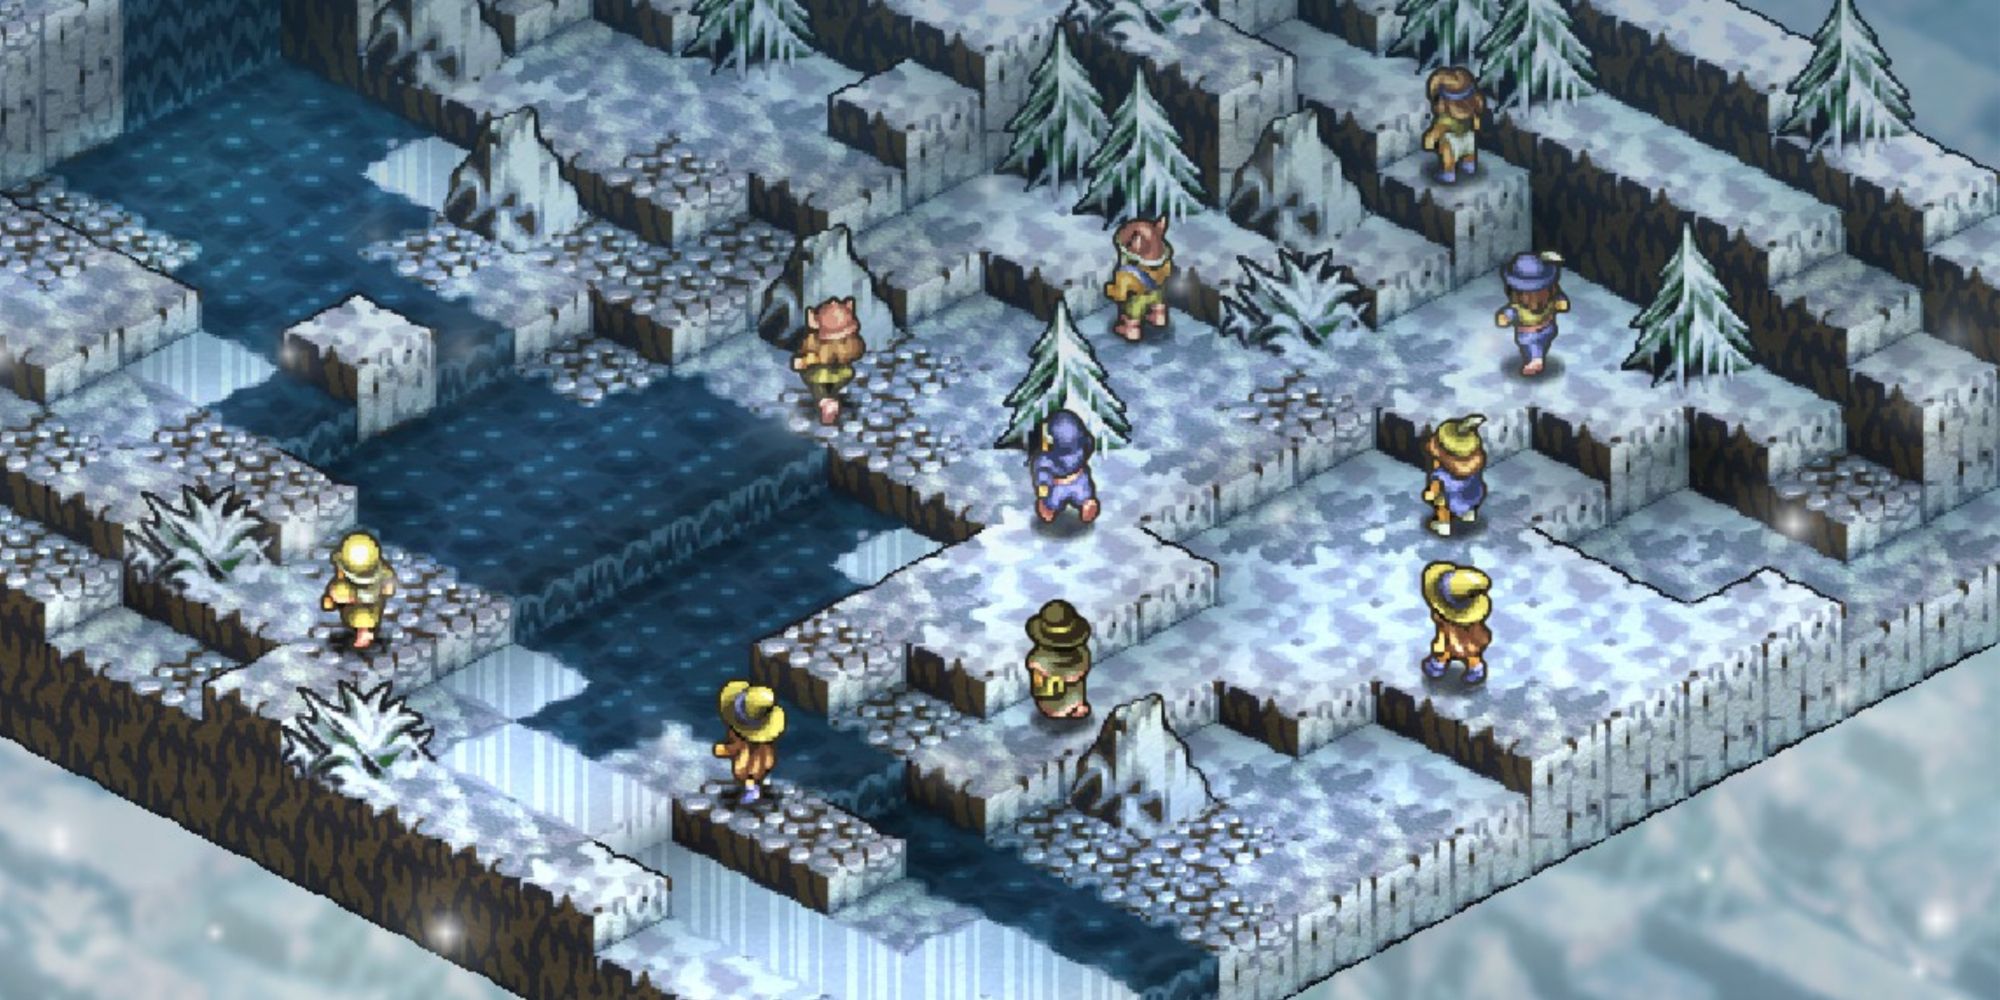
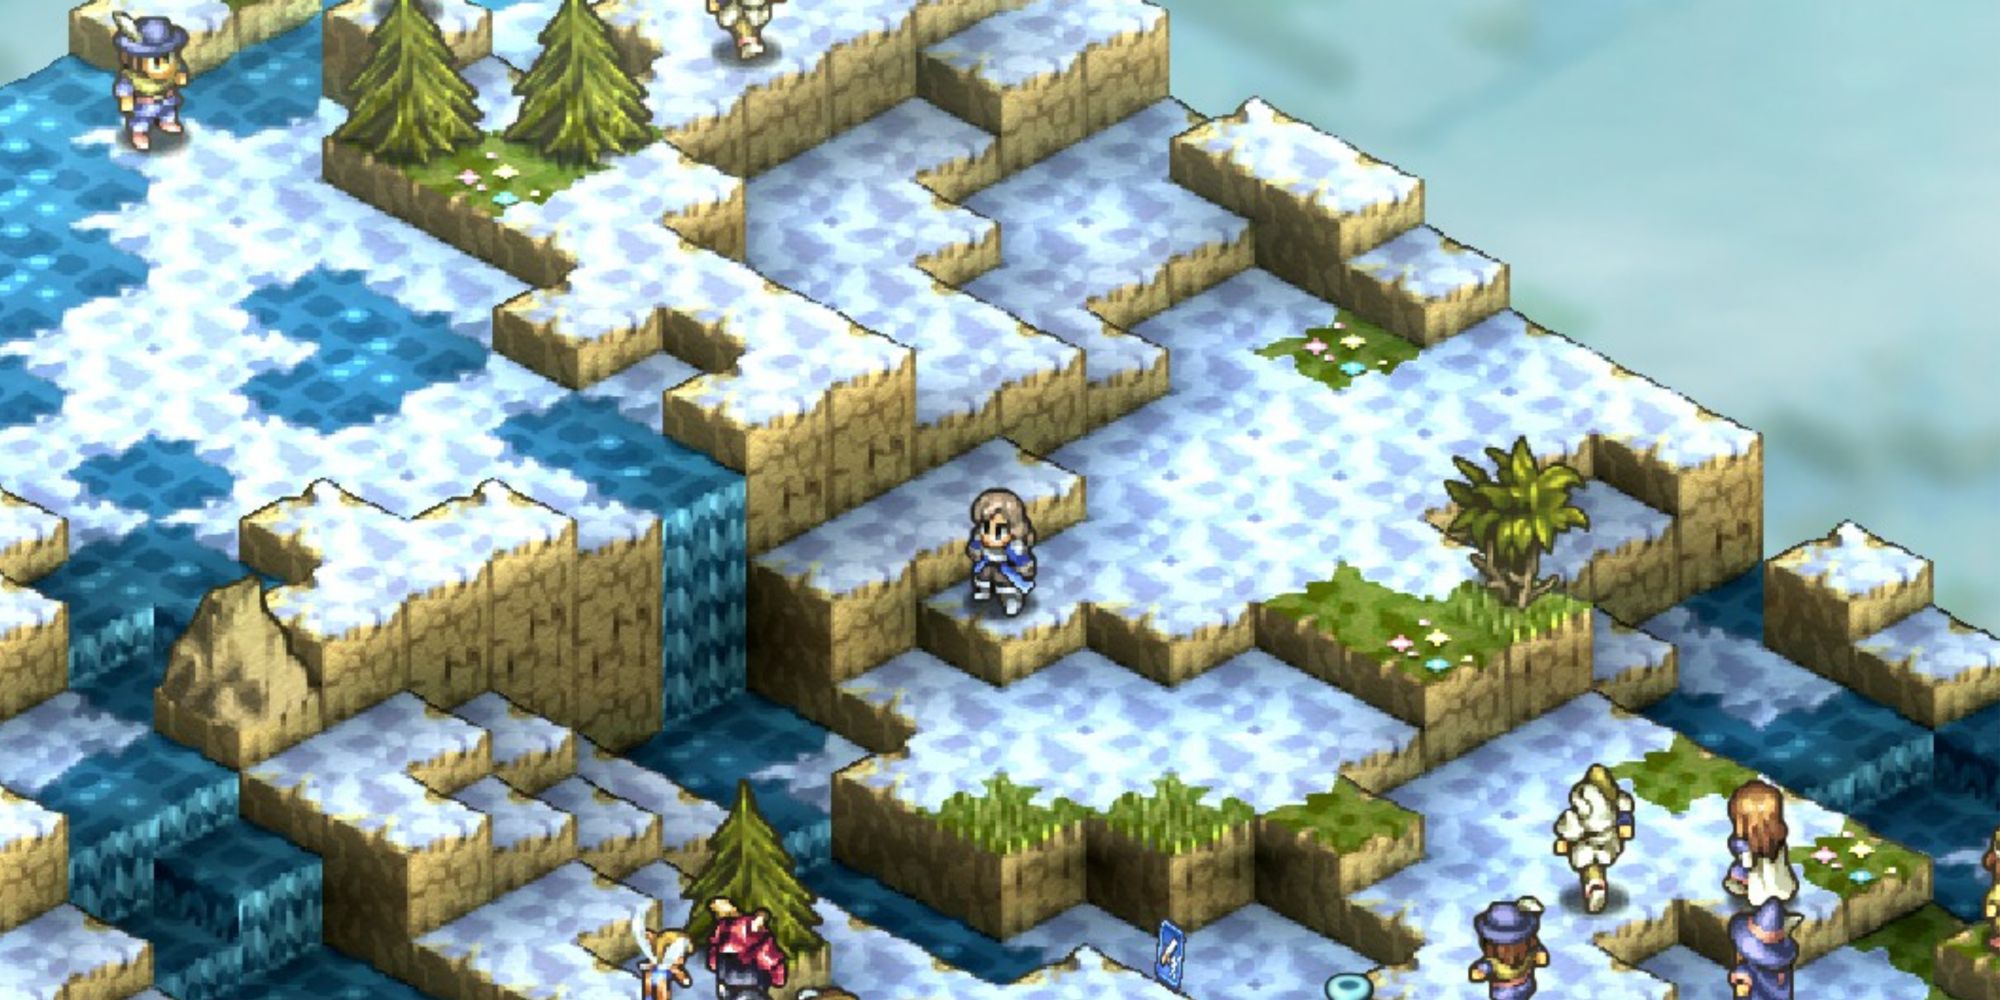
- It's quite likely that you'll trap the melee enemies in the gap between the waterfall and the tree, doubly so if you use a tanky unit with Rampart Aura. It's a good strategy that allows you to pelt them with ranged attacks, but beware of enemies who come around the side.
- Roberval is decently threatening, thanks to his Wortdart Blowgun - having a Cleric with Awaken is a good idea here to deal with Charm. He also has Blowgun Finishing Moves, and will snipe weaker characters with them - beware of this.
-
Honestly, the biggest challenge in this fight is prolonging it long enough to let Jeunan and Denam have enough dialogues to fulfill the requirements to unlock the fight that recruits Ravness. You need to avoid finishing Roberval off until Jeunan says the line "I am sure that by now, his father, Sir Briam, joins him."
- Some of the dialogues only trigger once Roberval has taken enough damage - get him below half health but don't kill him.
Once you finish the Ninja off, progress on to the Reisan Way.
Story Battle: The Reisan Way
|
Enemies |
Leader: Vance (Rune Fencer) |
|
|---|---|---|
|
2x Warrior, 2x Berserker, 2x Ninja, 2x Cleric, 1x Warlock, 1x Earth Dragon (Undead), 1x Hydra (Undead) |
||
|
Unit Deployment |
10 Units |
|
|
Victory Condition |
Defeat Vance |
|
|
Bonus Objectives |
Perform an action to exorcise an undead enemy |
Avoidance Charm x3 |
|
Win with an Archer in your battle party |
EXP +800 |
|
|
Difficulty |
★★☆☆☆ (2/5) |
|
This battle is an interesting one - it's likely your first encounter with undead enemies who start the battle stilled.
- If you can, bring along a Cleric with Exorcise and give them some MP recovery items before their turn - getting an exorcism off before the dragons revive themselves will make things a lot easier. The dragons are bulky, and even reviving at half health can be a pain to take down.
- All in all, the rest of the enemy forces aren't very threatening at all. The Ninjas can cause some pain if they get lucky with their ninjutsu spells, and the Berserkers can wreak havoc with Berserk and Pincer Attacks, but they all start so spread out that you should be able to deal with anything they throw at you comfortably.
- If the dragons do get to revive, test out Jeunan's (or any Dragoon's) shiny Dragonslayer skill. It'll absolutely wreck them and makes Jeunan a critical unit for all fights against dragons (and beasts with Beastslayer).
Not a difficult fight at all! Next up, though, is another stronghold.
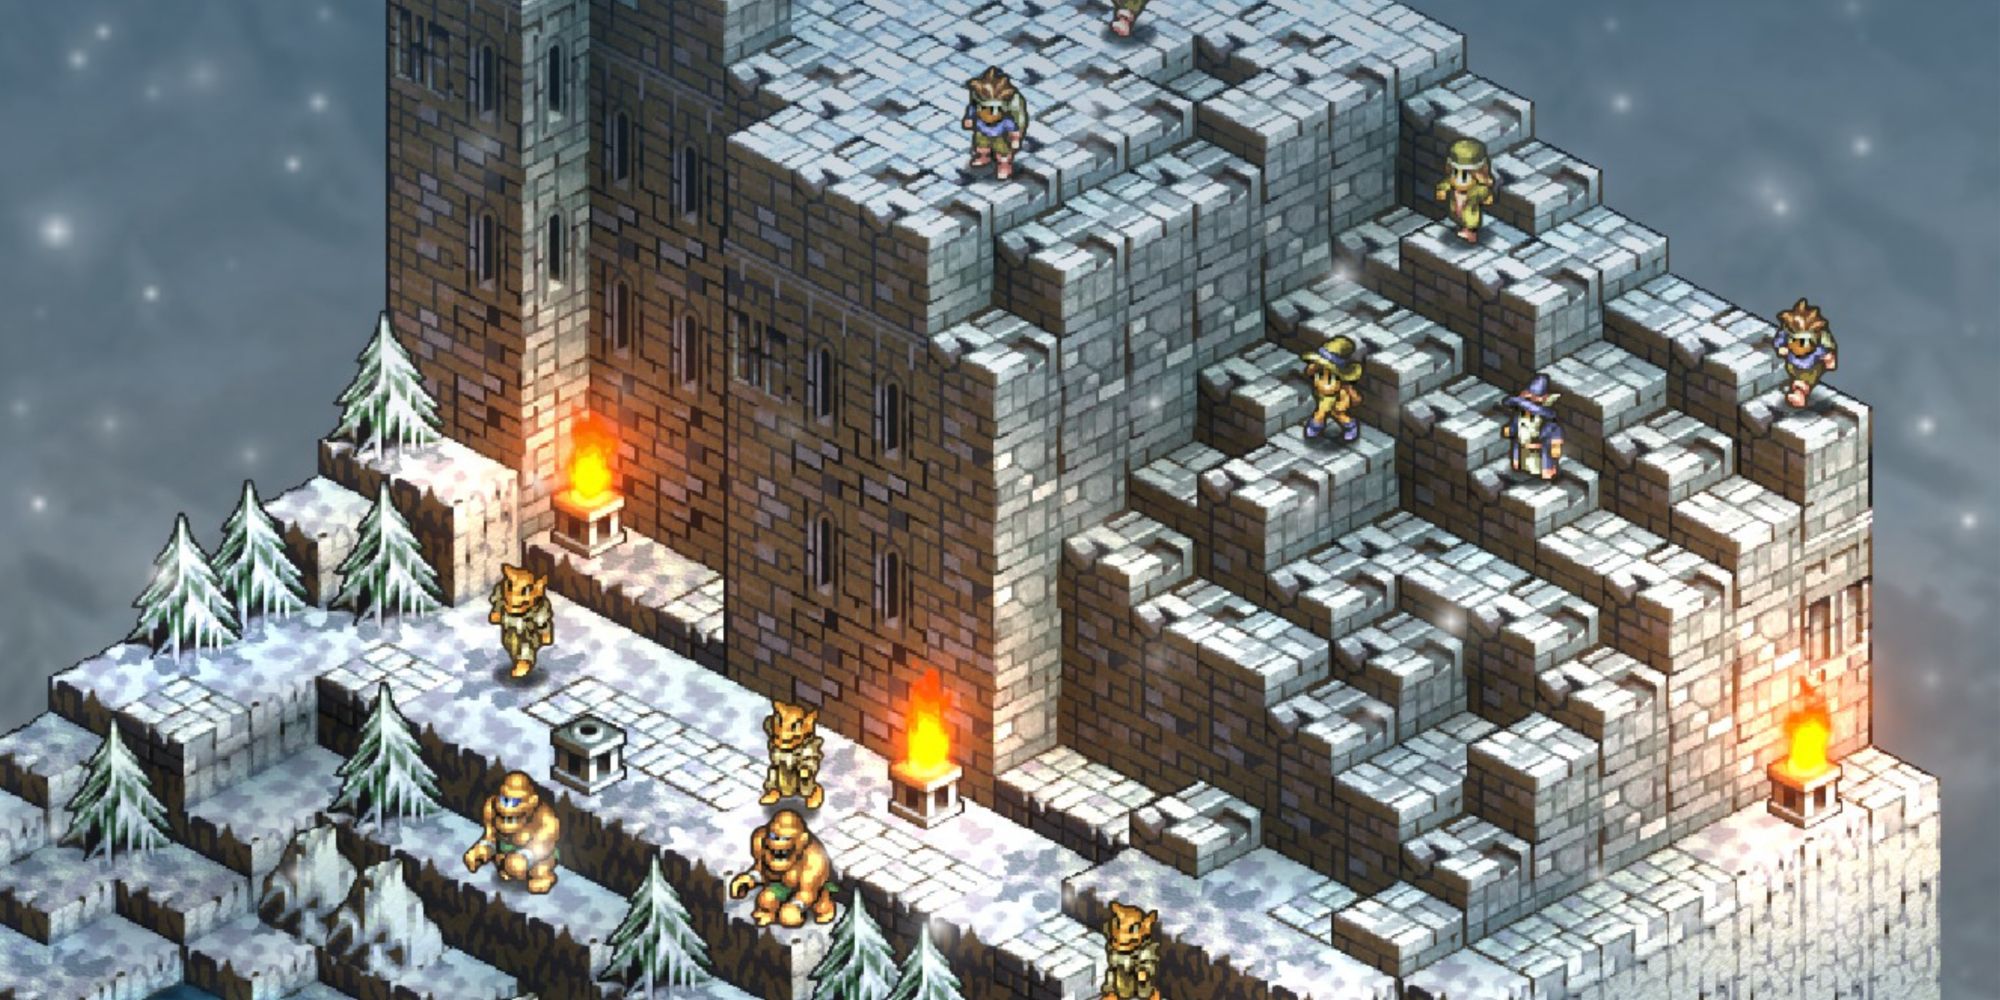
Story Battle: Coritanae Keep
There are two battles to this stronghold, but the second has two versions.
- If you defeated Gatialo in Chapter 2, you will fight Apollinaire.
- If you let Gatialo escape in Chapter 2, you will fight him here instead.
This guide assumes that you defeated Gatialo in Chapter 2. If you want specific tips on beating the terrifying Terror Knight, check out our tips for beating him here.
Stronghold Battle: The Gates Of Coritanae
|
Enemies |
Leader: Orgeau (Rune Fencer) |
|
|---|---|---|
|
4x Archer, 2x Dragoon, 2x Knight, 2x Cleric, 1x Knight |
||
|
Unit Deployment |
10 Units |
|
|
Victory Condition |
Defeat Orgeau |
|
|
Bonus Objectives |
Perform an action to debuff an enemy |
Silver Oberyth x10 |
|
Win with a Knight in your battle party |
EXP +800 |
|
|
Difficulty |
★★☆☆☆ (2/5) |
|
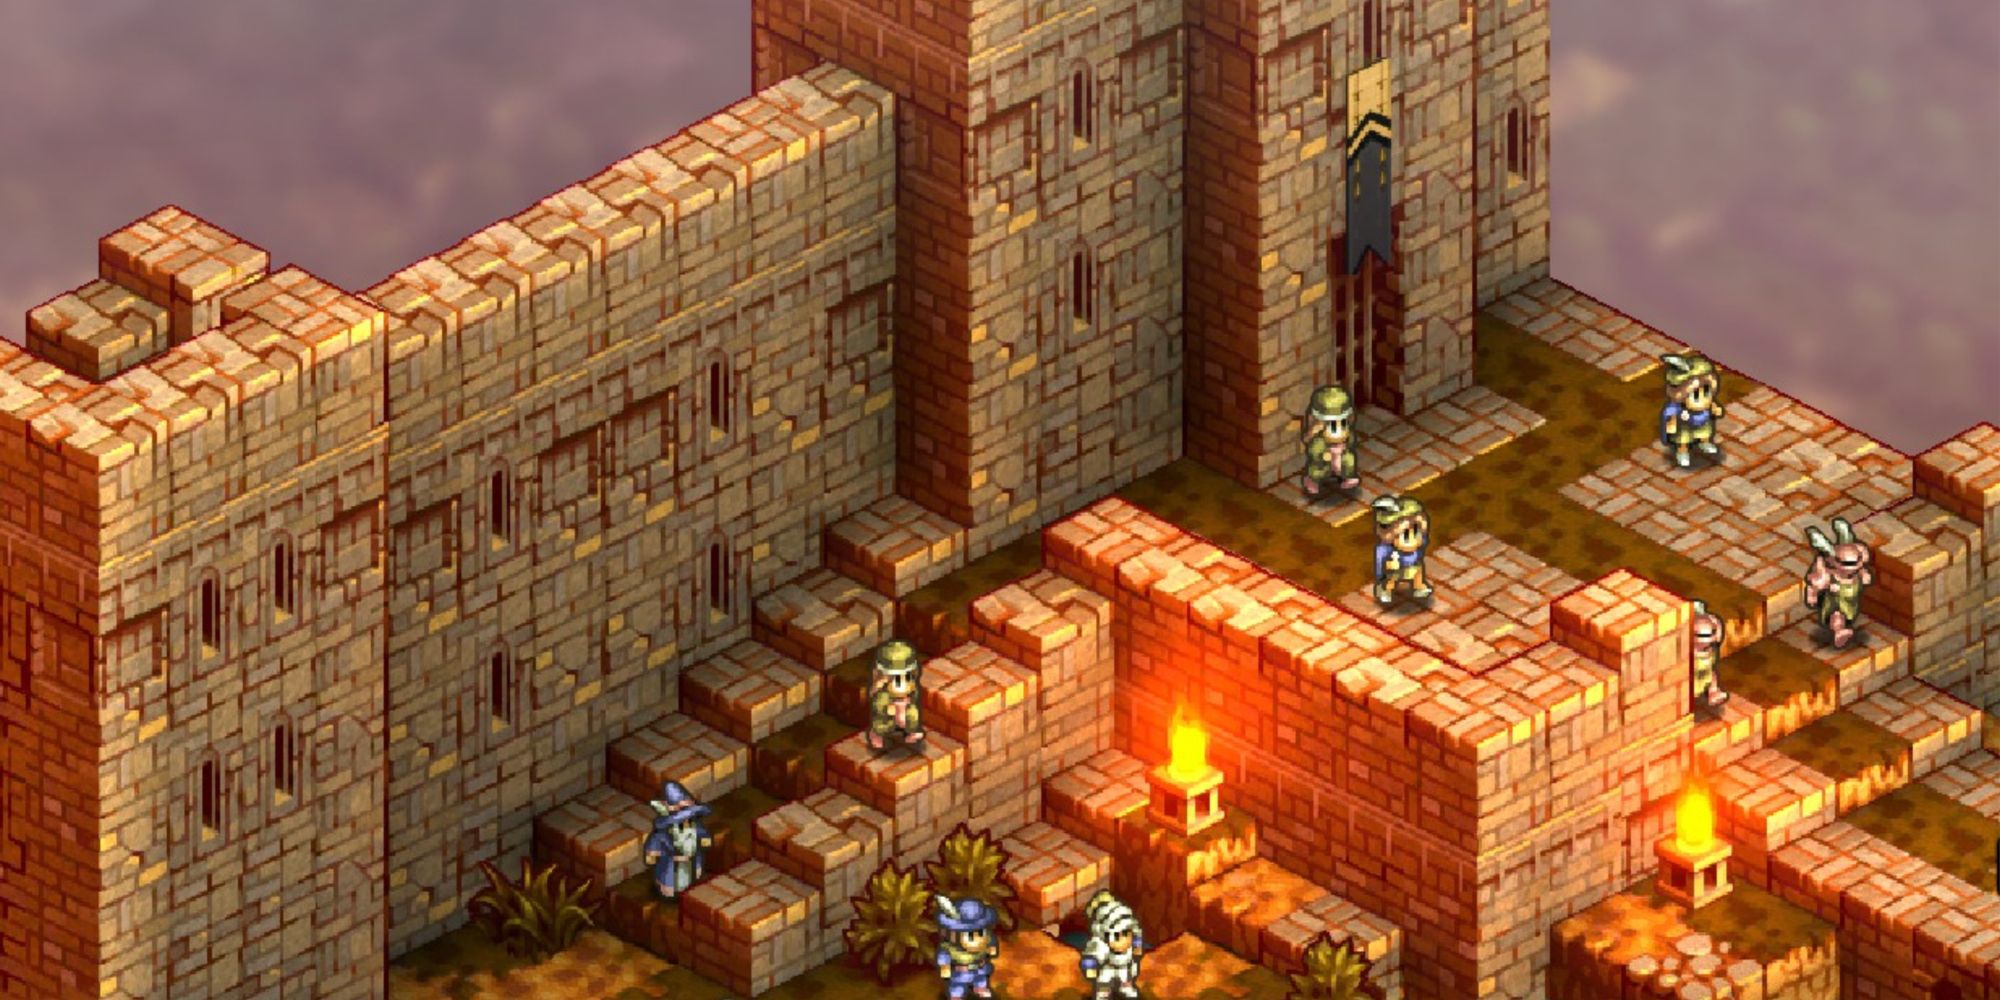
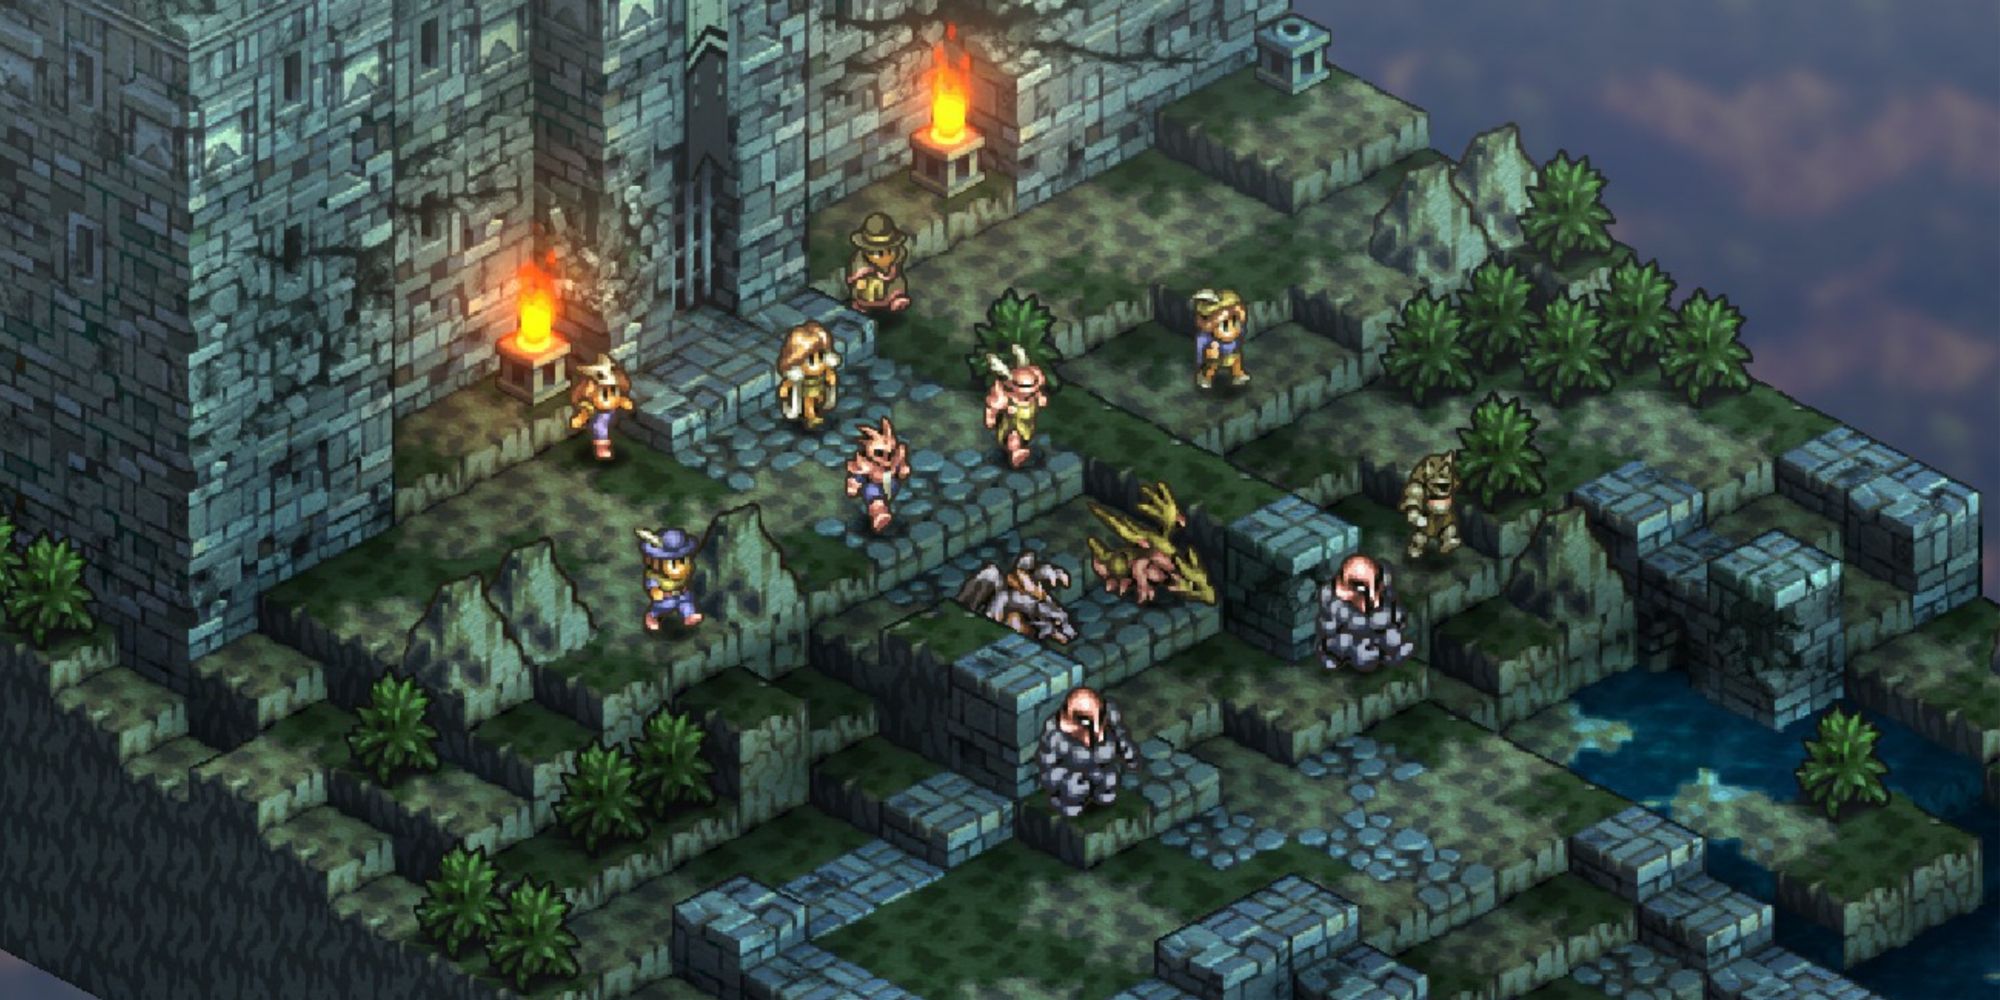
Orgeau begins this battle atop the keep but will come down to his doom soon enough.
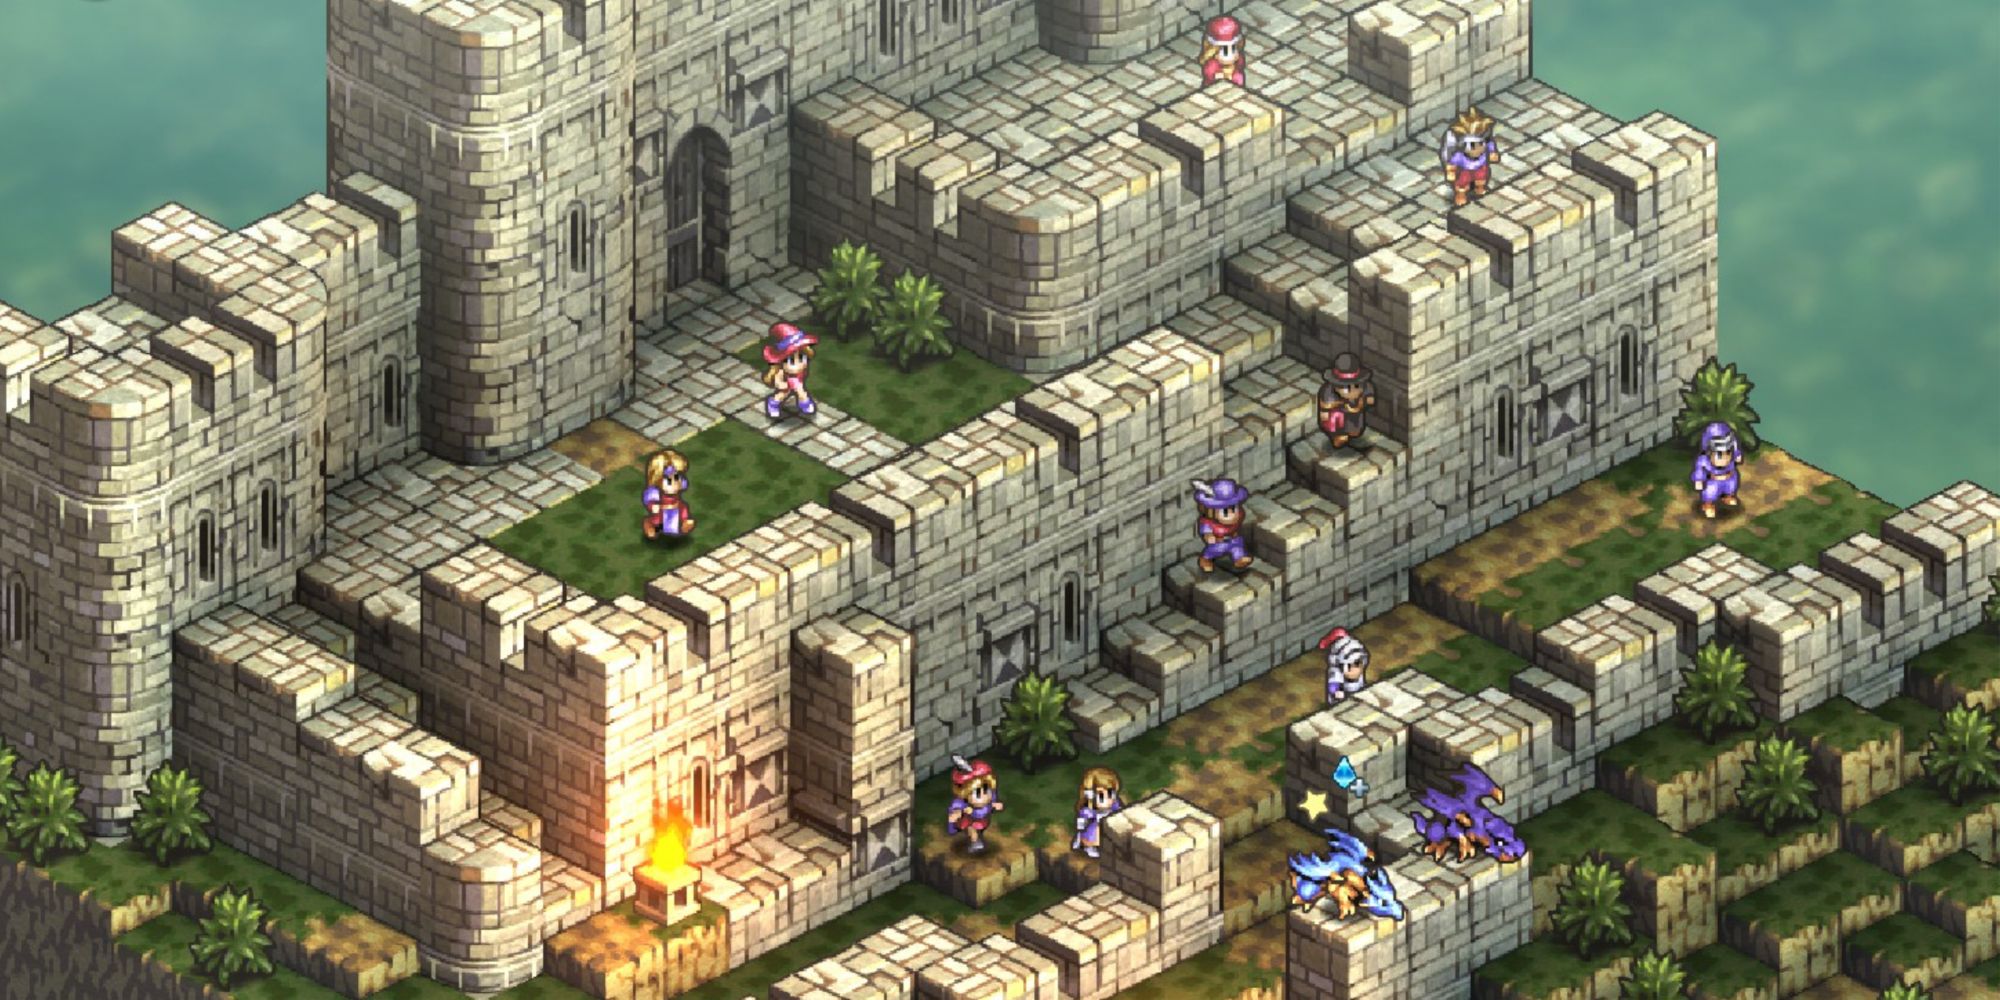
- You might be tempted to split your party to deal with both sides of the enemy force - the ones on the ground and the ones on the side. Don't do this - instead, move your entire army to the right and toward the keep gate. There are no Rampart Auras to halt you in your tracks and the Dragoons look tougher than they are.
- Consider leaving someone bulky, like a Dragon or a Knight, to distract the Knights and Archers on the left who will try to pursue your army from behind.
- The Clerics will make finishing Orgeau off a chore if you let them, but he's still just a Rune Fencer - you shouldn't have trouble ending this fight quickly. In addition, they have a chance of dropping the Resurrect spell as loot, which is a fantastic thing to have.
Again, the next battle's formation depends on whether or not you managed to kill Gatialo early.
Stronghold Battle: Coritanae Ward
|
Enemies |
Leader: Apollinaire (Knight) |
|
|---|---|---|
|
4x Archer, 2x Rune Fencer, 2x Terror Knight, 2x Berserker, 2x Cleric, 1x Witch |
||
|
Unit Deployment |
12 Units |
|
|
Victory Condition |
Defeat Apollinaire |
|
|
Bonus Objectives |
Win with an Archer in your battle party |
Experience Charm III x5 |
|
Win with a Knight in your battle party |
EXP +800 |
|
|
Difficulty |
★★★☆☆ (3/5) |
|
The difficulty in this battle comes mainly from the unhelpful terrain.
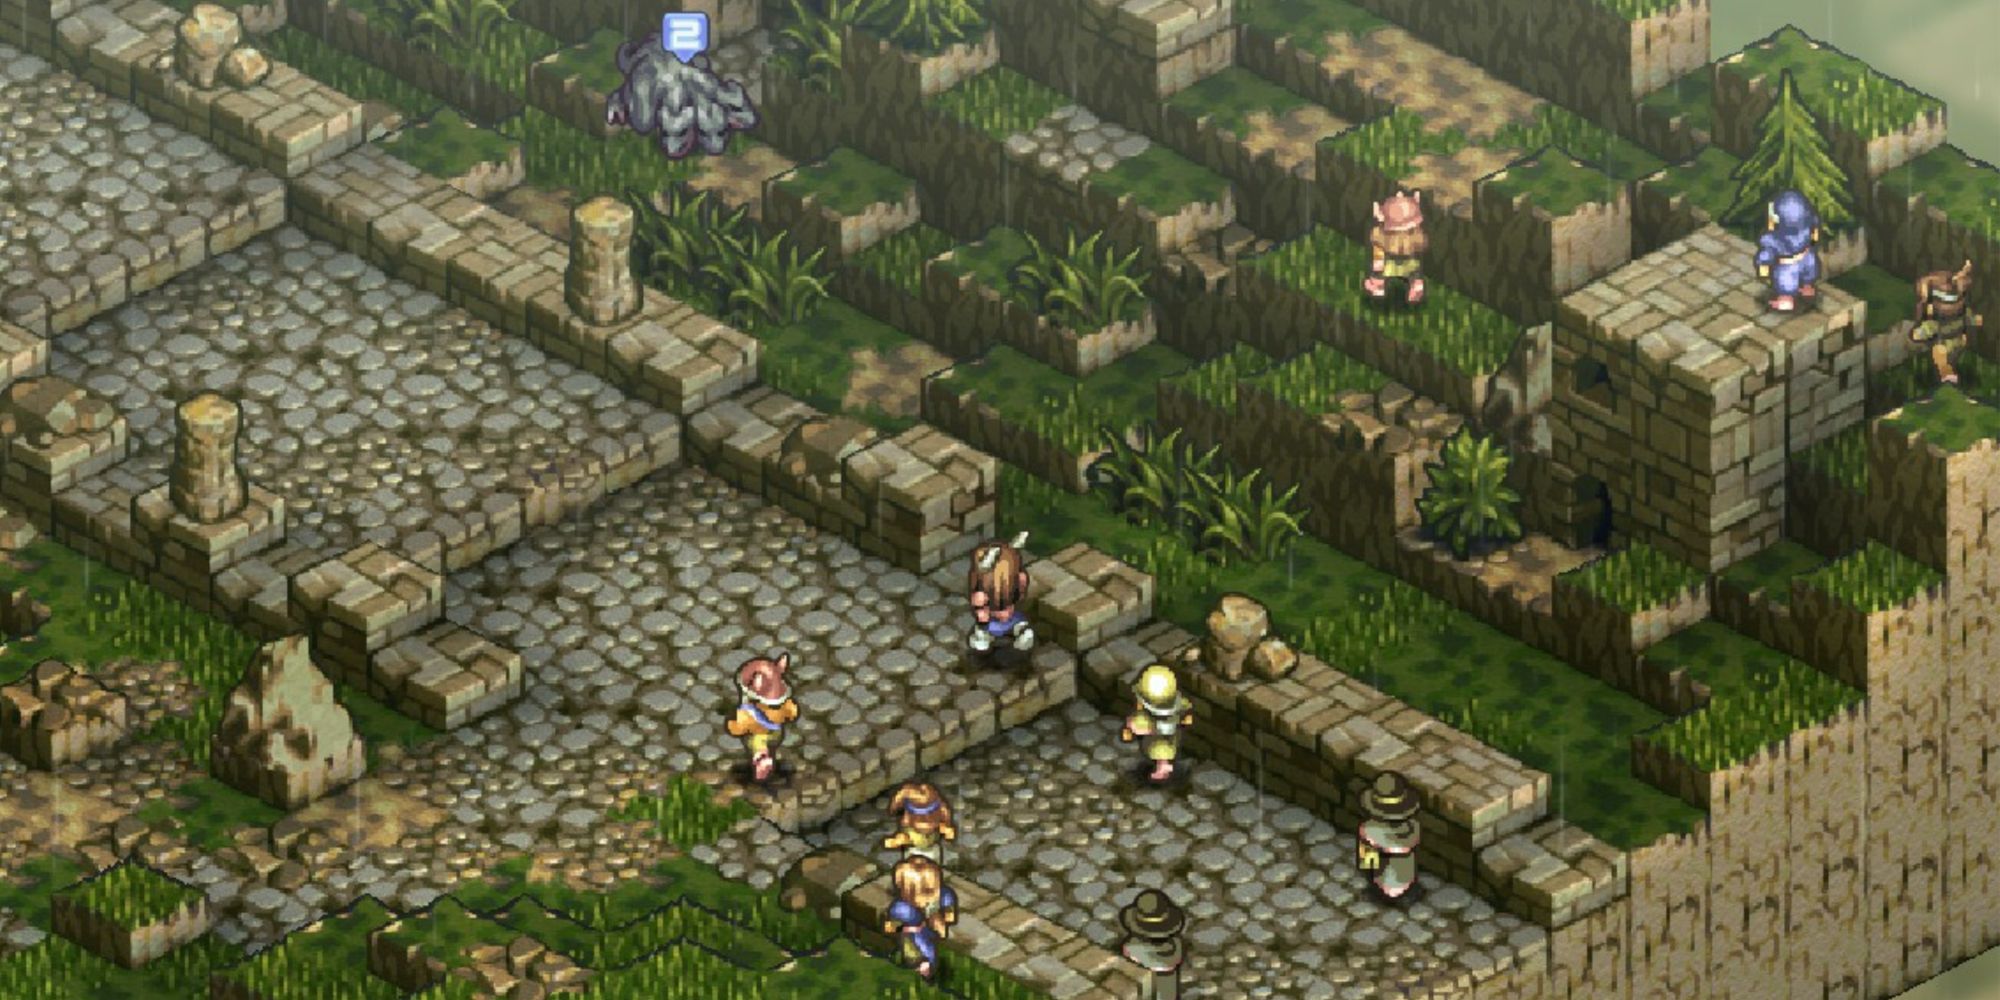
- It's very likely that the main action in this fight will happen on the bridge in the middle of the battlefield. It's easy to get caught up in the Terror Knights' Rampart Auras and face a battle of attrition. Take them out as a point of priority to give you some more breathing room.
- Sending ranged characters down to the lower sides is a good way to get better angles at the enemies on the bridge, but beware the Rune Fencers who will gladly jump down to meet them, and the Berserkers, too, if they get in range.
- Sending Winged units through the sides and then up on the wall behind the fighting on the bridge is a great way to deal with the Clerics and Witch. Sniping them with missile units on the ground is also an option. Getting the Clerics out of the battle especially is a good idea, as they love healing the Terror Knights up and keeping your units bottlenecked on the bridge.
- Apollinaire isn't too tough - she has nasty Finishing Moves and uses a shield, so might parry lots of attacks, but as long as her healers are down, she can't put up a fight against a dedicated onslaught.
Once you come out victorious, you'll have captured Coritanae Keep. Your Union Level increases to Lv. 22 here.
If you completed all the prerequisites to recruiting Ravness and saw all the dialogues between Denam and Jeunan in Bahanna, read the new Talk topics in the Warren Report and head back to Bahanna Highlands for an optional battle.
Optional Battle: Bahanna Highlands
|
Enemies |
4x Archer, 3x Knight, 2x Cleric, 2x Wizard, 1x Warrior, 1x Valkyrie |
|
|---|---|---|
|
Unit Deployment |
10 Units |
|
|
Guests |
Ravness |
|
|
Victory Condition |
Defeat all enemies |
|
|
Bonus Objectives |
Win with a Cleric in your battle party |
EXP +800 |
|
Use magic to heal |
Experience Charm III x5 |
|
|
Difficulty |
★★☆☆☆ (2/5) |
|
As you might expect, you can't let Ravness die in this battle.
This isn't a very tough battle, the main difficulty comes from how many enemy units there are.
- You start off quite close to Ravness, so you shouldn't have much difficulty keeping her alive. Keep a Cleric nearby if you're concerned about her.
- A good way to tackle this battle is to take out the units on the lower level first before heading up to the higher level. Key targets include the Clerics and Wizards as they will be the most annoying, and the Knights, who can ruin your positioning with Rampart Aura. The Archers are little more than a nuisance.
You should have little trouble taking care of this battle. When you win, you'll finally recruit Ravness - she's a great Valkyrie who can eventually become a White Knight - once you acquire those Classmarks.
Back to story battles! You can choose either route toward Almorica Castle - the Psonji Weald or Lake Bordu - you only have to do one of them and cannot do the alternative even if you want to.
Story Battle: The Psonji Weald
|
Enemies |
Leader: Brutakos (Sorcerer) |
|
|---|---|---|
|
3x Archer, 2x Juggernaut, 2x Wizard, 2x Warlock, 1x Thunder Dragon, 1x Flame Dragon, 1x Hydra |
||
|
Unit Deployment |
10 Units |
|
|
Victory Condition |
Defeat Brutakos |
|
|
Bonus Objectives |
Win with a Dragoon in your battle party |
EXP +800 |
|
Obtain a buff card |
Radiant Orb x1 |
|
|
Difficulty |
★★★★☆ (4/5) |
|
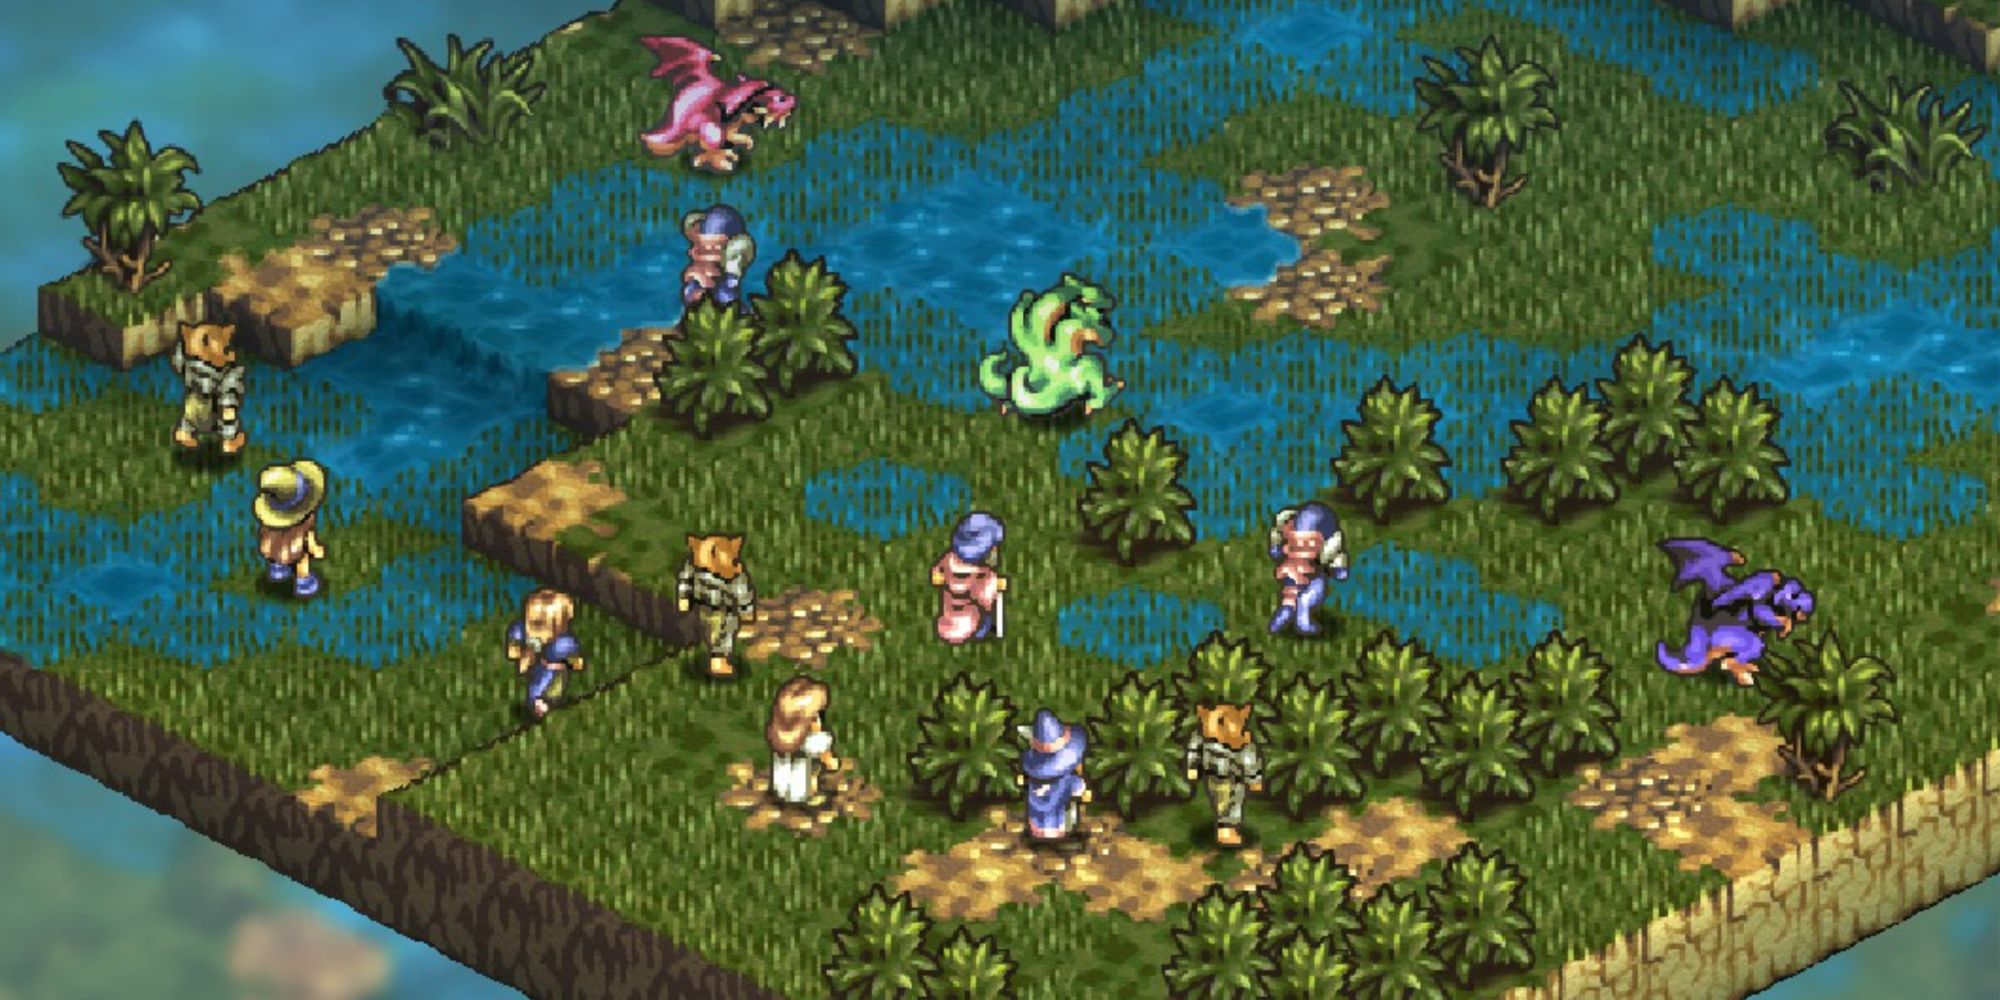
This can be a rough battle - strong spellcasters, multiple dragons, and tricky terrain all converging in one encounter.
- It's a good idea to bring Dragoons into this battle - Dragonslayer will make short work of the dragons. You'll want to kill the dragons as soon as you can - their Rampart Auras make getting to the squishier units a massive chore, and those spellcasters can really ruin your day with their area-of-effect spells.
- This is a good battle to ignore most of the enemies and just make a beeline for the leader - there's just so much damage being pumped out that it's a chore to survive.
- Consider making an effort to recruit the Hydra here - Hydras are rare!
Once you win the battle, move on.
Story Battle: Lake Bordu
|
Enemies |
Leader: Muntzer (Necromancer) |
|
|---|---|---|
|
2x Knight, 2x Archer, 2x Matriarch, 1x Cockatrice, 1x Juggernaut, 1x Terror Knight, 1x Valkyrie, 1x Warrior, 1x Berserker |
||
|
Unit Deployment |
10 Units |
|
|
Victory Condition |
Defeat Muntzer |
|
|
Bonus Objectives |
Perform an action to exorcise an undead enemy |
Light Charm x1 |
|
Obtain a buff card |
Radiant Orb x1 |
|
|
Difficulty |
★★★☆☆ (3/5) |
|
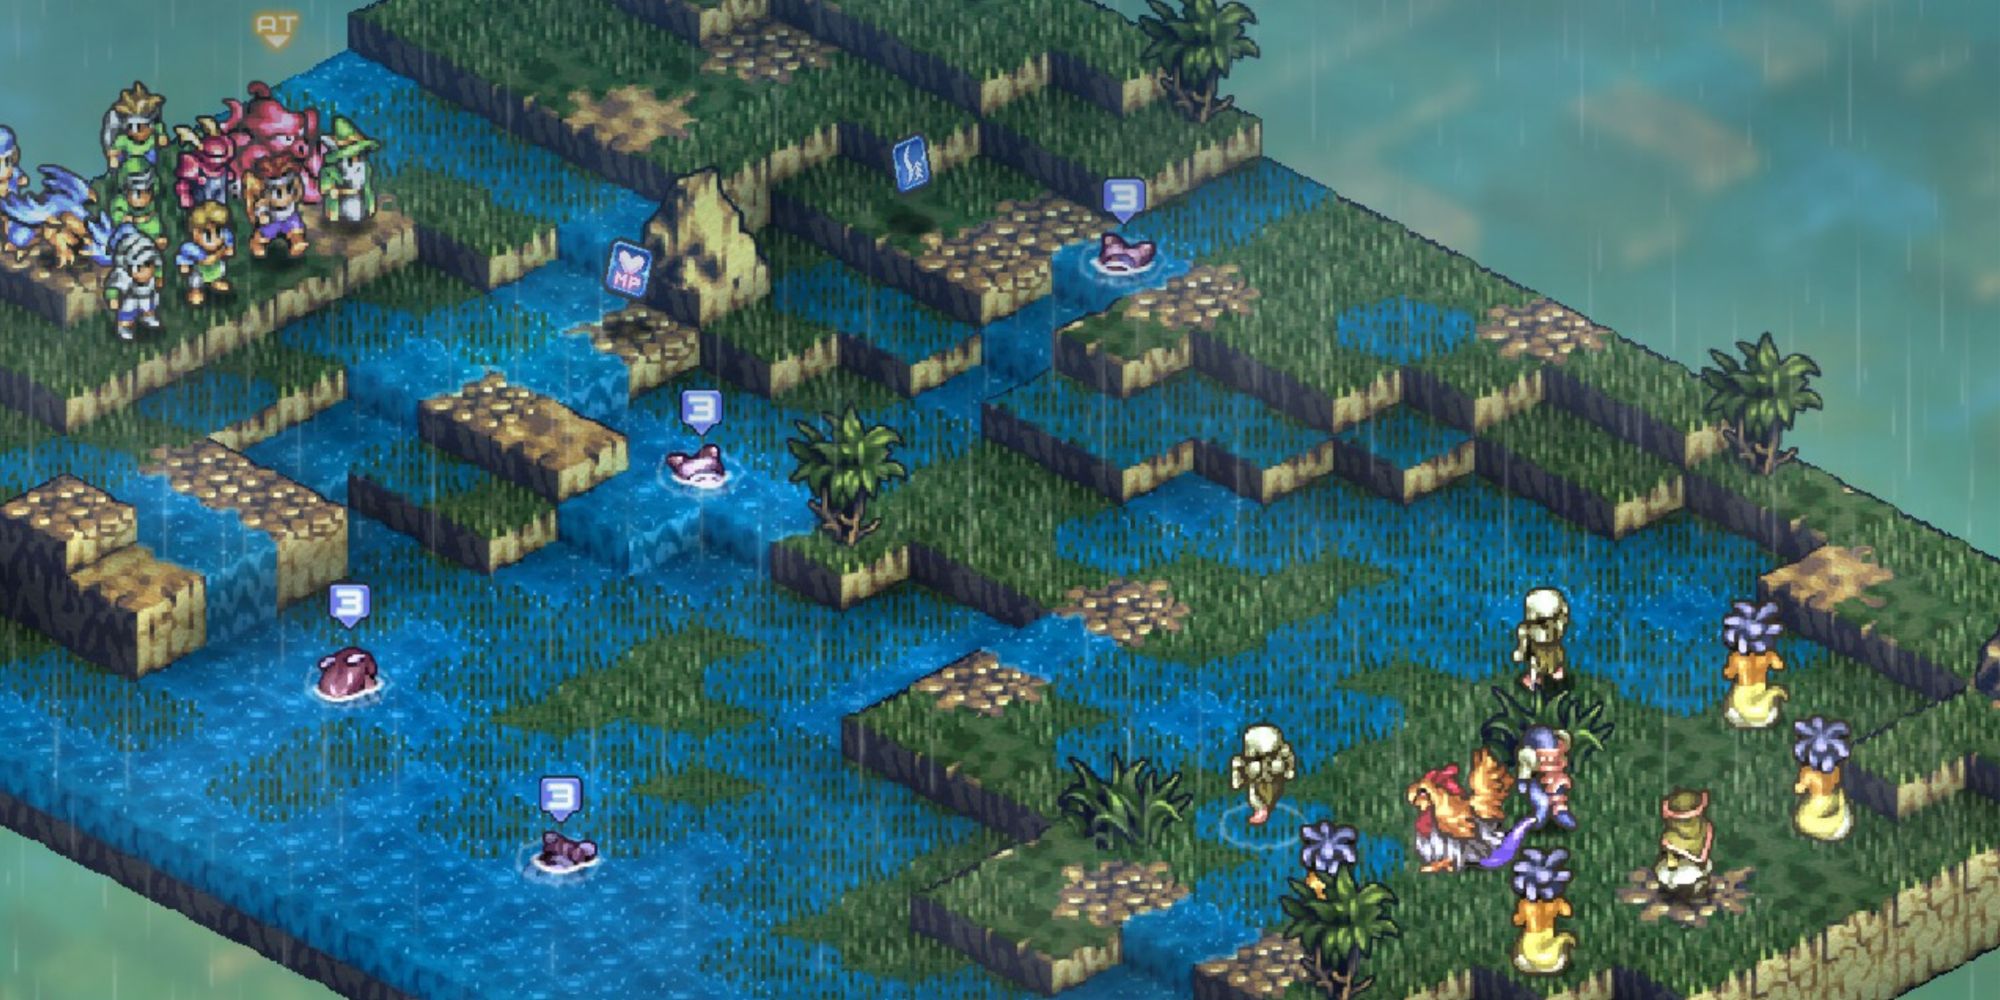
This battle has a lot going on - undead enemies, a Cockatrice, and Lamias.
- There are four stilled undead enemies that start out quite close to you - bring along Clerics with Exorcism and units with Grimoire Exorcismes to deal with these before they get a chance to revive. If you can get most of them out of the way quickly, the fight becomes a lot easier.
- Cockatrices are incredibly annoying enemies who can and will fly over your units to get at your squishy backline, and their Petro Breath can Petrify them to boot. It is absolutely worth it to bring a Dragoon with Beastslayer to deal with it.
-
The Matriarchs are powerful spellcasters, and Muntzer is also a decent threat. Be ready to deal with strong area-of-effect spells in this fight.
- You can recruit Lamias with the Coax skill learned by Wizards. Having a Matriarch on your side isn't a bad idea.
This fight is probably the easier of the two.
Story Battle: Tynemouth Hill
|
Enemies |
Leader: Ganpp (Beast Tamer) |
|
|---|---|---|
|
2x Gryphon, 2x Cockatrice, 2x Hoplite, 2x Juggernaut, 1x Wizard, 1x Cleric |
||
|
Unit Deployment |
10 Units |
|
|
Victory Condition |
Defeat Ganpp |
|
|
Bonus Objectives |
Win with a Dragoon in the battle party |
EXP +800 |
|
Perform an action to debuff an enemy |
Silver Oberyth x10 |
|
|
Obtain a buff card |
Composite Bow x1 |
|
|
Difficulty |
★★★★★ (5/5) |
|
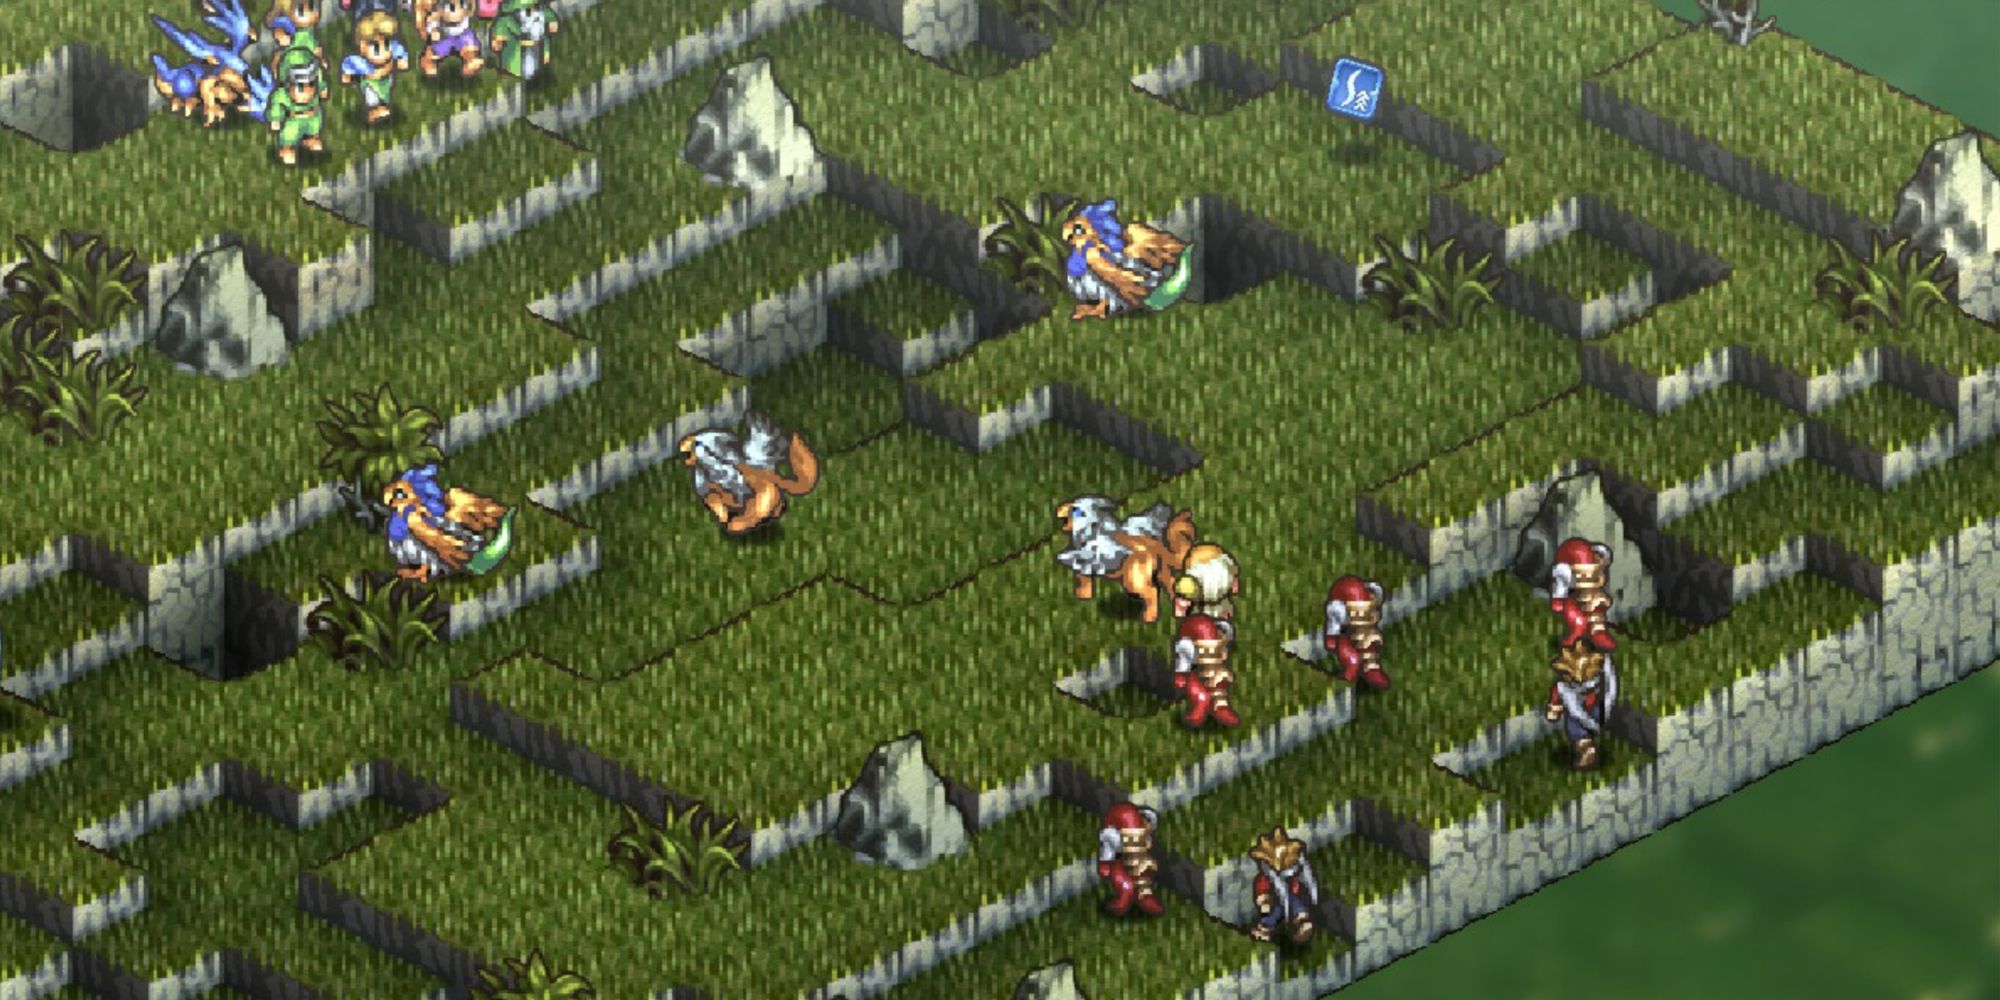
It's time for a rematch with Ganpp! He has more feathered friends this time.
-
Unlike the first battle with Ganpp, killing one of his pets will not end the battle early - in fact, killing one will cause Ganpp to heal himself and debuff your entire team immediately. It's a far better idea to avoid killing his pets entirely. Instead, try disabling them with the Sleep or Petrify status effects.
- Take a look at their stat pages to see which statuses they are immune to before trying this, though.
- All four monsters in this fight can fly and will use this to target your weaker units. Finishing this fight by killing Ganpp off asap is important to survival here. You're dealing with lots of Petrify and Stun thanks to Petro Breaths and Numbing Hooks, and trying to win a battle of attrition is a losing game.
- The enemy Lizardmen pack a wallop and can take a beating; they're also best left ignored as you take Ganpp down.
- Ganpp himself isn't that much trouble as long as you don't enrage him by killing one of his monsters. Save your MP for Finishing Moves and he goes down quite quickly.
Once you've trounced the Beast Tamer again, it's time to return to Almorica.
Story Battle: Almorica Castle
This is another stronghold with two battles, and they can be pretty tough to overcome.
Stronghold Battle: The Gates Of Almorica
|
Enemies |
Leader: Gildora (Witch) |
|
|---|---|---|
|
2x Iron Golem, 2x Dragoon, 2x Archer, 1x Cleric, 1x Beast Tamer, 1x Terror Knight, 1x Cloud Dragon, 1x Dark Dragon |
||
|
Unit Deployment |
10 Units |
|
|
Victory Condition |
Defeat Gildora |
|
|
Bonus Objectives |
Win with a Dragoon in the battle party |
EXP +800 |
|
Perform an action to debuff an enemy |
Silver Oberyth x10 |
|
|
Obtain a buff card |
Judgment II x1 |
|
|
Difficulty |
★★★★☆ (4/5) |
|
This battle should feel familiar for a few reasons.
- Two Dragons and two Golems make up the enemy's front lines - this used to be a lot more threatening, but now you have access to the Dragoon class. Bring multiple, and you'll be able to Dragonslayer and Beastslayer your way through these incredibly quickly.
- The enemy Beast Tamer can buff those monsters if they're lucky - take her out as a point of priority, especially if you're taking a while to deal with the monsters.
- The enemy Dragoons and the Terror Knight can be very tricky to deal with, thanks to their high damage. Target them with ranged damage before they get too close to soften them up and spend your Finishing Moves finishing them off.
- Gildora packs a punch with her spells, but falls quickly to sustained melee attacks.
- If you're a fan of monster units, avoid bringing Dragons to this fight - the Dragoons are equipped with Dragonslayer and they know how to use it. They do not, however, have Beastslayer - Gryphons and Cockatrices can be used to great effect in this fight, as you might have noticed in the previous battle against Ganpp.
Once you emerge victorious, it's time to head deeper into Almorica.
Stronghold Battle: Almorica Passageway
|
Enemies |
Leader: Xaebos (Knight) |
|
|---|---|---|
|
4x Terror Knight, 2x Dragoon, 2x Cleric, 1x Archer, 1x Warlock, 1x Necromancer |
||
|
Unit Deployment |
10 Units |
|
|
Victory Condition |
Defeat Xaebos |
|
|
Bonus Objectives |
||
|
Win with an Archer in the battle party |
Intelligence Charm x3 |
|
|
Win with a Knight in the battle party |
EXP +800 |
|
|
Difficulty |
★★★☆☆ (3/5) |
|
You're up against Xaebos here, finally.
- Only the female Terror Knights have Rampart Aura here - make them your first priority. The other Terror Knights are less threatening but should be taken out if it's convenient.
- Having tanky units with Rampart Aura of your own will help here, as it always does in indoor battles. As in the previous fight, be careful if you use Dragons, as the Dragoons have Dragonslayer. If you bring them along, the Dragoons shoot up in priority. Otherwise, they're not extremely important.
- The Necromancer here is interesting. He packs a punch and has an extraordinarily rare class - it's a fantastic idea to recruit him. His Loyalty is middling, so it shouldn't even take that many tries! Necromancers are your only means of recruiting Ghosts and Skeletons, and they have brilliant Magic stats to boot.
- Xaebos himself is stronger than your standard Knight boss. He starts with two physical buff cards and two MP buff cards, so he'll be pumping out one-shot Finishing Moves quite often - bring plenty of revival items, especially if you see yourself spending a lot of time trying to recruit the Necromancer.
- This is a battle where whittling down the enemy forces is important - you want to avoid getting swarmed by enemies, so reducing their number asap is important to keep your momentum up.
Hopefully, it won't take too long before you emerge successful and recapture Almorica. At this point, you'll recruit Vyce, Arycelle (if she survived Chapter 2), Gildas, and Mirdyn. Your Union Level will also raise to Lv. 25.
You'll also get some Classmarks for the White Knight class - Ravness can use this, and it makes a great option for her.
There's now only one more string of battles left in the chapter.
Story Battle: Mount Weobry
|
Enemies |
||
|---|---|---|
|
2x Wizard, 2x Warrior, 1x Archer, 1x Familiar, 1x Rogue, 1x Berserker, 1x Flame Dragon, 1x Arc Dragon, 1x Earth Dragon, 1x Dark Dragon, 1x Hydra |
||
|
Unit Deployment |
10 Units |
|
|
Victory Condition |
Defeat Xaebos |
|
|
Bonus Objectives |
||
|
Perform an action to exorcise an undead enemy |
EXP +800 |
|
|
Perform an action to debuff an enemy |
Water Charm x1 |
|
|
Use a recruit skill |
Earth Charm x1 |
|
|
Difficulty |
★★☆☆☆ (2/5) |
|
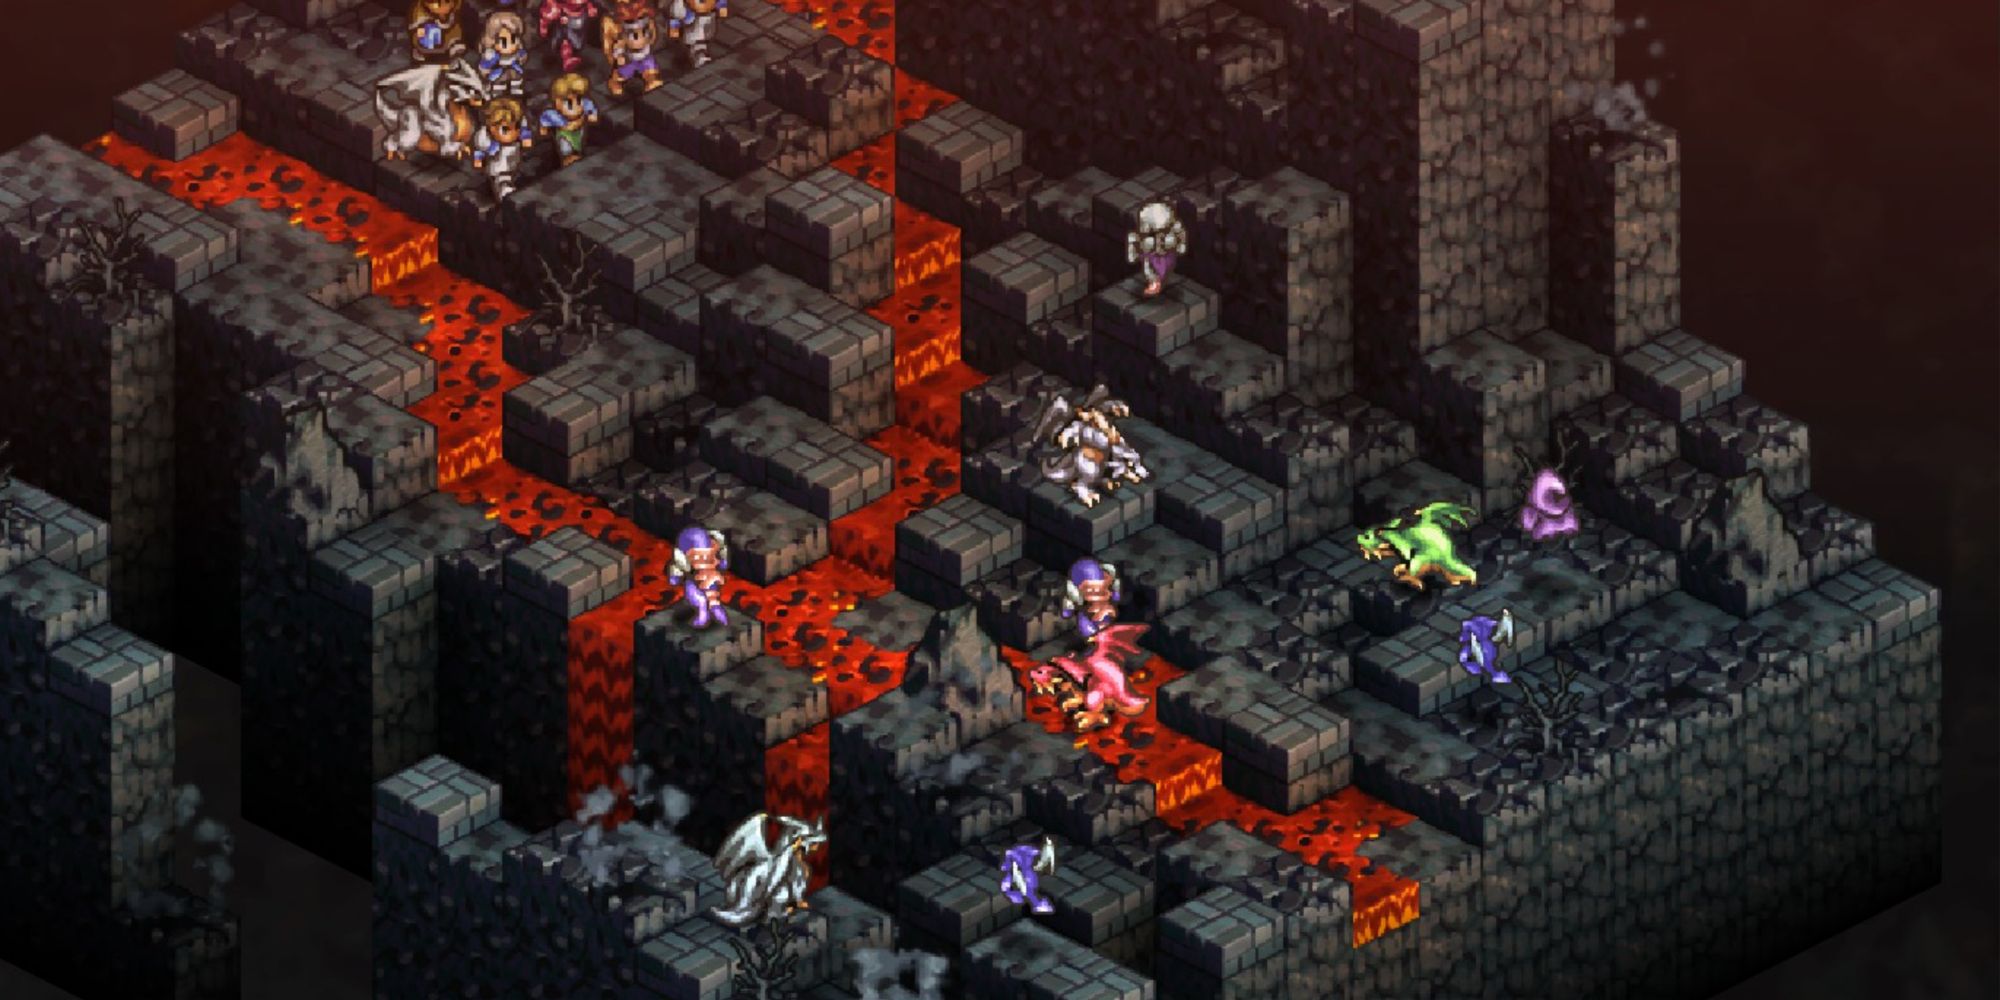
This battle is a filler battle, really, but has enough dragons to make you sweat.
- As you might expect, bringing along Dragoons with Dragonslayer will help this battle go a lot quicker. In addition, you'll want a few methods of exorcism. Forward planning will make this battle go much more smoothly.
- There's also a lot of recruitment opportunity here - Dark and Arc Dragons are rare and powerful, as are Hydras, and if you recruited the Necromancer in Almorica Castle, you can grab the Ghosts and Skeletons too.
- The terrain will make things slightly trickier here - you obviously can't walk on lava without certain equipment that you don't have access to yet. Spear-wielders and ranged units will shine in this battle.
This is a battle that can take a long time thanks to complicated terrain and bulky enemies, but it shouldn't cause you any actual trouble.
Story Battle: The Arkhaiopolis Of Rhime
|
Enemies |
Leader: Ozma (Knight Commander) |
|
|---|---|---|
|
3x Knight, 3x Archer, 1x Warlock, 1x Warrior, 1x Cleric, 1x Rune Fencer, 1x Wizard |
||
|
Unit Deployment |
12 Units |
|
|
Guests |
Hobyrim |
|
|
Victory Condition |
Defeat Ozma |
|
|
Bonus Objectives |
||
|
Win with a Ninja or Kunoichi in the battle party |
EXP +800 |
|
|
Perform an action to restore an ally's HP |
Mind Charm x3 |
|
|
Obtain a buff card |
Claymore x1 |
|
|
Difficulty |
★★★★☆ (4/5) |
|
If Hobyrim survives this fight, you can recruit him at the end.
This is your first proper battle against a dark knight, good luck!
- Ozma is a very powerful threat. She uses a whip, which can hit from two spaces away, and has a unique Finishing Move that inflicts Charm. She also has ice magic to boot. You'll want to be very wary of her, and consider taking her down quickly with Finishing Moves instead of prolonging the fight for loot or experience.
- The Knights here are very frustrating - they have Heal and Rampart Aura, and they'll use these to great effect.
- As is the case with most battlefields with buildings, Winged units will be great thanks to their ability to fly up to rooftops.
- You can largely ignore the units off to the left - maybe send two or three bulky tanks to distract them - Dragons and Knights with healing items are good choices. While they distract those units, you can deal with Ozma and the other units threatening Hobyrim.
- A Beast Tamer with Lobber and some healing items is a good pick for this fight - they'll be the quickest to get in range of Hobyrim and heal him if he gets close to death.
Definitely make an effort to save Hobyrim - he's a fantastic melee fighter.
Story Battle: Phidoch Castle
This is the final set of stronghold battles in this chapter. You can choose to tackle the castle from the West or the South. The latter holds the easier fight.
Stronghold Battle: Phidoch West Curtain Wall
|
Enemies |
Leader: Mercure (Swordmaster) |
|
|---|---|---|
|
3x Archer, 2x Iron Golem, 2x Stone Golem, 2x Berserker, 1x Warlock, 1x Cleric, 1x Rune Fencer |
||
|
Unit Deployment |
12 Units |
|
|
Victory Condition |
Defeat Mercure |
|
|
Bonus Objectives |
||
|
Win with an Archer in the battle party |
EXP +800 |
|
|
Perform an attack that strikes multiple tiles |
Air Charm x1 |
|
|
Difficulty |
★★★☆☆ (3/5) |
|
- Multiple Golems means it's a good idea to bring a Dragoon to this fight with Beastslayer. Otherwise, you can get harried with Rampart Auras.
- Once the Golems are dealt with, you'll want to focus on the Berserkers next - they're particularly good at softening up multiple units at once when Berserk activates, making them ripe for picking off by the Archers upon the higher levels of the battlefield.
- Mercure himself is a tough cookie, but once his Cleric is killed, he can't resist a sustained assault. He has a means of self-healing with Harvest Dance, but it's pretty weak.
Overall, not a very tough fight, especially considering you can bring a full army.
Stronghold Battle: Phidoch South Curtain Wall
|
Enemies |
Leader: Vestiarri (Enchantress) |
|
|---|---|---|
|
3x Cleric, 2x Knight, 2x Archer, 1x Beast Tamer, 1x Ninja, 1x Warlock, 1x Thunder Dragon, 1x Frost Dragon |
||
|
Unit Deployment |
12 Units |
|
|
Victory Condition |
Defeat Vestiarri |
|
|
Bonus Objectives |
||
|
Perform an action to debuff an enemy |
EXP +800 |
|
|
Obtain a buff card |
Dark Charm x1 |
|
|
Difficulty |
★★☆☆☆ (2/5) |
|
- There's a lot of healing power in this fight - three Clerics and a Beast Tamer with Lobber. Make them your highest priority when it's convenient to deal with them, if only to speed things up for yourself.
- Bringing a Dragoon to deal with the Dragons should be standard tactics for you by now. It'll make the fight go much smoother.
- Vestiarri is a fragile mage and there aren't any heavy hitters on the upper levels of the battlefield - a strike team of flying units can make short work of her.
This battle might take a while to finish, but it's a breeze.
Stronghold Battle: Phidoch Great Hall
|
Enemies |
Leader: Balxephon (Knight Commander) and Oz (Knight Commander) |
|
|---|---|---|
|
2x Templar, 1x Iron Golem, 1x Knight, 1x Warlock, 1x Terror Knight, 1x Archer, 1x Valkyrie, 1x Witch, 1x Cleric |
||
|
Unit Deployment |
12 Units |
|
|
Victory Condition |
Defeat Balxephon and Oz |
|
|
Bonus Objectives |
||
|
Win with an Archer in the battle party |
EXP +800 |
|
|
Win with a Knight in the battle party |
Experience Charm III x5 |
|
|
Obtain a buff card |
Resistance Charm x3 |
|
|
Difficulty |
★★★★★ (5/5) |
|
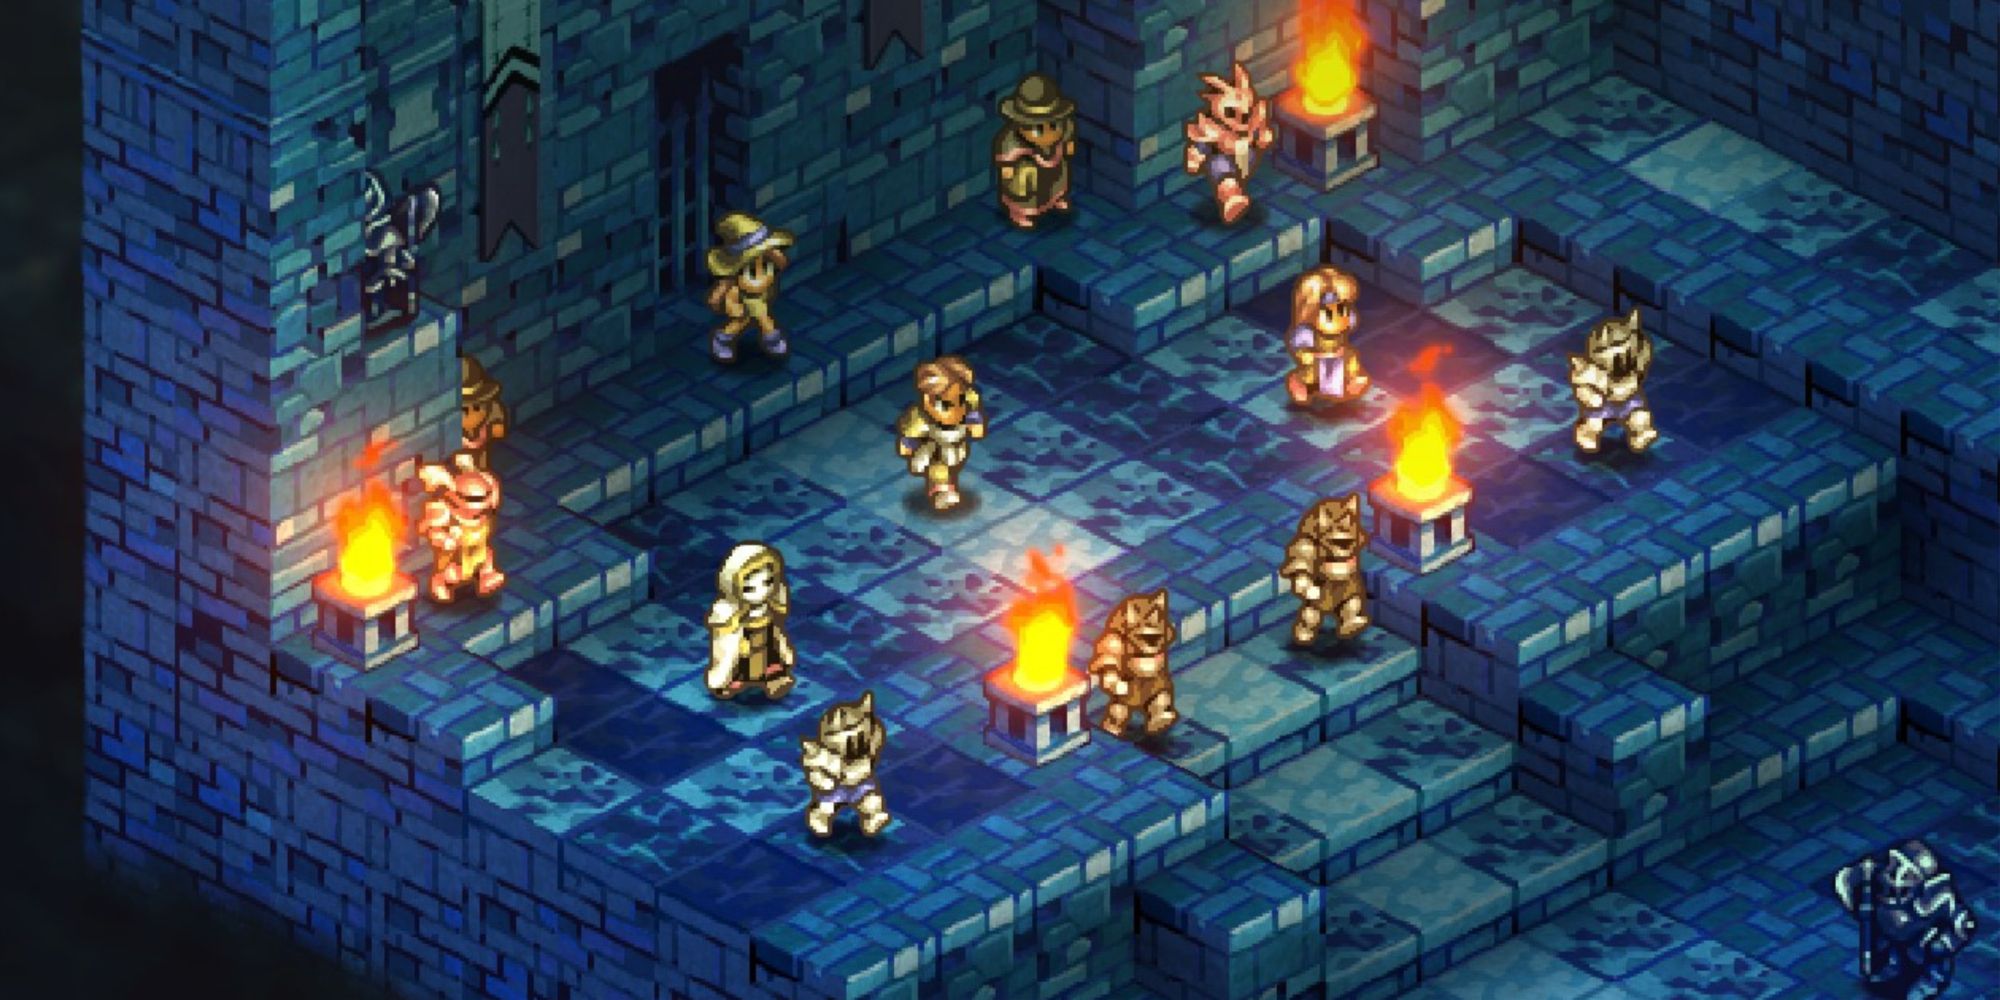
You're up against two very powerful bosses here.
- You start off very close to Oz, who is the more physically aligned of the two Knight Commanders. You'll want to send a few strong, bulky fighters to deal with him as soon as the fight starts. Deploying both Gildas and Mirdyn is a good strategy here, as they are well-suited to this job.
- Balxephon, on the other hand, loves to rain down spells on any units in range. Once you've dealt with Oz, get your units out of range - his magic does a ton of damage and you'll have to deal with the other enemies before you can realistically take him on.
- While they look scary, the Templars aren't too buff. The red one is especially fragile, like any other mage. Make them your priority once Oz is down.
- Try to lure your foes down into the courtyard - fighting in the cramped stairway is a recipe for disaster, with your units ending up sitting ducks for Balxephon's nukes. Draw them out and finish them off as they descend.
- Use missile attacks to deal with any annoying units standing on top of the pillars next to the stairs.
-
Once the Golem, Knight, and Terror Knight are out of the way, you can start safely making your way up the stairs to deal with Balxephon. He's scary but won't make be able to resist a sustained assault consisting of lots of Finishing Moves. Don't worry about the units that inevitably fall; ending Balxephon will end the battle.
- At the late stages of the battle, it might be a good idea to send Canopus up the wall at the back of the stage to get behind Balxephon and his Cleric (if still alive) once they're at the top of the stairs. Surrounding him is a good way to go.
Once you've defeated both Knight Commanders, the battle and the chapter will end.

