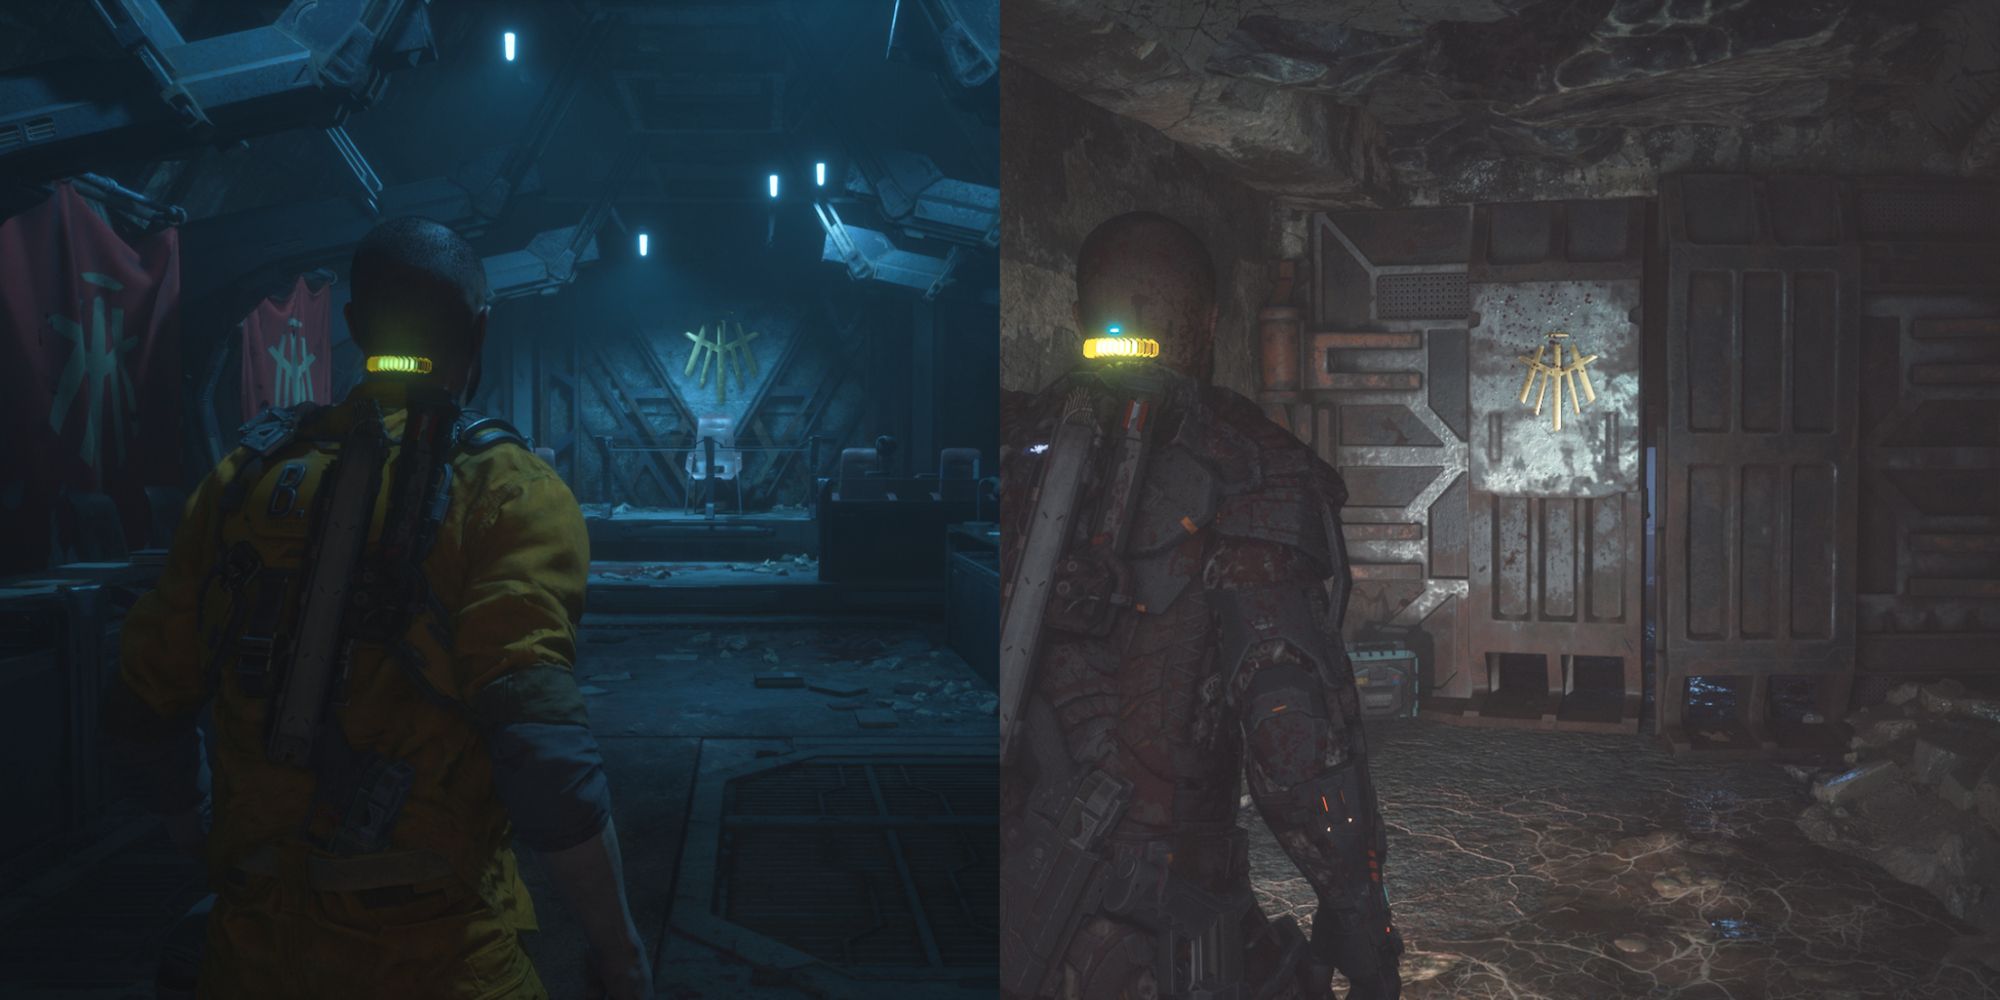
As The Callisto Protocol is mostly a linear game, it doesn't contain a litany of hidden locations. That being said, there are still a few of them. And two of them are particularly interesting because they look very different from all the other rooms in the game. On top of that, they contain interesting data-bios you can pick up.
As proof of how special these rooms are, there is an achievement/trophy tied to finding them. To do so, you must take a couple of significant detours while working your way through the adventure. Therefore, it's really easy to miss them. To avoid that, here is everything you need to know to find and reach the areas.
Duncan Cole: Secret Room 1 Location
The first data-bio is in chapter three (Aftermath).
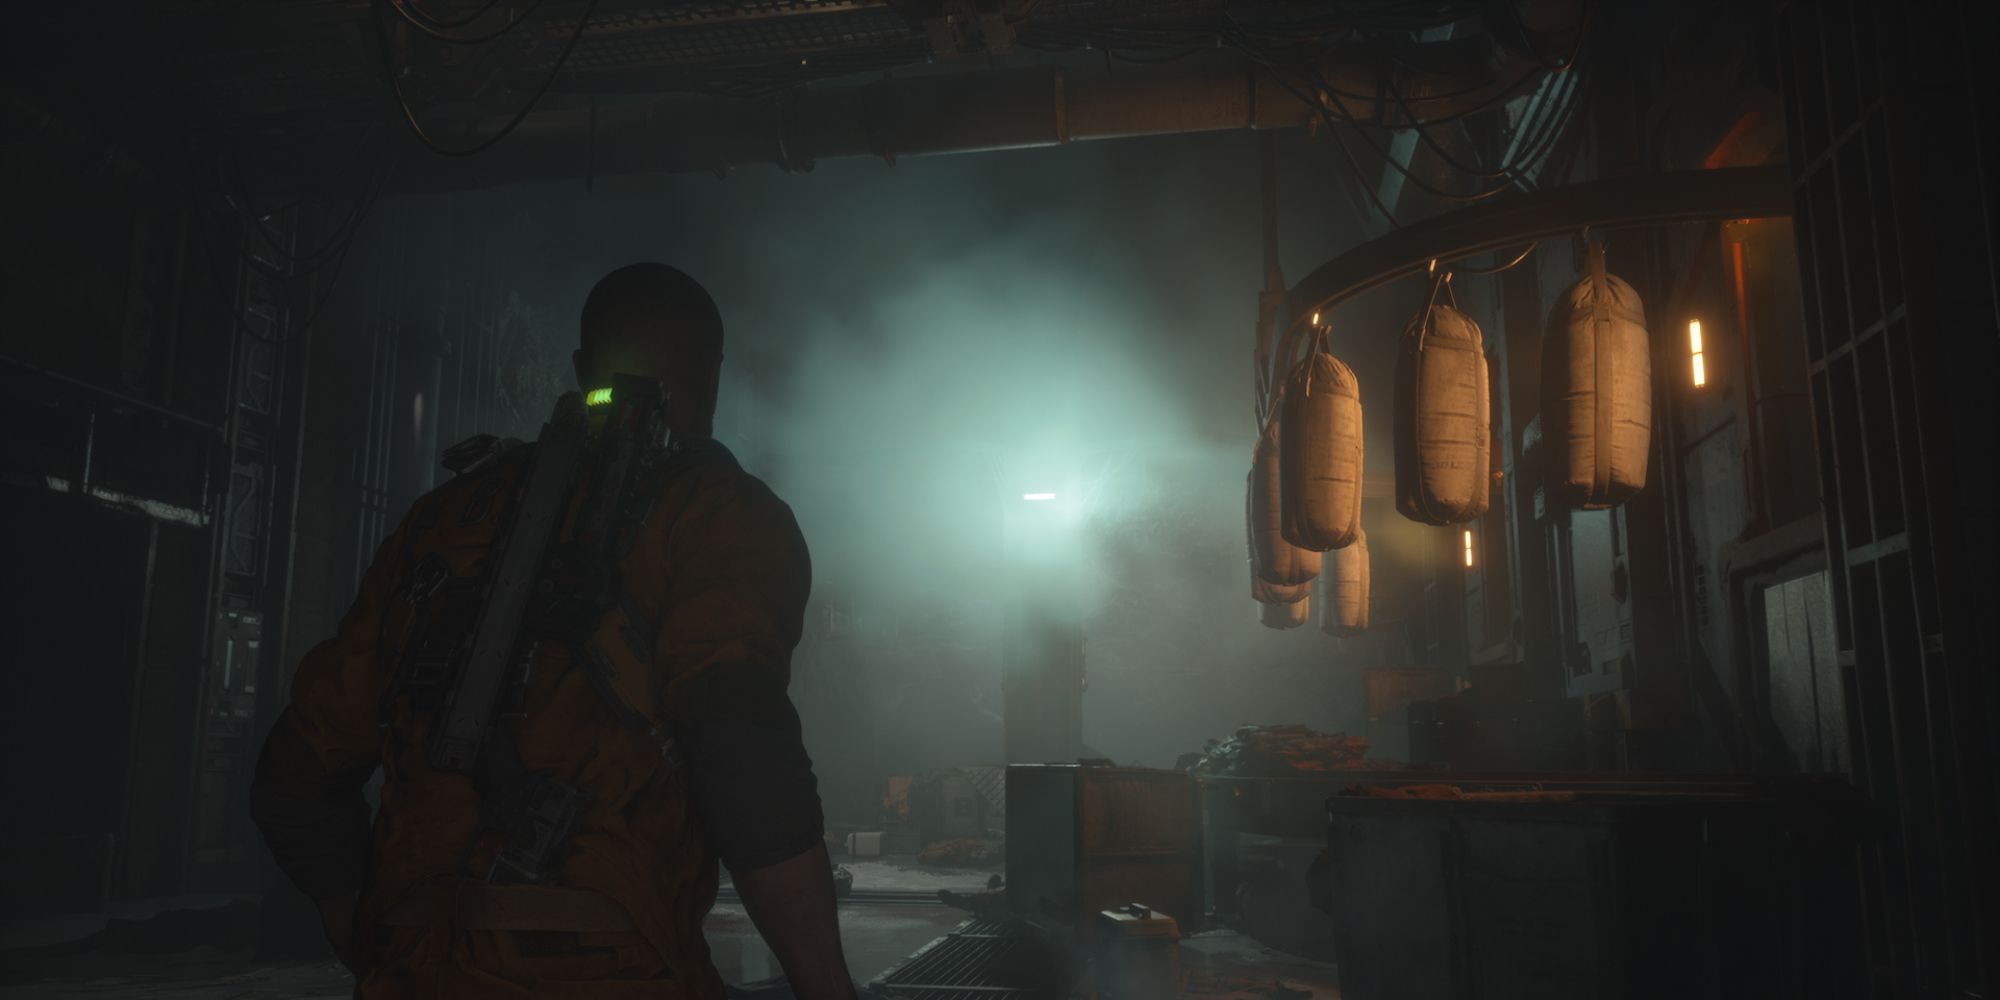
A few rooms after acquiring your first gun, you enter the Laundry area.
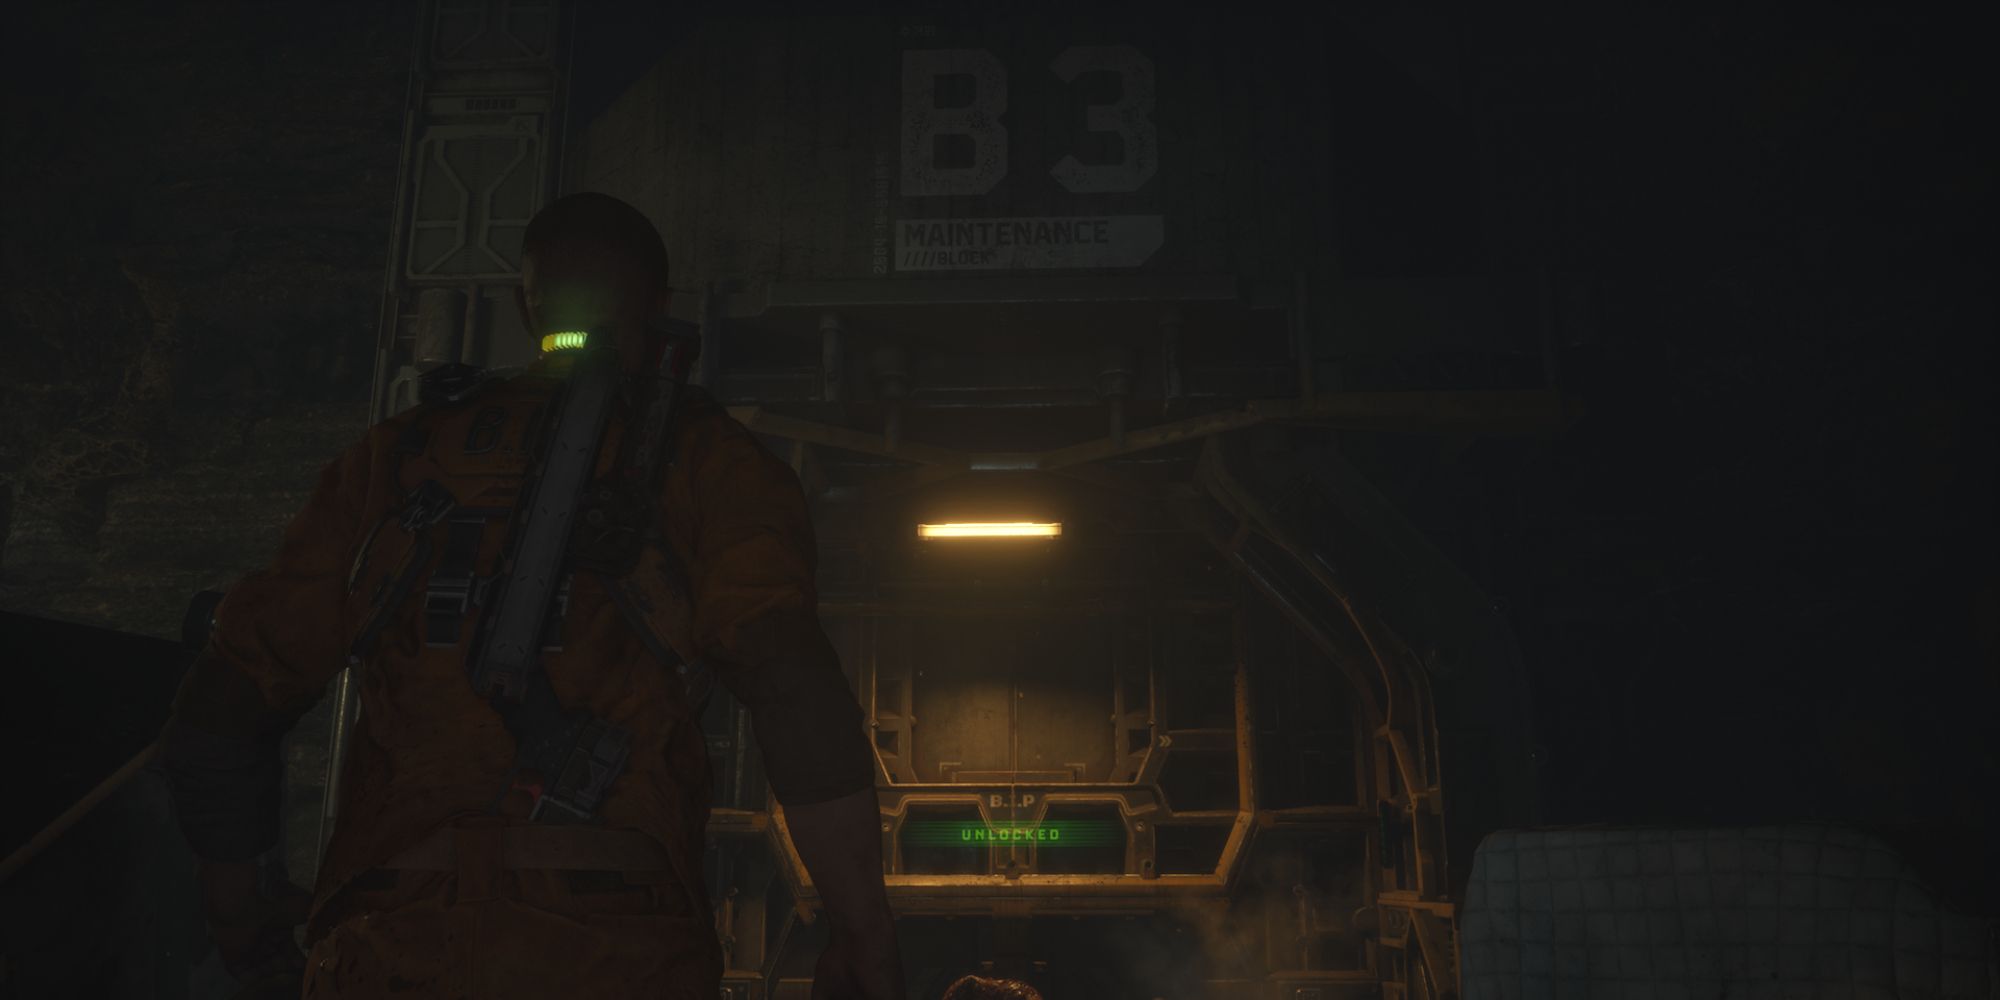
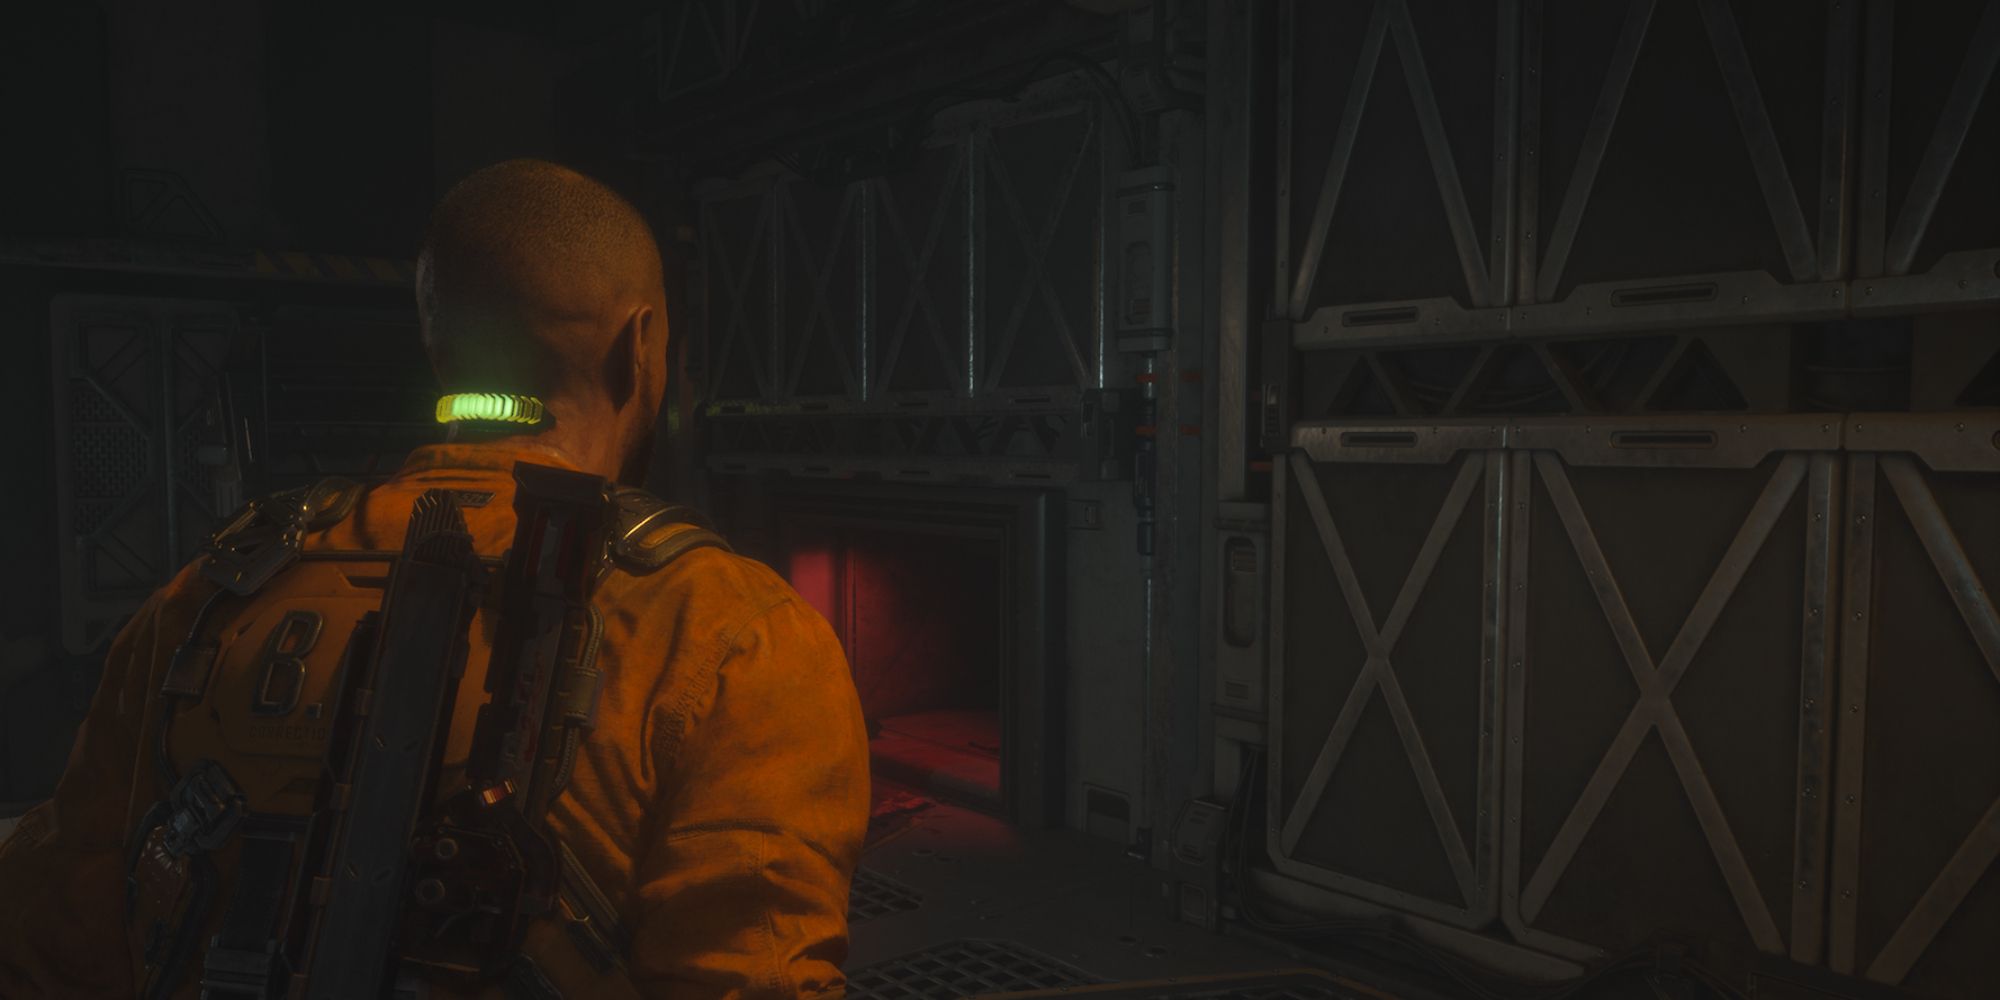
Once inside, head across the room and deal with the enemy on your way. Then go through the door on your left (B3 Maintenance).
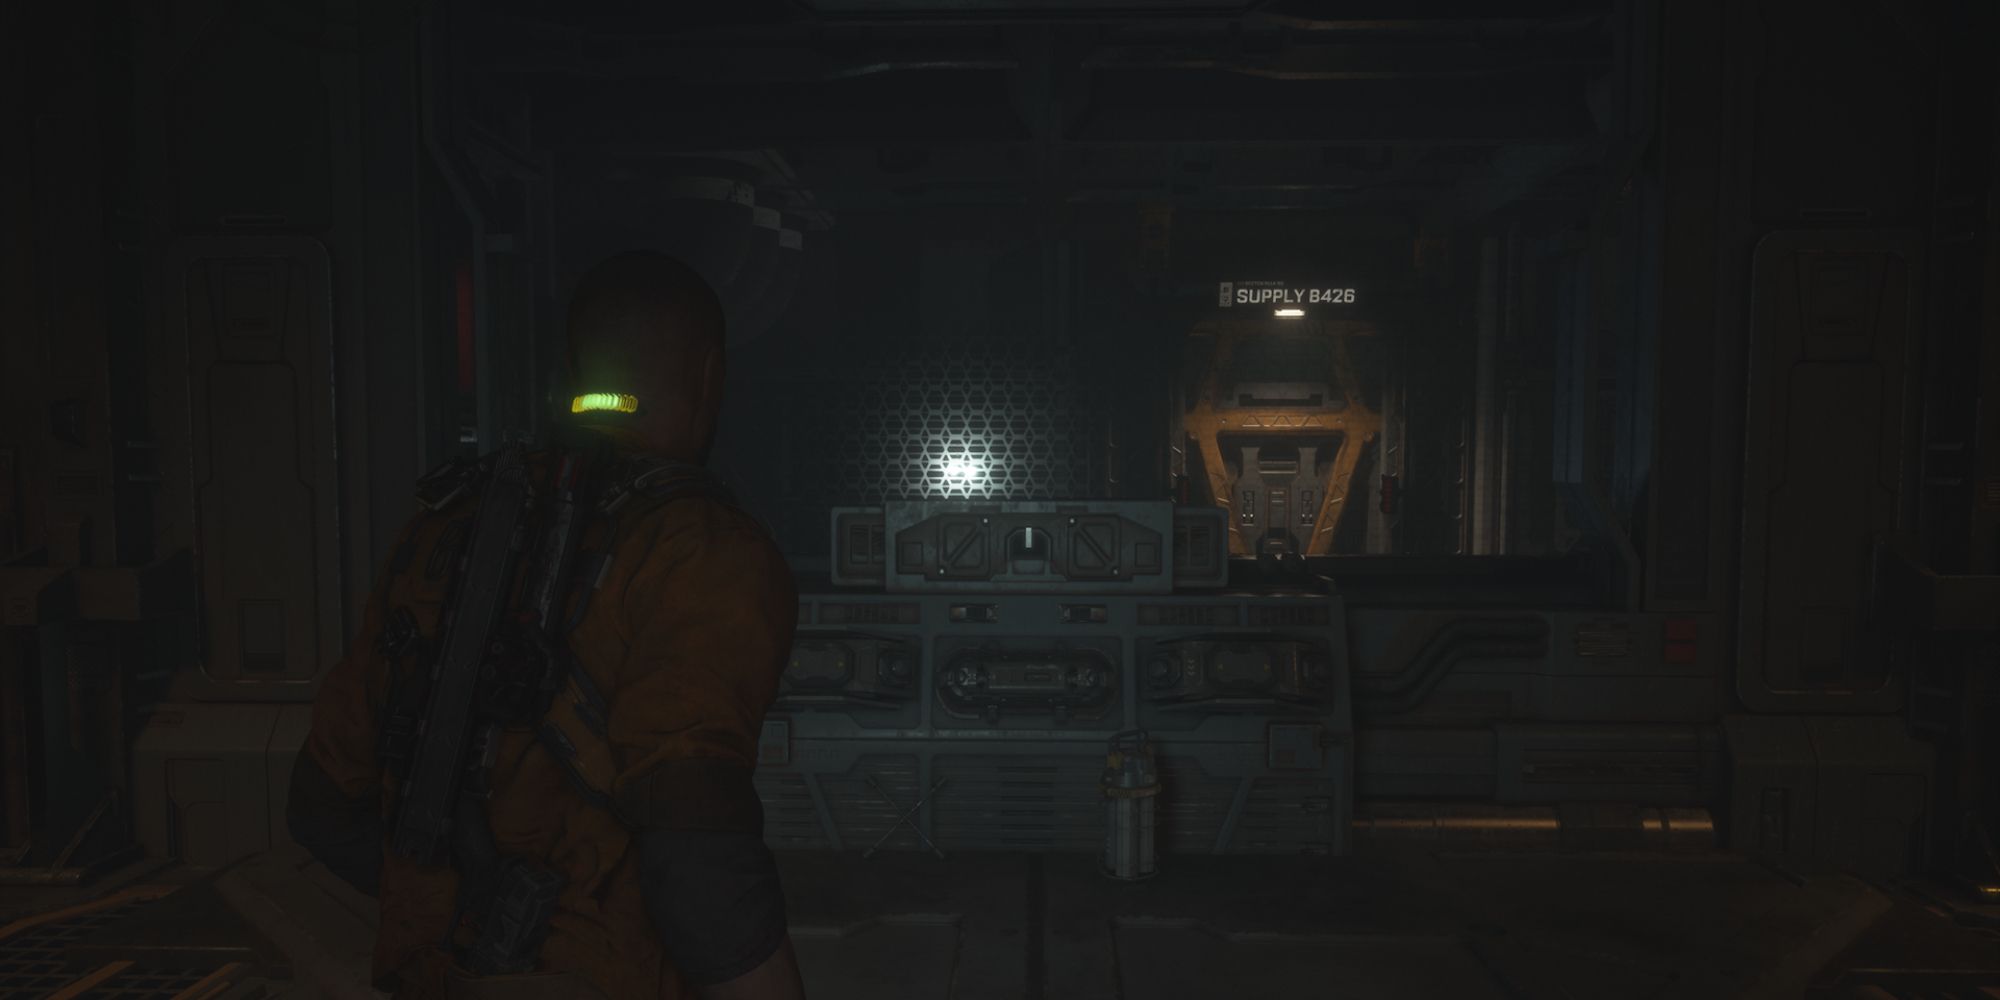
Head down the ramp and keep going until you reach the window. From there, enter the Workshop by unlocking the door to your right.
Once inside, enter the vent in the corner of the room, and crawl all the way through it.
When you get to the other side, follow the path around and drop down. Then head in the only direction possible and ignore the ladder on the left for now.
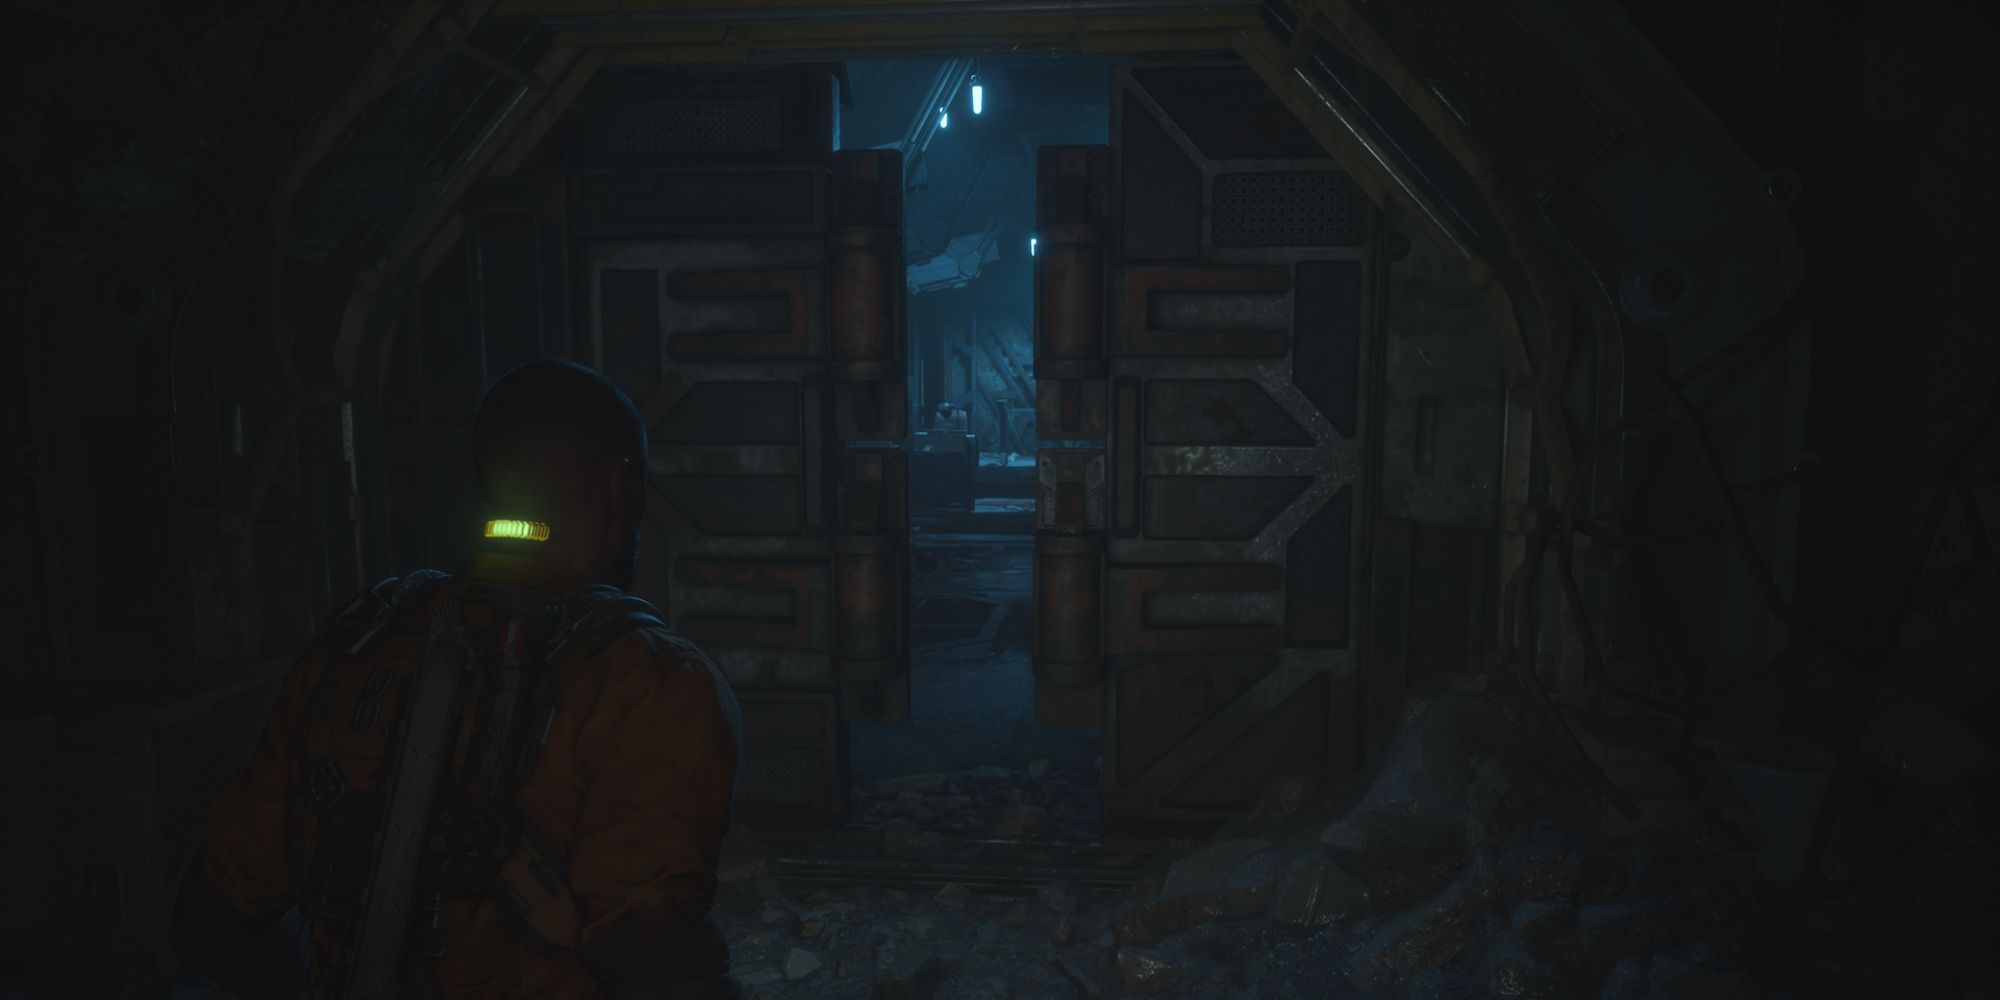
Eventually, you reach a gap you can squeeze through.
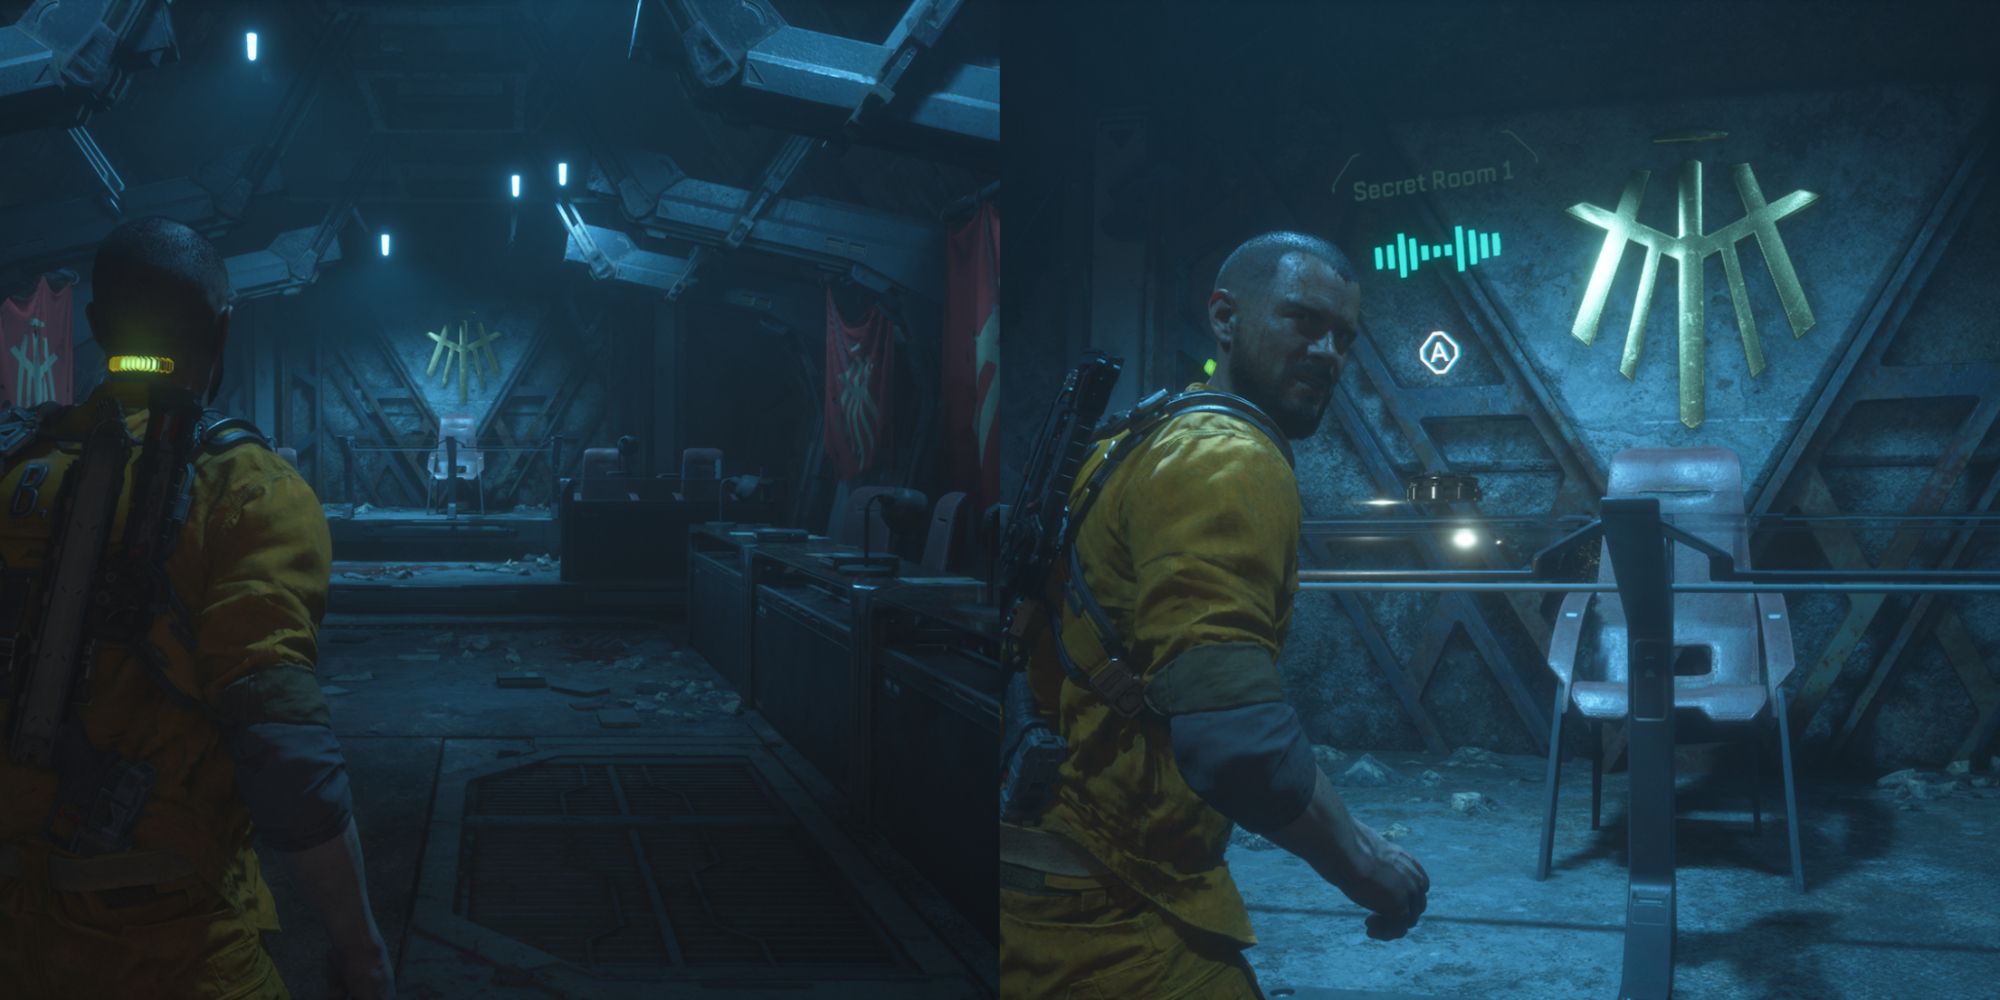
This puts you in a strange room that contains several flags. Go to the back of it to pick up the data-bio on the desk. After that, you can use the ladder from earlier to leave.
Yannick Sage: Secret Room 2 Location
You can find the second one in chapter six (Below).
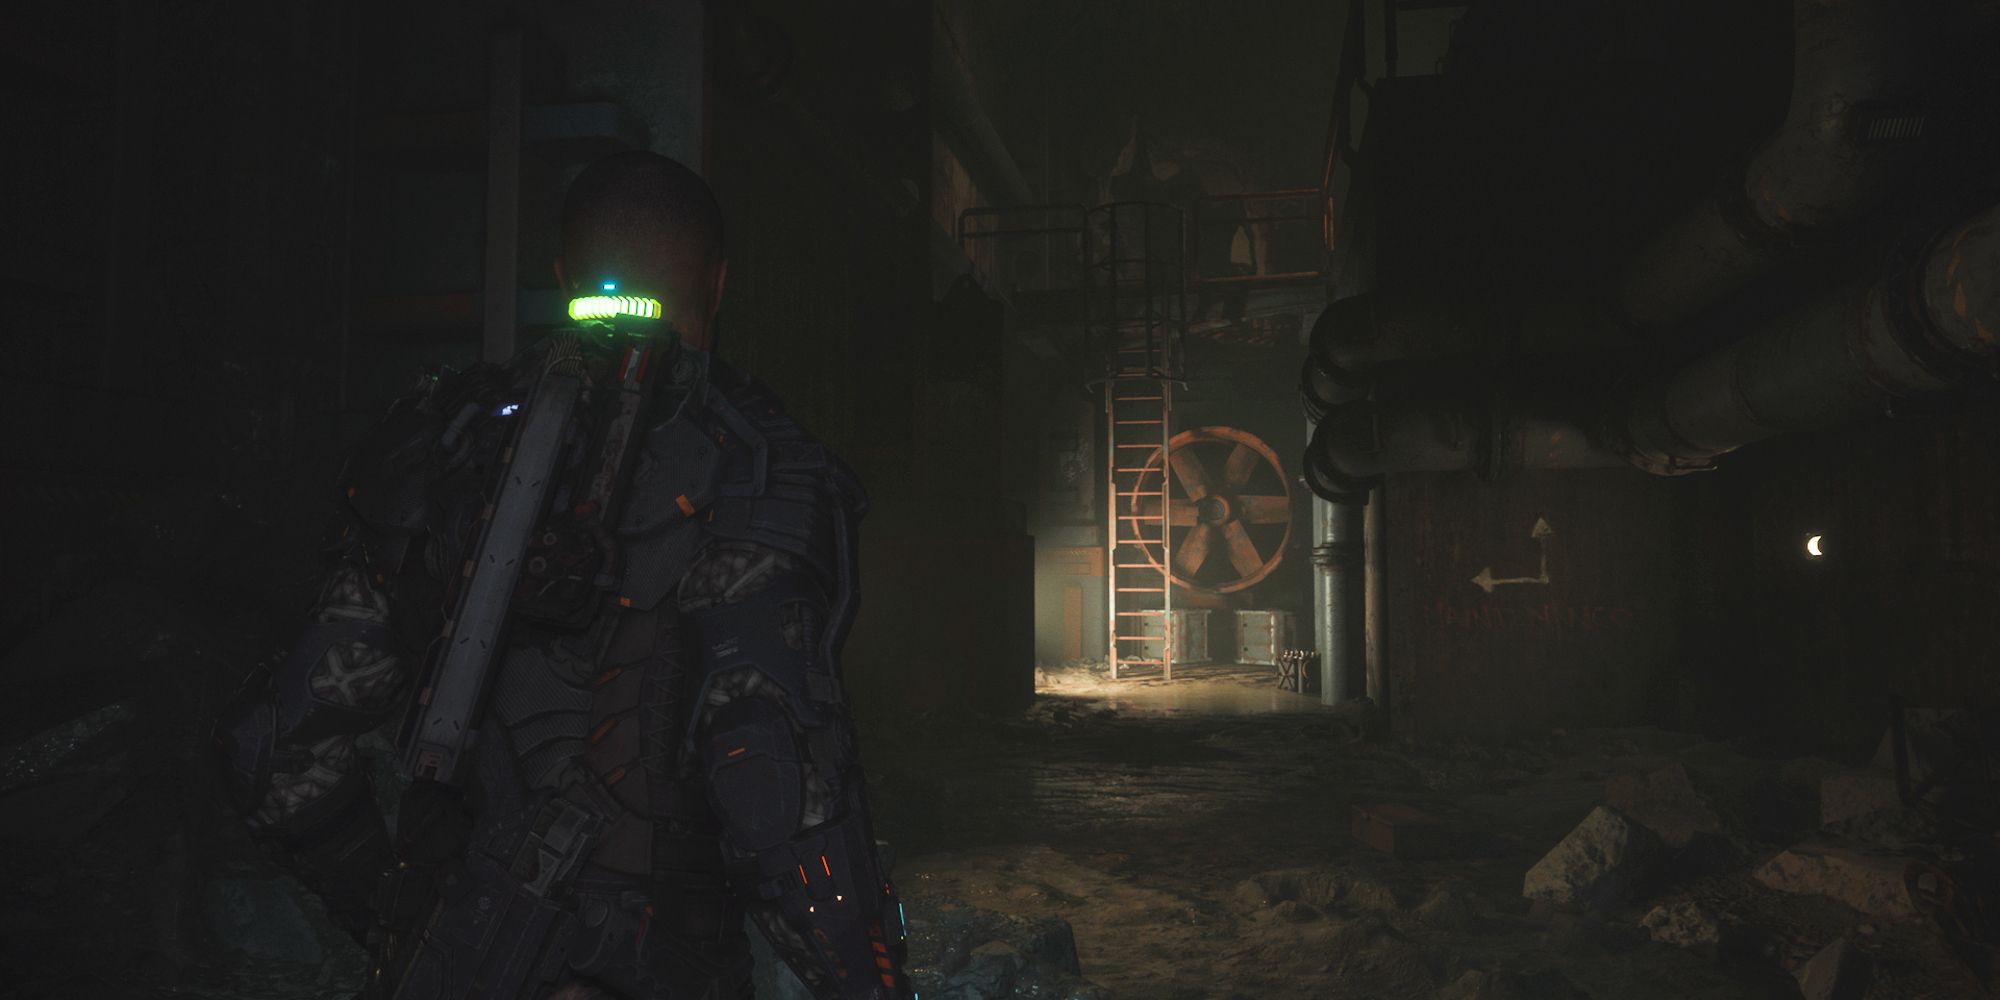
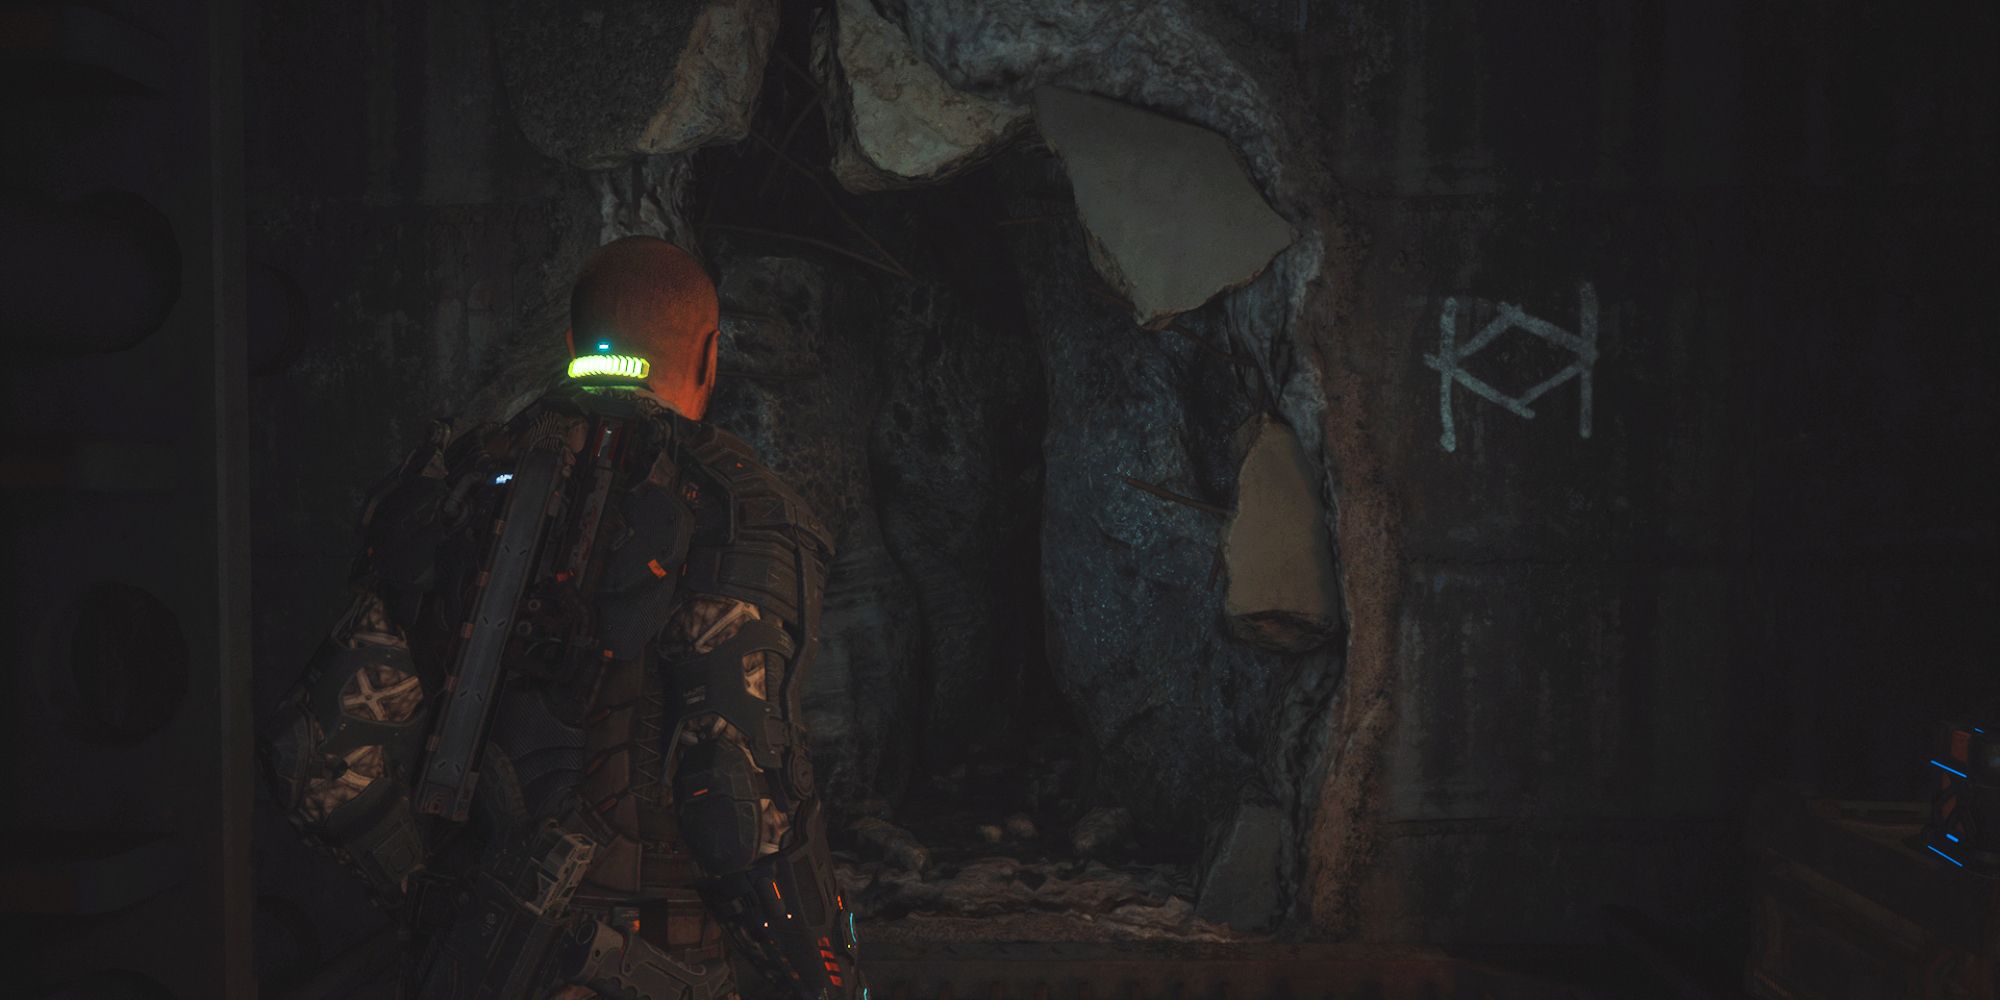
You have to progress deep into the chapter, taking out a lot of dangerous blind enemies in the process. The secret room is on the way to the Power Reactor. At one point during this trip, you get to a ladder with a fan behind it. On the wall nearby, there are two arrows connected that look like hands on a clock. When you see these things, you know you're close.
Head up the ladder and squeeze through the wall in front of you. Continue through the cave and drop down into the pit. Once down, find the next pit and drop down that one, too.
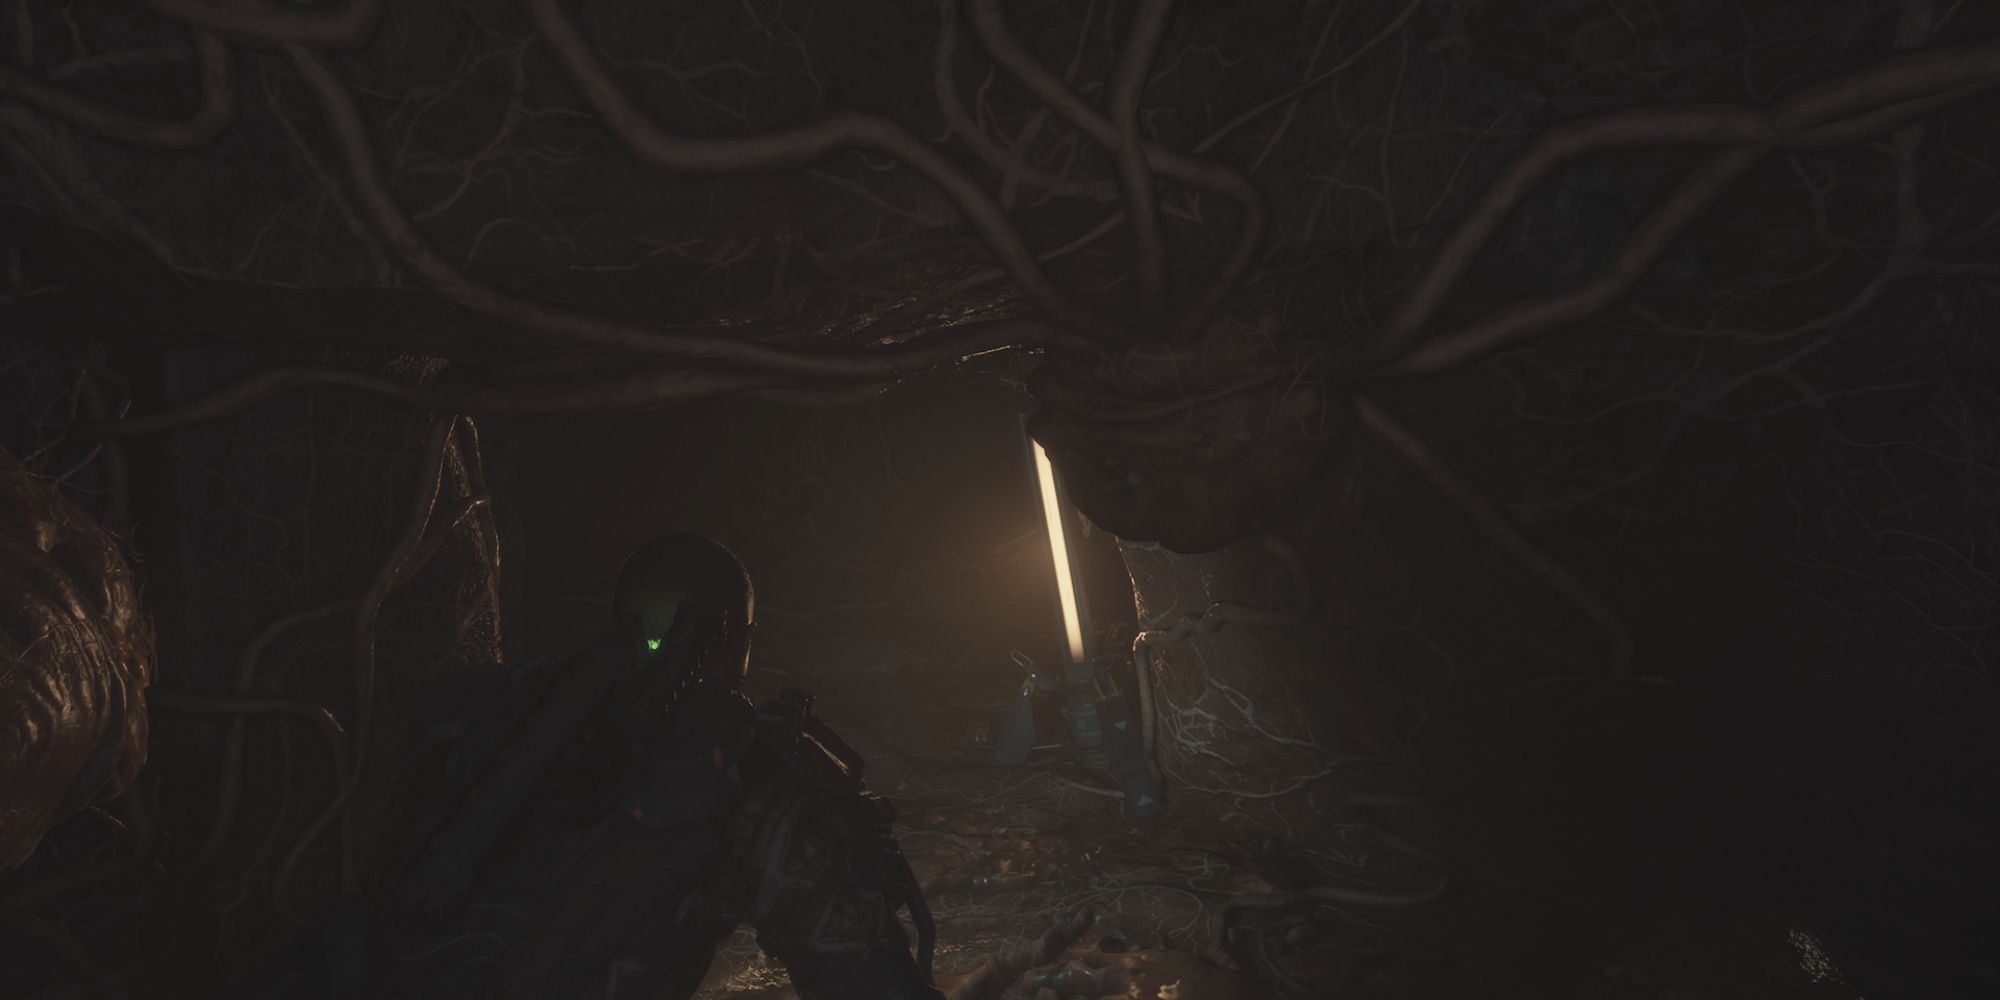
Keep walking through the oozy cave and kill any enemies in your path. Eventually, you need to duck down to progress through a small hole - there may be another enemy here.
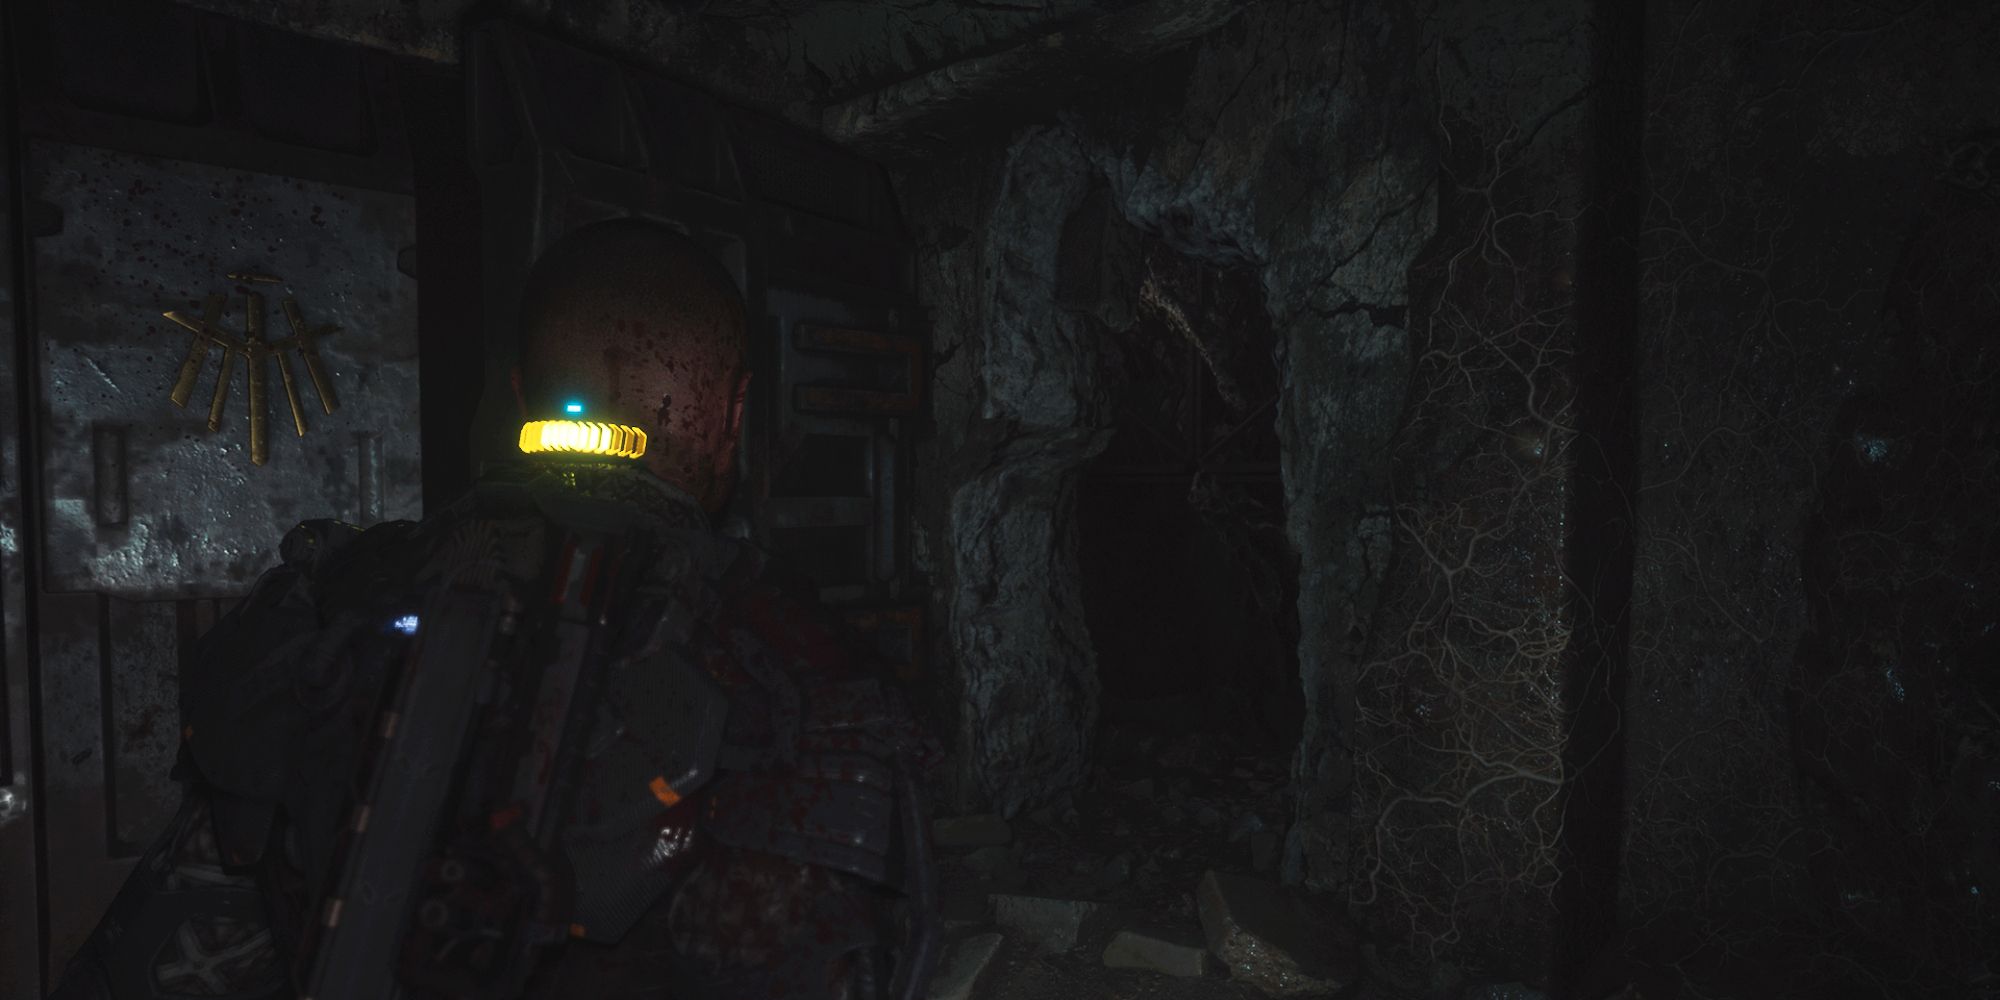
On the other side of the hole, you will see a door with a marking that was in the last location. You can't enter it, but you can go through the hole to its right.
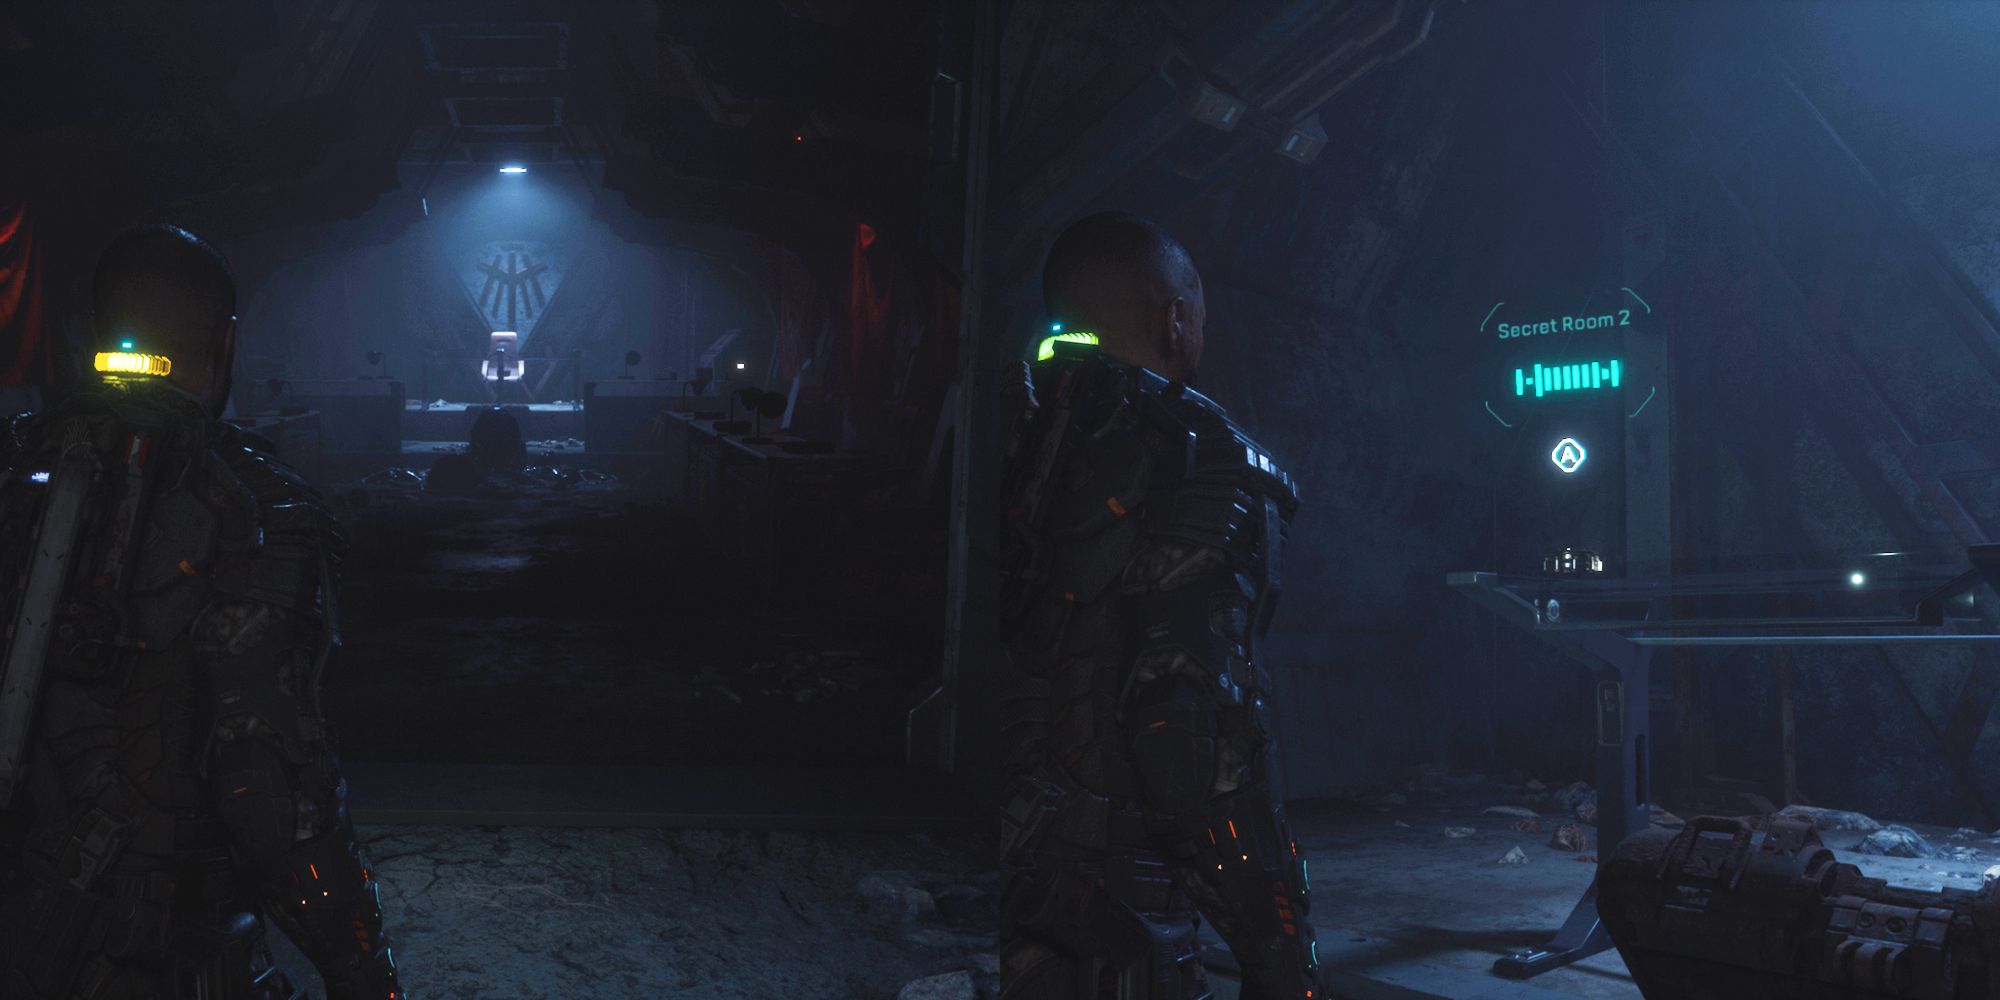
This leads you to a room that looks like a darker version of the last one. Simply entering the room will net you the achievement or trophy. You can also find the Secret Room 2 data-bio on the desk at the back.

