Aside from scavenging items from the surface of Fortuna III in The Cycle: Frontier, the other method of getting your hands on more resources comes in the form of mining nodes. However, unlike other games where you’ll be chipping away at a hitbox for a few minutes, the mining here is a bit more hands-on.
It’s a unique take on resource collection that can catch you out if you’re not familiar with it. For those looking to learn how to strip-mine the planet of its riches in seconds and head home with their pockets bursting with gemstones, here’s a brief guide to mining in The Cycle: Frontier.
How Does Mining Work?
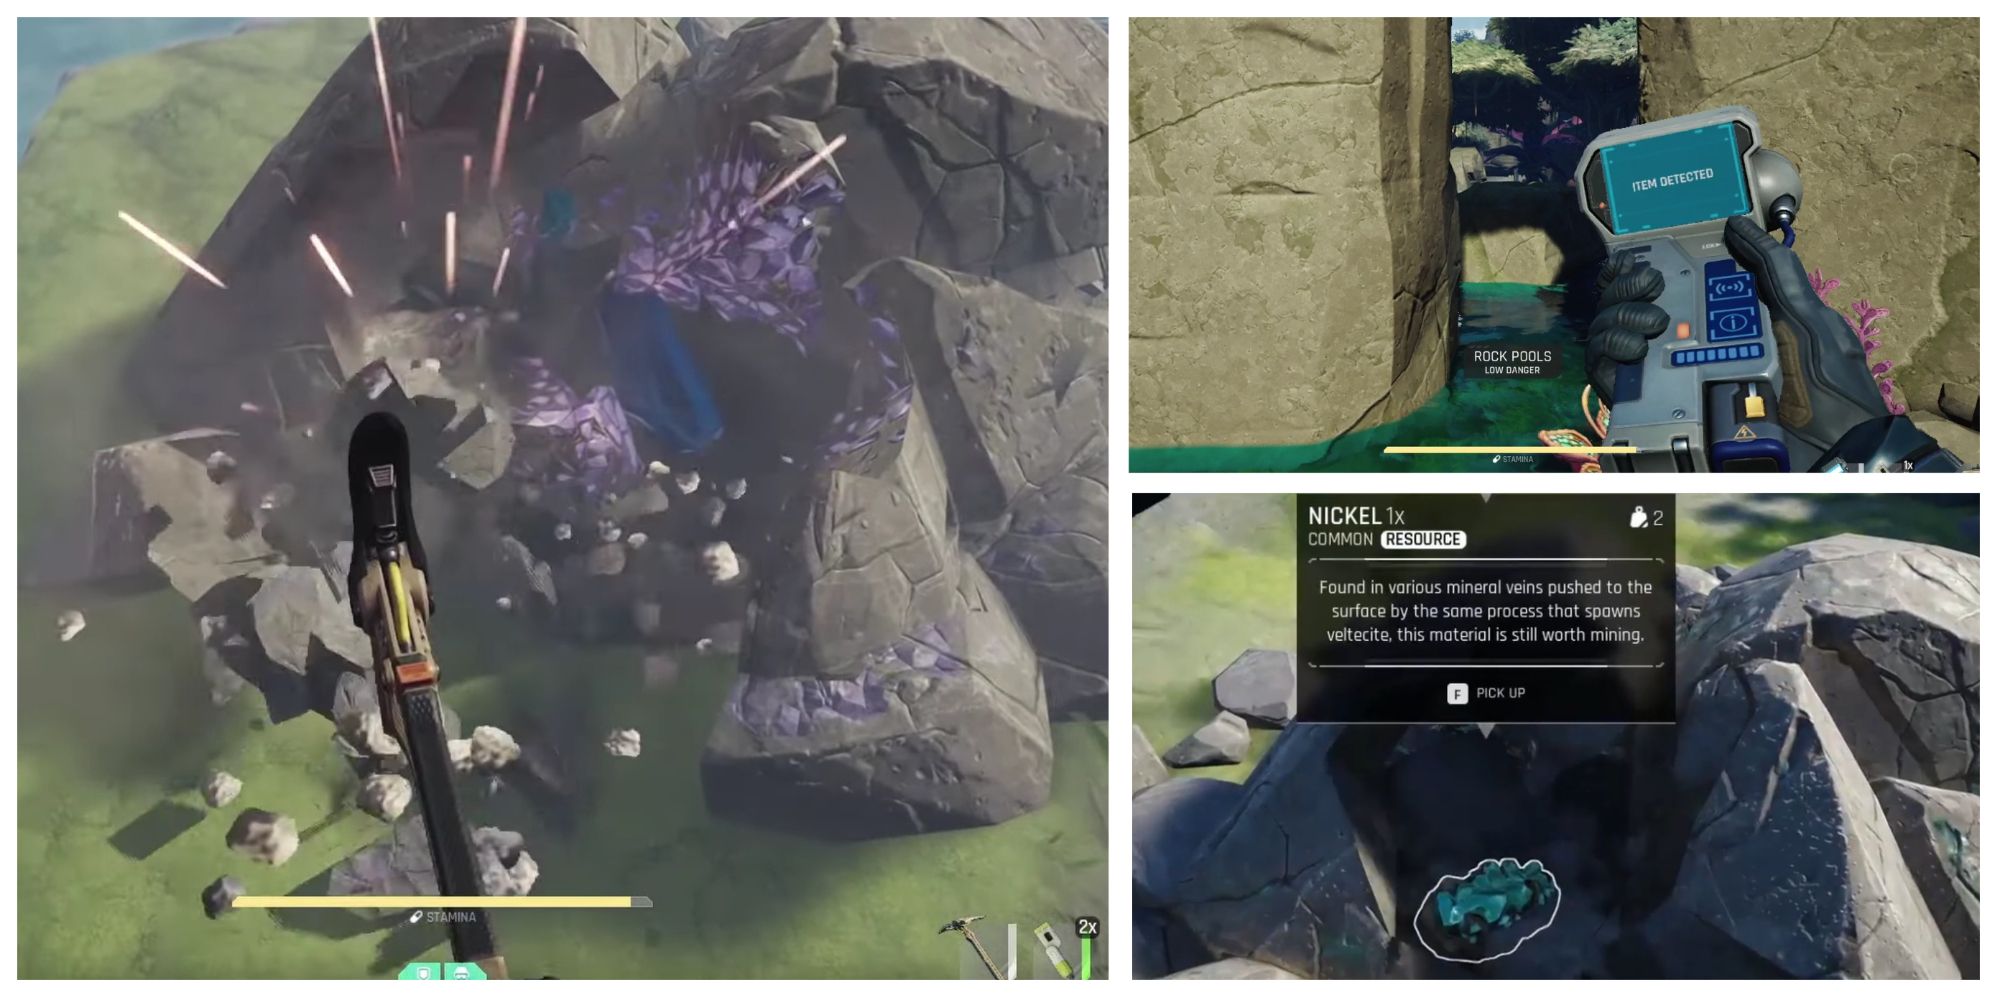
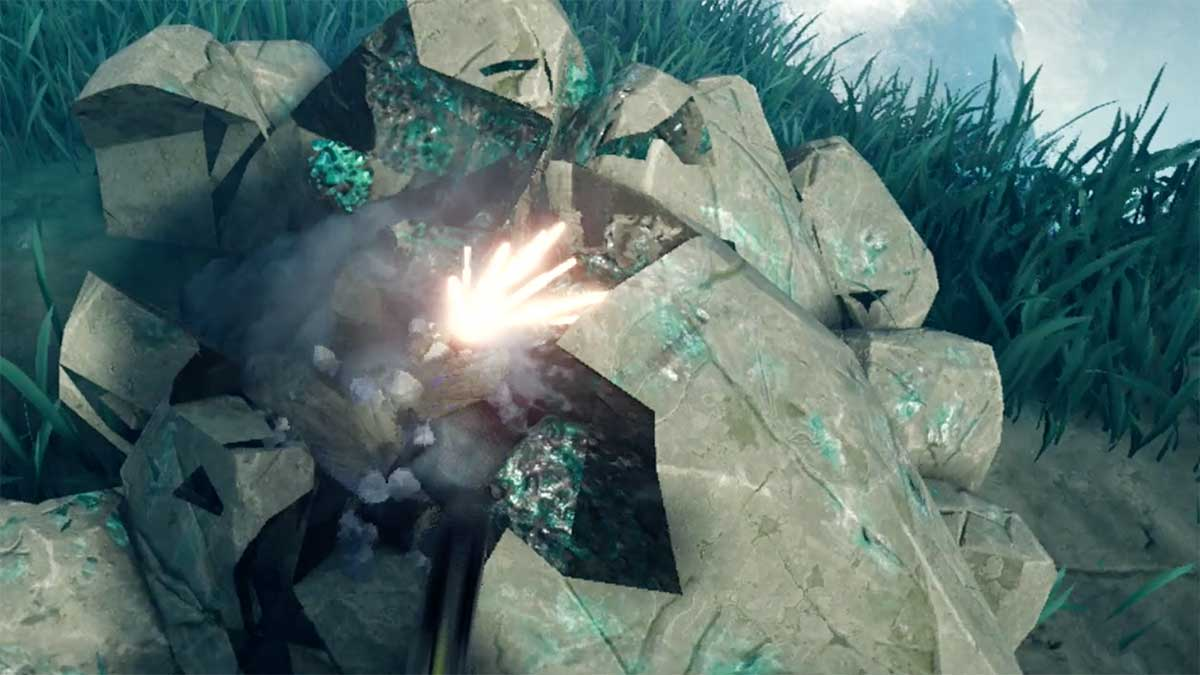
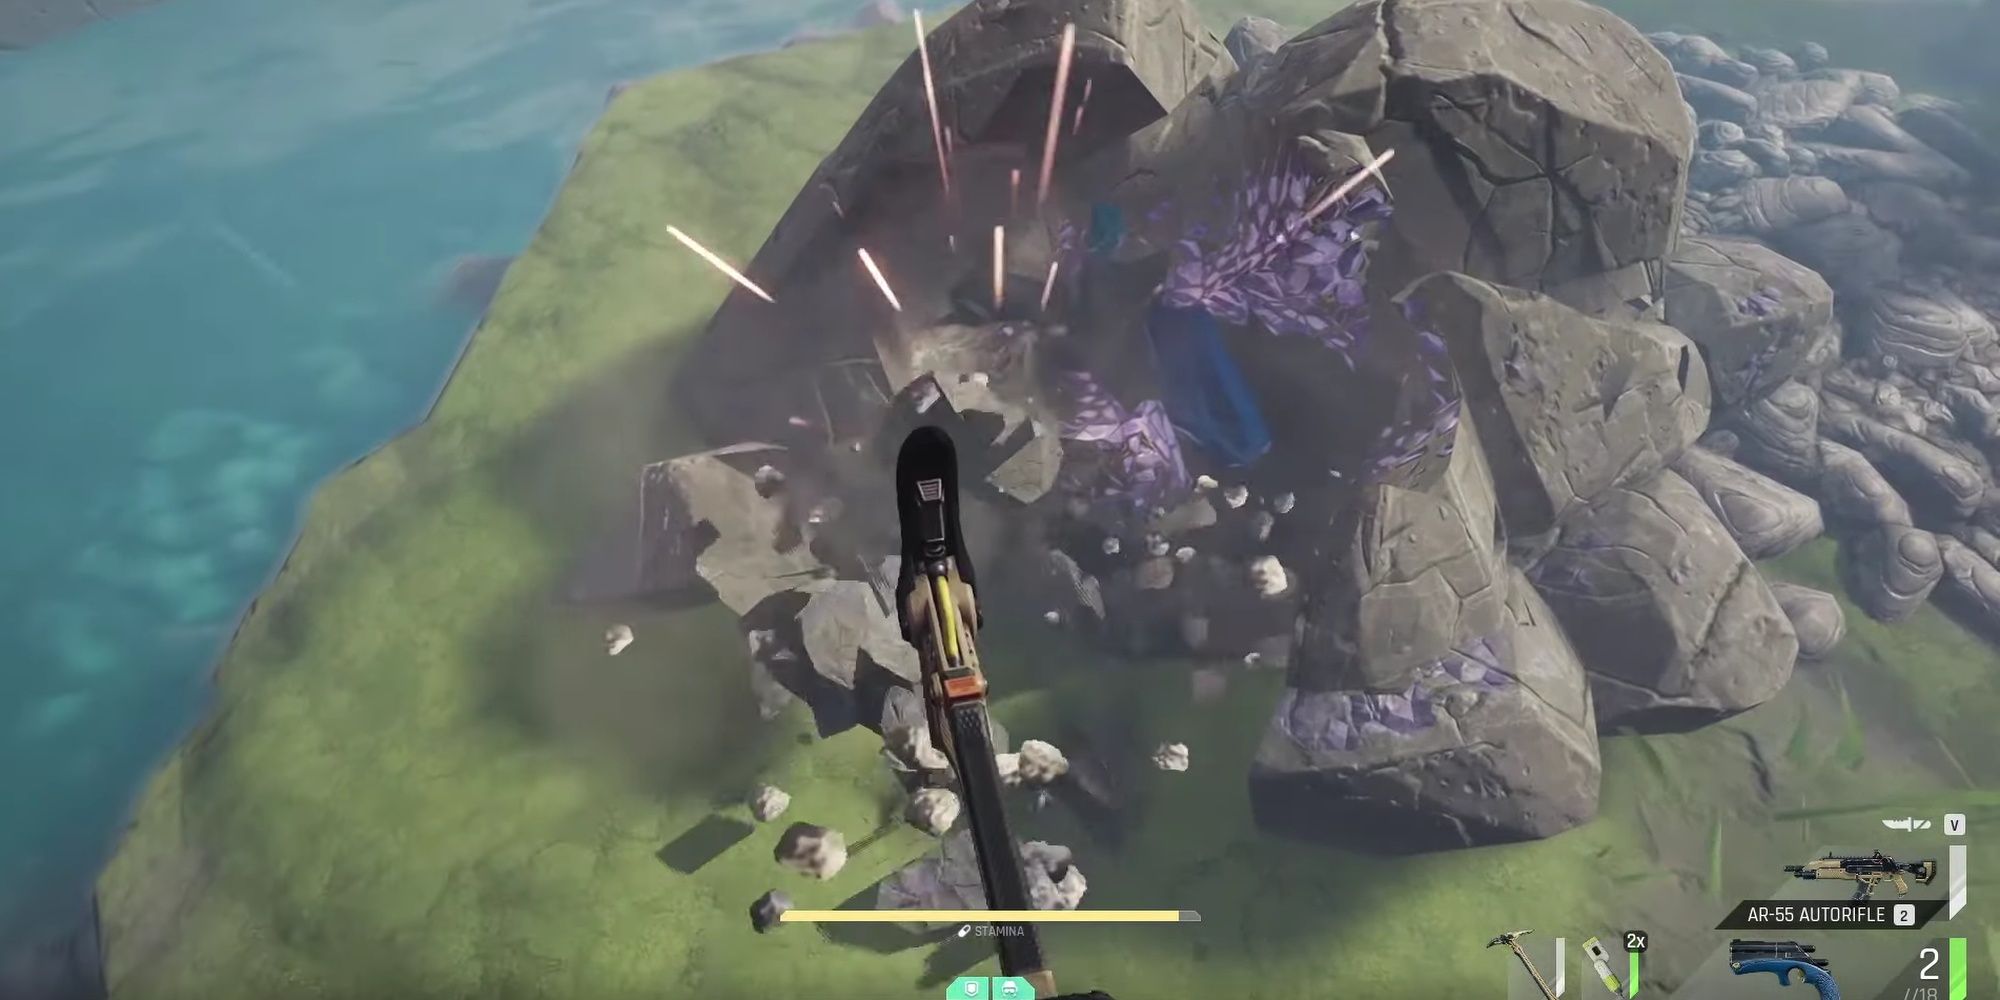
Normally in a game that has mining involved, you’ll often find yourself bonking away with a pickaxe at nodes all over the map for a few minutes until the whole thing breaks. At which point whatever Ores it contained are directly deposited into your inventory. Where The Cycle: Frontier mixes things up a bit is that instead of smacking a big chunky hitbox, you have to chip away at the whole thing. This is because the nodes are comprised of several chunks of rock all glued together.
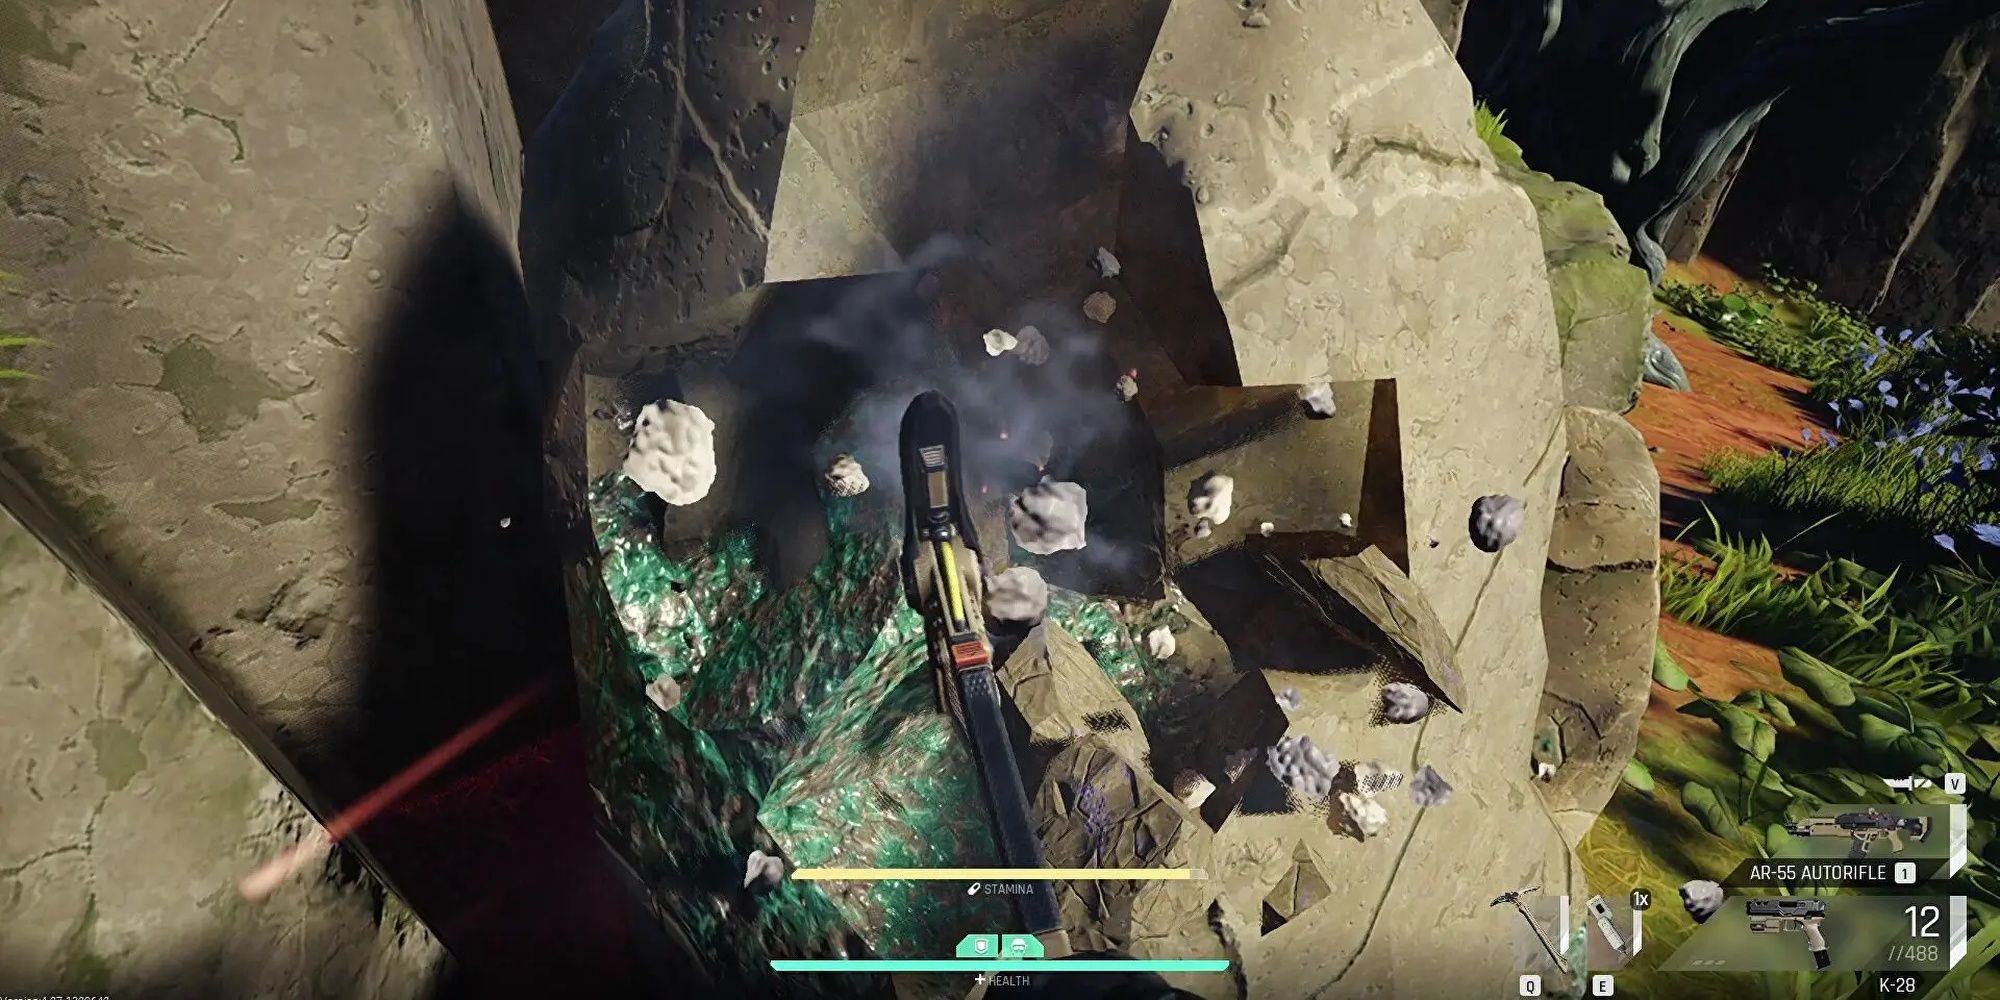
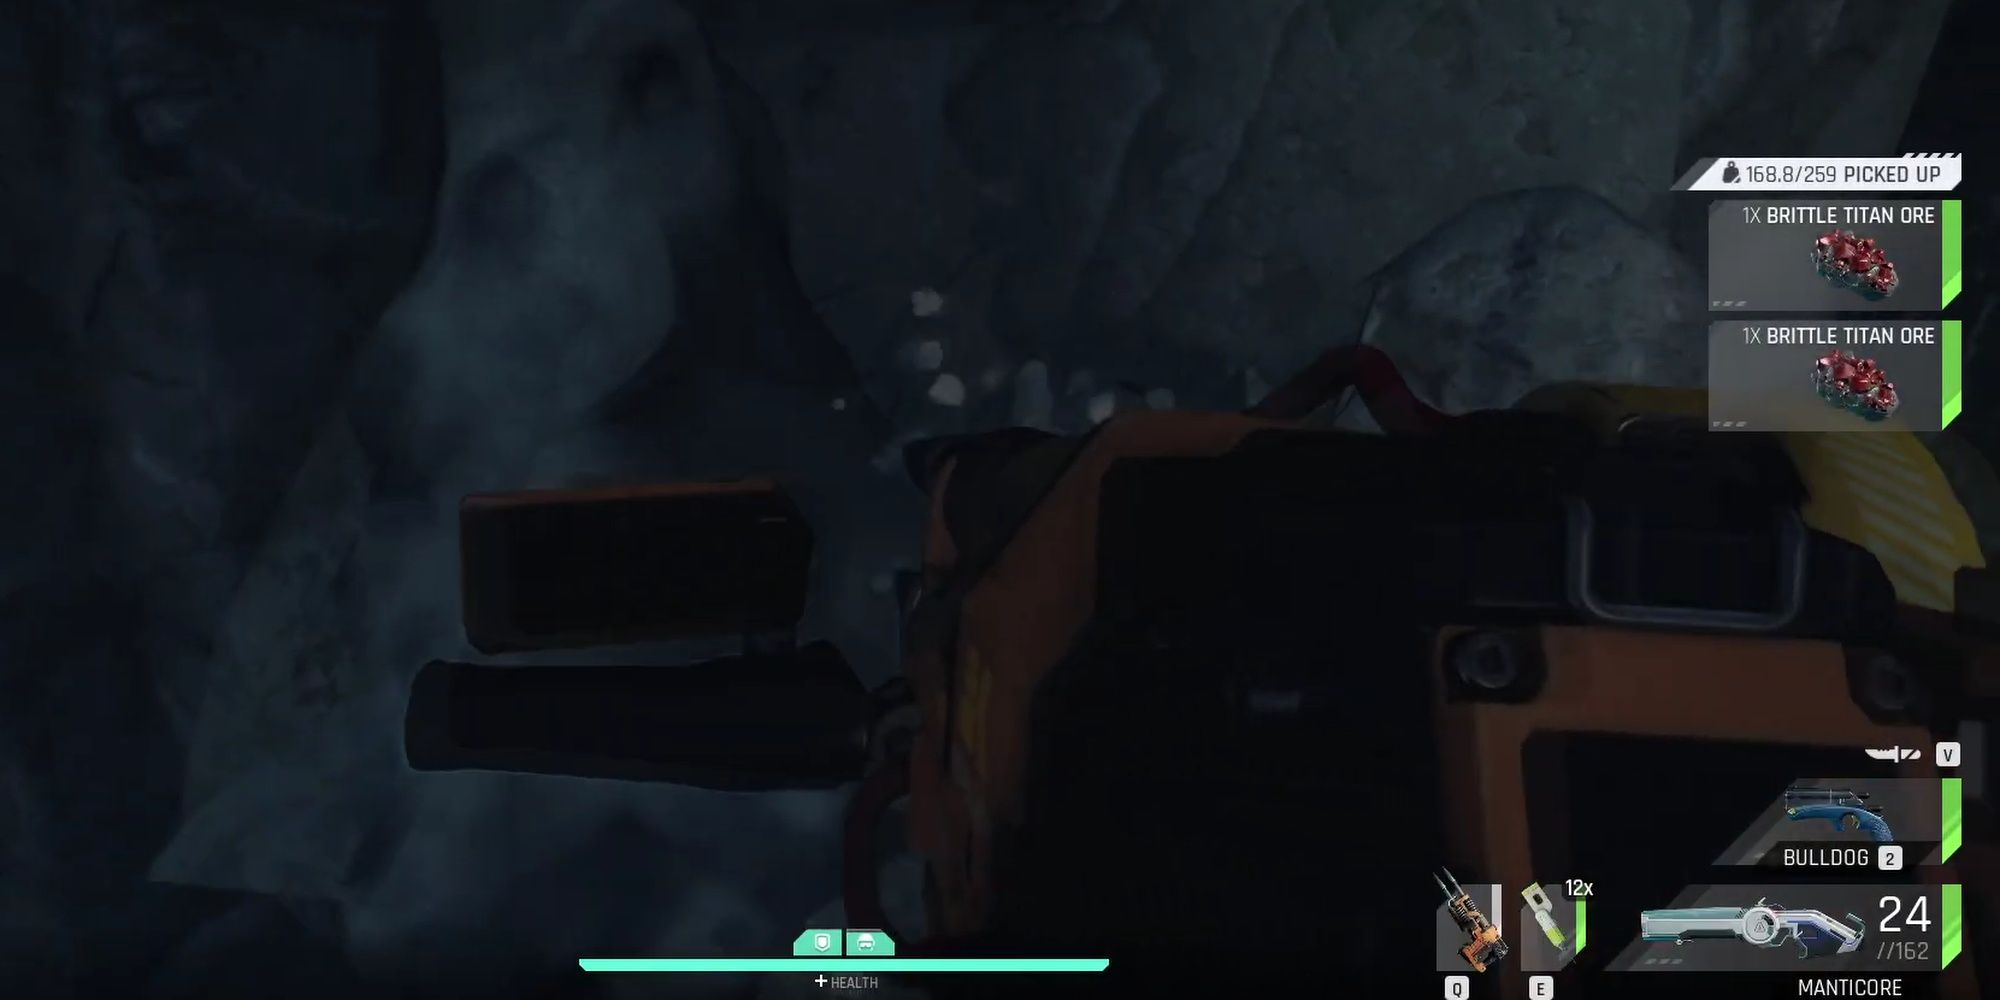
Inside these blocky constructs are ores, and instead of completely destroying the mining spot, you can smack away one or two pieces, grab the shiny things inside and then run away. It’s a much faster and more streamlined process and it makes getting your hands on valuable ores a little easier. Plus, in a game where every second counts, and where someone could stop by any moment and potentially one-shot you, being able to save time scavenging is incredibly helpful.
Where Are The Nodes?
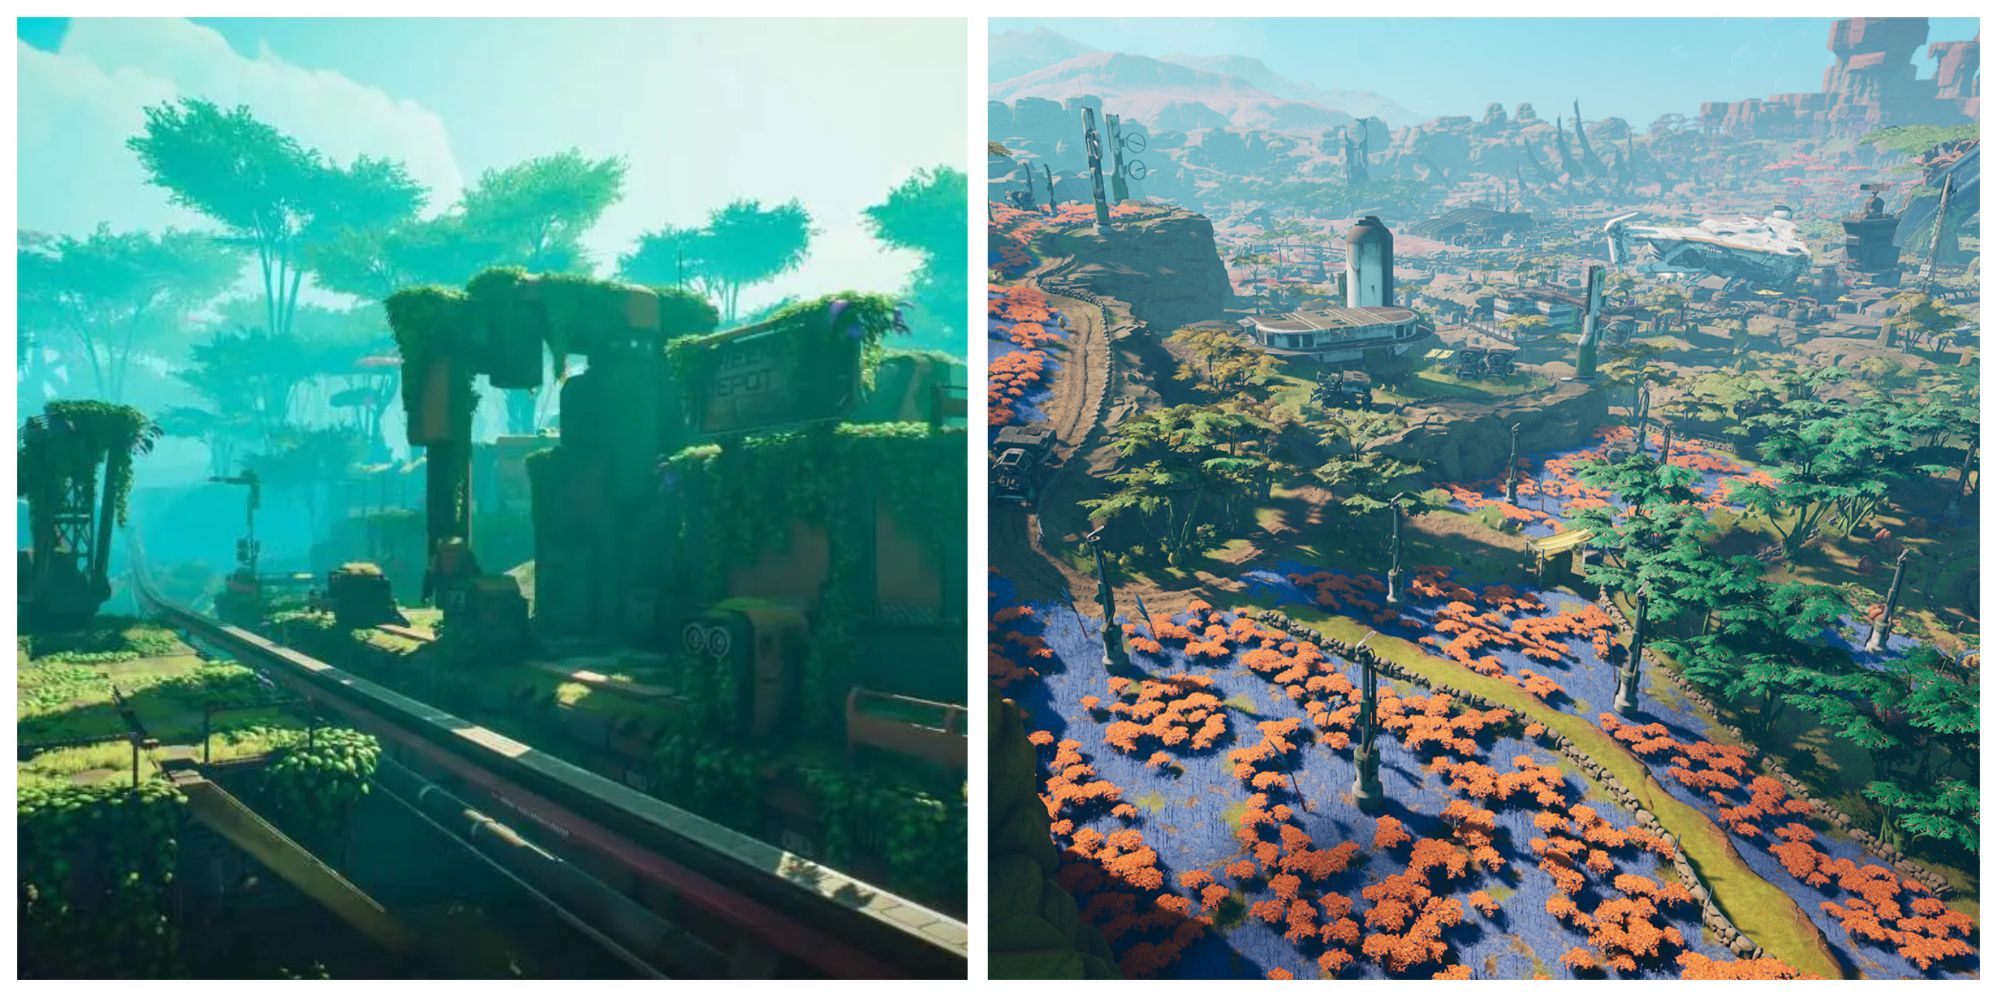
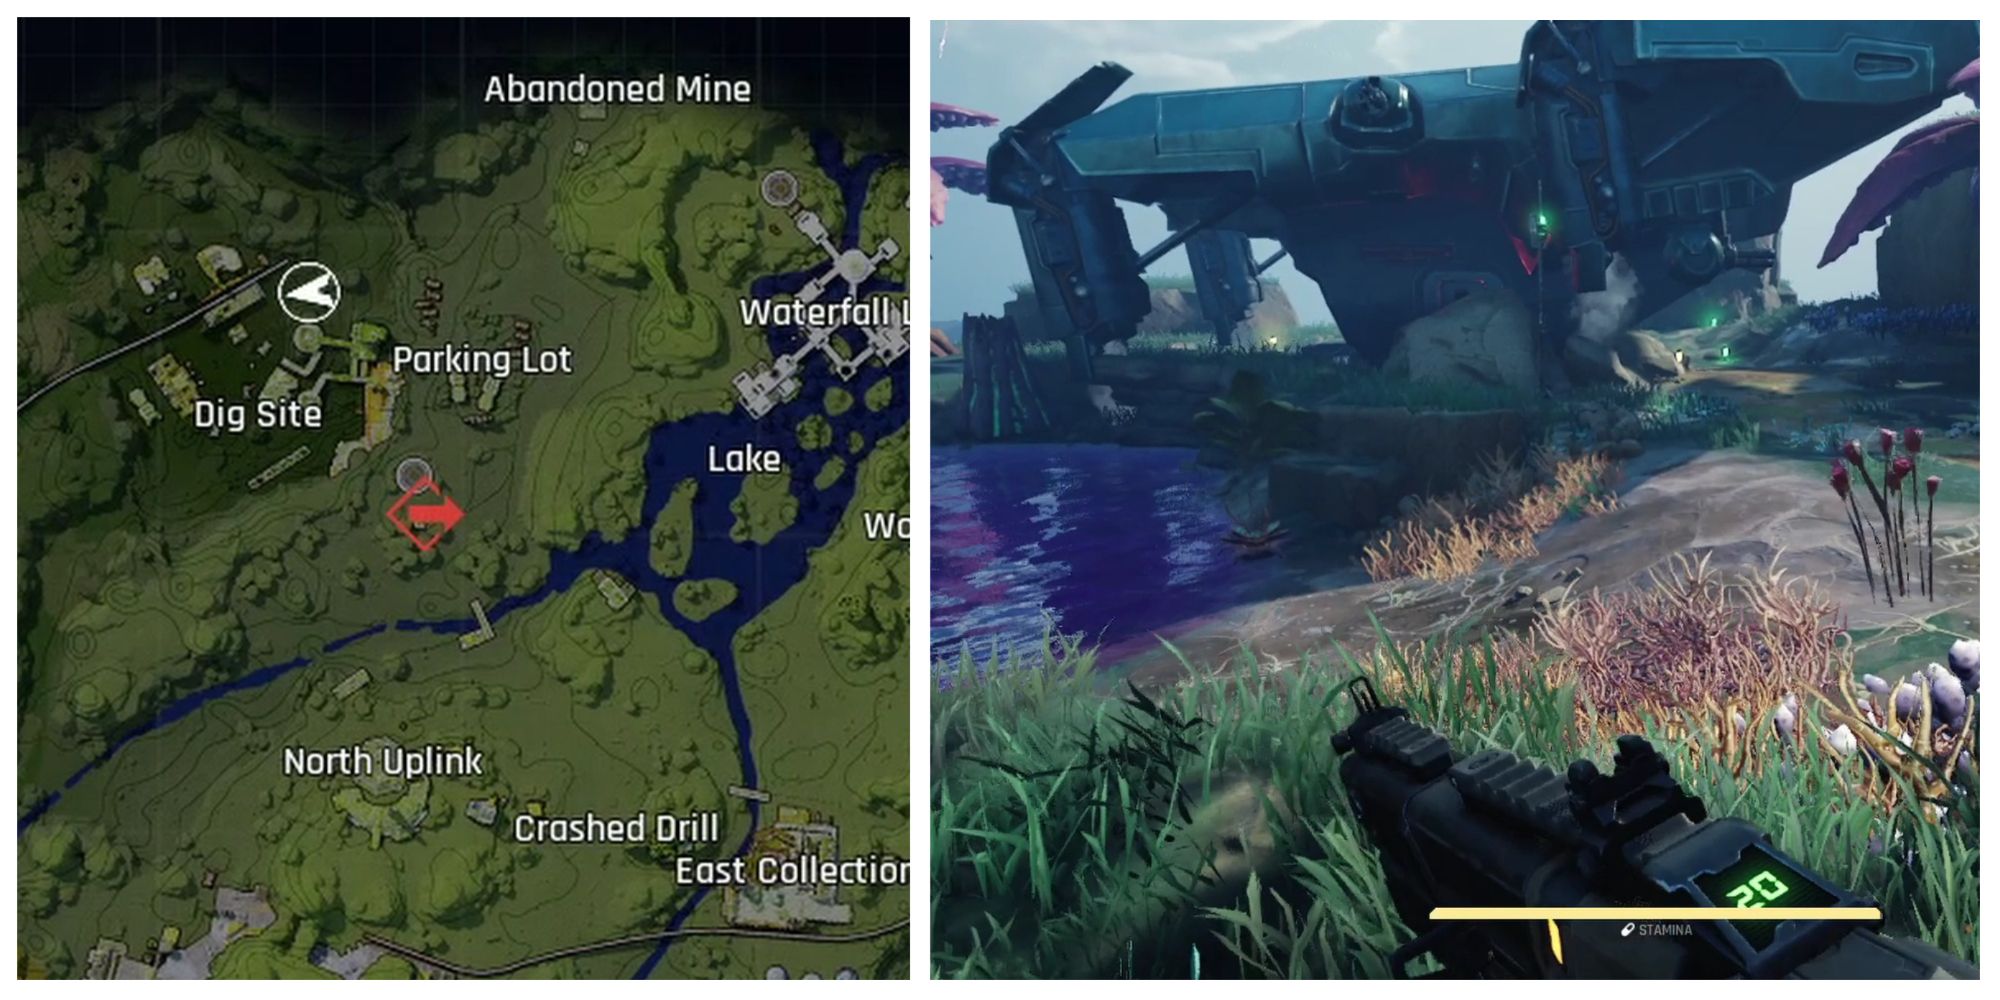
Though the location of items to scavenge is completely random, thankfully mining nodes have set positions and it’s easy to learn where to run to get what you need as soon as you land on Fortuna III. They’re fairly spread out across the maps, but the same node types tend to be fairly close to each other. So it’s not too hard to get a nice haul.
As an example, Nickel is commonly found at the South of Bright Sands, whilst Focus and Veltecite are spread out in large deposits to the Northern end of the map. Crescent Falls on the other hand has a large abundance of Titan Ore, with the largest concentrations being to the south and center of the map. Though this is a much smaller battleground, so it will take less time to hunt it all down. Plus, since their placements are always fixed, if you find a good spot you can just continually farm it on every subsequent drop.
There are Community made Interactive Maps that can be used to track mining nodes and other important locations. They also cover both Bright Sands and Crescent Falls.
The Ores
There are four different ores you can extract from the planet and they’re used for a range of different things in the Gear Fabricator. From guns to armor, attachments, and more. Everything has a use onboard the Space Station above Fortuna III.
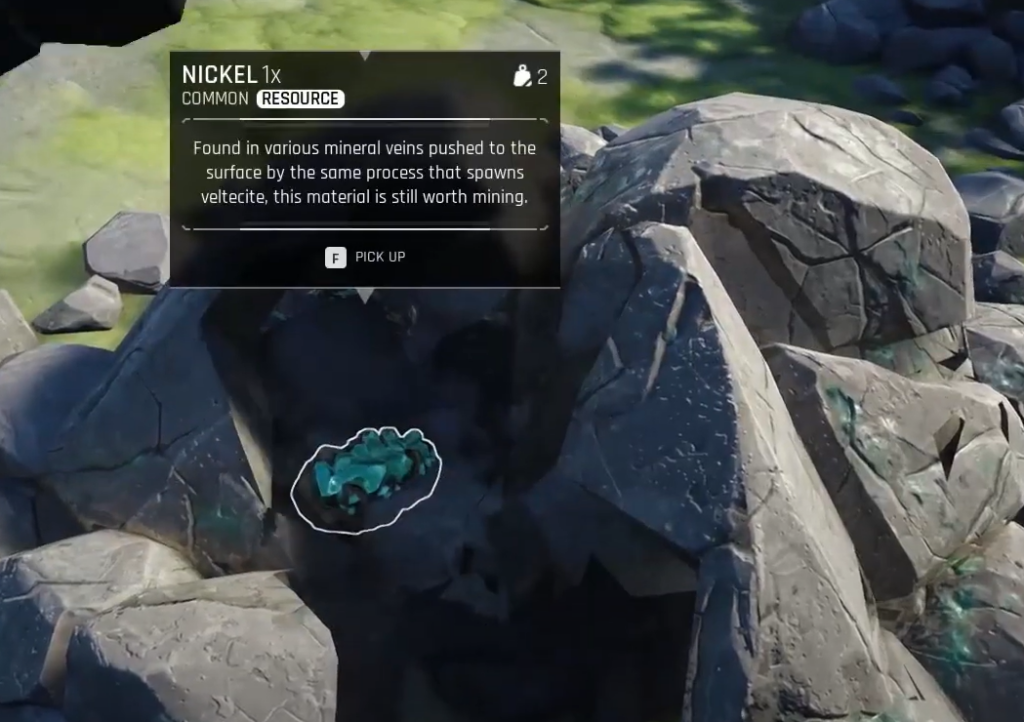
In the beginning, you’ll mainly be farming Nickel, since that’s the most commonly used ore and there are also some Faction Missions based around harvesting it. But as you progress in the game and want to make some stronger stuff, you’re going to need to hunt down the rarer and harder-to-get ores. To make it easier, here are the best resources and what their uses are:
|
Nickel |
.jpg)
|
Most common mineral. Can be sold to vendors or turned into Altered Nickel and used in crafting. |
|---|---|---|
|
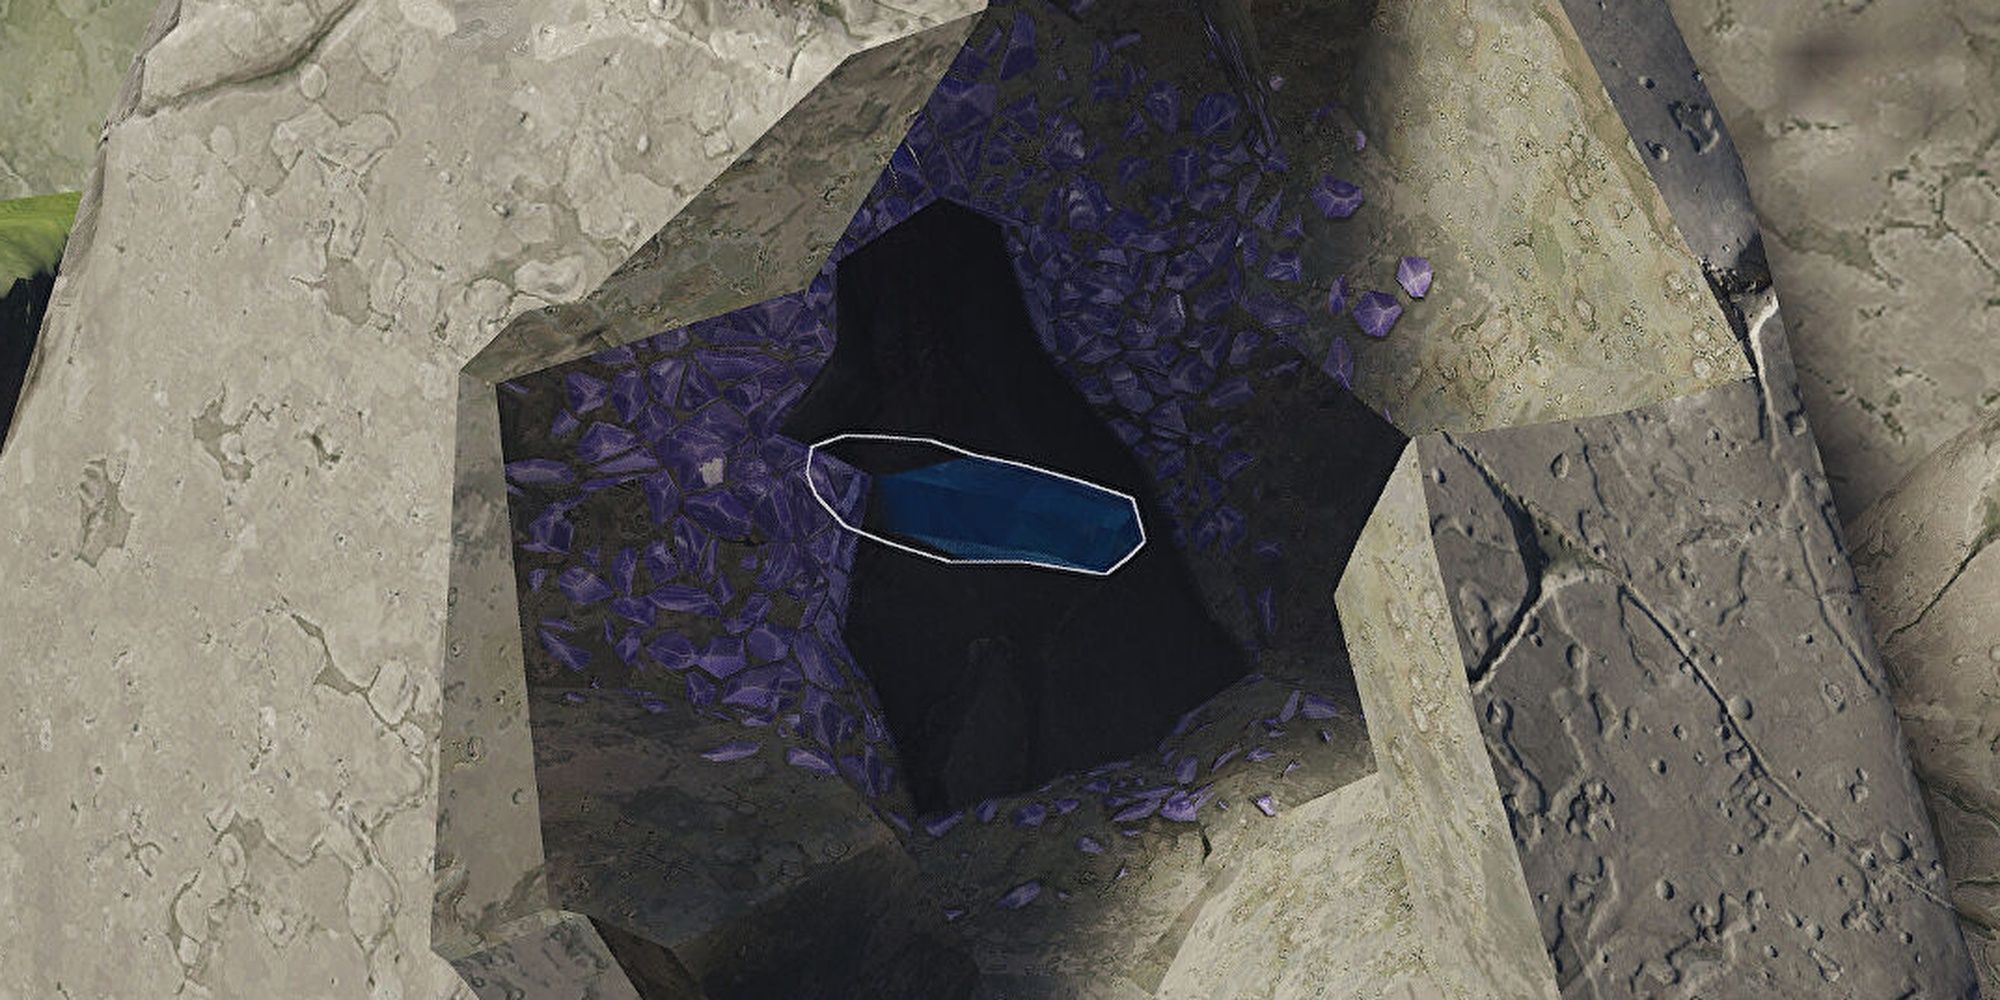
Veltecite |
|
Rare element, used in crafting Shields. Often found near water. Requires Mineral Scanner modifications. |
|
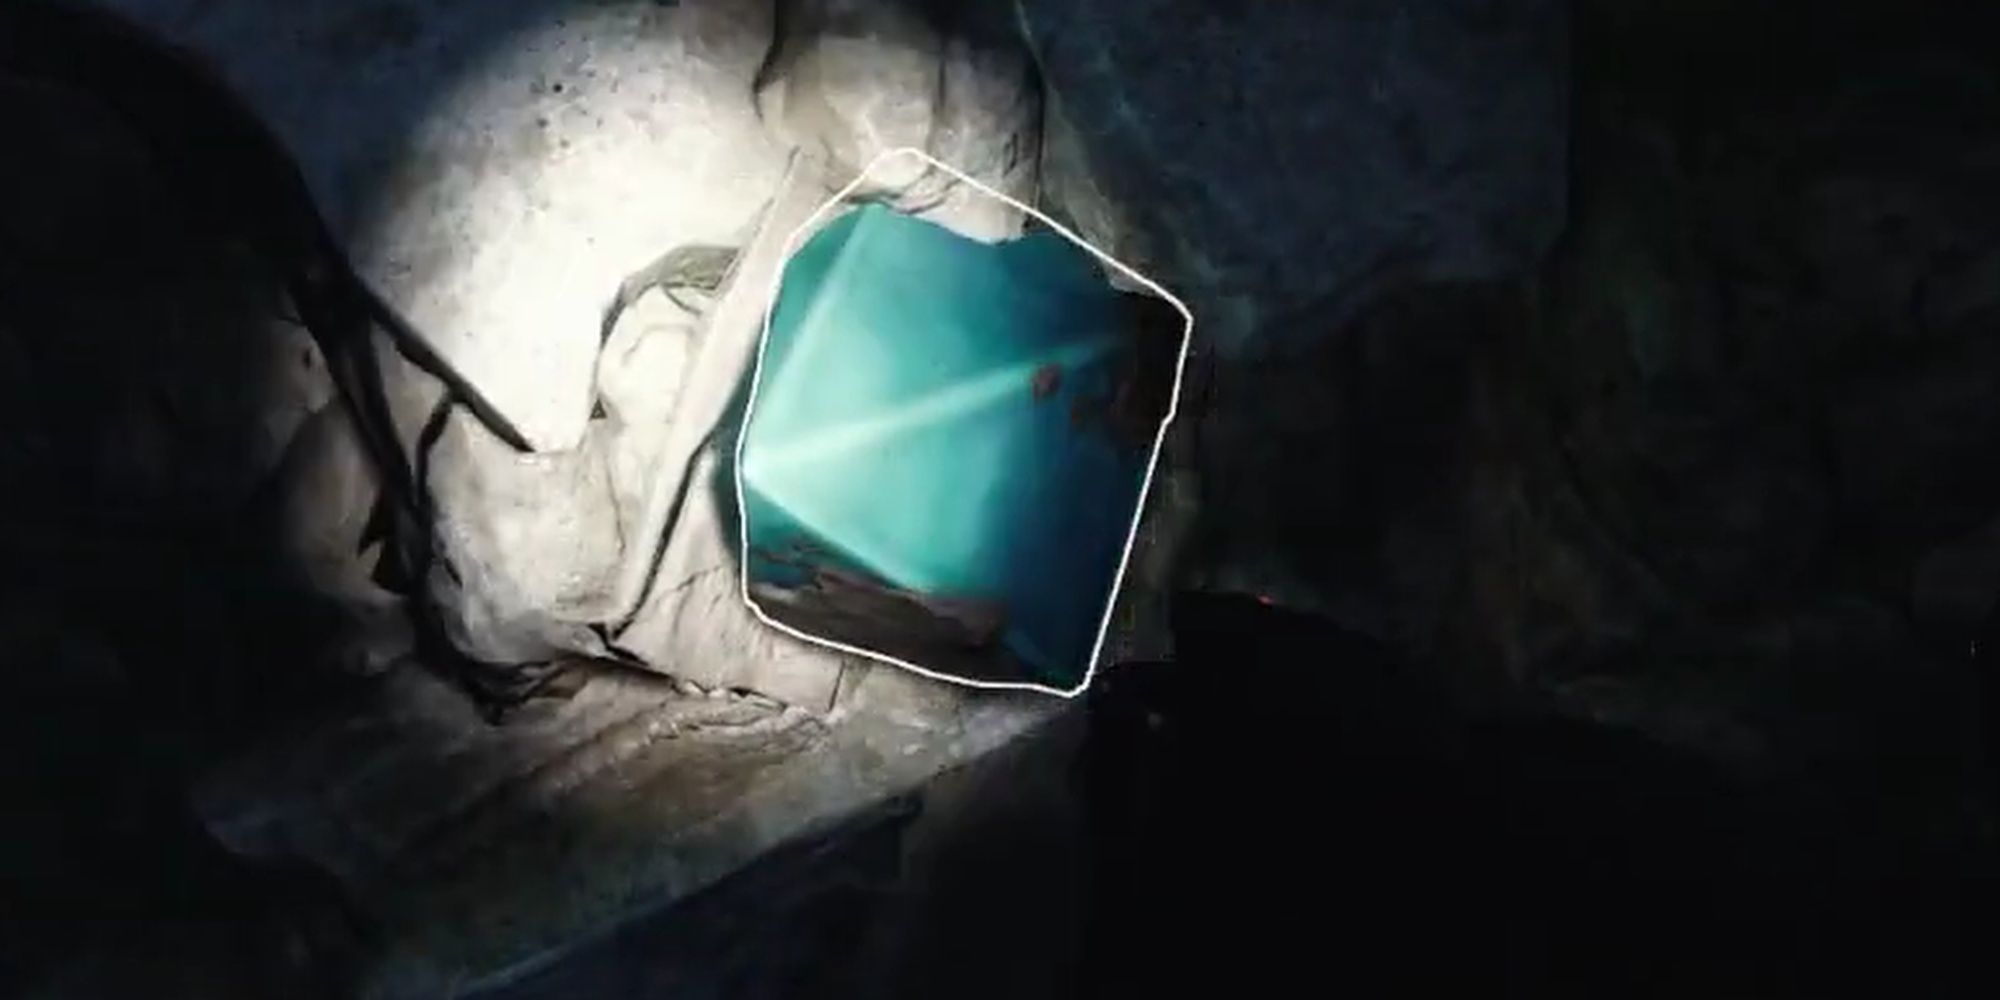
Focus |
|
Found in Jungle areas and used to create miniature figurines. Requires Mineral Scanner modifications. |
|
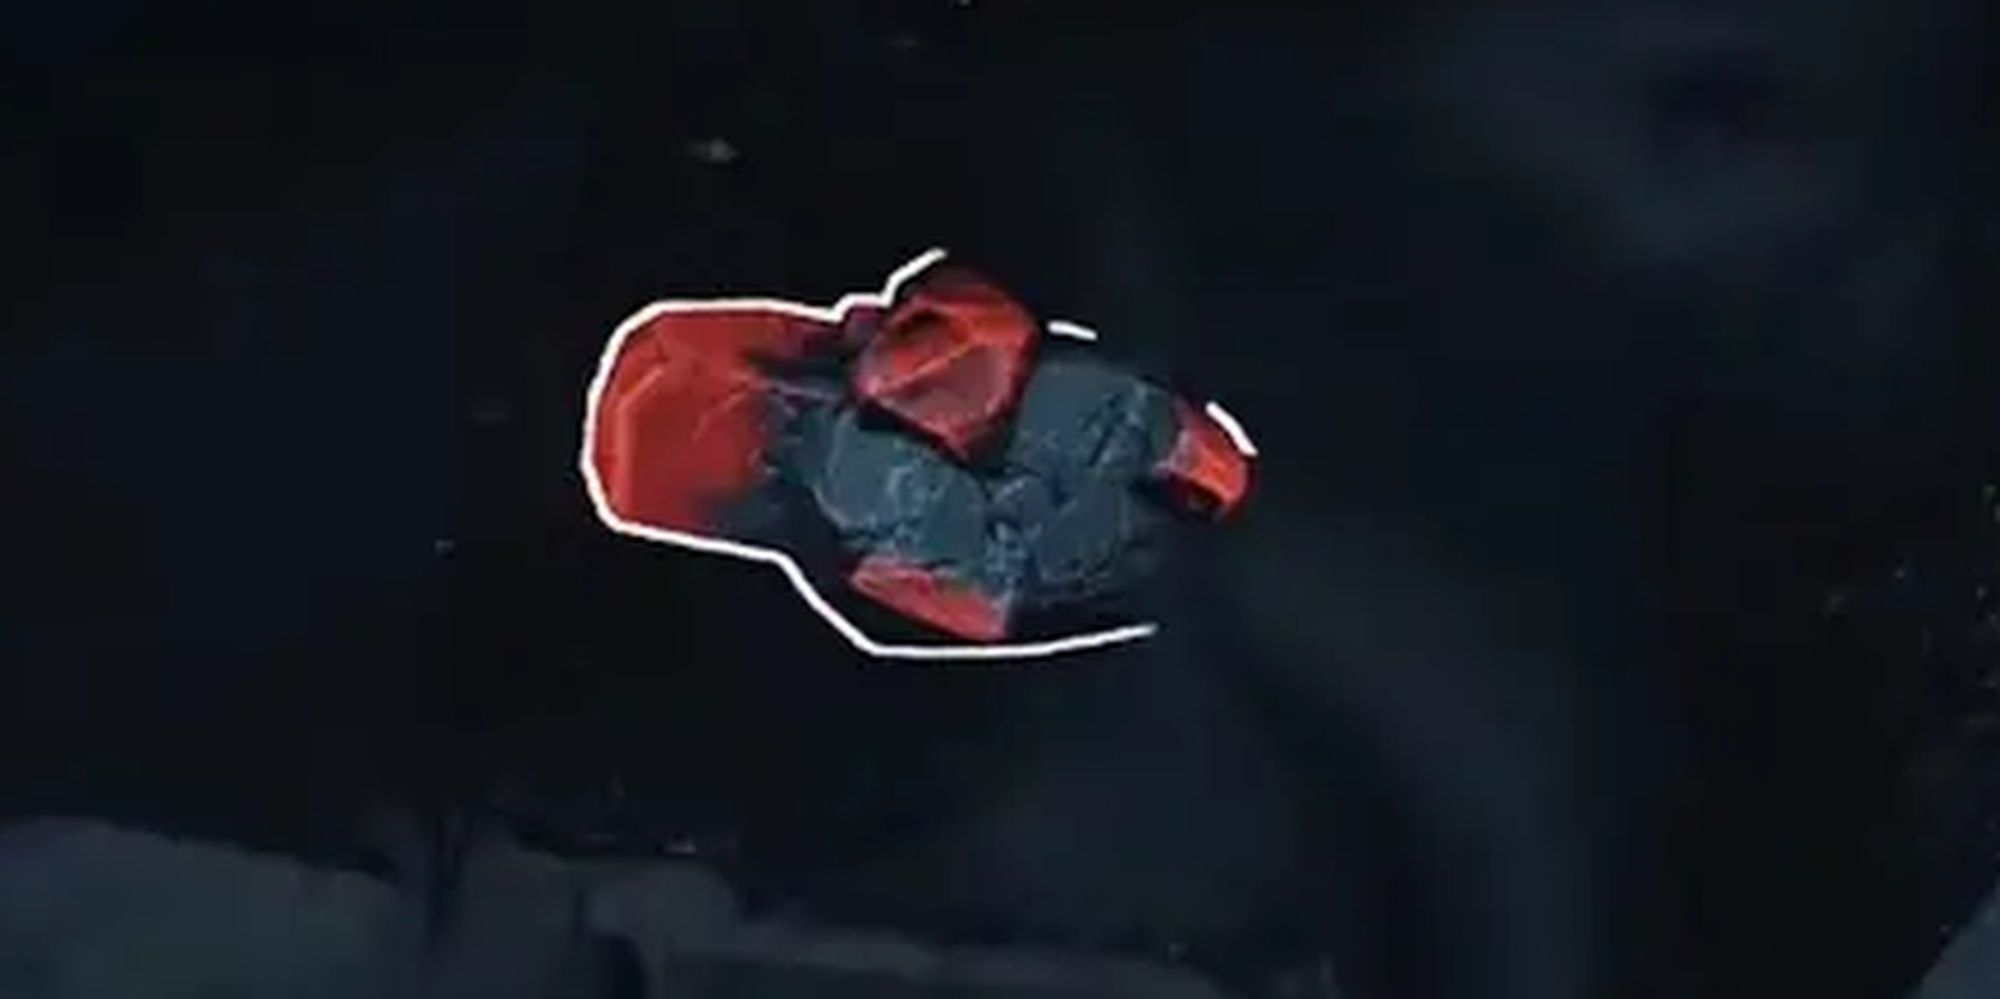
Titan |
|
Exotic and harder to find. Used in crafting Epic equipment. Requires Mineral Scanner modifications. |
Mining Tips
Mining in The Cycle: Frontier isn’t too difficult, but with so much loot ripe for the taking whilst also avoiding other heavily armed Prospectors can mean the need to grab ores often falls by the wayside. Strip-mining Fortuna III of all its natural resources is necessary. Especially if you want to play with the fancy toys the Gear Fabricator can make, so you better grab that Pickaxe and get swinging.
It can be a little overwhelming to figure out the mining mechanics of the game, considering there’s already a wealth of other things you need to keep in mind once you step outside your drop pod. To make the process of collecting that stony wealth a little easier, here are some handy mining tips for plucky Prospectors.
Always Scan
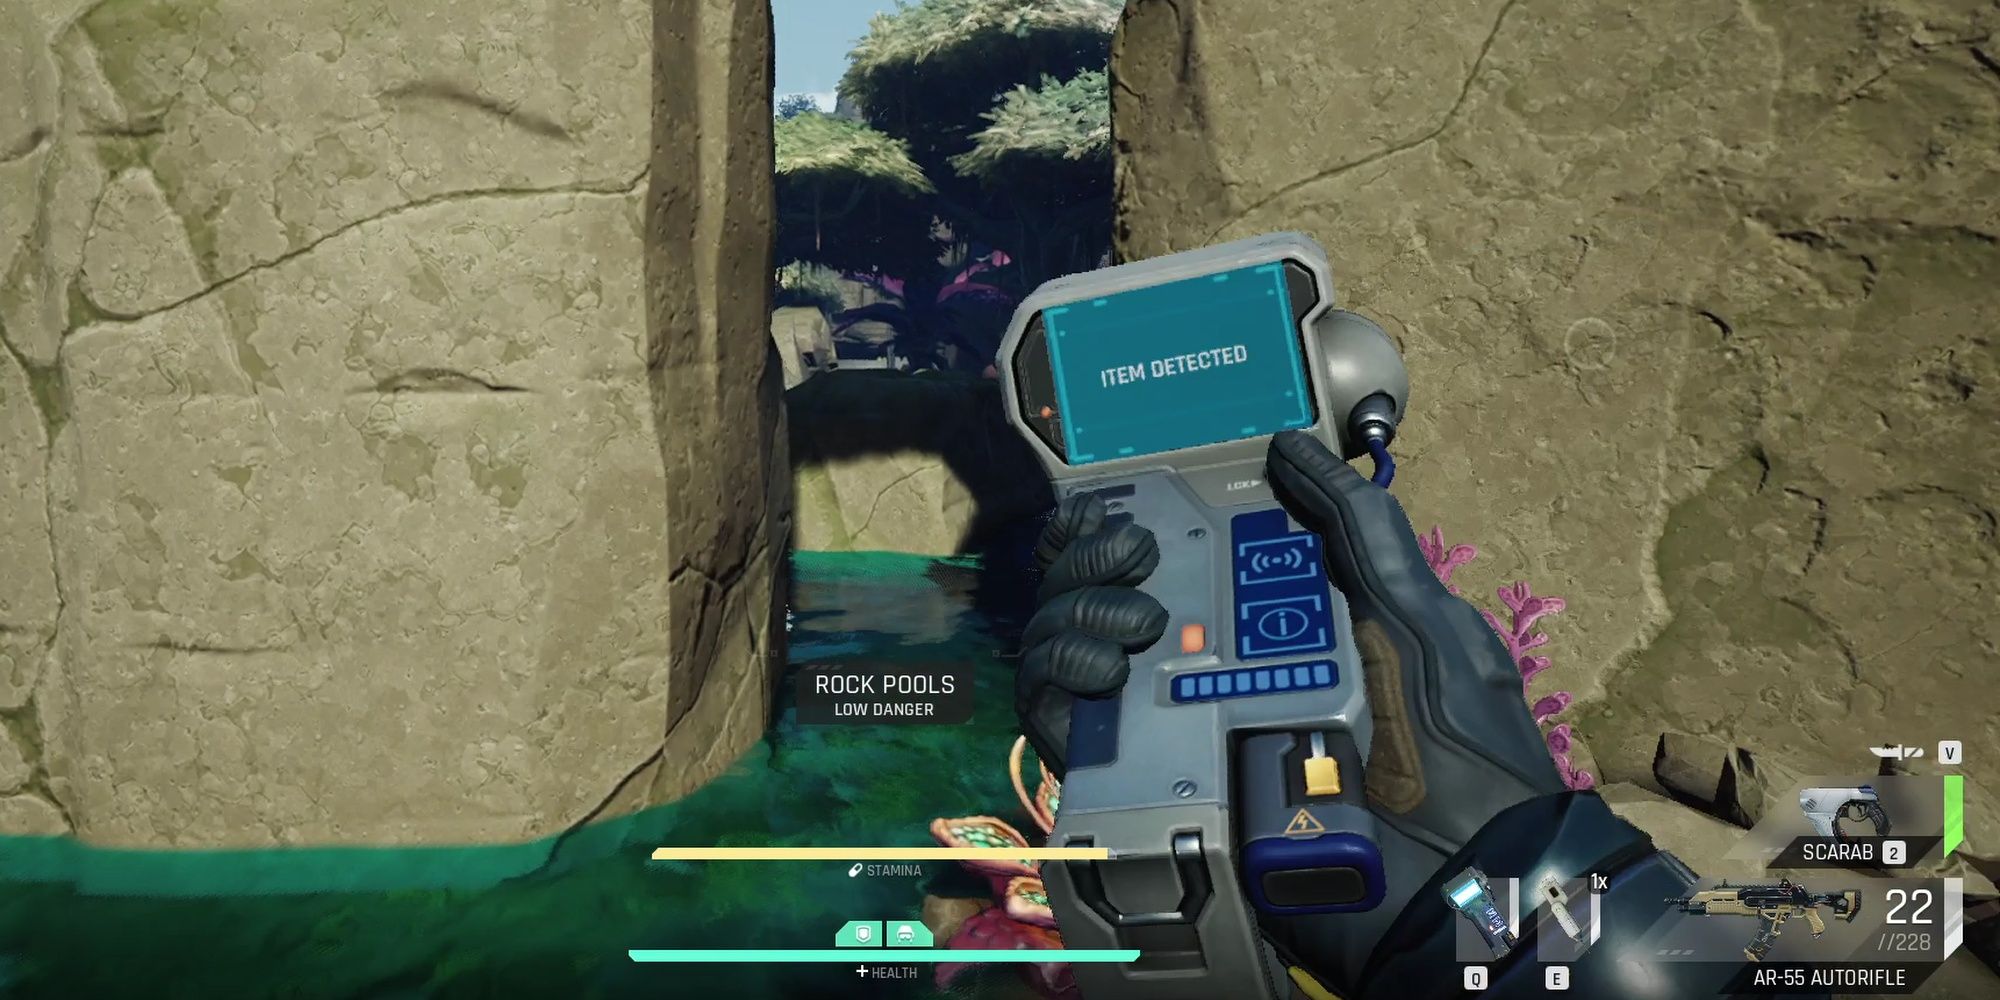
As soon as you take your steps out of your drop pod on Fortuna III you should be always scanning or at least every few minutes. The Mineral Scanner is a great way to find nodes. Plus it lets you keep track of where to head next in order to strip mine more lovely ores.
This is especially important considering that there are also a lot of other Prospectors with potentially the same plans running around out there. Quite often you’ll find an area has been cleared out before you get there. But continued scanning can let you keep track of where the next nearest site is and where the other players might be if the nodes start suddenly disappearing.
Get The Heavy Mining Tool
Whilst your trust mining pick can do the job, sometimes you need to break out the industrial equipment to get things finished quicker. In The Cycle: Frontiers case, this comes in the form of the Heavy Mining Tool. Available from Korolevs faction shop for a cool 600 Krypto Marks and two Faction Points.
An experimental and loud device, the Heavy Mining Tool tears through nodes in seconds allowing you to blast apart rocks as you run past. It’s got 30 weight, so it’s a heavy toy to take out, but it’s not overly expensive. So you can replace it relatively easily if you have a bad run and lose your inventory.
Sparkly Rocks Hide The Treasure
When you come across a node there’s a good tip worth knowing and that’s to always look for the sparkling and shiny parts first. Because underneath these are the ores and knowing that lets you get to them in just a few seconds.
So instead of swinging your pickaxe wildly or jackhammering away with the Heavy Mining Tool until the node bursts apart like a rocky blister, look for the sparkles. Their positioning is pretty random, so it may take a second or two to see where the right spot to smack is. If timed right, you can burn through mining nodes in just a few seconds instead of having to constantly watch your back as you chip away.
Stay Close To Extraction Sites
One final takeaway tip worth remembering whilst mining is to always stay close to the extraction sites. Though The Cycle: Frontier spawns you in random locations, knowing where to run to should things get dangerous is always worth knowing.
Since the server is left open and the player population is constantly in flux, it never takes long for someone to land in a drop pod in what was an empty area only a few moments ago. It's helpful to always have a fast and easy extraction spot nearby ready to go if the area starts to get too busy. So keep that in mind when scouting an area to mine.

