Quick Links
The DioField Chronicle is an exciting new project from the JRPG masters at Square-Enix. It represents one of the many new forays into the Tactical RPG genre that we have been seeing pop up over the last year or so. If you hadn't noticed, the genre is seeing a bit of a Renaissance as of late. However, The DioField Chronicle has set itself apart from its peers.
While many titles in the genre have become known for their deliberate pacing, and for letting their stories breath, The DioField Chronicle doesn't spend any time dawdling. After viewing the introductory cinematic, you will be plunged directly into your first battle. And it maintains that battle-heavy approach throughout. We'll help you navigate your way through the many encounters and guide you to victory.
Rescue Mission
|
Recommended Level |
5 |
|---|---|
|
Enemies |
5x Lv 3 Soldiers, 3x Lv 1 Soldiers |
|
Objective |
Defeat all enemies. |
|
Defeat |
All Allies Become Incapacitated. |
|
Rewards |
500 Gold |
|
Difficulty |
★☆☆☆☆☆☆☆☆☆ (1/10) |
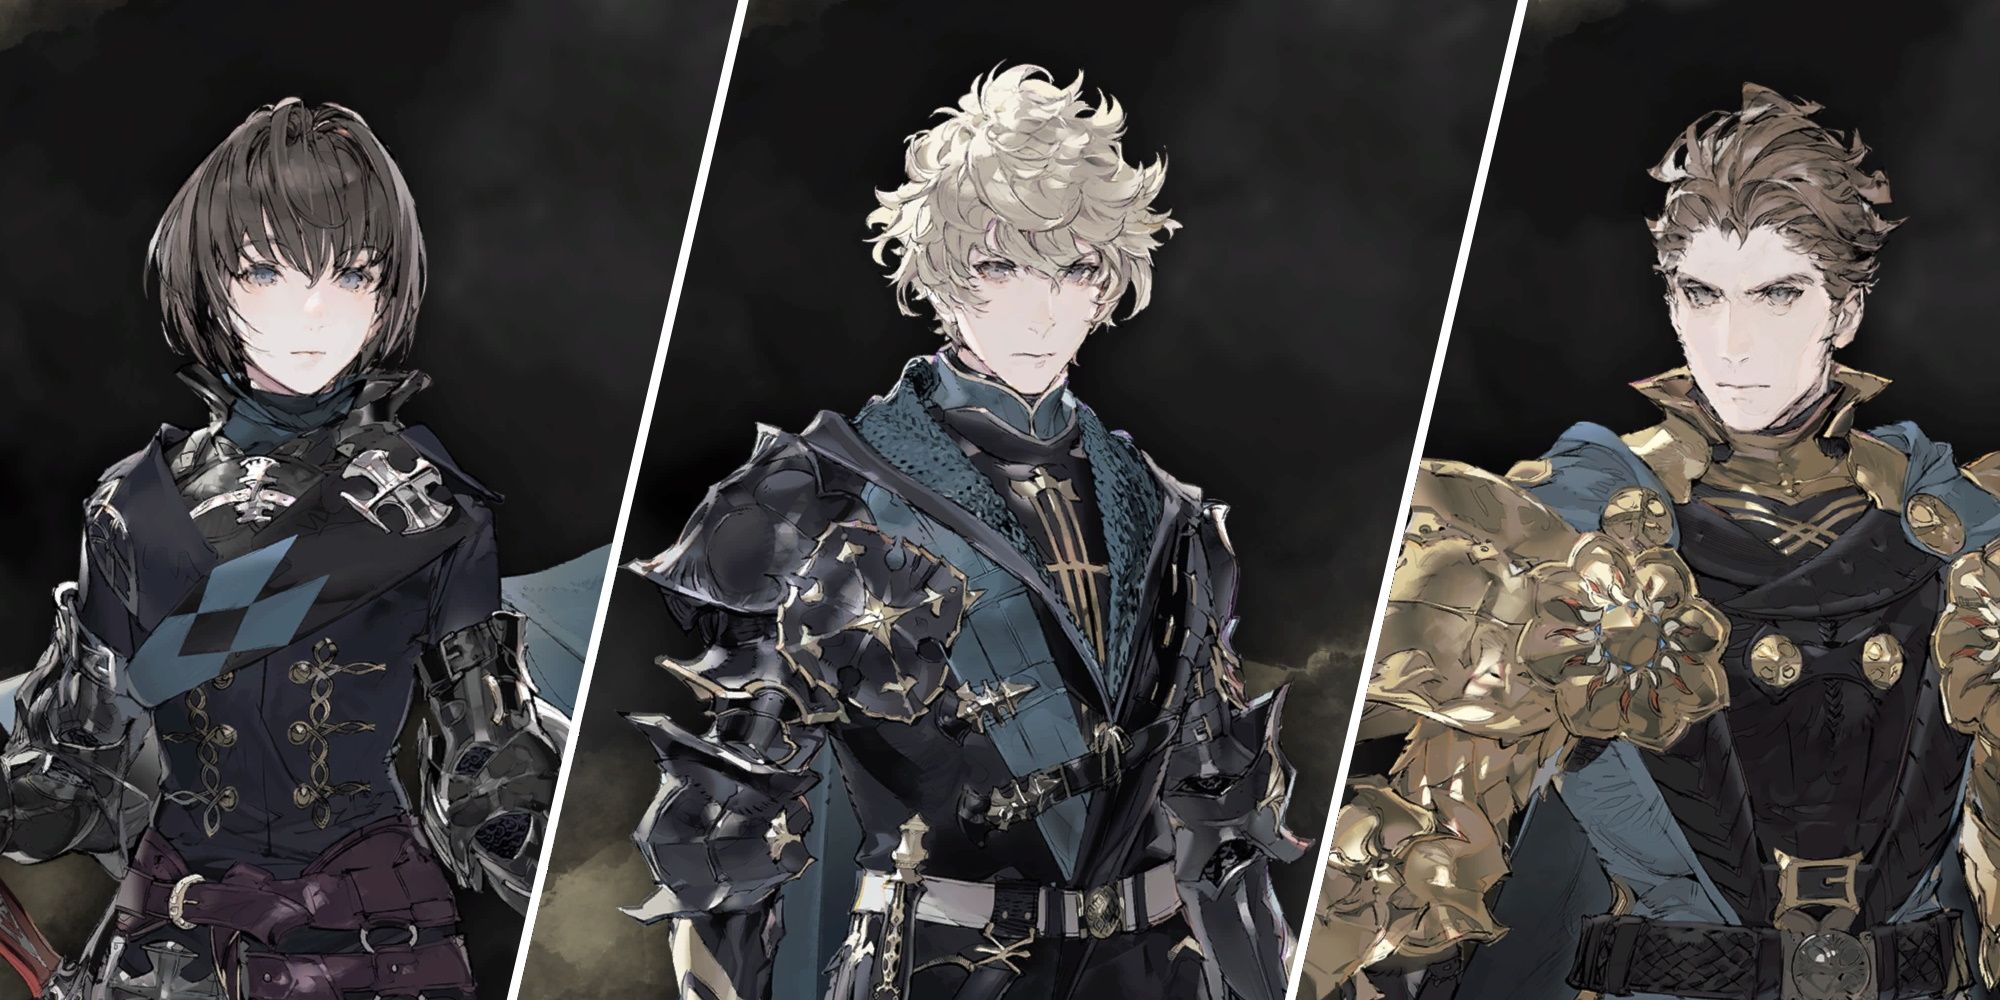
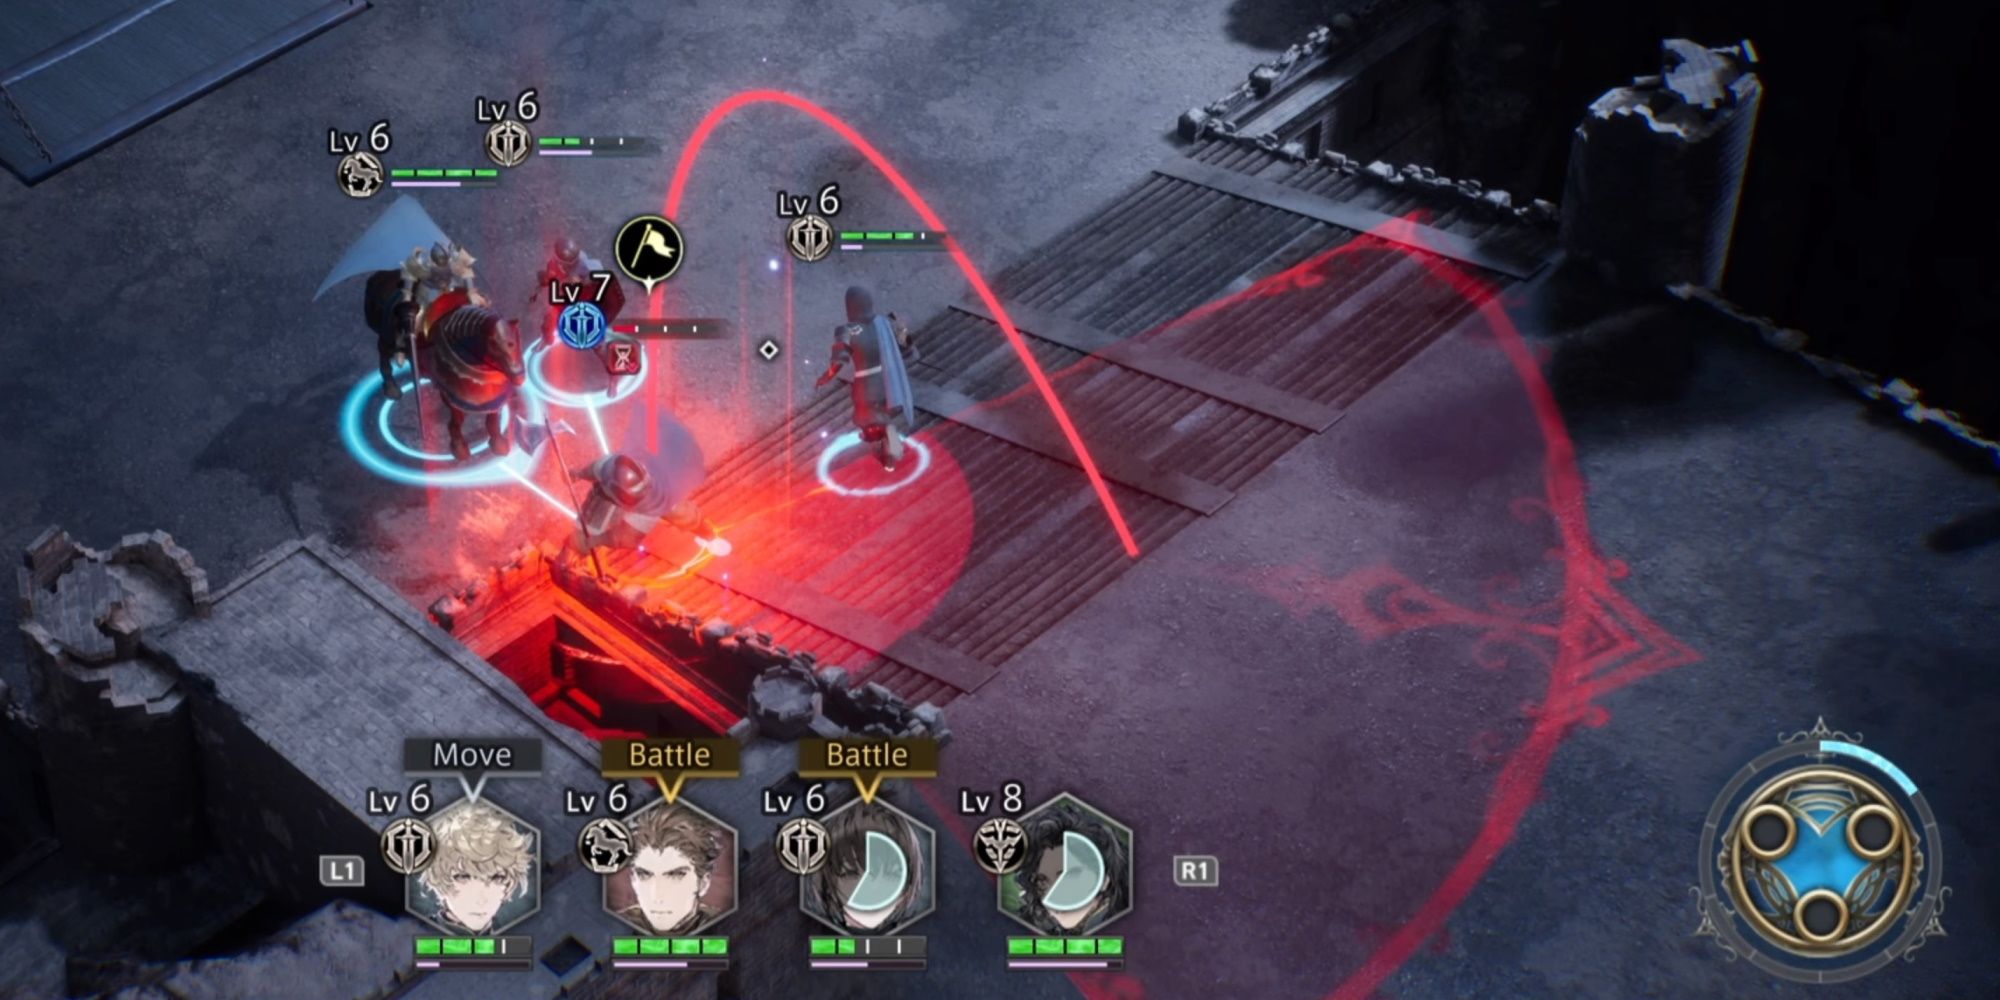
The second you leave the opening cutscene, you will be engaged in this mission. The DioField Chronicle isn't interested in wasting any time! This battle is not intended to push you to your limits. You are going to face off against singular units who are all weaker than your three starting troops. This battle's primary goal is to teach you the basic controls and to show you how to best utilize your team.
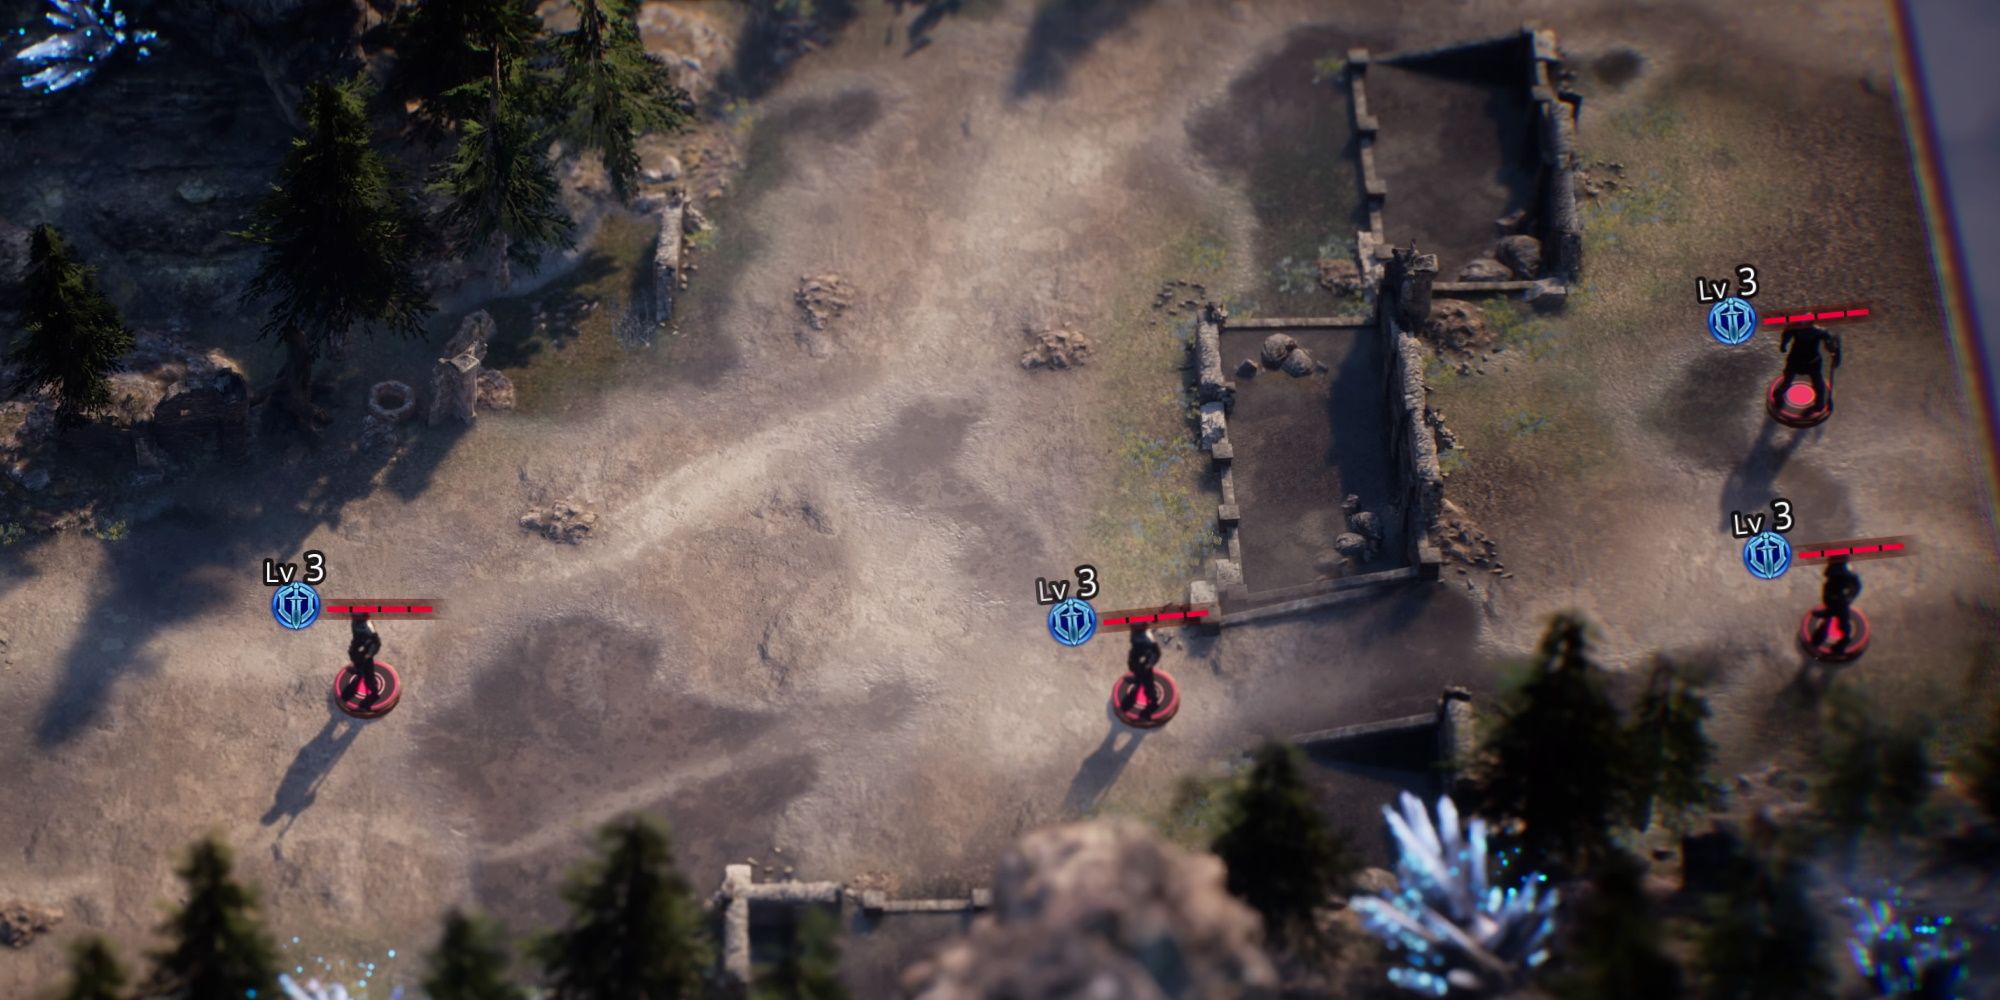
The map is a straight path that leads to a raised platform. You will fight basic soldiers along that path. Once you hit the foot of the stairs, you can confront the soldier at the base of the stairs with Izelair, and then flank around the side with Andrias and Fredret (with Fredret acting as the tank). However, truth be told, there isn't a wrong way to approach this battle. Feel it out and get used to your characters’ skills.
An Anxious Archer
After completing this battle, you will obtain a headquarters. Here you will bounce around, talking to the different individuals hanging around. You will first talk to the shopkeeper, then to Izelair in the courtyard, then Fredret in a sitting room close to the war room. During this sequence of events, you will now have the ability to purchase weapons and armor from the shopkeeper.
You have minimal funds, so, if you want the most bang for your buck, we would recommend buying better armor for Izelair, as she is your primary tank and will be central to most combat encounters. Once you are ready to continue with the main campaign, head to the war room and talk to Lorraine. A cutscene will play, and you will now head to the war room, where you will take your second mission…
End The Bandit Menace
|
Recommended Level |
6 |
|
|---|---|---|
|
Enemies |
8x Lv 5 Soldiers, 2x Lv 5 Archers, 1x Lv 7 Goffren |
|
|
Objective |
Defeat all enemies. |
|
|
Defeat |
All Allies Become Incapacitated. |
|
|
Rewards |
Complete the mission. |
600 Gold |
|
Allow no allies to fall in battle. |
1 SP |
|
|
Complete mission within 4 minutes. |
Gold Bar |
|
|
Find the treasure chest. |
Jade Crystal |
|
|
Difficulty |
★★☆☆☆☆☆☆☆☆ (2/10) |
|
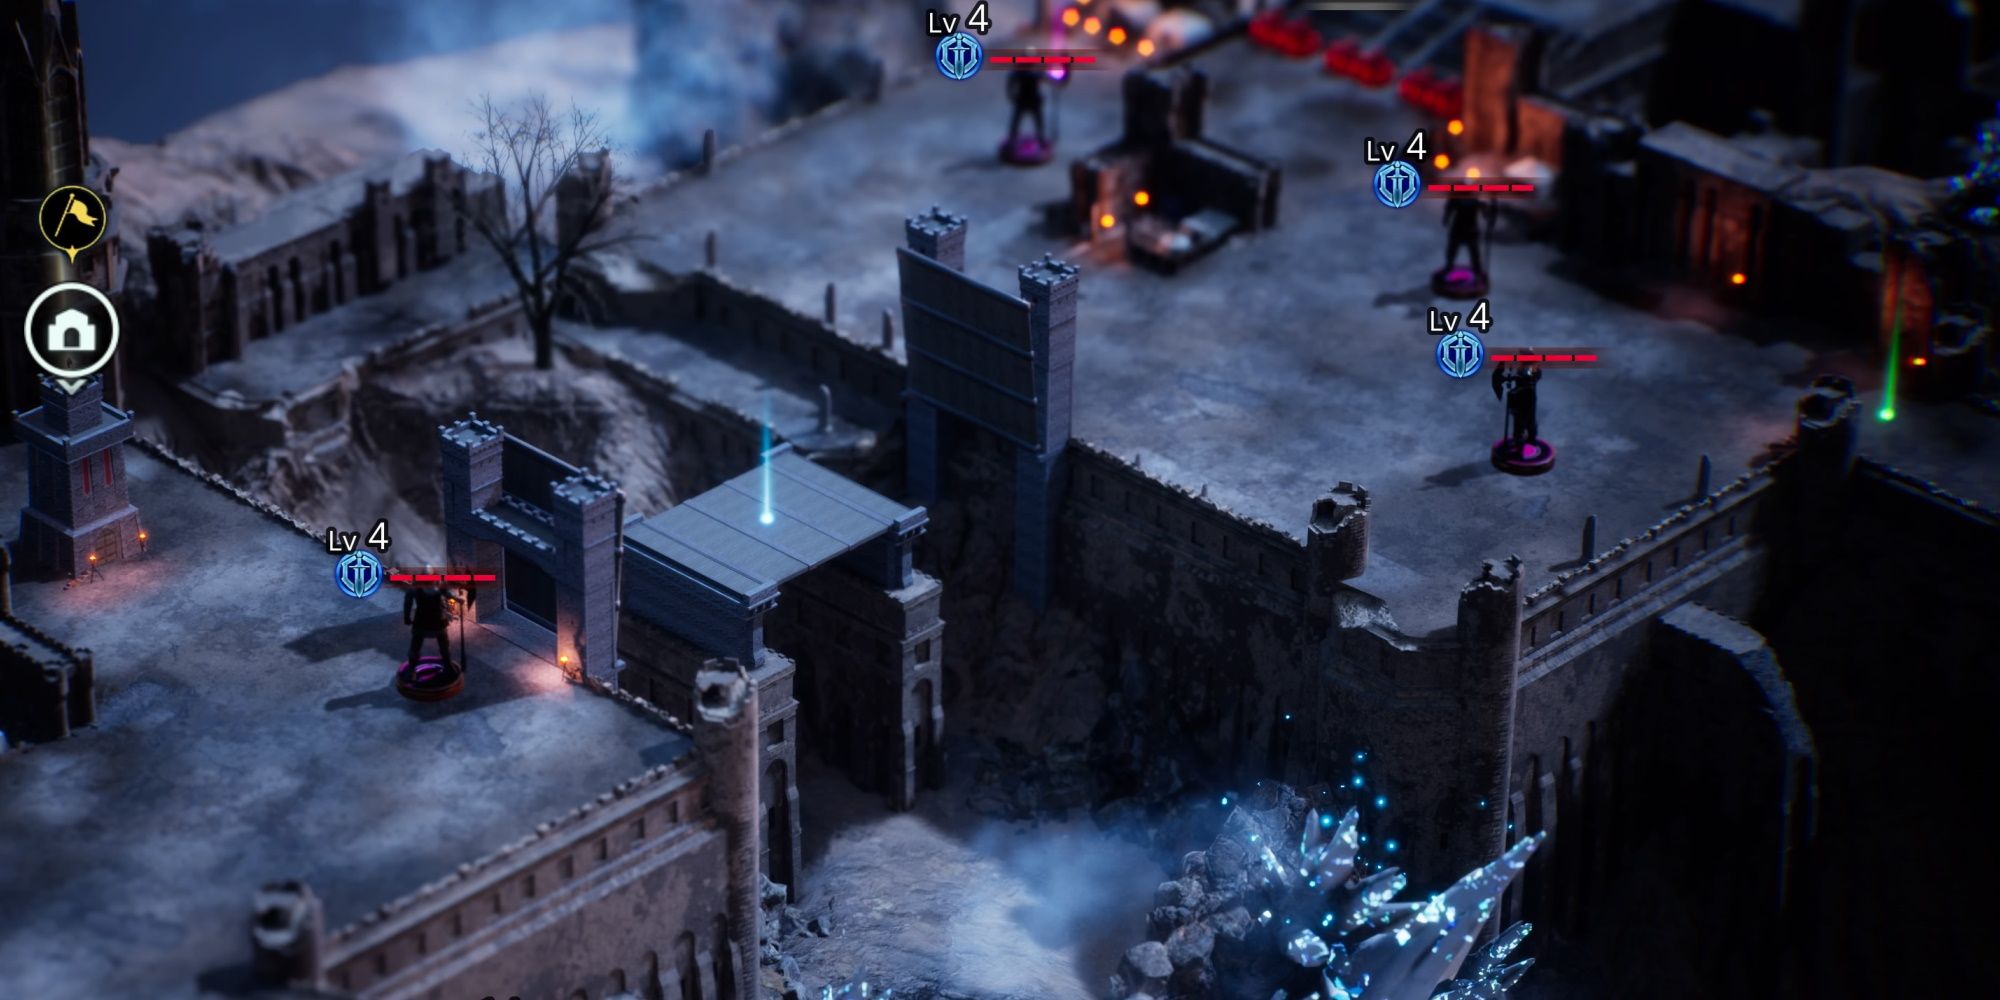
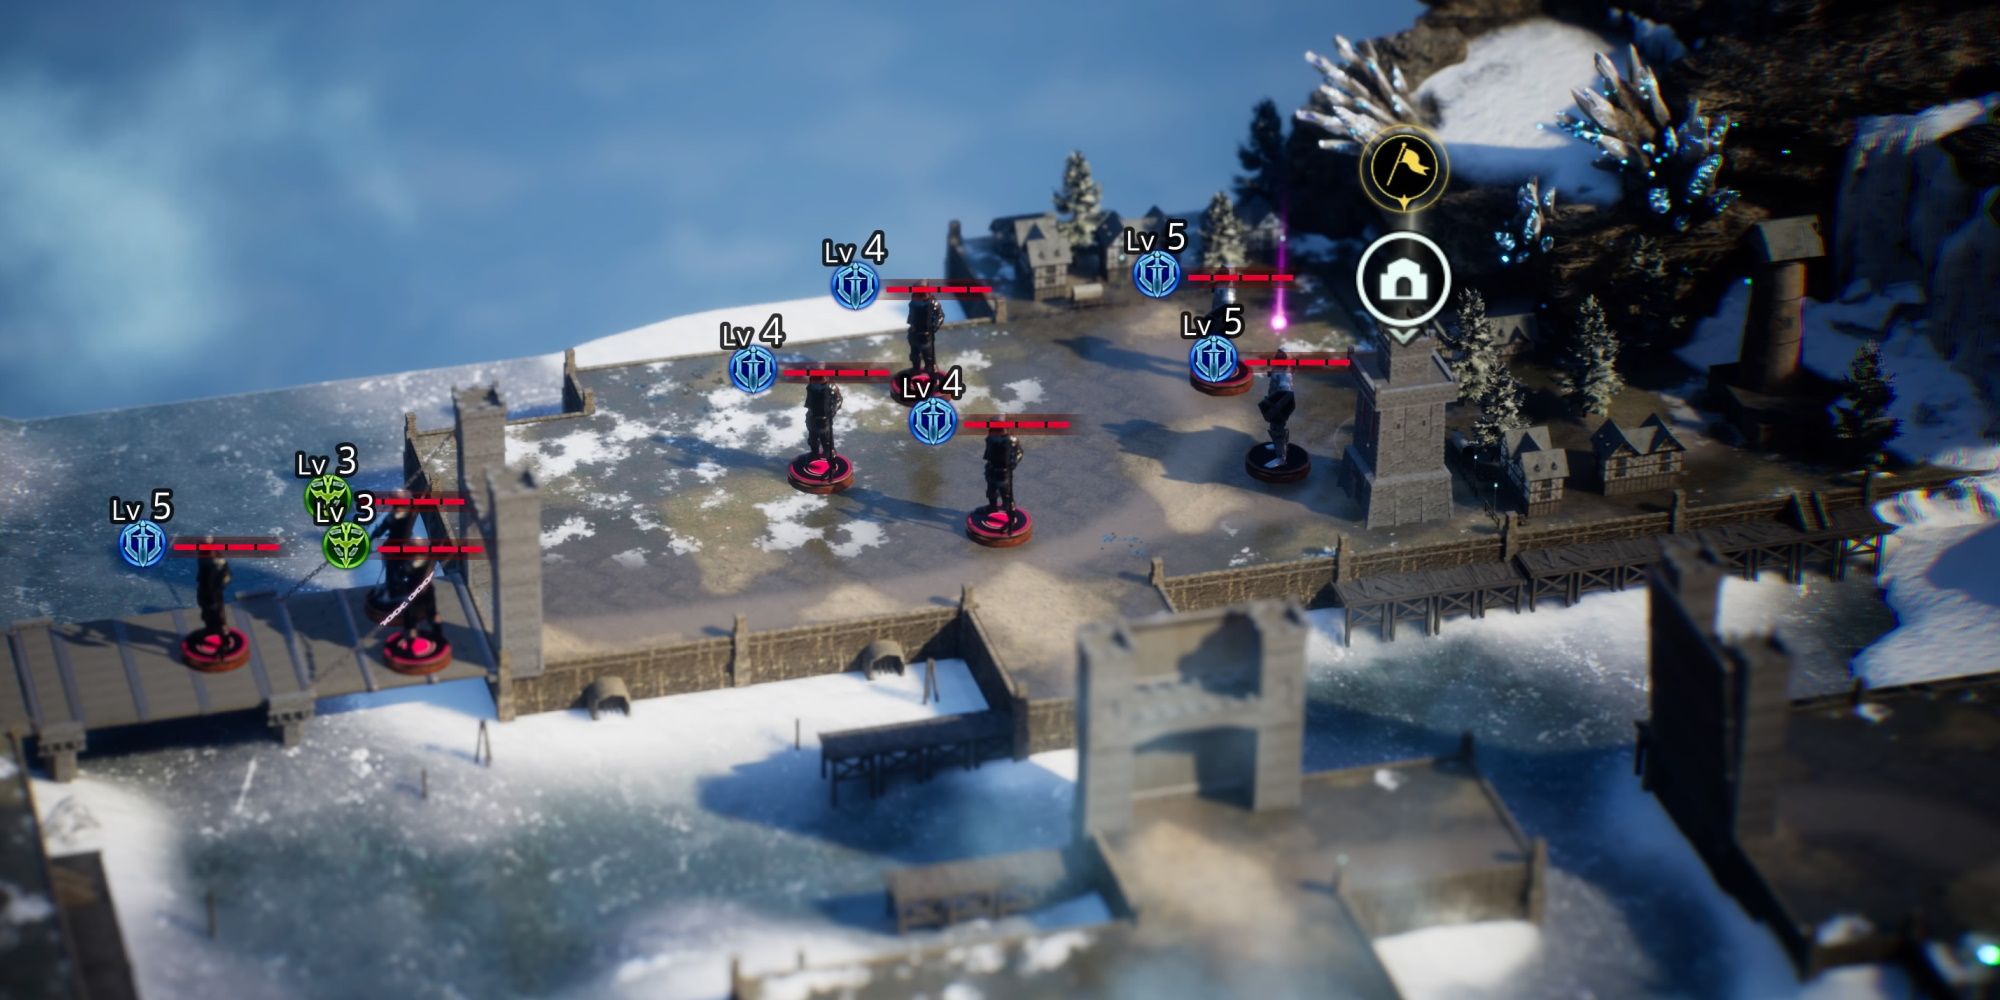
There are four segmented sections to this map. The first features two soldiers, the next holds an additional three, the third has an archer and a soldier, and the final segment holds a soldier, an archer, and Goffren.
If you are primarily concerned with completing the mission in under the 4-minute mark, then you will probably want to divide your team into two squadrons: Izelair engaging one soldier, with Iscarion providing support. While Fredret and Andrias fight the other. Iscarion will still be able to hit multiple units with his skills, and Andrias should use his Assassin skill to finish off any enemy in reach of his attack (remember, that attack doesn't have a cooldown if it lands the killing blow). Maintain this approach during each section of the stage, and you will make shor work of the bandits.
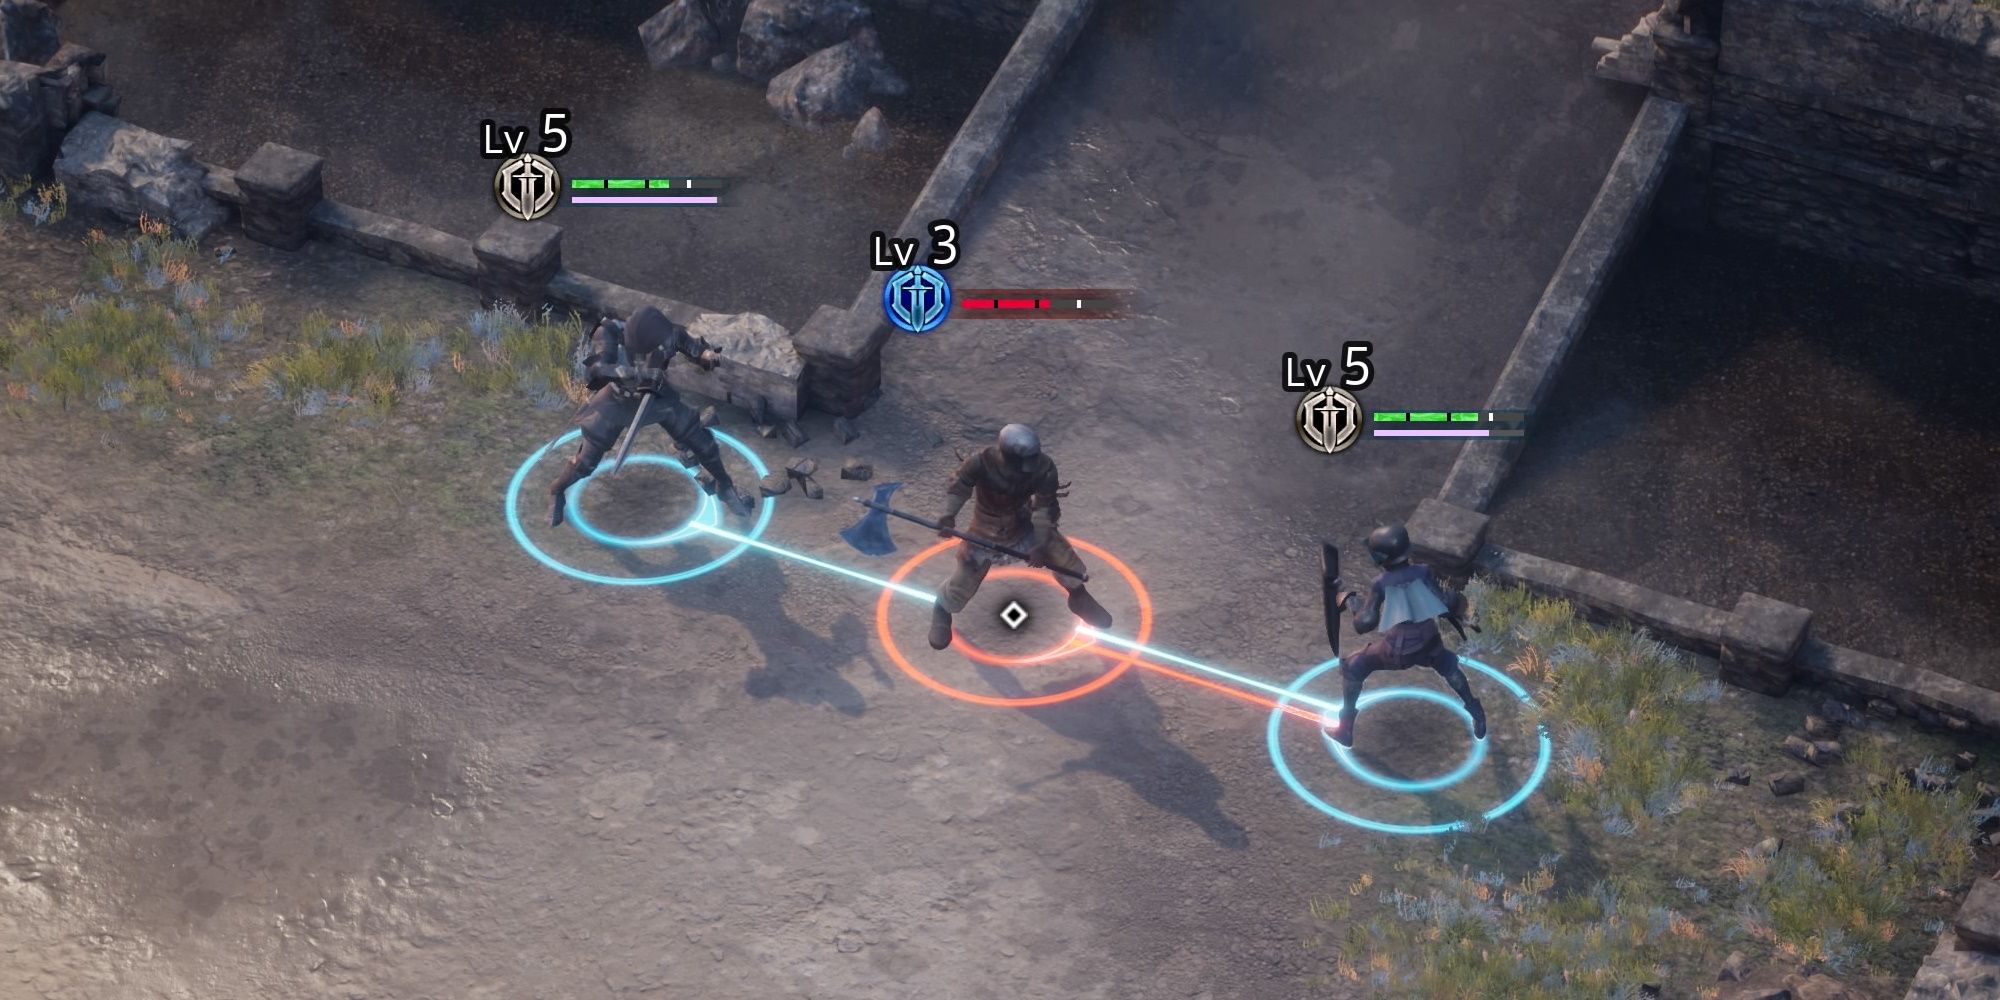
You can also send Fredret off on his own to quickly take command of the towers (which you need to do in order to lower the bridges), and to obtain the treasure chest (which is in the second section of the map). Once you reach the fourth section, and square off against Goffren, make sure to utilize Izelair's Shield Bash to disrupt his special attacks. If the Shield Bash is on cooldown, utilize your ability to pause the action to give movement orders to all your endangered troops.
The Noble's Arrival
Once you return to your headquarters you will be introduced to the skill tree. While there are a number of useful abilities available, we strongly encourage you to acquire the Shield Wall skill. With this skill, Izelair will be able to hold off large numbers of troops while you flank them with your other units. Once you finish fiddling around with the Skill Tree, head over to the war room and start the next mission.
Redditch Estate Recon
|
Recommended Level |
7 |
|
|---|---|---|
|
Enemies |
Phase 1 |
1x Lv 4 Soldiers, 2x Lv 4 Archers, 3x Lv 5 Soldier, 4x Lv 5 Archers |
|
Phase 2 |
10x Lv 1 Zombie Soldiers, 13x Lv 1 Zombie Archers |
|
|
Objective |
Defeat all enemies. |
|
|
Defeat |
All Allies Become Incapacitated. |
|
|
Barricade is destroyed. |
||
|
Bonus Rewards |
Complete the mission. |
700 Gold |
|
Allow no allies to fall. |
1 SP |
|
|
Complete mission in 4 min. |
Gold Bar |
|
|
Find the treasure chest. |
Jade Crystal |
|
|
Difficulty |
★☆☆☆☆☆☆☆☆☆ (1/10) |
|
Now, since you will have five characters, you will need to relegate one of them to a supporting role. This will mean that the character in question will give their skills to another. Support characters do not obtain as much experience as the primary combatants.
Waltaquin and Iscarion are both excellent choices for a support role. Put them in a unit with Fredret, and you will be giving your most mobile unit a number of powerful ranged attacks. You want to have both Fredret and Izelair on the battlefield, so that you can have one character to tank, and another character to flank.
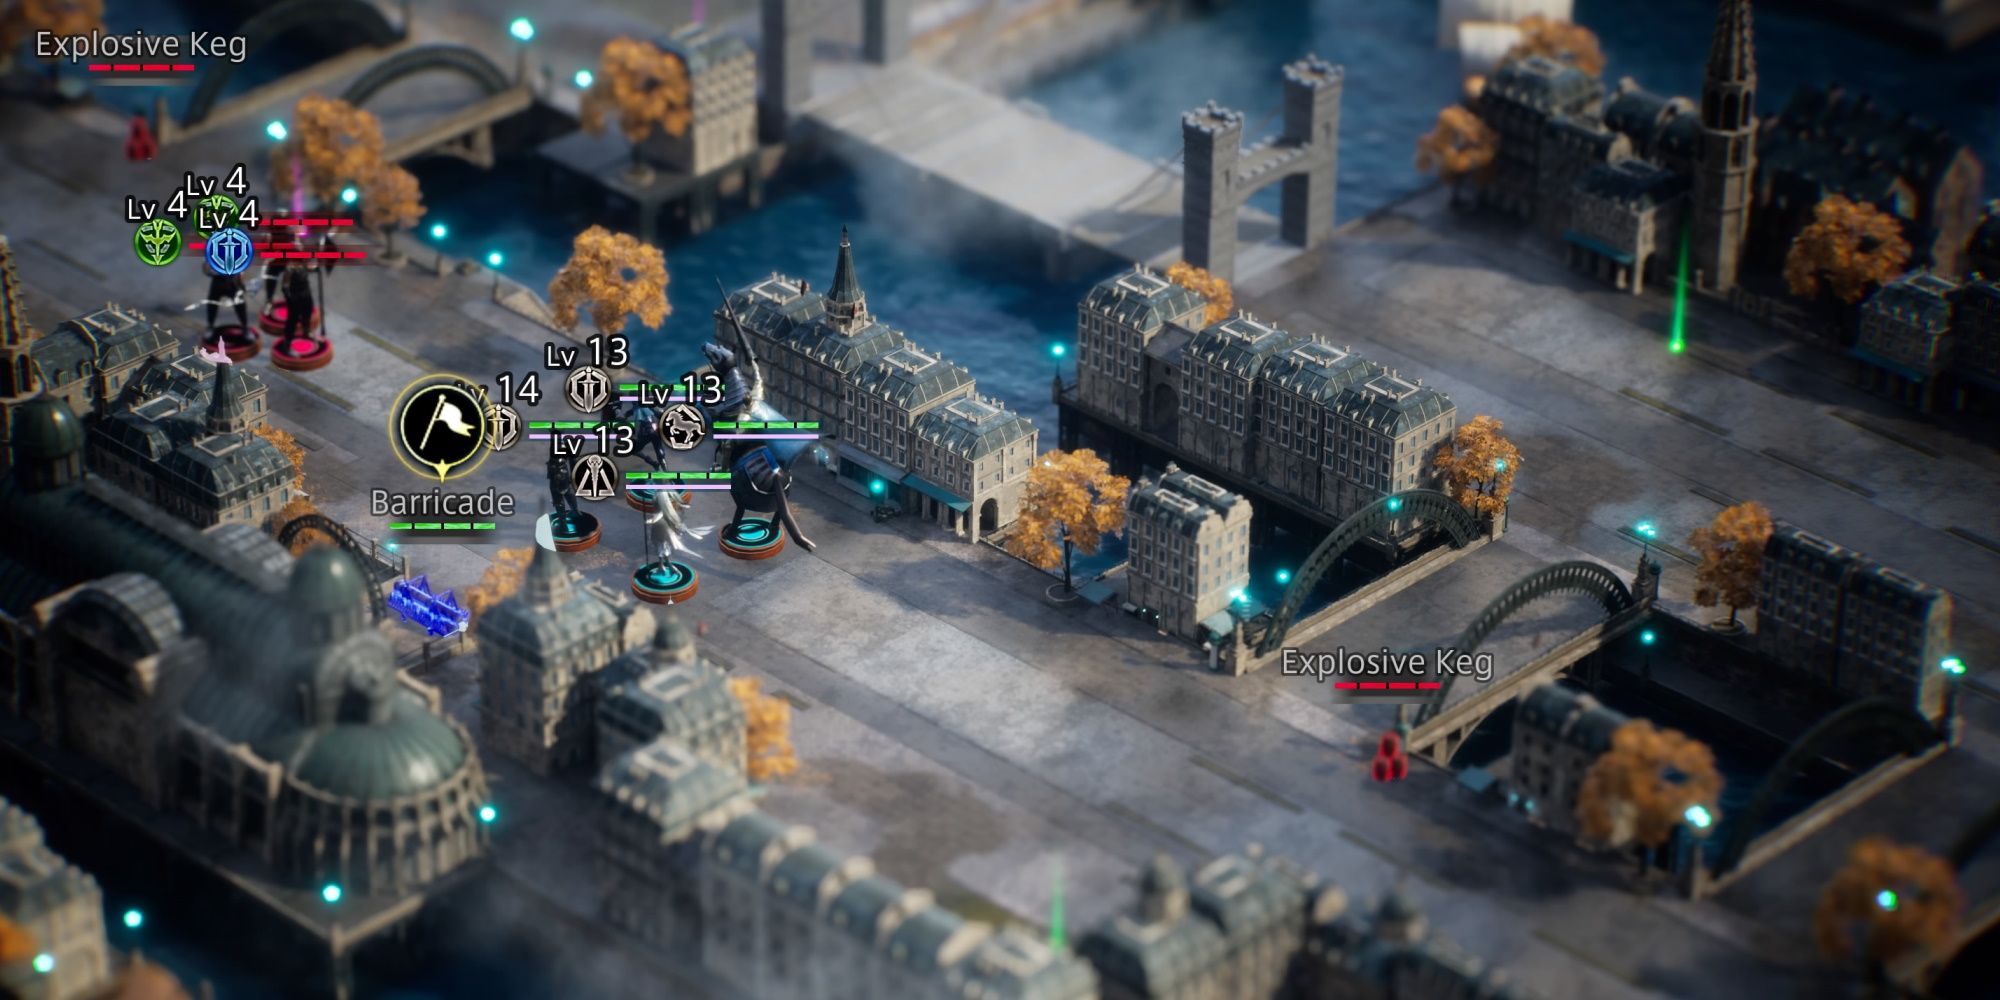
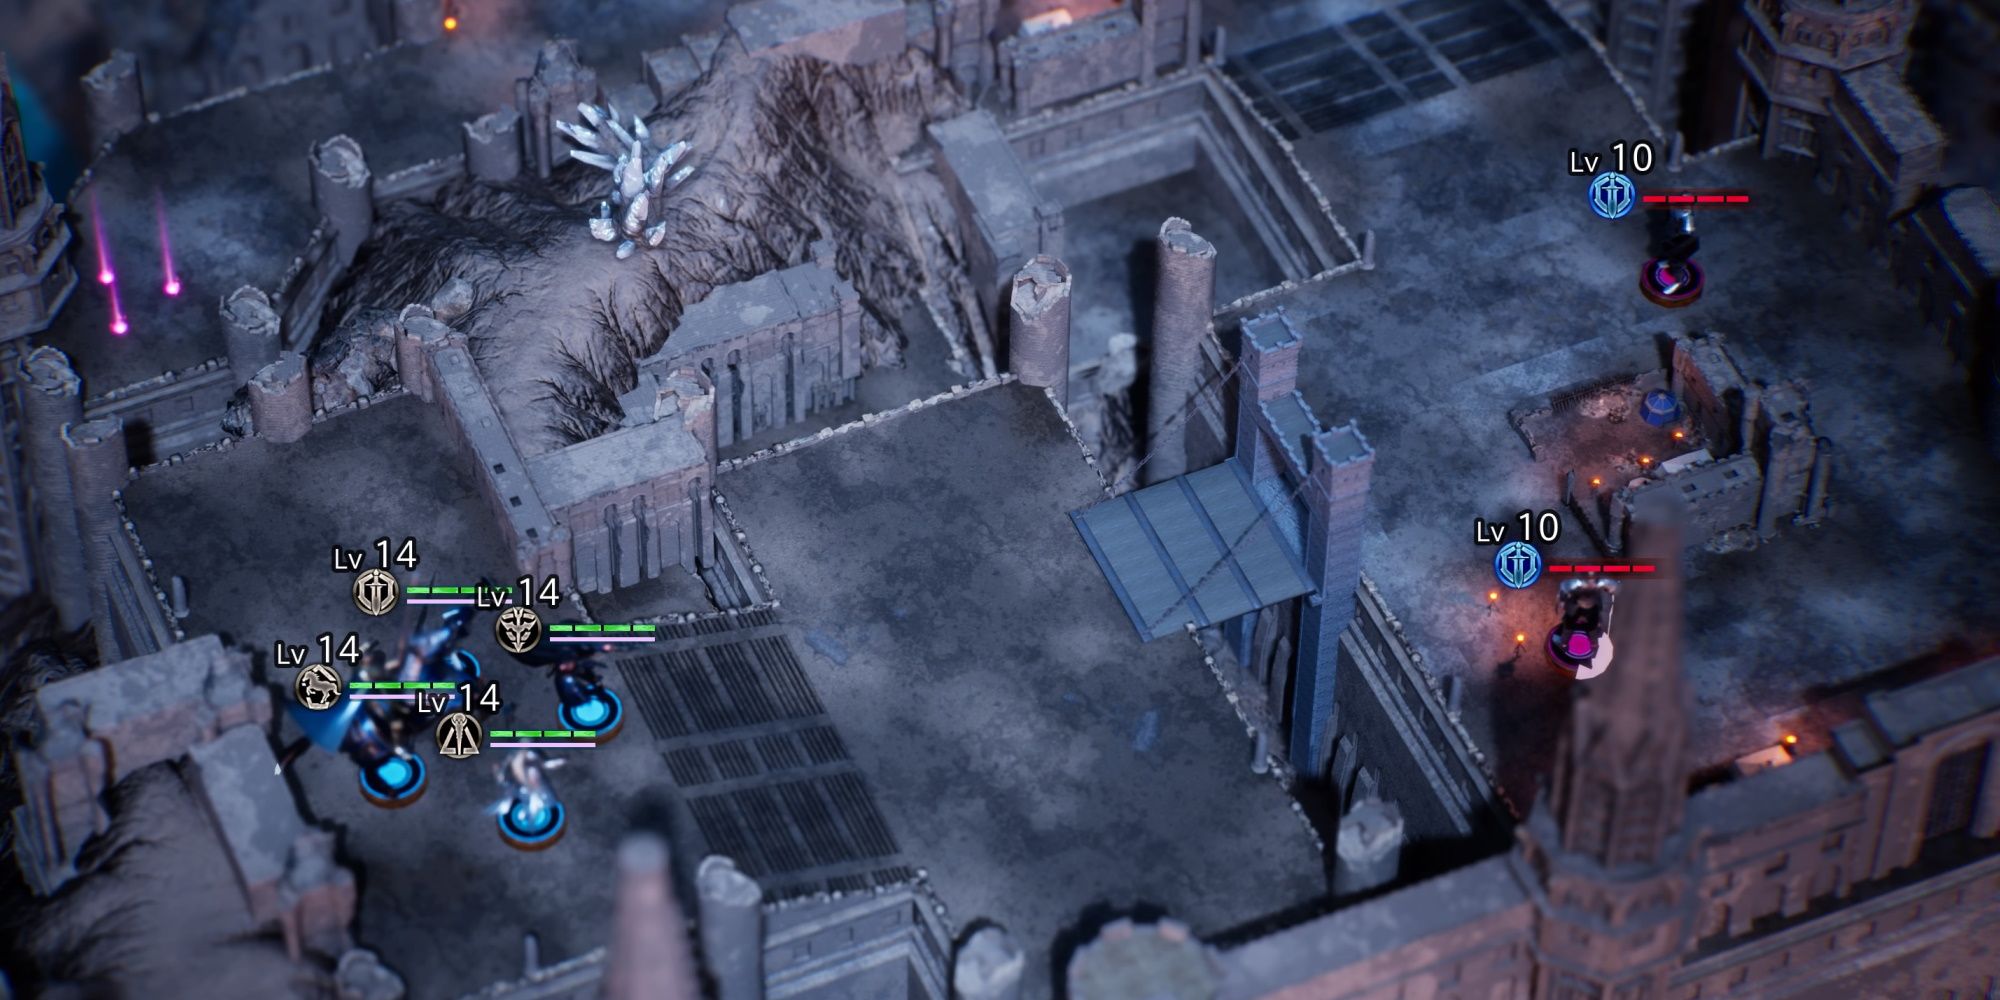
This battle features a number of bridges that can be used to flank your opponents (one of the reasons we told you to make sure Fredret is in your party). So, have Izelair tack the enemies down, provide ranged support with Waltaquin or Iscarion (whoever you chose to remain as a primary troop), and attack their rear with Andrias and Fredret. The enemies will come in waves, so make sure you have a body of troops hanging around the barricade.
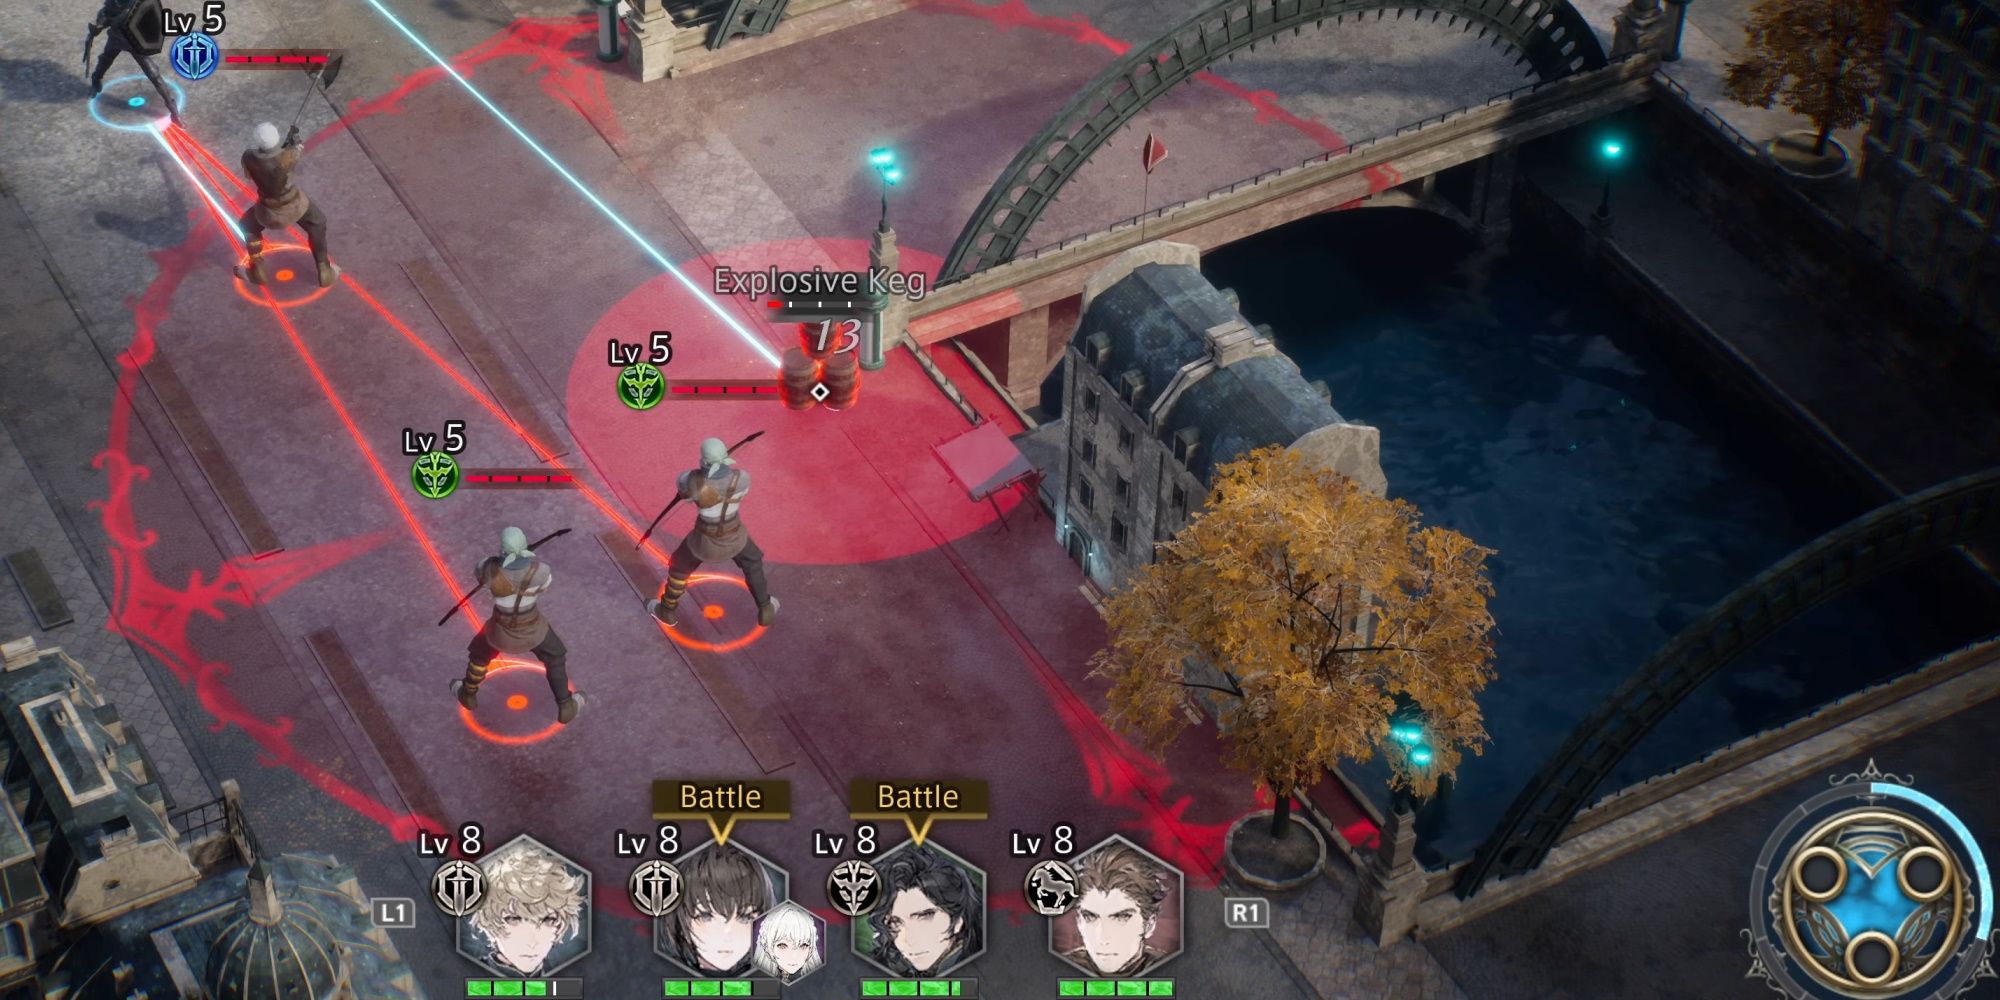
Use the exploding barrels to take out groups of enemies. The soldiers you fight in the first phase are considerably tougher than the zombies in the second, so we recommend using them against the solders.
Once you have taken out all the soldiers, you will enter the next phase. Here you will be swarmed by zombies. However, they are extremely weak. Use Iscarion's Rain Of Arrows to kill multiple at a time. If you are worried about time, during the second wave of undead, when two groups appear on opposite sides of the map, divide your unit into two halves and engage both groups of undead at the same time. Despite their numbers, you shouldn't have too much difficulty taking them down.
The Chains That Bind
Now we're back to bouncing around, talking to different characters. Eventually, you will be required to speak to the mercenary who is hanging around the Practice Battle area. He will request 1500 gold, which will unlock new equipment to the shop. You don't have to do this right away, but you do get access to some decently improved gear. Lastly, you will be required to talk to a researcher who will give you your next mission. Head to the war table when you are ready to embark.
Coswell Volcano Expedition
|
Recommended Level |
9 |
|
|---|---|---|
|
Enemies |
3x Lv 5 Zombie Soldiers, 2x Lv 5 Zombie Archers, 3x Lv 6 Zombie Soldiers, 2x Lv 6 Zombie Archers, 3x Lv 7 Zombie Soldiers, 4x Lv 7 Zombie Archers |
|
|
Objective |
Defeat all enemies. |
|
|
Defeat |
All Allies Become Incapacitated. |
|
|
Rewards |
Complete the mission. |
800 Gold |
|
Allow no allies to fall in battle. |
1 SP |
|
|
Defeat all enemies |
Gold Bar |
|
|
Difficulty |
★☆☆☆☆ ☆☆☆☆☆ (1/10) |
|
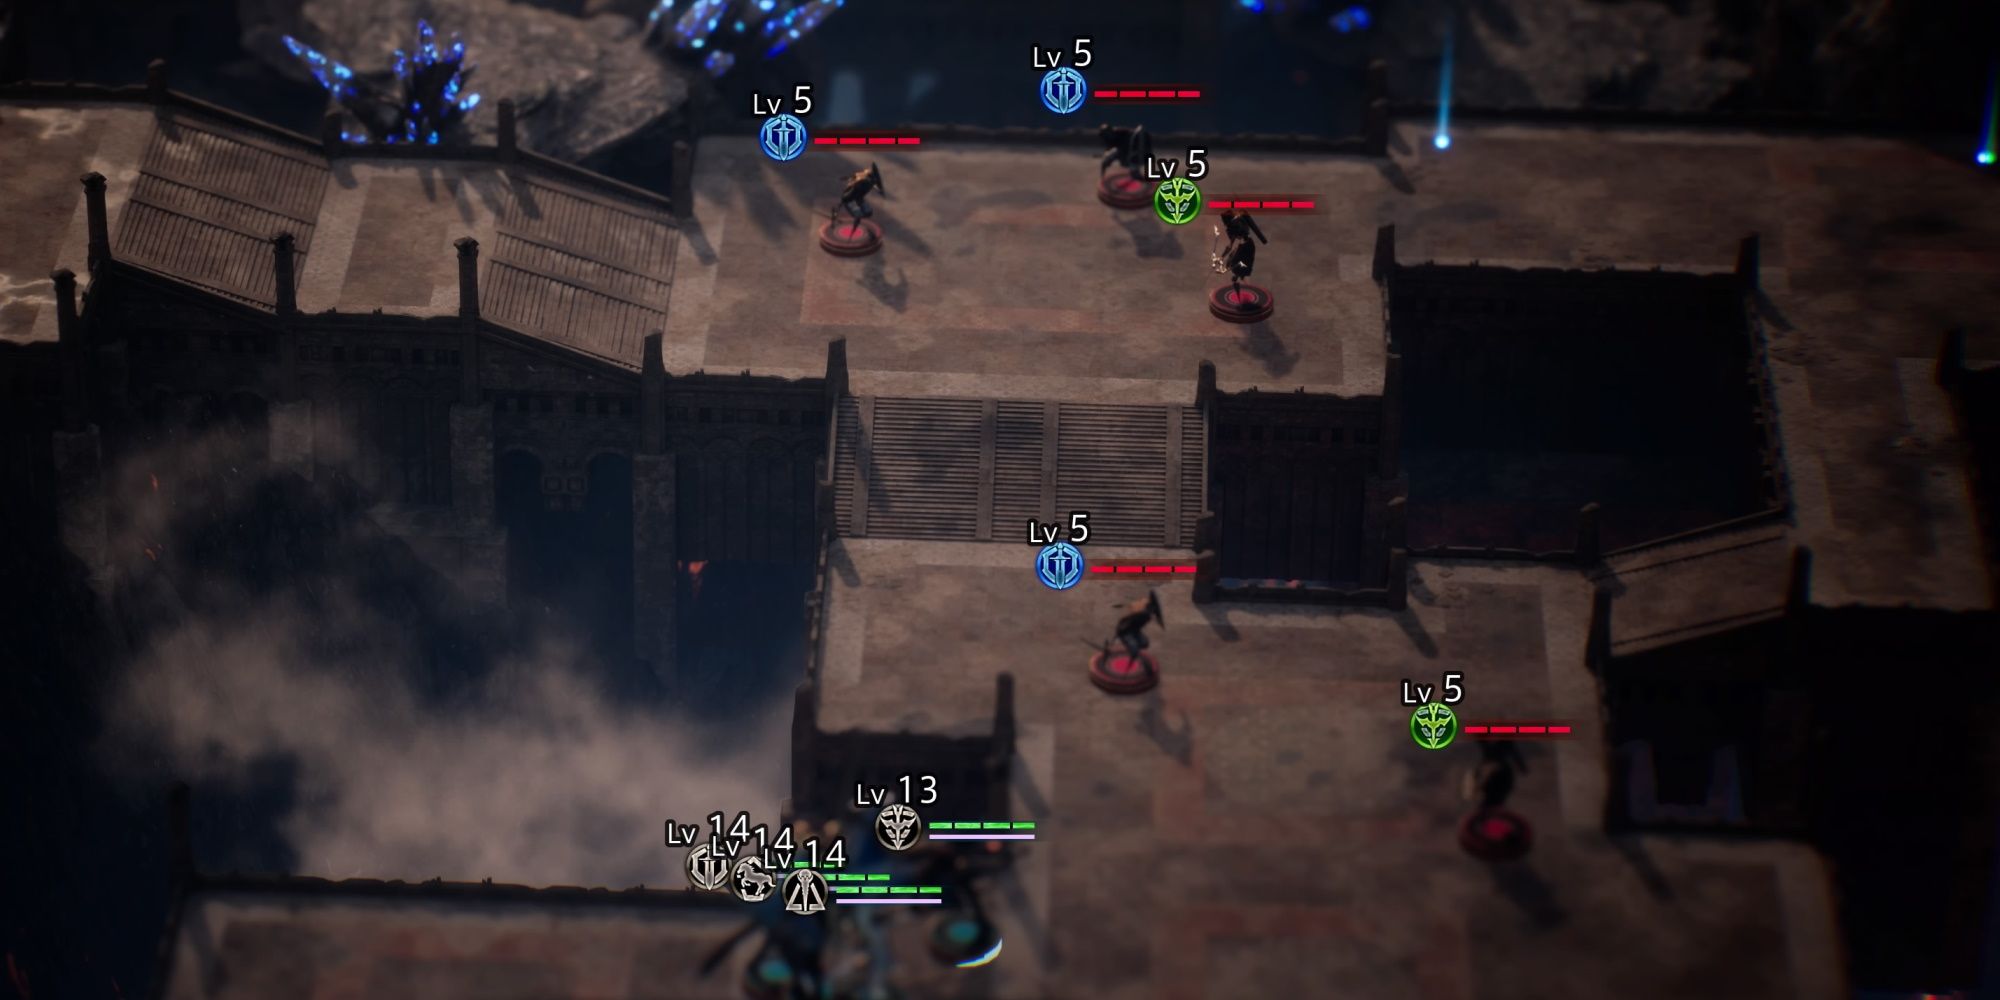
This is a comparatively linear stage. There is no chest to find, there aren't many branching pathways, and there are no rewards tied to clear time. So, primarily, you will just be fighting small squadrons of zombie soldiers. There is no real additional strategy required, here. Izelair draws aggro, Andrias and Fredret flank, and Waltaquin or Iscarion will provide support from afar.
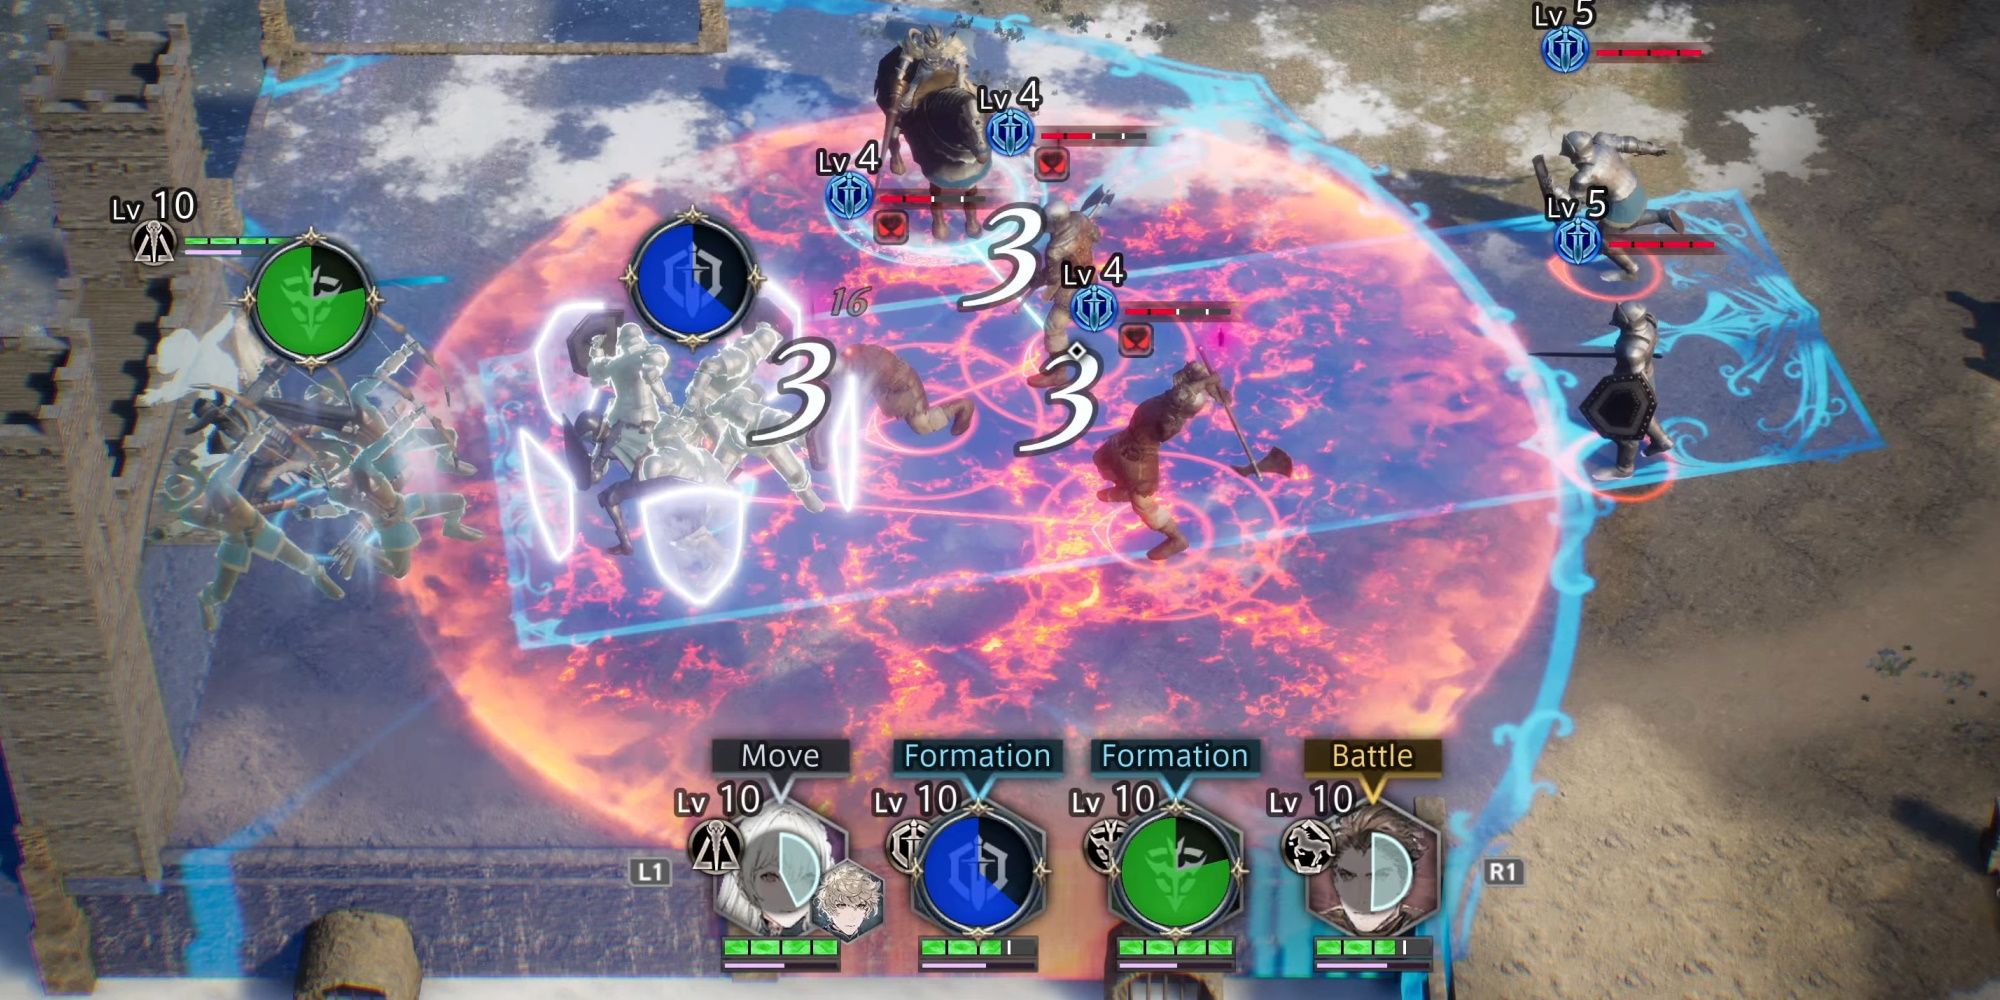
The final room should, theoretically, be the most challenging, as it has 7 Zombies waiting to fight you, but by the time you arrive there you will be able to summon Bahamut. So, draw them all together and let the dragon wipe them out. Any that don't die can be picked off after the fact. If you invested in Iscarion's Shield Wall, this is a great time to use it, as it will draw the attention of all the zombies and let you hit groups of them with Fredret's Full Frontal Assault, Iscarion's Rain Of Arrows, and Waltaquin's Meteor Fall.
The Chains That Bind
Return to the base. You will now be able to engage in practice missions. Do these if you want to level up.
The Horace Threat
|
Recommended Level |
9 |
|
|---|---|---|
|
Enemies |
Phase 1 |
6x Lv 4 Soldiers, 2x Lv 3 Archers, 2x Lv 5 Shielded Soldiers, 6x Lv 5 Archers, 1x Lv 6 Cavalry |
|
Phase 2 |
2x Lv 12 Gigases |
|
|
Objective |
Defeat all enemies. |
|
|
Defeat |
All Allies Become Incapacitated. |
|
|
Rewards |
Complete the mission. |
800 Gold |
|
Allow no allies to fall in battle. |
1 SP |
|
|
Defeat all enemies in 6 min. |
Gold Bar |
|
|
Find the treasure chest. |
Jade Crystal |
|
|
Difficulty |
★★★☆☆☆☆☆☆☆ (3/10) |
|
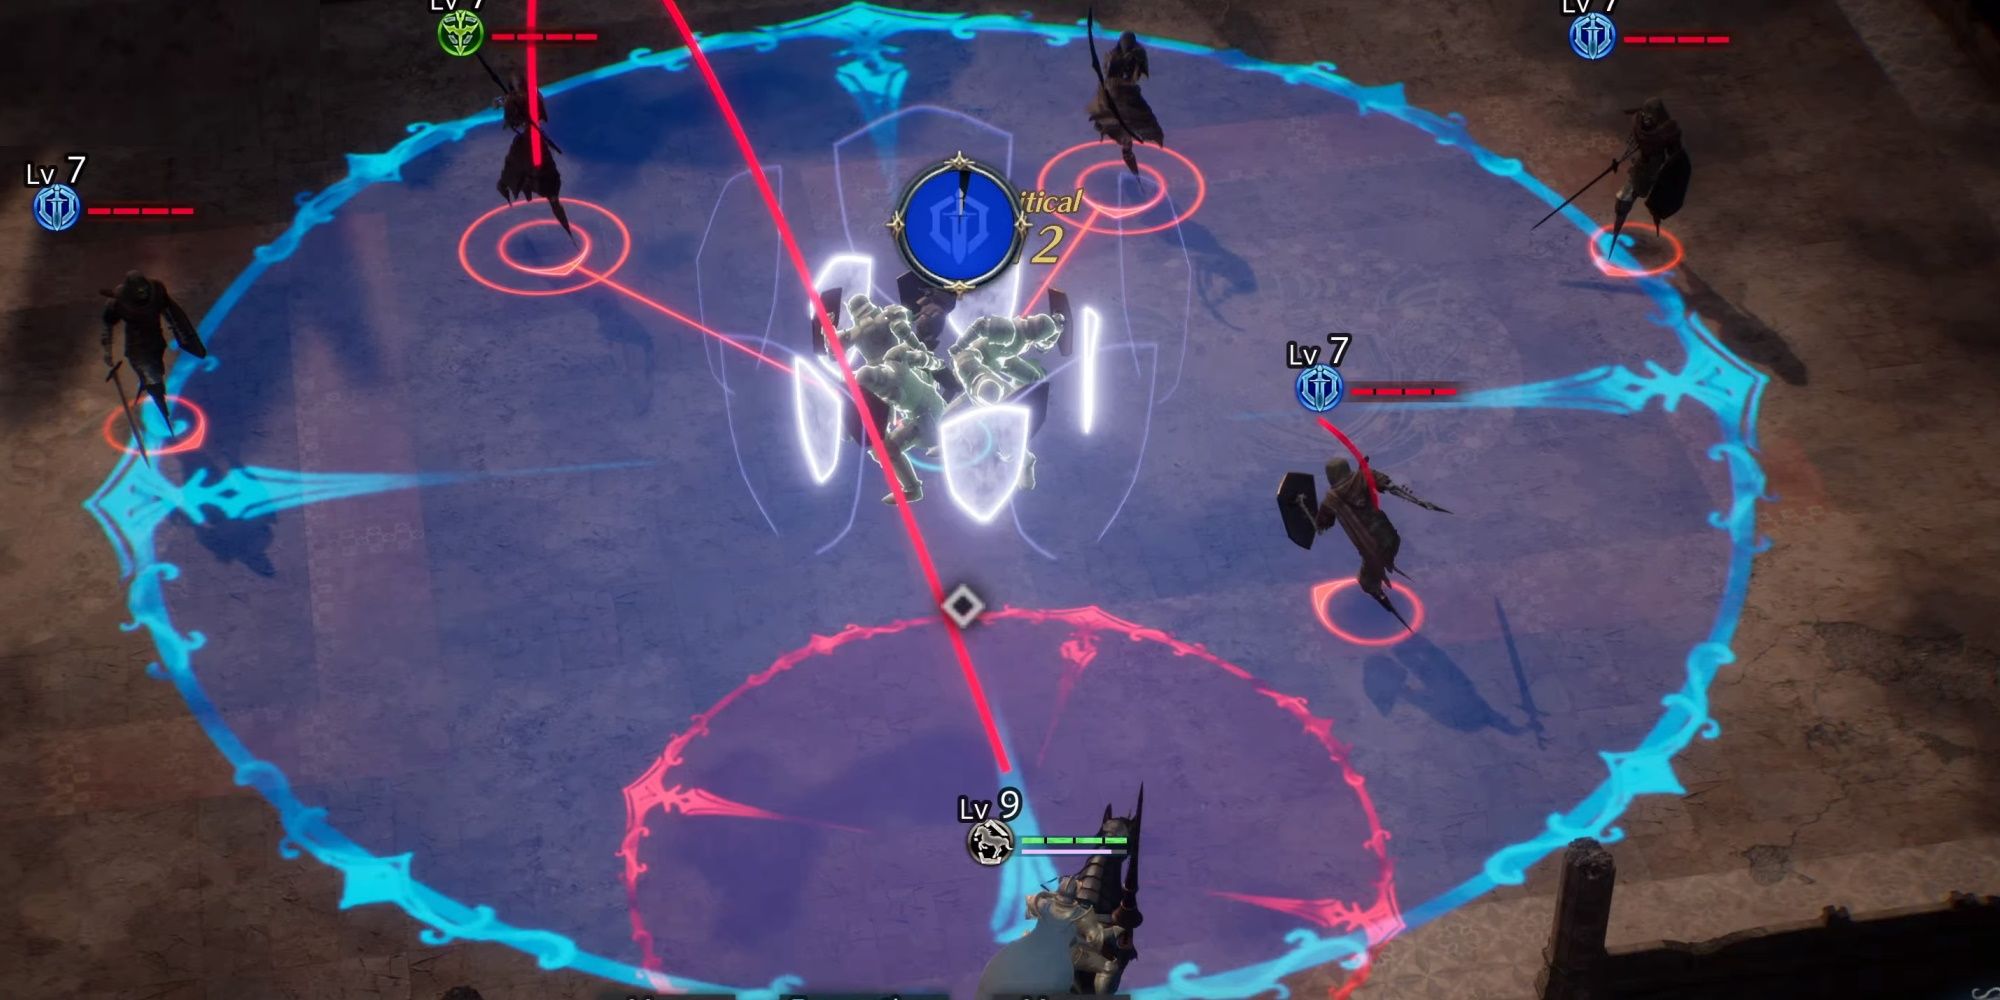
Much like in the End The Bandit Menace mission, this battle is a series of cordoned-off sections. You will encounter a new type of soldier in the second section: The shielded soldier. These soldiers have a special attack that will hit all around them, so be prepared to dodge or interrupt this attack. The section immediately after is filled with archers.
Send Fredret to the corner to kill the one archer off to the side, and have Izelair draw the attention of the rest of them with her shield wall skill. The archers with funny hats have special skills that will acquire some evasion on occasion (though obviously not with Izelair if she is using her shield wall).
As the archers focus on Izelair, bombard them with special attacks from your remaining two troops (and Fredret once he is finished with his archer). There is a Cavalier to fight as well, but you can just team up on him once the archers are all dead. Now, grab the nearby chest before you move onto the final section. Here you will encounter your first true boss.
Don't use your summon here. It is overkill, and you will have a better use for it in the next area.
Boss Battle - The Two Gigases
These big boys are large and in charge. They have wide-hitting attacks, two health bars each, and they will become temporarily immune to status effects after being affected by them once. The moment the indication for a special attack appears, unless you have a Shield Bash ready to use, you need to get everyone out of that area immediately.
Once you remove a life bar, they will drop shards. Use Fredret's mobility and skills to grab these; that will help take some of the healing load off of Waltaquin (or whoever is partnered with her). So, your strategy should be to have Izelair hold their attention, Waltaquin to keep Izelair healed and deal damage with her spells, Fredret to attack and then collect shards when they drop, and everyone else to either hit from a distance, or attack backs. Make sure to bust out Bahamut whenever you have enough energy to summon him.
Approaching Demise
Now you will bounce between different party members, before being given the next story mission, which is to escort the Archbishop. However, you will also have a chance to partake in a side quest. We encourage you to take on this secondary mission, as it just so happens to be an excellent source of SP. Once you are ready to begin the escort mission, talk to Lorraine in the war room.
Escort The Archbishop
|
Recommended Level |
11 |
|
|---|---|---|
|
Enemies |
Phase 1 |
2x Lv 9 Soldiers, 4x Lv 8 Archers, 1x Lv 10 Soldier, 6x Lv 10 Archers, 1x Lv 11 Soldier |
|
Phase 2 |
3x Baby Fenrir Wolves, 1x Adult Fenrir Wolf |
|
|
Objective |
Defeat all enemies. |
|
|
Defeat |
All Allies Become Incapacitated. |
|
|
Archbishop is killed. |
||
|
Rewards |
Complete the mission. |
900 Gold |
|
Allow no allies to fall. |
1 SP |
|
|
Complete mission in 8 min. |
Gold Bar |
|
|
Find the treasure chest. |
Jade Crystal |
|
|
Difficulty |
★★★★☆☆☆☆☆☆ (4/10) |
|
If you want to make your life easier, make sure Izelair is in your party and has access to her Shield Bash skill.
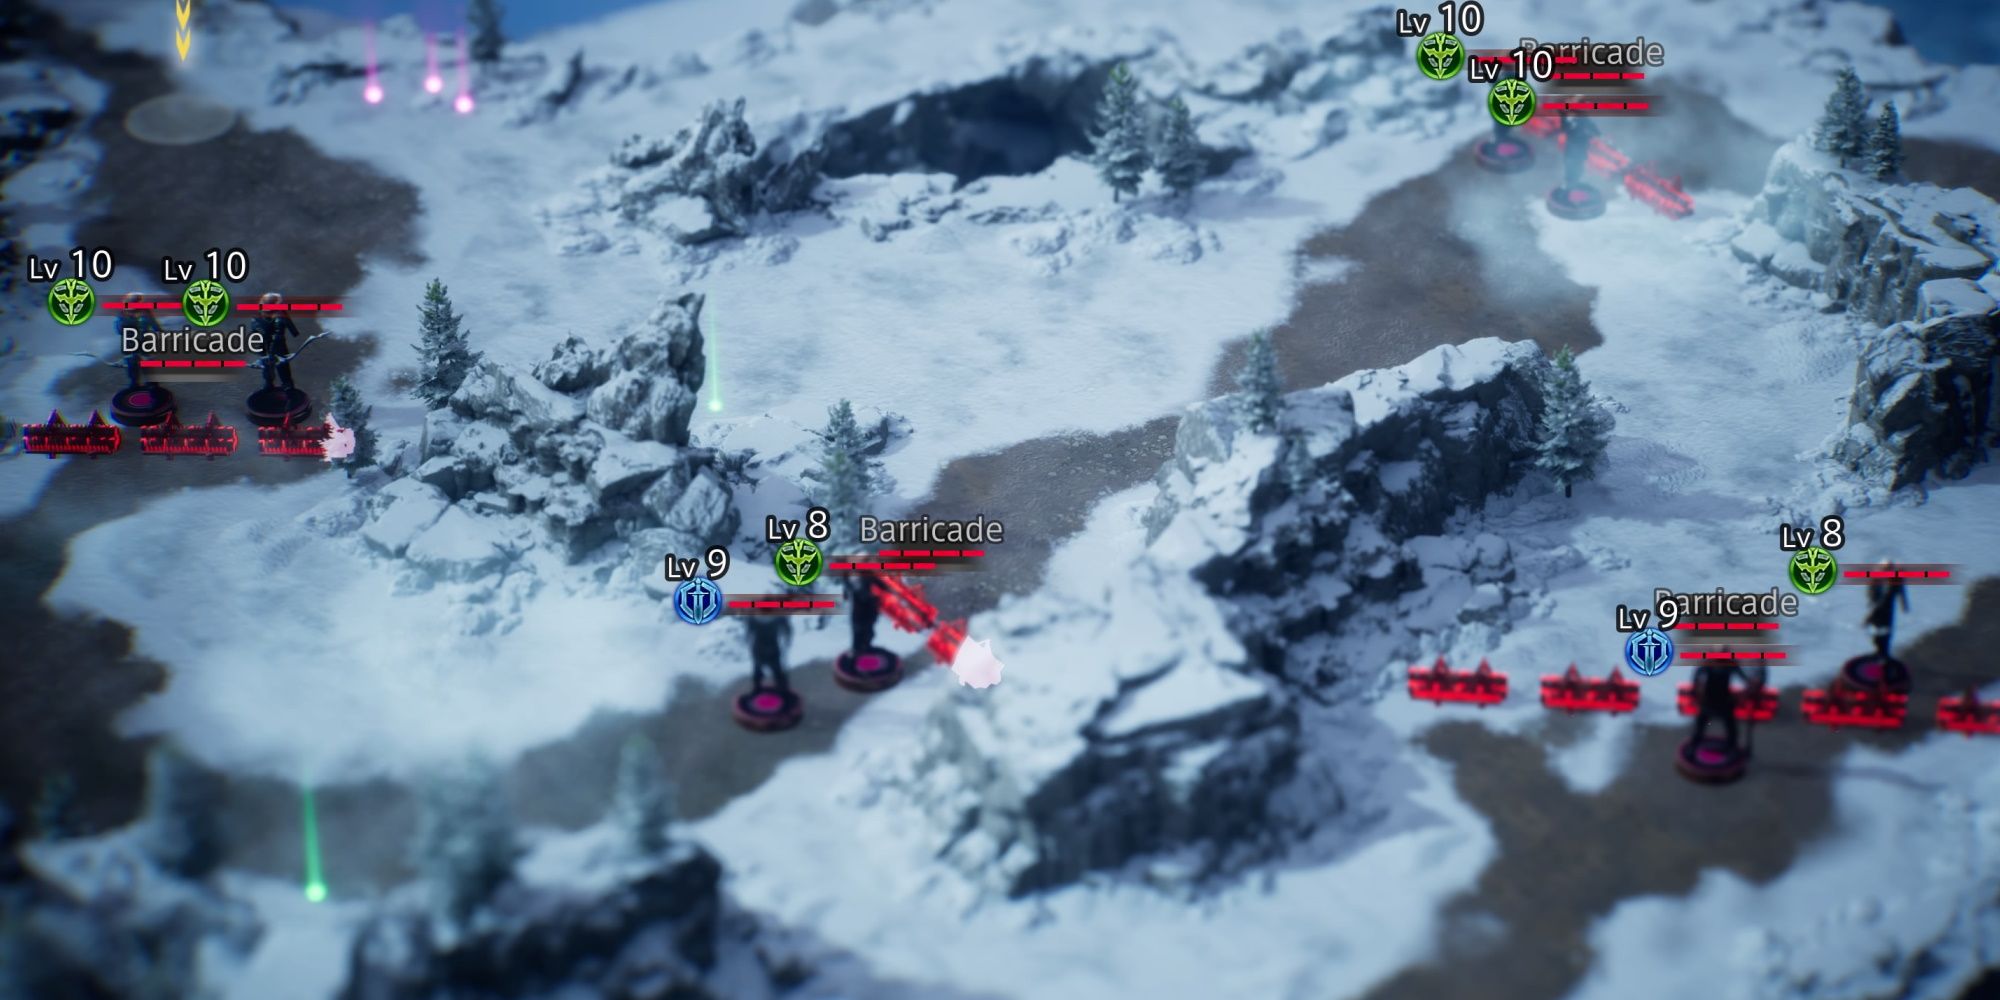
This battle is generally pretty simple. The Archbishop's carriage will travel along the right path. Before hooking around the rock outcrop, and then heading down the path back down to the of the map. You will have more than enough time to clear out the troops before they ever get a chance to approach the Archbishop.
We would recommend separating your troops into two squadrons, one traveling along the path of the Archbishop, and another clearing out enemies on the left side. Have Izelair lead the group taking out the left side, and Fredret lead the group following the Archbishop (this is convenient, as it will allow Fredret to dip out for a second and grab the treasure chest in the top right corner). Try to make sure that at least two characters with stun attacks have a healthy supply of EP.
Partway through the battle, another group of bandits will appear at the bottom of the screen. Then, during the last leg of the battle, another group will appear right at the exit. However, neither of these groups pose much of a threat. Just head them off with your nearest squad of characters. The Archbishop will likely arrive at the exit completely untouched. Once the bishop is at the exit, a boss battle will begin.
Boss Battle - Fenrir Wolves
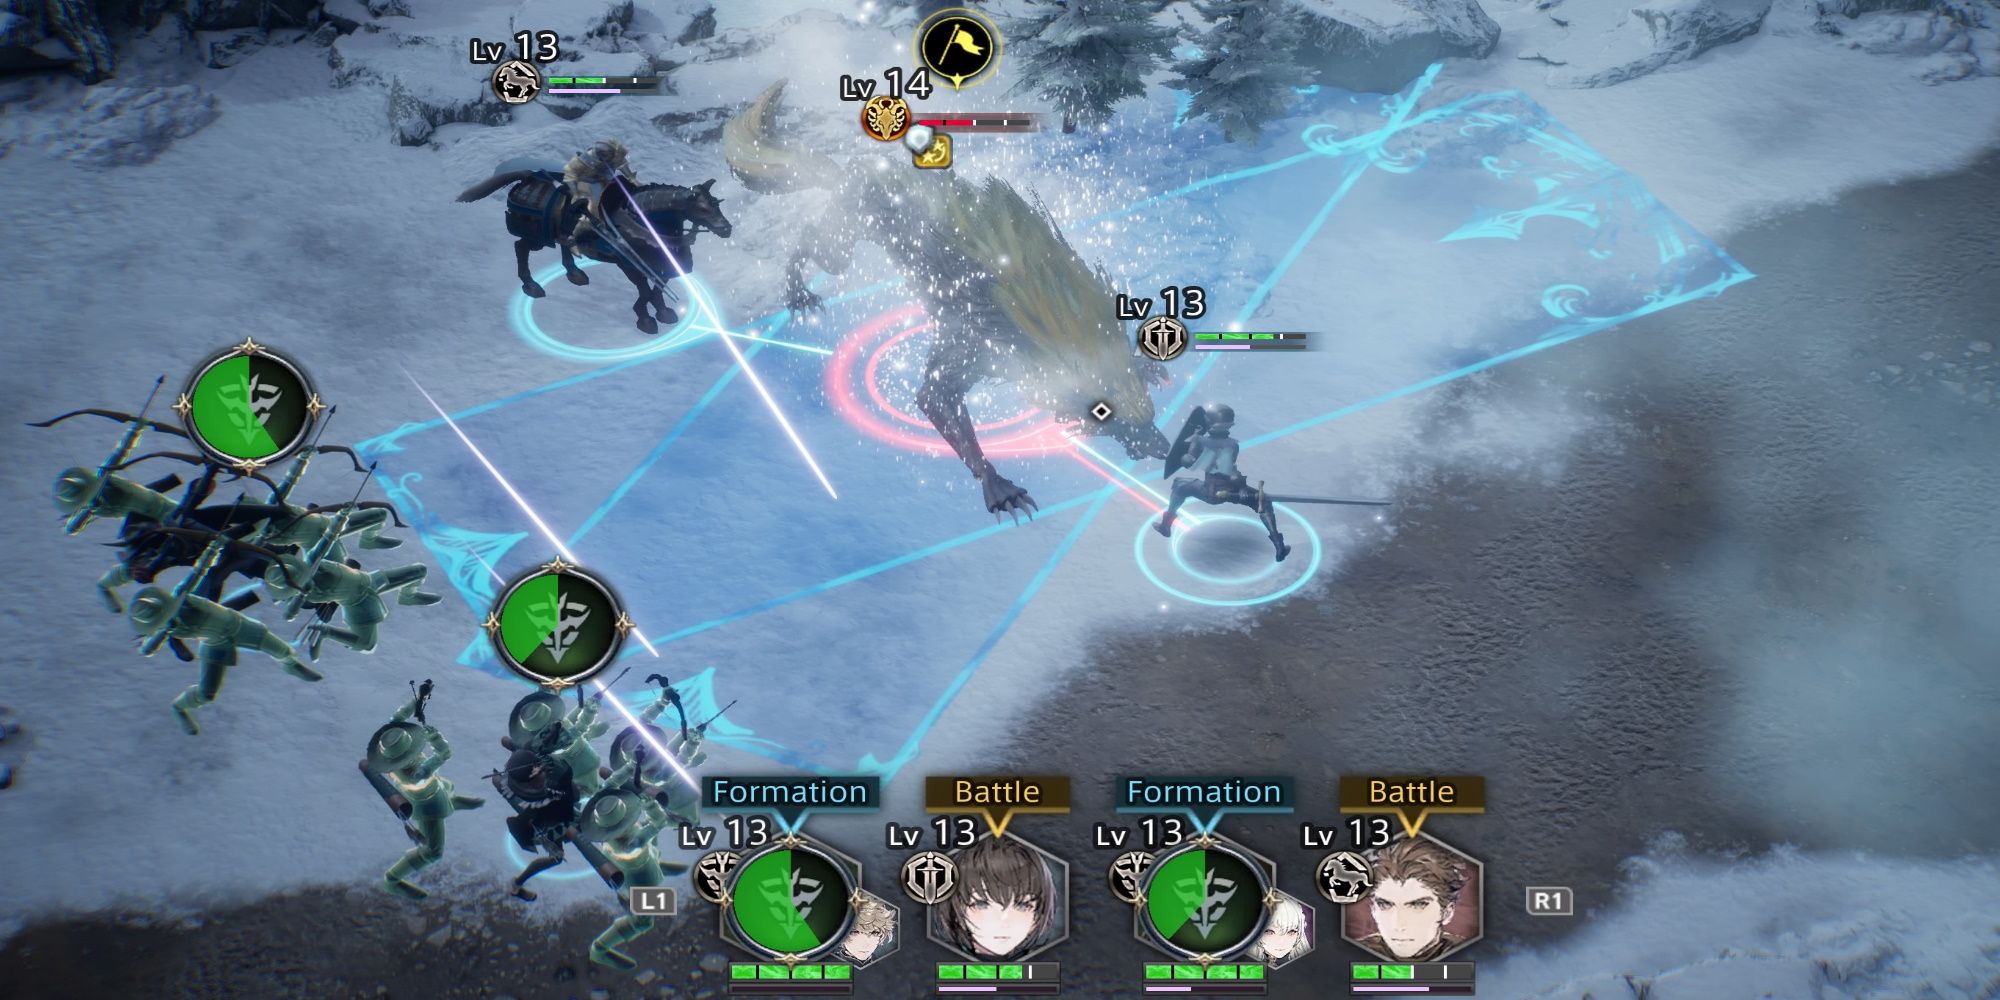
The wolves all start off pretty clustered around the adult. So, you will be able to clear out the three smaller ones quite quickly. Unfortunately, the adult Fenrir Wolf is more than capable of summoning them all back. Thankfully, you do have the ability to interrupt this attack with skills that stun. That's why we recommended that you save EP for the character's with stun-based attacks.
You want to have the ability to Shield Bash (or Stun Shot) the Fenrir Wolf every time they are summoning the smaller wolves. You will know this is what the Fenrir wolf is doing, as the attack's area of effect appears as a circle as all around them.
Remember that bosses become temporarily immune to status effects after they have been hit by them once. So avoid using any stunning attacks when they aren't summoning the small Fenrir wolves. Same that stun status effect for disrupting their call for help.
The Fenrir wolf has a few other special attacks. One sees them summoning large icicles from the ground; another is a large swipe that hits in front of them. All these attacks are quite easy to dodge. As long as you have stun-based attacks available, this battle is not particularly tough. Otherwise, it could very well become a battle of attrition.

