Quick Links
While the first chapter of The DioField Chronicle only has a single Side Mission, the second chapter is positively loaded with them. When it comes to difficulty, these missions run the gamut. A number of them are pretty simple; however, a few of them will rival the most difficult missions you have encountered in the primary campaign (up to this point, at least).
These side missions are a fantastic way to fill your pockets, but more than that, they are also a source of Gold Bars, Jade Crystals, and SP points. But it isn't just material goods you will obtain, completing these missions will also be the key to obtaining a recruitable character!
A Job In The North
|
Recommended Level |
12 |
|
|---|---|---|
|
Enemies |
Phase 1 |
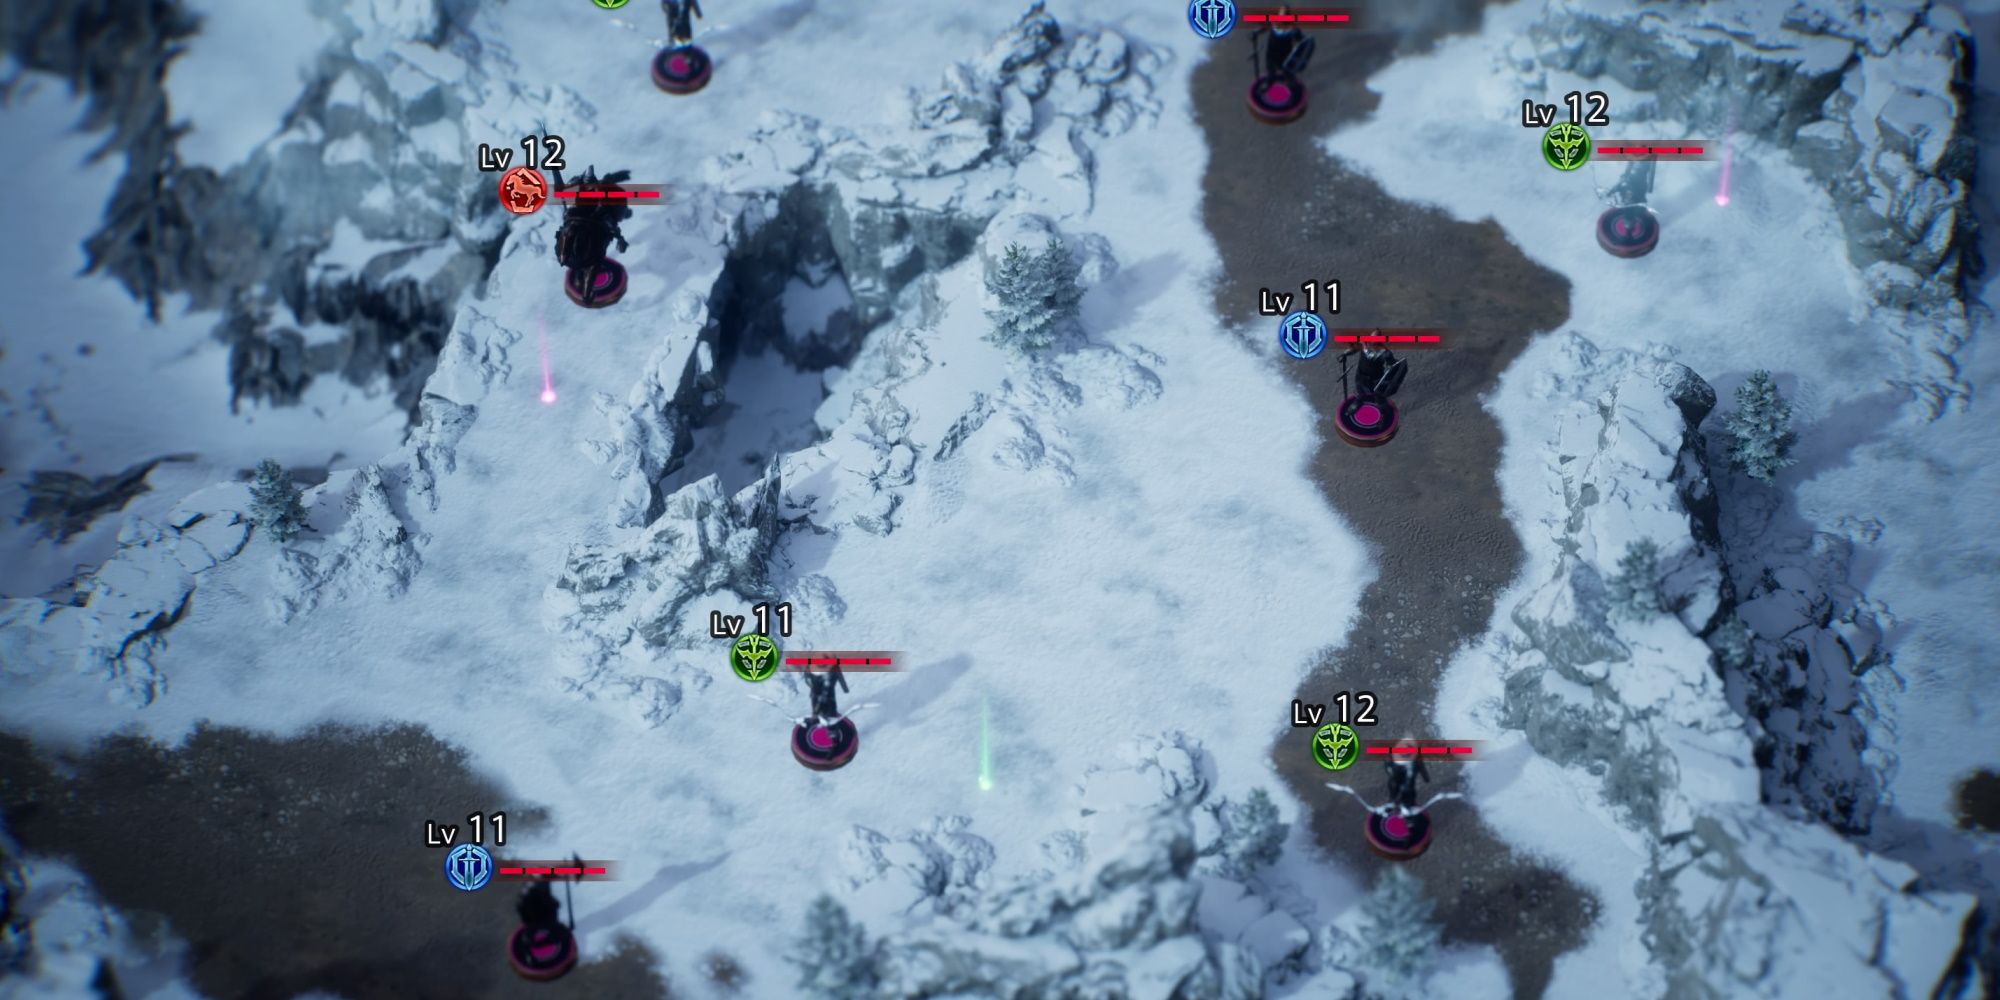
5x Lv 12 Archers, 3x Lv 11 Soldiers, 1x Lv 12 Cavalry |
|
Objective |
Defeat all enemies. |
|
|
Defeat |
All allies defeated. |
|
|
Rewards |
Complete the mission. |
2310 Gold |
|
Allow no allies to fall in battle. |
1 SP |
|
|
Complete mission in 6 min. |
Gold Bar |
|
|
Difficulty |
★★☆☆☆☆☆☆☆☆ (2/10) |
|
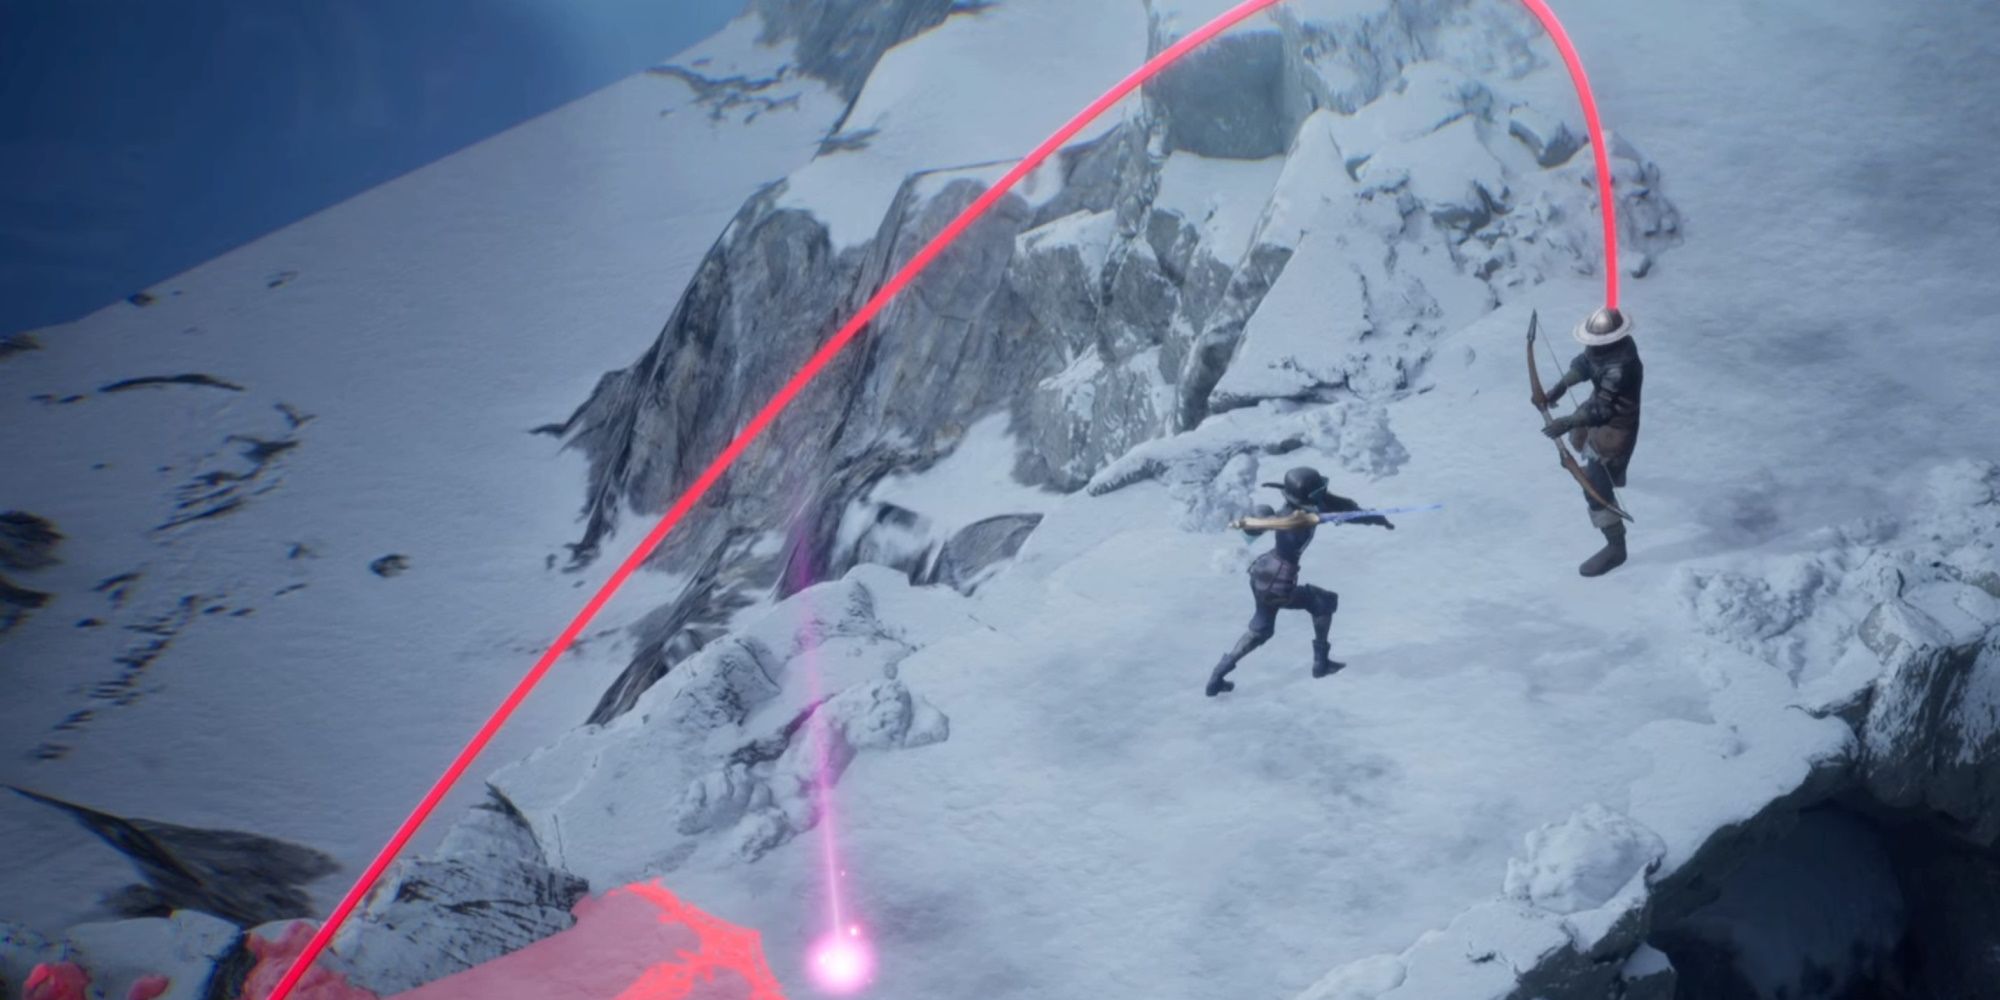
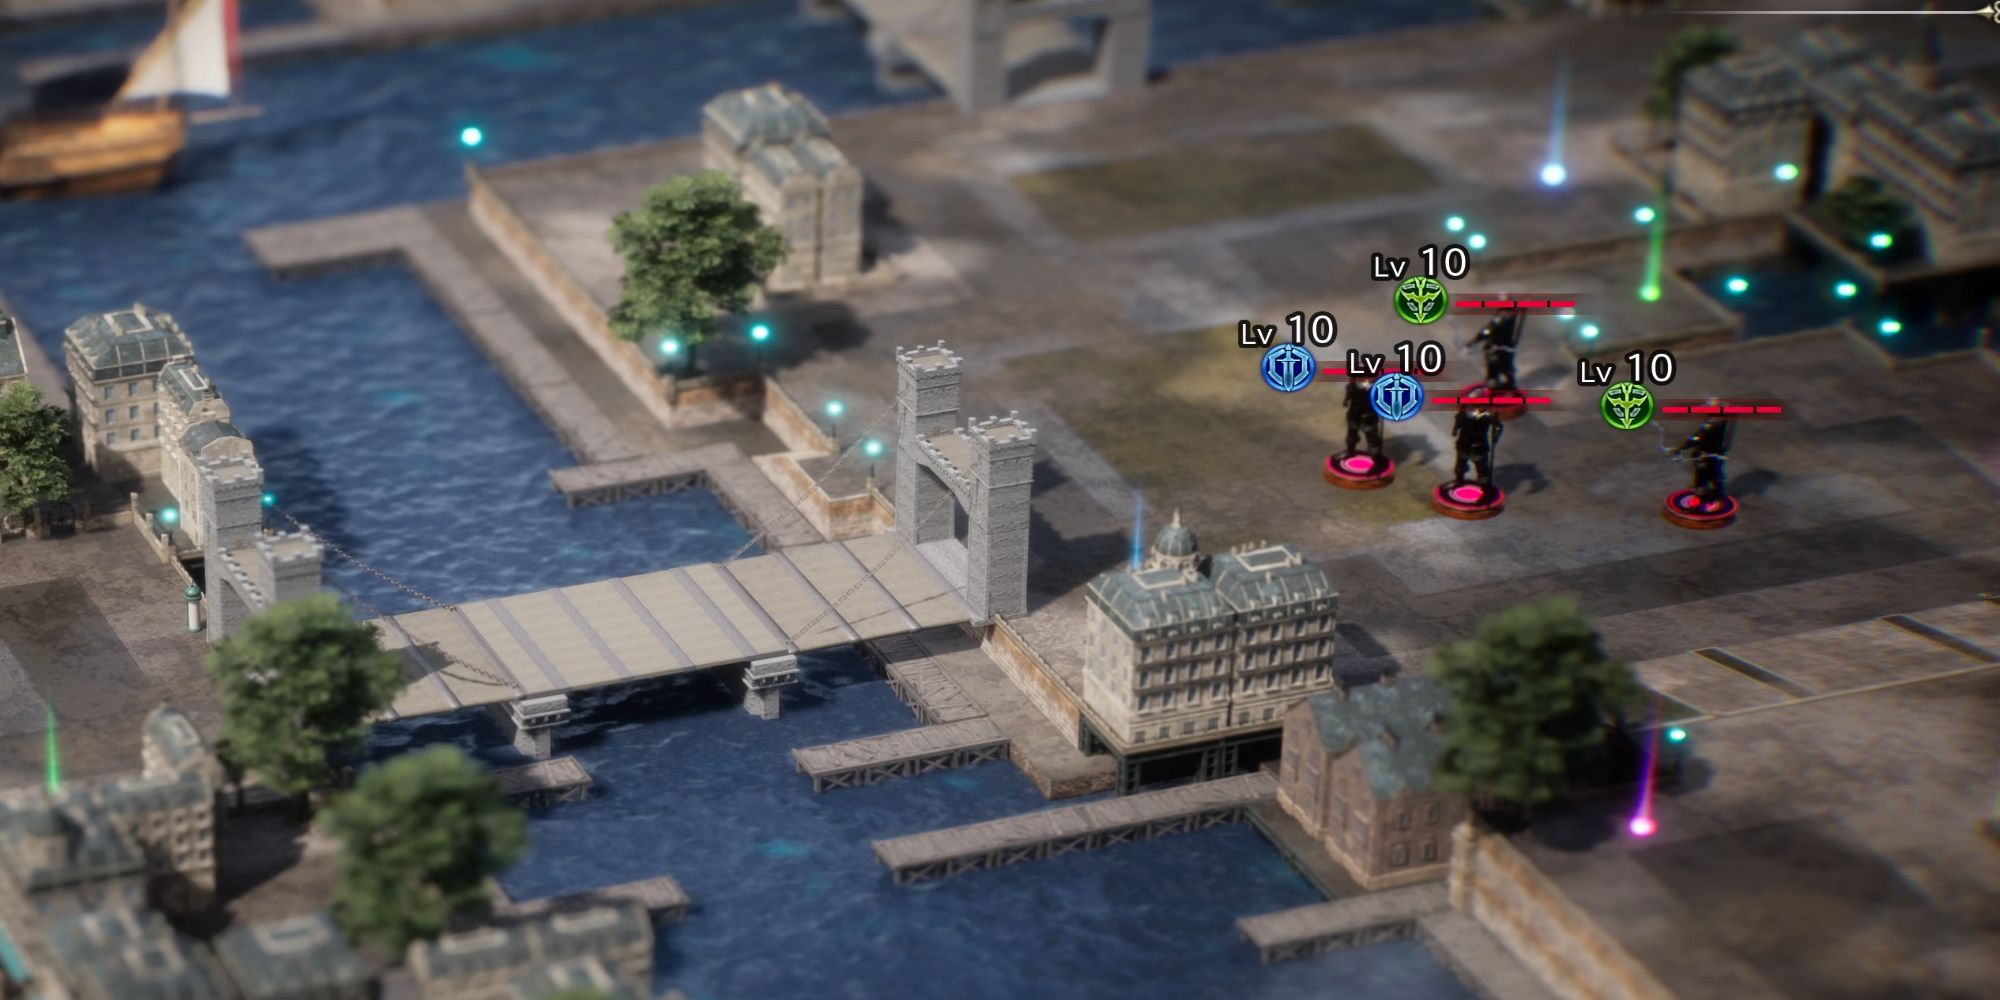
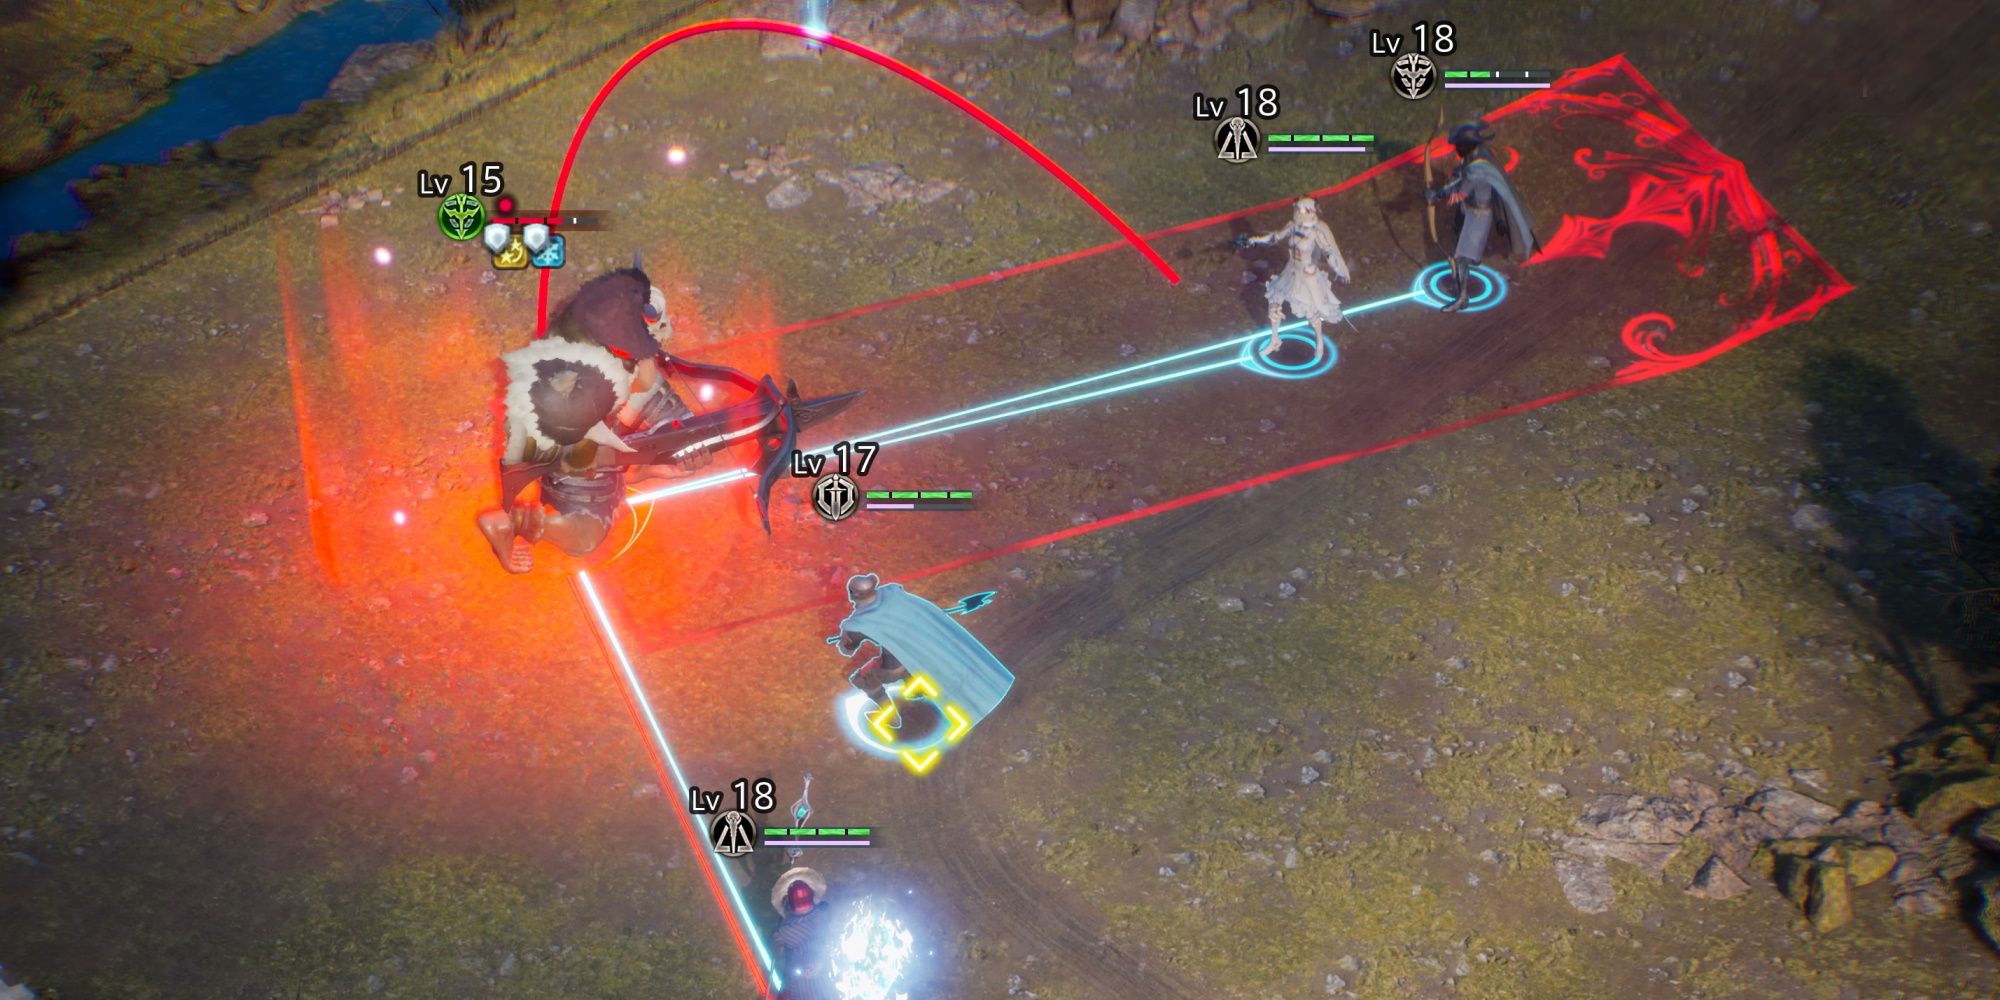
This stage is very much an example of what you see is what you get. There are no additional phases. You just have to wipe out all the enemy troops. When you begin the stage, you will see that there is a cavalry unit on a bridge on the left side of the map. We're going to ignore him for now. There will be a soldier on your left, and an archer on your right. Run your whole party up the right side. Take out the two soldiers and four archers bunched together over here.
Once you have finished them all off, take one half of your squadron and have them travel to the southern part of the bridge, fighting the soldier along the way. Take the other half and run them up to the north side of the bridge, they will draw the attention of the Cavalry unit with this pair. Now, the unit from the south can attack his back while your party members on the north side hold his attention. You will make short work of the cavalry unit and complete the mission.
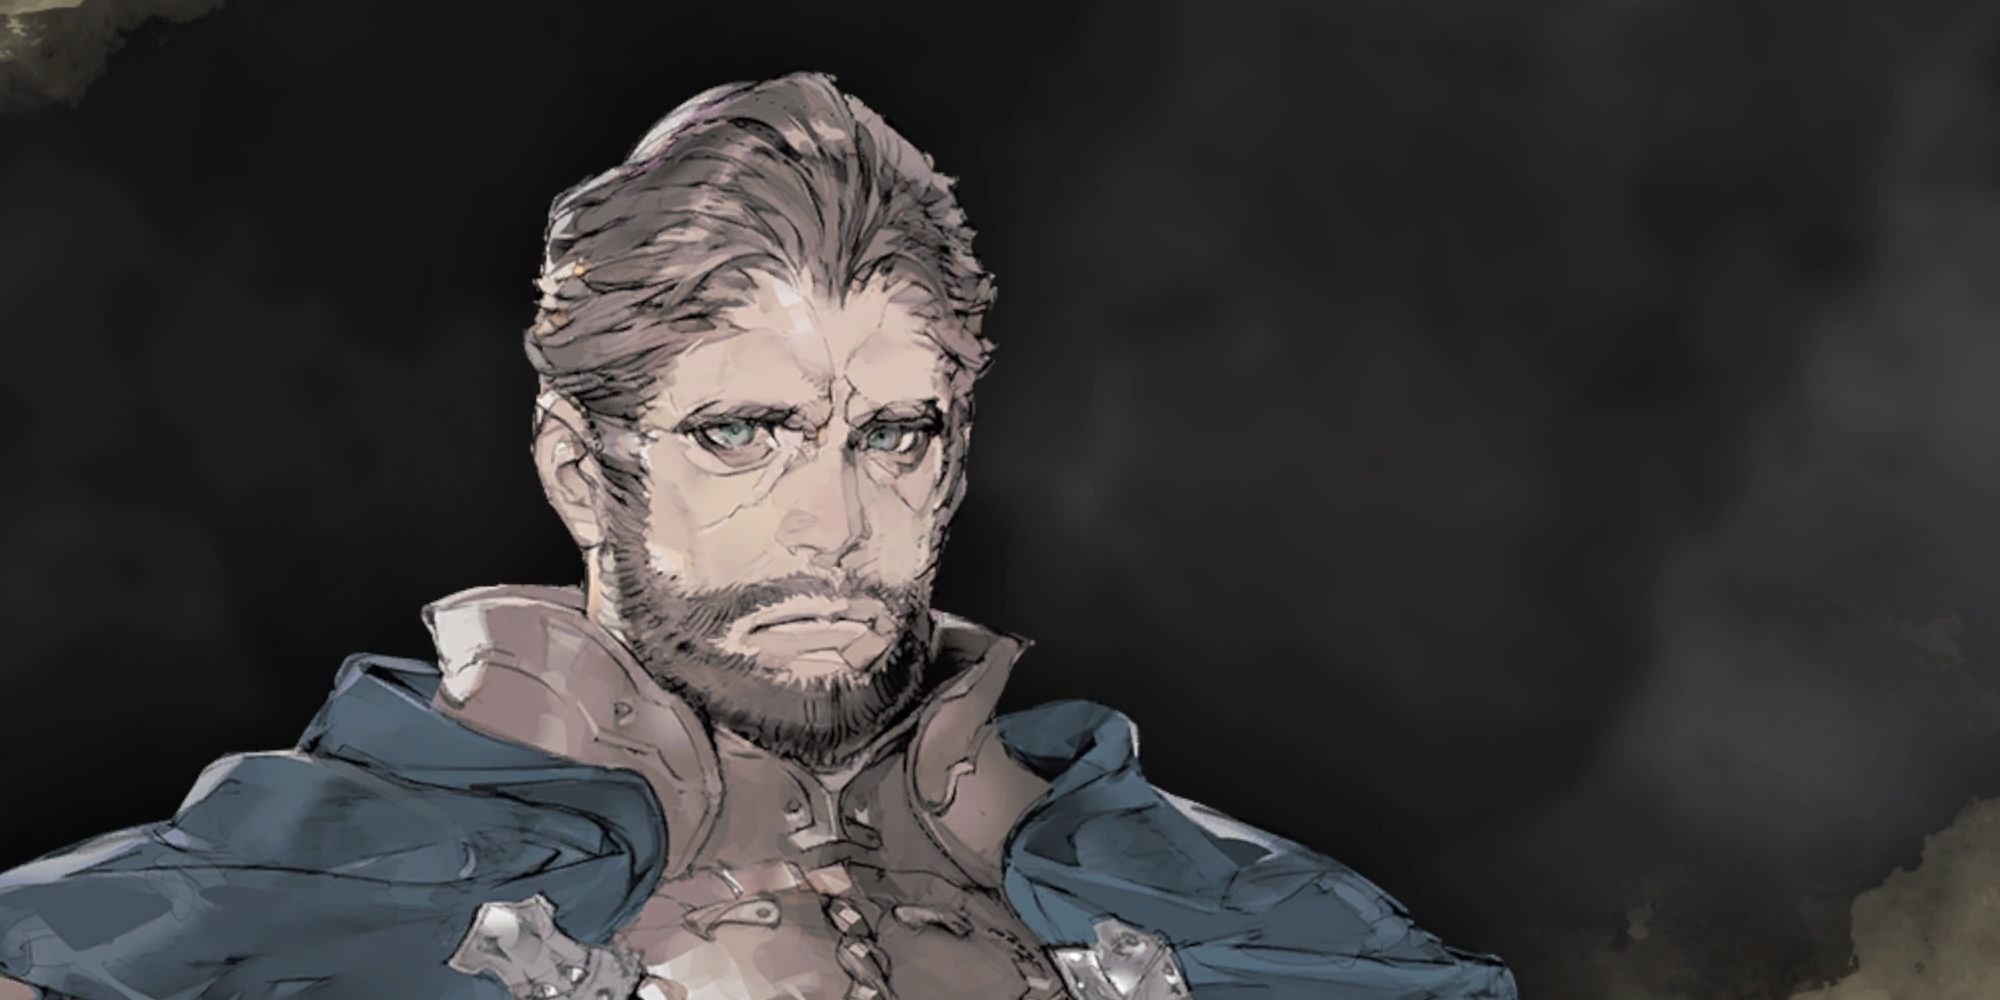
Completing this mission will also give you a new recruit. Welcome Donovar to the party!
Secure The Supply Route
|
Recommended Level |
10 |
|
|---|---|---|
|
Enemies |
Phase 1 |
5x Lv 10 Wolves |
|
Phase 2 |
3x Lv 10 Wolves |
|
|
Phase 3 |
5x Lv 10 Wolves |
|
|
Objective |
Defeat all enemies. |
|
|
Defeat |
All allies defeated. |
|
|
Rewards |
Complete the mission. |
1650 Gold |
|
Allow no allies to fall in battle. |
1 SP |
|
|
Complete mission in 6 min. |
Gold Bar |
|
|
Difficulty |
★☆☆☆☆☆☆☆☆☆ (1/10) |
|
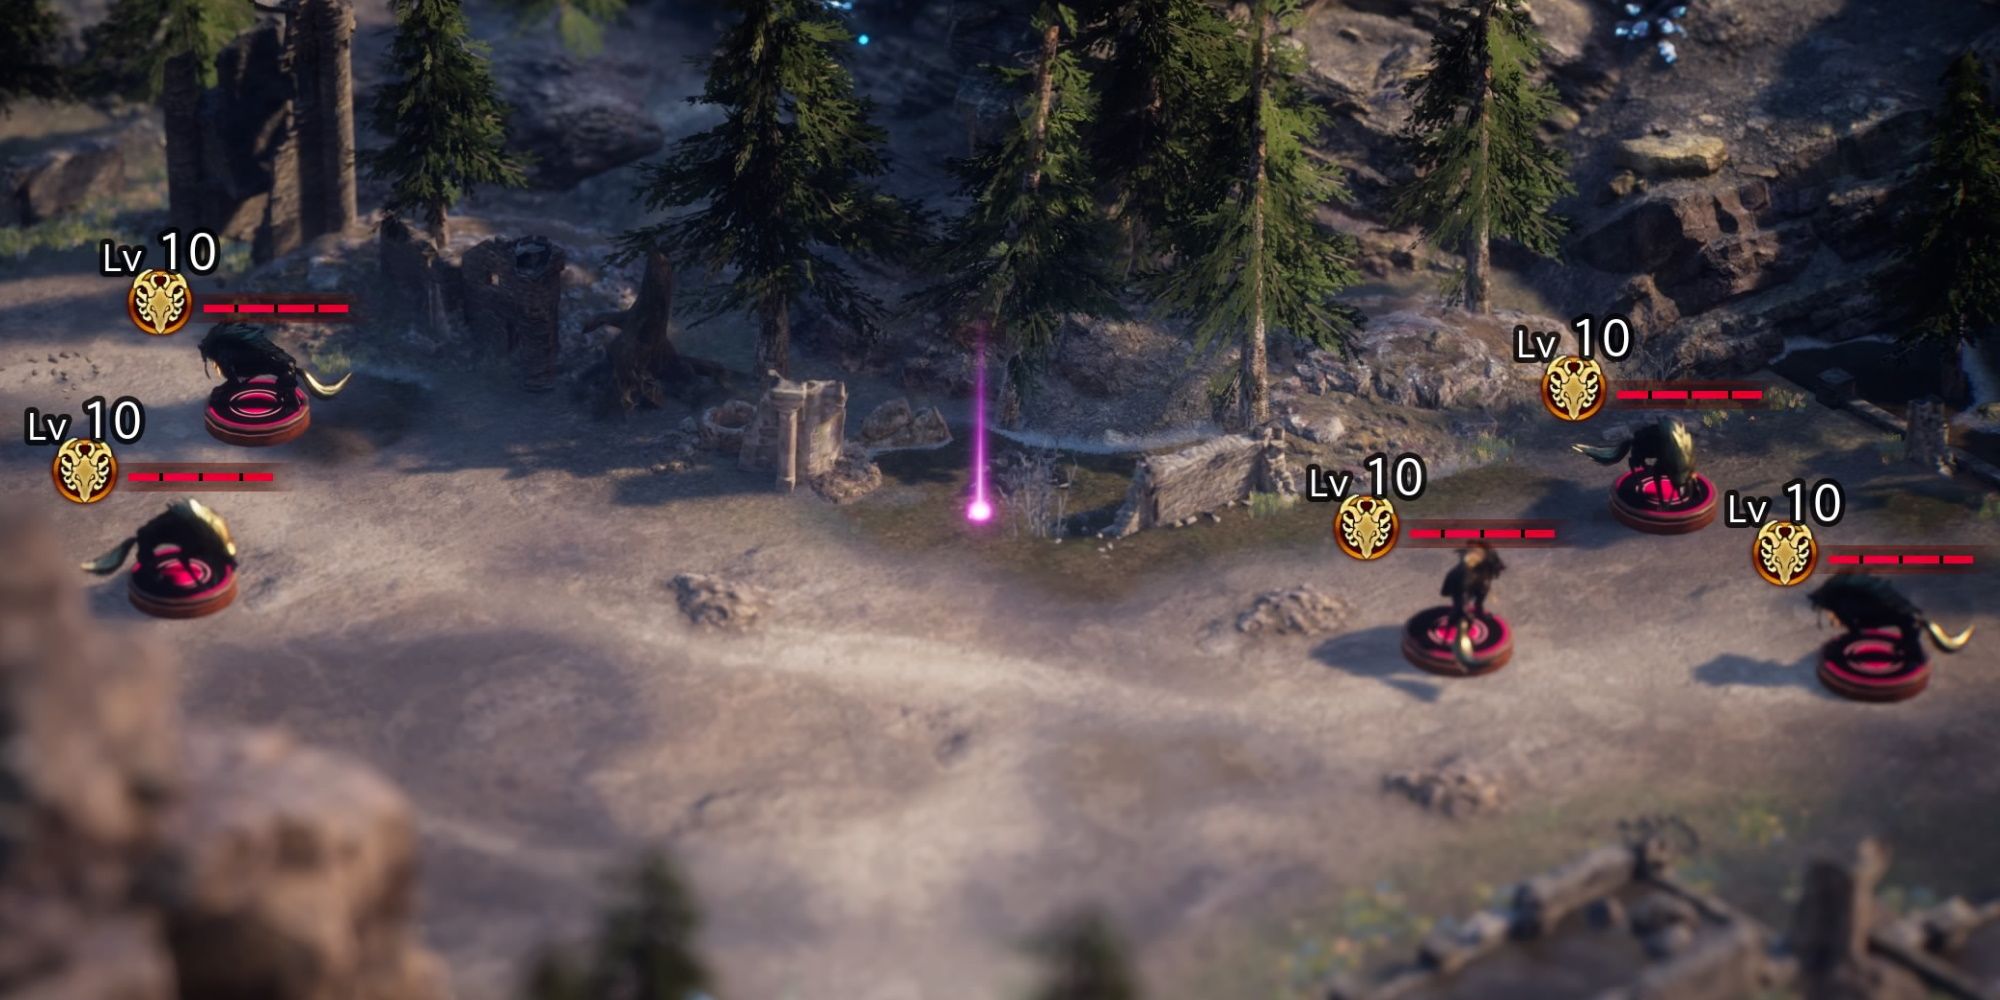
This battle is as straightforward as they come. You will fight a group of five wolves, then you will fight a group of three wolves, then you will fight another group of five wolves. They don't have any special abilities you need to worry about. So, this is really as straightforward as it sounds.
This mission gives you an exceedingly generous six minutes to complete it in order to get the gold bar, so you don't have to even be that efficient in how you approach them. You can sorta just mash your troops into the wolves and almost certainly emerge victorious.
Eliminate The Noble Filth
|
Recommended Level |
12 |
|
|---|---|---|
|
Enemies |
Phase 1 |
4x Lv 10 Soldiers, 4x Lv 10 Archers |
|
Phase 2 |
8x Lv 11 Archers 5x Lv 12 Cavalry |
|
|
Phase 3 |
3x Lv 12 Archers 3x Lv 13, Cavalry |
|
|
Objective |
Defeat all enemies. |
|
|
Defeat |
All allies defeated. |
|
|
Rewards |
Complete the mission. |
1650 Gold |
|
Allow no allies to fall in battle. |
1 SP |
|
|
Complete mission in 6 min. |
1 SP |
|
|
Difficulty |
★★★☆☆☆☆☆☆☆ (3/10) |
|
This is an encounter that could totally sneak up on you if you aren't being careful. So, the first phase is very straightforward. There are two soldiers and two archers that your party will need to take out. Then you will cross a bridge and fight another group of two Soldiers and two Archers. Considering this is a chapter 2 mission, all of them being level 10 means that this will probably go pretty smoothly for you.
However, after you clear that group out, three groups of enemies will spawn. Three archers on the right side of the map, three archers on the left side of the map, two archers and a cavalry unit a little to the left of where your party will be. Now, you may think that you should split up, especially if you are going to finish this battle in under six minutes. But worry not, these troops are actually going to come to you.
We wouldn't recommend you sit still, instead, push toward the group with the Cavalry unit. You will be able to take these guys out before the rest converge on you. Then you gotta just clean up some archers. But we're not done! Now three cavalry units and an archer will appear to your far left, and two archers will appear on the far right.
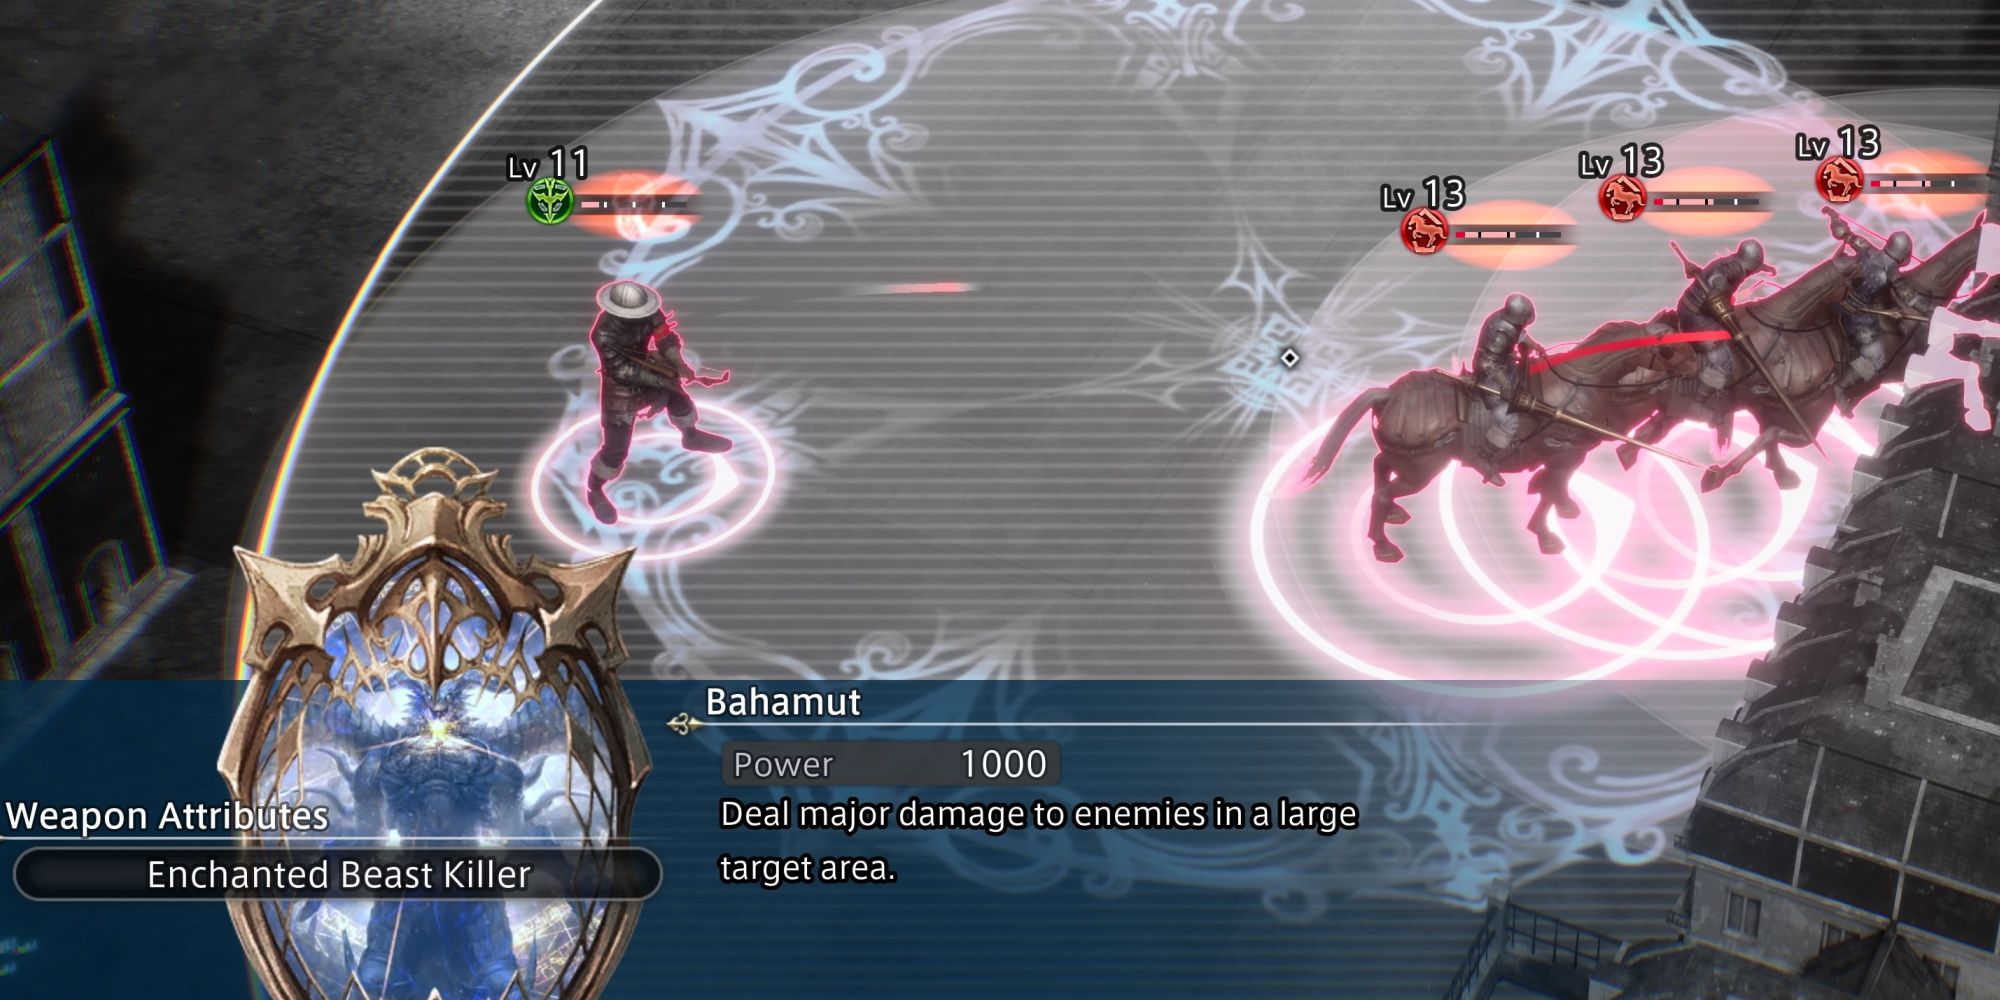
Push toward the groups with the cavalry troops, as they are the real threat here. Don't worry about the archers, they'll come to you. Feel free to unload your summons on the cavalry, as they will be conveniently bunched together. By the time you finish them off, the archers should just be arriving. Two archers versus your entire squad don't stand a chance.
Fawnbrea Region
|
Recommended Level |
17 |
|
|---|---|---|
|
Enemies |
Phase 1 |
4x Lv 14 Wolves |
|
Phase 2 |
5x Lv 16 Wolves |
|
|
Phase 3 |
3x Lv 16 Wolves, 1x Lv 18 Fenrir Wolf |
|
|
Objective |
Defeat all enemies. |
|
|
Defeat |
All allies defeated. |
|
|
Barricade destroyed. |
||
|
Rewards |
Complete the mission. |
2530 Gold |
|
Allow no allies to fall in battle. |
1 SP |
|
|
Complete mission in 6 min. |
Gold Bar |
|
|
Difficulty |
★★★★★☆☆☆☆☆ (5/10) |
|
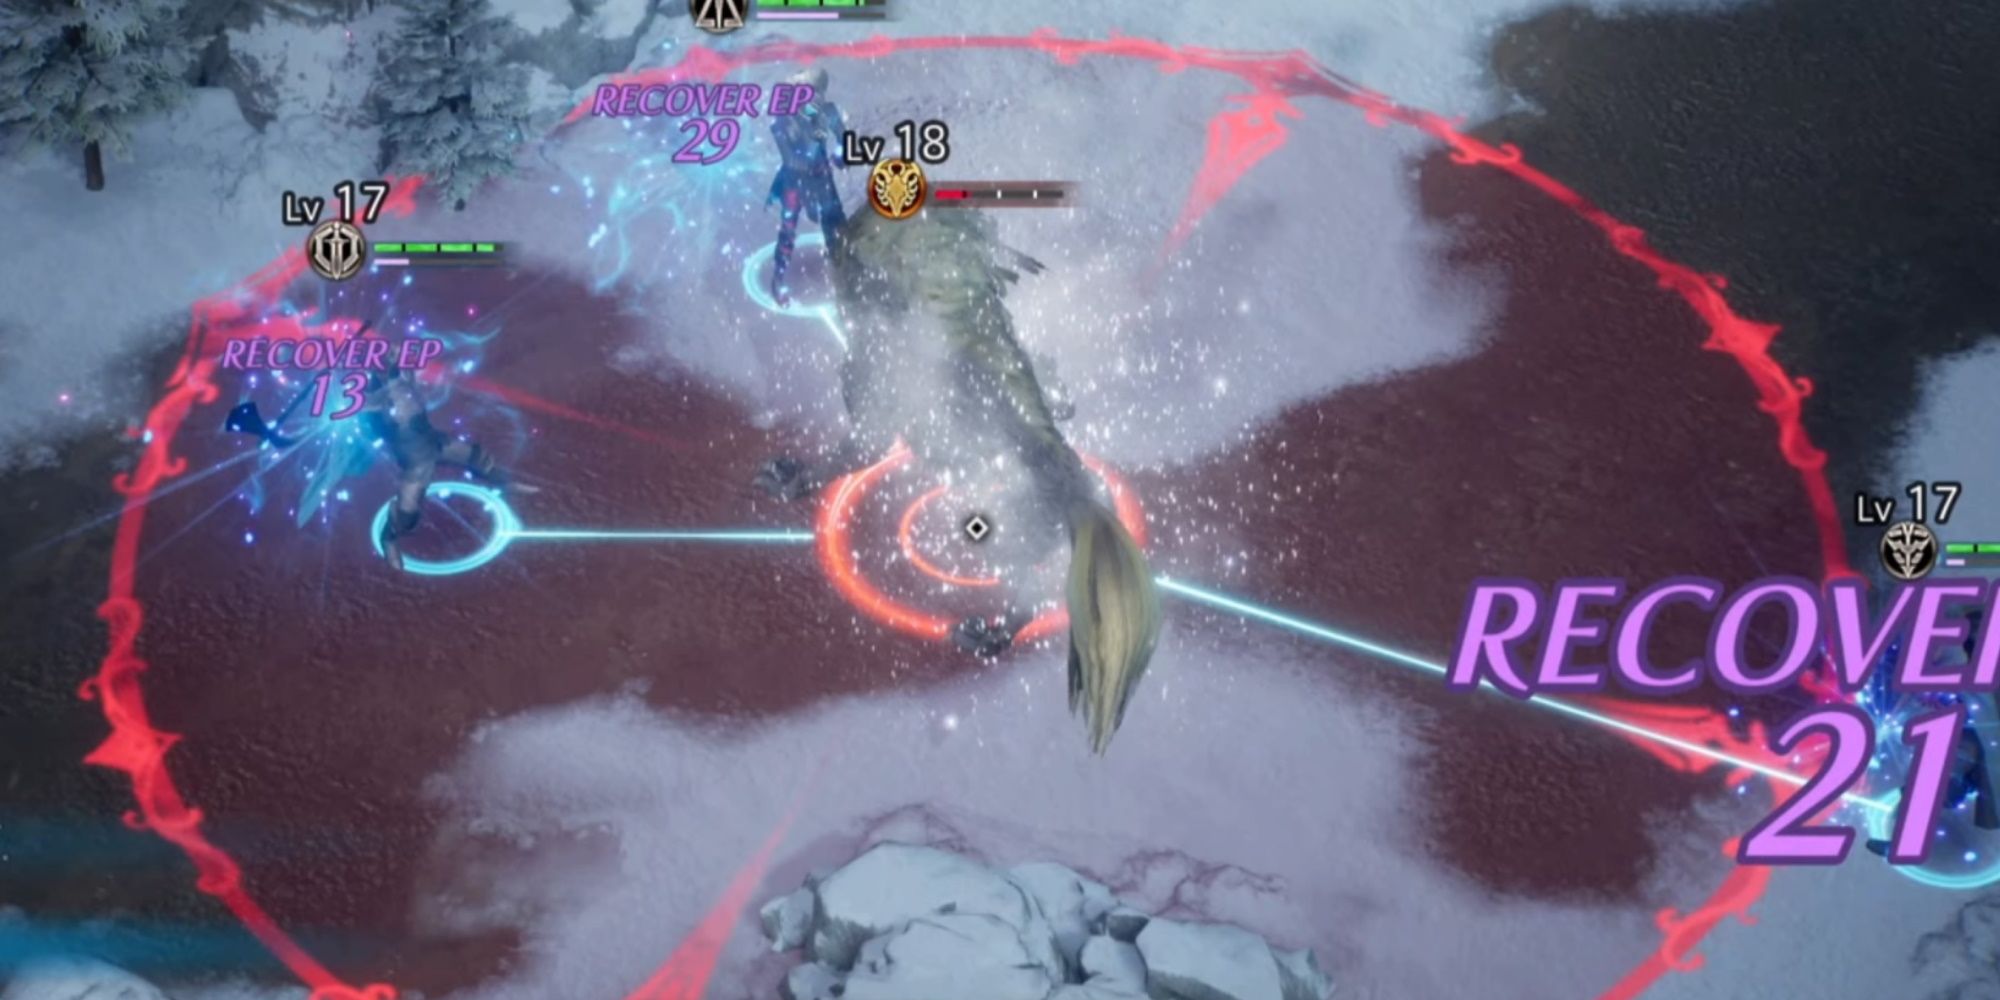
Having Waltaquin's Freezing Circle attack is very useful in this stage. While you can absolutely get by without it, we would recommend entering this battle with it on her.
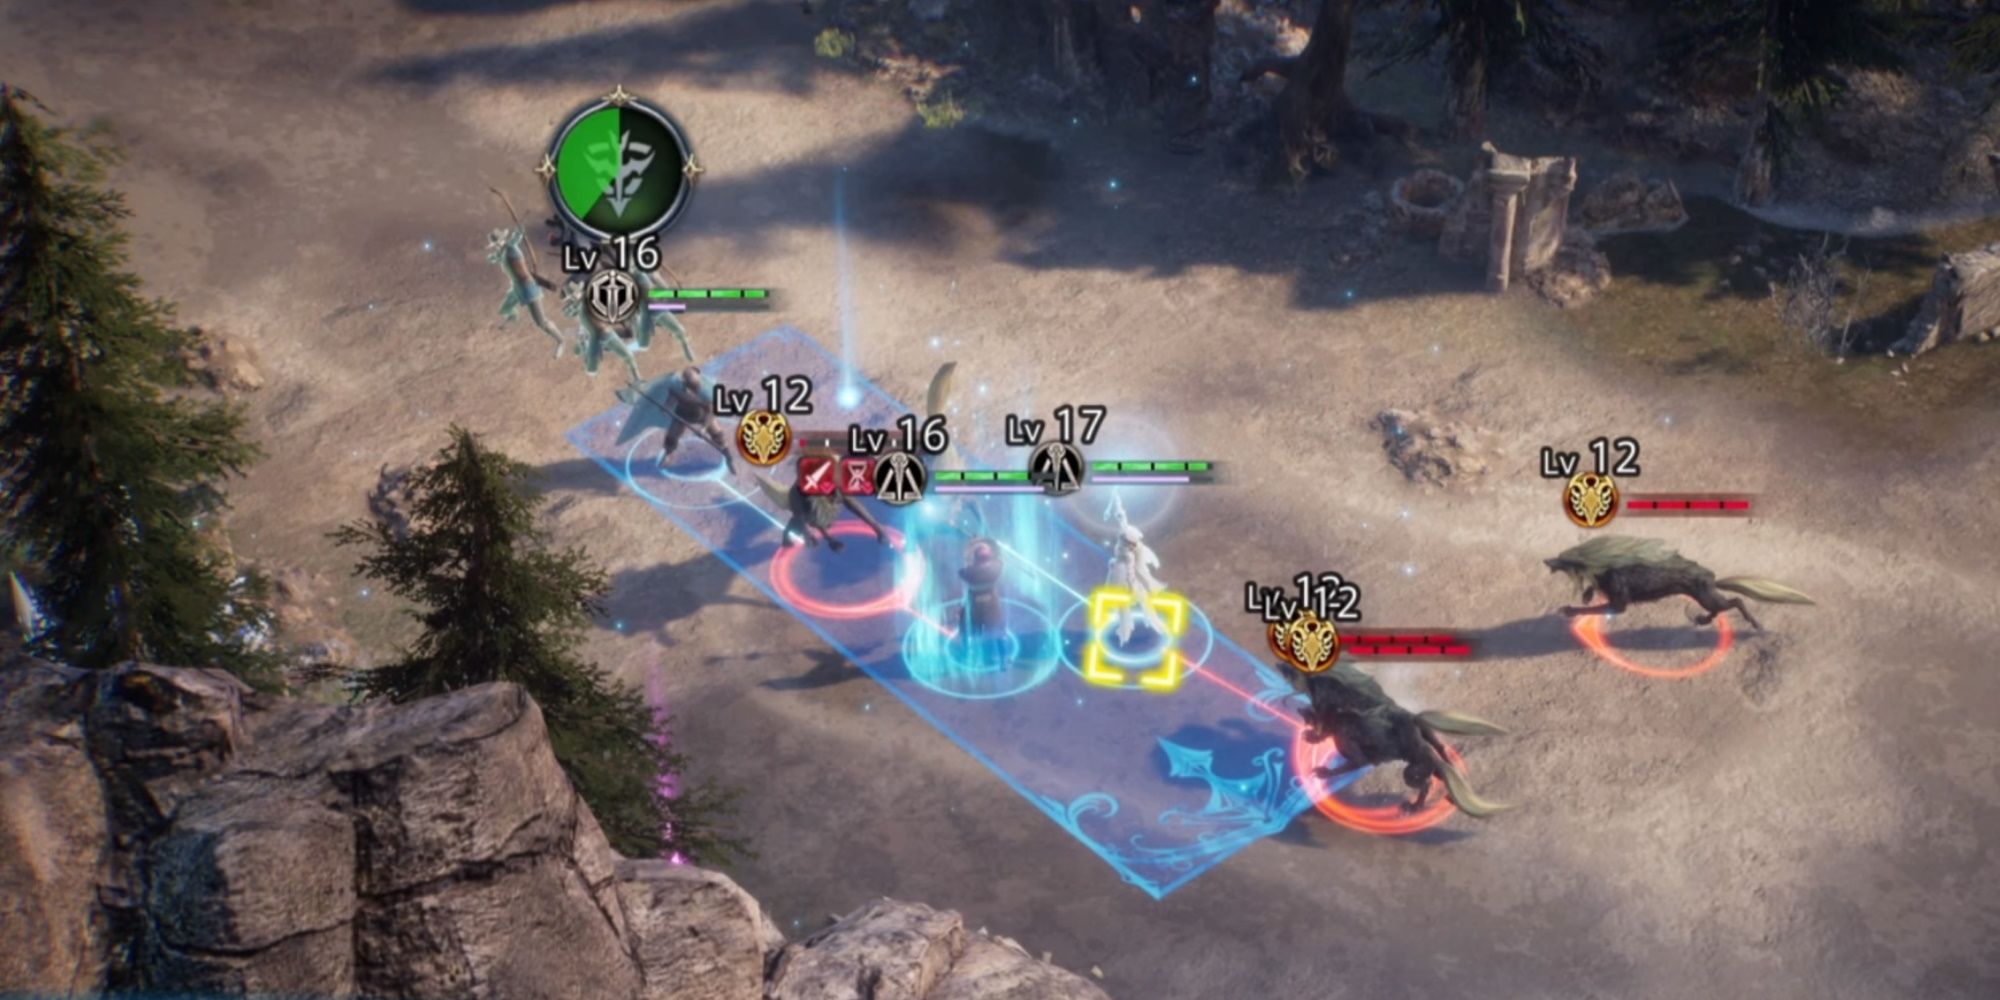
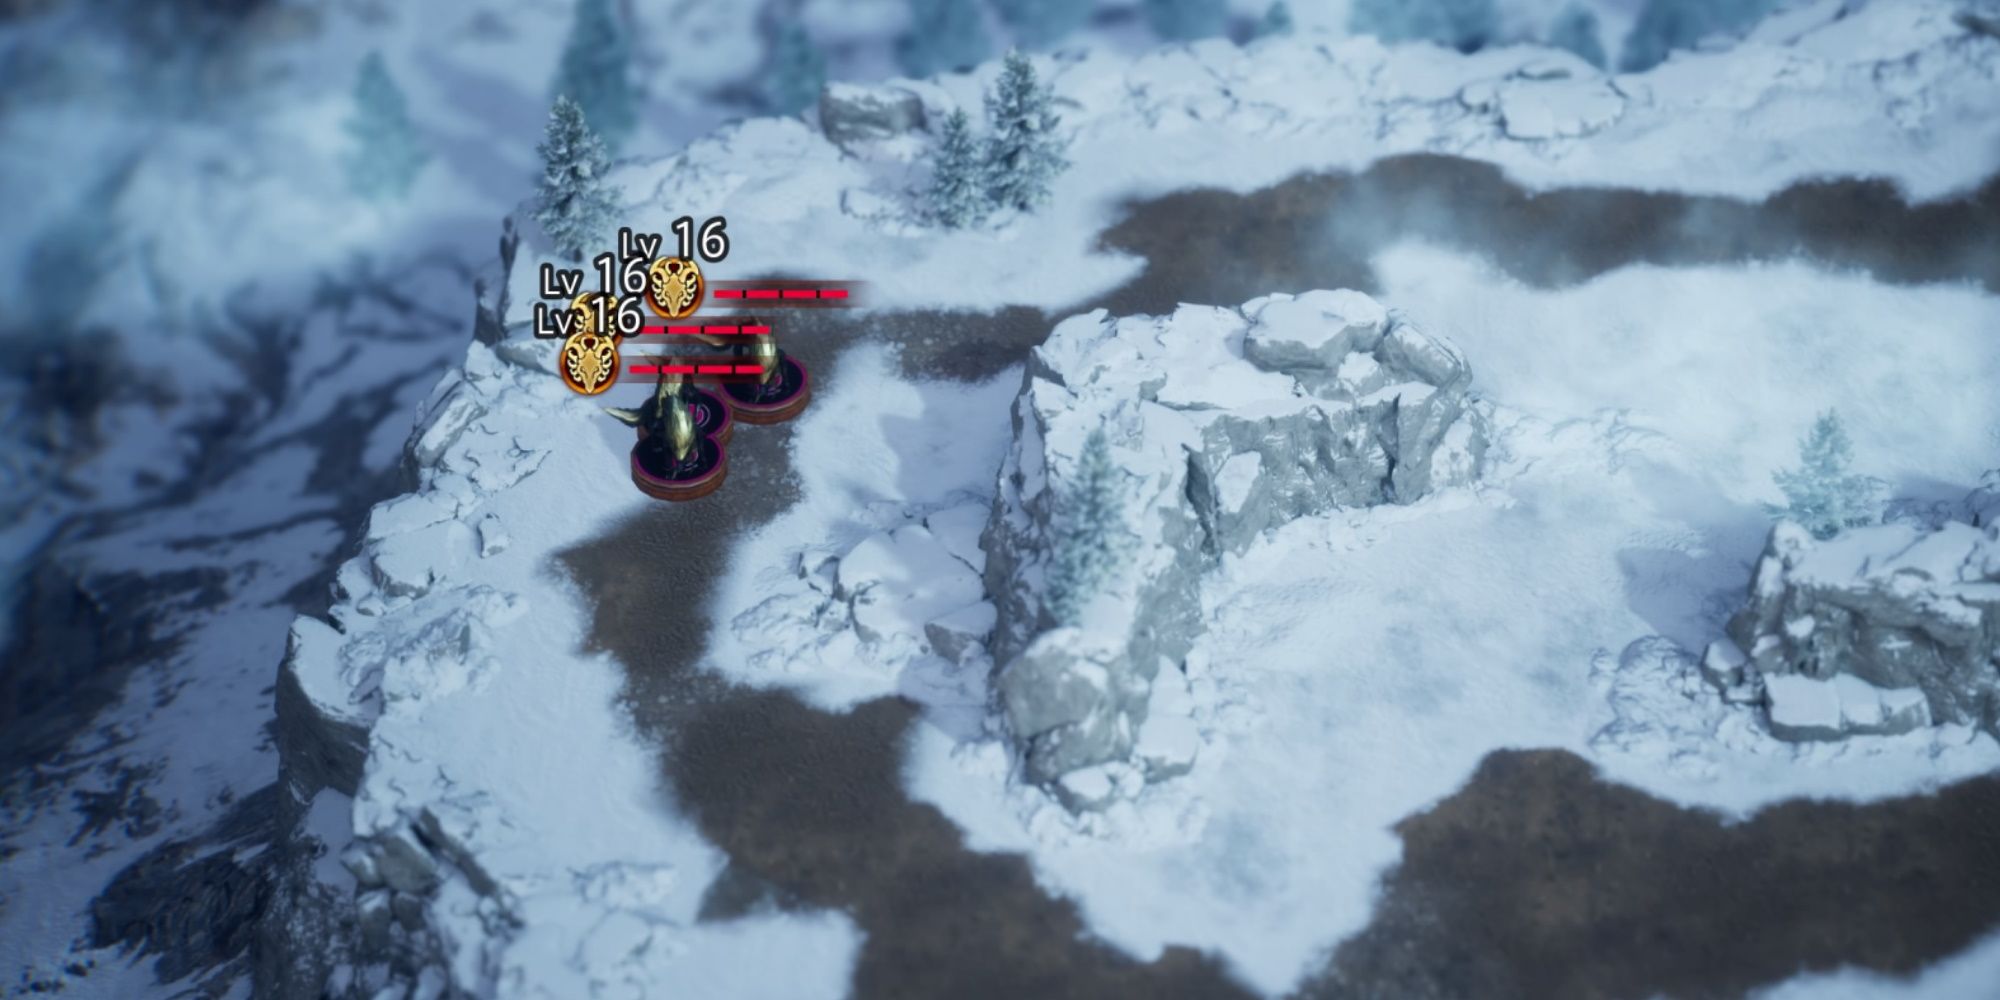
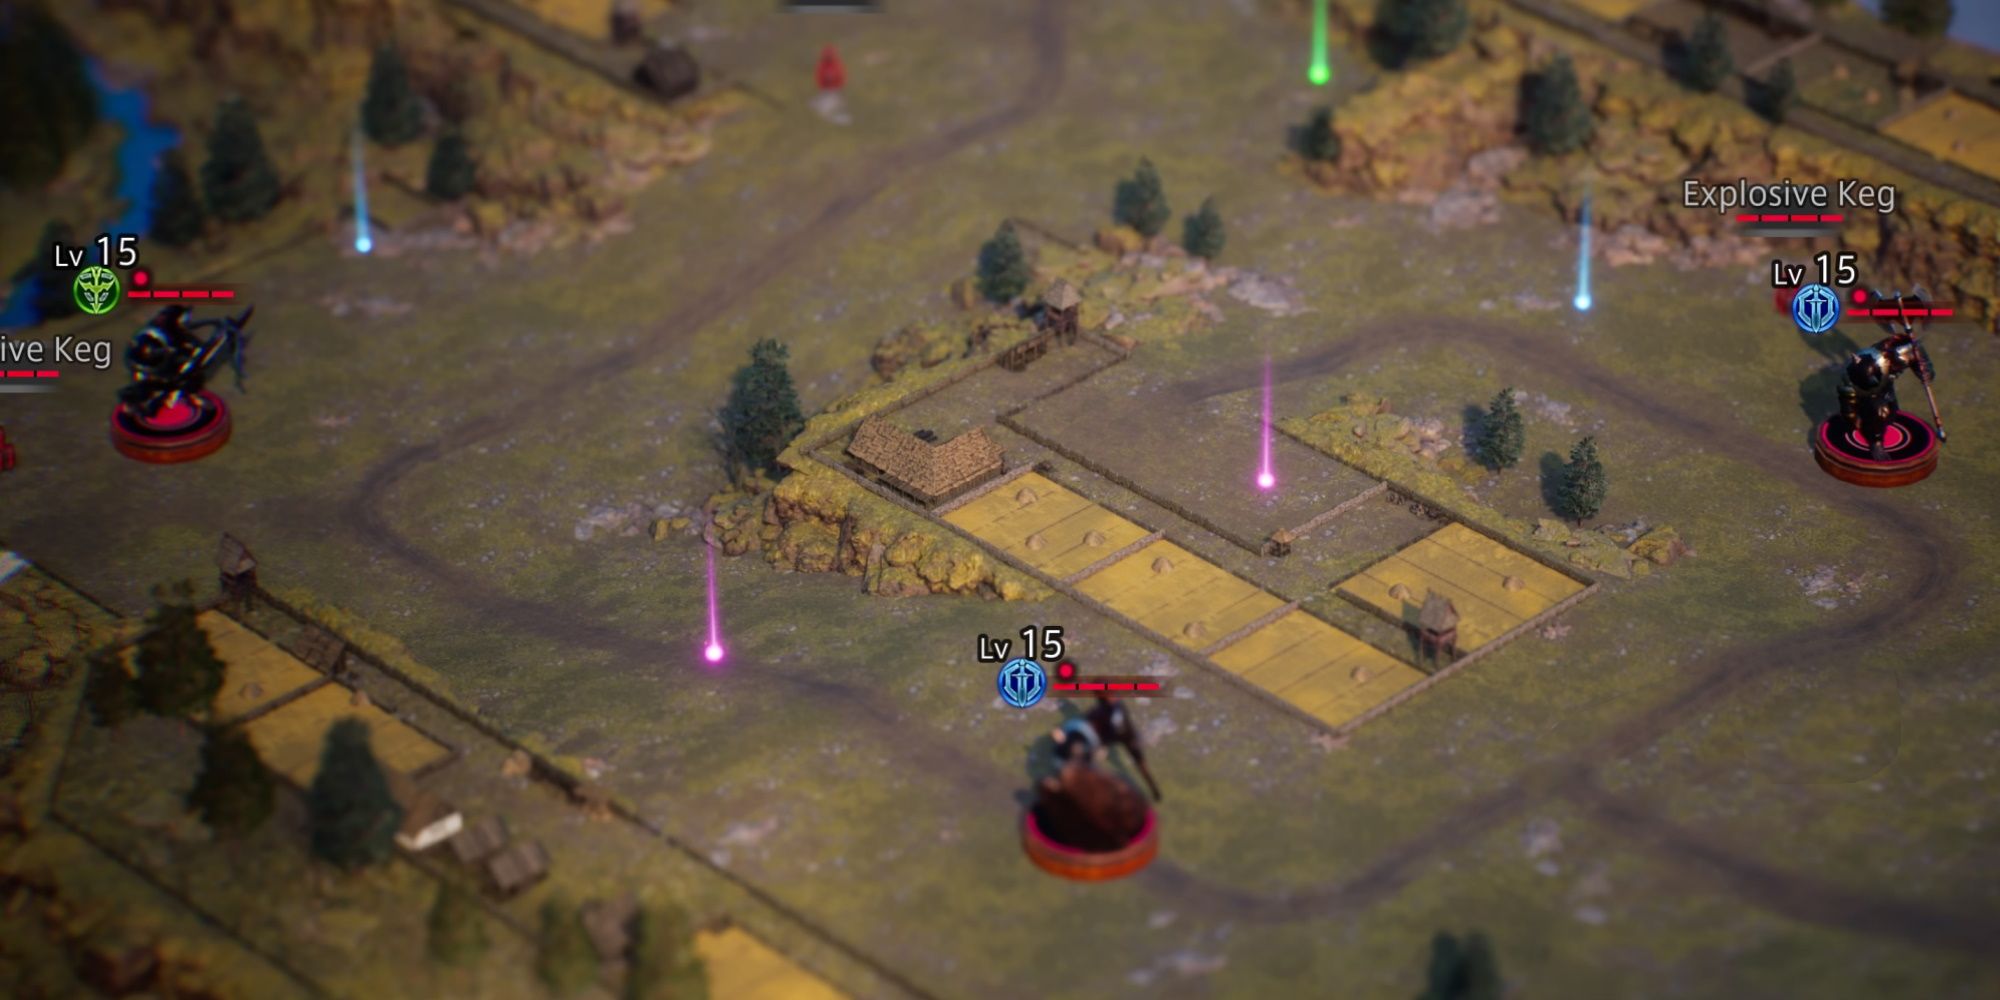
This is a three wave fight. You don't need to worry about chasing down your opponents, as they will all come to you! The first group of wolves will travel along the left side. Just take them out using your ordinary skills. Don't waste the explosive barrels on them! After you kill the weak, runty wolves, a pack of five slightly less runty wolves will rush around the left side.
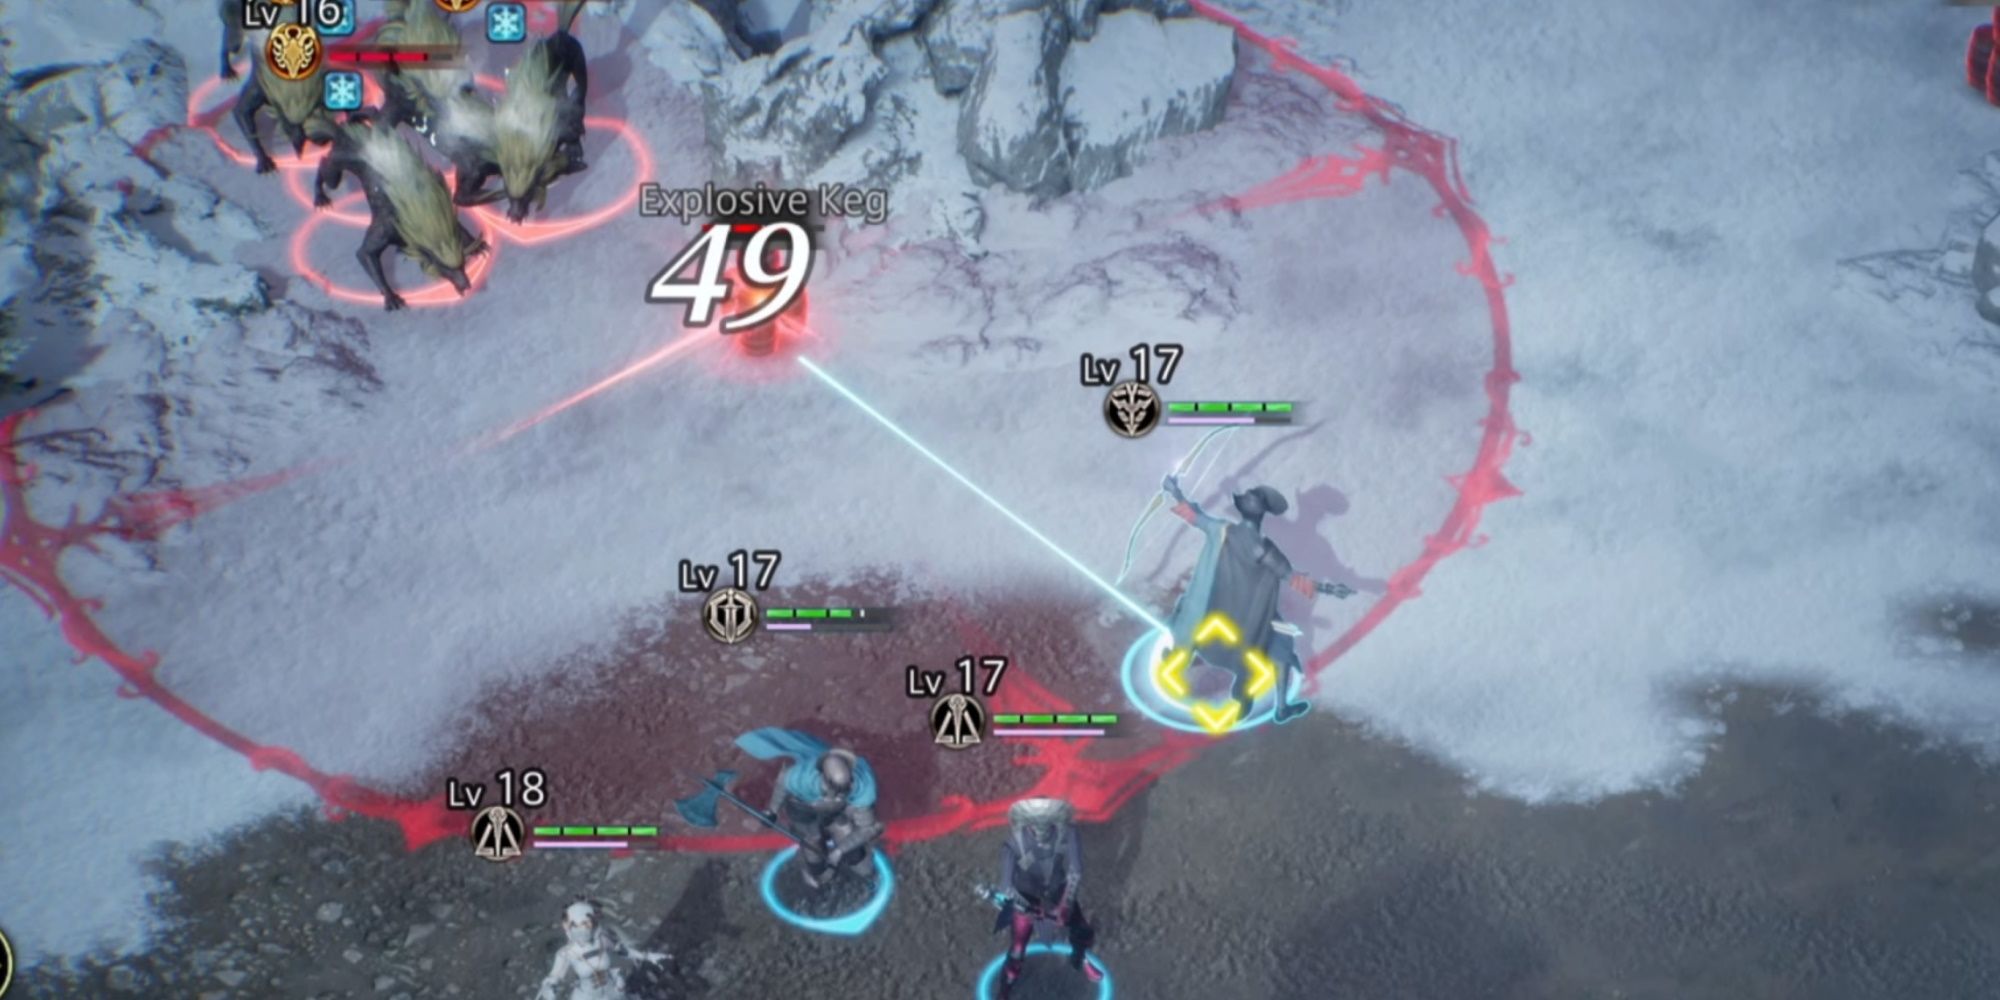
Here is where you will either freeze them all with Waltaquin when they are beside the exploding barrel, or have Izelair use her Shield Wall skill just out of reach of the explosion. Once you have weakened them with the barrel, you can hit them with another AOE attack or two and then finish them off with the Assassination skill.
Now, for the last phase, prepare to face off against the Fenrir boss again. They're back for round 2! However, while they do have access to all the same moves, they only have two health bars this time around. The Fenrir will come at you from the right side, while the wolves will come at your from the left. A good strategy is to position Izelair in front of the Fenrir wolf boss, and just keep them occupied with the shield wall, while you take out the other wolves the same way you took out the wolves in phase 2.
Once the wolves are down, dogpile on the Fenrir wolf. All the same rules from the first fight still apply here! Save your stun shots for when they are summoning more wolves: you will know that is what they are doing when a giant circle appears all around them.
Yulden Outskirts
|
Recommended Level |
17 |
|
|---|---|---|
|
Enemies |
Phase 1 |
3x Lv 10 Ogres |
|
Phase 2 |
3x Lv 10 Ogres |
|
|
Objective |
Defeat all enemies. |
|
|
Defeat |
All allies defeated. |
|
|
Rewards |
Complete the mission. |
2530 Gold |
|
Allow no allies to fall in battle. |
Jade Crystal |
|
|
Complete mission in 6 min. |
Jade Crystal |
|
|
Difficulty |
★★★★★☆☆☆☆☆ (5/10) |
|
This is an interesting one. Open entering the map you will see that there are three Ogres patiently waiting to fight you. All the Ogres come equipped with a number of special attacks, and they all come packing two health bars. This is the first side mission where we think you need to be genuinely worried about the time limit. These Ogres do not die quickly. Thankfully, the stage is positioned to help you.
There are explosive barrels positioned next to each Ogre on the map. Make good use of these! We strongly recommend bringing your hardest hitting characters. Split them into two groups, and take out the Ogres on the right and on the left. Don't hold back on your skills. Use them liberally. And remember, these ogres have their own special attacks, so make sure you are bouncing between the two parties, or you may get tattooed by one of these hard hitting specials.
Once you have finished off both of them, head straight for the Ogre in the northern section of the map. If one party finishes their ogre before the other, that is fine. Just send the other over once they have finished their Ogre off. The second you finish off the third Ogre, three more will appear in the corner of the map. Send your entire force their way.
Thankfully, this last group will all be clustered together, with an explosive barrel nearby. Draw them to the barrel, explode the barrel, and then unload your summons on them (you should have around two at this point). This is also a good time to hit them with Arrow Barrages, Axe Boomerangs, and any other attack that damages large amounts of enemies at once. If you run out of EP at any point, just swap your characters to refresh it.

