Quick Links
The DioField Chronicle's fourth chapter is absolutely loaded with Side Missions. More than any of the previous chapters, for that matter. Much like the second chapter, one of these will even provide you with a new recruit! On that note, some of these quests are only unlocked through Donovar. So, if you haven't recruited him yet, you may be missing a mission or two.
As for the actual mission types, there is a bit of everything here. You will defend positions, fight hordes of enemies, hunt unique bosses, and generally do a lot of battling. While these may not be the most challenging missions in the game, if you are struggling with any particulars the details below should help you work through them efficiently.
Rematch With The Knights
|
Recommended Level |
24 |
|
|---|---|---|
|
Enemies |
Phase 1 |
2x Lv 21 Soldiers, 2x Lv 21 Archers |
|
Phase 2 |
4x Lv 22 Soldiers |
|
|
Phase 3 |
3x Lv 22 Mages, 1x Lv 25 Gigas |
|
|
Objective |
Defeat all enemies |
|
|
Defeat |
All allies defeated |
|
|
Barricade destroyed |
||
|
Rewards |
Complete the mission |
7680 Gold |
|
Allow no allies to fall in battle |
1 SP |
|
|
Complete mission in 6 min |
Gold Bar |
|
|
Difficulty |
★★☆☆☆☆☆☆☆☆ (2/10) |
|
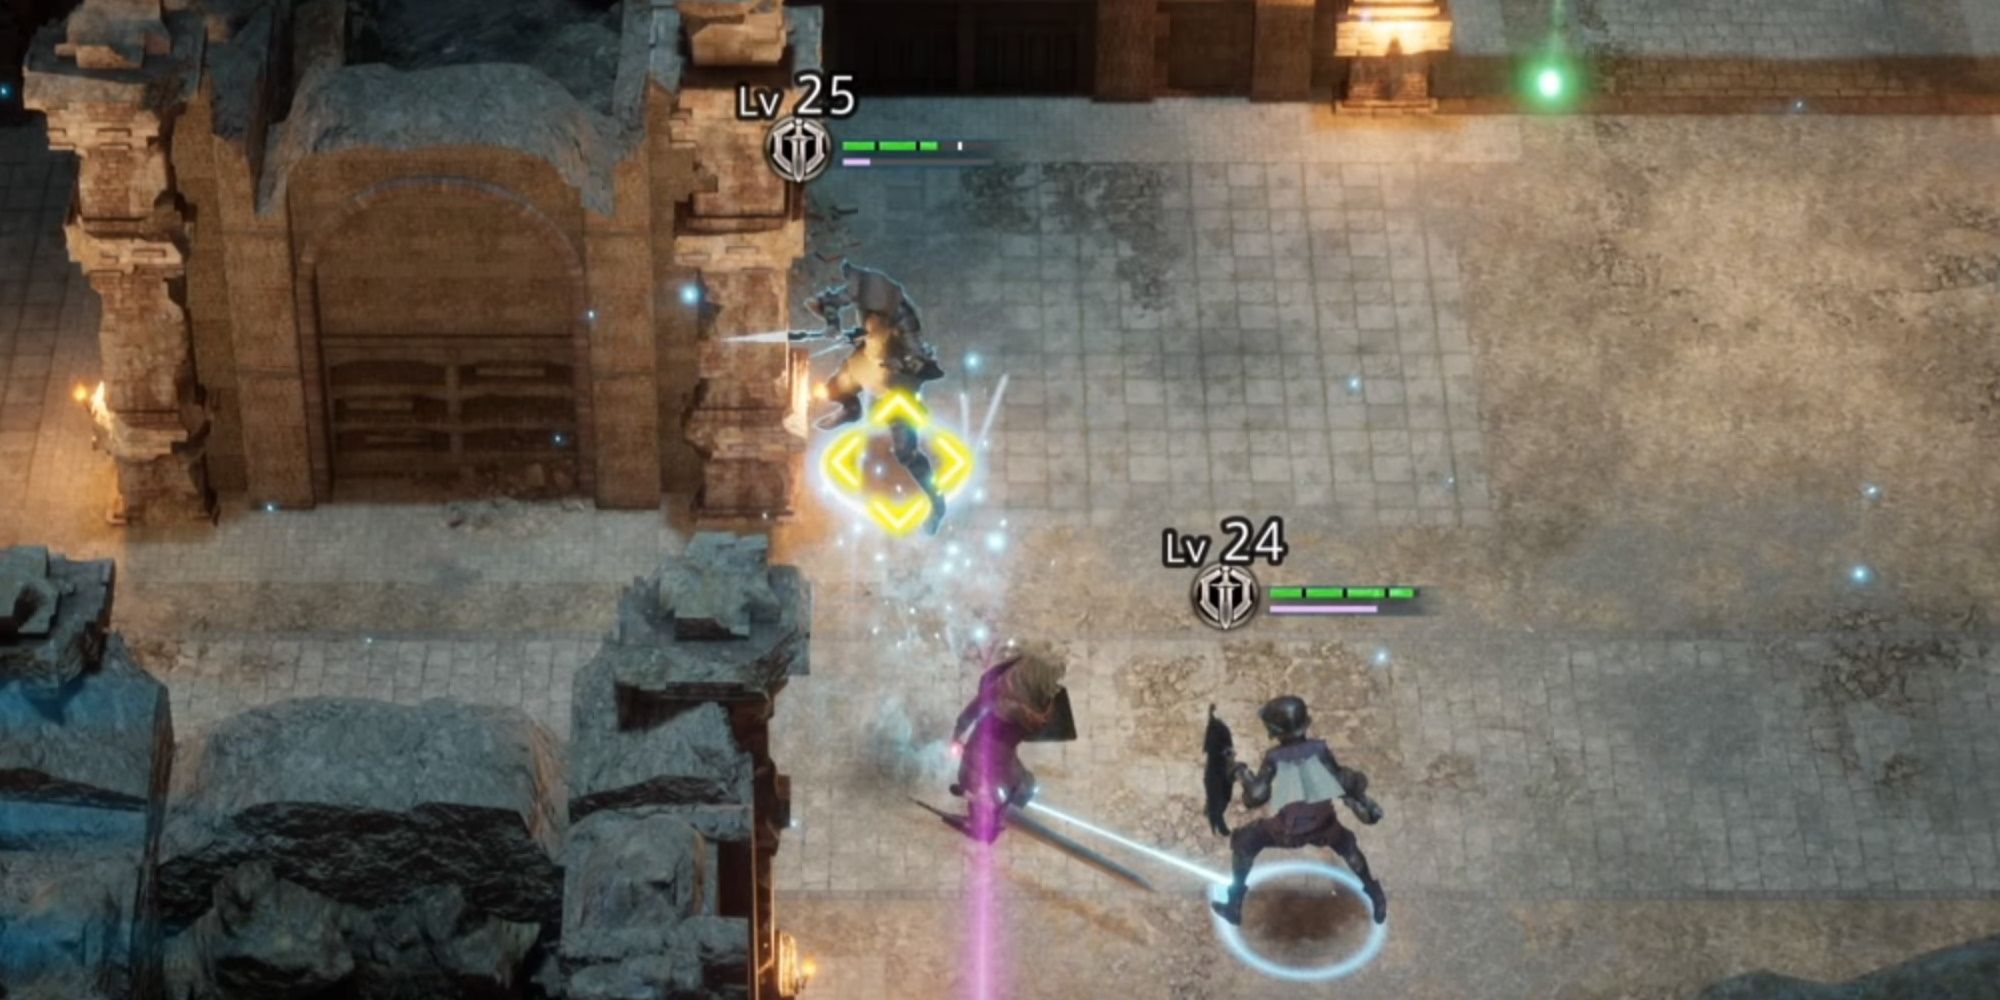
While it definitely isn't mandatory, we do recommend bringing two Cavalry units for this battle.
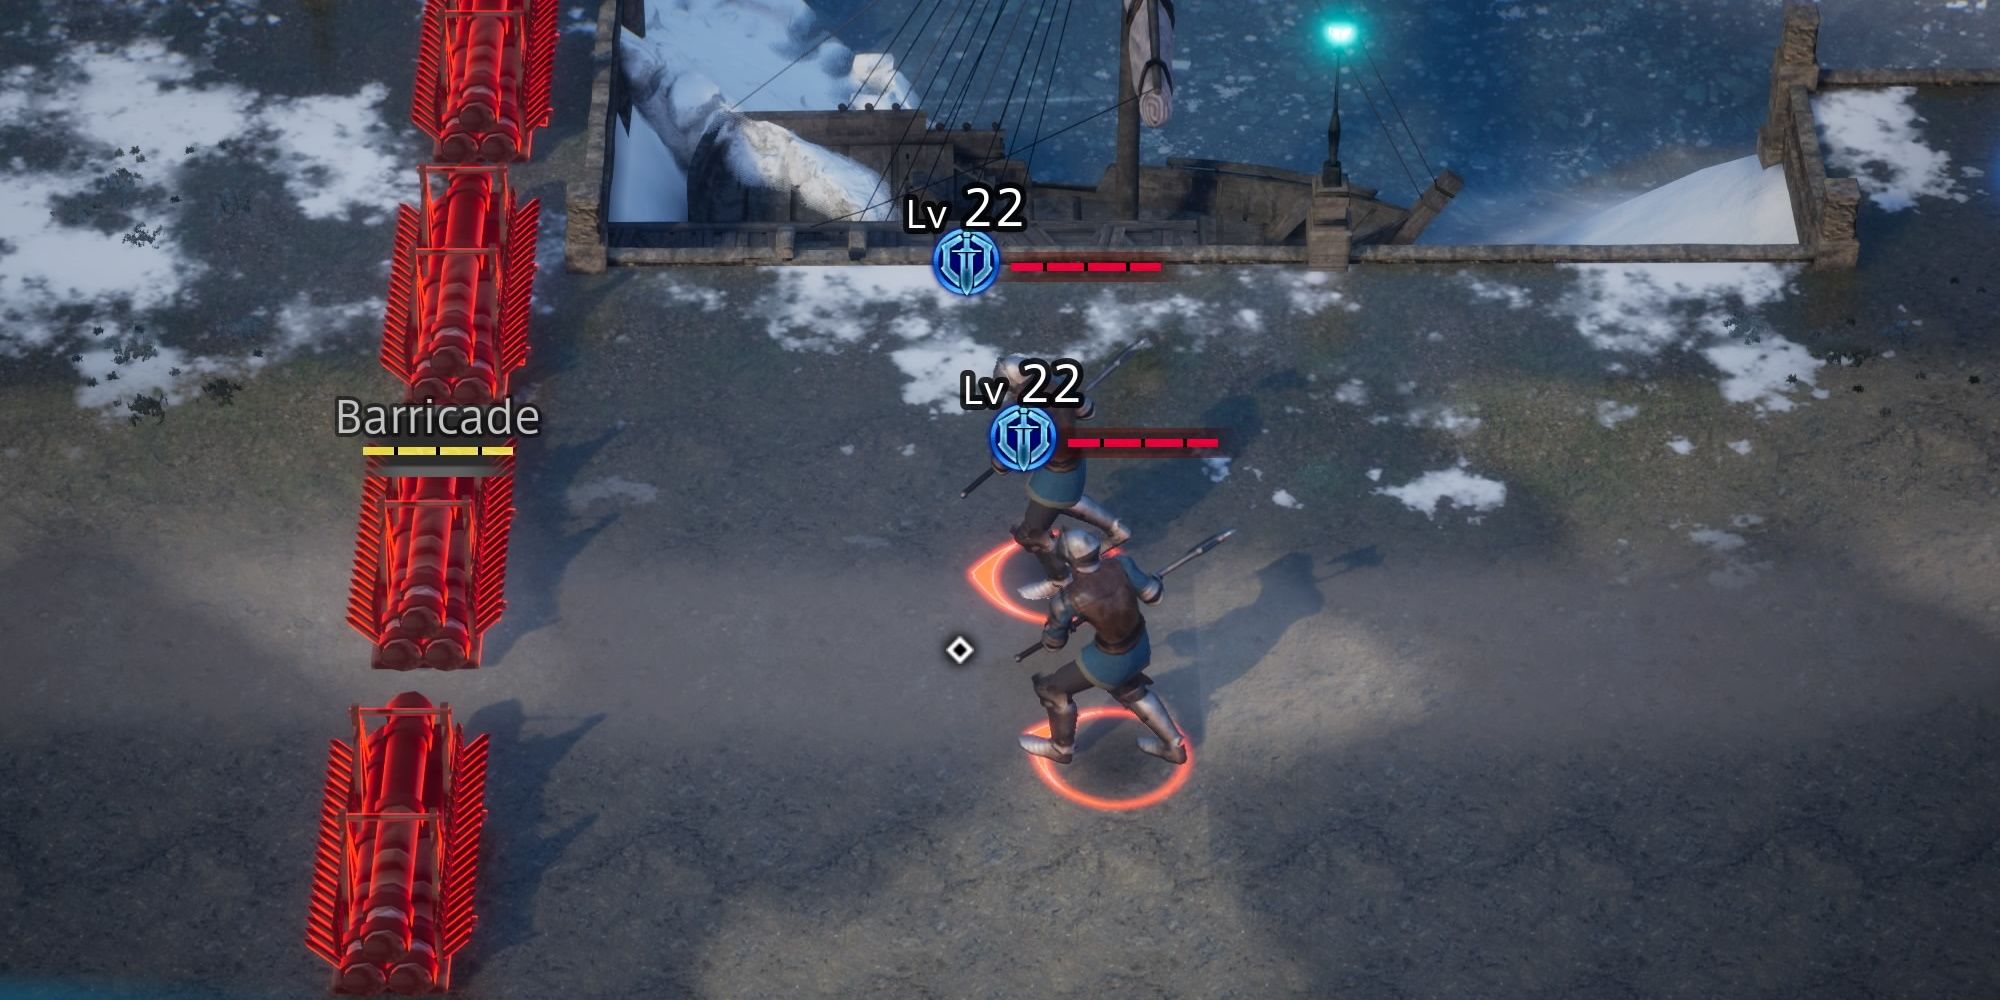
This is a pretty interesting version of the defend the barricade-style mission. Primarily, because you won't be positioned in front of the barricade; it will be off to your side. Initially, you won't even be able to reach it. So, run your troops up against the first group of enemies. Keep the Soldiers occupied while you send Andrias to kill the Archers. Then, have everyone fold in on the Soldiers and finish this group off.
The second batch of enemies will spawn beside the barricade you need to protect. Sneaky! Run your whole troop over there. You will run past a lone soldier, but while they may take a hack or two at your back, they won't pose a real threat. Your cavalry units will arrive first, of course, so have them stop the enemy Soldiers from messing with your barricade. Once everyone else arrives you will be able to easily clear these guys out.
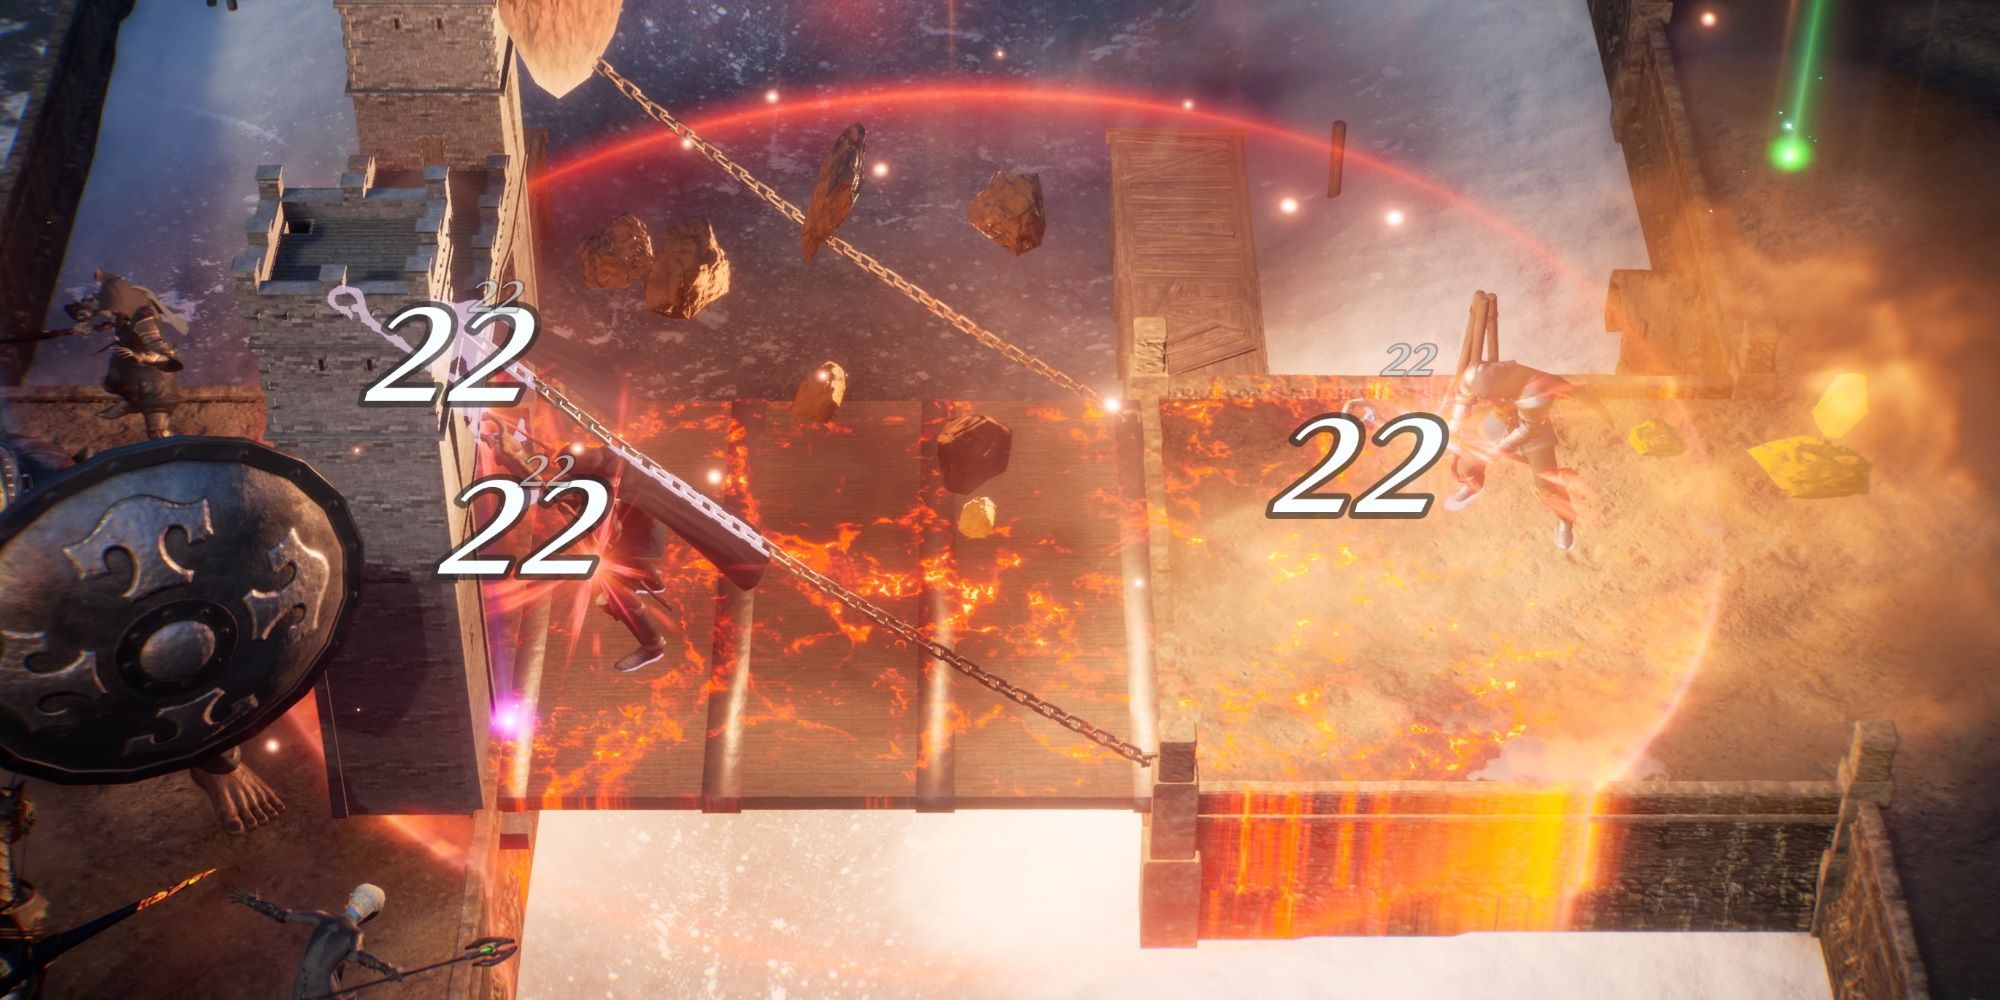
Finally, during the final phase, a Gigas will arrive. Three Mages will also appear off in the distance and rush toward your position. Fight the Gigas as a group right until the Mages arrive, then blast them all with your hardest-hitting AOE attacks. Once you kill the Mages, focus on the Gigas. Just stun it whenever it is about to use a special, and use your Andrias' assassination attacks to dole out damage. You've killed dozens of these guys at this point; they aren't a big deal.
Arrest The Fishermen
|
Recommended Level |
24 |
|
|---|---|---|
|
Enemies |
Phase 1 |
4x Lv 20 Archer, 1x Lv 20 Soldier, 1x Lv 24 Soldier |
|
Phase 2 |
3x Lv 20 Archer, 2x Lv 20 Soldier |
|
|
Phase 3 |
3x Lv 20 Cavalry, 3x Lv 20 Archers |
|
|
Phase 4 |
2x Lv 22 Cavalry, 6x Lv 20 Archers, 1x Lv27 Soldier |
|
|
Objective |
Defeat all enemies |
|
|
Defeat |
All allies defeated |
|
|
Rewards |
Complete the mission |
7680 Gold |
|
Allow no allies to fall in battle |
1 SP |
|
|
Complete mission in 6 min |
Gold Bar |
|
|
Difficulty |
★★☆☆☆☆☆☆☆☆ (2/10) |
|
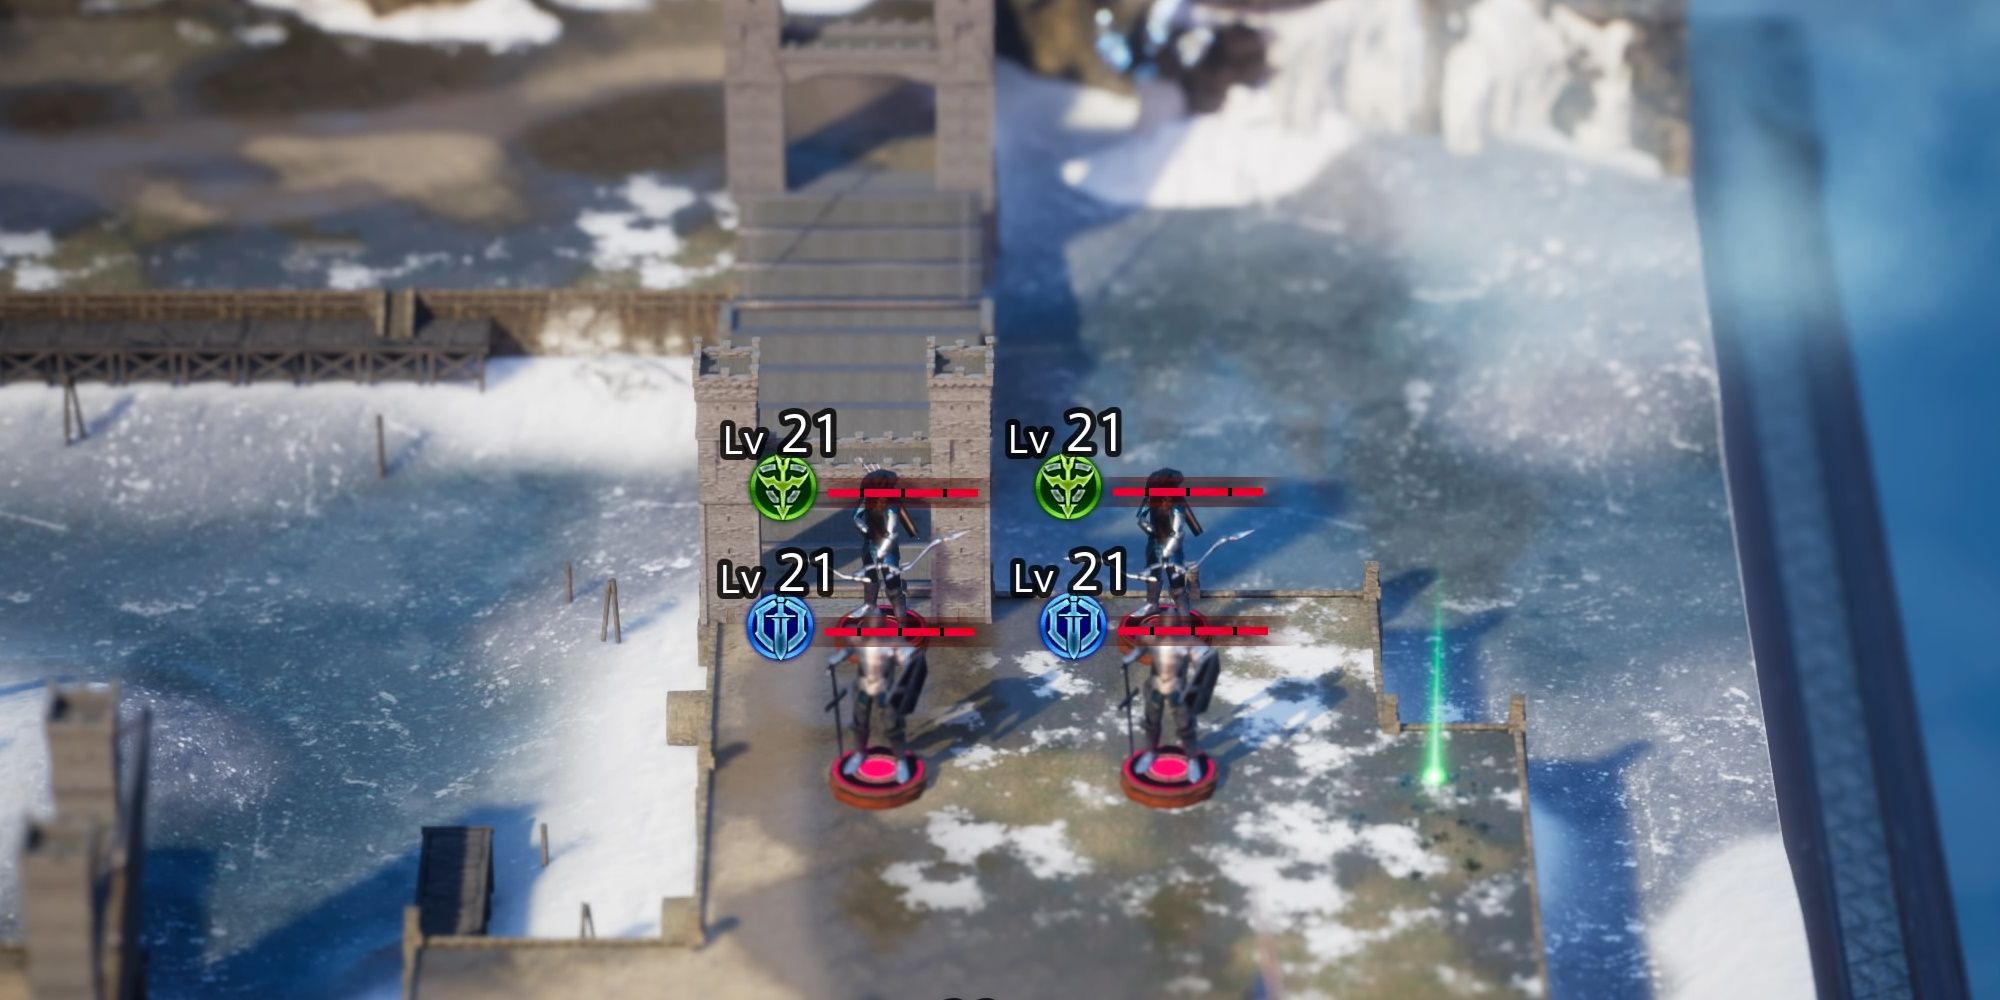
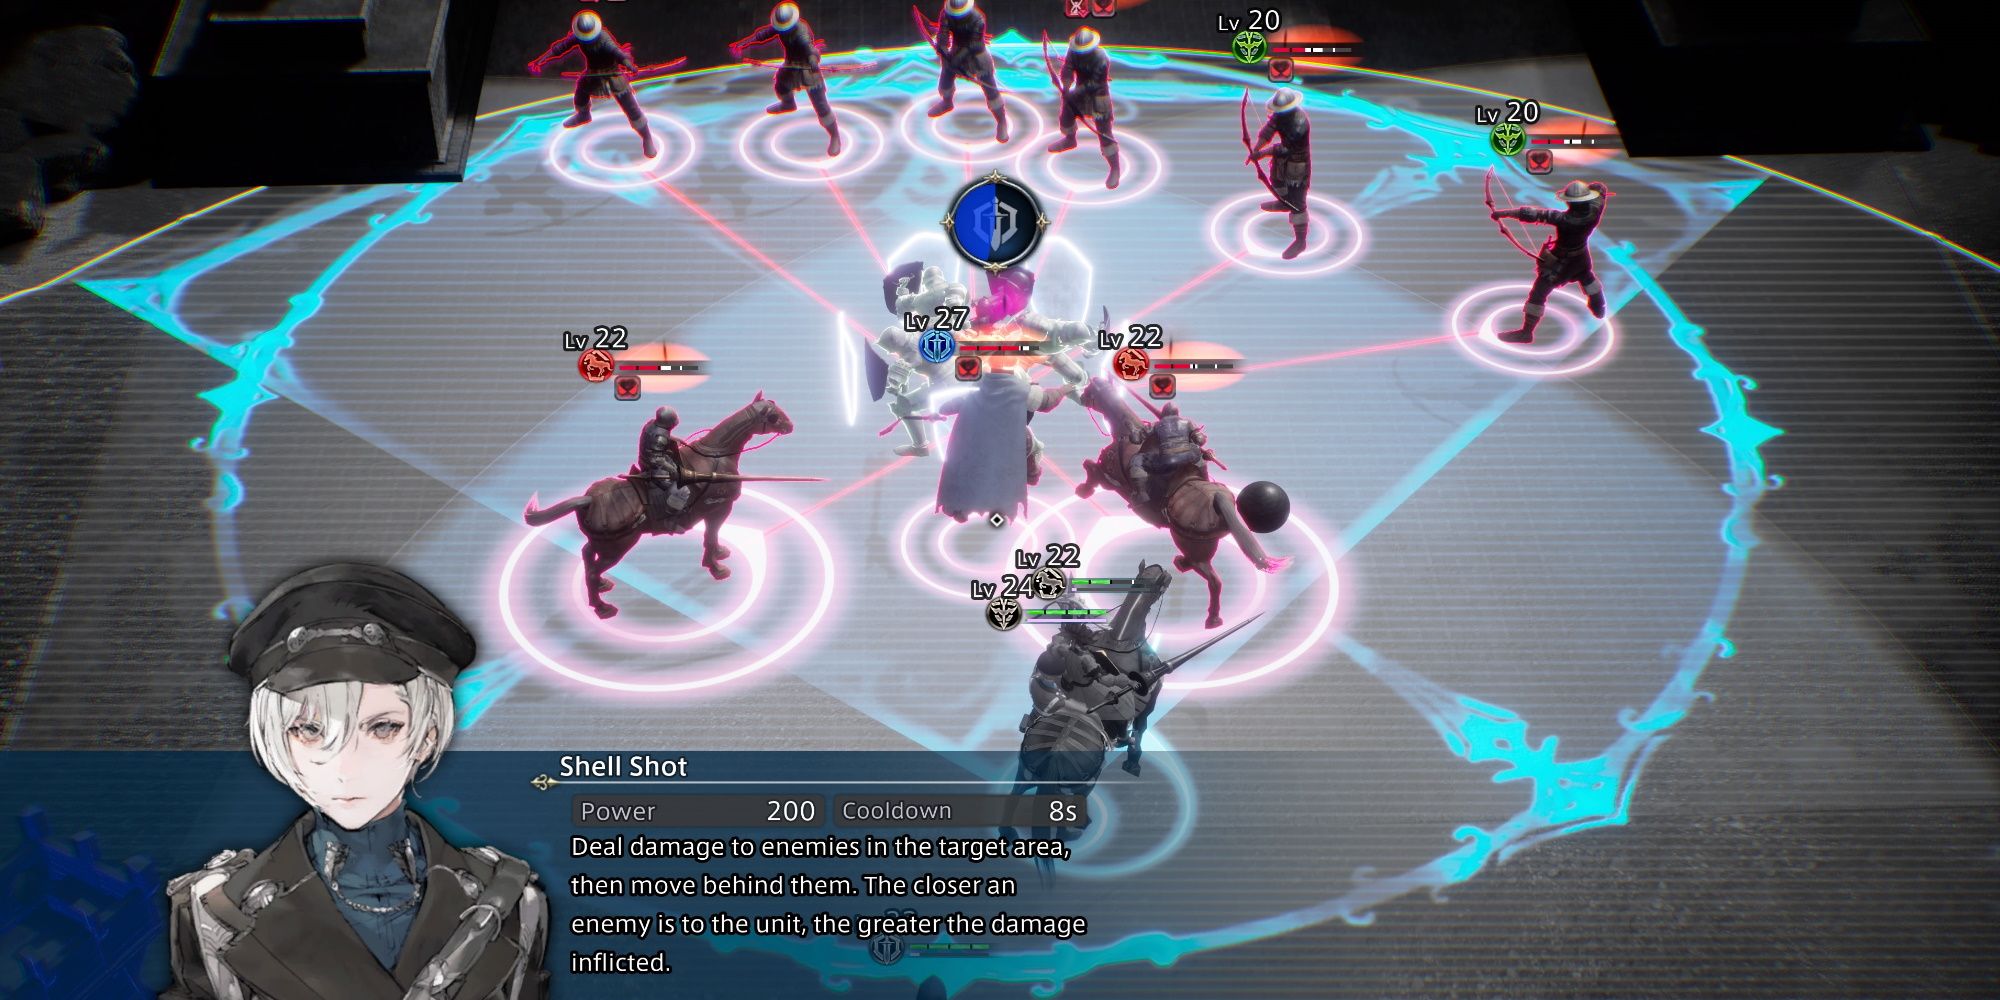
The most important part of this battle is going to be team composition. You are, once again, going to be fighting dozens of enemies. However, as is always the case when you are fighting scads of troops, they are all quite weak. So, you are going to want every unit to be paired with a mage or an archer. You want to be able to attack groups of enemies.
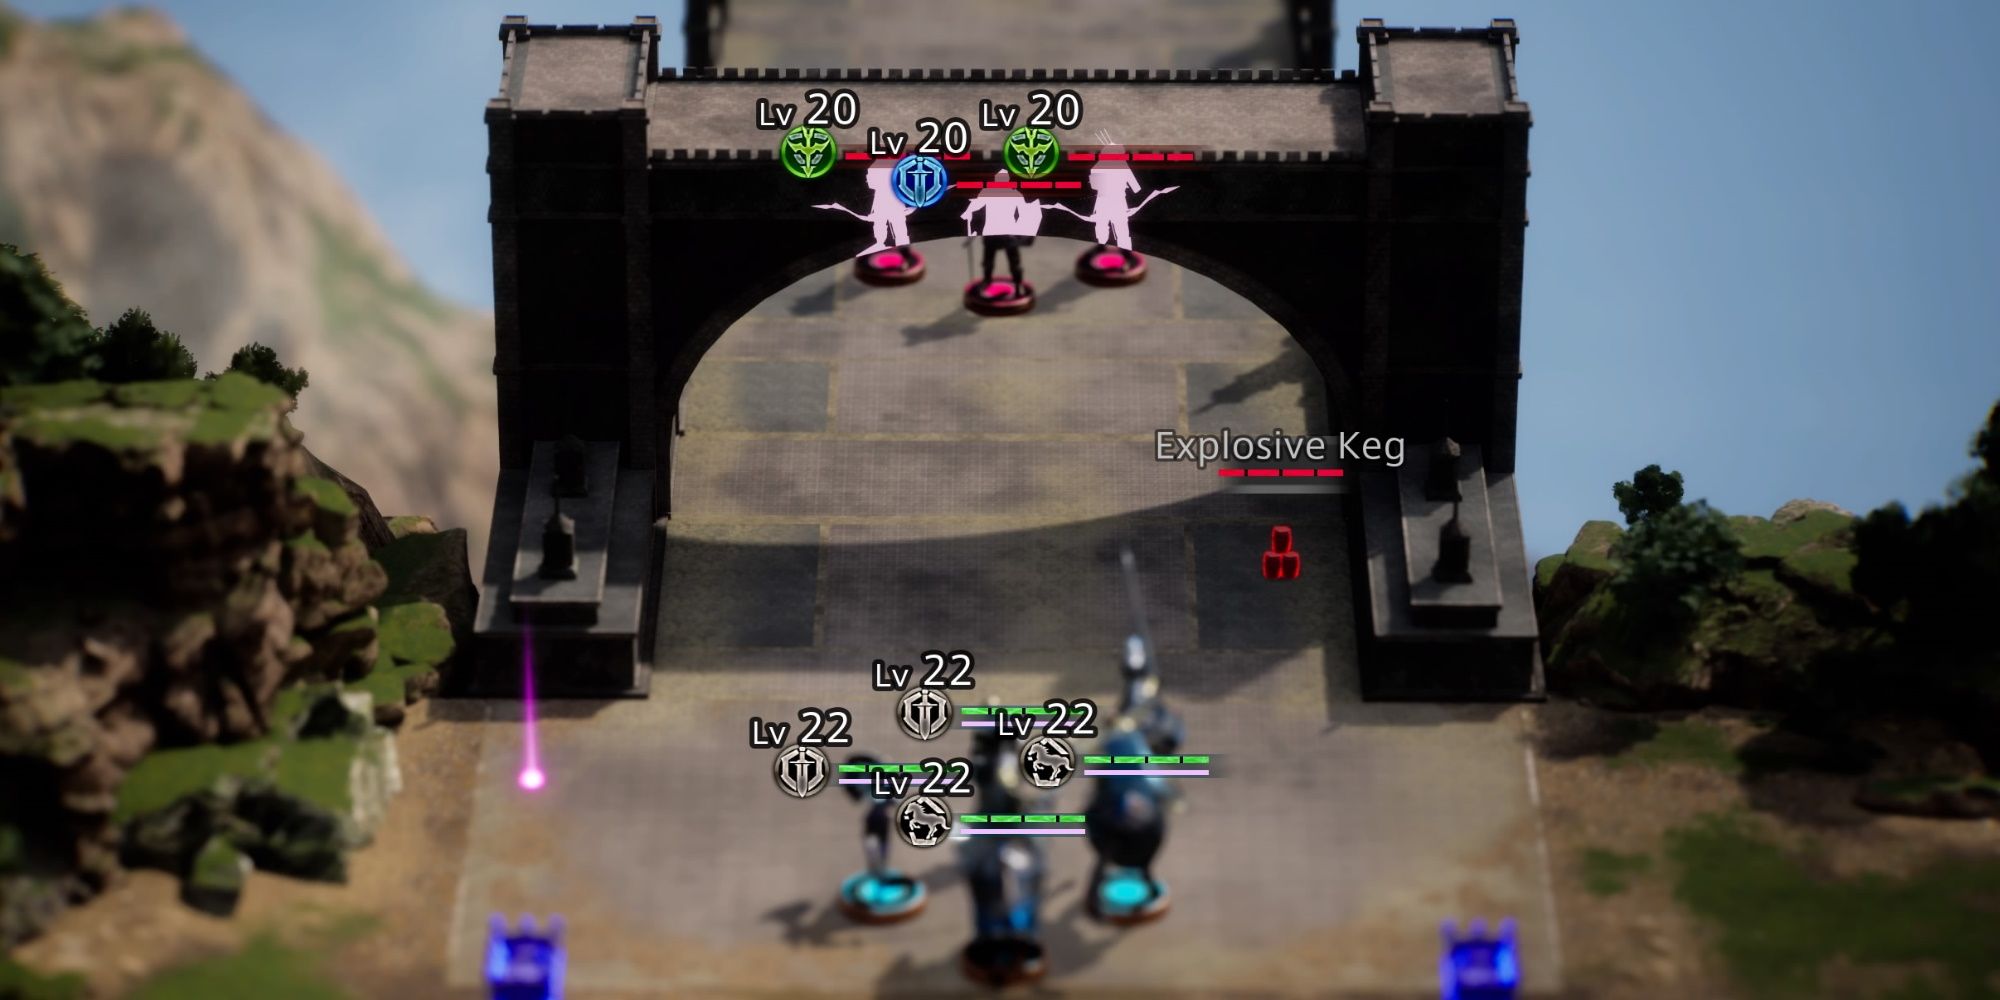
You are also given a pretty notable advantage here. All the enemy troops funnel down the bridge toward you. And that bridge has an explosive barrel sitting at the entrance to it. Oh, and your position at the bottom of the bridge? It has two Cannon Towers that are on your side. Bless.
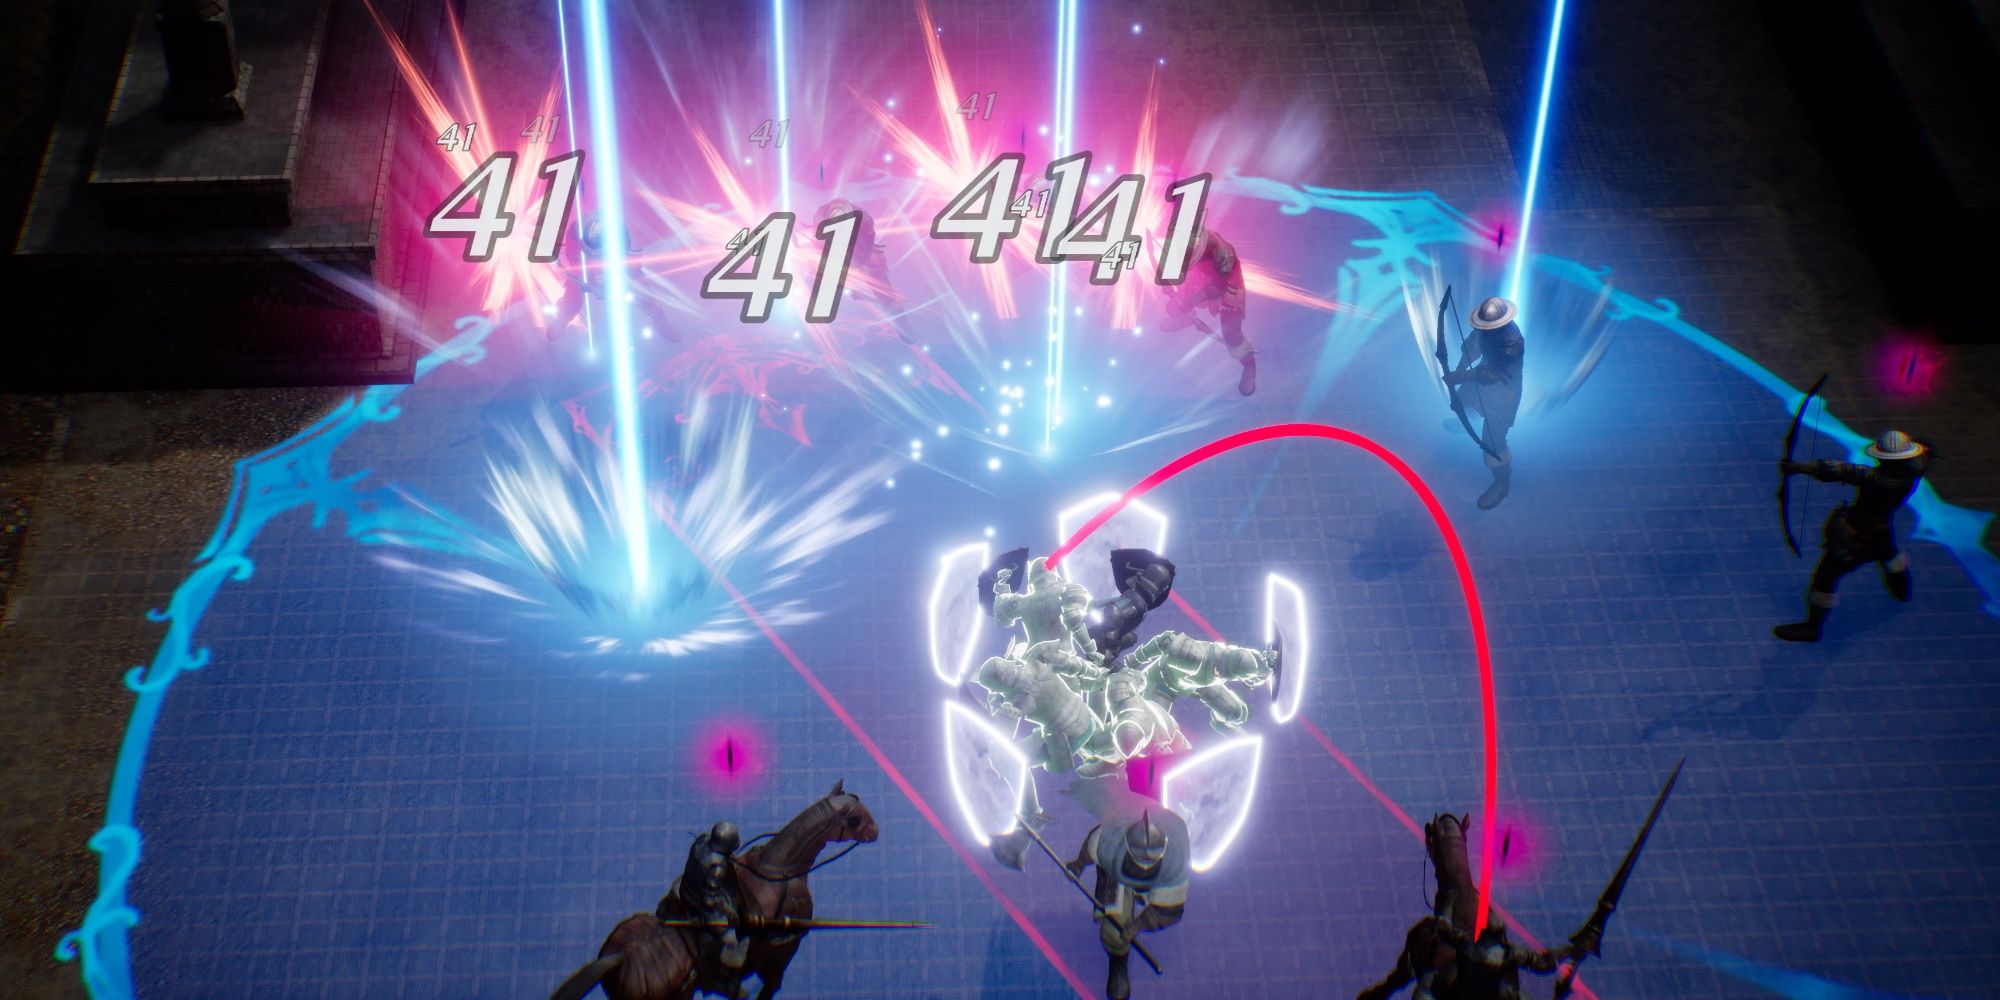
So, the strategy here is pretty simple. For the most part, you are going to let the enemy troops come to you. Let the cannon towers do your dirty work. Position Izelair at the front, draw the enemy troops focus on her, and then bombard them with AOE attacks. During the fourth phase, send a troop to explode the barrel as the army marches on you and finish the army off with summons.
Once you are finished the quest, talk to Izelair and you will upgrade your kitchen facilities.
Feeding The Necromancer
|
Recommended Level |
26 |
|
|---|---|---|
|
Enemies |
Phase 1 |
2x Lv 24 Soldier, 1x Lv 26 Soldier, 2x 25 Archer |
|
Phase 2 |
1x Lv 24 Soldier, 1x Lv 24 Archer, 2x Lv 26 Archer, 1x Lv 26 Soldier |
|
|
Objective |
Defeat all enemies |
|
|
Defeat |
All allies defeated |
|
|
Rewards |
Complete the mission |
8640 Gold |
|
Allow no allies to fall in battle |
1 SP |
|
|
Complete mission in 6 min |
Gold Bar |
|
|
Find the treasure chest |
Jade Crystal |
|
|
Difficulty |
★☆☆☆☆☆☆☆☆☆ (1/10) |
|
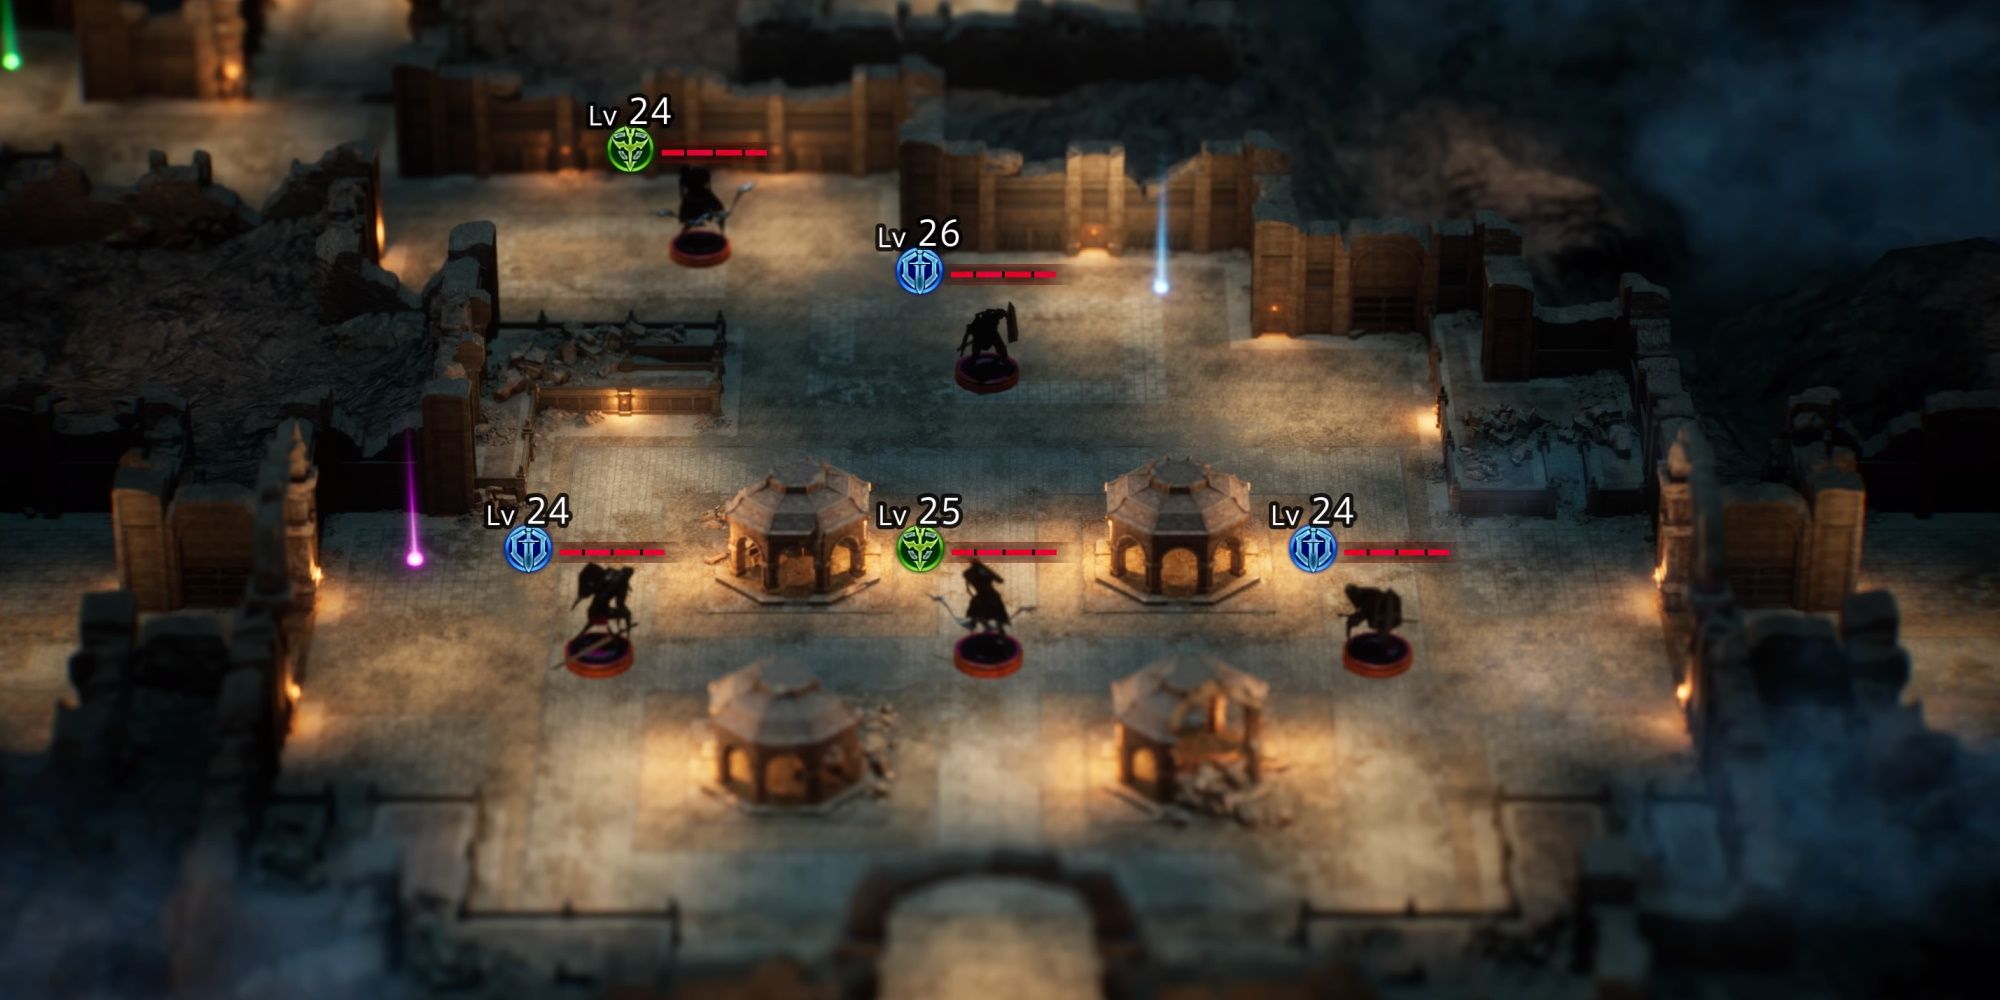
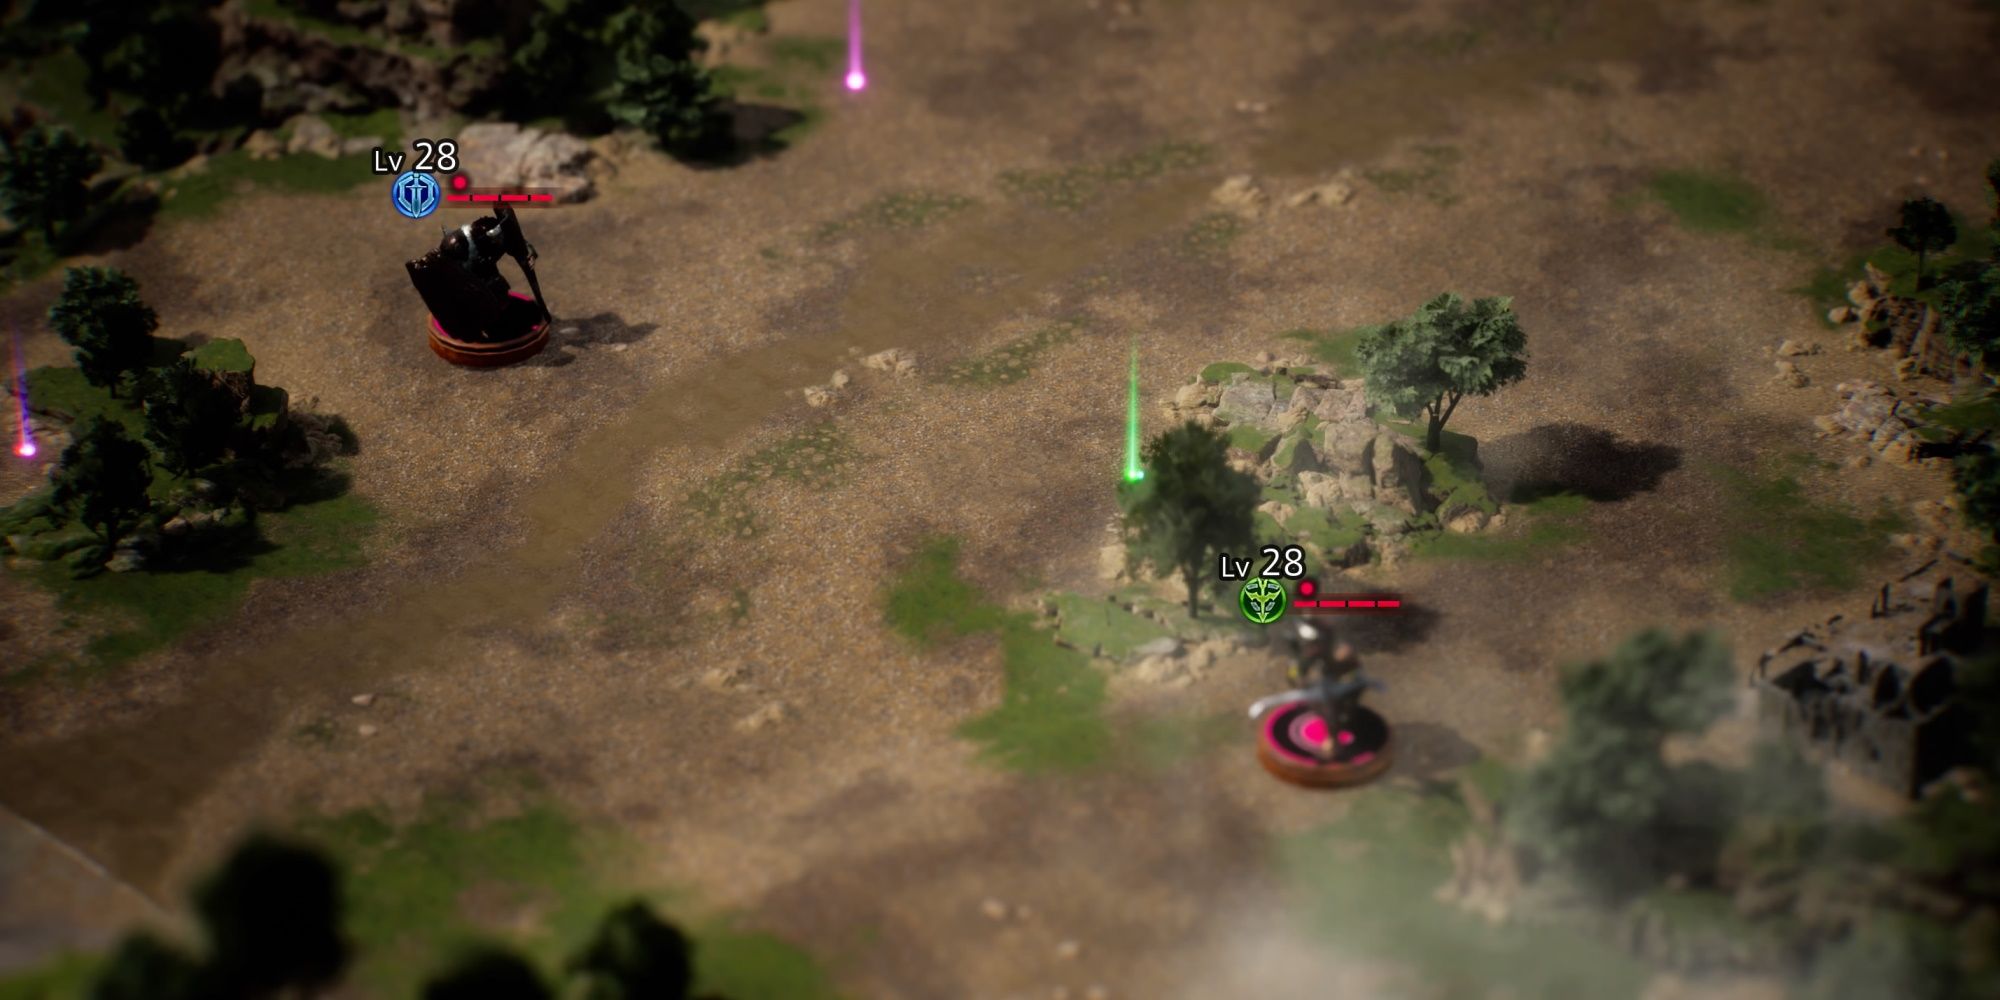
This mission is deliberately set up to undermine AOE attacks. All the units are spread out and largely keep their distance. So, you are going to want to make sure Donovar and Andrias are in your party as they have the best attacks for damaging individual units. Another solid idea is to bring a Cavalry unit with the Vicious Swing ability equipped. This will group enemies together for you.
While this battle can be a touch frustrating, none of the enemies are that strong, and there aren't many of them. So, there isn't much risk of you not being able to finish it in under six minutes. You could even just move your entire army in a single mass from unit to unit and finish this mission that way.
Winged Mercenary
|
Recommended Level |
27 |
|
|---|---|---|
|
Enemies |
Phase 1 |
2x 22 Ogre Axe, 1x 24 Ogre bow |
|
Phase 2 |
4x 23 Ogre Axe, 1x 23 Ogre Melee, 1x 33 Ogre |
|
|
Objective |
Defeat all enemies |
|
|
Defeat |
All allies defeated |
|
|
Rewards |
Complete the mission |
9120 Gold |
|
Allow no allies to fall in battle |
1 SP |
|
|
Complete mission in 6 min |
Gold Bar |
|
|
Find the treasure chest |
Jade Crystal |
|
|
Difficulty |
★★★★☆☆☆☆☆☆ (4/10) |
|
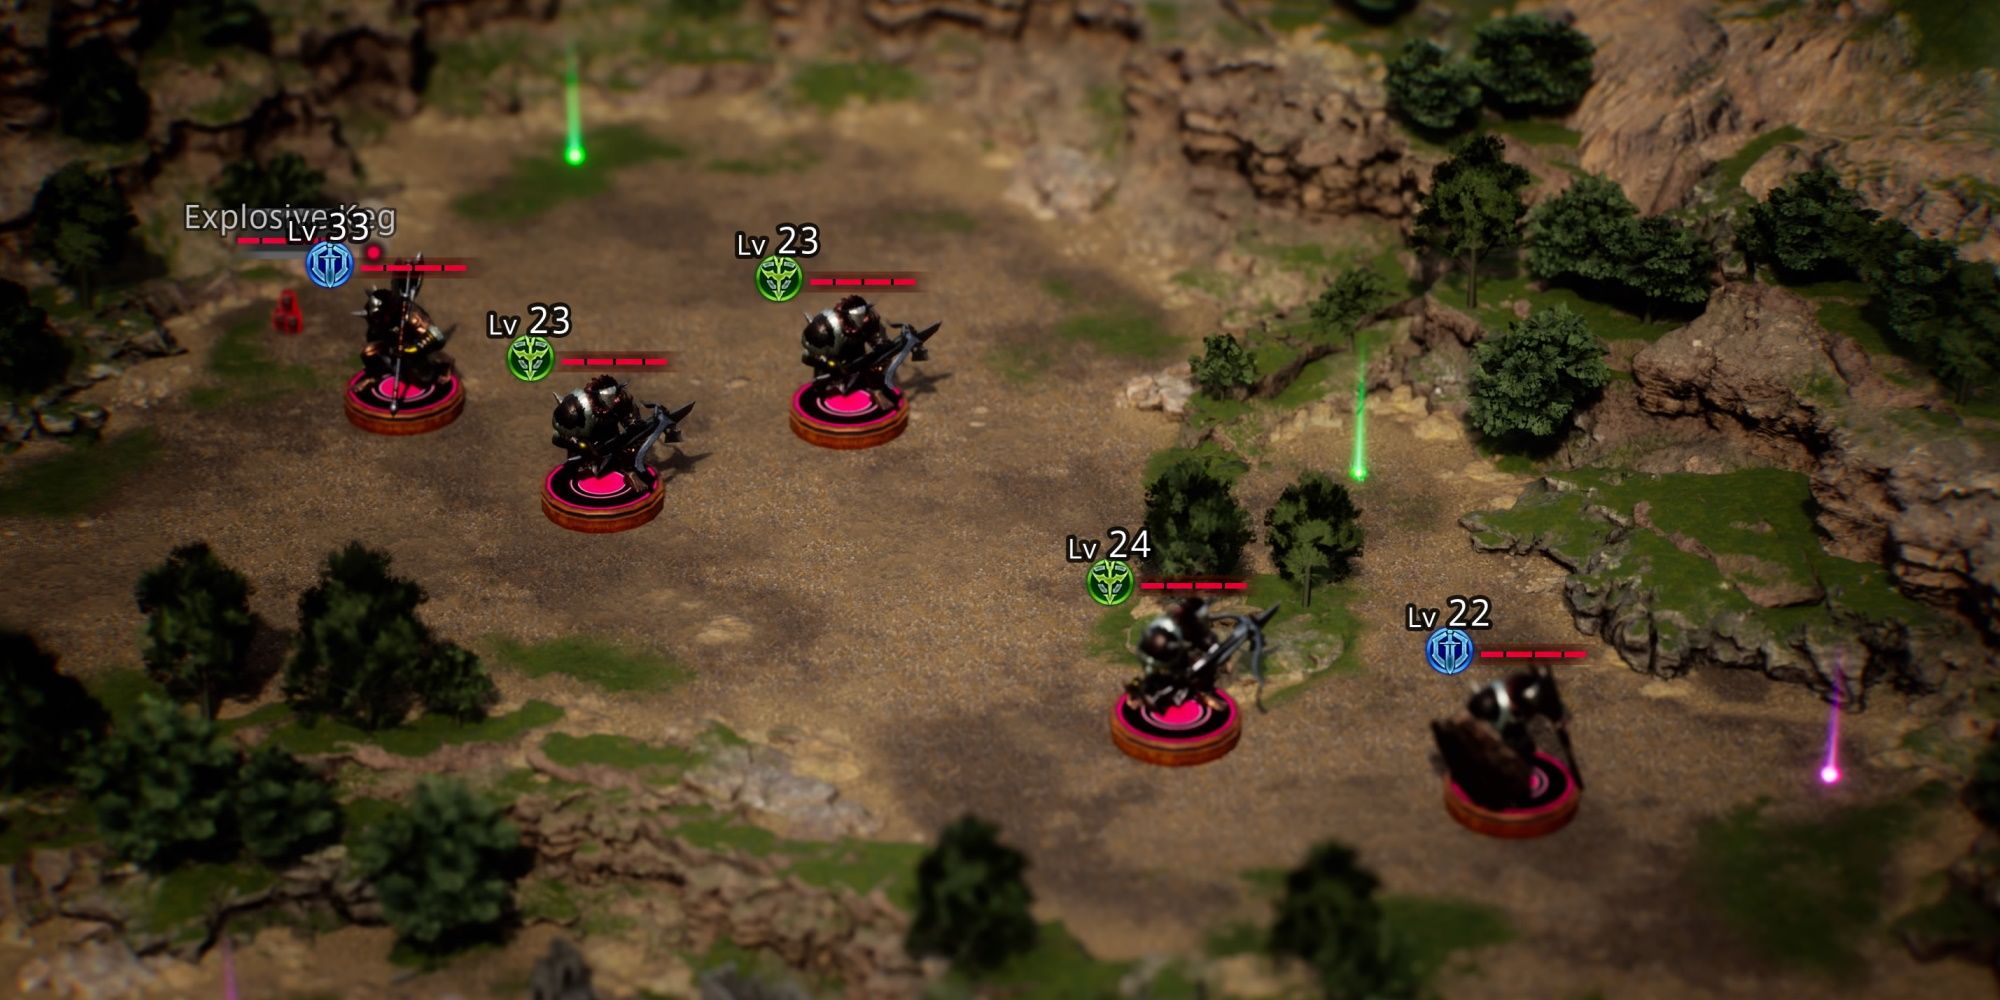
This is another two-phase battle. You will be fighting a familiar foe: the hulking Ogres. The first batch isn't a big deal. Run your unit up against them, try to take out the Archer first (a combination of Zoruaq and Andrias will take care of them pretty quickly), and then team up on the two melee-focused Ogres. Once you are done with them, six more will appear above you. There will be a group to your right and left, with a boss Ogre in the center.
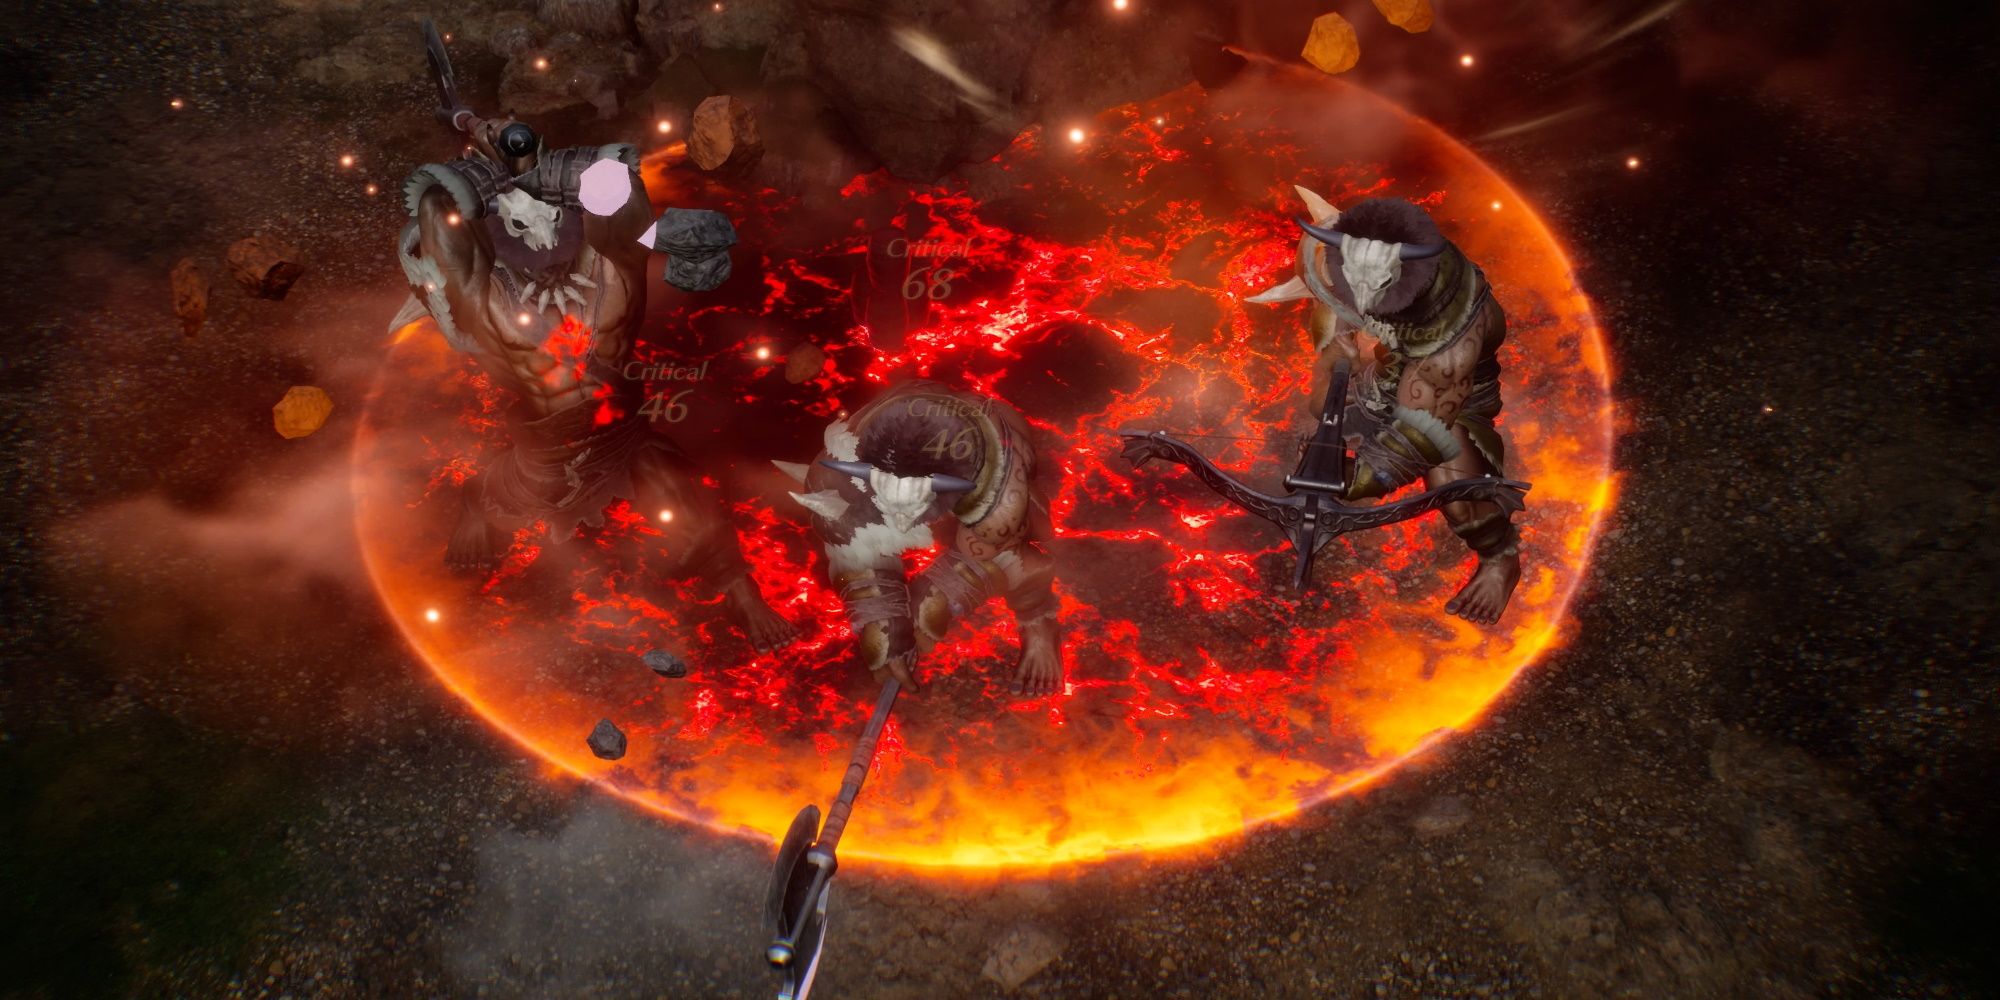
You can split up during the second phase, attacking both groups on either side, and folding in on the boss unit. But there is plenty of time, so the safer approach is to fight each group one at a time, and just hook around as one united force. Start with the group on the left. There are three of them here, but none of the Ogres are particularly tough. So just hit them with a range of AOE attacks and then have Andrias clean them off with his assassination moves.
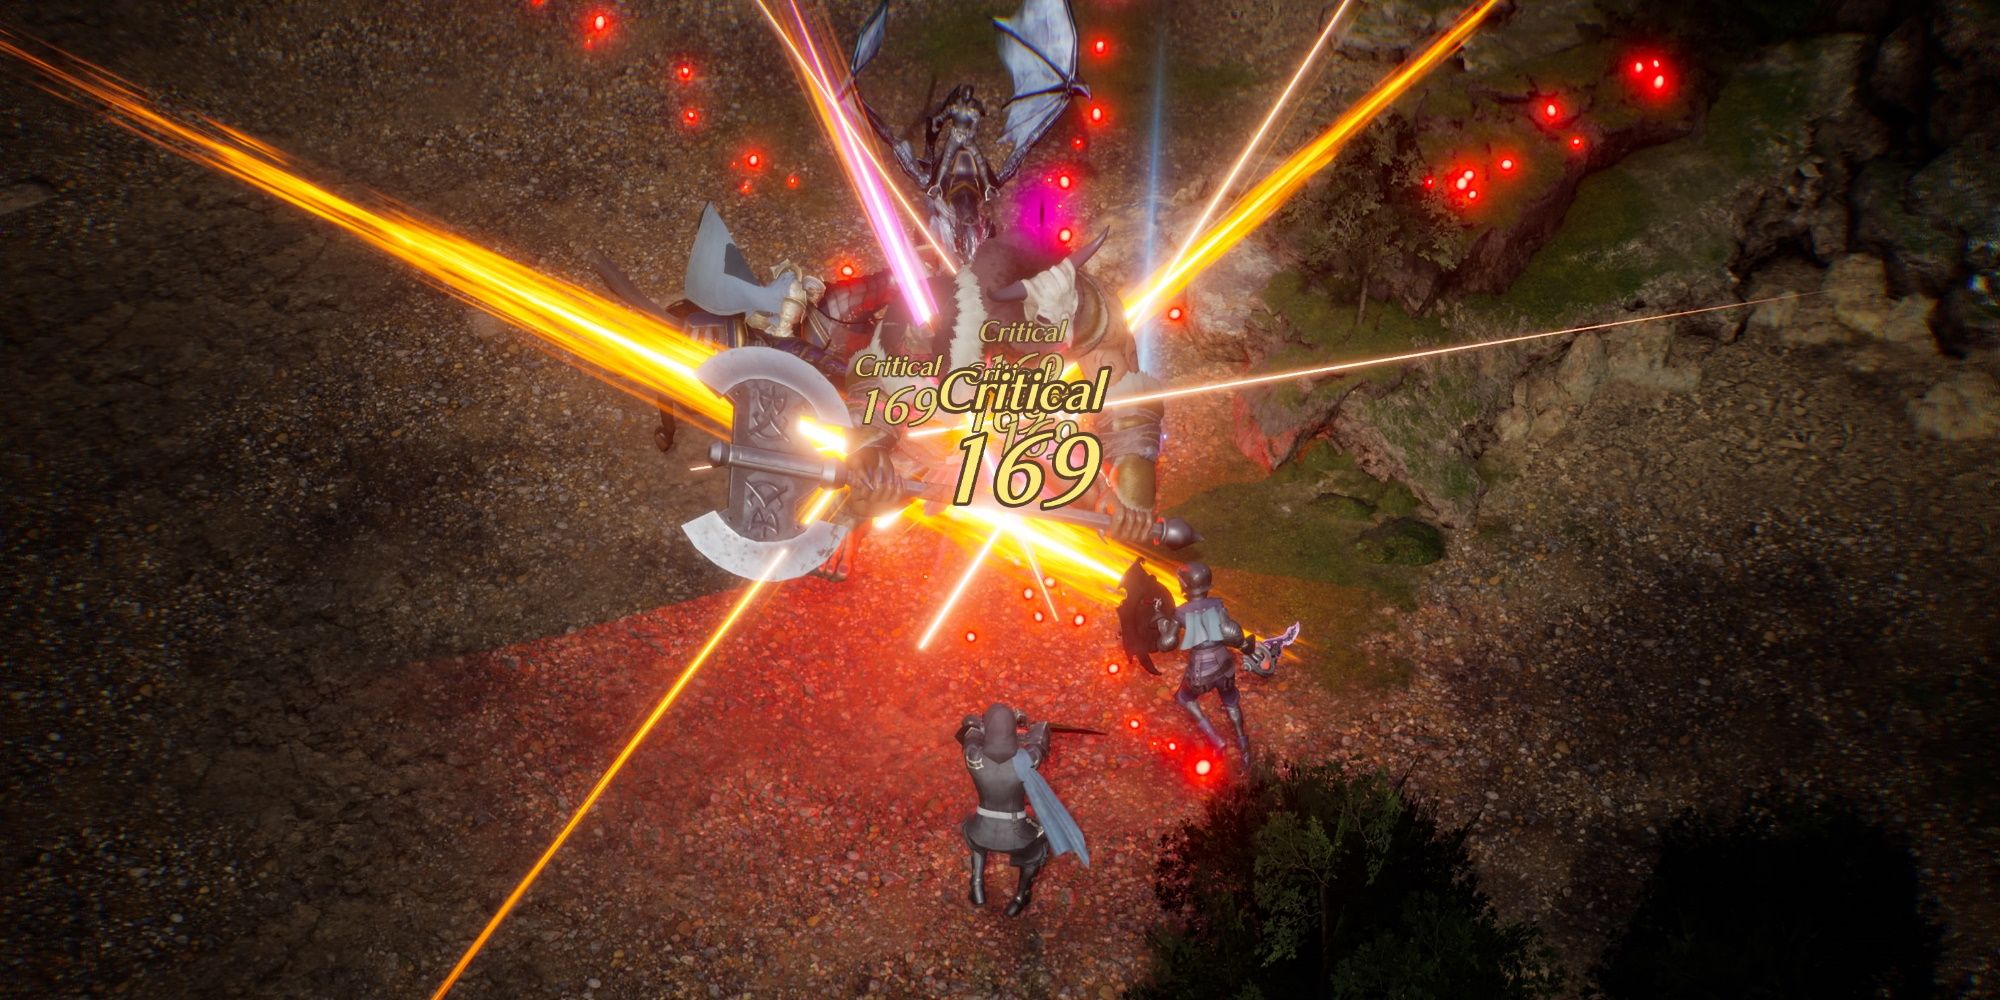
Once you finish with them, hook around to the boss Ogre. They are, conveniently, standing pretty close to an explosive barrel. So do use that to your advantage. While it has two health bars and is a little more resilient, it won't put up too much of a fight. You will get the attention of the Archer Ogres while you are fighting the boss; try to hit them with the AOE attacks alongside the boss. You can use a Cavalry unit to group them all together.
Once the boss unit is dead, just run your troops down to finish off the last two Ogres on the right. And just like that, you will be finished this mission. Better yet, you will also acquire Zoruaq!
Knights And Nobles
|
Recommended Level |
26 |
|
|---|---|---|
|
Enemies |
Phase 1 |
2x Lv 28 Soldiers, 1x Lv 27 Archer, 1x Lv 27 Cavalry, 2x Lv 26 Archers |
|
Phase 2 |
1x Lv 29 Soldier, 2x Lv 29 Archers, 1x Lv 29 Cavalry, 1x Lv 27 Archers, 1x Lv 33 Soldier |
|
|
Objective |
Defeat all enemies |
|
|
Defeat |
All allies defeated |
|
|
Rewards |
Complete the mission |
9600 Gold |
|
Allow no allies to fall in battle |
1 SP |
|
|
Complete mission in 6 min |
Gold Bar |
|
|
Find the treasure chest |
Jade Crystal |
|
|
Difficulty |
★★★☆☆☆☆☆☆☆ (3/10) |
|
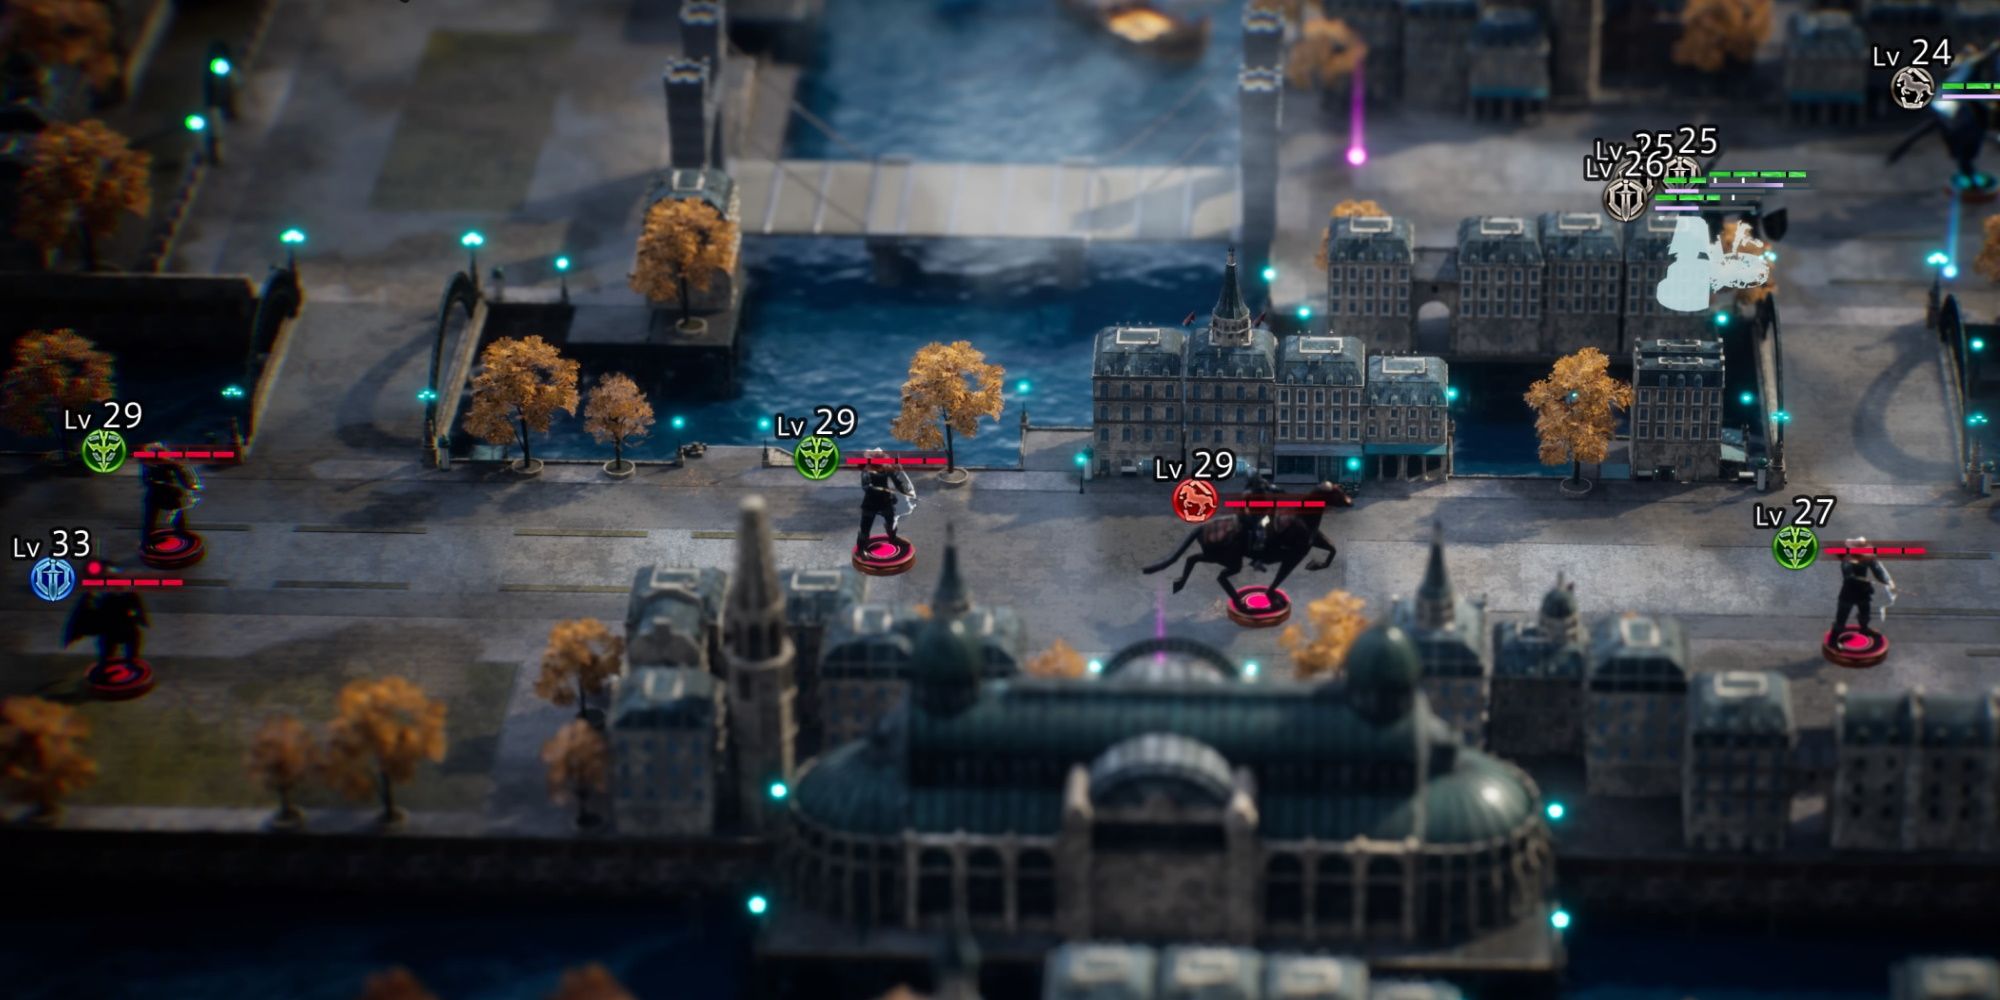
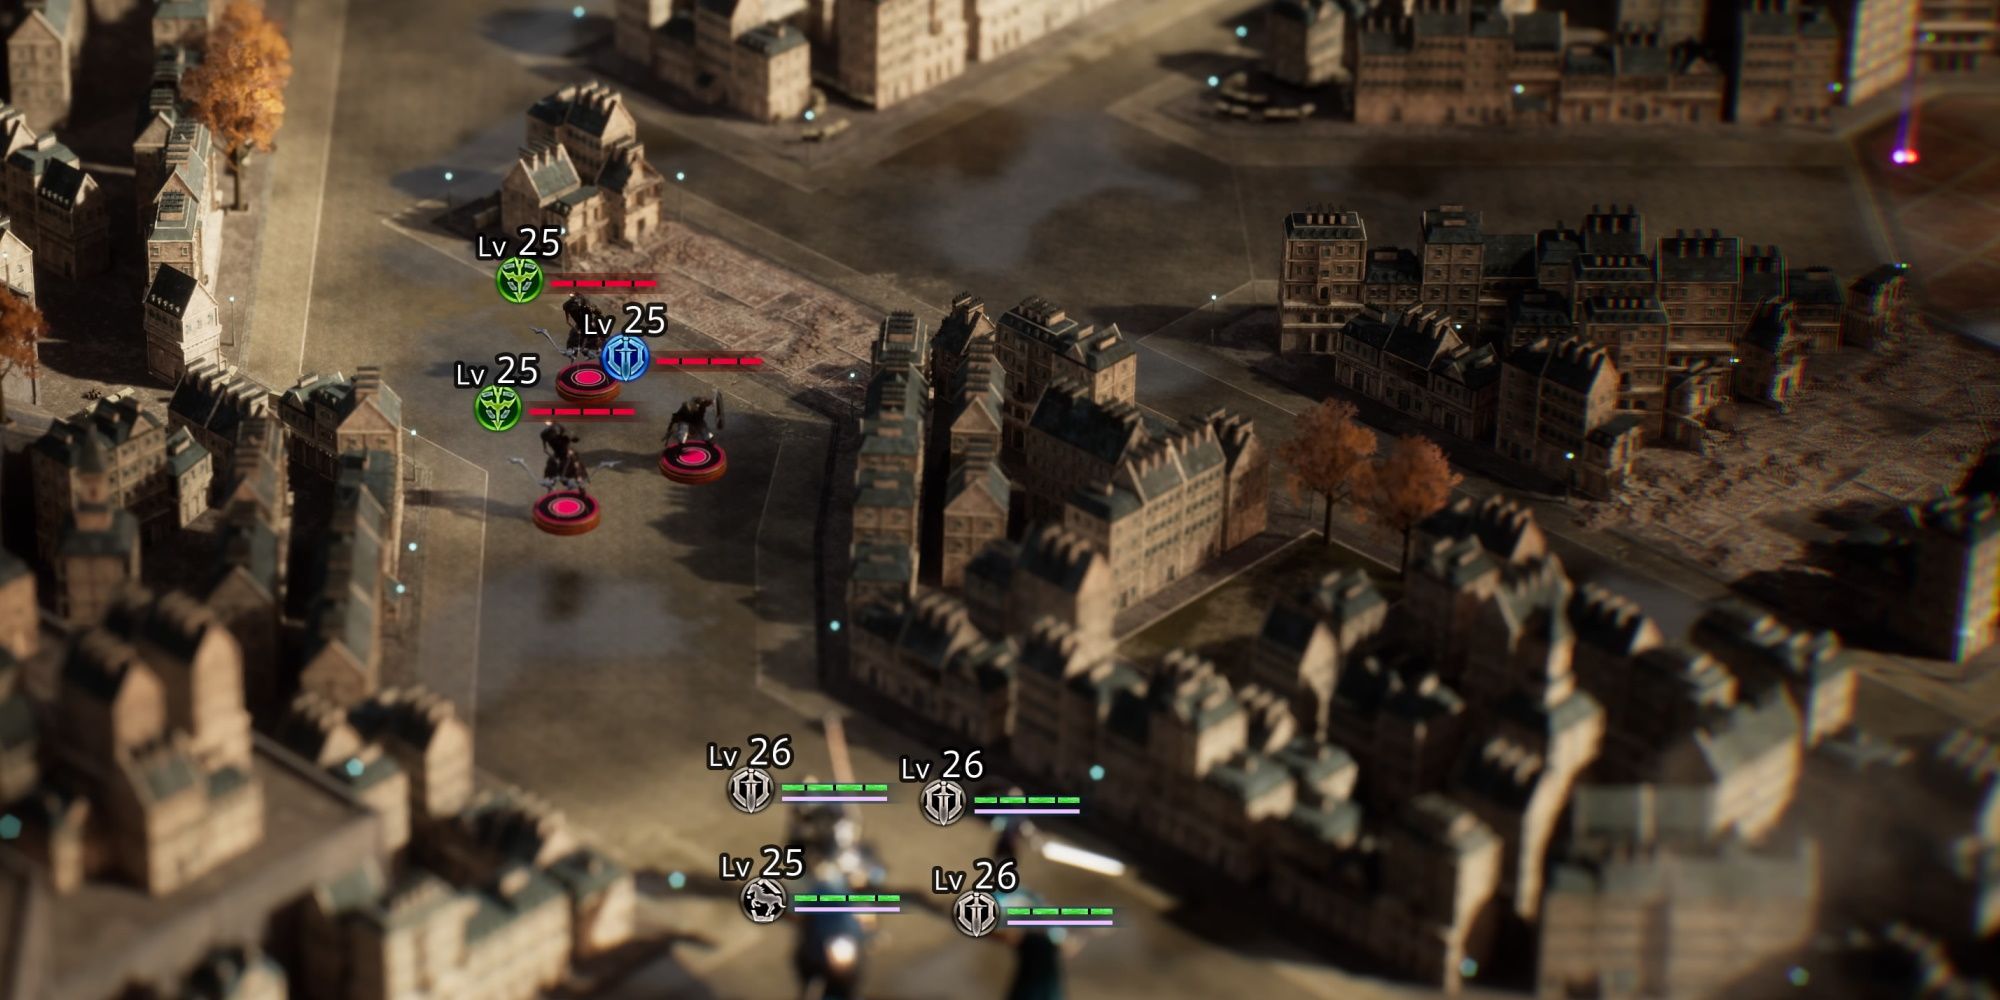
At the beginning of the stage you will be positioned in the bottom left corner of the map. You can cross the bridge and fight two Soldiers and an Archer. But you may notice that the rest of the army (a Cavalry unit and two Archers) has their back facing the bridge on the far left of the map.
The best strategy is to send a unit of heavy hitters across the bridge right next to where you start, and send the other half to loop around and attack the other units from behind. Then, once your heavy hitters finish off their squad, have them meet the rest of the party and finish off what is left.
In the second phase, the enemy troops are all positioned in a way that prevents you from getting a sneak attack on them, so, just cross the bridge as one unified force and make your way through the enemy units one at a time. While they are all pretty strong, they can be fought in small numbers, so you will be able to overwhelm them. Once you have worked your way back to where you started, you will fight a high-level Soldier and an Archer. Take out the Archer first and then blast the Soldier with your hardest hitting attacks.
Hodlam Slums
|
Recommended Level |
29 |
|
|---|---|---|
|
Enemies |
Phase 1 |
2x Lv 25 Archers, 1x Lv 25 Soldier |
|
Phase 2 |
1x Lv 25 Archer, 3x Lv 25 Soldiers |
|
|
Phase 3 |
2x Lv 26 Archers, 3x Lv 26 Soldiers |
|
|
Phase 4 |
3x Lv 26 Archers, 5x Lv 26 Soldiers |
|
|
Objective |
Defeat all enemies |
|
|
Defeat |
All allies defeated |
|
|
Rewards |
Complete the mission |
9600 Gold |
|
Allow no allies to fall in battle |
1 SP |
|
|
Complete mission in 6 min |
Gold Bar |
|
|
Find the treasure chest |
Jade Crystal |
|
|
Difficulty |
★★☆☆☆☆☆☆☆☆ (2/10) |
|
This is another mission where you just need to stave off swarms of enemies. All the enemies you face here will be pretty weak. So, as is always the case with this mission type, we're going to load up on AOE attacks. Just make sure that every unit either has an AOE attack, or they are paired with a unit who does.
Something to keep in mind is that every last phase of this battle will include some assortment of Archers and Soldiers. You are going to want to take out the Archers first, as they go down the quickest. Andrias has excellent attacks for getting to them, as do your Cavalry units. So, keep that in mind when constructing your team.
As for the battle itself, the first two phases only have three and four enemies attack you. So, during these phases, use your skills a little more sparingly. You are going to want that EP during the final phases when you are fighting larger groups. Beyond that, let these mooks come to you and then blast them. There really isn't much more to it than that. During your final phase, you will also have enough energy to pelt them with summons. We doubt you will run into much of an issue with this encounter.
Jacquerite Highway
|
Recommended Level |
29 |
|
|---|---|---|
|
Enemies |
Phase 1 |
1x Lv 28 Ogre (Club), 1x Lv 28 Ogre (Crossbow) |
|
Phase 2 |
4x Lv 26 Wolves |
|
|
Phase 3 |
4x Lv 27 Wolves, 1x Lv 30 Coeurl |
|
|
Objective |
Defeat all enemies |
|
|
Defeat |
All allies defeated |
|
|
Rewards |
Complete the mission |
9600 Gold |
|
Allow no allies to fall in battle |
1 SP |
|
|
Complete mission in 6 min |
Gold Bar |
|
|
Find the treasure chest |
Jade Crystal |
|
|
Difficulty |
★★★☆☆☆☆☆☆☆ (3/10) |
|
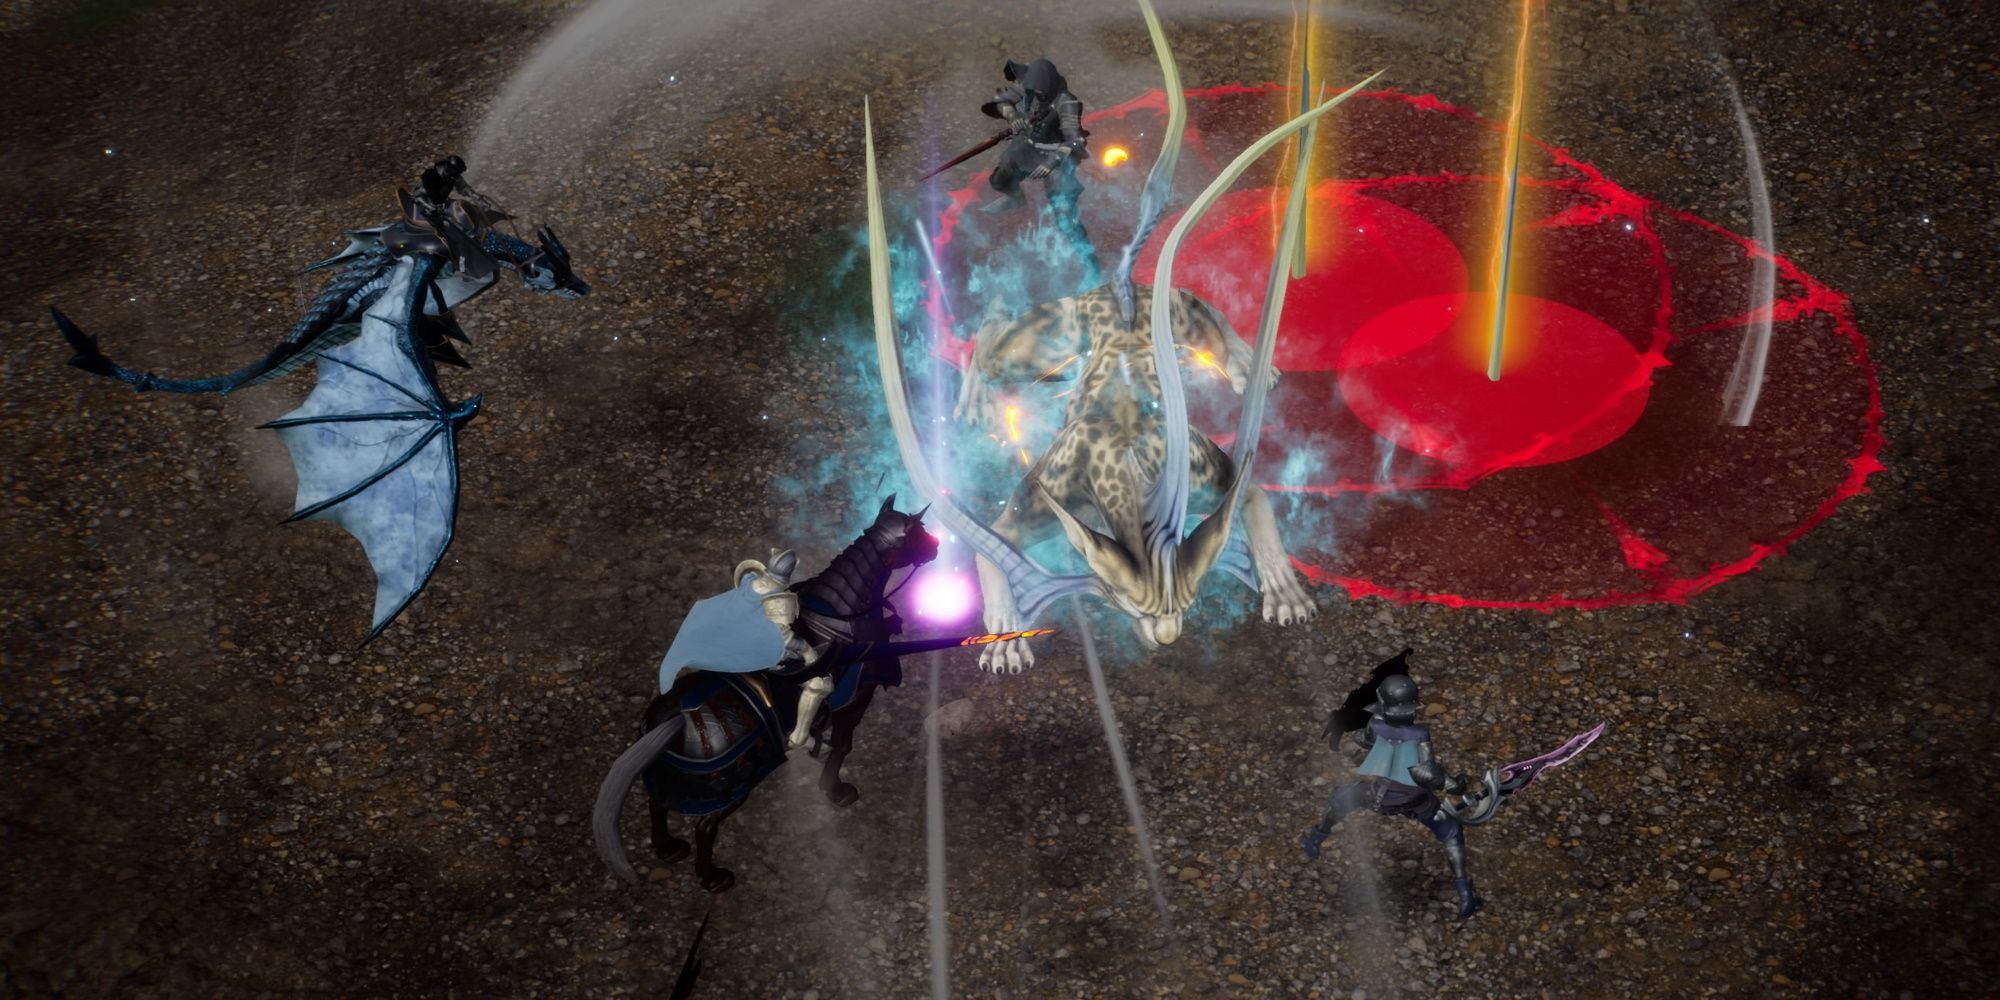
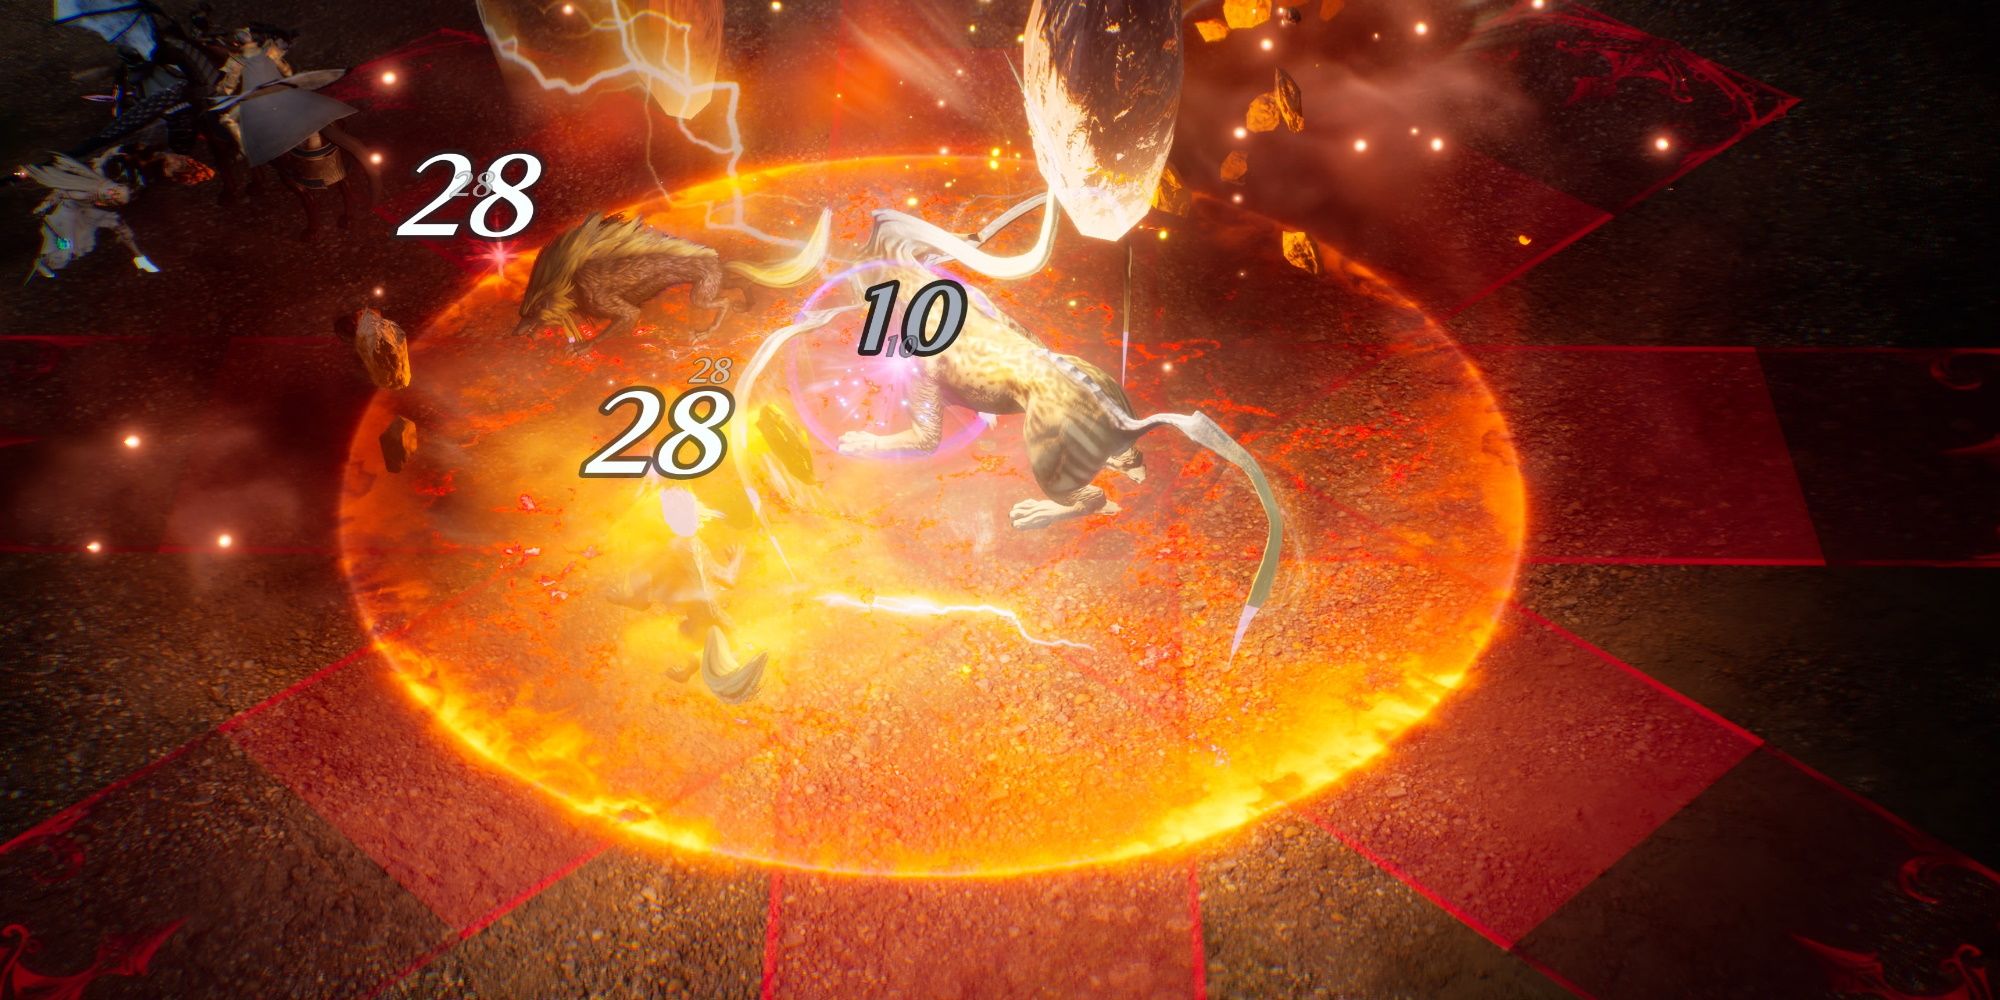
The first phase of this battle features two Ogres, but they aren't grouped together. So, throw your army at them. Use Andrias' Shadow Step to finish them off. The next phase features four Wolves. Conveniently, they are all grouped together. So, hit them with a couple of AOE attacks. Finally, the last phase features two groups: one composed of two wolves, and the other having two Wolves and a Coeurl. The Coeurl is absolutely the centerpiece of this mission.
Don't waste too much EP on the two Wolves. Once you work through them, head to the Coeurl's group. Start by hitting the group with some AOE attacks. Once, the wolves are cleared out, start unloading with Andrias' hard-hitting attacks. The Coeurl has a range of pretty interesting attacks.
The Coeurl has an attack that can hit in a spoke-shaped pattern. Another is multiple rows the smalls gaps in between. While the pattern is different, you dodge it the same way you do every other attack. The Coeurl does have three health bars, but worst case scenario, if you run low on EP, you can swap in other characters to finish the job.

