Quick Links
So the big day has finally arrived - after all this work, Thomasina is finally able to start excavating Hob's Barrow. This is fitting, as this game is called The Excavation of Hob's Barrow. As we learned in the previous chapter, though, this is not the only excavation of this barrow in history, and there's something rather mysterious about it.
Undeterred, this chapter sees Thomasina enter the barrow, finally, and solve many devious puzzles inside. She is filled with determination now, thanks to her personal connection with the barrow.
Making Your Way To The Barrow
After waking up, head downstairs and talk to Stanley to receive a letter from Leonard, along with a Small Key. Leave the inn, and after the scene, make your way to Mr. Shoulder's house.
You'll have to make the trip there manually, as fast travel is disabled.
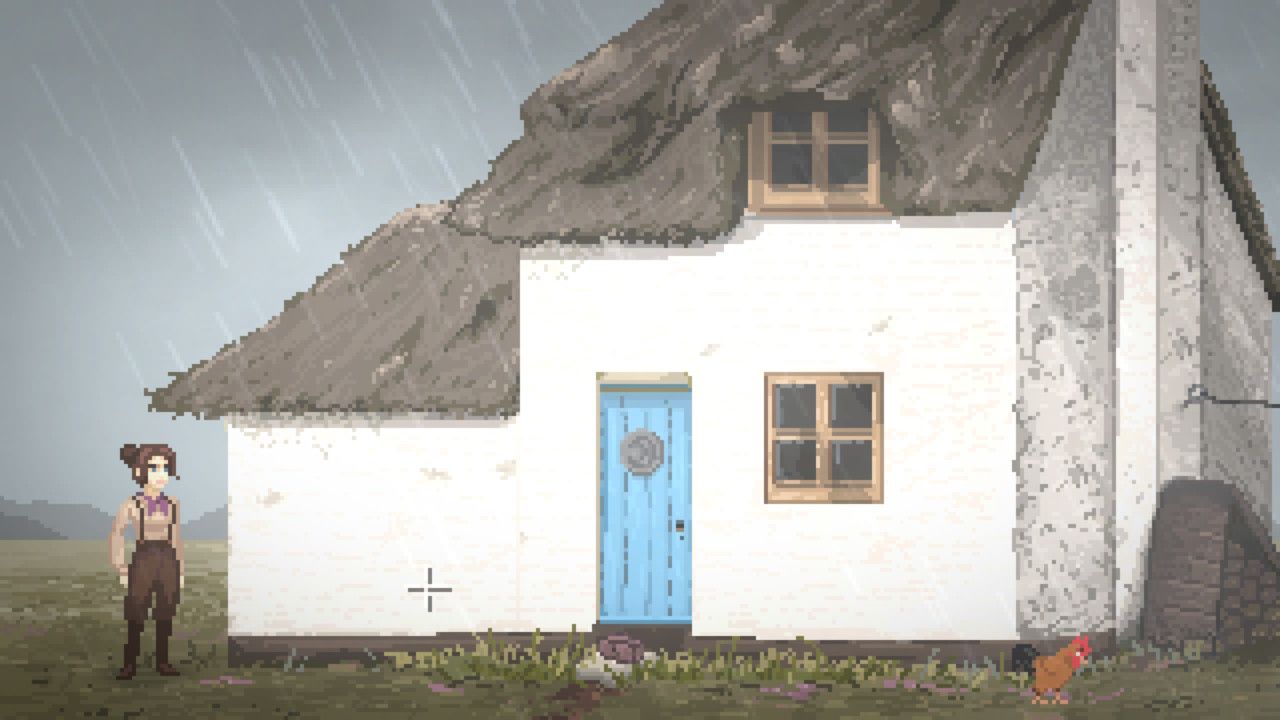
Pick up the Small Box in front of Mr. Shoulder's door. Use the Small Key with it to get Shoulder's Stone and Mr. Shoulder's Note. Now, make your way to the barrow via Mr. Briden's Farm, which you can access by heading north at the graveyard you passed earlier, in case you forgot.
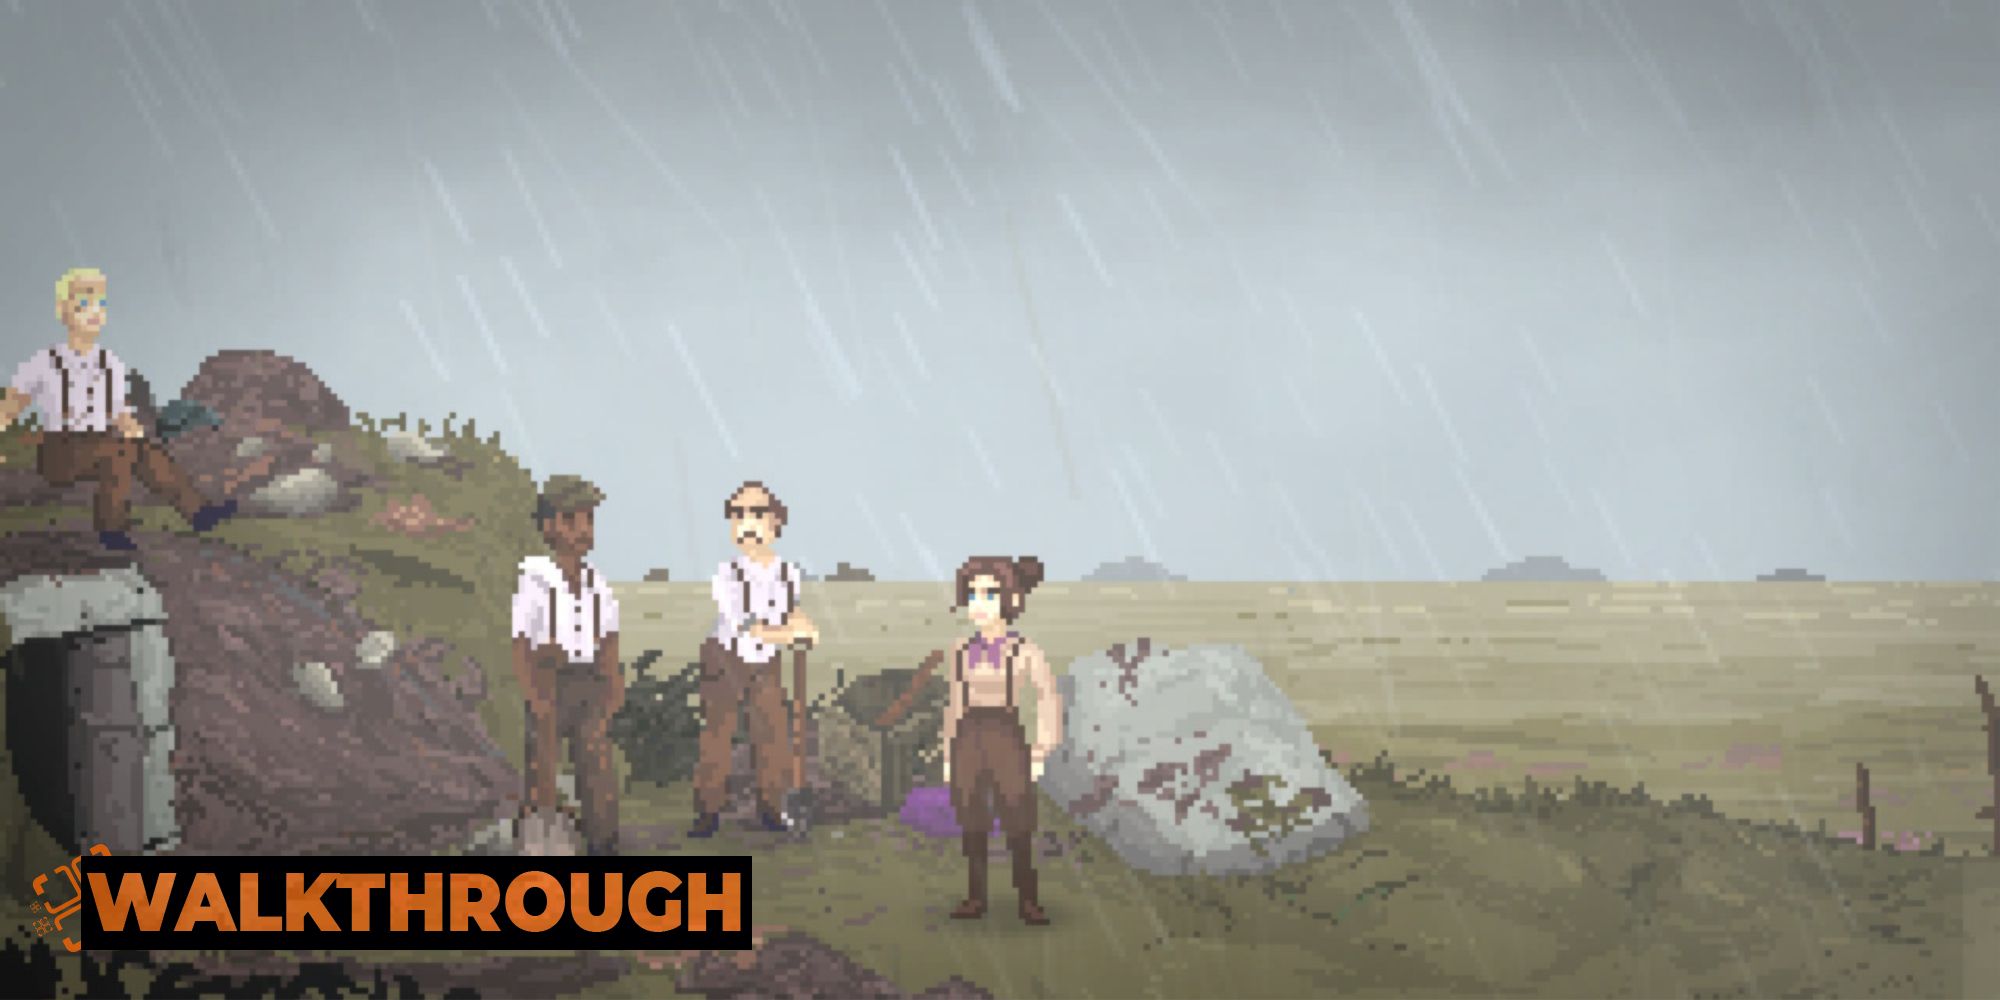
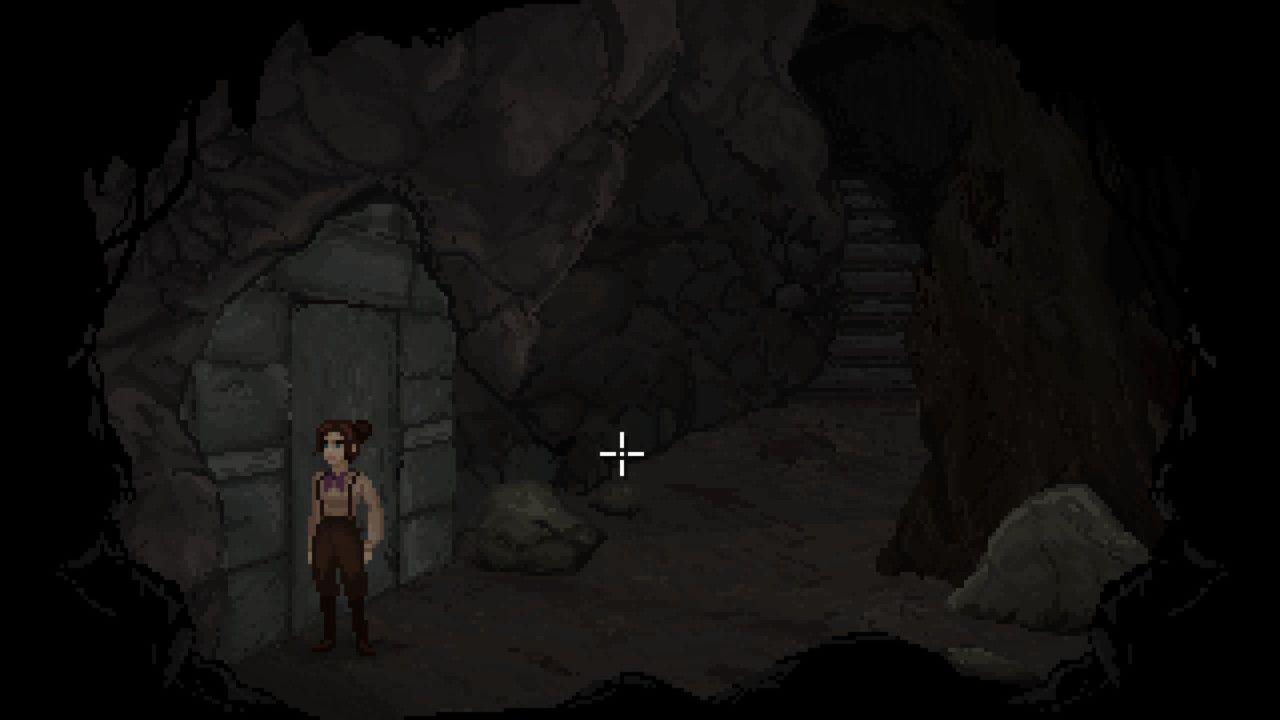
After the scene with the workmen, you'll be inside the barrow. Exit it to find that you've been abandoned - it looks like you're exploring the barrow on your own.
Exploring Hob's Barrow
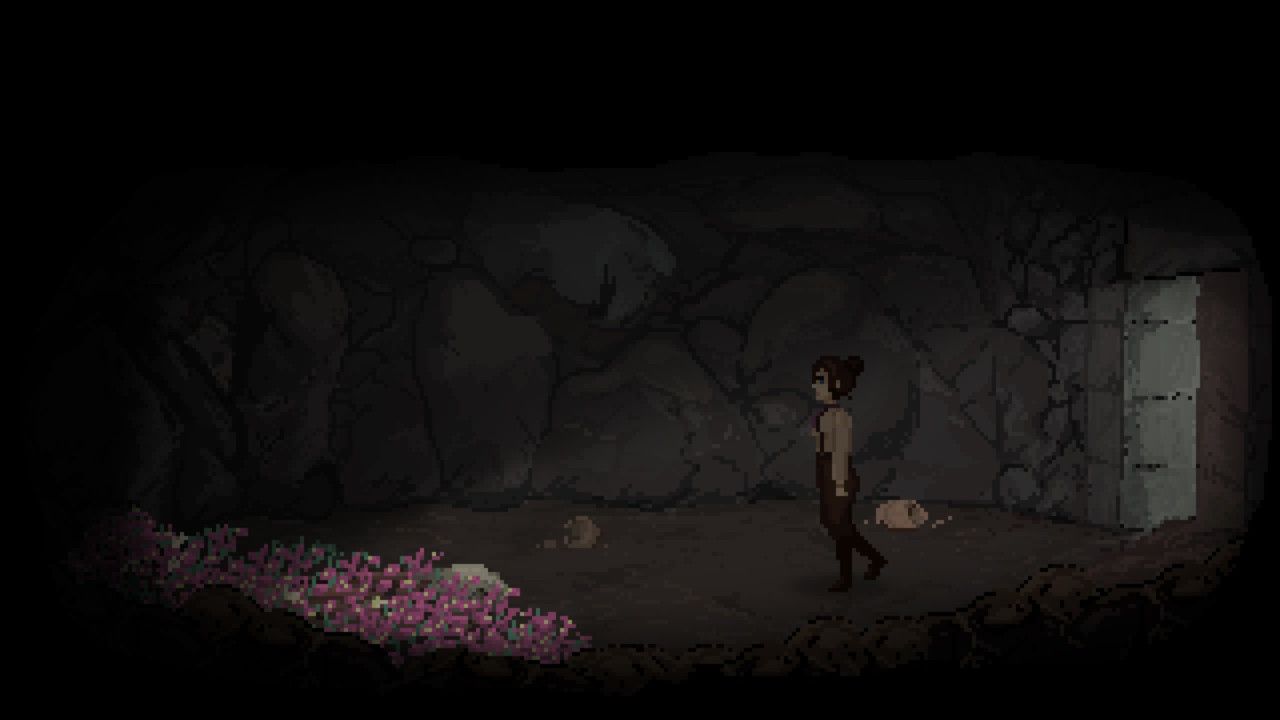
Examine the pieces of broken pottery and the flowers inside the first room. Use the Trowel on the Flowers to reveal some Boards. Interact with the Rocks to move them out of the way, and then use the Trowel on the Boards to descend further.
On the next screen, continue walking forwards until you reach a cutscene and end up faced with a large stone door.
How To Solve The Stone Door Puzzle
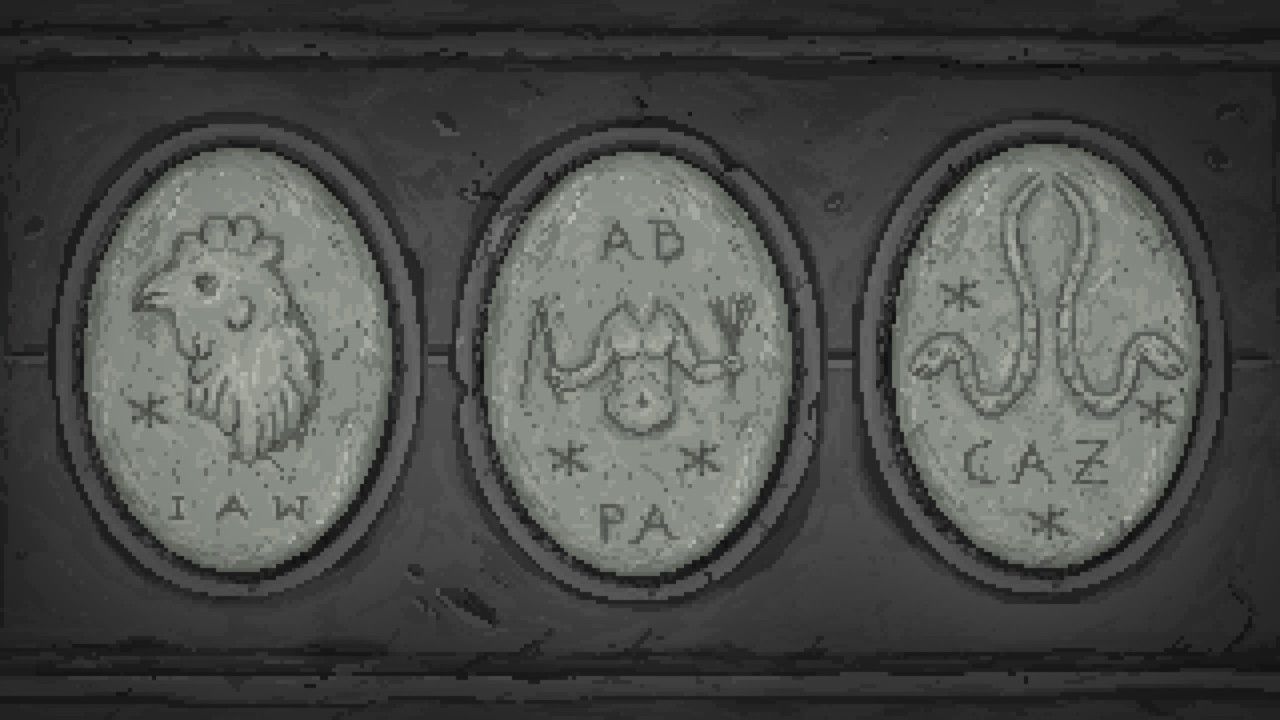
There are two thin, rectangular panels to the sides of the door. Use the Chisel with the left panel to reveal three slots - examine them to open a close-up view of the slots.
Place the three round stones into these slots in this order: The stone with one star marking, the stone with two star markings, and then the stone with three star markings. This will reveal another panel to the right of the door - examine this one to find a set of buttons.
Press the following buttons in this order: I A W A B P A C A Z
Once you've done this, the door will open and Thomasina will enter automatically.
How To Solve The Stone Arms Puzzle
The hints that provide the solution to this puzzle and every other puzzle inside the barrow are found inside the Journal.
In this room, the solution lies on the third page: "A planted seed sprouted before our eyes and illuminated our path."
- Use the Trowel on the pot to the left to smash it open, revealing a Crank. Pick up the Crank.
- Use the Crank with the box in the corner of the room to open it. Pick up some Seeds from the box.
- Use the Trowel on the patch of soil to disturb the earth.
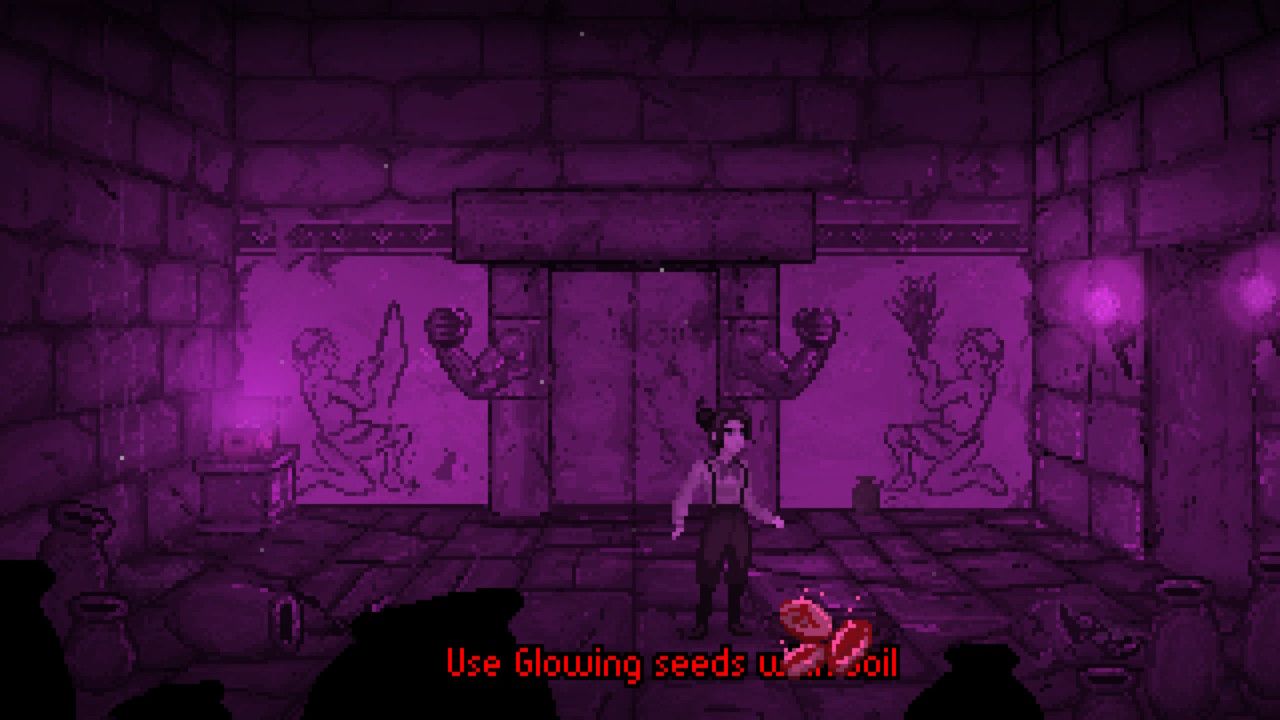
- Use the Glowing Seeds with the soil to sow them.
- Pick up the Pot resting against the wall.
- Use the Pot with the Water trickling down the wall on the left.
- Water the soil.
- Use the Knife on the Wheat to harvest it.
- Use the Knife on the roots to the right.
With that, you must put specific items in the arms against the back wall to open the way forward. The items match the murals on the wall.
- The left arm requires a whip - combine the Crank with the Root to make one.
- The right arm requires wheat - you just grew some.
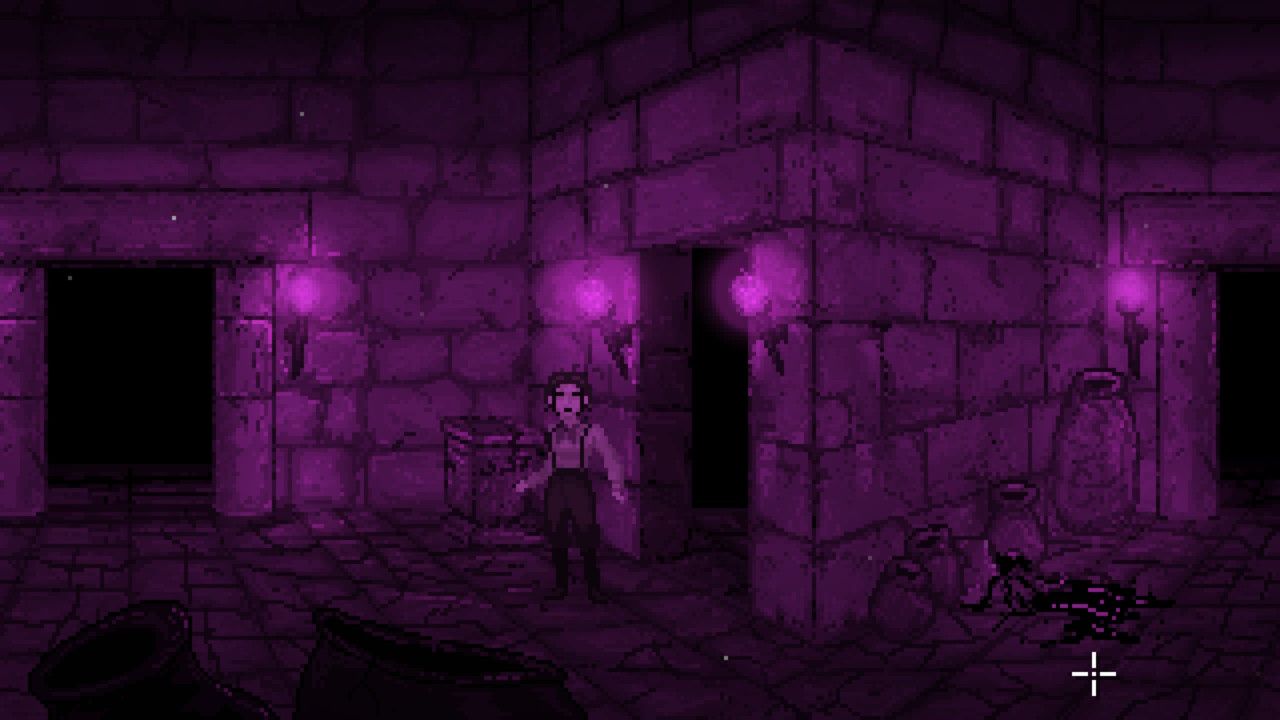
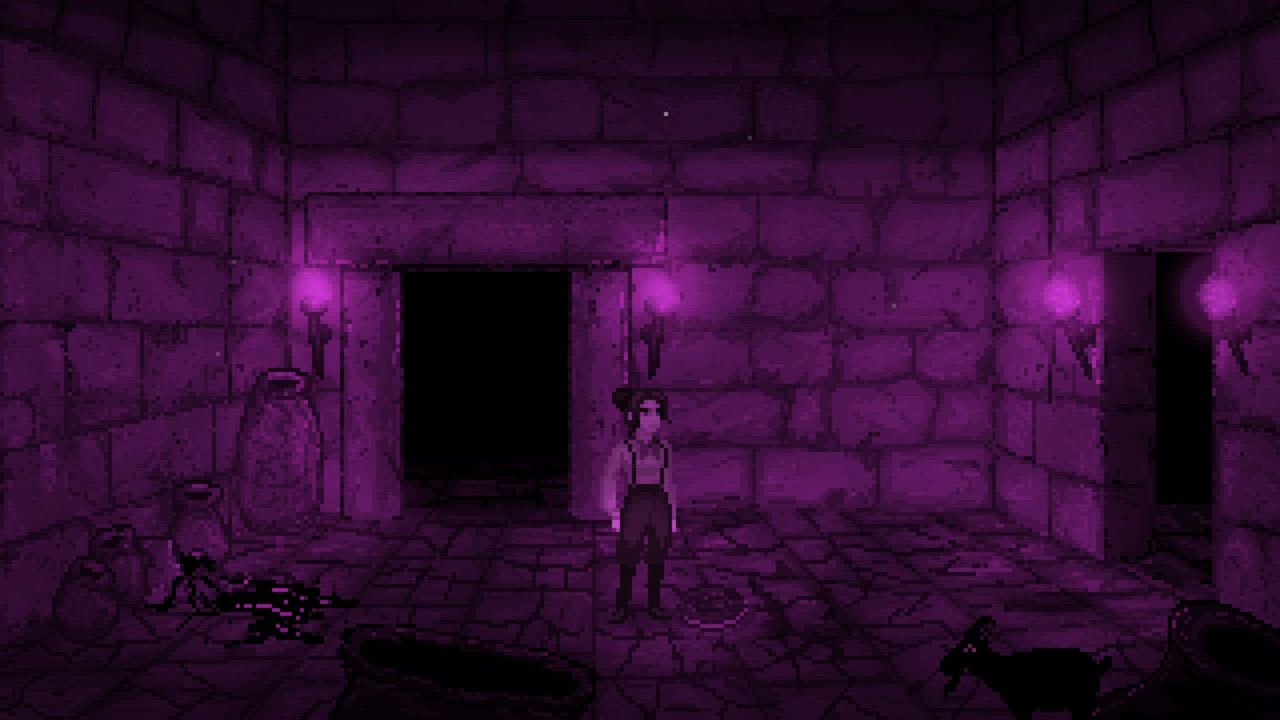
Enter the now-open door. Use the Pot on the Black Substance in this hallway.
How To Solve The Spinning Busts Puzzle
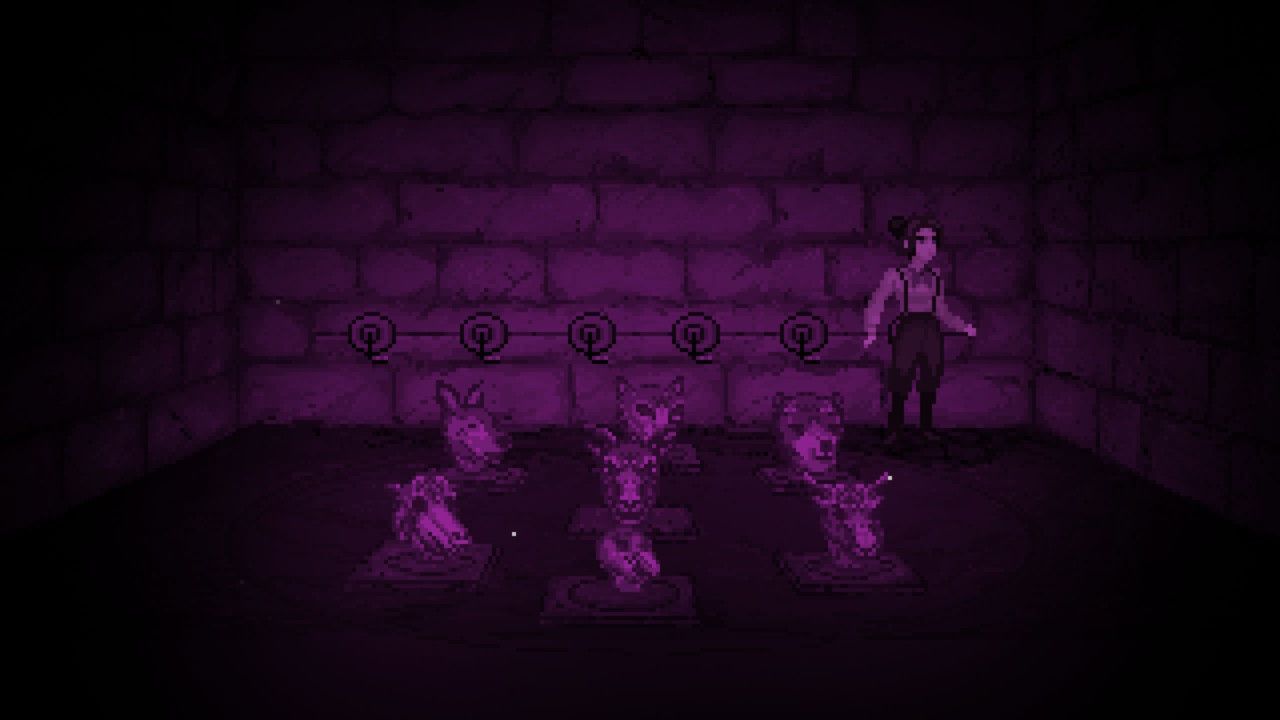
Enter the door to the back of the screen on the right. You'll be in a room full of busts with a row of cranks on the back wall.
Firstly, examine the shining object in the mouth of the top-left bust to get a Gold Coin. Then, start using the cranks on the wall - each one will rotate one of the busts a single step. Your goal here is to rotate each bust until it is facing the larger goat bust in the center.
- The second crank along is stuck - use the Pot of Grease to be able to use it.
- The final crank has a Severed Hand attached to it. Pick it up.
Once all the outer busts are facing the middle, the middle bust will open, letting you pick up a Bust Fragment.
How To Solve The Standing Stone Puzzle
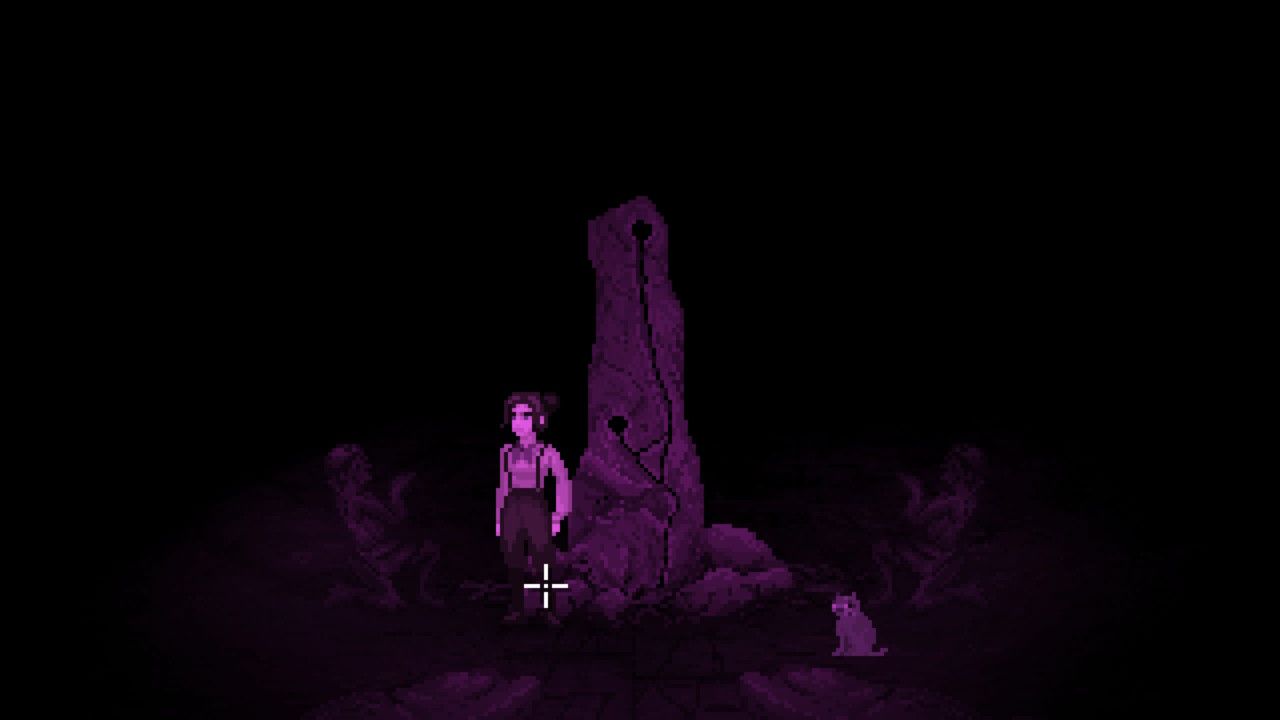
Enter the door to the back of the screen on the left this time. There is a shining object to examine - pick it up to get the Serpent Key. In addition, give the Severed Hand to the cat - it will leave behind a Gold Coin, pick it up. Now, return to the corridor.
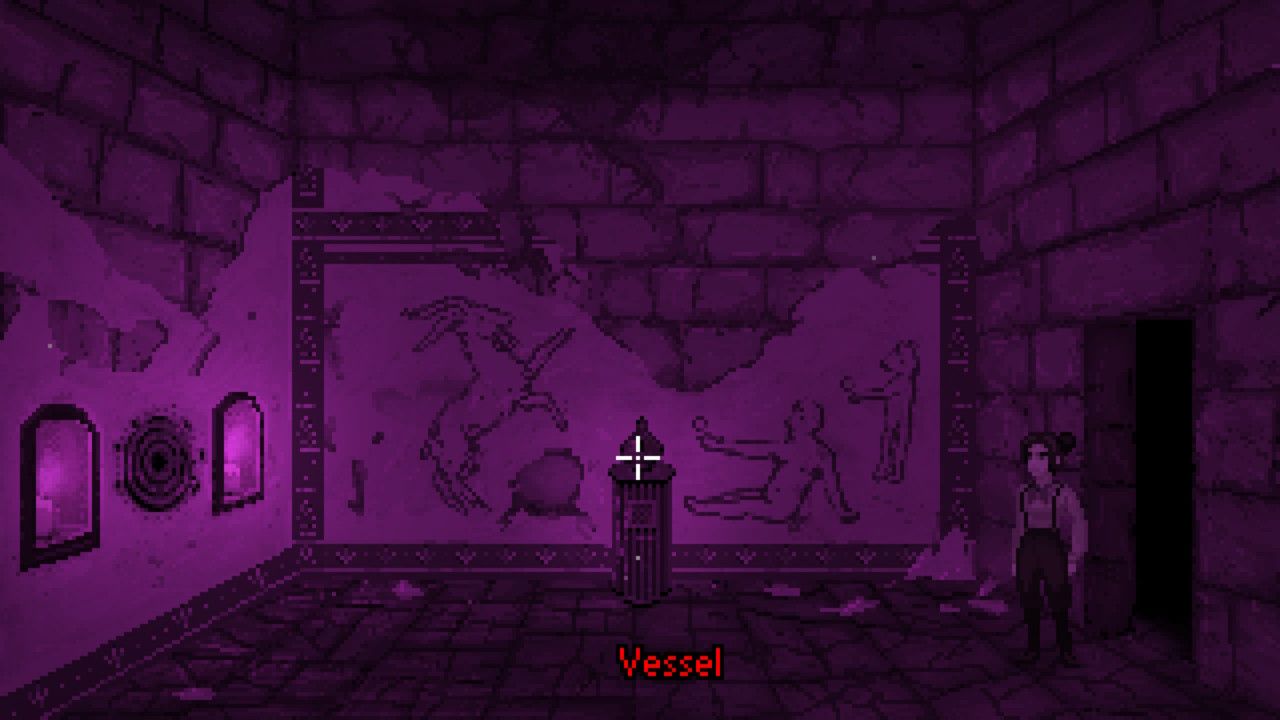
Enter the door to the left now. Thomasina will describe the Vessel at the back of the room as a piggy bank - place your two Gold Coins in there. After this, you can examine the characters below the vessel, which are now protruding out and can be pressed like buttons.
The hint to this puzzle is also in the Journal - you must identify which characters only appear once and press them. These would be the Ρ, Σ, and Ξ on the first row, and the Θ on the second row. Doing this reveals a compartment with two items to pick up, a Plinth Fragment and a Coiled Rod.
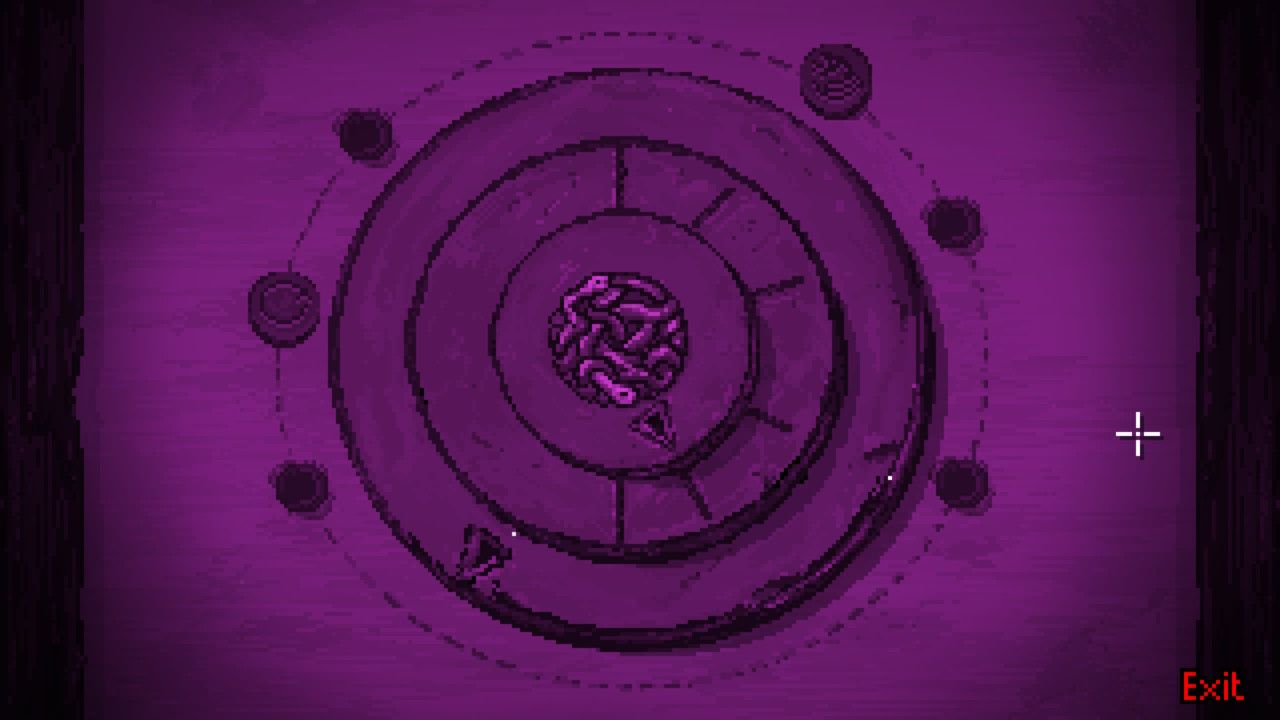
Now, examine the wheel on the left. Examine the button on the lower left to get an Ouroboros Rod.
- Place the Serpent Key in the central hole.
- Place the Ouroboros Rod in the middle hole on the left.
- Place the Coiled Rod in the top hole on the right.
With those items placed, interact with the dials until the two arrows are facing the Rods. The inner ring should face the Rod on the upper right, and the outer ring should face the Rod on the left.
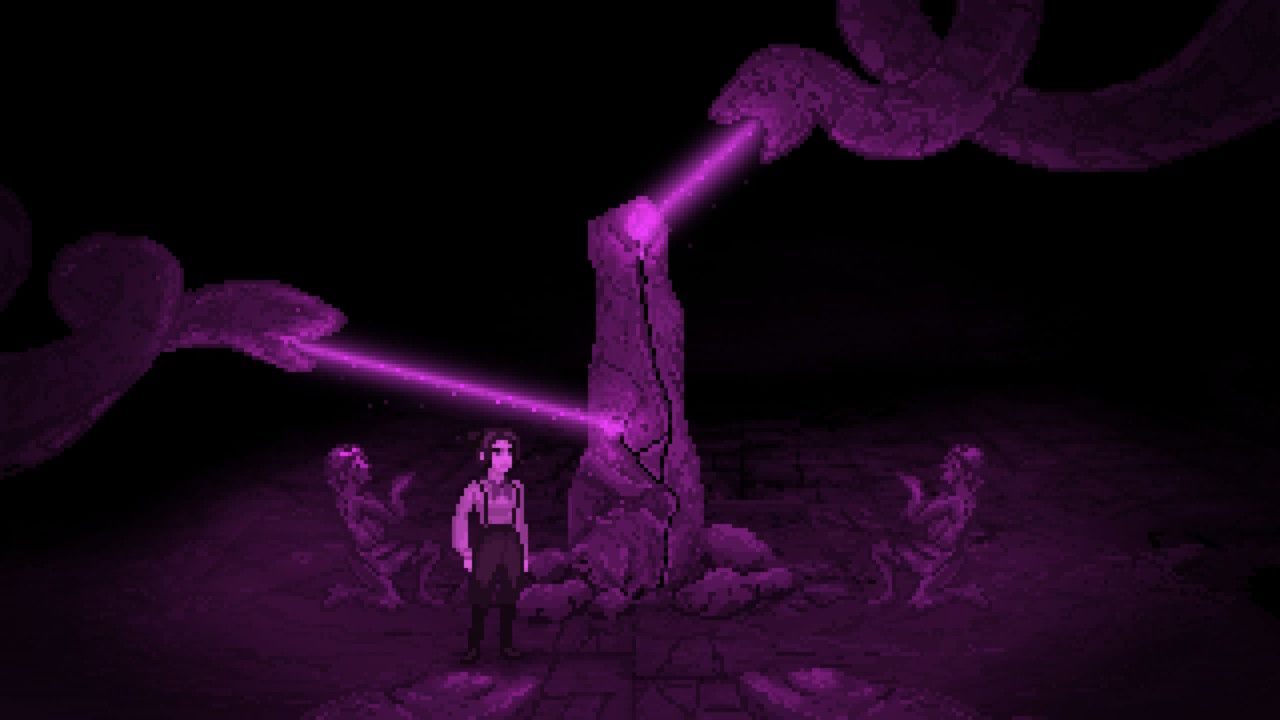
Return to the Standing Stone room and witness the scene. Pick up the Standing Stone Fragment from the hole.
Head back to the corridor and walk to the right until you reach a black goat. On the floor is a panel - examine it and place the three Fragments into the correct slots.
Continue through the door.
How To Solve The Chained Shield Puzzle
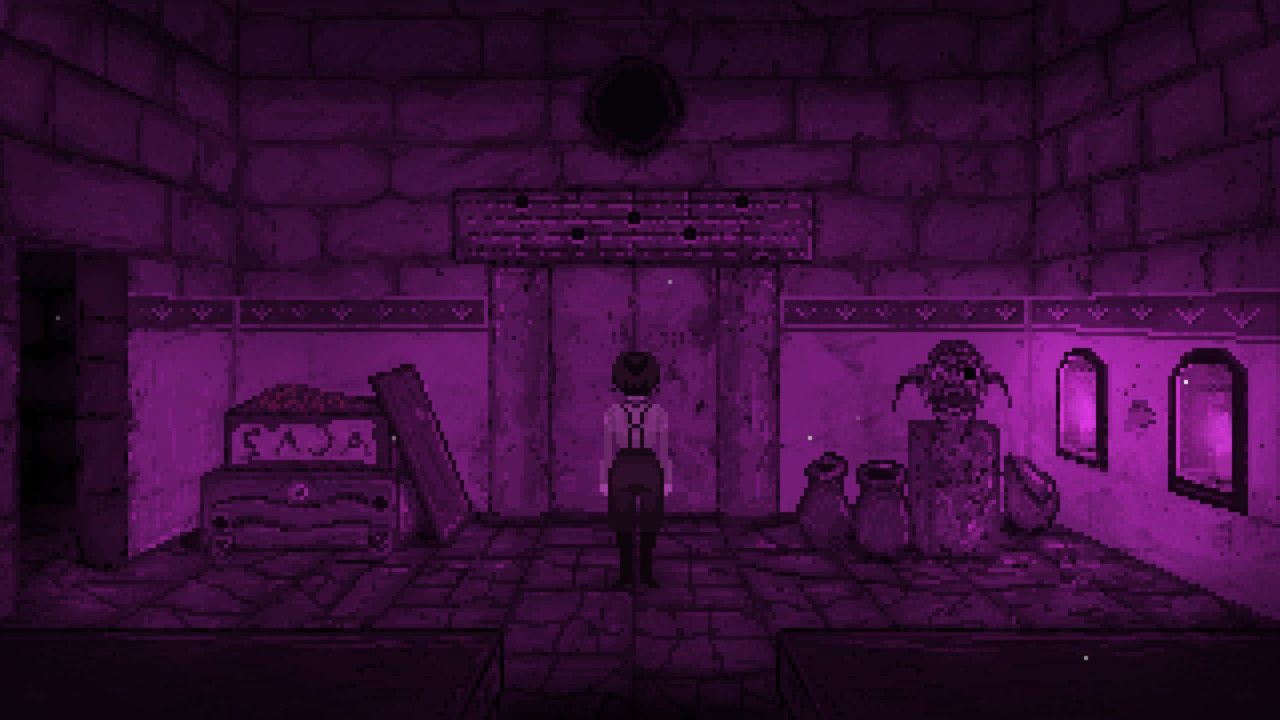
In this room, pick up the page from the floor and read it. Then, use your Trowel with the box filled with soil to find a goat skeleton. Interact with it to get the goat's Horn.
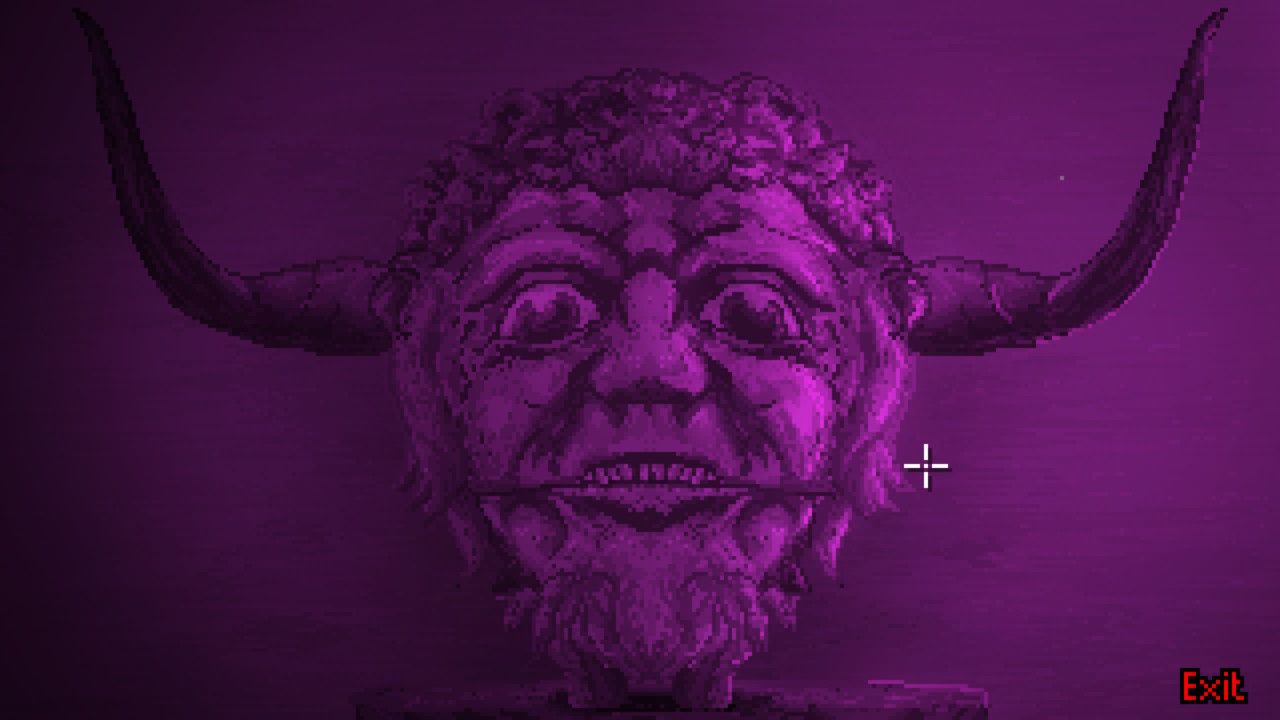
Use the Horn with the Bust on the right of the room you'll have to examine it first to get a close-up view. Interact with both horns twice to make the bust open its mouth. Pick up the Horned Bust Key inside.
The bust's right eye is loose. Use your Knife to remove it, then pick up the Eyeball from the ground. Behind the eye was a keyhole. Place the Eyeball inside the niche on the left to reveal two recesses. The left one has a Tomb Key inside, and the right recess has a keyhole.
- Use the Horned Bust Key with the keyhole inside the recess.
- Use the Tomb Key with the keyhole inside the bust's eye cavity.
This will reveal a large hole above the door. The solution to this particular puzzle is to play the Fiddle you acquired from the girl earlier to play the melody signified by the carving above the door.
Play the Fiddle by using it with the hole. The notes are marked down at the bottom of the Fiddle's interface - play the following notes: G A D A G. The door will open - enter through it.
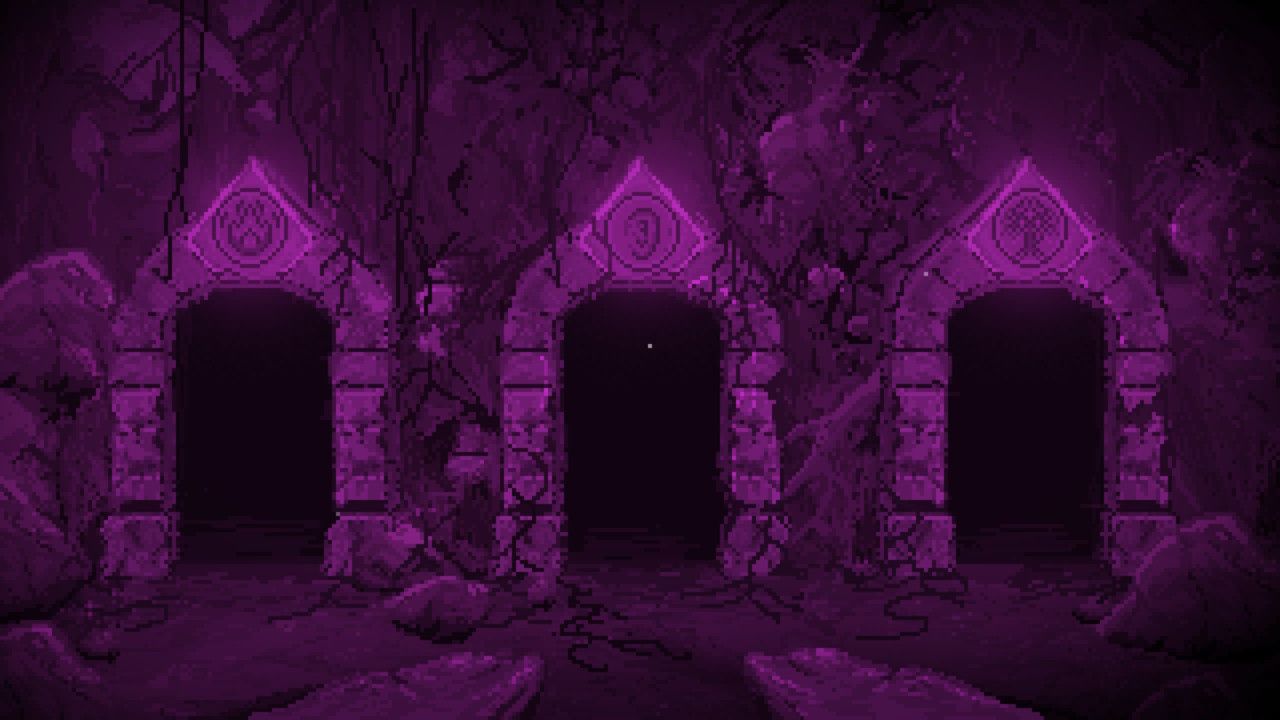
How To Solve The Door Puzzle
After the scenes, walk through the door underneath the Moon symbol. In the flashback, walk all the way to the left.
In the next room, pick up the page and then walk through the door underneath the Stars symbol. In this next flashback, pick up the Trowel and use it on the dirt patches as you did earlier in the game.
In the third room, enter through the door underneath the Ear symbol. In this flashback, talk to Father and then pull back the sheets.
In this final room of doors, enter through the door underneath the Mouth symbol.
Make your way through this screen, entering the final chamber when you reach the huge doorway. Examine the patch of soil in the middle of the room.
After the many cutscenes, you'll be back at Ticehurst House. Continue along the hallway and enter Room 9. Pick up the Urn from the cabinet and then click on Father.

