Quick Links
You've resolved a downtown gang dispute. You've survived some mining mayhem and even brought home a pet dog for your troubles. You've reached Chapter Two in Trails from Zero, and you're ready to take on every sidequest that Crossbell has to offer.
But every detective uses the tools available for the job. That's department 101. And we here at TheGamer have precisely the tool you need: a complete guide to every sidequest in Chapter Two of Tails from Zero, including support requests as well as hidden fare.
It's dangerous to go alone, Lloyd. Take this handbook.
Enigma Combat Test

Guardian Force Drill Participation

Take the bus across the East Crossbell Highway all the way to Tangram Gate, enter the facility, and locate Baelz (and Noel Seeker!) on the top floor. You'll be signing up for a fight, though take note that you'll, in fact, be headed into two fights. While you can lose the second and more challenging bout, you'll forego three extra Detective Points in the process.

None of your foes in either battle are especially susceptible to any element, but on the flip side, nor are they strong against anything. Being human and all, we suppose that makes sense. The point is, feel free to use whatever single-target or area-of-effect Orbal Arts you wish if you'd like to hasten their defeat.
Randy's Level 17 Craft, Crash Bomb, is a heck of a thing. It blinds all targets. Unless of course, they happen to resist the debuff. As it happens, none of these folks do. Expect us to recommend Crash Bomb many times in future sidequest coverage.

Yeah... no. That's not going to happen. Noel's the strongest of her squad, but she'll go down fairly quickly, as well. Just be sure to scan everybody if you're shooting for the achievement.
West Crossbell Monster Extermination

As with most monster extermination requests, this is as straightforward a mission as they come. Travel to either the exit outside Crossbell or the entrance to Bellguard Gate. The Nepenthes trio you need to defeat is roughly dead-center of both.
The Nepenthes have a move that does pretty impressive damage in a wide area. Since they all love to use it, the odds of escaping every instance are effectively nil. You should head into this fight with 200 Craft Points for everybody, and use Lloyd's Tiger Fang, in conjunction with other single-target techniques, to systematically wipe them out one by one to reduce your damage intake ASAP.
Testaments Training

We're on Day Two now, and it shouldn't be hard to remember Guardian Force Drill Participation, seeing as it just happened. Testaments Training is a lot like Guardian Force Drill Participation. Only, Abbas isn't Baelz, so the abruptness of his insistence that the SSS continue fighting rounds is nowhere near as kindly-delivered.

This sidequest consists of three rounds. The first pits the team up against four of the named subordinates at the Testaments. The second does the same, except with the Saber Vipers. In both cases, every single target counts as its own separate entry for the Monster Handbook, so use Analyze and Battle Scopes accordingly.
The final round isn't as bad as it looks. Neither the Testaments nor the Saber Vipers are particularly strong, so seeing them all together in an eight-pack just means you should go after them in "bunches" with AoE Orbal Arts and various Crafts. If they happen to gang up on one character, there may be trouble; it's nothing a simple heal (or revive) won't fix, though.
You'll lose out on additional Detective Points if you should happen to lose the third round. If, by chance, you feel like you're on the ropes, don't hesitate to restart the encounter — the rewards for elevating your Detective Rank throughout Trails from Zero are too good not to go the extra mile here.
Fishing For Ingredients

Warp or walk to East Street and enter Long Lao Tavern, where the petitioner, the waitress Shanshan, is in dire need of some fish. Honestly, same.
There are two ways you can go about this. The first is to catch five fish of any variety, so long as they're all the same species. You could do Armorican Carp, Catfish, probably even Snow Crab (somehow). But it's much better to pay attention to Shanshan's hopes and catch five long and slender fish, which with regard to Crossbell's subset of fauna just so happens to mean Eel. Use your Novice Rod for this one.

So, where do we find this slippery snake-like seafood? Eels are actually fairly common, with four spots to fish them from. You can catch them at the fishing spot facing the waterfront at the Harbor District. This is our recommended course of action if you already have the necessary bait, Earthworm. Just go to the Harbor District, catch a quintet, and return to Shanshan. Case closed.
Should you be lacking in Earthworms, however, know that Ursula Road's Deathcargot foe drops them almost every time you defeat one. In that case, it might be faster to use the Ursula Road - Estuary location.
Deliver the good news to Shanshan, and you'll be awarded four more Detective Points than if you had been a very mean person and given her anything other than Eel.
Rare Herb Retrieval

Your destination is St. Ursula Medical College, and your petitioner is Dr. Lago, who can be found by entering the hospital's main building, continuing on to the right-side exit, and then checking to the north from there. (If that isn't helpful, just look for the guy in the above screenshot!)
After your chat with the oddly worried physician, it's off to St. Ursula Cathedral, which can be accessed by exiting Crossbell from the Residential District and then heading east and up the stairs.

The man you seek, Eralda, is in quite possibly the easiest-to-locate spot in the entire zone — at the far end of the main hall, near the pulpit. You'll learn why Lago wasn't gung ho about doing all this on his own. As advised, go to the room with Renton inside, where you will acquire the Lupinus Grass needed to satisfy Dr. Lago back at the hospital and end the quest.
East Crossbell Monster Extermination

It's like West Crossbell Monster Examination, except in a separate direction. And with different enemies. And... yeah, that's about it. The Savage Horn duo you'll be facing will be waiting for you after you get off the bus at the fork (intersection) and venture southeastward into the next area. Keep going until you bump into them.
Remember when we said we'd keep suggesting Crash Bomb? Blinding the Savage Horns renders them largely harmless, allowing you to peck away (and scan them) at your leisure.
Lost Wedding Ring

You won't find this one at the SSS terminal. It's Chapter Two's sole hidden sidequest, and you'll need to visit the room displayed above over at the CPD in order to trigger it. Importantly, 'Lost Wedding Ring' cannot be initiated until after the events at Geofront Sector B.
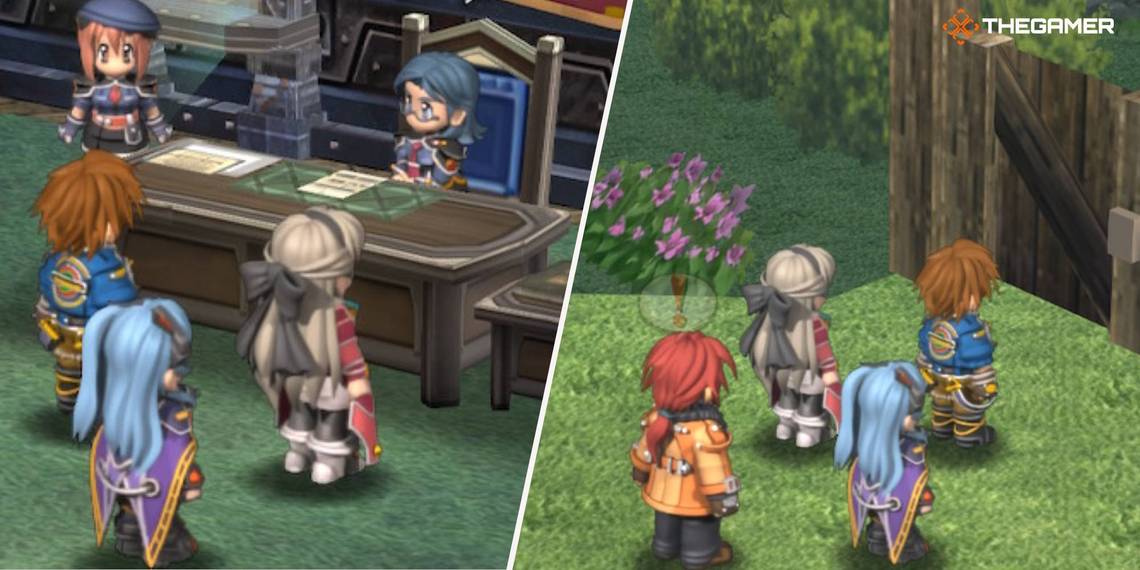
After you've got the gist of what's causing all this uproar, there's a fun segment with Zeit aiding Lloyd and friends in locating clues for the missing wedding ring. You'll need to recruit him first, so head over to your headquarters, where he'll be lounging around lazily by the front entrance.
With Zeit's heroic help secured, your destination is Hotel Millennium. From the northern entryway, press forward through the entirety of the hotel; if you stray off the path, Zeit will be sure to let you know.

The important order of operations here is to traverse the hotel from the northern side and exit out the southern end, at which point you'll be prompted to alter course and go into the Back Alley sector. Visit the wonderfully enigmatic Imelda, and then swing by Garante Bar, speaking first with the bartender, and then with the hostess by the bar who is clearly half-asleep.
Shenanigans ensue, as shenanigans were inevitably bound to ensue consider who it was that lost the ring. Case closed. And chapter closed!