Thanks to how expansive the open world is in The Legend of Zelda: Tears of the Kingdom, it's easy to get distracted from the main storyline that involves searching for Zelda and dealing with the effects of the Upheaval. There's simply so much to do!
Eventually, though, you'll make your way around the four corners of Hyrule, clearing up the messes suffered by the Zora, Gorons, Gerudo, and Rito. Once you've completed these quests, you'll return to Lookout Landing to report your success to Purah, who sent you on this journey in the first place - only, things are different at Lookout Landing now.
How To Complete Crisis At Hyrule Castle

This quest begins after completing Regional Phenomena, which encompasses four sub-quests. For a more thorough guide to that quest, click here.
Return to Lookout Landing after completing Regional Phenomena, and talk to Purah. You'll complete the previous quest and begin this one, which involves investigating Hyrule Castle after an apparition of Zelda appeared there.
The first thing to do is find out how to get to Hyrule Castle. The easiest way to do this by far is to launch yourself into the air with the Lookout Landing Skyview Tower and glide your way over there.
Use Tulin's Gust ability to boost your speed, and consider stocking up on stamina-replenishing food if you haven't invested much into your stamina gauge.

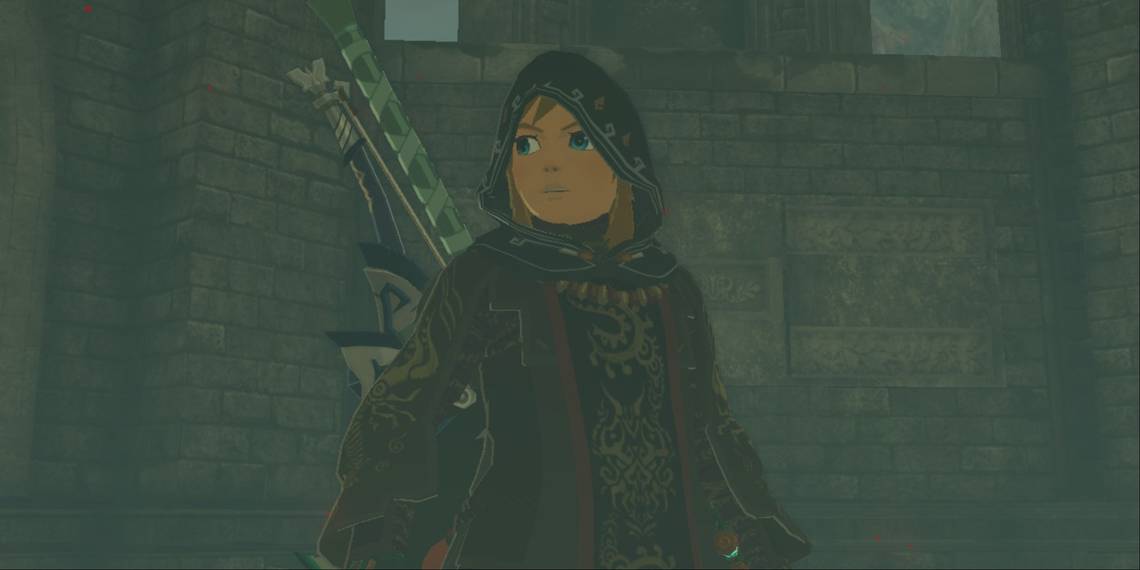
When you land on the floating landmass that is Hyrule Castle for the first time since starting this quest, you'll be alerted to Zelda's location, which is on the south side of the castle.
From the southernmost tip of the floating landmass, turn to the right to see a drawbridge hanging over the sky. Glide over there (or land there in the first place) and enter the building. This is the second gatehouse.

To get inside the second gatehouse, get close to the gate (and see Zelda on the other side), use Ascend to dive through the ceiling, and then drop through the hole in the center of the roof.

After a short cutscene, you'll be thrust into a battle with Monster Forces. These will be three Bokoblins and a Boss Bokoblin. Take this fight on as you would any group of Bokoblins, preferably having all of your summons activated - Riju especially can provide a ton of offensive support.
After beating the Monster Forces, open the chest in the gatehouse for a Royal Halberd. Now, take the east exit from the gatehouse and glide over the waterfall to the land on the other side. Ahead, enter the castle through the door that's up a small cliff. The chest here contains a Royal Shield.
Climb up the ladder here, head north through the gap in the wall, and then glide off the cliff in front of you. You'll be able to spy a hole in the ground that leads to your next destination, the Hyrule Castle Library. Land in here, and again make your way to Zelda on the bottom floor.
You'll face another Monster Forces encounter here, this time made up of a Hinox and some elemental Chuchus.
Aim for the Hinox's eye to stun it, and smack it will melee weapons while it's down. This shouldn't be difficult in the large arena the Library provides.
Before heading to the next stage of the quest, check behind the fake walls in the Library for some loot. To find them, use Ultrahand and look for the bookcase doors that can be moved. One of them hides a Shard of Dinraal's Spike, which is a rare dragon material, and another leads to the King's Study, which holds some weapons and the Royal Guard Boots.

Pursue Zelda up the stairs to the north to find yet another Monster Forces encounter, this time against Gibdos. Remember to use elemental attacks (arrows fused with Chuchu Jelly will work) and then beat them down while they are vulnerable. There are four Gibdos to take down in all.
Proceed up the stairs and follow the path around the sky island - Zelda is now waiting for you on the other side. The path is perilous, filled with monsters to distract you, but you needn't actually fight them.
Eventually, you'll reach some broken walls and stairs that lead directly up the eastern side of the castle. Climb these, defeating or ignoring the Lizalfos as you go, and when you reach a dead end at the top of a flight of stairs, use Ascend to get through. Drop down into Zelda's bedroom for a Monster Forces battle against some Lizalfos.
These will be Fire Breath Lizalfos - ice-elemental attacks will be one-hit kills.
Check the chest in the corner of this room to get the Royal Guard Cap.
The next encounter is located on the bottom level of the castle. Leave the bedroom the way you came in and head to the western side of the floating landmass. Drop off the side near the quest marker and glide down to the door that leads into the land. Zelda's monsters here include some Keese and a Moblin, which will spawn behind you, so be careful.
Head into the crumbling corridor ahead of you and Ascend back up to the next level. Dart under the Ice Like and then take the spiral staircase to the right when you reach it. Head through the doorway ahead, turn left, and confront Zelda again, for a final time.
This encounter is against three Shock Likes. Do your best to avoid their electric attacks and stun them by shooting at the weak points that come out afterwards. Then, destroy them with melee attacks.
The chests that drop from them contain two Royal Shields and a Knight's Shield.
Zelda is now in the throne room, or Sanctum. To get there easily, Ascend through the ceiling of the corridor that had Shock Likes in it, climb up the wall to the east, and then use the Zora Armor to climb the nearby waterfall. This will give you a nice bit of air that you can use to glide over to the castle's main entrance, leading to the throne room.
How To Beat The Boss

When you enter the throne room, a cutscene will start. Afterward, a fight will begin against Phantom Ganon.

What you'll immediately notice is that there are actually multiple Phantom Ganons to fight. If you don't have your sages summoned here, definitely summon them - each will keep a Phantom Ganon incarnation distracted, allowing you to take on one at a time.
Thanks to how many there are, these Phantom Ganons are a lot weaker than the ones you can fight outside the castle.

After beating the initial wave of Phantom Ganons, a second phase of the fight will begin, which adds Gloom to the battlefield. Navigate this carefully, as you don't want to be caught with severely reduced health in this fight.
When you see a Phantom Ganon summoning more Gloom, you can hit him out of the animation with a critical hit arrow to the face.
For more details breaking down this fight, check this guide.
After winning the fight, you'll witness a lengthy cutscene and end up being rewarded with a Heart Container.
Return to Lookout Landing and speak with Purah to end this quest and begin the next one: Find the Fifth Sage.