Quick Links
Solving puzzles is one of the core parts of The Legend Of Zelda: Tears Of The Kingdom. You'll have to take part in these puzzles if you want to continue in the main story or get the Blessings Of Light to increase your health and stamina. Some of these puzzles also lead you to chests with great items.
The North Lomei Prophecy is one such puzzle quest that'll have you go past two Labyrinths in the surface and sky area before you head down to the underground to beat the final boss. Here's everything you need to solve this quest easily.
How To Beat The Surface North Lomei Labyrinth

The quest will be started as soon as you get to the entrance of the North Lomei Labyrinth. As the name suggests, this can be found on the northern side of the map, a little bit to the left of the middle. You'll be able to see it on the map when you unlock the second Skyview Tower from the left on the top side.
There are two ways to get to this Labyrinth. You can either navigate through the tough mountain area around it or unlock the Tenbez Shrine in the sky and directly jump down to get to it. Jumping down from this shrine will also make it far easier to get past the Labyrinth since you can essentially skip most of it.

If you're jumping from the sky, keep diving until you get near the Labyrinth and then glide to the location marked on the map above (to the northern side of the Labyrinth). You'll see a thick bar on the north side, and if you drop down into the area from just above this bar, you'll skip more than half the puzzle. Continue from the eighth point below if you're using this method.
If you're navigating through the mountains and entering the Labyrinth from the main entrance (to the left on the map), here's a quick solution to get to the end:

You'll see a line of Hylian Pine Cones on the ground from the very start, and you can get to the end following this.
If you've already picked some of these and got lost, you can use the path drawn in the picture or the guide below.
- Keep going straight from the entrance until you reach the middle area blocked by some bars. You'll have to go past some gloom here, but you'll only lose one heart if you run through it in a straight line. Don't heal back up just yet since you'll be doing this a lot of times.
- When you reach the bars, turn right and then take the first left leading you to a set of stairs. Get past the stairs and turn right again. Keep heading straight for a little while.
- Once the path gets divided, go left and then turn right to see a pool of gloom. You don't have to touch this gloom since you can turn left and then left again.
- Take the first right after that and keep following the path until you see a lot of gloom blocking your way. You'll have to run past two of these sets of gloom as you enter the top part of the labyrinth.
- Once you're past the second gloom pool, keep going straight until you reach the edge and then turn left - right - left.
- Head straight until you see a wall in front and then take two rights. Keep going straight and take a left when you reach another wall in front.
- Keep going straight from here and you'll reach the thick part mentioned above.
- Go to the upper edge of this part and enter inside. You'll see a light at the end of it. Reach the light and turn left just before it. From here, you simply have to follow the path until you see a ladder.
- Climb the ladder and you'll soon be able to directly jump to the middle.

In the middle, you'll see a touchpad and the Mayaotaki Shrine blocked by some ice rocks. These rocks can be melted by using the Flame Emitter Zonai Device or any fire item on it. It's a Rauru's Blessing Shrine so you can simply enter it and take the free Blessing Of Light and Diamond from the chest.
After interacting with the touchpad in the middle, you'll next have to go to the Sky Labyrinth.
North Lomei Sky Labyrinth Walkthrough

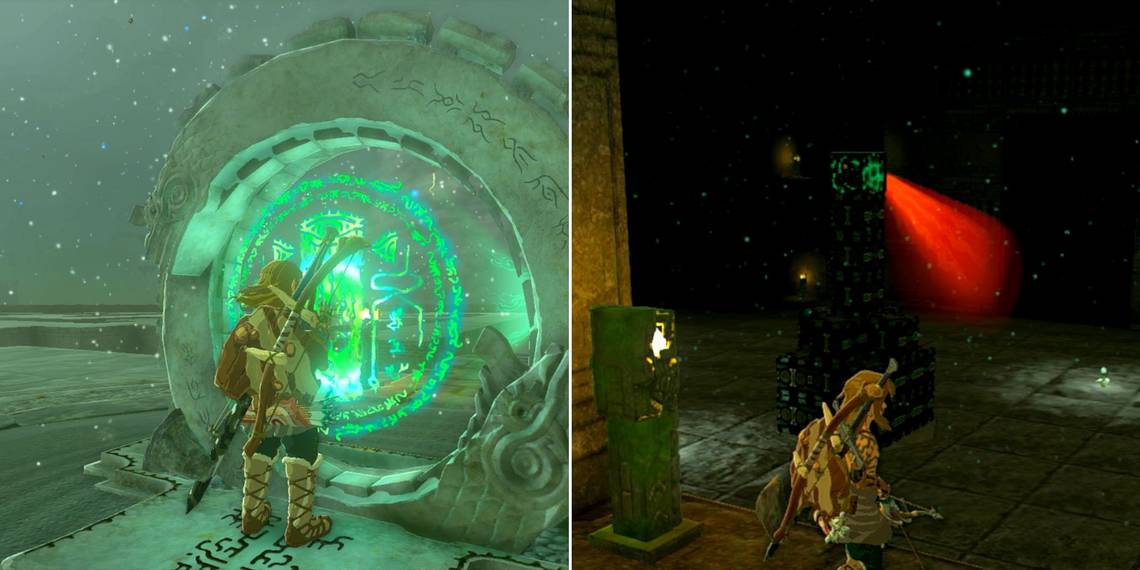
To get to the Sky Shrine, you'll have to unlock the Tenbez Shrine mentioned above. After getting to the Shrine and finishing the Surface Labyrinth, you can interact with the touchpad here and open the labyrinth. This will also mark four terminals in different corners and you'll have to touch them all.
To get to the first terminal, enter the labyrinth and take the path to your right. Take the first left and get past the stairs structure. You'll be gliding the entire time you're trying to solve this Labyrinth, so keep an eye on your stamina bar. There are many spots that you can rest on while getting through it.
Use the picture above to get to the first terminal and activate it.

Once you've activated the first terminal, you'll already be at the southern end of the shrine, which is where the path in the picture starts. Keep going in the northern direction and turn east wherever you can. There will be some points in the middle where you'll get blocked by a special kind of wall with some design on it.
This won't have a platform you can stand on at the bottom. You have to dive until you get near the place where it ends and then start gliding again. The wind current will take you back up as you get past the wall. The second terminal will be at the location to the east of the labyrinth.
You can already get the terminal in the middle after this second one, but it's recommended to get the one in the north first.
This is because the next path opens in the middle, so you won't have to waste more time coming back here.

To get to the third terminal, head out of the second terminal location and take the following turns: second right - second left - first right - first left - second right, and then keep turning right whenever possible as you head in the western direction. Once you activate the third terminal, take the same path back to reach the second one.
You can enter the middle from the second terminal's side to get the last one, and then glide up to activate the final touchpad. This will take you directly underground where you'll have to fight a boss called Flux Construct III.
How To Beat Flux Construct III

When you reach the underground labyrinth, you can enter the path between any two lights and go down the stairs to find Flux Construct III. There are many ways to defeat this boss, but the easiest one is to stay on a higher platform. When you stay here, it'll do an attack where it'll turn itself into a flying machine.
During this, shoot an arrow when the highlighted cube is at the top and the enemy will come down. Jump on its body and keep attacking the core in the middle until it breaks. After it breaks, continue to attack it until it remakes itself. Climb back up through the ladder and repeat this process until you defeat the boss.