Quick Links
The final chapter of The Lord Of The Rings: Gollum takes you into the heart of Mirkwood, pursued by both elves and orcs. There are lots of stealth and climbing sequences here, and a particularly devilish puzzle. Chapter Ten is also where most of your choices throughout the game will bear fruit, though the overall ending is the same.
If you need a path through the orcs or the solution to the chapter's puzzles, this guide offers a step-by-step walkthrough from start to finish. Afterward, well, you already know the rest of the story!
How To Escape The Elves
Follow the path through Mirkwood until you see a large climbable wall on your left. Use it to reach the upper level and continue forward. You'll pass through a large hollow log, then see a second one. The second log contains a pair of snails that you can eat to replenish your health.
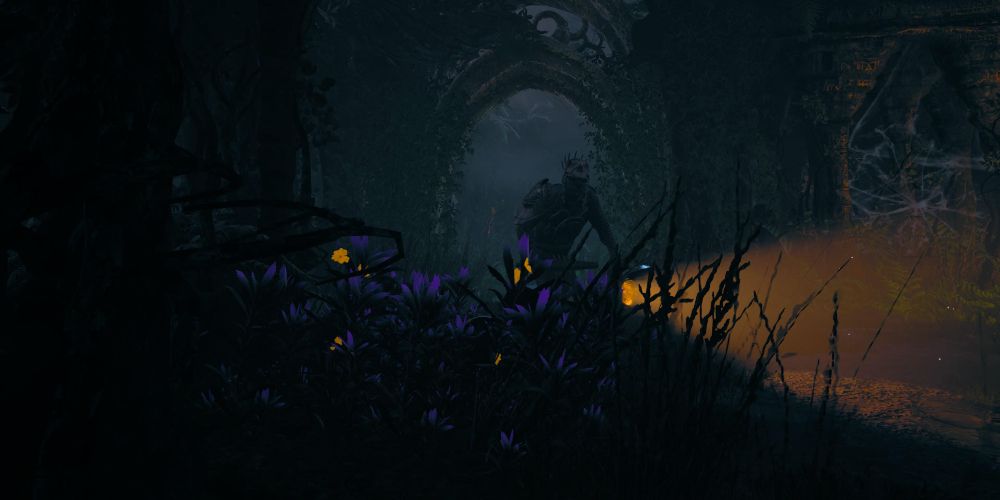
Between the two logs, you can climb down the cliff to the area where the elves and orcs are concluding their battle. At the bottom, stay in the flowers until the coast is clear, then move straight ahead. Hang from the ledge at the end and use it to reach the climbable vines on the far side of the tree trunk.
Climb up the tree and down the other side, being careful not to alert any elves as you land in the flower bed at the base. Make your way along the path to the right to reach the next climbing wall.
At the top of the ridge, you'll see a tall tree that you can climb. Head up and use a running jump from the scaffolding at the top; you'll land in front of another climbable section of trunk. Use it to reach the swing bar, then jump from trunk to trunk in order to reach the next set of platforms.
The second backward jump is tricky; if you're too far to the left you'll miss the platform.
Wall run and jump to the next platform, then run up the next wall and jump backward from the edge of the hanging ledge there. It's a sharp drop, but you'll catch some vines to slow your fall.
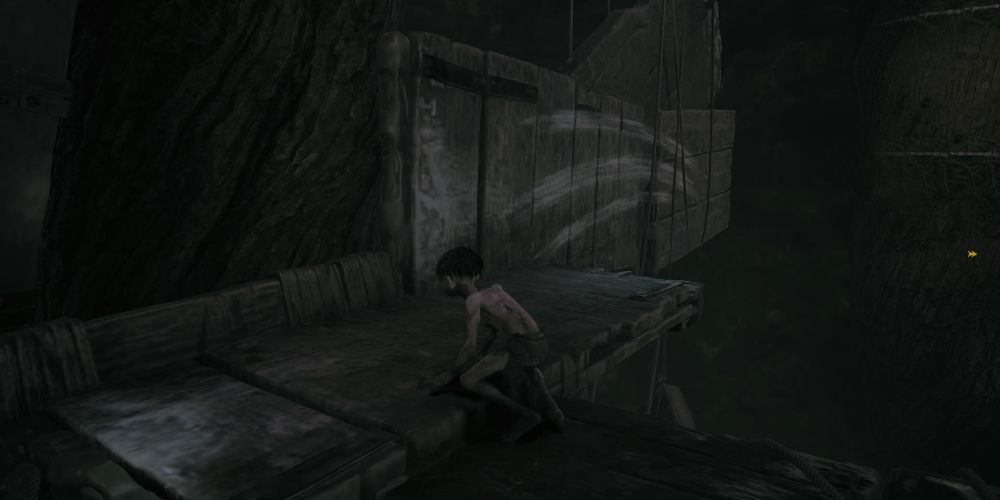
Climb around to the other side of the trunk and down onto the ruined bridge. There's a long jump on the right that you can clear with a running start, which leads to a collectible. Take it, then return and go down the left-hand path.
Climb back into the trees, going up and to the left until you come to a place where you can jump backward to a narrow branch. Move to the right side and jump to the right to catch the swing bar there. Leap to the branch across the way and continue to the right.
Should You Kill The Beastmaster Or The Cruel She-Elf?
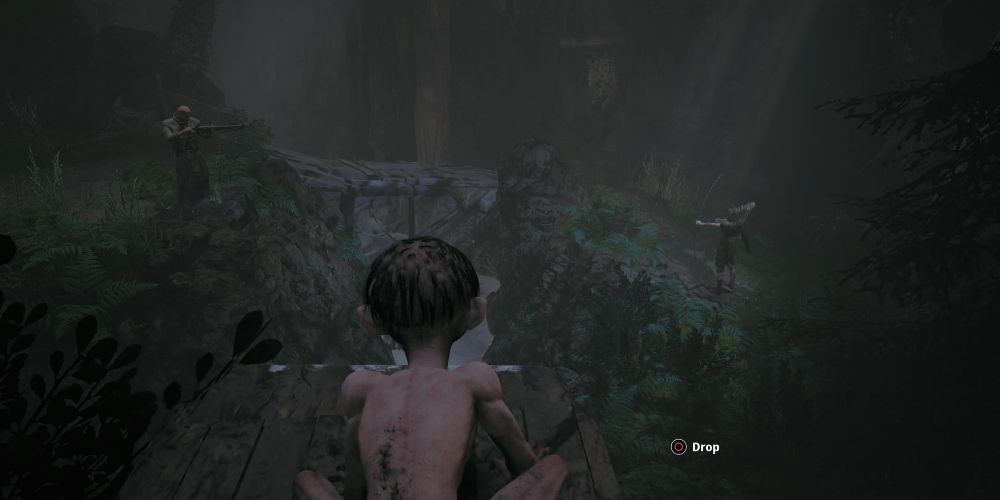
Crawl through the opening at the end of the ruins, and you'll see that the Beastmaster and the Cruel She-Elf are locked in a standoff. Throw a rock at one of them to distract them - it's entirely a matter of personal preference, and doesn't come up again - so that the other can shoot and kill them. Either way, there are dozens of orcs coming from behind the Beastmaster's position.
How To Escape The Orcs
Jump into the water to the right of the bridge and quickly swim to the other side. This isn't technically the route the game wants you to take, but it's faster and much more reliable than trying to catch the swing bar above.
There's a wall ahead that you need to run up; stopping will cause the pursuing orcs to catch you. Jump the gap in front of you, then wall-run to the right. At the next gap, jump up and to the right to find a ledge and use zig-zagging backward jumps to cross.
At the far end, climb along the wall and follow the path until you see a ledge on your left; climb on top of it to evade the pursuing orcs at ground level, then move quickly but carefully along the branch to the left.
Stay on the branches until you reach the end of the path, and jump to the ledge across the gap. Climb up and use the swing bars to get ahead of the orcs below, then run through the tunnel in front of you.
At the other end of the tunnel, hang over the edge of the cliff and drop to the platform below. You'll be able to reach a swing bar and climb up the wall to the right. Follow the path at the top to reach the ruins of which the Riddlemaster spoke.
How To Reach The Elven Ruins
Follow the torches until you reach the garden maze; an orc with a lantern will quickly appear on the left after you walk through the gate, so be ready! If you wait in the flowers on the right, you can eliminate him without much trouble.
Go straight ahead and collect the Hook at the top of the empty building, then take the side path near where the orc was patrolling. You'll see another lantern orc ahead; he's wearing a helmet, so wait for him to take the path straight ahead before scuttling down the passage to the right.
Take out the orc patrolling the entrance to the next room, then go inside. Ignore the lantern and armored orc to the right, and go straight ahead then turn left. Follow the path, but watch out for the lantern orc ahead; he's alone, so he's easy to ambush as long as you don't alert him.
In the next room, evade the lantern orc with the helmet and get into the flower bed to the right. When the lantern orc's back is turned, throw a rock at the steel globe to distract the orc blocking the door, then slip past him.
Follow the hallway to the next room, which is a corridor with a divider down the middle. Take the right-hand path, as it's less heavily patrolled. At the far end is an armored orc; follow him closely but quietly as he moves down the tunnel, then duck into the flower bed on the left until he turns around to leave.
Continue down the tunnel until you see a torch to your left; an orc with a lantern will be coming from that direction, so hang back until he passes then kill him in the isolated room to the right. Go down the hallway that he came from, and you'll come to the courtyard where you can hear the Candle Man arguing with an orc captain.
Get into the flowers and throw a stone at the orc on the right - the globe is too far away for him to hear. While he approaches, throw another stone at the globe to the left. With both orcs out of position, stay to the right to avoid their lantern light and carefully crawl past them to the next set of flowers.
Kill the orc on the right (the one on the left is too far away to notice) or simply put out his lantern; then, crawl counterclockwise around the room until you're near the orc guarding the door. Distract him by throwing a rock at the steel globe and go through.
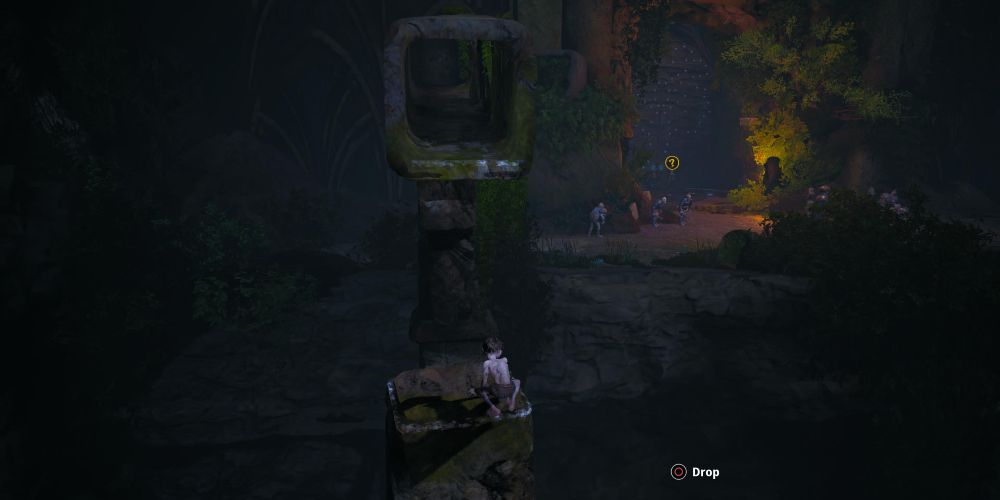
You'll see an armored orc overlooking the courtyard; directly behind him, climb up the wall and through the small opening there. Follow the path to the left and jump across the crumbling pillars to reach the entrance to the palace.
How To Solve The Star Door Puzzle
When you reach the other side, a cutscene will trigger. Afterward, talk to Mell and pick up the gemstone to the right of her. Next, climb up the ledges on the wall near the gemstone to find a small pool above the Candle Man's position. Use it to speak to Mell telepathically.
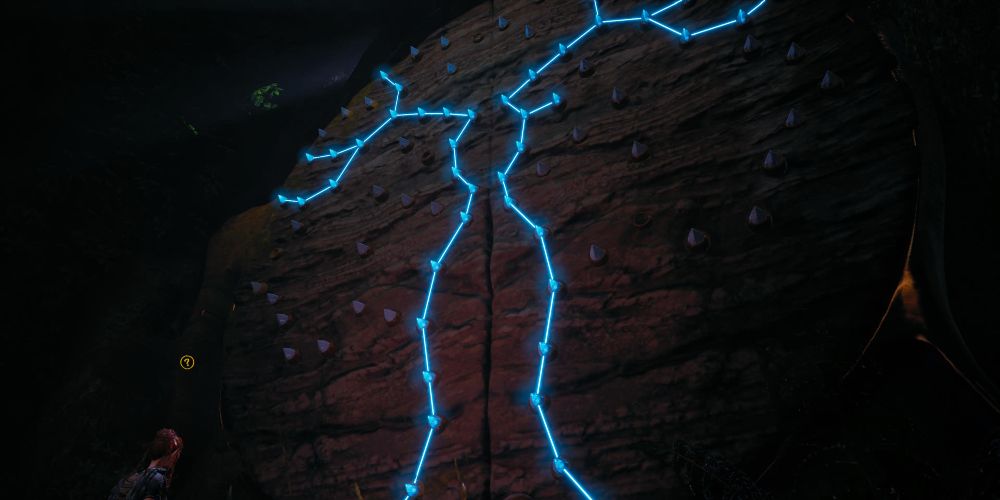
Have Mell change the right side of the pattern on the door once, and the left side twice. The pattern will almost take the shape of a deer. Pick up rocks from the pile to the left and stand by the pool. Look out over the spot where Mell is standing, and you'll see a bird's nest to the left; throw a rock at it to make a second gemstone fall.
Pick up the gemstone and climb onto the door. place the stones just above and to the left of the center to form the deer's ear, and the other in the top right corner to finish the antler. Last, blow out the candle to the right of the door.
How To Stop The Haze
Talk to Mell to enter the ruins; after the cutscene, go to the room straight ahead. Use the ramp on the right to start climbing. Get on top of the fallen pillar to the left and use it to cross the chamber. On the other side, jump to the pillar below you then to the alcove on the left.
Make your way to the other side (it's much faster if you climb on top) and drop to the winch below. Remove the stone blocking it, then return to ground level. Go back up to the fallen pillar and jump to the crank above the door; you can now use it to proceed.
Cross the bridge, staying close to Mell. Go through the doors at the end and talk to Mell inside. Next, climb onto the bookcase nearby and up to the small window near the ceiling. Crawl through to find a room full of floating platforms.
Wait for the platform on the left to float into position, then jump onto it. Jump across the platforms to make your way to the right, where you'll see a fallen pillar; use it to climb down through a hole in the wall, then go to the right to return to Mell.
After the cutscene, follow the elves into the next room and down the corridor. When you reach the Source Chamber, jump to catch a platform as it floats above you and climb up. The lowest platform can only be caught from the outer-left edge, so position yourself accordingly.
When you're high enough, jump to the ledge on the right-hand side of the room. Follow the path to a fallen pillar, which you can use to climb upward and jump to a ledge at the end of the hall.
On the other side, carefully jump to the floating platform below. Run and jump to the other side of the pit before the platform's rotation throws you off, then jump to a smaller platform to the left.
This area is guarded by wisps. Ride your platform up and jump to the vines to the right and slightly behind you. Climb up and across to the left, timing your movements to avoid the wisps. There is a pillar below that looks climbable, but isn't; jump to the left instead, then backward to the platform behind you.
Climb up the pillar on the floating platform and around to the right. Jump backward to the ledge at the side of the room, and check in with Mell at the fountain. Jump back across to the upper platform and use it to jump along the higher route over the Haze. At the cross-shaped platform, stay in the center to avoid the wisp until the long portion is close enough to the nearby ledge for you to jump to it.
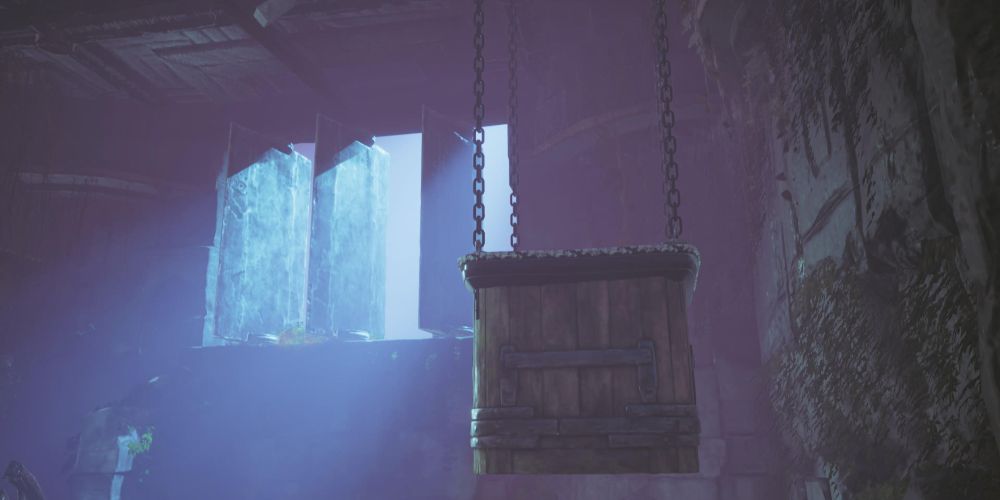
Climb up and over, then down to the ground on the other side. To the left is a wall with vines; climb up, then jump backward to another floating platform. Use it to reach the handle on the other side of the room and hang from it to close the shutter.
Climb onto the counterweight and use it to return to the previous room. Retrace your steps back to the Source Chamber; there are plenty of mushrooms along the way to replenish any health you've lost.
Talk to Mell, then climb back onto the floating platforms. They're more aligned now, so follow them in a spiral pattern to reach the left-hand tower's entrance.
Inside, wait for the wisp to move aside and go through the door. Turn left, and stay near the left-hand wall to avoid the wisps. Jump across the platforms to the other side of the Haze, then drop down and talk to Gwendil. He'll levitate some stones for you to climb on the far side of the room.
In the shutter chamber, run up the wall to the left and climb along the ledges. Rotate the camera so that you can see the moving ledge behind you, and jump backward to it when it's in position. Climb to the ledge above, then to the left. Climb onto the rafter and jump across to the swing bar.
Swing to the lever to close the shutter, then drop. Collect the mushroom on the edge of the platform, then jump across to the counterweight. This time, the counterweight will rise and fall - when it's high up, jump to the platform across from you.
How To Destroy The Source
Smeagol and Gollum will have a brief argument; afterward, go straight ahead to a tunnel that leads back to Gwendil. Decide whether to kill the orc or let him find Gwendil, then run up the wall and back to the Source.
Talk to Mell, then jump to the moving platforms. The orcs will see you and start firing their crossbows; keep moving to avoid being hit. Follow the spiral pattern all the way up to the Source.
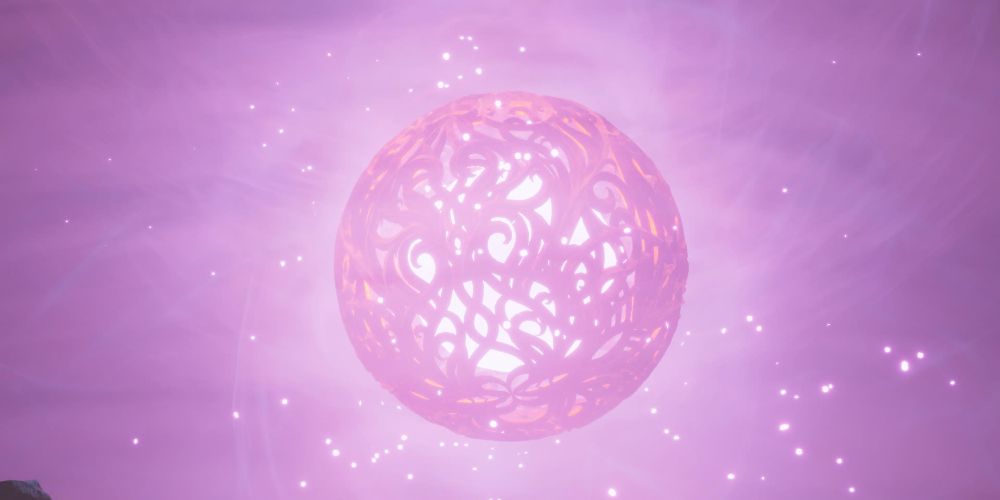
When you're near the Source, you won't be able to jump up to it just yet; instead, move back to the outside of the circle to find more platforms higher up. When you're high enough, you'll be interrupted by a cutscene. Afterward, keep going until you see a swing bar that lets you climb onto the Source.
After the building collapses, follow the path in front of you and to the left. Jump to the ledge across the gap, then across and back to the other side. The Candle Man will shoot at you as you pass in front of him, so be fast and crawl through the small crevasse ahead and to the right.
Climb across the pit, then dart across to the stone barrier to avoid another shot from the Candle Man. While he's reloading his crossbow, jump over the stone and go through the exit to the right. Cross the pit that you find and crawl under the rubble to the left.
Follow the path until you can climb up above the Candle Man's position. Decide whether to kill or spare him to complete the game

