Quick Links
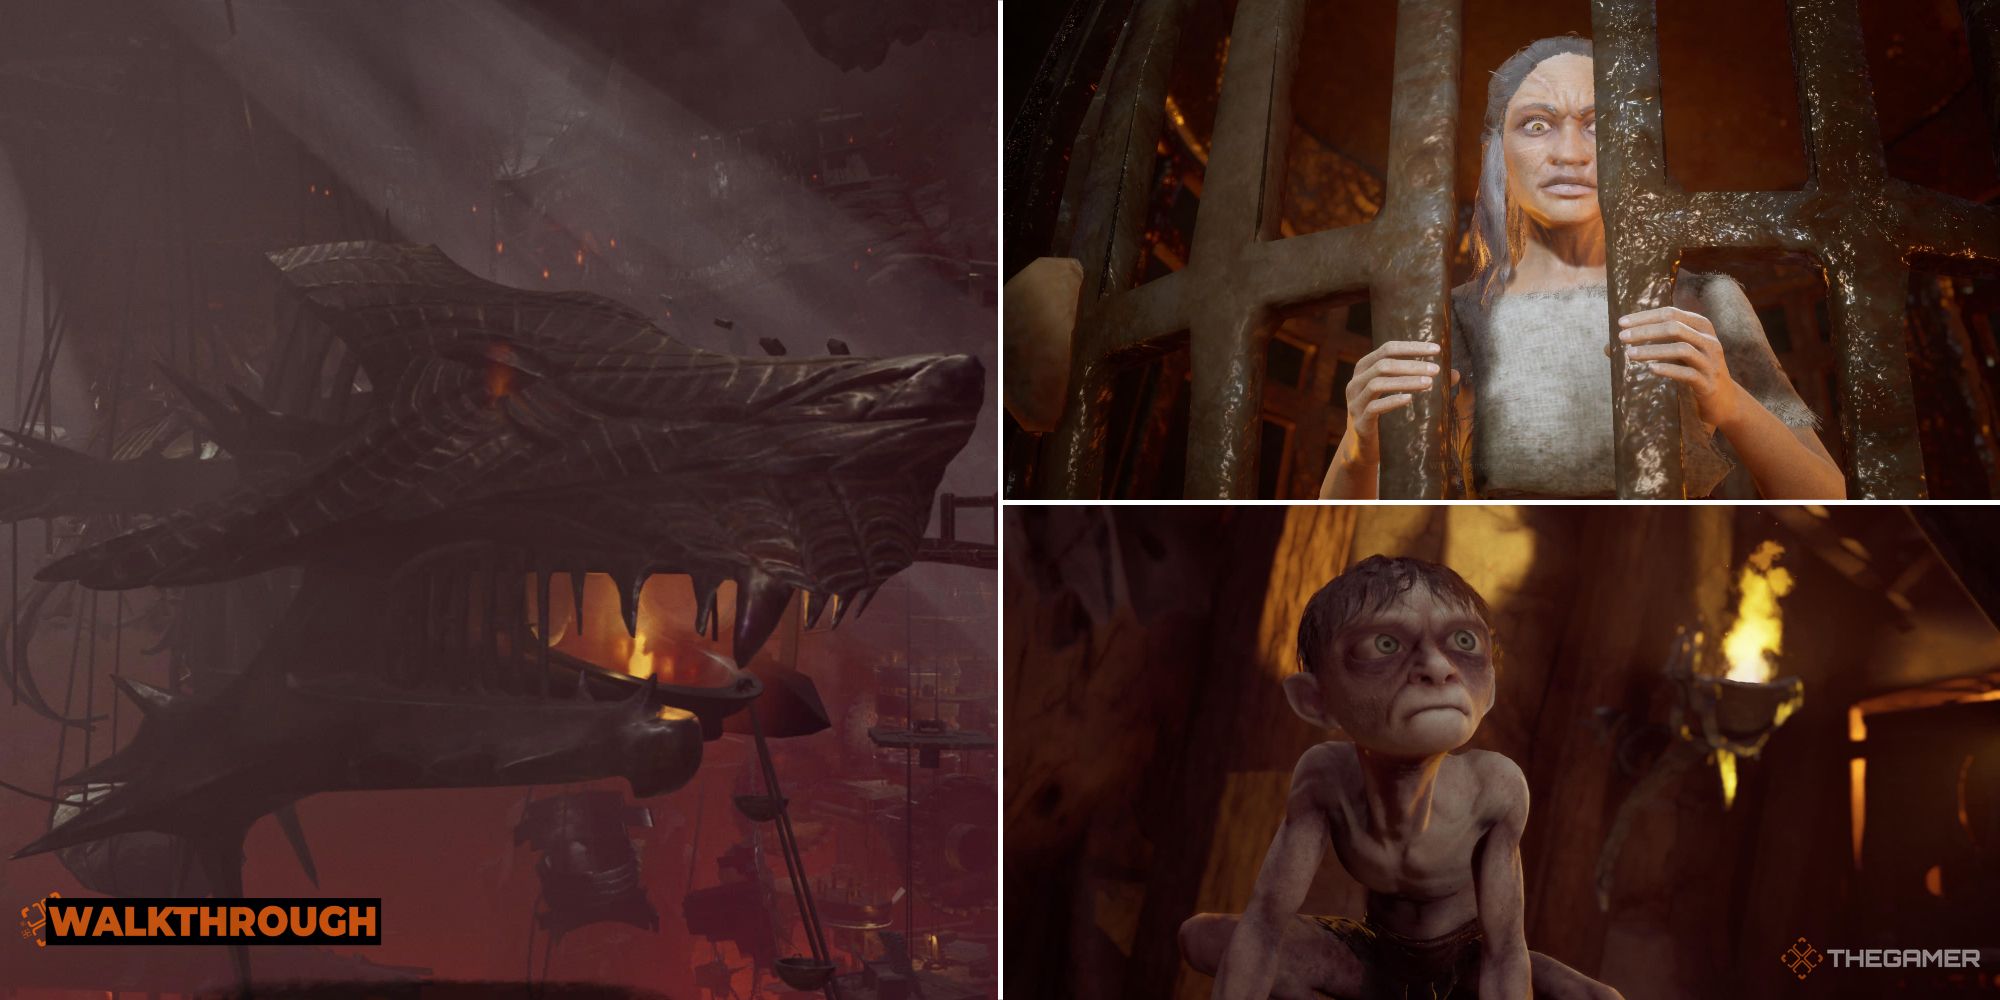
At the end of the first chapter in The Lord Of The Rings: Gollum, Smeagol is captured by the Ring-Wraiths and taken to the slave pits below Barad-Dur. You're going to be here a while, so you'll need to learn how to survive, and quickly! Chapter Two is a long one, but it's an opportunity to learn the layout of frequently-visited areas like the barracks, and provides vital information for later.
This guide will help you through every step of the way, from corralling angry borocs to finding lost tags and more. Keep it handy for the more complex areas of the chapter, and you'll be that much closer to being reunited with the Precious.
How To Get The Borocs Into Their Cages
When Gollum is thrown into a cell, take the tag that the guard throws to you, then lie down on your mat, on the ledge in front of you, to sleep.
After the cutscene, follow the guard out of the cell and to the left. In the mustering yard, turn right and follow the other prisoners into the gondola.
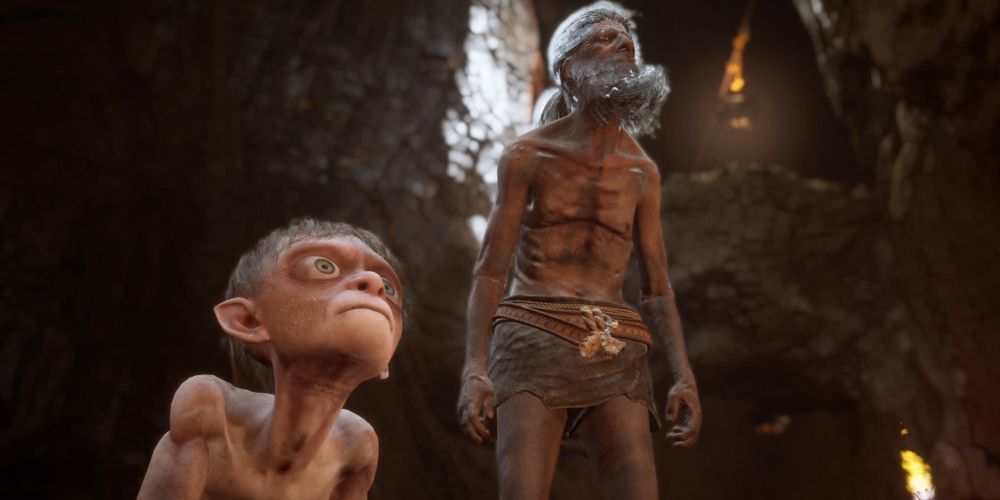
Keep following the group down the long corridor until the Frail Man leads you to the left. He’ll take you to the boroc pens. Climb the ladder to the left of the gate to begin.
Climb down the other side and get the boroc’s attention. Once it’s chasing you, run into the pen on the left and climb the far wall. Pull the lever above the gate to trap the boroc.
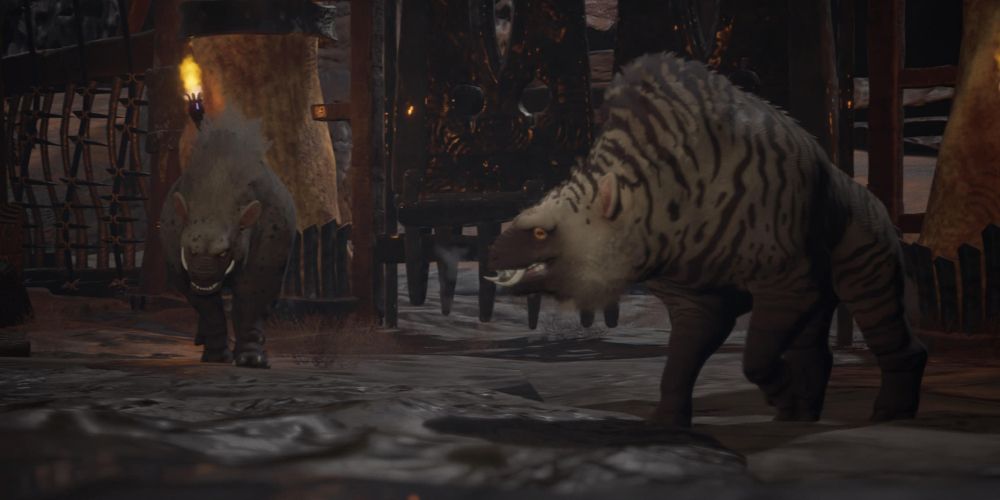
The orcs will release two more borocs. Start making your way across the arena; the beasts will see you soon, so run to the rocks ahead and jump on top. Wait for your stamina to refill, then go to the next rock; the borocs will destroy the fences as they pursue you.
After the second rock, run to the right to reach the pen. Jump the fence and climb the wall at the rear left of the pen. At the top, you’ll need to go out onto the rafters to reach the lever on the other side.
Moving along the beams is easier if you crawl, since you’ll have more control over Gollum’s movement.
Once you pull the lever, you’ll be automatically returned to the Beastmaster. Board the gondola behind his dais to go to the mines. Once there, you can speak to the caged witch in the corner if you want, then follow the Frail Man down the tunnels. Talk to the Foreman on the right in the next room, then return to the Frail Man.
How To Find The Tags In The Mines
Gollum is tasked with finding the tags of dead workers in the mines. When the Frail Man stops walking, continue along the ledge to descend into the mines. Climb along the wall to the other side of the pit, and jump to the platform in the center. Hanging from the edge, jump down and across to the ledge below the spot you just came from. This will get you low enough to safely drop into the mines proper.
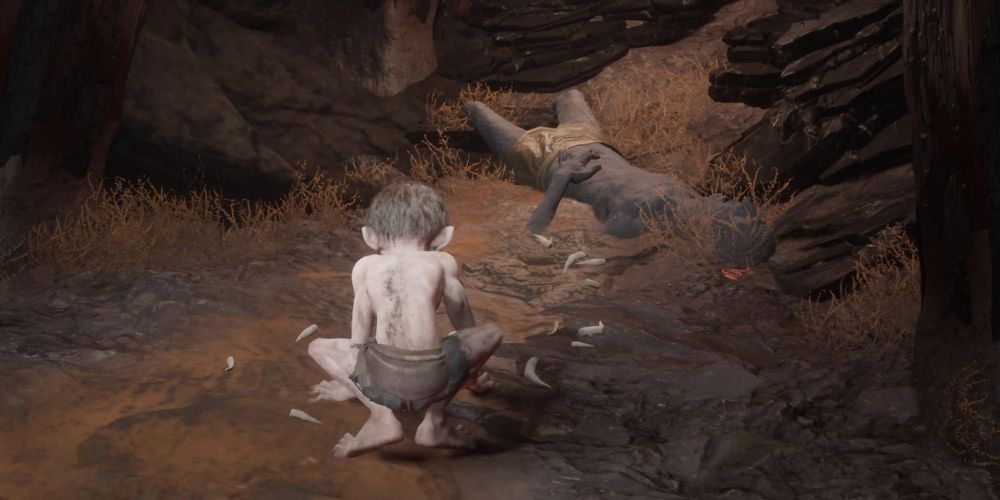
When you land, you’ll see two workers in front of you; to the left is a worm in some tufts of grass that you can collect to restore your health as needed. Behind you is the first body; collect its tag, then climb down the ladder.
Facing the lava flow, go to the right to find the second body. Return to the ladder and take the left-hand path until you reach a lift with a lever. Pull it and ride up to the area above.
Follow the path clockwise to find the third body, then climb the pillar behind you. You’ll have to use several backward jumps to navigate the hanging baskets and reach the top ledge above the lava.
There’s another worm behind the orc crouching on the ledge; take it and proceed down the tunnel. In the next room, you’ll see what looks like a crawlable tunnel in the right-hand corner; it’s just a piece of scenery, so you can ignore it. Turn left instead.
When you reach the scaffolding, there are two routes. Start by going to the left; run along the wall and jump at the end to reach the ledge and collect the chapter’s collectible, the Bat Wing.
Return to the fork and go to the right, wall running over the gap to find the fourth body. You can get another two worms hidden to the left of its alcove.
Getting back to the fork after collecting the Bat Wing is tricky, but if you die you’ll still count as having picked up the item.
Climb down the two ladders near the body and go to the right, away from the pair of orcs at the bottom. Pick up the fifth tag in an alcove to the right midway down the path, then climb down another pair of ladders.
The landing between the third and fourth ladders is large but empty; look for the fourth and final ladder along the edge near the entrance.
To the right is a worker who is still alive, but not for long. You can take his tag to avoid having to do the final climbing section, or leave him alone.
After making your decision, take the left-hand path. When you reach the end, run up the wall to find a climbable section. Jump to the left, behind a pair of chatting orcs. Pick up the work against the wall, then go forward to find a tag near a cave-in on the right.
Jump to the ledge across the gap to find the seventh body; if you took the tag from the dying man, you’ll automatically return to the Foreman. Otherwise, you’ll have to find the eighth body by continuing along the path.
How To Safely Ignite The Barrels
Get in line behind the man n blue and wait to be called by the guards. Once they wave you through, go to the right and turn in your tags to the Foreman. You can also listen in to the Beastmaster discussing the fate of an ill spiderling.
Once you’re done, go up the ramp to your cell. On the way, enter the open cell on the right and collect the Old Metal Spoon inside. You can speak to the Frail Man and the Cruel Orc to get a little of their backstory if you want; when you’re ready, sleep by the window to move on to the next day.
At the start of the second day, board the gondola on the right and go straight to the mines. If you heard the Beastmaster talking about the spiderling, talk to the witch in the cage. She’ll give you a message to bring to the Beastmaster.
Talk to the Foreman at the bottom of the ramp, then follow the Frail Man to a pair of levers. Collect a red stone from the pile on the right, then crawl through the tunnel that the Frail Man opens.
If you need to top up on food, there’s a worm immediately to the right at the end of the tunnel.
Climb down the rough wall on the right, then crawl through the tunnel at the bottom. Repeat the process in the next shaft, and at the end of the second tunnel you’ll find a red barrel; put the red stone in, then climb back up to the Frail Man. You need to be out of the room with the barrel before it explodes.
The smoke from the explosion is toxic, so you’ll take damage the longer you stay in the lower chamber.
After the conversation with the Frail Man, he’ll open another gate; go through the next tunnel. Make your way around the pits along the path to the next barrel; ignite it, then return to the Frail Man. He’ll lead you down to the lower level and open a third tunnel.
If you need to refill your health, there’s a worm just before the final lever.
Use a running jump to get across the chasm, then jump to the red barrel at the end of the path. You’ll need to leap back to the platform immediately to avoid the explosion once you light the barrel, then duck into the tunnel on the right to make your way back to the main area.
Return to the Foreman, then attempt to board the gondola back to the barracks. The Cruel Orc will stop you; after your conversation, you’ll return to the Beast Pits.
How To Reach The Rattler
Follow the tunnels to the main area and speak to the Beastmaster. Tell him about the witch, then follow the Frail Man to the sewers. Crawl through the tunnel that he opens for you.
Drop down into the channel below and swim to the far side, where you can climb out onto dry land. The pair of boroc bulls from earlier will smash through their cage and chase you; run to the left and leap across the gap to evade them. If you fall into the water, you can climb out on the far side.
There are more caged borocs here; run straight through the pens until you reach the rocks at the other end that you can climb. You’re not safe until you’re on high ground, so don’t stop for anything! If you’re hit by the borocs, wait until you’re safely on the rocks to heal.
Climb up the wall to the platform on the left and enter the pipe in the far corner. Inside, you’ll find a tall shaft to climb. If you need additional healing, look for a worm about halfway up.
At the top, perform a backwards jump to reach a crawlspace that leads to the restricted area approaching the Rattler. A cutscene will show the path and guards, and you can view it as many times as you like by interacting with the ledge overlooking the approach.
Drop down to the right and climb down the wall to reach the ground level. Hide behind the crate in the center of the corridor to keep from being spotted, then run to the right. If you’re fast, you can reach the tunnel to the next room without being seen. Even if the orc does notice you, he can’t chase you through the small tunnel (though he can shoot through it with his crossbow).
You’ll find yourself behind some barrels near a patrolling orc; wait for him to turn his back, then sneak up behind him and kill him to make your exploration easier. There’s a room on the right with some food and a stone; take both, then hop over the crates in the middle of the barrel room.
If you take a left, you can kill two more orcs, including the one guarding the main entrance. This isn’t strictly necessary, but it gives you an escape route if you’re discovered later on.
The right-hand path is overseen by an armored orc who can’t be damaged. Crawl counterclockwise along the wall and close the lantern on the crate; the orc will move to investigate. Use the opportunity to continue along the outside of the room and reach the exit without being seen.
Follow the tunnel to the left; you’ll come to a hallway guarded by another armored orc. Advance while his back is turned, staying in the shadows along the left-hand wall. When you’re close to him, you can get around him to the left as he turns. From there, wait for him to look down the hall then crawl to the exit across the way. He might catch a glimpse of you, but not enough to prompt a chase.
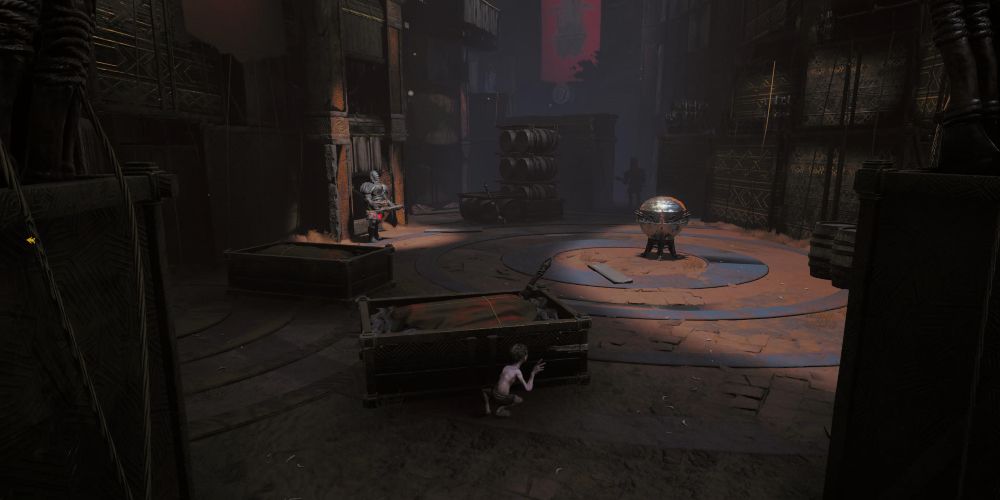
Turn left to get another healing item and stone, then take the right-hand path. Hide behind the crates, collecting two more stones to help distract the orcs here. Throw a rock at the metal globe in the middle of the room; when the orc on the left investigates, climb the wall behind where he was standing.
Jump to the platform to the right and cross over into the next room; climb down and go to the right side of the approach to hide behind crates. Make your way along the edge, behind the barrier, until you come to a large group of orcs. Just ahead is a small trapdoor that you can use to get under the floor.
Use the hole in the wall to go out onto the cranes over the pit, and climb along the wall to the right. Keep along the edge of the platform, and you’ll come to a ladder; climb to the top, then jump to the left to keep going up the wall.
Jump backward at the top of the wall, then climb to the left along the ledge to avoid the orcs above. When you’re as far to the left as you can go, wait for the orc with the lantern to turn away then climb up and scurry left to hide in the crate on board the Rattler.
How To Reach The Map Room In The Halls Of Grond
In the next area, you’ll have to take a leap of faith; look for the boards jutting out from the platform in a rough square shape. Jump into the middle of the square; it’s a long drop, but you’ll land safely in water at the bottom.
Climb out and go up the ladder to the right, near where a human is picking at the wall. At the top, stay in the shadows near the edge and crawl to the right; if you move too far forward, you’ll be seen by orcs.
Go inside the small hole in the wall and turn off the lantern inside. This will allow you to sneak past the guards by staying low and in the shadows. Be sure to pick up the rock on your left just as you enter the next room.
Move all the way to the far wall. There’s just enough shadow to keep you hidden as you slip under the orc’s nose. At the end of the wall, make a U-turn to the right; you’ll be able to get under the guard’s platform or climb onto it from the side.
Crawl under the platform to find a worm, then carefully climb up and move along the edge of the platform to the left. There’s a section halfway across where you can recover your stamina; do so, then go to the end of the bridge.
Hide behind the pile of junk and wait for a chance to ambush the patrolling orc, or just ignore him and move on. Enter the small, shadowy chamber on the right side of the bridge; there’s a stone in the corner if you need it.
Wait at the entrance to the room with two orcs; throw a rock at the lantern on the right to distract the armored guard in front of you, then sneak behind him to get to the other side of the room. You’ll need to time it so that the patrolling orc’s back is also turned.
Make your way around the corner, grabbing the bugs along the path if you need to heal. Be careful on the far side, as the patrolling orc from before can see you! Go to the end of the platform and drop down to the area below.
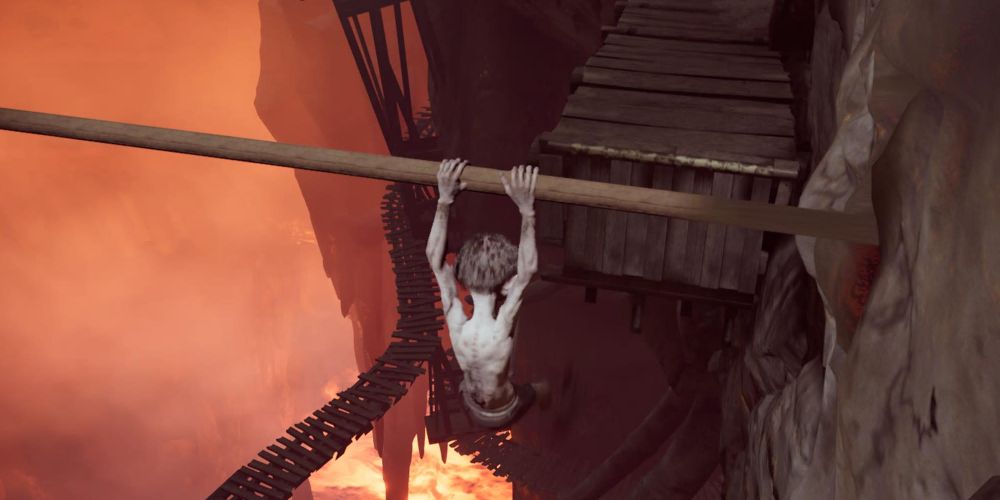
Jump to the platform across the way, then to the climbable wall leading over the lava. Use a series of zig-zagging backward jumps to get through the tunnel, then use the swing bar to cross the next gap.
At the end of the path, take a running jump to the left to reach the ledge near the upper swing bar. Jump up and then backward to grab the bar itself, and swing to the platform above where you just were.
Climb the wall to the left and jump backwards to keep moving upward. You’ll find a rotating gear with several bars. Grab one, and time your swing so that you grab the climbing wall across the gap.
Run up the wall to the right and crawl across the beams to the next climbing wall; drop down and go around to the left, using the gear there to continue your ascent. At the top of the gear’s rotation, jump to the climbing wall in front of you.
In the next section, run up the wall to the right. At the very top, jump away from it to land on the platform above. Wall run across the next gap, then move clockwise along the platform to find another climbing wall.
At the top is a large gear, too thick to hang from. Jump to the platform at the center of the gear, timing it so that you don’t hit the pegs as they rise from below you. Do the same at the other end, then climb the wall to your left.
Ride the swing bars at the back of the gear to the center platform and drop down onto it. You can jump to the lit opening on the gear wall to find the path to a collectible if you want.
On the center platform, climb onto the roof of the structure. You’ll see a ledge on the left side of the gear wall that allows you to get on top of it.
Make your way down the far side to reach the lever that operates the crane. Pull it, then take the ramp behind you and to the left to go down toward the payload. Jump across the hanging platforms to reach the rotating pillars across the chasm.
Ride around to the other side of the first pillar, then drop to the disc below you. Jump across to the next platform and climb the wall. At the top, perform a backwards jump, then climb straight up to reach the next set of gears.
Climb onto the smooth gear; you’ll want to get a running jump to land as close to the center as possible since it’s very easy to fall if you’re too close to the edge. Quickly jump onto the gear above, where you’ll be much safer.
Wait by the gear on the far side until the ridges appear, then hang from one of them until you’re high enough to do a backward jump. At the top of the wall, climb on the four-sectioned pillar. There are only a few parts of each section that can be climbed, so time your jumps carefully. The third section has no ledges at all, so wait until you can jump to the climbing wall behind you in order to bypass it.
At the top of the climbing wall, rotate the camera so that you can see the pillar and jump back to it when there is a ledge to grab. Ride it about three-quarters of the way around and jump to the next climbing wall, which leads to the right.
Follow the climbing course upward; at the very top of the slanted climbing wall, you can simply drop down to land on the platform for the next area. Make sure your stamina has time to recover, then take a running jump to the ledge to the right. Climb along it to the left until you reach the spot with footholds and recover your stamina again.
Climb up and take another running jump to the ledge across the chasm, then immediately drop down to enter the wooden structure below.
At the end of the tunnel, grab the swing bar and turn around to reach the structure’s roof. Climb along the ledge and through the window, being careful of the patrolling orcs inside.
How To Escape The Halls Of Grond
Use heightened senses to check where both guards are facing before you climb through the window. The first floor of the Map House has several hiding places;
- The shadowy area at the center of the room.
- The troll-sized helmet in the corner directly across from the right-hand entrance window.
- Under the table to the left of the entrance.
The best strategy is to go straight to the shadowy area and wait there. A ladder against the right-hand wall leads to the second floor; climb it when the coast is clear.
Use the climbing walls above the ladder to reach the upper levels of the building. You’ll end up on a platform above two more armored orcs; they can see you on the platform, but they can’t reach you as long as you’re up there. If you’re spotted, retreat back to the first floor and wait for the orcs to give up.
When you reach the floor where the orcs are walking, immediately crawl under the large table to avoid detection. There’s another table against the wall to the right; make your way underneath, then wait for a chance to sneak over to the metal globe by the orc guarding the exit.
Interact with the globe to make a noise, then get back under the table. When the orc turns his back while inspecting the globe, scuttle past him and turn right.
Head up the ramp to get some food at the top, then go back down and over the ledge to crawl along the outer wall of the Map House. Remember to crawl behind the guard to make as little noise as possible!
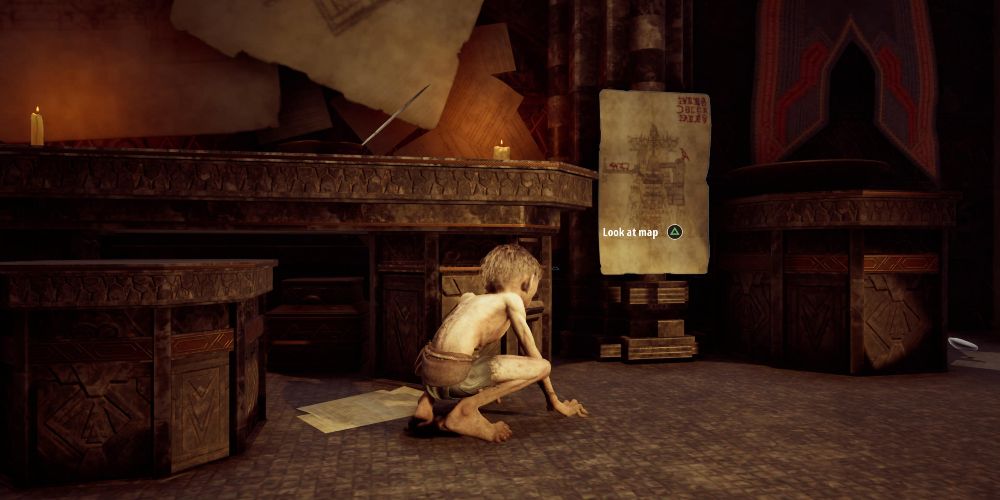
At the end of the ledge, jump up and climb to the next floor. You’ll have to jump from some pretty narrow ledges, to take your time. At the top, you’ll find the map room. Inside, you’ll need to examine every map, highlighted in blue when using heightened senses, until you find the one Gollum needs. The room is lightly patrolled, so if you need to make a getaway hide under the table in the middle or climb back out the window.
Once you’ve found the map of the tower, wait in the corner by the orc with the lantern. When his back is turned, crawl past him then make a break for the gondola at the end of the platform. In the likely event that you’re spotted, sprint to the gondola before the orcs catch you.
After escaping the Halls of Grond, you’ll be sent to collect more tags in the mines. Follow the path, being careful to avoid falling in the lava. When the trail splits, go right to pick up a tag, then return to the left-hand path.
Just after passing two orcs, you’ll find another body with a tag on the right. Collect it, then go up the ladder to find the third tag and trigger a cutscene.
How To Help The Frail Man
Once you’re reunited with the Frail Man, collect the red stones to the right then leave through the small tunnel on the left.
Climb to the top of the shaft until you return to the mine chambers; there, turn left and follow the path along the wall. At the top of the vertical wall run, jump across to a climbable area, then to the right to make your way along the upper ledges.
On top of the beam, jump up to the ledge above then follow it to the left. Leap backward to some climbable slates; at the top, jump to the right to the next rafter.
You’ll find more slats, leading to the cave ceiling. On the top, you can follow the wooden scaffolding to find an egg at the end if you need healing. If not, just jump to the platform across the gap.
Jump from rafter to rafter until you overhear some orcs talking. There, you’ll need to get a running start along a narrow beam to make the long jump to the ledge across from you.
Climb up, then immediately get into the shadows along the fence so that the orcs can’t see you.
When the orcs aren’t looking, crawl behind the barrels to the left, grabbing a stone along the way if needed. Continue clockwise around the room, using the shadows behind the crates and barrels for cover.
If you need to turn off the lantern to create a distraction, do so; otherwise, get to the ramp that leads out of the room and kill the two orcs at the top. Remember to crawl as you approach them since they’ll turn around if they hear you.
With the orcs taken care of, climb the wall to the storage room above. Place the red stone in the barrels marked with a black X, then run along the path to the left to escape the coming explosion. In the next room, jump from the scaffold to the moving platforms; ignore the prompt to look at the pit, as this will cause you to die when the barrel blows.
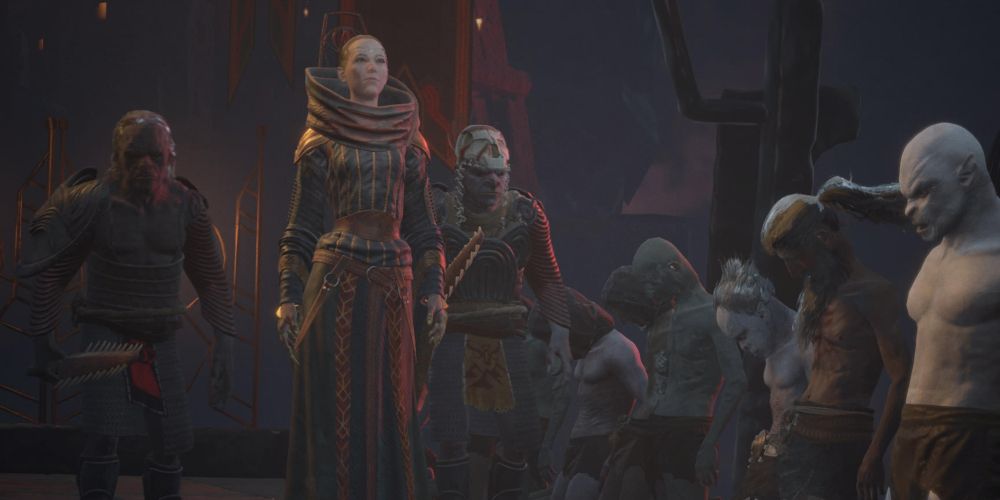
After the cutscene, you’ll be interrogated by the Cruel Woman. You can side with Gollum, and sell out the Frail Man, or follow Smeagol’s plan and force the Cruel Orc to take the fall instead. Either way, once gameplay resumes, return to your cell and sleep by the window to end the day. The next day, you can return to the muster yard; if you told the Beastmaster about the Witch, you’ll hear him trying to take credit for healing the spider. Smeagol will ask Gollum to intervene; if Smeagol wins the argument, this subplot will continue later.
Once you’re ready, follow the group to the left and board the gondola to the Breeding Pits to end the second chapter.

