When you play as The Necromancer in The Unliving, you have to pay attention to a lot of things including your health, your army's positioning, and the group of living that you're fighting. All these details can easily overwhelm a player, making them lose a Lifespark.
Necromancer's health bar consists of multiple sections known as Lifesparks. Whenever your health drops below a certain section, you lose it permanently and get a special effect attached to the Lifespark you lost. While there is a lot of luck involved in the Lifesparks you get, many of them easily outshine the rest.
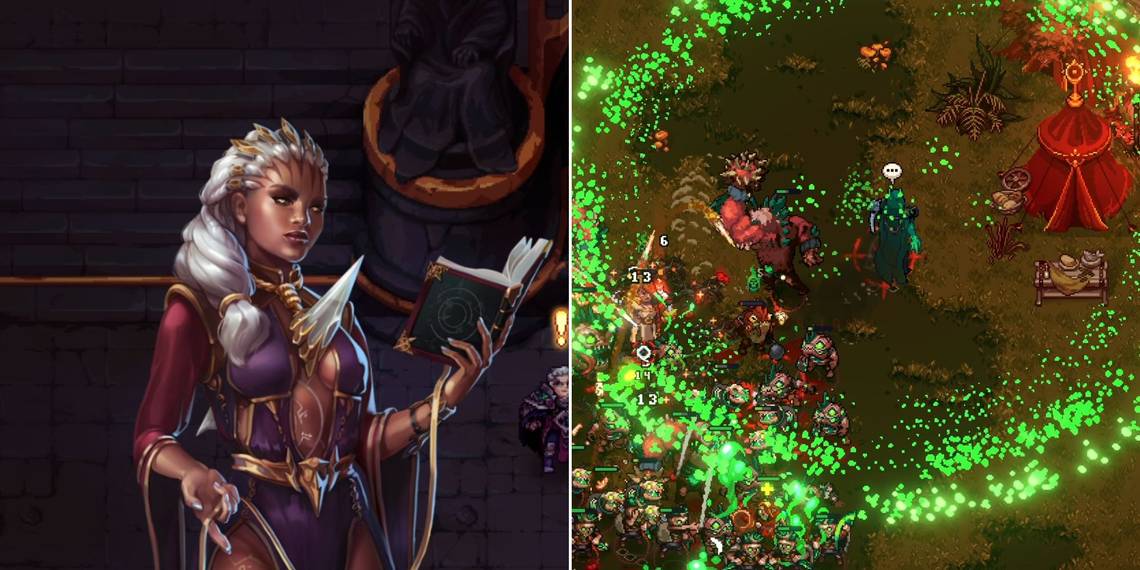
6 Lifespark Of A Cursed One

Every time you fall during a raid in The Unliving, you'll return to Edge of Immortality where you can talk to different NPCs to unlock various aspects of the game. After you've acquired a few Lifespark potions during your raids, Majra will unlock the Lifespark Fabricator where you can unlock multiple Lifesparks with their special effects.
Every time you interact with a Lifespark potion during the raid, you will get to choose from three different types. These potions can be found at the altars if you follow optional paths, bought from the Wares for gold coins, and acquired at the beginning of Caredhwaithian Mires and Sunspire areas.
Lifespark of a Cursed One curses all the surrounding living upon activation. The cursed living will instantly turn into undead upon their death, even if you haven't defeated the entire group. This can be extremely useful when you only have a few undead left, but a bunch of enemies are on low health.
5 Lifespark Of A Necromancer

Among all other Lifesparks, this is quite a special one since it belongs to The Necromancer himself. As such, you have it unlocked from the beginning of the game, and most of the Lifespark bars are assigned with this by default. While it's easy to acquire and use, the Lifespark of a Necromancer is only decent in a certain scenario.
When you lose this Lifespark, The Necromancer instantly resurrects nearby corpses ignoring the group limit. This can be used when there's a large group of enemies and you're struggling to defeat the last few. Unlike Cursed One Lifespark, this can only be applied to corpses and doesn't affect the current humans alive in the area.
4 Lifespark Of The Doomed

This Lifespark can be unlocked in the same group as the Werewolf, and they all cost ten Prima each. You can get Prima from random altars on optional paths only, and you need this currency to get weapon upgrades and Necromancer upgrades other than the new Lifesparks.
Lifespark of the Doomed increases the number of undead in your army by forming Warrior Wraiths whenever your health is lost. These wraiths move quickly, and they can also attack enemies fast dealing a lot of damage. Although, they don't have a long lifespan and they also don't have a special ability like the other undead.
Warrior Wraiths can make a significant difference in battle, especially when your army is getting overwhelmed. Furthermore, this Lifespark is consistent since you don't have to rely on the number of living or undead around you.
3 Lifespark Of An Alchemist

Unlike other Lifesparks mentioned on this list, Lifespark of an Alchemist is decently hard to acquire because you need to reach the Caredhwaithian Mires area and defeat the Ascended Alchemist to get the unlock option on the table near Majra. Once you have the option, you can unlock it for ten Prima and have a chance of getting it in battle.
This Lifespark immobilizes all the surrounding enemies for a decent amount of time whenever it's lost. This might not sound as good on paper, but you'll be surprised by its effect when you're trying to escape a horde of enemies in battle. It allows you to get some breathing space and gives you time to make a decision.
Moreover, you can also use it against close-range enemies like Giants or Fighters to defeat them easily since they can't reach you to attack.
2 Lifespark Of A Watchman

Lifespark of a Watchman is quite easy to acquire since it's the second group of Lifesparks that unlock after you defeat Apotheosis and reach Caredhwaithian Mires. For the amount of value you can get from its effect, it almost feels like a cheat to unlock it that quickly. There are a few amazing Bone Spells that create a static turret on the battlefield.
This Lifespark follows in the same footsteps as it creates three of these turrets whenever you activate it by losing your health. These turrets don't require any bones to spawn or deal damage to the enemies, they'll just shoot at nearby living constantly for a few seconds.
If you're surrounded by a giant horde of enemies and don't have a single undead in your army, this Lifespark will save your life and defeat all the living nearby within seconds, giving you another chance to start raising an army and beat the area.
1 Lifespark Of A Werewolf

It looks like the first group of Lifesparks got the most love from the developers since Lifespark of a Werewolf is another one belonging to this group. The effect of this Lifespark is similar to the one you get upon sacrificing a Werewolf in Burial Isle. It creates a scream that affects the surrounding living and forces them to attack each other.
This effect is signified by a set of red teeth above the affected living, and you can simply stand there and watch them defeat each other. This Lifespark's effect lasts a long time, allowing you to escape dire situations and giving your army an edge over the enemy.