Thymesia is not an easy game. It takes a lot of its flairs and flourishes the ‘Sekrio playbook’, and requires an iron will, firm nerves, and honed reflexes to overcome. Even if you are blessed with such talents, Thymesia’s bosses can prove to be a near insurmountable force - even in the first couple of hours.
Odur is the first real boss Thymesia has you face off against, and he is one of the trickiest first bosses in any game we’ve played in recent memory. He is incredibly fast, his moveset deals devastating amounts of damage, and he will punish you heavily if you don’t understand his moveset. Thankfully, we’ve got him sussed.
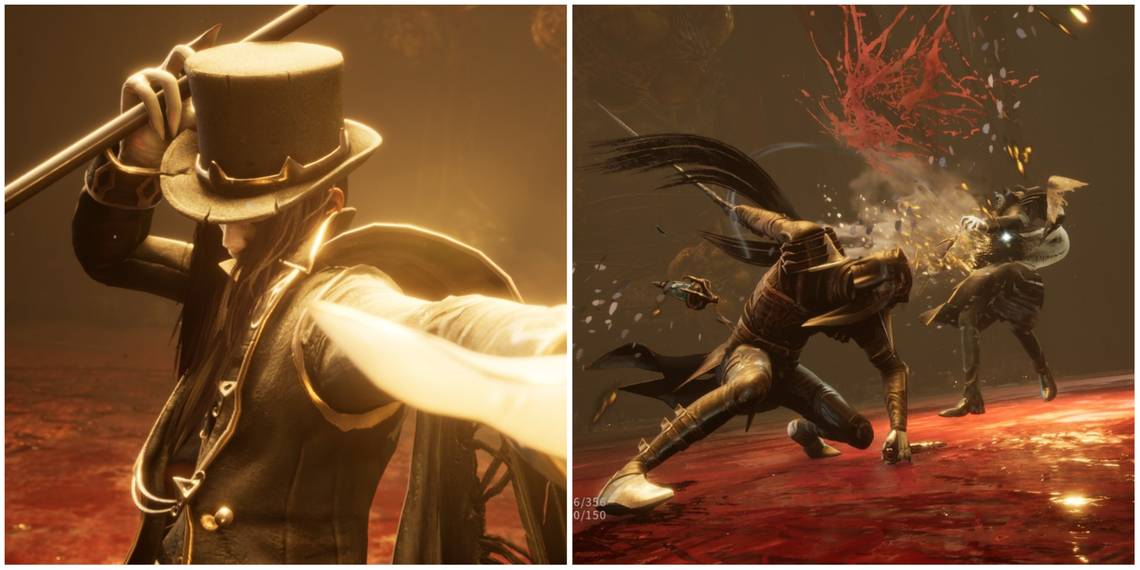
Odur’s Overview

Odur is the first boss of Thymesia and can be found at the end of the Sea Of Trees. He is a lightning-fast Circus Master who uses tricks, illusions, a fancy sword, and firm kicks to confuse and overwhelm you. He is a capable foe at every range, and he is rocking two phases, making him even harder to beat.
Odur’s Attacks

Odur has two phases. Phase One is surprisingly simple once you get him in a loop, however, his second phase is brutal. You will need to master his patterns if you want to come out victorious. His whole shtick is fast and unpredictable movements with varied timings to keep you off balance.
Phase One Attacks
These attacks are only used in Phase One, however, he will use variations of these attacks in Phase Two.
|
Attack |
Explanation |
Counter |
|---|---|---|
|
Card Throw |
Odur throws two magic-infused cards at the player. Each card deals heavy damage. |
Dodge diagonally towards Odur. This attack has a long windup and can easily be read. |
|
Three-Hit Combo |
Odur will swing his sword twice in quick succession before doing a sluggish twirl that ends in a devastating stab attack. This will stagger you if it lands. |
The timing on this combo is a bit tight, however, deflecting is not impossible. The initial slashes are not that damaging (in comparison to the stab), however, the Stab needs to be stopped. The attack has a very clear wind-up and the deflect timing is quite generous. You could also try and dodge. Long Dodge is very handy for this as you can get out of range easily. |
|
Teleport Counter |
Odur will randomly deflect your attacks and counterattack. His first counter will cause him to teleport away, and pause momentarily before dashing forward at extreme speeds and unleashing two rapid slices. |
This attack is incredibly easy to deflect. When Odur teleports away, all you have to do is wait for him to dash and then quickly deflect twice. This will open Odur up to a retaliation combo. |
|
Kick Counter |
Occasionally Odur will counter your attacks with a powerful kick. This kick deals massive damage and will stagger if it hits. You can tell he is doing this attack as immediately after he deflects, he will spin on the spot, and then briefly pause. |
This attack is harder to deflect than his Teleport Counter - but not by much. After he deflects, if he has not immediately teleported away, he is doing this counter. Wait for him to stop spinning, wait a split second, and then deflect. You should catch this every time, and if you do, it will open him up for a combo. |
Phase Two Attacks
His second phase is substantially harder than his first. Many of his attacks have been extended and had their timings mixed up to catch you out.
|
Attack |
Explanation |
Counter |
|---|---|---|
|
Card Throw |
Odur throws two magic-infused cards at the player. Each card deals heavy damage. |
Dodge diagonally towards Odur. This attack has a long windup and can easily be read. It is identical to his Phase One attack. |
|
Card Fan |
Occasionally Odur will throw a fan of cards instead of a single card. |
This attack can be dodged in the same way as his regular card throw, although you are more likely to take a hit due to the nature of the fan. |
|
Teleport Combo |
This is Odur’s main attack in Phase Two, and it is devastating. Odur will vanish momentarily and then appear near you before unleashing a three-hit combo, pausing, and unleashing another three-hit combo that ends in a brutal stab. |
The timing of this attack is really tight - especially the first flourish. When you see Odur start this attack sequence we advise dodging away to avoid the first half, before moving in to deflect the second half (which is much easier to time). You can then retaliate with your own combo. |
|
Teleport Counter |
This is very similar to his Phase One counter, however, it now has a third slash that is unleashed after a slight delay. |
Countering this attack is just as simple as in Phase One, you just have to time the third deflect after a short pause. You can counter with your own combo after this. |
|
Kick Counter |
This is arguably Odur’s strongest basic attack and counter. Odur will do his Phase One spin kick, then immediately go into a three-kick combo that ends with a heavy stagger. This counter deals massive damage. |
The counter timing on the first kick is the same as Phase One, however, the follow-up attacks are much harder to catch. The initial flurry requires rapid deflecting as they come out quickly, whilst the final kick needs to be timed due to a slight pause. If successful, you can counter with your own combo. |
|
Critical Attack |
Odur flashes green and then unleashes a devastating downward slice that covers a large area in front of him after a short wind-up. |
Either throw a feather once you see his sword arm start to move down, or use Step Jump to cancel his Critical Attack and follow up with an aerial attack. DO NOT start a combo as he will immediately start to charge his Ultimate Attack after his Critical Attack succeeds OR fails. |
|
Ultimate Attack |
Odur flashes red and then after a brief wind-up, will dash at the player. If he hits, then this will trigger a cutscene where Odur will inflict roughly 200 damage, plus an additional 100 damage once the cutscene ends. This will likely kill you. |
This attack cannot be dodged, deflected, blocked, or feathered. However, it is always used after a Critical Attack, making it very easy to read. The moment you interrupt Odur’s Critical Attack, cancel your lock on him and run away. Odur will miss. Wait for him to sheath his sword as this causes an explosion, then go in for a combo. |
Recommended Talents

There are only three talents we recommend you have at a bare minimum. These are:
Short Claw
Short Claw is an excellent talent that will let you burn through Odur’s health bar once you have taken away his Wounds. This Talent also increases your damage thanks to a stacking Offensive Buff. Not only that, but it will also heal you roughly 10HP per hit. This can make fighting Odur substantially easier.
Long Dodge
Long Dodge simply gives you a second dodge. This additional dodge has a surprising amount of range to it and can be used to close the distance between you and Odur or to simply run away.
Step Jump
This Talent gives you an excellent counter to Odur’s Critical Attack. It will interrupt his attack and open him up to a free hit thanks to your various aerial counters. This is free damage, and well worth the investment.
Battle Strategy

Odur is not an easy fight. He will likely kill you repeatedly, and we would rank him as one of the hardest first bosses in any game - ever. That being said, he is beatable, you just need to put in some work when it comes to recognising his patterns and mastering his deflect timings.
Phase One
Phase one is incredibly easy to cheese. This is because you can lock him into a never-ending cycle of counterattacks. The moment this fight starts, dodge towards him and attack, this will stagger him and result in a combo. He will eventually deflect your attacks, and start one of his two counterattacks.
Deflect his counterattacks (they are very easy to do once you get the timing down) and then go into another combo. Repeat this until the phase ends.
Do bear in mind that if Odur uses his kick counter, you will be knocked out of range to retaliate, so quickly dodge back into range (one dodge will do it) and then start attacking. Additionally, once his white bar is fully depleted, remember to swap to your Short Claw to deal damage to his green health.
Phase Two
Phase Two is much harder because you can’t cheese Odur at all. The advice we can give is to simply learn his timings. Deflecting is nearly always your best course of action, and getting those timing down will make this fight much easier. That being said, we recommend dodging Odur’s teleporting attack combo, as the timing is very tight and his position can be unpredictable.
Attack him whenever you get an opening, and then when he counters, deflect him and continue to combo him. His counters are fairly easy to read but are very punishing if you mess up. His kicks are especially damaging, so consider dodging away from them if you are not confident. Additionally, Odur will not get stuck in a cycle of countering, he will eventually break away and do other attacks.
When Odur does his Critical Attack, counter him with Feather or Step Jump and then run away. You don’t want to get him by his Ultimate Attack. Just be aware that this attack - even when missed - will still end with a damaging explosion, so keep your distance.
The same rules apply to damage. Use your sabre to take away his white health, then work on his green health with your Short Claw. This shouldn’t take too long, especially if you have upgraded your Short Claw, as you will gain offensive buffs and healing.