Quick Links
There are no exceptions to the collectibles in Tiny Tina's Wonderlands; they can still be found in the Dragon Lord's lair, the Fearamid. This area is a giant pyramid that's been converted into a high-tech base for the game's antagonist.
In this article, we detail how you can reach every Rune Switch, Lucky Die, Poetry Page, and more in the Fearamid! No need to be afraid of missing out.
Where To Find The Lucky Dice (x9)

You'll want to be extra careful tracking down all the Lucky Dice in the Fearamid. We detail the location of every single Die in this article:
Where To Find The Rune Switch (x1)

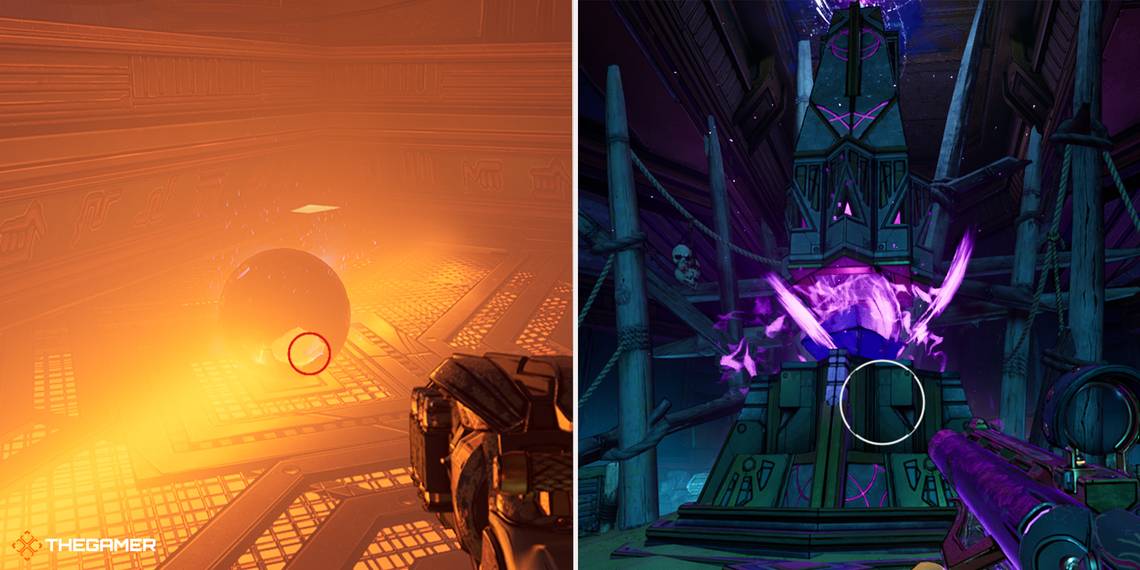
The Rune Switch is on a metal platform just after you enter the chamber with the glowing, ominous crystal in the centre. You'll know it when you see it.
Where To Find The Poetry Page (x1)

The Poetry Page is found on a precarious platform under a bridge in the area where you're instructed by Tina to break the Dragon Lord's crystals. It's easy to miss - we only found it on accident, when we almost fell off the map.
Where To Find The Lore Scrolls (x3)
Lore Scroll #1

This Lore Scroll is found alongside a chest and the fourth Lucky Die on an optional platform near the first crystal you destroy for the first quest. To get there, you'll need to cross a couple of disappearing and reappearing platforms that start from where the Rune Switch is found.
Lore Scroll #2

After you destroy the second crystal for the main quest, a new bridge opens up. Don't head down it yet! Instead, continue along the path to the end where you haven't explored, and turn down into the side room. The Lore Scroll is on a bridge before you drop down to the Ancient Obelisk.
Lore Scroll #3

The last Lore Scroll is found at the second fast-travel node. You need to jump off the bridge and grab the scroll from off of the electrical wire. It's the same wire you travel on to reach the first Lost Marble.
Where To Find The Ancient Obelisk (x1)

You'll find the Ancient Obelisk in tandem with the second Lore Scroll. It's after you destroy the second crystal for the main quest, but before you go down the long bridge that opens up. Instead, go into the side-room you haven't uncovered yet, grab Lore Scroll #2, then drop down.

You'll need to fight a swarm of undead enemies and a unique enemy: the Death Rattler.
Where To Find The Lost Marbles (x2)
Lost Marble #1

The first Lore Marble can be found right under the second fast-travel node and the associated vending machines. To get to it, jump off the platform and onto the electrical wire. Then, carefully travel along it and peer under the platform.
Lost Marble #2

The second Lore Marble is found after Tina tells you about the Dragon Lord's secret lost love, Bernadette (or something). As you progress forward into some steamy tunnels, check below you to the left - you'd totally think it was just a pit, but there's actually another Lost Marble there!