Quick Links
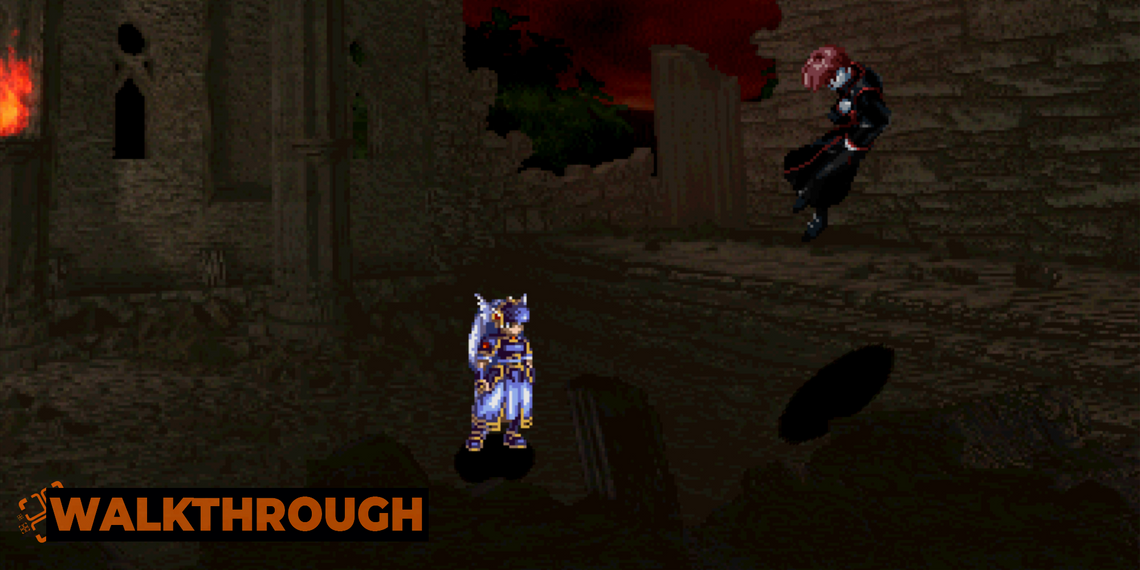
After witnessing Valkyrie Profile: Lenneth's very long introductory sequence, you'll finally be let loose inside your first-ever dungeon of the game: the Artolian Mountain Ruins. Freya is along for the journey here and basically ensures that you're never in danger (until the dungeon's boss).
As you progress through the dungeon, you'll be given lots of small tutorials for everything from Lenneth's movement abilities to some battle strategies - pay attention to these! Valkyrie Profile can be a pretty complex game, and mastering these mechanics is the key to success.
Artolian Mountain Ruins Overview

The puzzles in the Artolian Mountain Ruins aren't too tough to figure out - the area is a glorified, extended tutorial. In addition, the enemies here are quite easy to take down, and all of them serve to teach you some important mechanics.
|
Enemy |
HP |
Weakness |
Experience |
Notes |
|---|---|---|---|---|
|
Ghast |
600 |
None |
112 |
These enemies are a bit bulkier and hit harder than other enemies in this dungeon. Take them out first if they appear with other enemy types. |
|
Lesser Vampire |
400 |
None |
105 |
These are very easy enemies. Knock down their defenses with either Freya or Jelanda, and then finish them off with Valkyrie and Arngrim. |
|
Pongo |
1,000 |
None |
122 |
These are hardier enemies, so use them to practice building your combo gauge. Start a combo off with Jelanda's attack and try to time Freya's delayed attacks and Valkyrie/Arngrim's quicker attacks with the Fire Storm's impact. |
How To Unlock The Iron Bar Door

Once you're set free by Freya, head to the right and save the game with the Memory Stone. Always make a habit of saving your game every time you come across one of these, you never know when you'll unexpectedly lose a battle against a tough enemy or accidentally let one of your precious weapons break.
When you begin the game, your characters will all have 20 Capacity Points. Use them to learn Counter with Valkyrie and Arngrim, and First Aid with Jelanda. Don't forget to set up Jelanda with First Aid on the next tab! Freya is a temporary character, but it wouldn't hurt to get her to First Aid level five for that extra bit of protection.
Head to the right, listen to Freya for a moment and then head to the rear when prompted as you walk past the open doorway. This is where you'll find your first task of the game - to find the key to this door. Head back out.
Head further to the right, fighting or evading the enemies as you go. Head to the rear at the second doorway, defeat the enemy inside, and crouch down to examine and open the pouch there. It contains an Eye of Heaven.
Eyes of Heaven are very useful items - use them inside a dungeon and you'll be able to view a map by hitting the R1 button. This map can be rotated and zoomed to find locations you haven't been to yet.
Alternatively, if you don't feel like the map will be useful (and have a handy guide like this one to hand!) you can instead Convert Eyes of Heaven into 1,000 Materialize Points in the Use Item menu. This is a lot for the start of the game.
Head back to the main corridor and head all the way to the right, heading up the mound at the end. On this second floor, head all the way to the left and enter the room at the end - the chest inside contains what you're looking for - the Iron-Barred Key.

Return down to the ground floor and head back to the first rear room you entered. Interact with the iron door to open it, and then head further down into the ruins.
Exploring The Lower Levels

Freya will explain ladders to you in this next area. Head down a little and you'll be presented with a wall you can't jump onto - approach it and you'll be taught how to use crystals. Use them to jump over the wall. Ignore the exit to the right for now, and head further down.

Underneath where Freya taught you how to use crystals, you'll find a platform with two chests. The one on the left has a small explosion trap in it, so move slightly to the right to avoid it. The one of the right is safe. The chests contain a Vegetable Seed, which should be transmuted into an Elixir (a basic healing item) and the other contains a Book of Everlasting Life.
The Book of Everlasting Life is a powerful item that can be turned into some very powerful weapons later in the game. Hold onto it!
Head over all the way to the right and drop down the hole, getting to the ground floor. To the left there is a passage to the front - take it to find a large room with two enemies.
Go all the way to the left here and then head to the rear to find a very, very tall room.

Use crystals to jump up the side of the wall - it'll take a long time, but there are valuable chests at the top. Beware, there are two enemies in this room who will fall from the ceiling when you enter. The chests at the top contain a Savory, a Quartz Gem, a Nightshade, and an Angel Curio. The latter item is in the larger, green chest, which has a large explosion trap inside - move away from it quickly after opening it.
|
Savory |
Can be transmutated into various status-healing items. |
|---|---|
|
Nightshade |
Can be transmutated into a Combo Potion, which helps you combo gauge rise. |
|
Quartz Gem |
Can either be transmutated into a Malice Search now, or into a very powerful weapon later on. We recommend waiting. |
|
Angel Curio |
A decoration that protects against the unconscious status ailment, but might break when protecting you. |

Drop down the huge tower again (don't worry, no fall damage!) and leave the room. Instead of heading back to the large room full of ladders, head all the way to the right. You'll end up in a room with a huge spike trap on the floor and a slowly moving platform in the center. Defeat the enemy on the platform and ride it.
You'll notice a chest hanging from the ceiling - if you time it right, you can leap up to the hanging platform and open the chest, but beware of the large explosion trap! If you get hit, you'll be flung far, possibly into the spike trap. Consider using the Quickload function of the remaster, if that's the version of the game you're playing. Inside the chest is an Element Scepter, a fantastic weapon for Jelanda.
Once across the gap, head to the right and enter the wooden doors to the rear. Inside this room, you'll find chests containing a Foxglove (which can be transmutated into a revival item) and a book of Fire Lance, which you might want to use on Jelanda to teach her a new spell (but Fire Storm is good enough at the moment).
Destroying The Pillar

Head all the way back to the room with the ladders where you first learned about using crystals. This time, head out to the right-hand exit on the ground floor. In this area, you'll find a pillar - Freya says you should be able to topple it. Hit it twice with your sword and you'll get your first batch of Event EXP.
Head back to the large ladder room and jump up two levels. You'll have to use your crystals as platforms aimed directly underneath you on the floor to get enough height up to your destination. Head to the right on the second floor up.
In this room, hop across the gap to grab a Vegetable Seed from the chest, and then drop down through the hole at the bottom - you can walk across the top of the pillar you just toppled here. Move all the way to the right, and before climbing down the stairs to the rear, use the crystal trick from the very tall room from before to climb up the wall.

There are two chests here. The first, on the right, is easily accessible and has a Vegetable Seed inside it, along with a very small explosion trap. To get to the other chest, you'll need to make a large crystal on the very edge of the right-hand platform, and then use that to give you more height for a large jump across. This chest contains a Treasure Search, and it is also trapped with an explosion.
Head down the stairs, and then move to the right in this room until you spot a gap underneath some platforms. Crouch and then hit Circle to slide dash underneath this gap, then use the crystal wall jumping trick to reach the higher platforms. There's a passage to the right that leads to a Lapis Lazuli (which can be transmutated into high-end items later in the game). Return to the big room, and find a way to the top, either by using crystals and tricky platforming on the right side of the very large pillar, or the ladder on the left side after sliding underneath the platforms again.

The room at the top with the Memory Stone is your opportunity to save, heal up, transmutate your Vegetable Seeds into Elixirs, and then head into the next room to face your first boss.
How To Beat The Elder Vampire

Note that Freya will not be joining you for this fight, but she will give you the Reiter Pallasch sword before you go into the fight.
|
Enemy |
HP |
Weakness |
Experience |
|---|---|---|---|
|
Dragon Servant |
500 |
Ice |
210 |
|
Elder Vampire |
4,800 |
None |
700 |
You are given your win condition right from the start of this fight - Valkyrie is equipped with a sword that allows her to use her full three-hit combo, and you'll have to use it to break the Dragon Servants' defenses through Guard Crush to win. As usual, time the start of Valkyrie and Arngrim's combos with the impact of Jelanda's Fire Storm (or Fire Lance) spell.
As you didn't start the fight with an advantage, Jelanda will not be able to cast on the first turn.
Note that the Vampire is a light enemy, so Jelanda's Fire Storm will lift him very high up in the air. Make sure you leave a little delay before triggering Arngrim and Valkyrie's combos.
Your success will largely be determined by how successfully you're able to inflict Guard Crush on the Dragon Servants. Otherwise, they're not too difficult to beat. If you start taking too much damage from the Vampire's Shadow Servant spells, use an Elixir to heal.

With timed combos, you should be able to boost the combo gauge to 100 quite easily. When this happens, you can use Purify Weird Soul attacks to deal lots more damage - only use Valkyrie's at the moment. She'll deal the most damage with her temporary sword.
Artolian Mountain Ruins Artifacts

For beating the Elder Vampire, you gain two artifacts - both are worth keeping.
|
Sealed Box |
This can be transmutated into a Noble Elixir, the best healing item in the game. |
|---|---|
|
Jewelled Blade "Grimrist" |
A decent early-game sword with the ability to instantly kill enemies weak to lightning. Absolutely worth keeping. |
How To Leave The Artolian Mountain Ruins

After beating the Elder Vampire and deciding what to do with the artifacts, retrace your steps all the way back to the first room of the dungeon - where Freya first let you go. There will be no enemies around, so don't worry about your presumably weakened state.
When you reach the entrance, Freya will introduce you to a useful sprite (for tutorials) and bid you farewell.
To actually leave the dungeon, use the crystal wall jump trick on the left-hand wall. There is a hole in the ceiling that you can use to get back to the world map.